Charcoal BBQ Rotisserie Turkey
How we cook a whole turkey on a charcoal barbecue using a rotisserie spit.
By Steven Biggs
BBQ a Turkey
Our kitchen is a busy place around Thanksgiving and Christmas holidays. There’s family, guests, and lots of food prep underway.
But we cook our turkey outdoors, roasting it on our charcoal BBQ.
We barbecue a whole turkey outdoors for our Thanksgiving and Christmas meals. It frees up space in the oven. It’s also a social thing – Dad and me outside, tending the BBQ. And, most importantly, it makes for a very delicious turkey.
If you’re new to roasting a whole turkey – or new to charcoal cooking, it might seem daunting. But it’s not difficult.
I show you the steps of our outdoor turkey-roasting process below.
Rinse the Turkey?
Mom taught me to put the turkey in the sink and rinse it, both inside and out. This is a step some people swear by – while others recommend skipping it.
The rationale for not rinsing is that rinsing can spread around microbes from the raw poultry – increasing the chance of contaminating other food. (That’s also what the Turkey Farmers of Canada recommends.)
So I skip rinsing. Sorry Mom!
Prepare the Cavity
We cook our Thanksgiving turkey outdoors, roasting it on a charcoal BBQ.
Some turkeys come with the giblets placed inside the cavity. (Giblets are the liver, heart, gizzard, and neck.)
Put your hand in and feel around for the giblets. Sometimes they’re wrapped in plastic…and you definitely don’t want that roasting away inside your turkey. I’ve sometimes found the neck in the cavity, and the liver under the flap of skin where the neck used to be…so check both these places.
After I’ve retrieved the giblets, I rub salt around the inside of the cavity.
Make a Rich Gravy with the Giblets
My father-in-law loves fried giblets. It’s a treat for him while the turkey is cooking. Nobody in my house likes to eat the giblets – but that doesn’t mean I let them go to waste. I put the giblets into a saucepan with water, and simmer them to make a flavourful stock. I usually simmer the giblets with bay leaves, an onion, garlic, celery, and parsley. After it’s reduced by about half, I discard the giblets, and use the stock to make gravy.
Whether to Stuff Your Charcoal BBQ Rotisserie Turkey
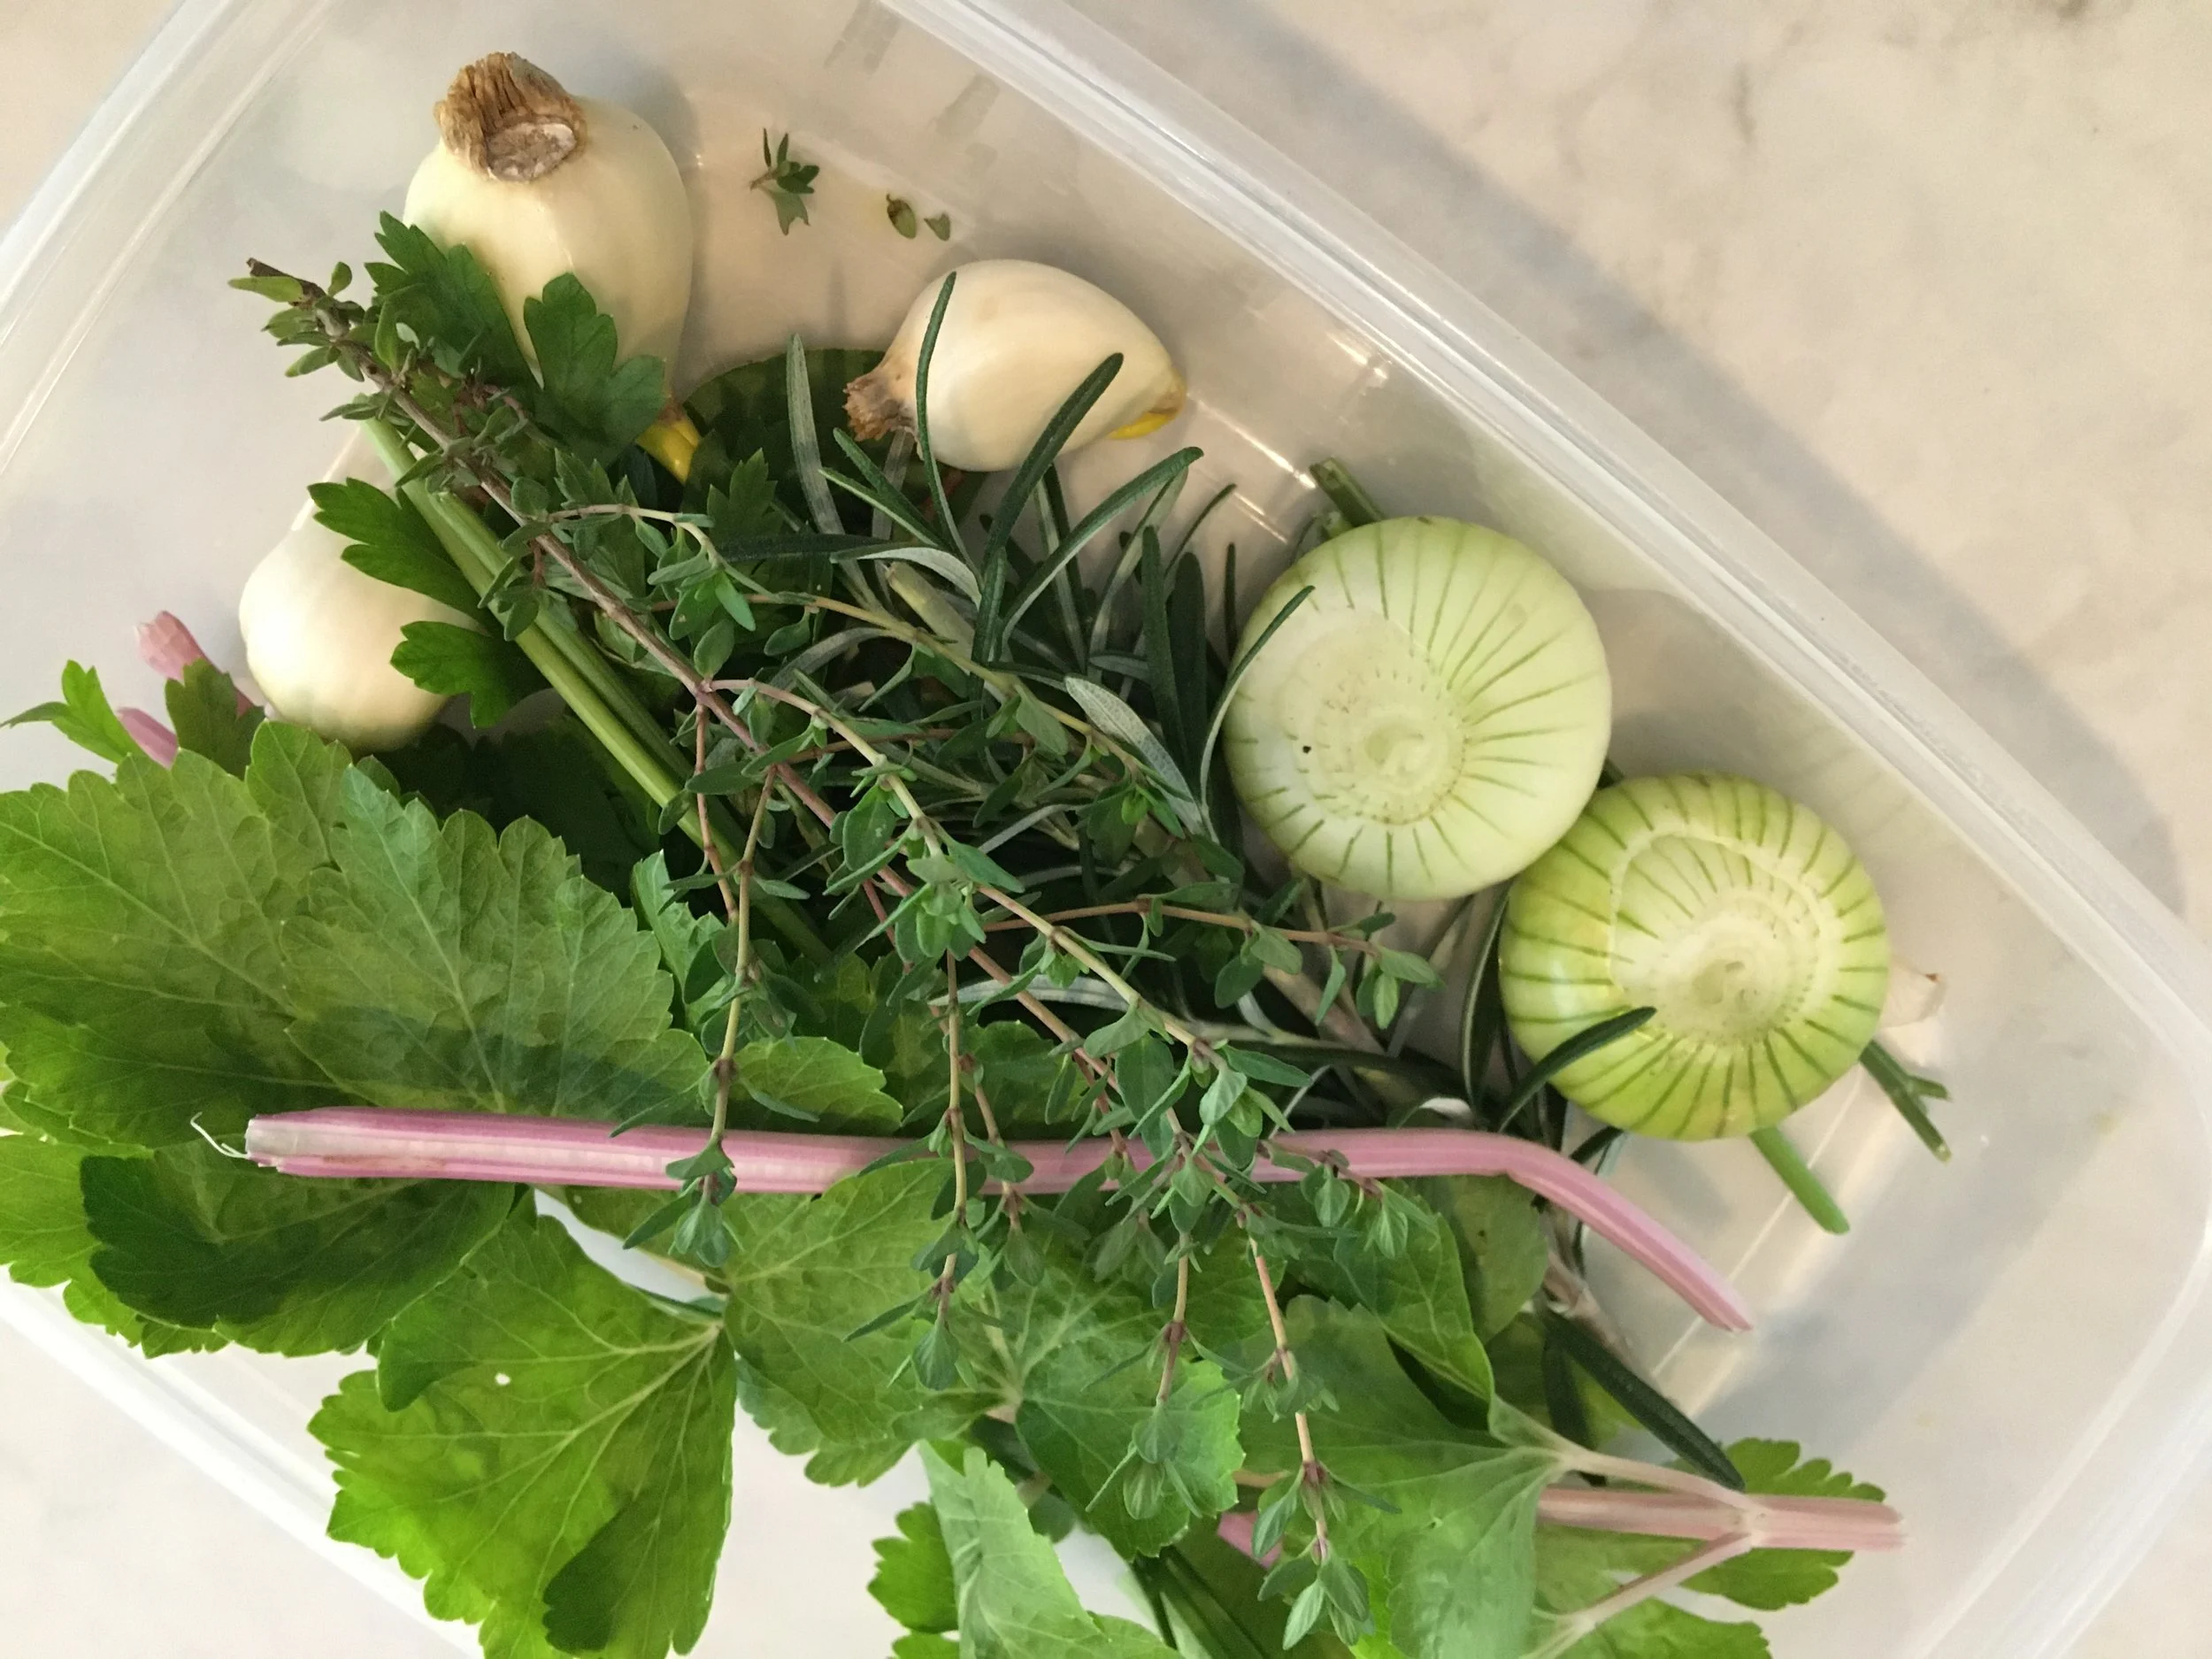
I put bay leaves, rosemary, parsley, thyme, an onion, garlic cloves, and celery into the cavity.
I don’t stuff rotisserie turkey. It’s easier to cook stuffing separately, in the oven. I’ve had too many episodes of escaping stuffing.
While I don’t cook my bread stuffing in the bird, I do put things inside the turkey to give a nice flavour as it cooks. Here are things that I put in the cavity while it cooks:
Bay leaves (or, lemon leaves)
The squeezed out lemon halves (from the lemon I use for basting, see below)
Parsley
Sprig of thyme
Sprig of rosemary
Onion, halved
Garlic cloves
Stalk of celery
Flavour the Skin
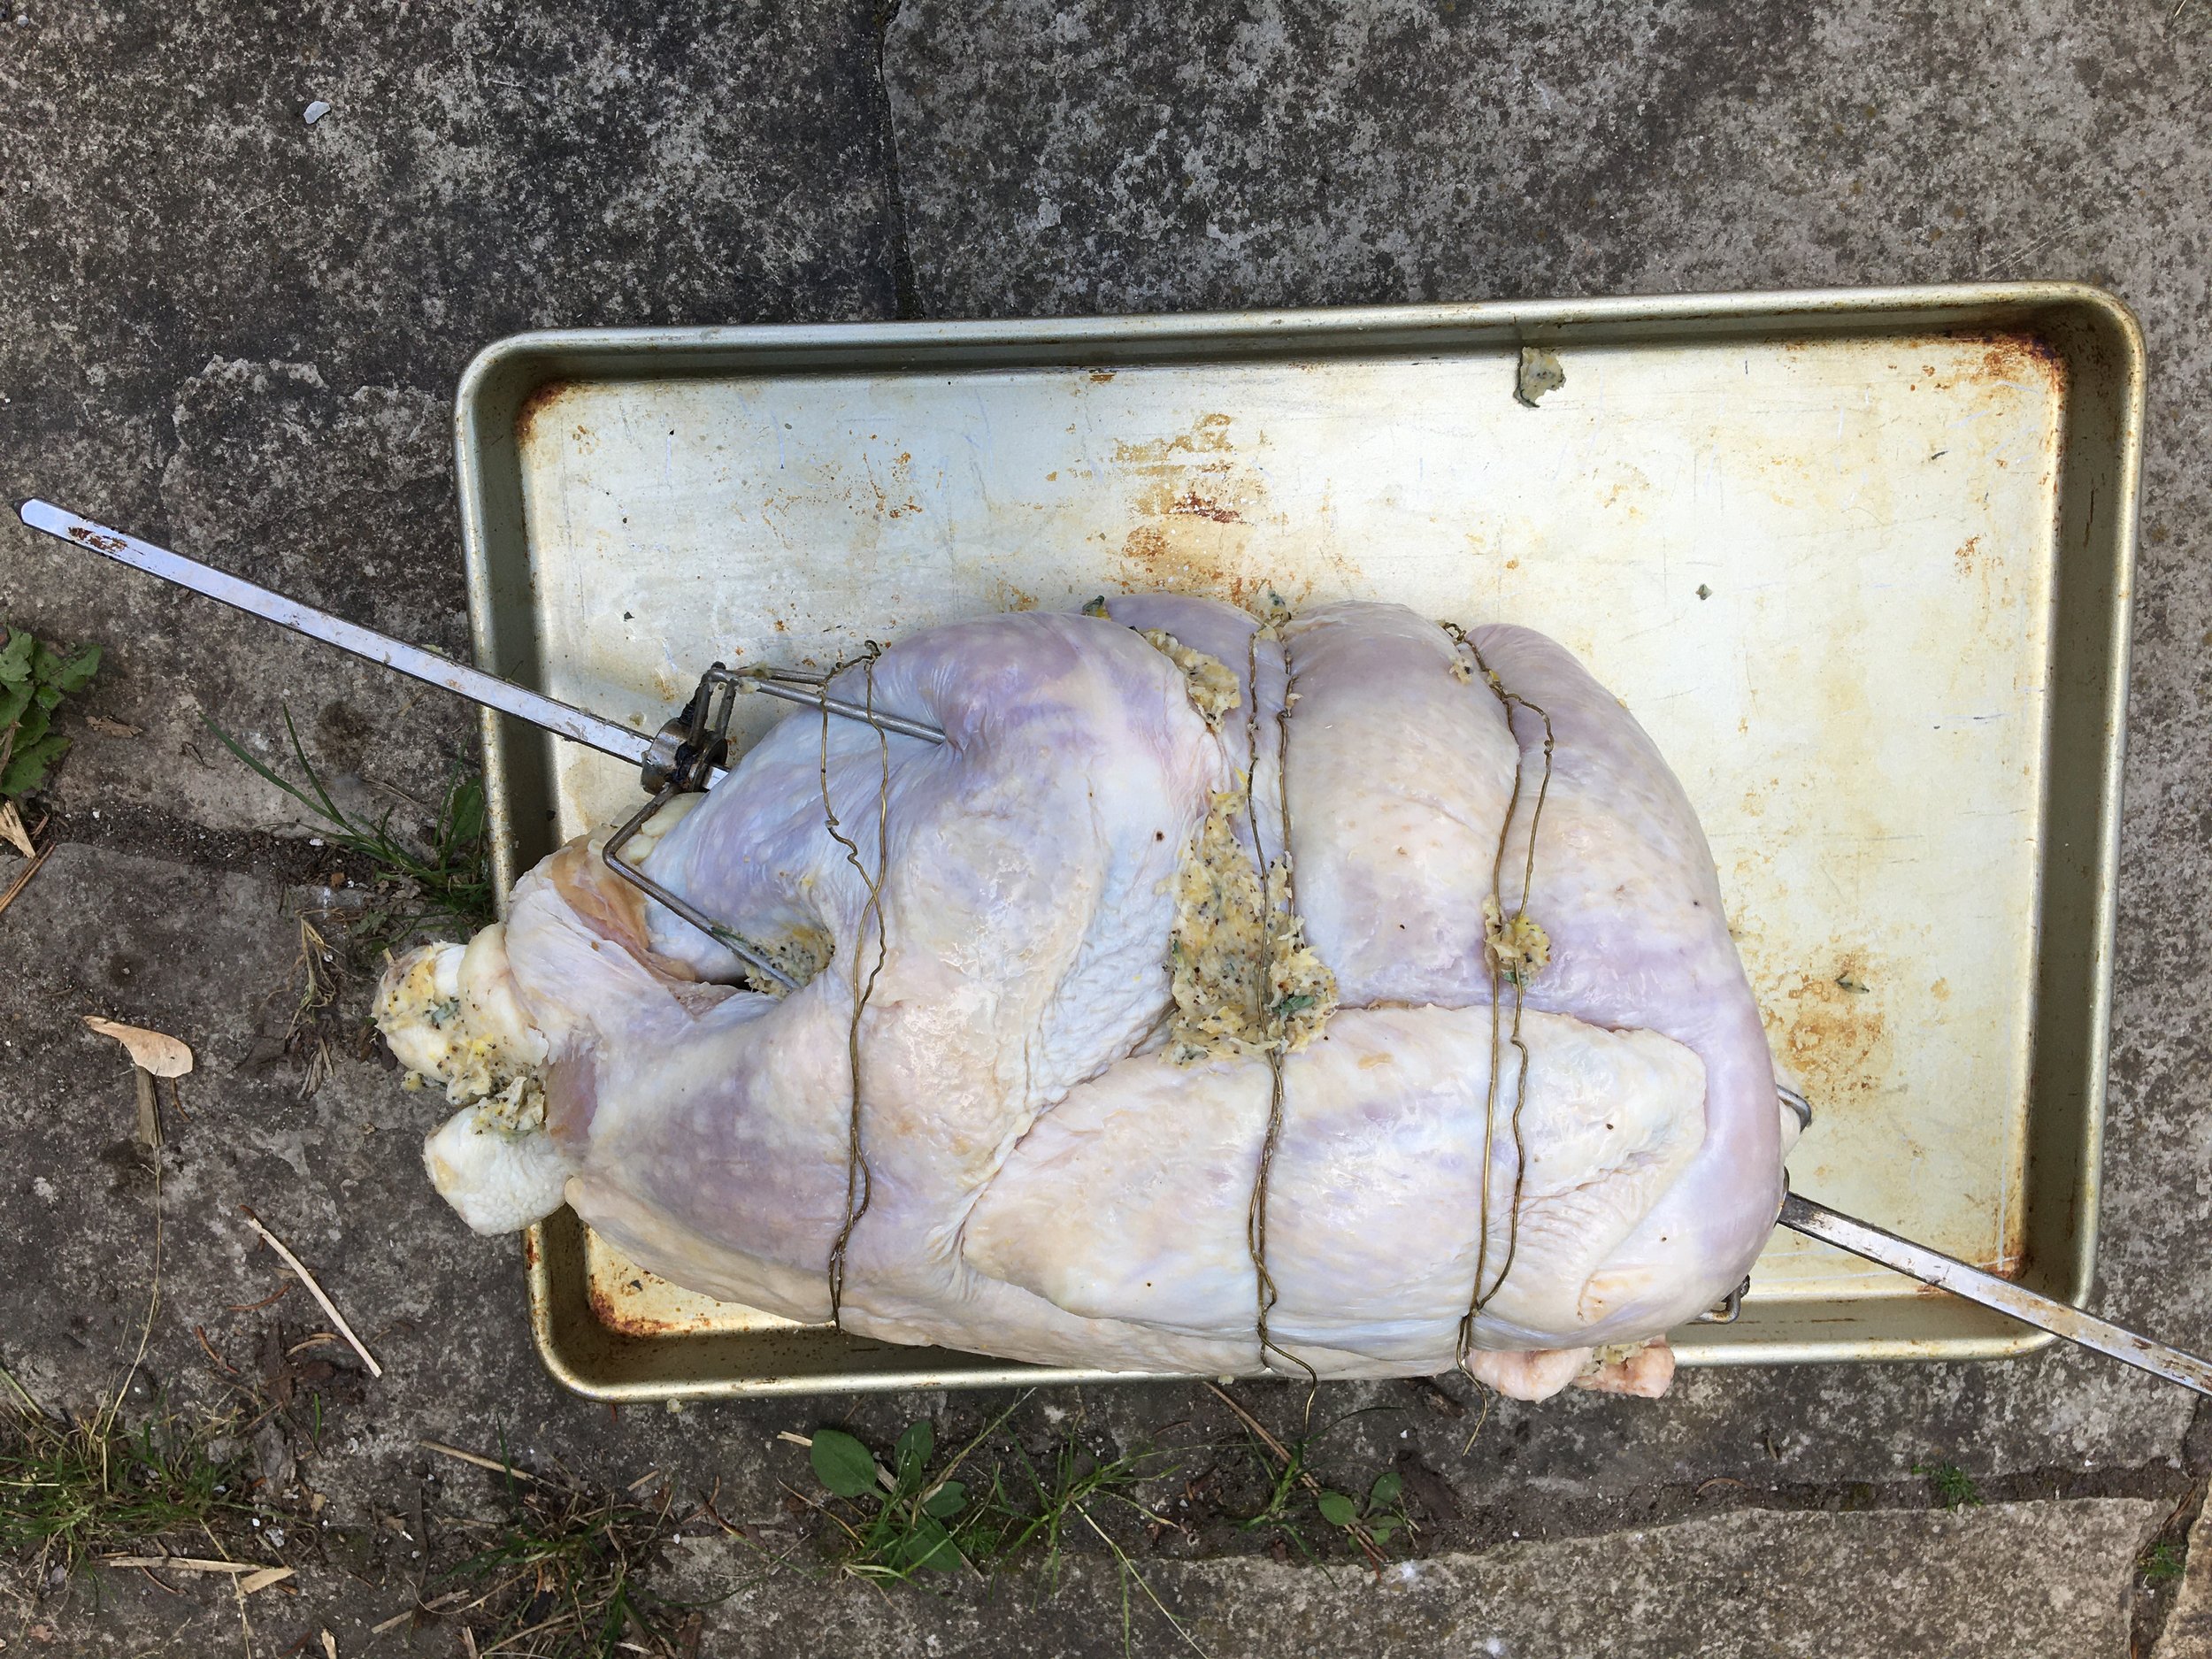
I make up a rub that I put on the skin before cooking. As the bird turns, it bastes itself.
I make up a rub that I put on the skin before cooking. As the bird turns, it bastes itself.
I mix together:
Lemon zest
Soft butter
Generous amount of salt
Copious amount of crushed garlic
Black pepper
Thyme
I know a lot of people like sage. I have overdone it with the sage too many times – and it’s a strong flavour. I skip the sage.
Mount the Turkey on the Spit
Mount the turkey on the spit so that the weight is balanced. Try turning the spit with your hands; it should rotate a couple of times, not just flop down because one side is more heavy than the other.
It doesn’t have to be perfect – but balanced enough so that the motor isn’t strained from turning a lopsided roast. You don’t want that motor to burn out while you’re cooking!
Truss the bird. Tie in the wings tightly. Sometimes there’s a strong flap of skin you can tuck the legs under to hold them in place. If not, tie the legs too. You don’t want your roast flapping its wings as it goes around. I truss with wire – no worries about it breaking in the heat as butcher twine sometimes does.
There are “spit forks” that slide over the spit, and press against and into the turkey. Get these nice and snug so that the turkey doesn’t move around as it turns on the spit.
Preparing the Charcoal BBQ
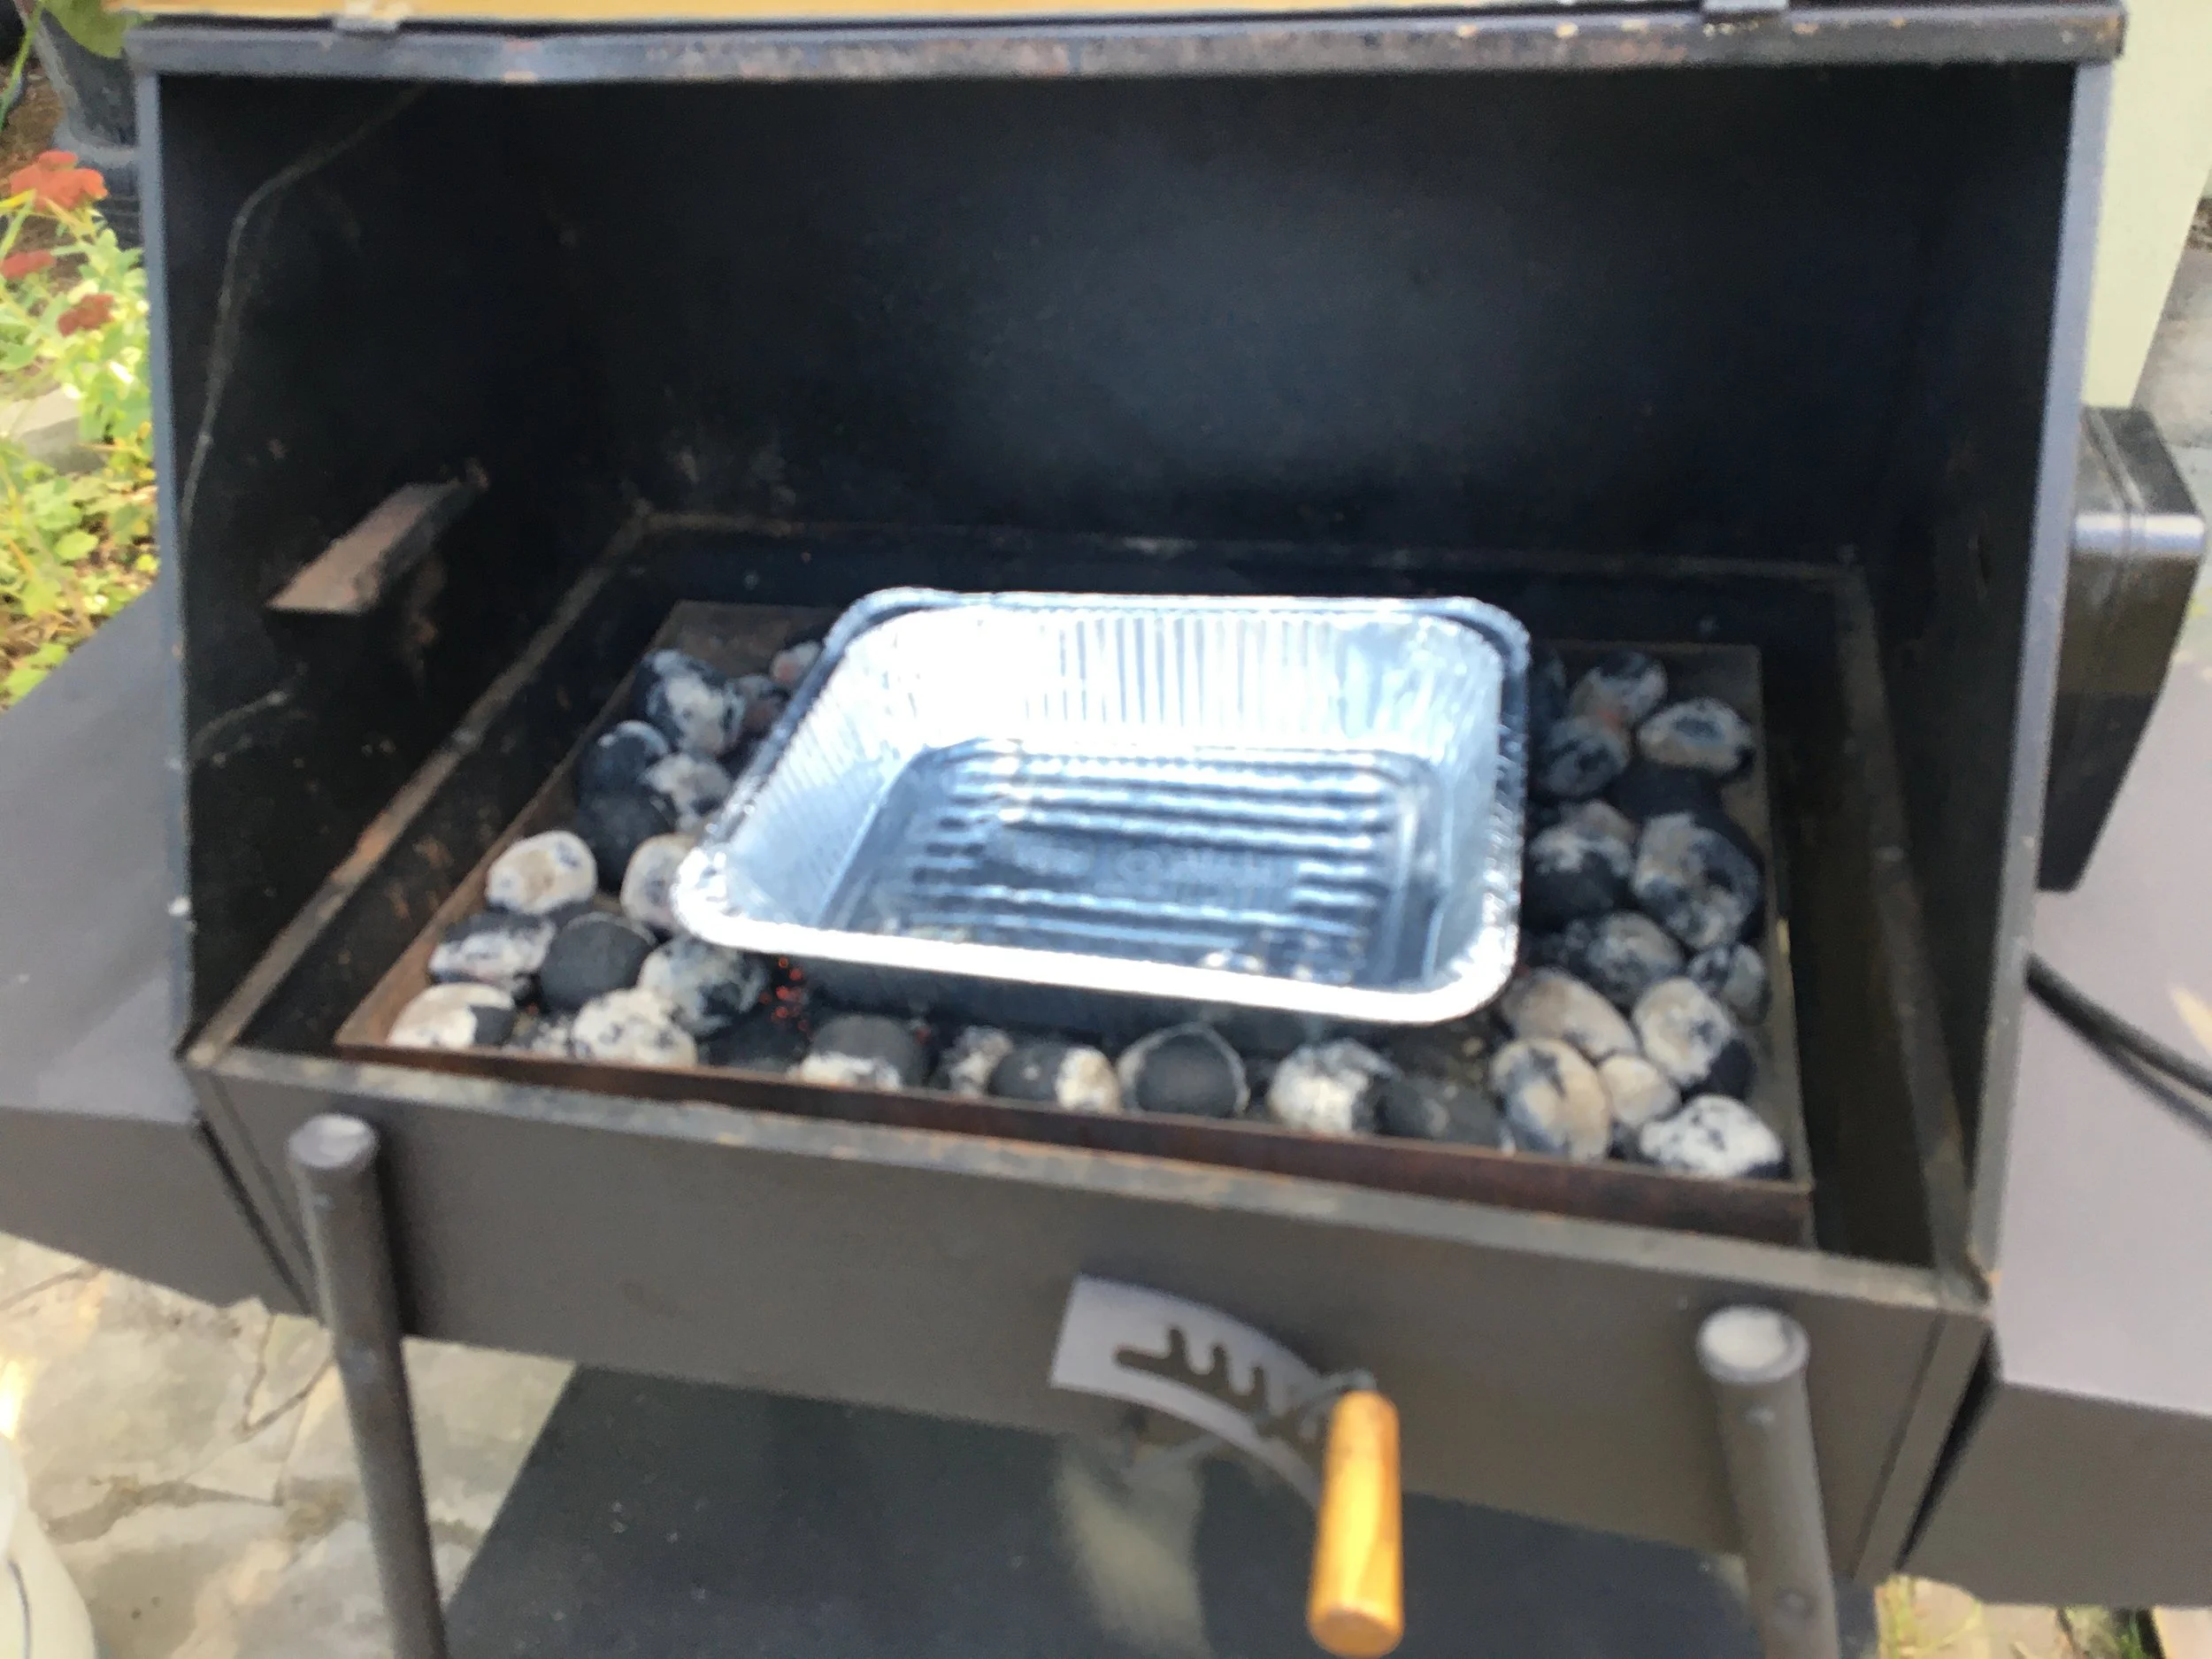
Briquette charcoal placed around a drip tray in the centre of the BBQ.
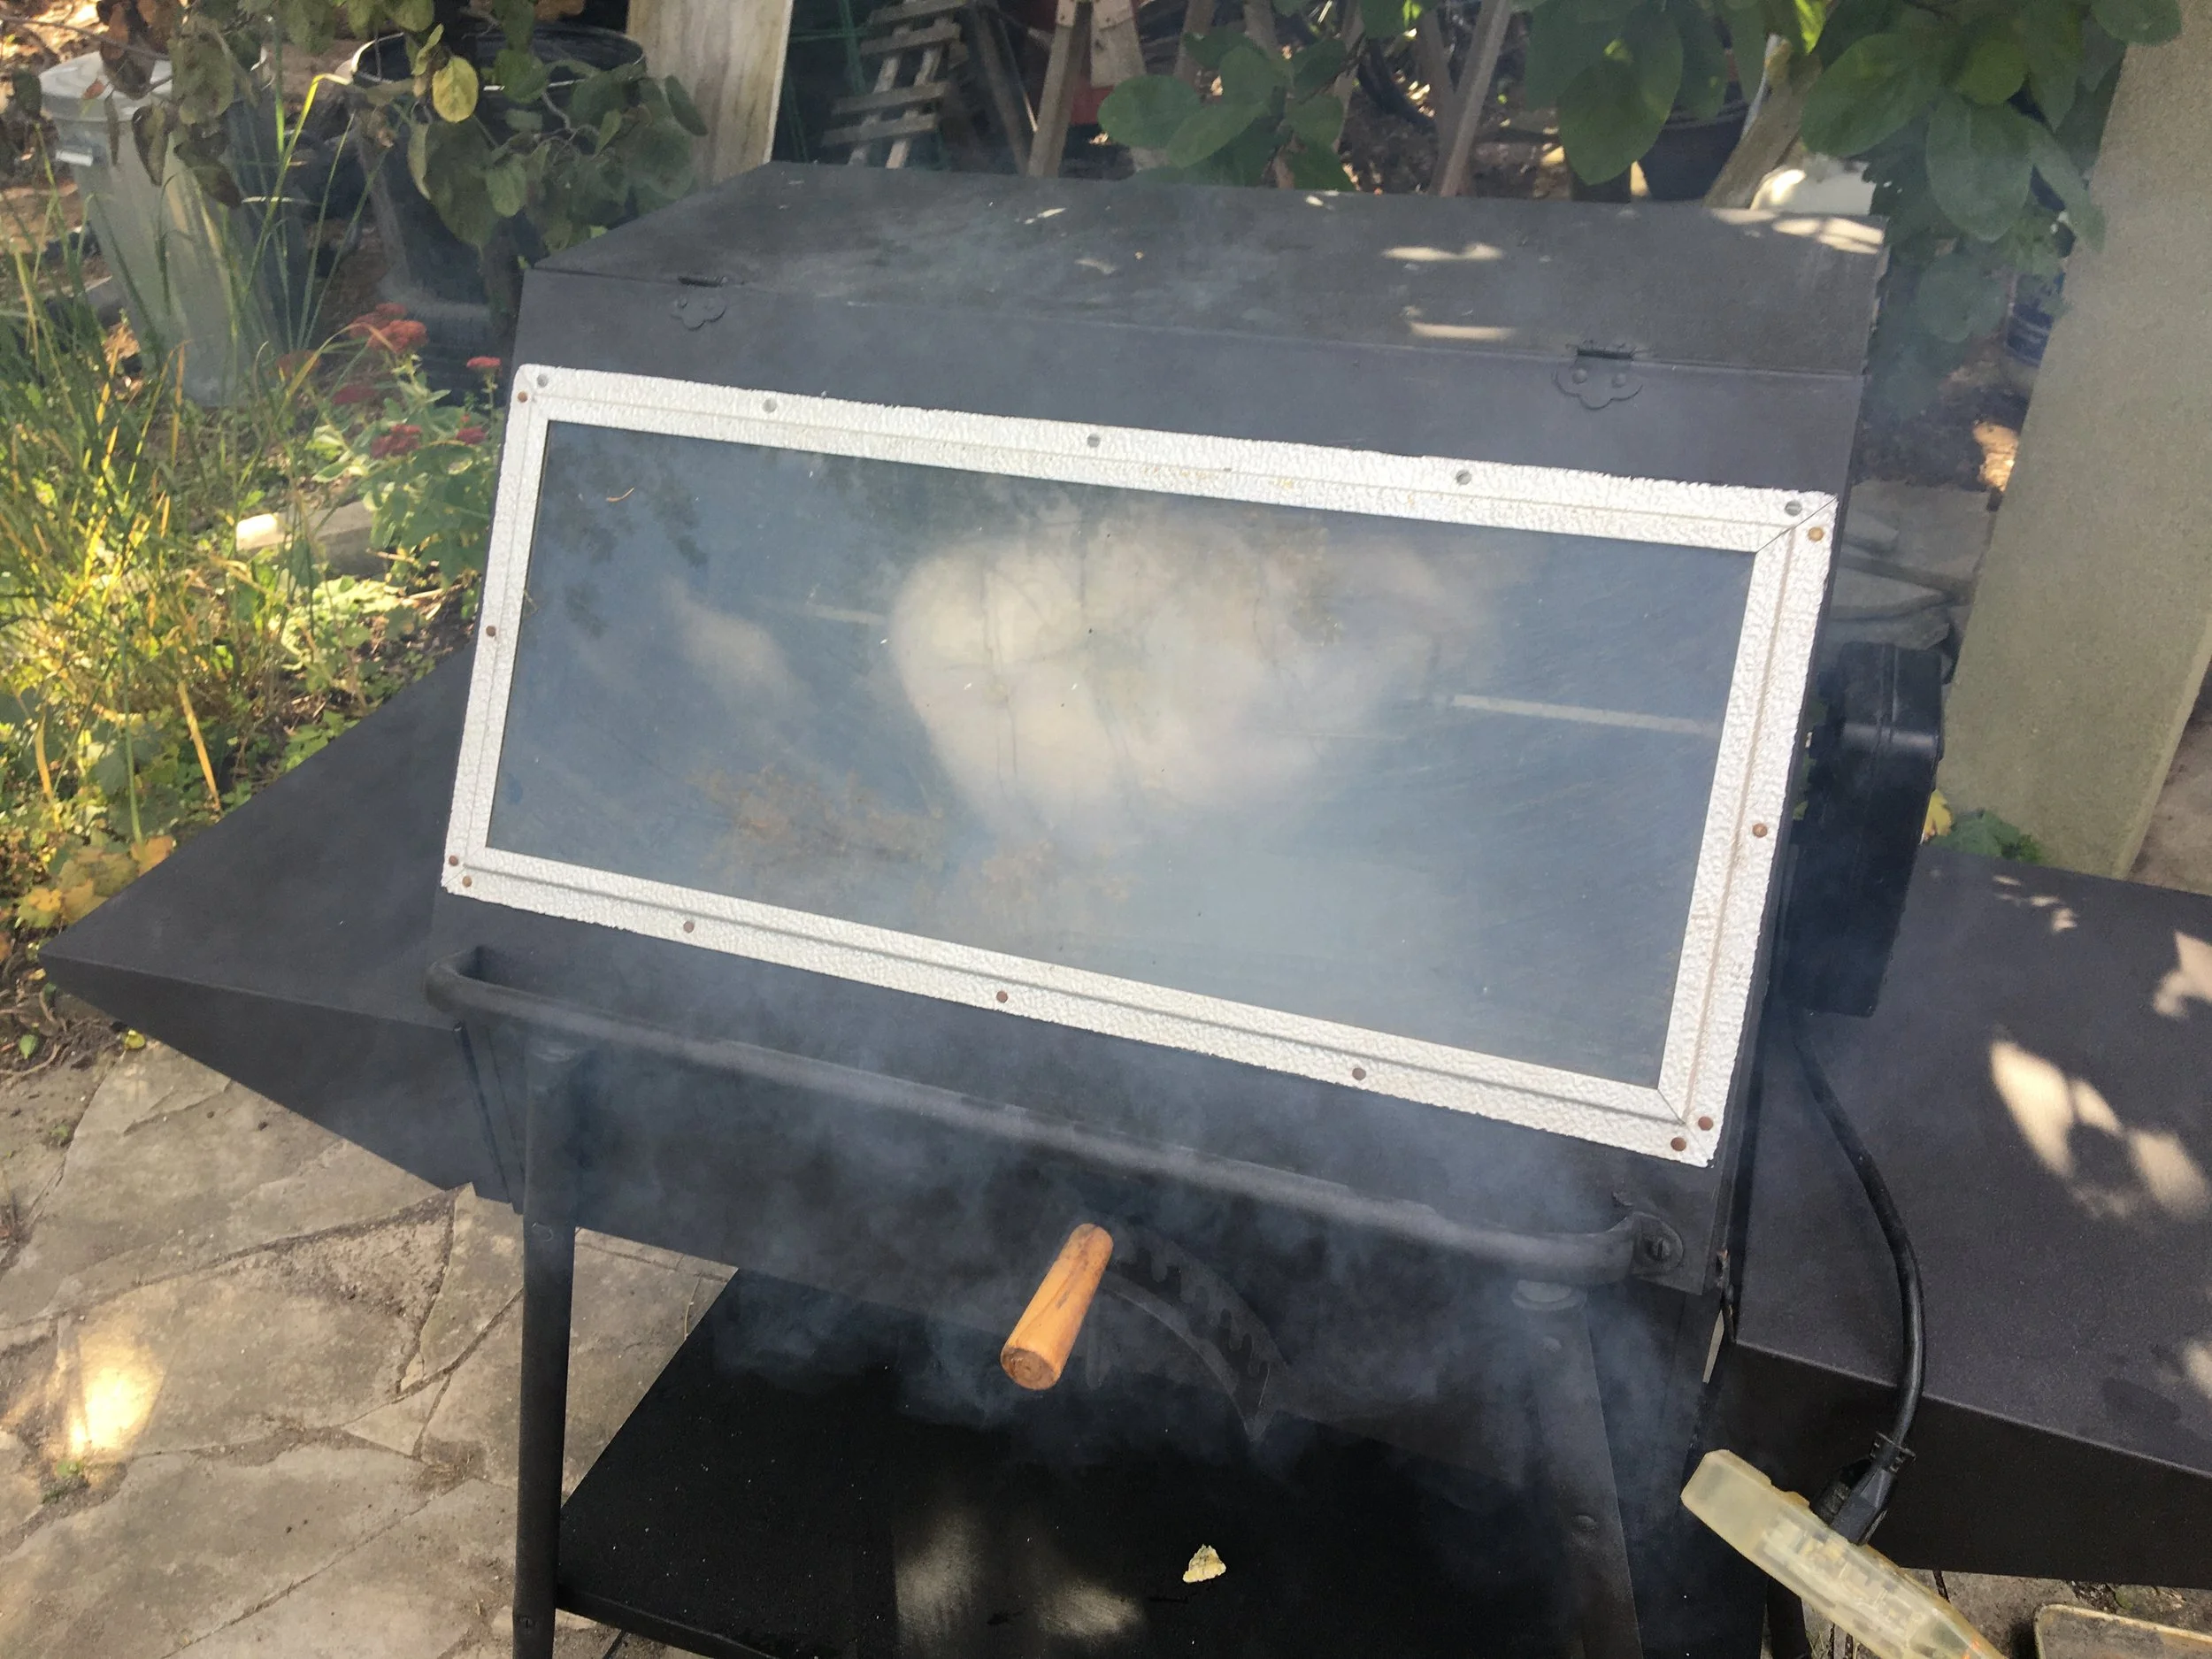
I use briquette charcoal, which lasts for a long time. I pile the charcoal over an electric starter on an old cookie sheet. Then I place the charcoal around the drip tray, which is in the centre of the BBQ.
The drip tray is important. It catches fat to prevent flare ups. (And some of that fat goes into the gravy.)
Basting Your Rotisserie Turkey
The great thing about cooking on a rotisserie is that the roast bastes itself as it turns.
But I baste it even more as it cooks. The reason is that turkey tends to be a dry meat. Barbecued turkey skin can be leathery, but if you baste it as cooks, you get crispy, golden, flavourful skin.
Here’s what I baste with:
The pot with liquid for basting staying warm on top of the BBQ. It’s a mix of lemon juice, butter, thyme, and salt.
Juice of a lemon
Butter
Thyme
Salt (don’t be stingy)
Enhancing the Smoke Flavour
By cooking your turkey on a charcoal barbecue you already have a smoky flavour. But you can make a nicer smoky flavour with wood from fruit trees. Fruit woods such as apple, cherry, pear, and plum improve smoke flavour.
The trick is to add a bit of fruit wood to the charcoal, without causing a flare-up. To avoid flare-ups, I cut up branches into small pieces, and soak them in water. Then, as the roast cooks, I add a few now and then.
(In my opinion cherry wood gives a delicious flavour, and I save branches I prune from my Nanking cherry bush for when I cook turkey. Find out more about Nanking cherry, a perfect cherry bush for home gardens.)
Check Your Turkey as it Roasts
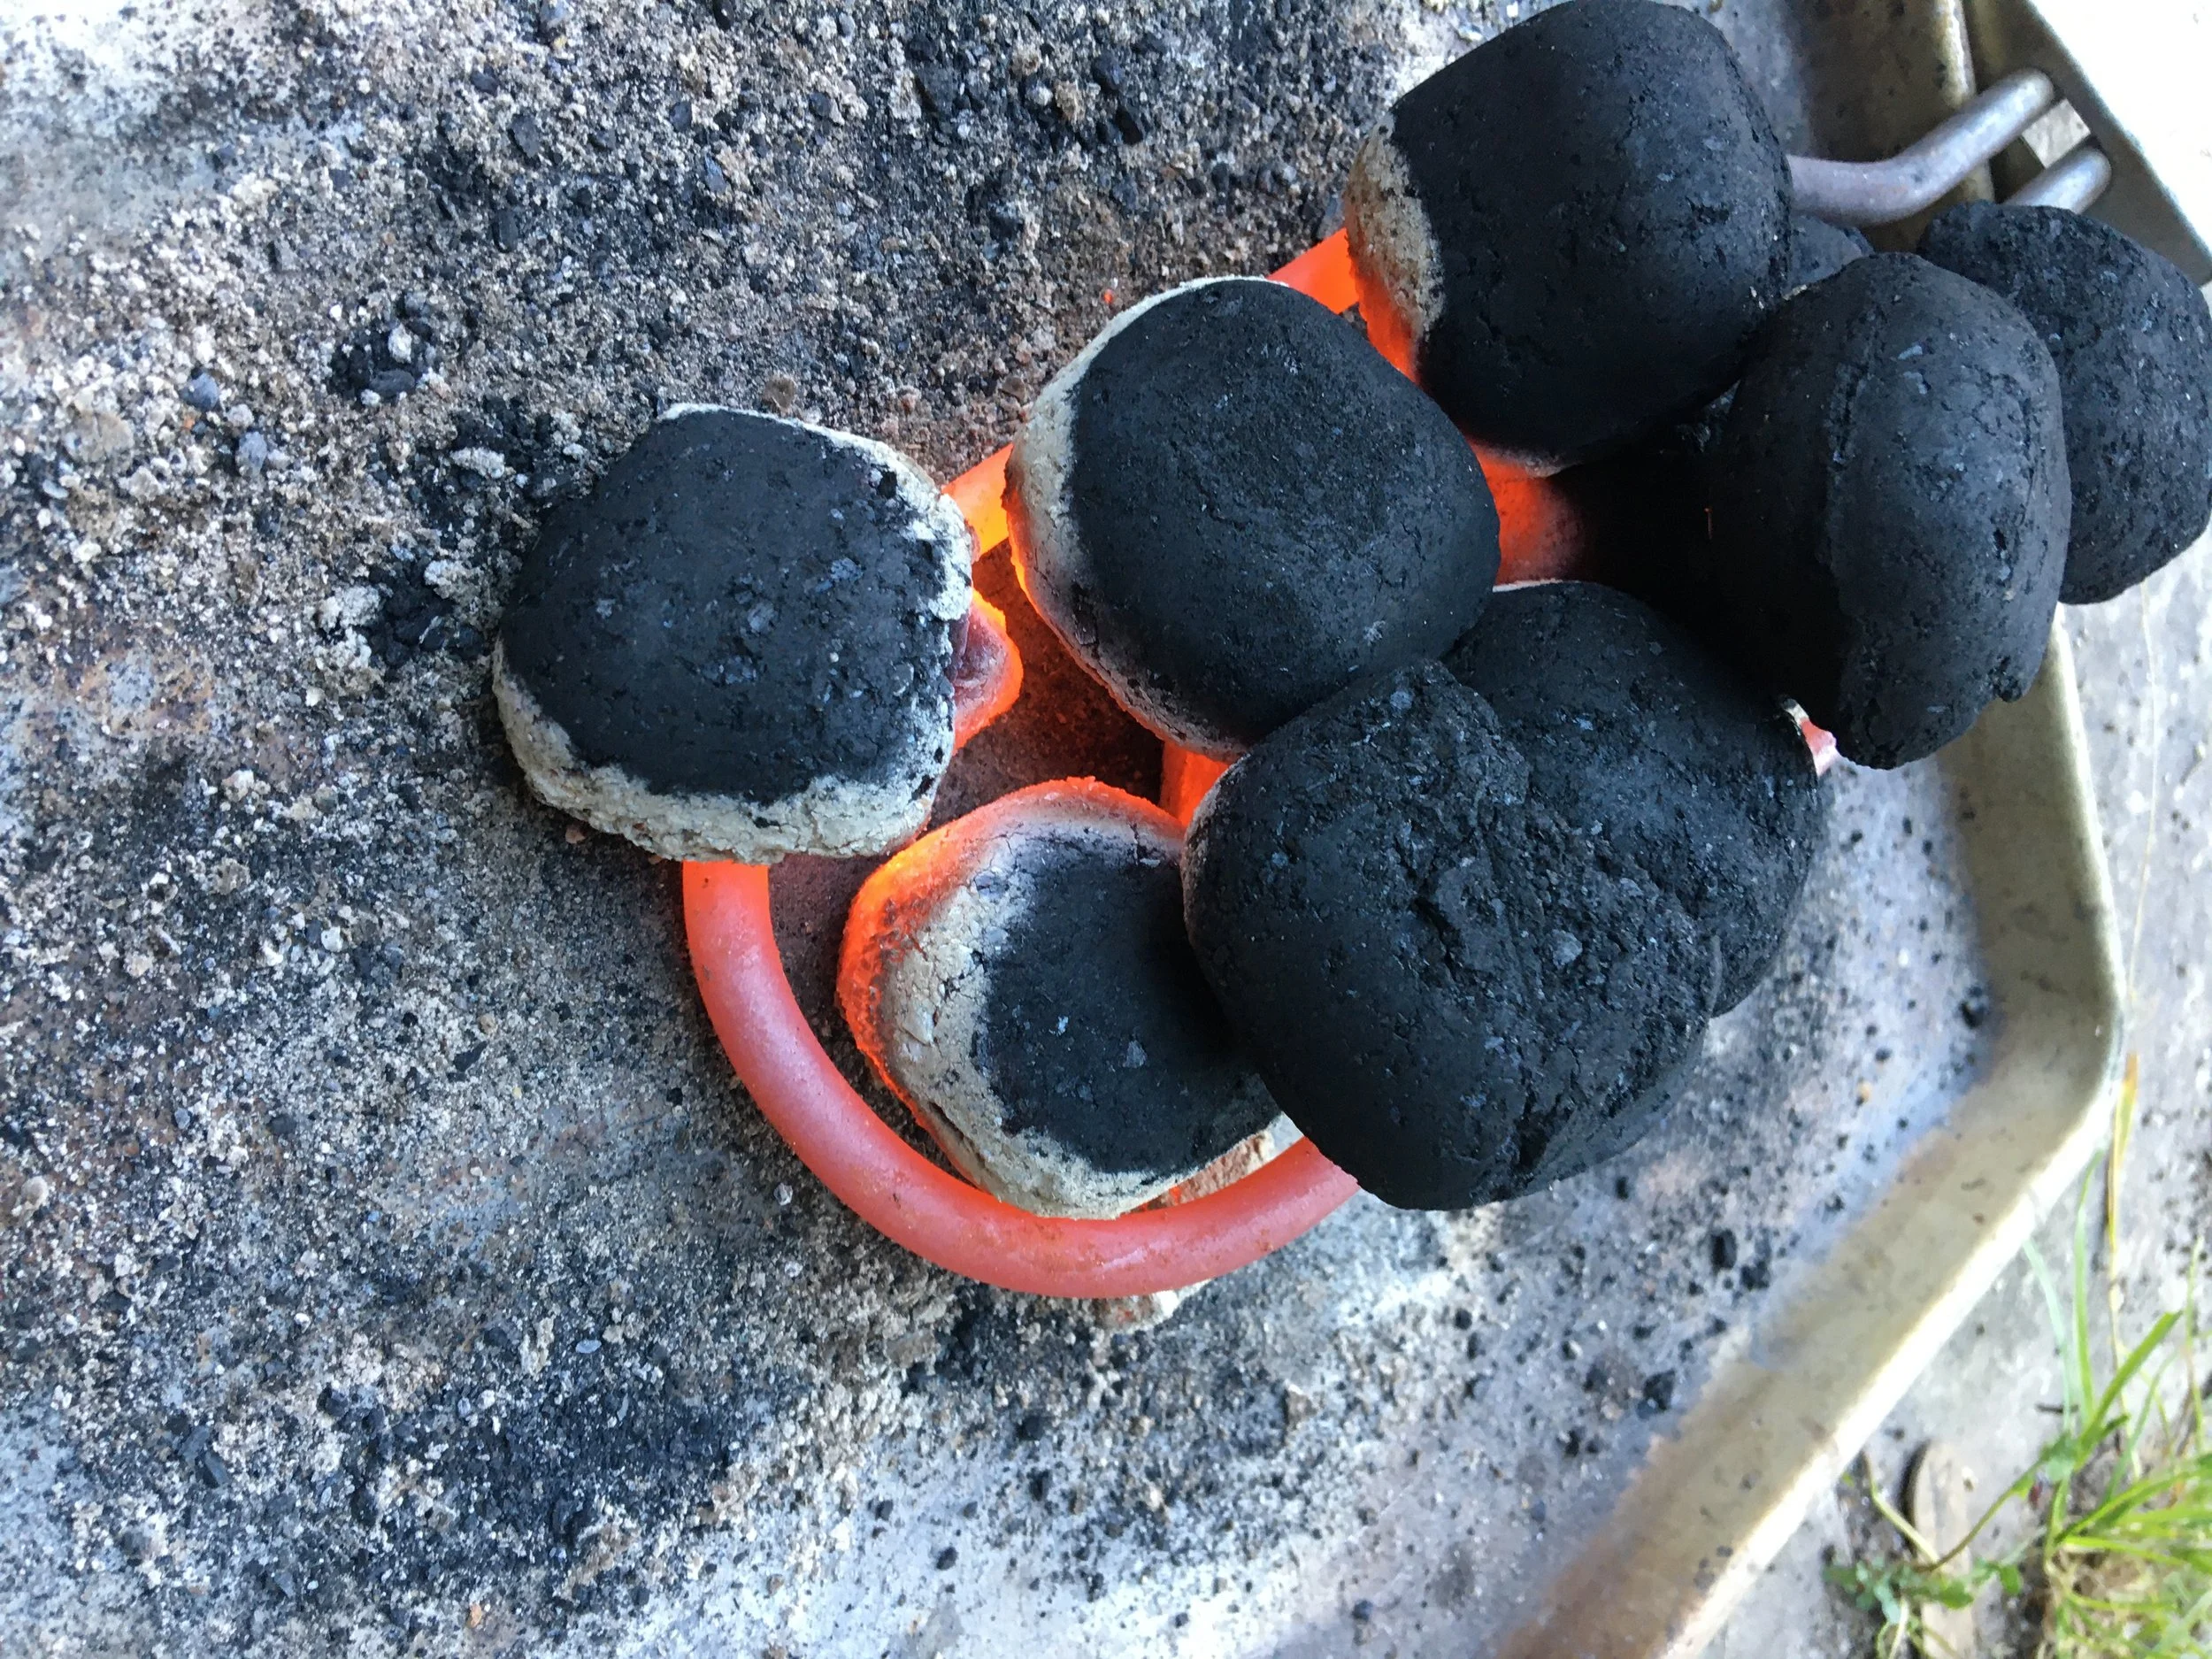
Starting briquette charcoal with an electric lighter on an old cookie sheet. When it’s ready, I use tongs to place it around the drip tray.
Sometimes I re-balance the turkey and tighten the forks if I see the turkey is wiggling a bit as it turns.
Along with making sure that roast is balanced, make sure there is still enough heat from the charcoal. I replenish the charcoal at least once while roasting a turkey. I start a new batch on the cookie sheet and transfer the briquettes (using tongs) around the drip pan.
My BBQ doesn’t not have a temperature gauge. So I touch it to see if it’s hot enough.
If I touch the top of my barbecue and it’s too hot to hold my hand there, I’m happy with the heat.
If I can hold my hand there for a moment, it’s time for more charcoal. It’s not an exact science.
One year, Dad and a friend were responsible for the Thanksgiving turkey. They got distracted (wine tasting, maybe!) and forgot to add more charcoal. That year we had our roast at about 10 p.m.!
Knowing when Your Charcoal Rotisserie Turkey is Ready
At risk of offending food safety experts, I go with what Mom taught me. She didn’t use a meat thermometer. She explained to me that when you pull back a leg and poke a fork into that area where the let attaches to the bird, you want the juice that comes out to be clear. If the juice is still reddish, cook more. That’s my rule of thumb.
If you new to roasting, you might feel more comfortable with a meat thermometer. That’s probably a good idea. And while you don’t want to undercook turkey, you don’t want to overcook it because turkey is dry to begin with.
Once your roast is fully cooked, let it sit, tented with foil, for a few minutes. And during this time you can work on your gravy.
What Kind of Charcoal BBQ?
Our “new” charcoal BBQ that we use to roast turkey.
For years Dad used an old charcoal barbecue given to him by a friend. It was pretty wobbly by the time he moved from his house, but I brought the BBQ here and rehabilitated it a bit – a prosthetic leg to replace the once that had completely rotted out, a new tray inside, and a paint job.
That old barbecue did the trick for another decade. I’m sure it was 50+ years old when it finally rusted right through.
I couldn’t’ find anything like it for sale – something with a flip-open door. I like a flip-open door design as it holds in more heat when you’re checking the roast. Many new models have a lid that lifts off completely.
But when an old house down the street from me sold, somebody put the exact same barbecue to the curb on garbage day. It looked unused – so it must have sat in a garage for decades.
With this “new” barbecue, I’m set to keep our family tradition going – and hope that one of my kids will take over this barbecue in time.
Gas Barbecue
I’ve never done my roast turkey on a gas barbecue, but I’ve seen posts about people doing it. It’s the same idea, with a drip pan below your rotisserie turkey to catch the drippings.
A Very Important Note
Don’t get a turkey that’s too big for your BBQ. Dad and I know from experience that the biggest turkey we can cook on the spit in our BBQ is 12 pounds. Any bigger than that and it will rub against the door on every turn.
Looking for More Food and Cooking Ideas?
Ripen Green Tomatoes to Extend Your Harvest
Find out how to ripen the green tomatoes that you still have in your garden, by picking them before the first frost, and bringing them indoors.
By Steven Biggs
How to Ripen Green Tomatoes Indoors
You can eat homegrown tomatoes through the winter. No greenhouse needed.
I’ve even eaten my own homegrown, “fresh” tomatoes in April. These are tomatoes I picked green the previous October, just before the first fall frost killed the plants. Then, I ripened them indoors.
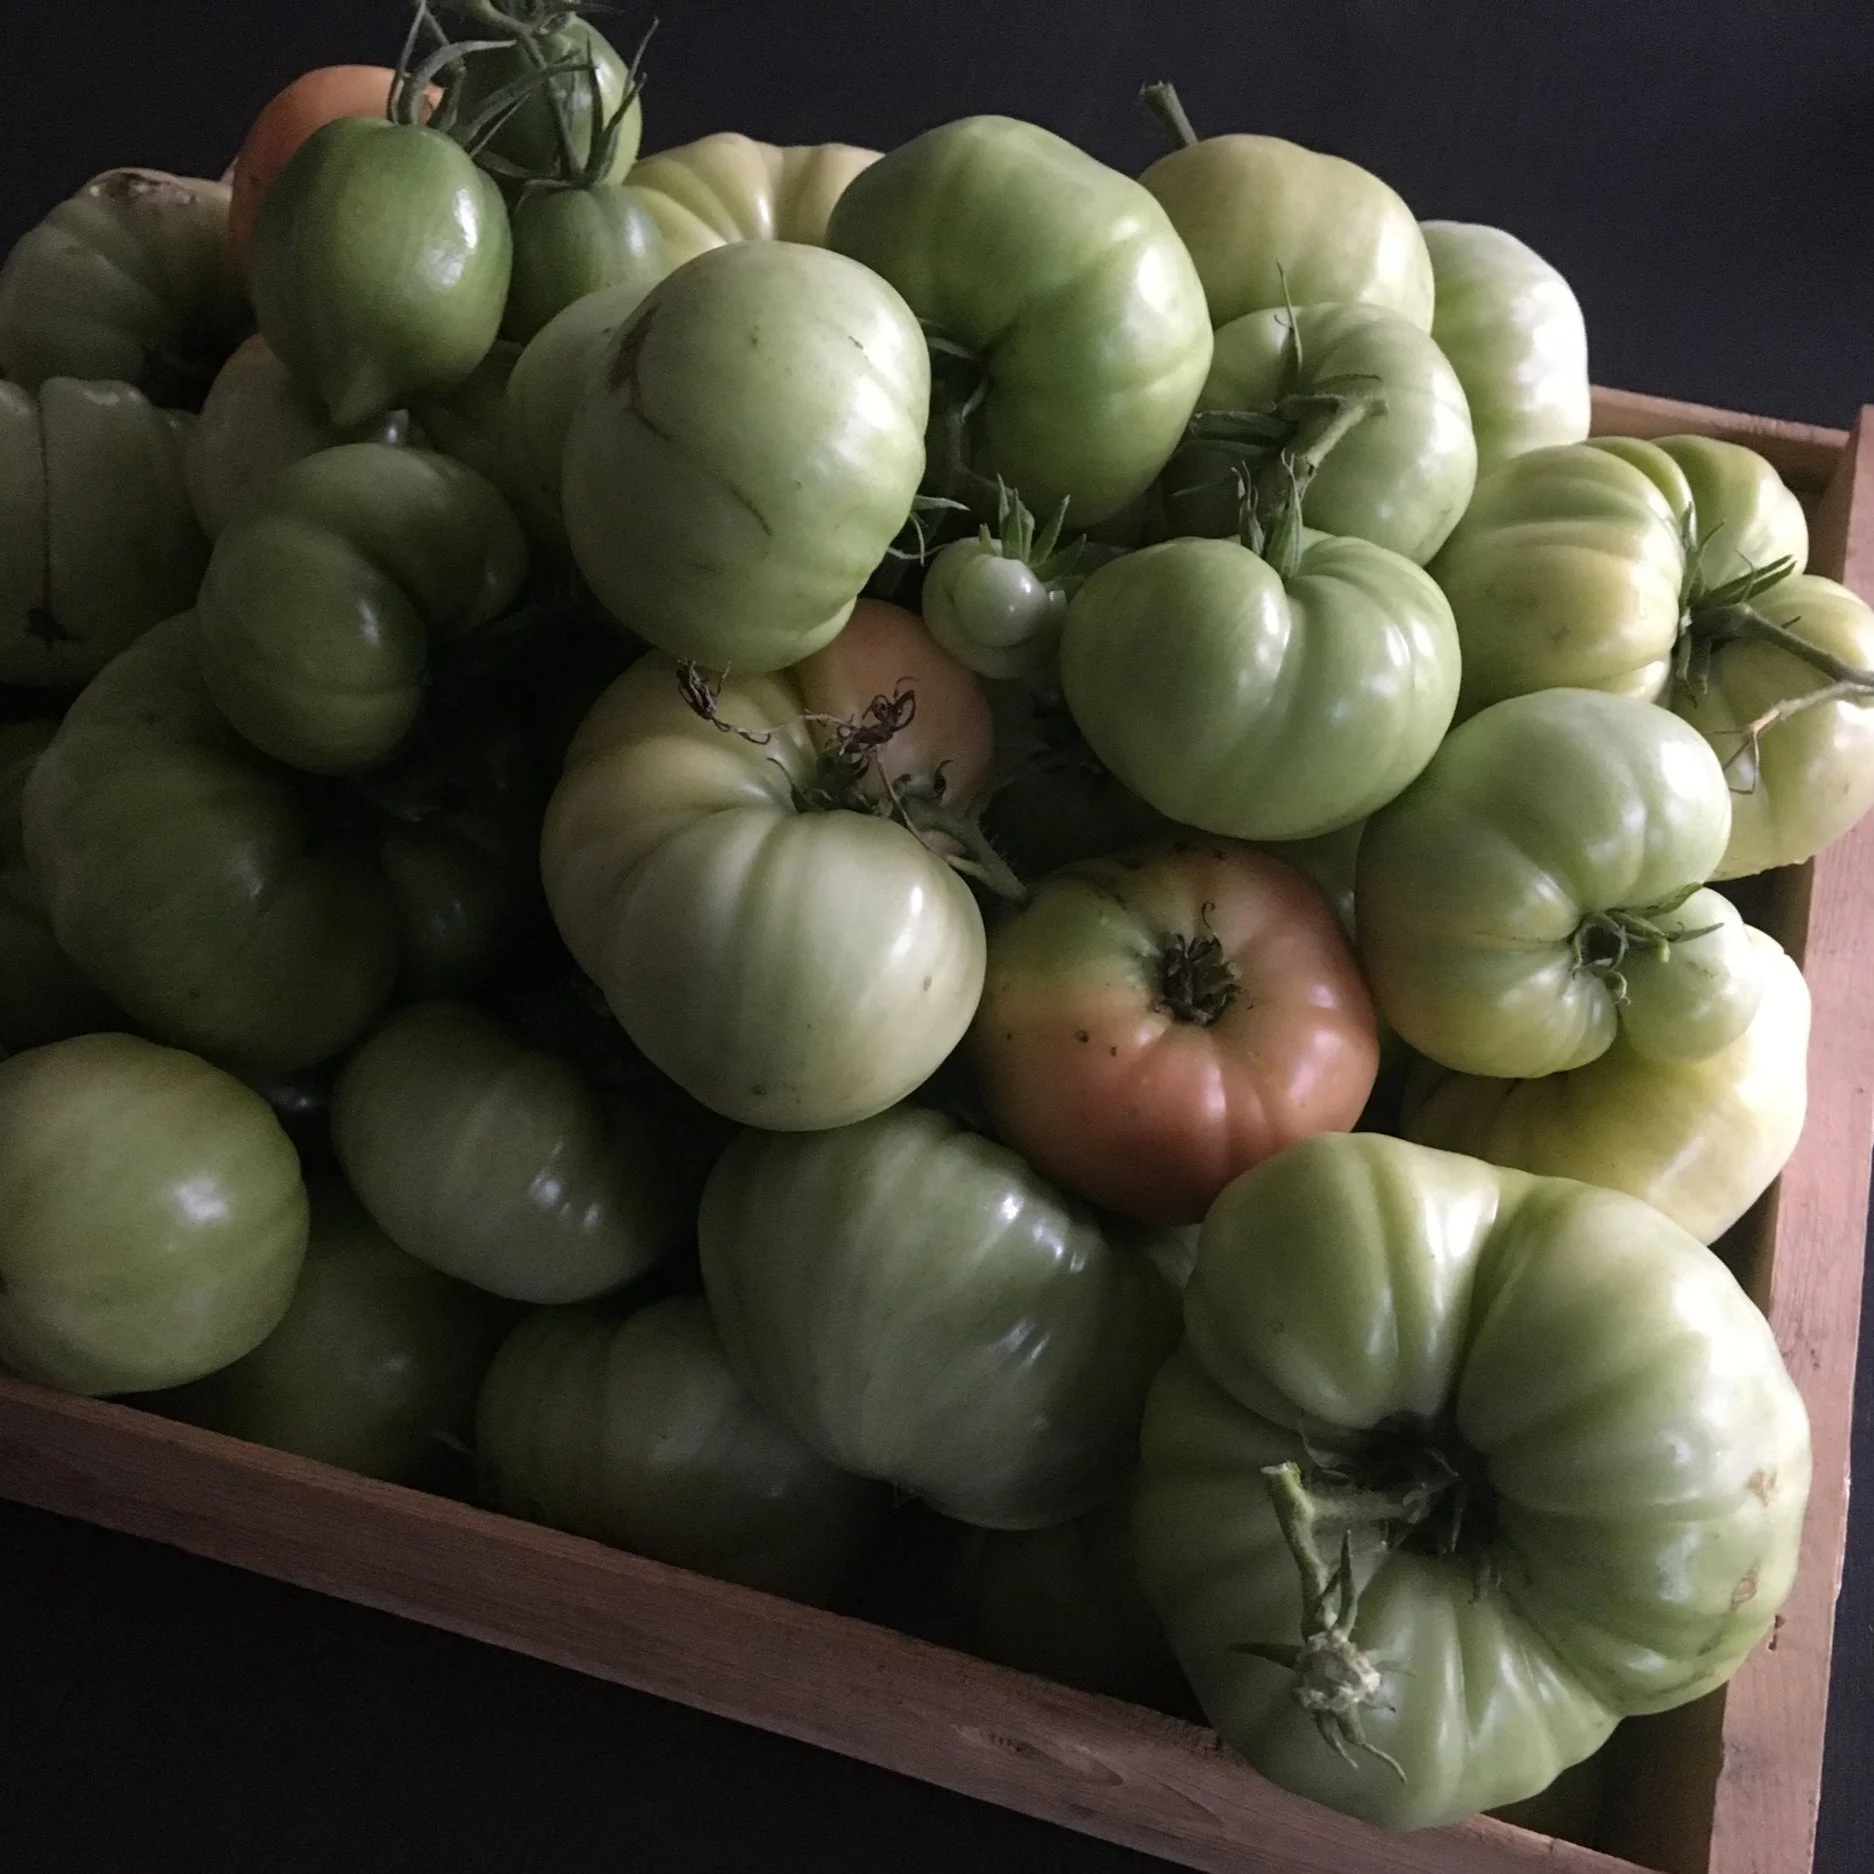
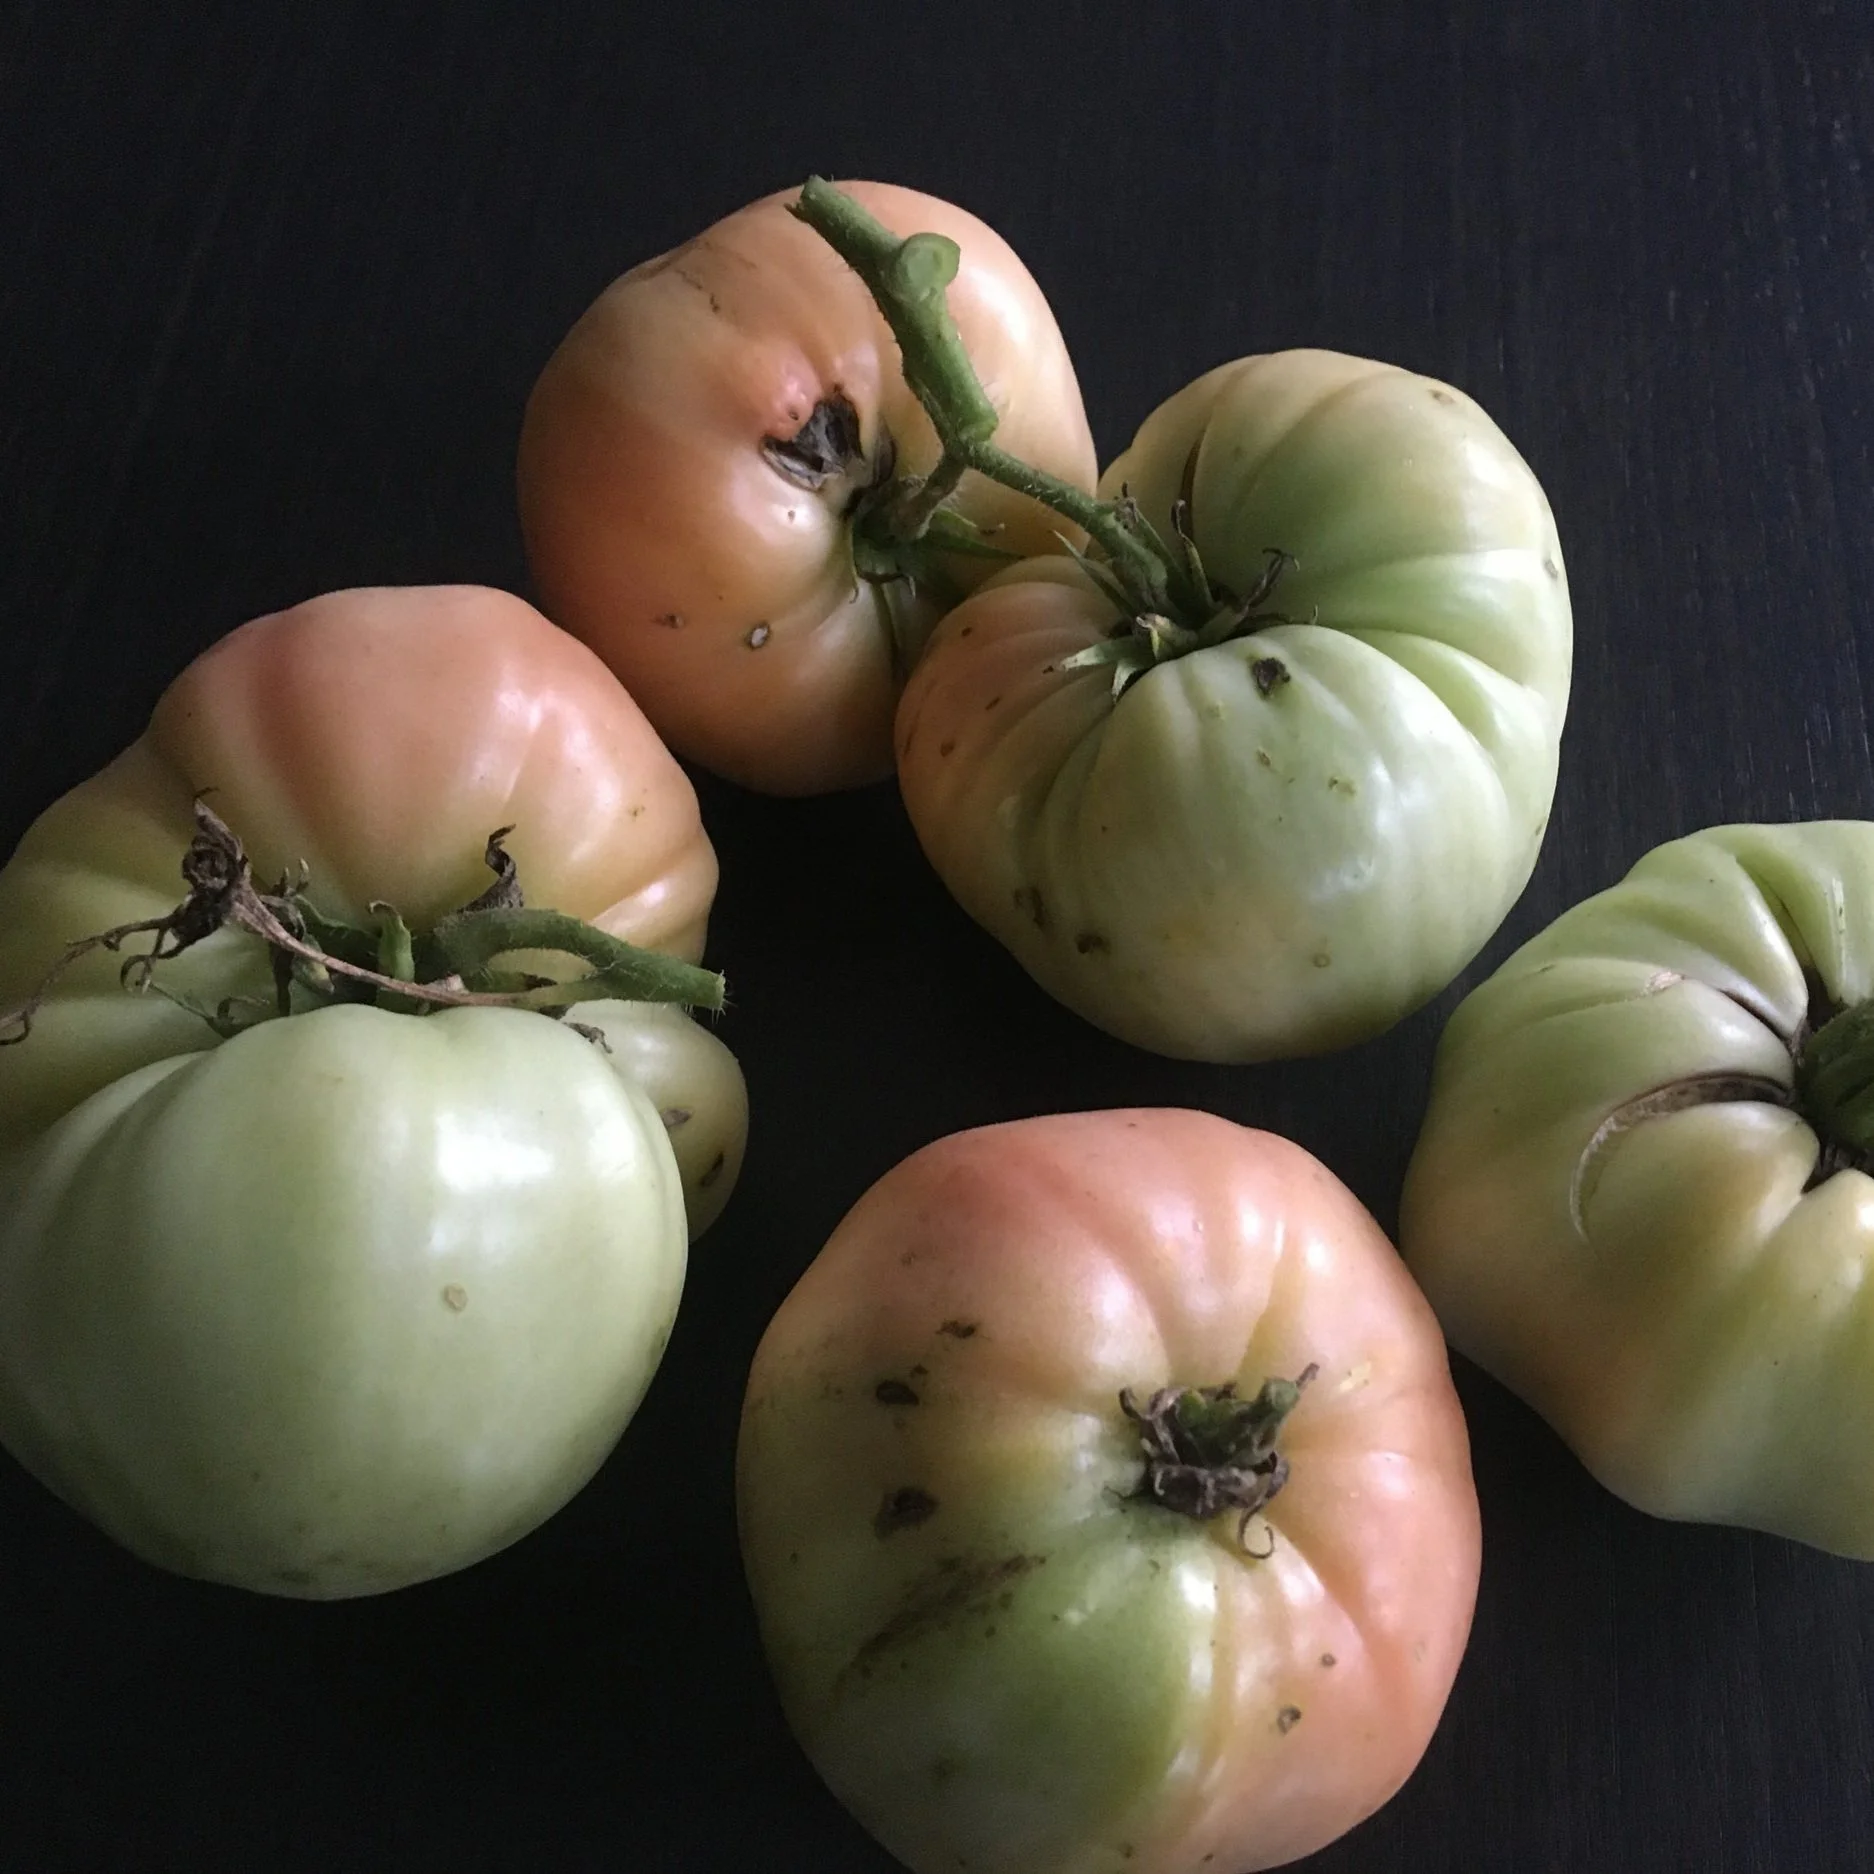
You don’t need special conditions to ripen your green tomatoes because unripe tomatoes that have reached a “mature” size (nearly the final size) will keep ripening after they’re removed from the plant.
You can prolong your tomato harvest for weeks – even months.
Keep reading for pointers on picking, storing, and using your green tomatoes in the fall.
How do they Taste?
A plate of tomatoes picked green and ripened indoors.
A vine-ripened tomato from the garden has better flavour. That’s because tomatoes ripened on the vine in the garden develop more sugars and acids.
But a green tomato ripened indoors can have a respectable flavour – and it’s certainly far better than the insipid, mealy excuses for tomatoes found at grocers over the winter.
When to Pick Green Tomatoes for Indoor Ripening
Pick your green tomatoes before the first frost in the fall. Tomatoes exposed to frost get mushy and don’t store or ripen well indoors.
I pick tomatoes that are a mature size, as well as small, undeveloped tomatoes.
What to Pick
I pick everything:
I leave tomatoes that are already colouring up on the kitchen windowsill.
Tomatoes that are a mature size to ripen indoors.
Tomatoes that are small and not fully developed to cook or use in preserves (see my green tomato mincemeat recipe below).
How to Harvest Green Tomatoes
I pick larger tomatoes individually, leaving a small bit of stem attached. The reason that I like to leave a bit of stem attached is that with some tomato varieties, it’s easy to tear the skin while trying to remove the stem.
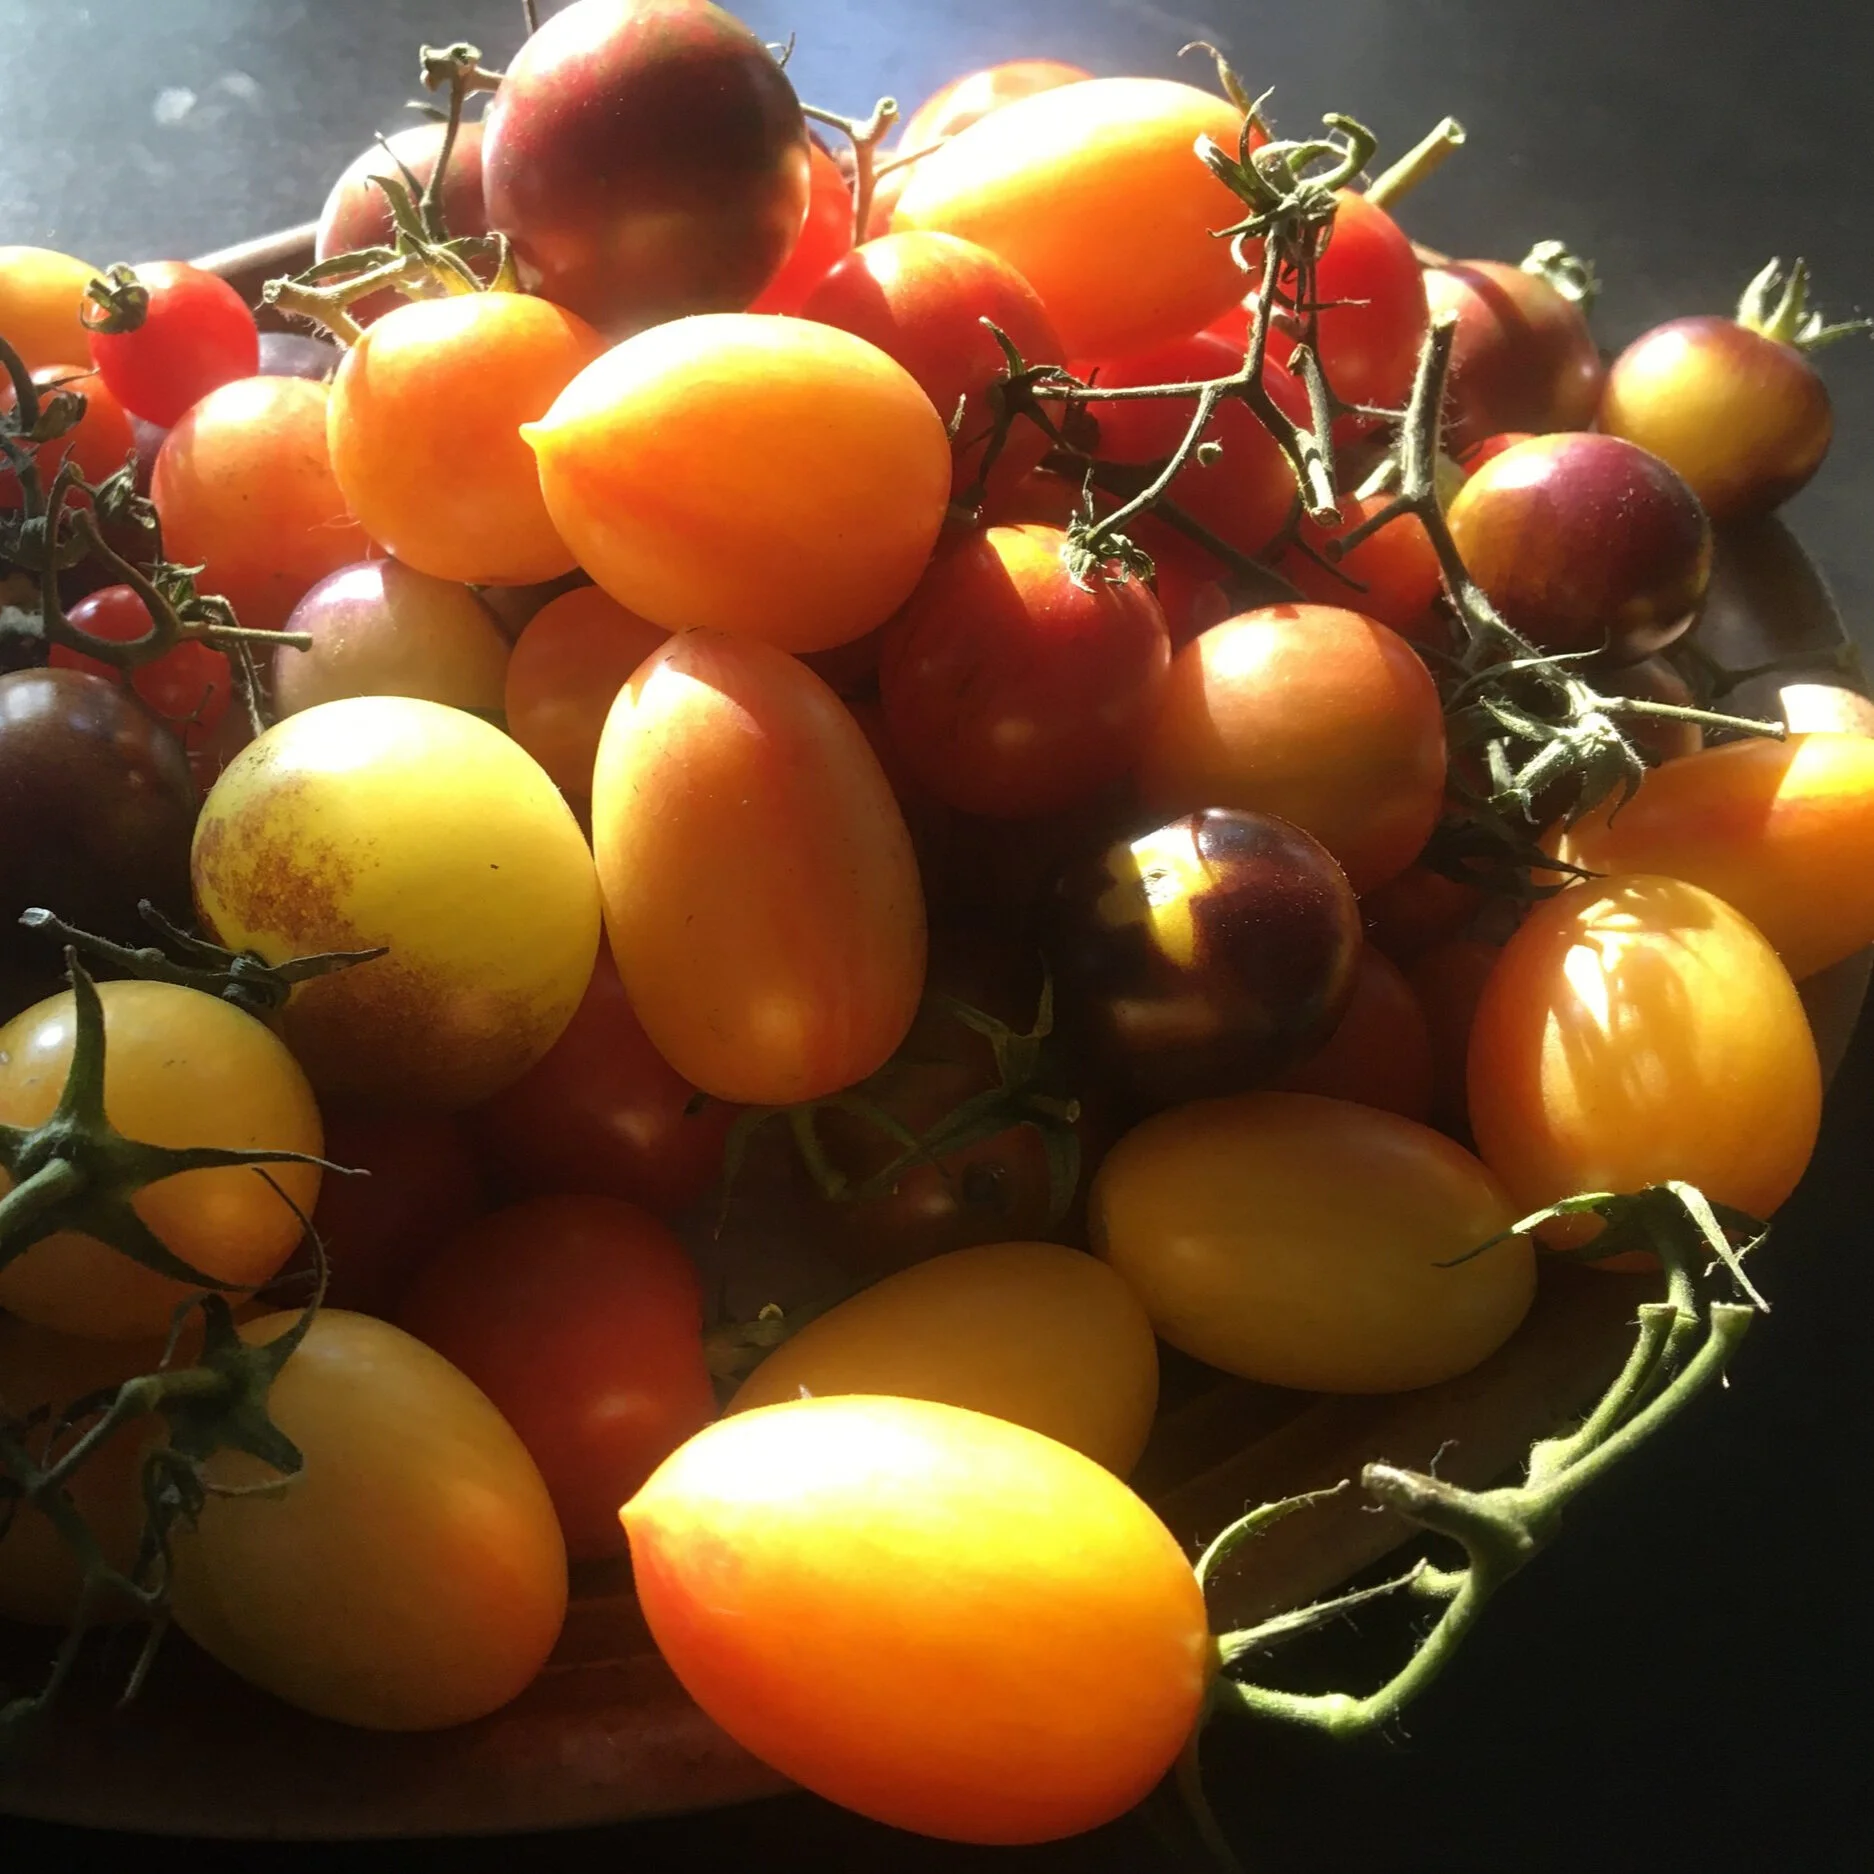
I leave cherry- and grape-type tomatoes on the stem and harvest the whole cluster.
Another approach is to harvest the whole plant. Cut off entire branches – or even cut off the stem at ground level, leaving the unripe green tomatoes on the plant.
Grow a Container Vegetable Garden
And get an early harvest of crops that usually take too long!
You Control the Ripening Speed
Small tomatoes that are not close to the final size won’t ripen well, but can be used in the kitchen.
Mature tomatoes give off ethylene gas, which causes them to ripen to ripen more quickly. All we have to do is tweak how much of this gas stays around the tomato.
You can stagger the ripening of your green tomatoes using two things:
Temperature. At warmer temperatures ripening happens more quickly.
Ethylene gas. This is the gas the mature tomatoes give off – and which stimulates ripening. If you want to speed up ripening, let the gas accumulate around the tomatoes. If you want to slow down ripening, allow air movement so the ethylene disperses.
How to Ripen Green Tomatoes
I lay out my green tomatoes in plastic trays lined with newspaper.
You don’t need sunlight to ripen green tomatoes.
There are a number of ways to ripen green tomatoes indoors. I lay out my green tomatoes in plastic trays lined with newspaper. (The newspaper prevents smaller tomatoes from falling through the holes; and absorbs juice from any tomatoes that rot.)
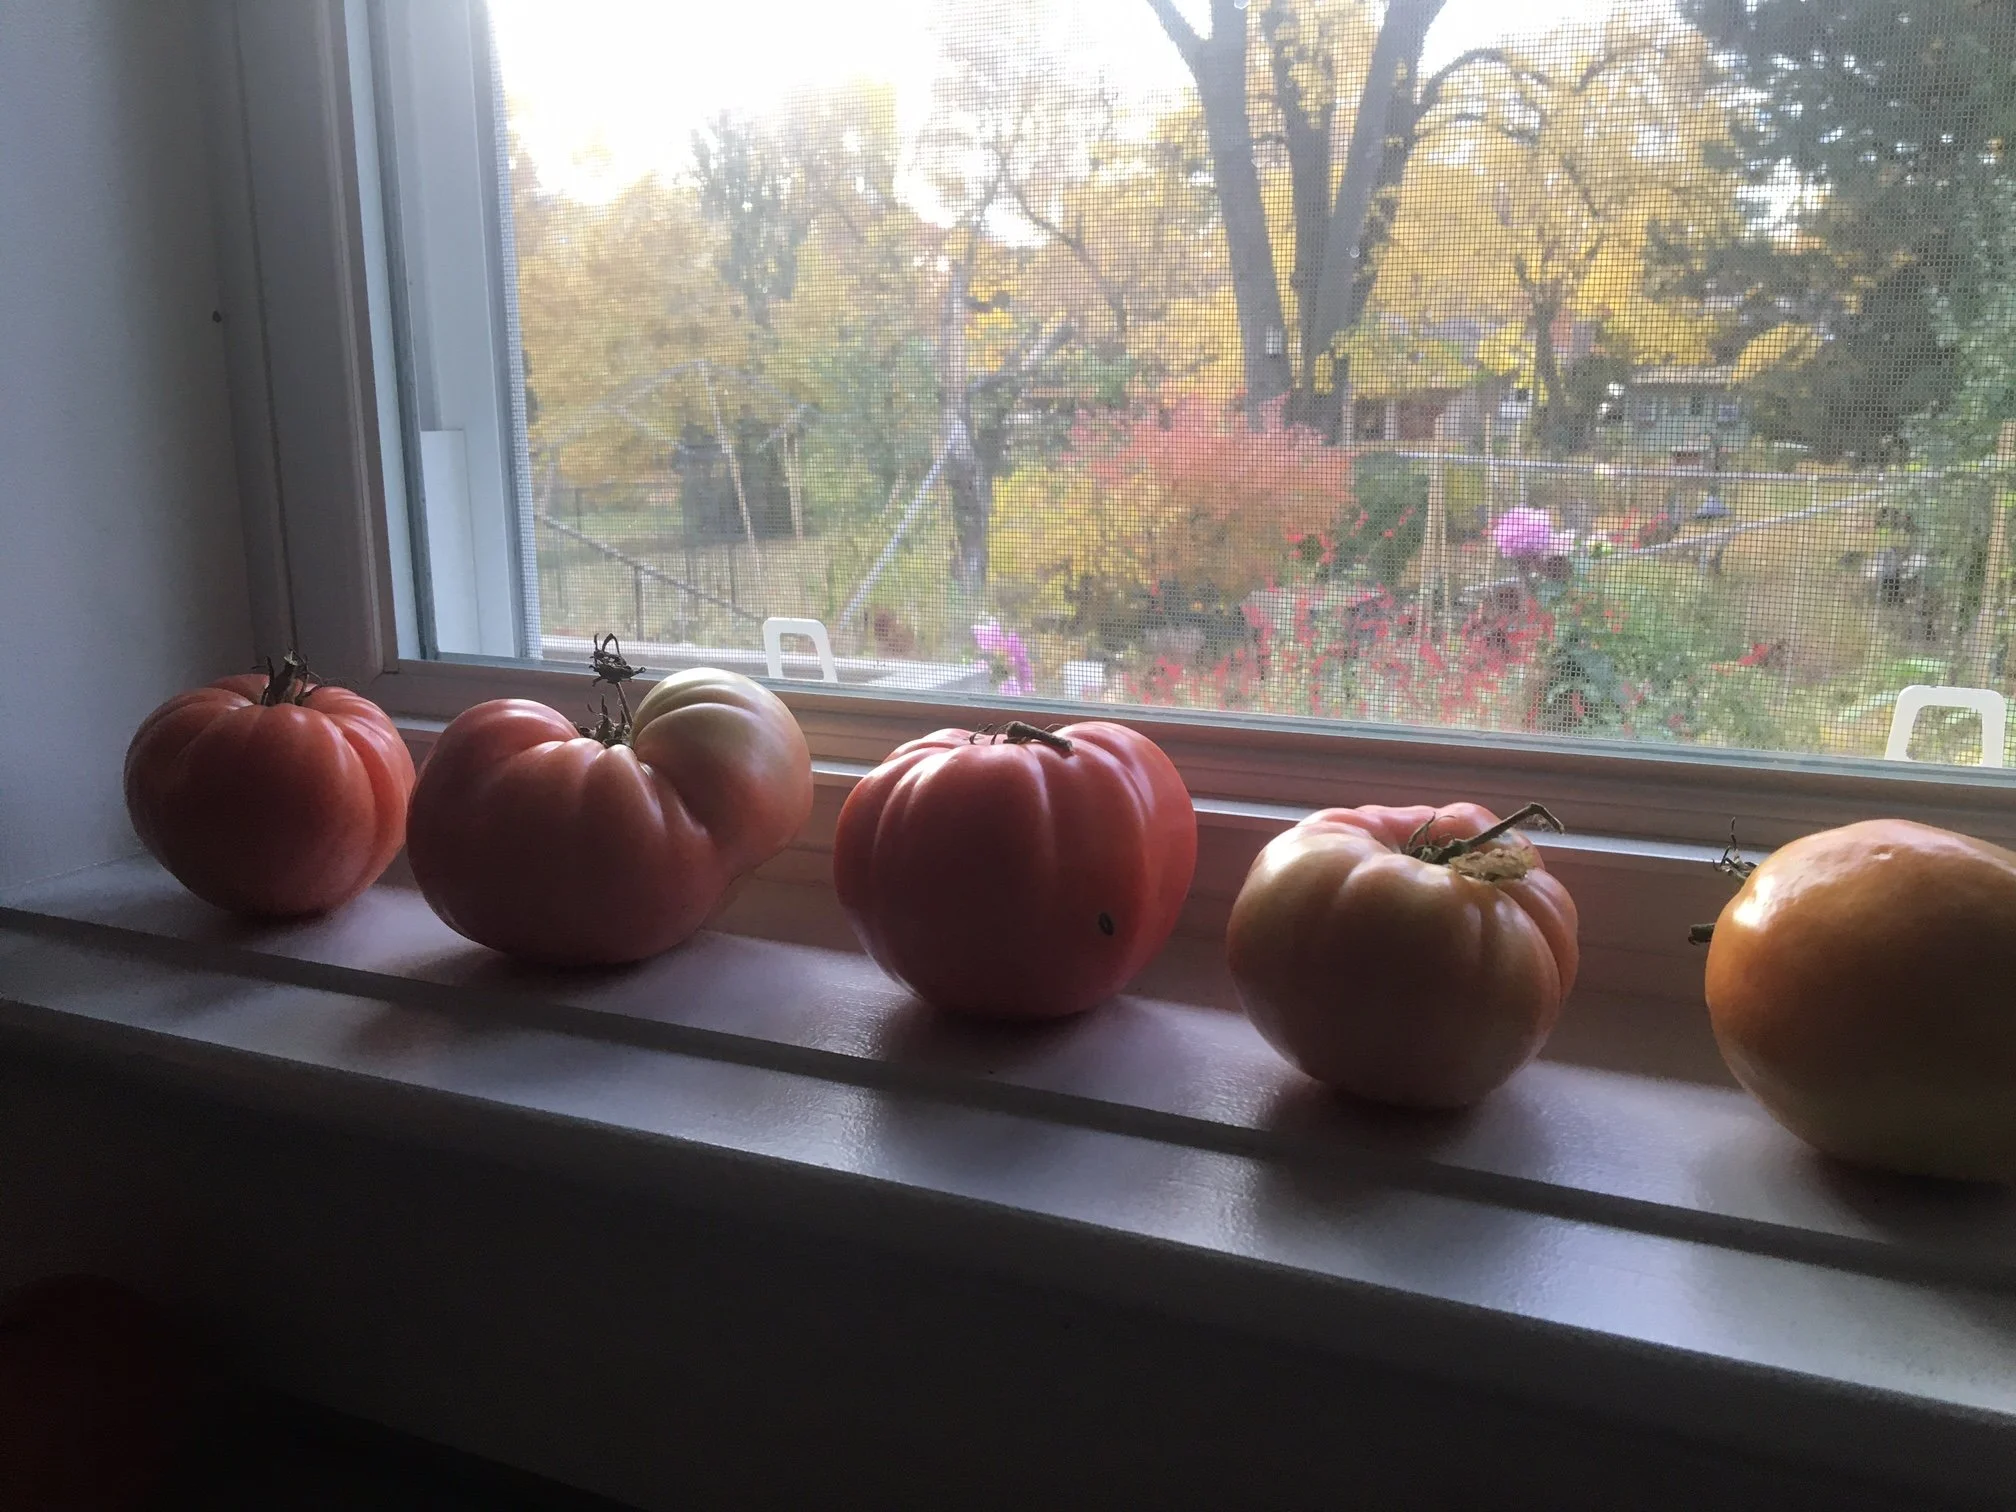
I keep the tray in a cool room in my basement. As tomatoes start to show colour, I bring them up to the kitchen to put on my windowsill, where it’s warmer – and where I monitor them more closely as they finish ripening.
If you want to speed up ripening, just capture some of the ethylene gas by putting the tomatoes in an enclosed space. Here are ways to capture some of that ethylene:
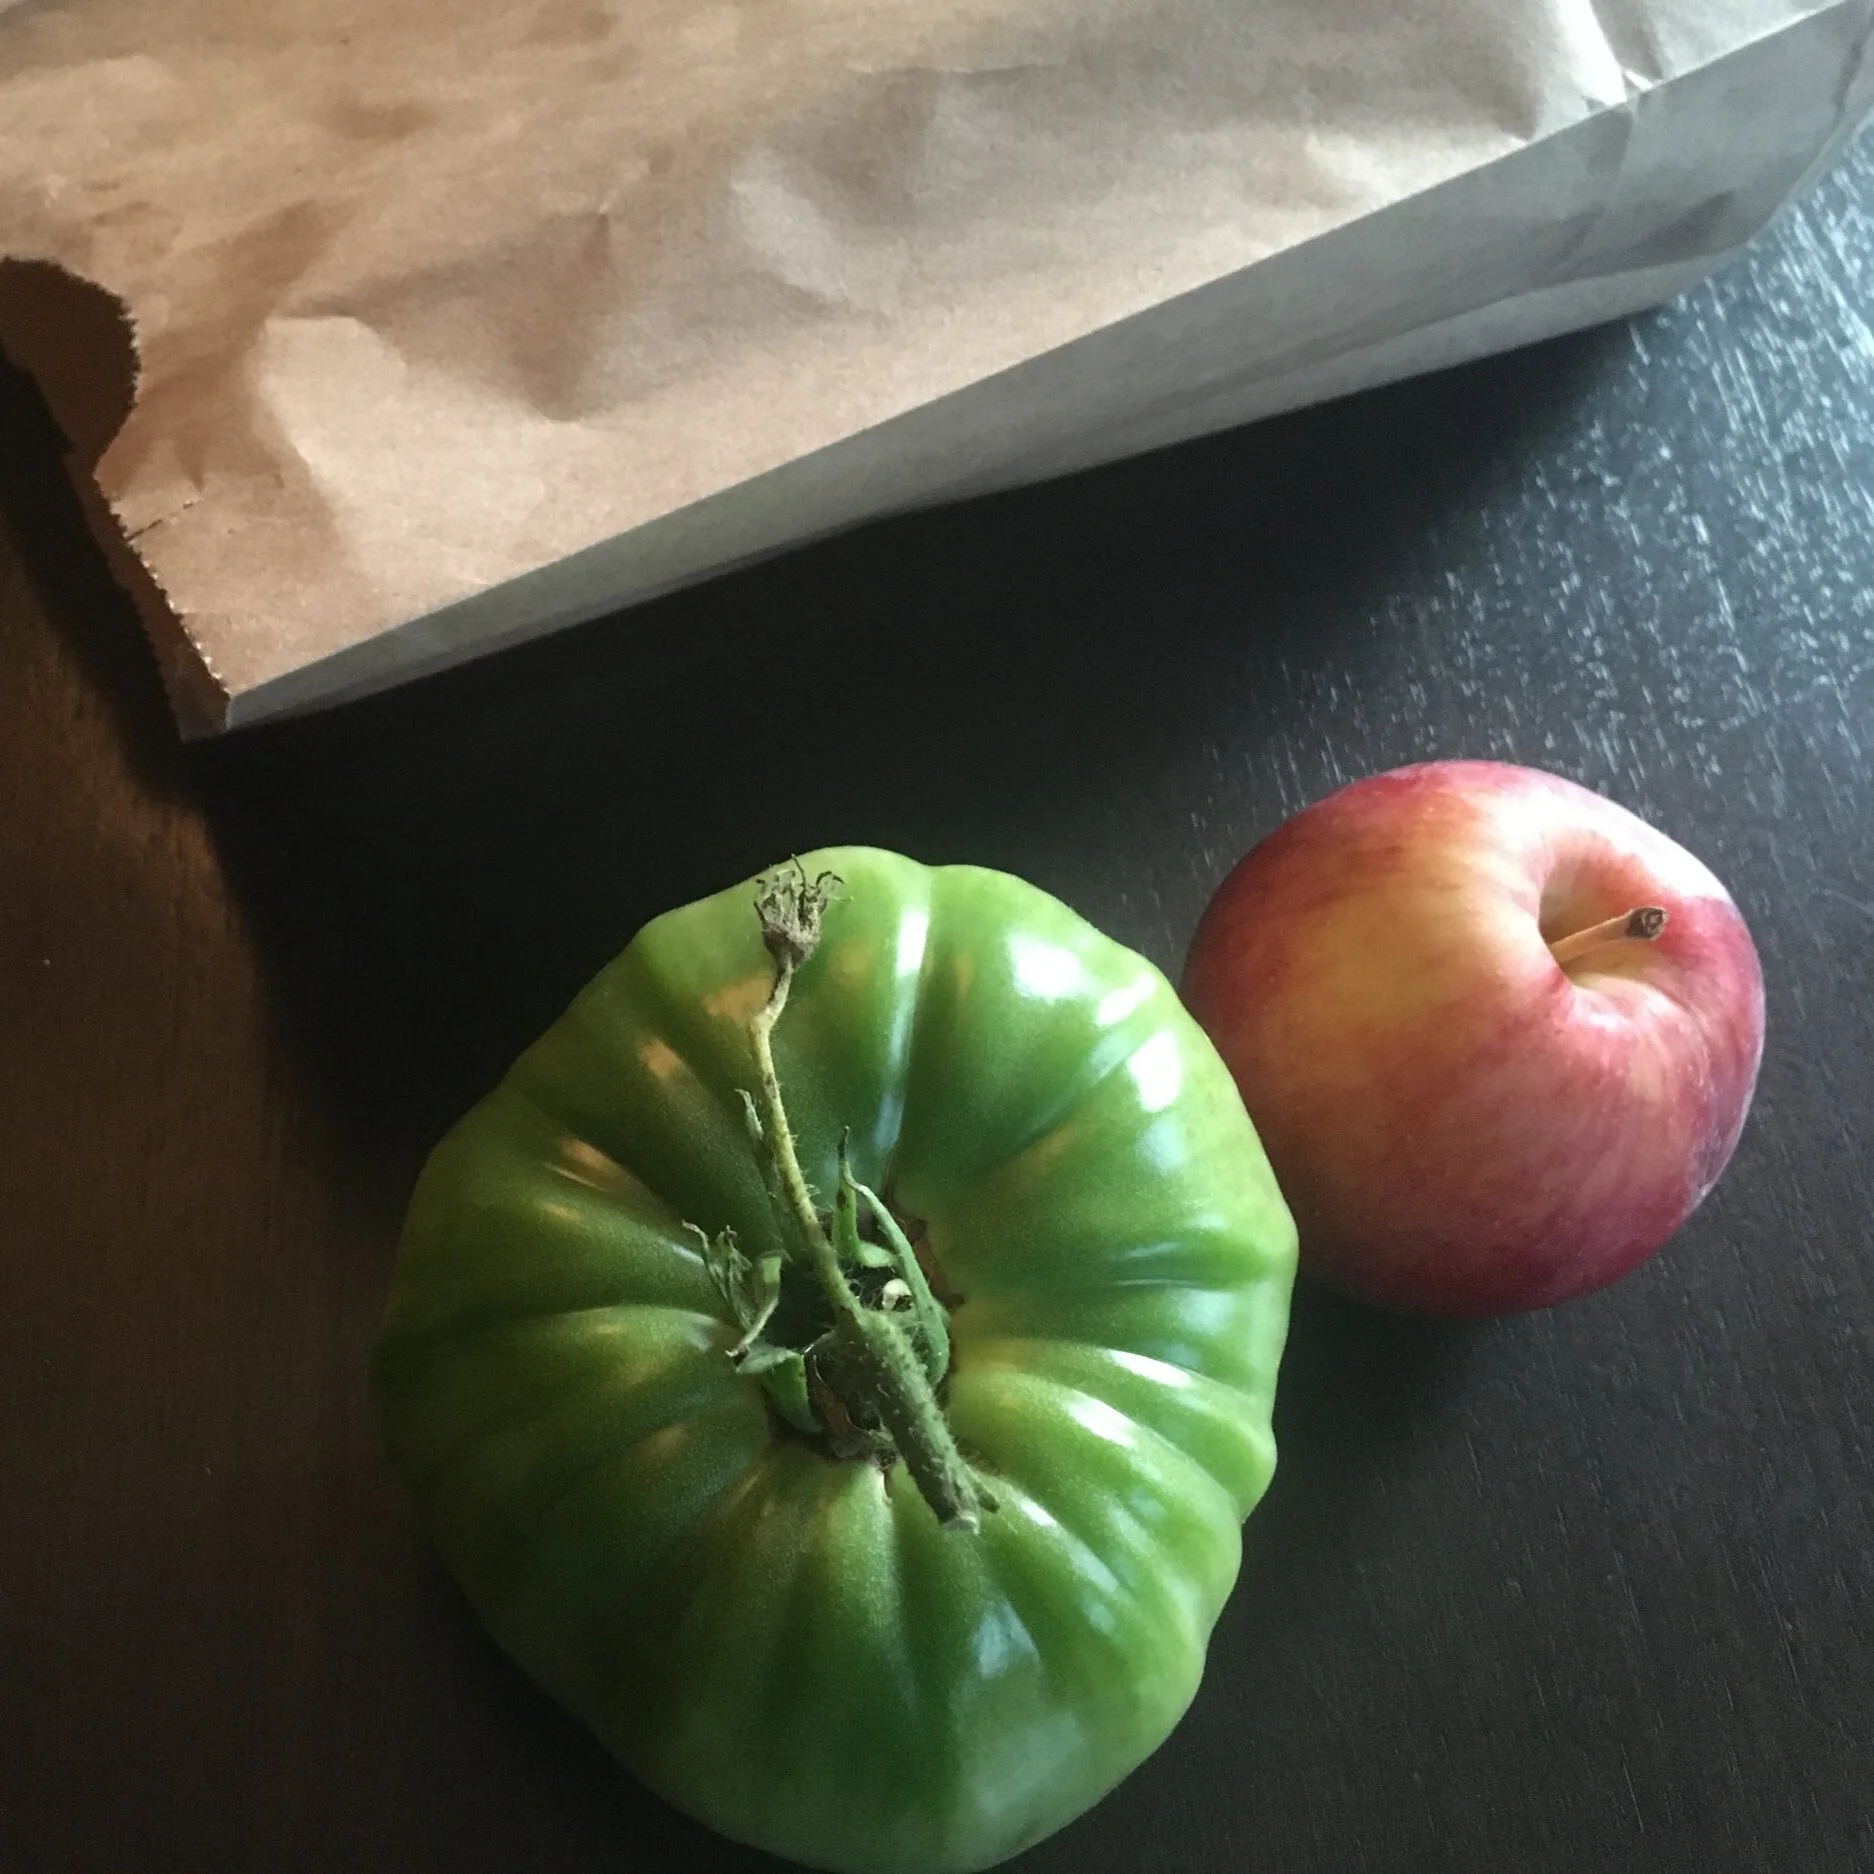
Speed up ripening by putting the tomatoes in an enclosed space. Adding a ripe apple or banana speeds it up more.
Place them in a closed drawer.
Place tomatoes in a closed paper bag (preferable to plastic, which doesn’t breathe at all).
Lay them out in a tray like I do—or on a shelf—and cover with a sheet of newspaper.
Wrap individual tomatoes in newspaper.
If you’ve left on pieces of stem, just be careful not to let the stem puncture any other tomato.
The Banana Trick
Bananas and ripe apples give off ethylene, so you can put a banana or apple in with tomatoes to provide more ethylene and speed up ripening. (I find I don’t need to do this, they ripen fast enough for me.)
Hanging Tomato Plants
If you’ve harvested entire stems or entire plants, simply hang the stems or plants in a cool, dark area and let the tomatoes slowly ripen.
I’m not a fan of this approach because as the tomatoes ripen, they detach from the stem and…splat!
As tomatoes start to show colour, I bring them up to the kitchen to put on my windowsill.
Varieties Suited to Indoor Ripening
A thick-skinned tomato variety that lasts me until spring.
You can ripen all types of tomatoes indoors, but thick-skinned varieties are best for longer-term indoor ripening.
Thin-skinned beefsteak varieties are more prone to rot. It doesn’t mean you can’t ripen these ones indoors – it just means they’re less likely to last long into the winter.
Green Tomato Ripening FAQ
What else can I do with green tomatoes?
I love green tomato fried in the skillet in bacon fat, sprinkled with salt and garlic powder. Some years I make a green tomato mincemeat. You can also make lactic-acid fermented green-tomato pickles – same idea as sauerkraut and brined dill pickles, except using green tomatoes.
Should I wash green tomatoes after picking them?
I don’t. Some people wash them in a bleach solution to disinfect them. Sounds like a lot of bother to me…and I like to keep gardening simple. I wash them once they are ripe, just before I use them.
Can I ripen green tomatoes indoors in the summer too?
Yes! I’ve had large 2-3 pound tomatoes, and just as they ripen a squirrel came along and ate off a corner. It would have been better to pick these before they were fully ripe, and ripen them indoors.
Can you really get them to last until April?
Green tomatoes with cracks and blemishes often rot, so sort them out of your tomato harvest and cook them instead of trying to ripen them.
Yep! The trick is to grow a “keeper” tomato variety. I grow one that came to me from my Dad’s friend Dino. It’s small and thick-skinned...not the juiciest tomato, not the most flavourful tomato – but I can make bruschetta with my own fresh tomatoes in early spring. Not bad!
What about tomatoes that have cracks or blemishes on them?
Tomatoes with cracks and blemishes will not keep for a long time. If they are close to colouring up, you can try to ripen them – just watch closely so you’ll see if they begin to rot around the damaged area. Otherwise, use these tomatoes in one of your green-tomato recipes.
Want to Store More of Your Own Food?
Storage Crop Ideas for Your Vegetable Garden
Here are 25 storage crops you can grow in your garden.
More Tomato Articles
Tomato Interviews
More on Growing Vegetables
Articles: Growing Vegetables
Courses: Grow Vegetables
Green Tomato Mincemeat Recipe
Don’t let the frost nip your green tomatoes! Find out how to make delicious mincemeat using green tomatoes that you pick at the end of the season.
By Steven Biggs
Great Recipe for the Fall Glut of Green Tomatoes
Before the first fall frost, I pick ALL of the green tomatoes in our garden.
Then I sort them:
Those that are mostly sized up and will ripen well indoors (find out more about ripening green tomatoes indoors)
Those that are damaged and need to be watched closely as I ripen them…in case they begin to spoil
Those that are nowhere near the final size, and don’t have good prospects for ripening
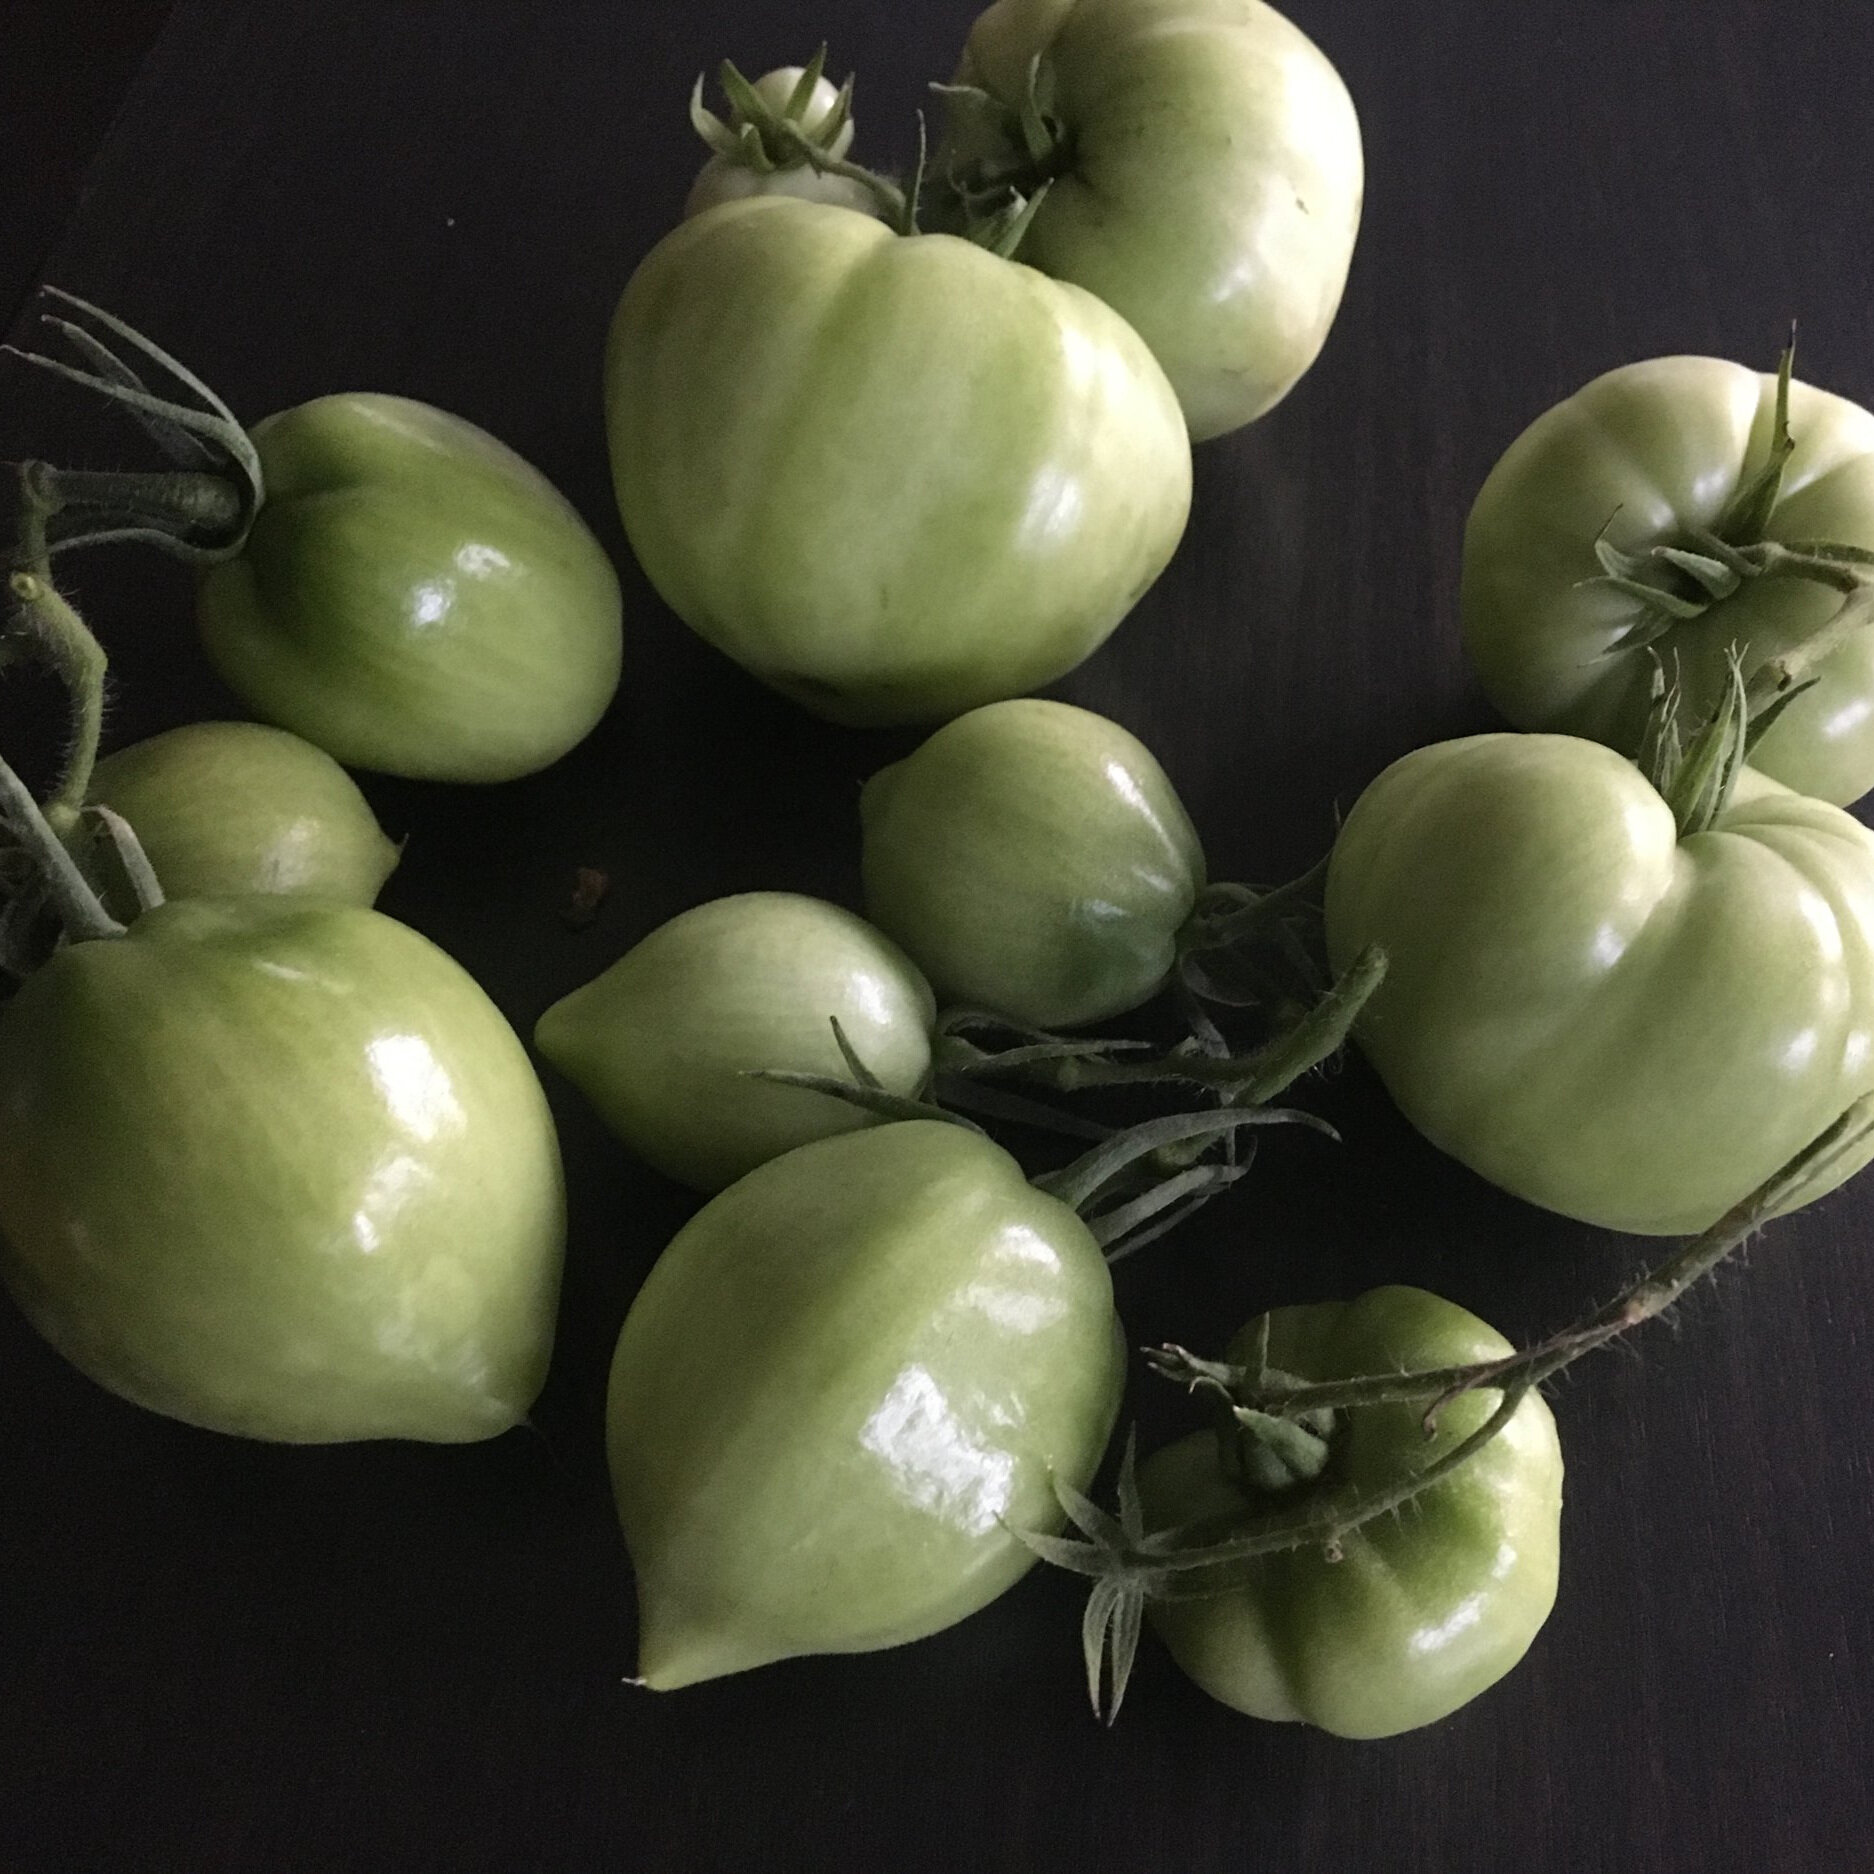
It’s those last ones, that are small and likely won’t ripen into anything worth eating, that are great candidates for making into green tomato mincemeat.
The annual glut of green tomatoes, ready to be sorted. Those that are quite undersized are great candidates for green tomato mincemeat.
Green Tomato Mincemeat
Our family friend Cathy gave me this green tomato mincemeat recipe. It’s a great way to use up undersized green tomatoes that likely won’t ripen. The green tomato is the filler in this recipe.
Ingredients
11-quart basket of green tomatoes, finely ground
20 apples, finely chopped
1 ½ lbs. raisins
2 lbs. dried currants (dried currants—not red or black currants, which are different)
1 lb. mixed peel
5 lbs. white sugar
1 cup suet, finely ground
2 tsp. ground cinnamon
2 tsp. ground clove
2 tsp. ground nutmeg
2 tsp. salt
Making the Mincemeat
Cover the ground green tomato with boiling water, and leave for 10 minutes.
Pour off water and repeat.
Drain.
Add the rest of the ingredients.
Boil slowly for a couple of hours.
More Tomato Articles
Tomato Interviews
More on Growing Vegetables
Articles: Grow Vegetables
Courses: Grow Vegetables
Edible Landscaping: See My Ornamental Edible Garden
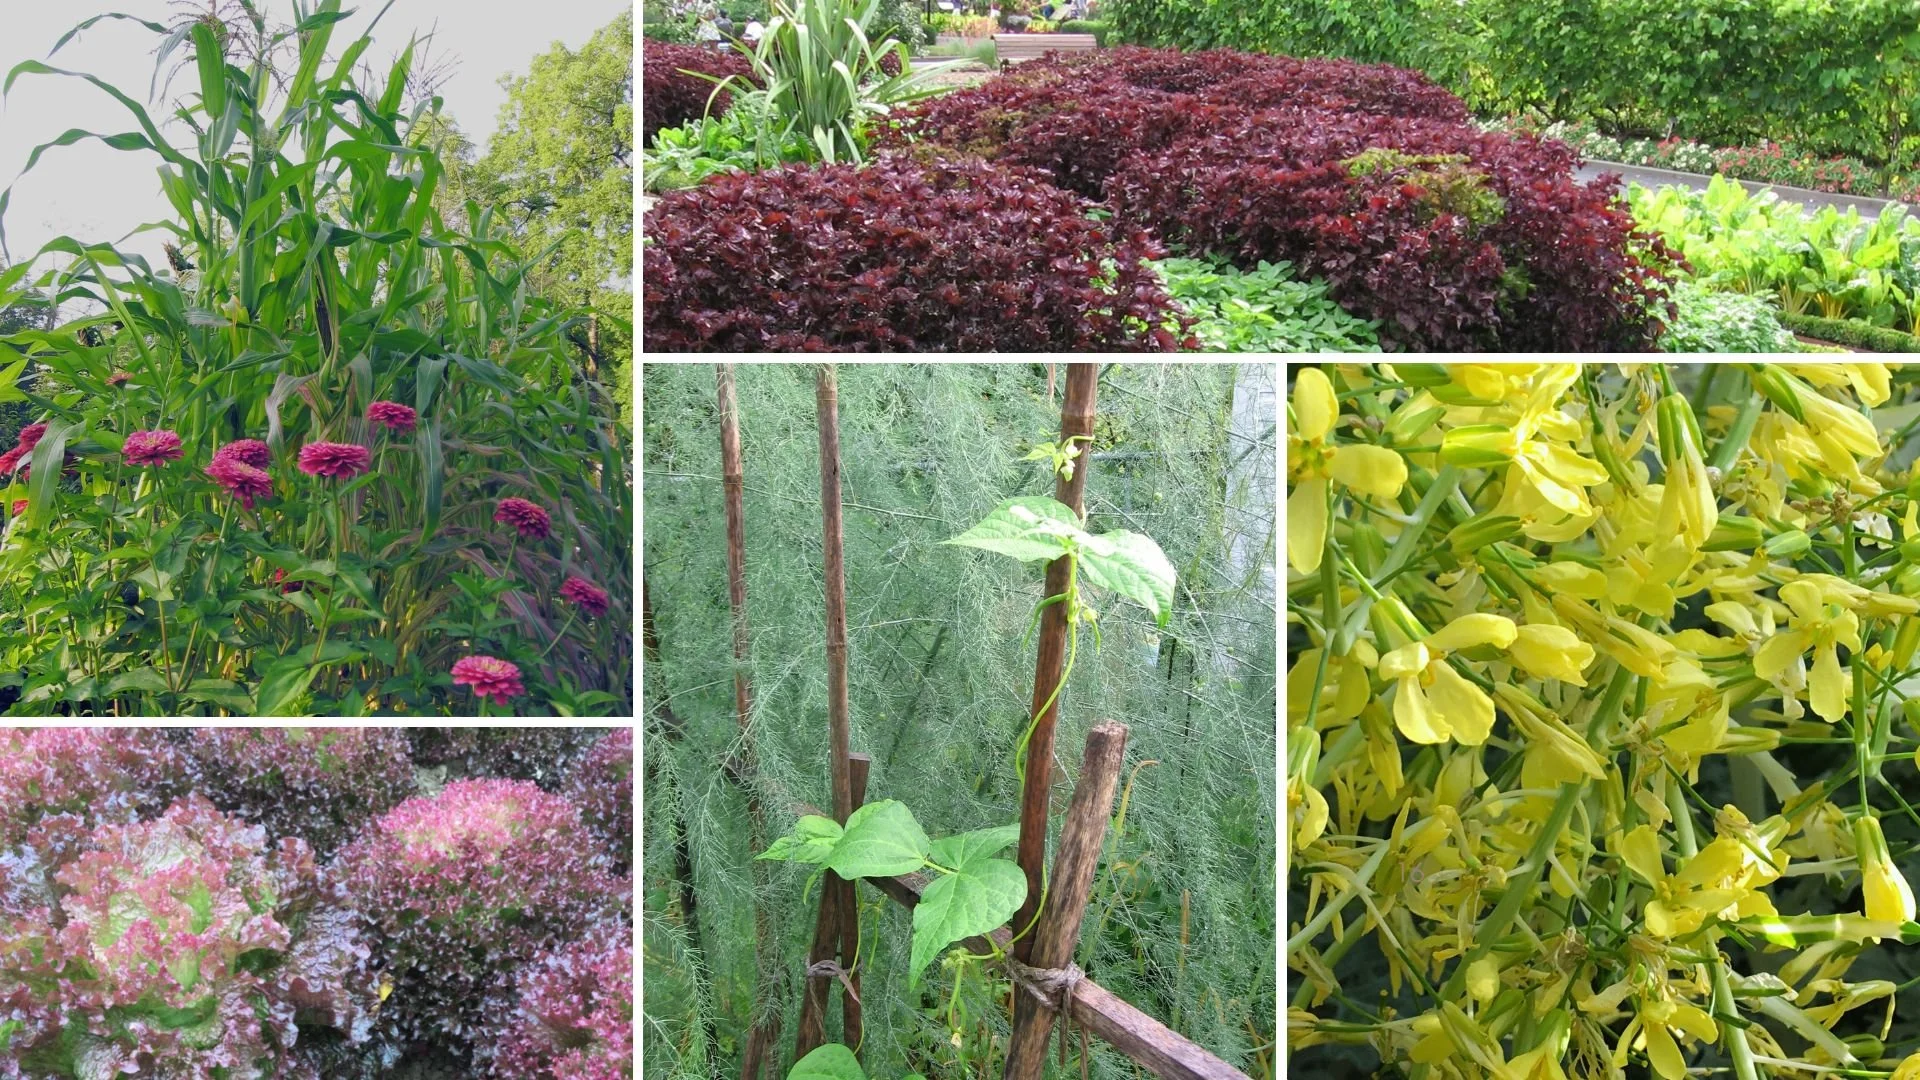
Check out this video of my garden to see how I mix together lots of edible plants in a garden full of colours, textures, and eye-catching form.
Ornamental Food Garden
Want to harvest more food from your home garden?
(And make a garden that looks really beautiful?)
Forget the farm-style garden, with row after row of crops. (They’re practical for large spaces…but not ideal for a small home garden.)
Check out this video of my garden to see how I plant a mix of edible plants to create a garden full of colours, textures, and eye-catching form.
Grazing Garden
Home gardens are often small. Rather than focus on a whopping big harvest for storage, I like to focus on a wide variety of crops for harvest on an ongoing basis.
Think of it as a grazing garden. Pick something for each meal, whether it’s pea tendrils as a garnish, edible flowers, or herbs.
In a home-garden setting, where there are competing needs for a small amount of space, we can make food gardens that:
Look beautiful
Are compact
See how I combine edible and ornamental in my garden.
Thanks to my friend Steve Benjamins for making this video for his Good Harvest YouTube channel.
Make Apple Cider at Home
Making apple cider at home is a fun fall tradition.
By Steven Biggs
Home Cider-Making
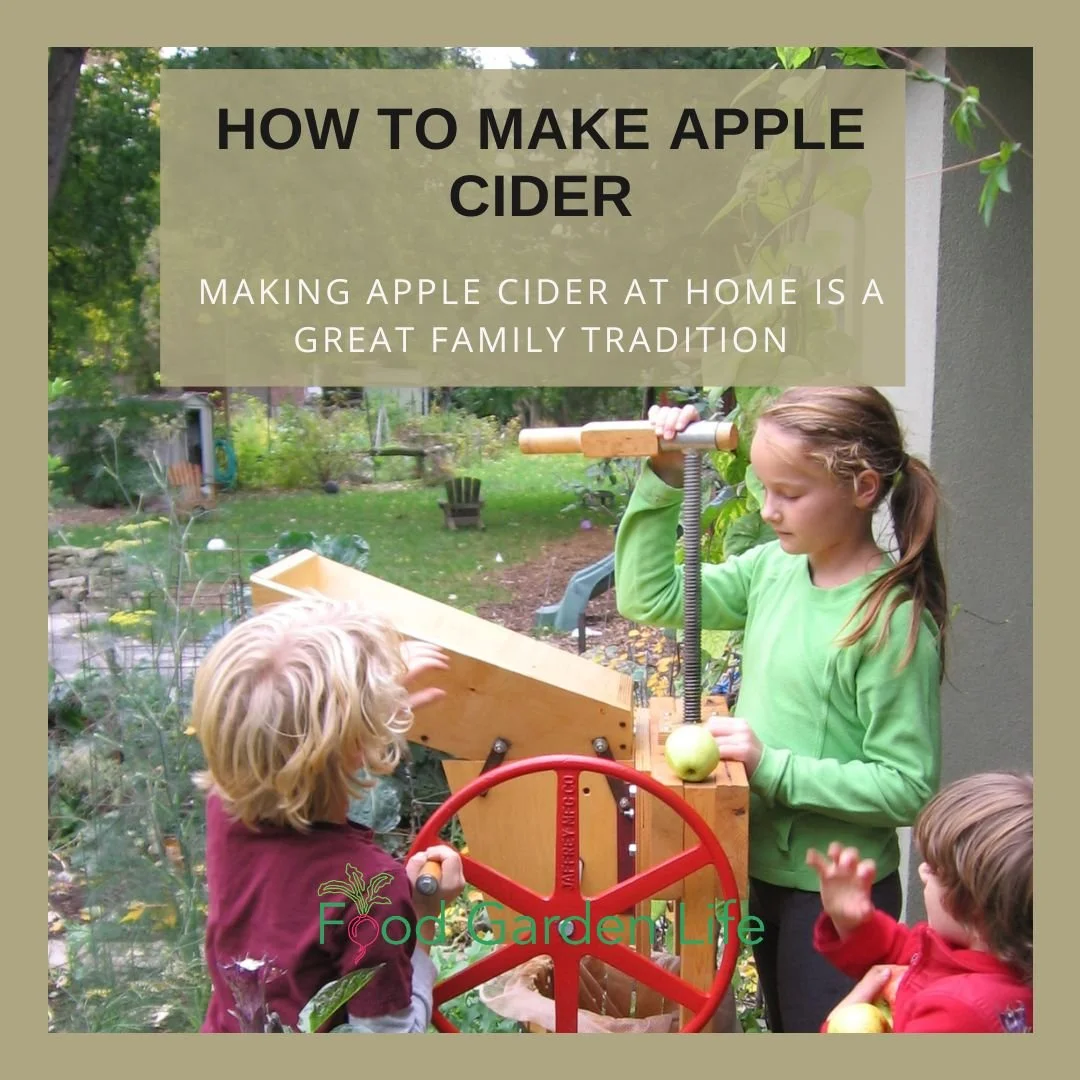
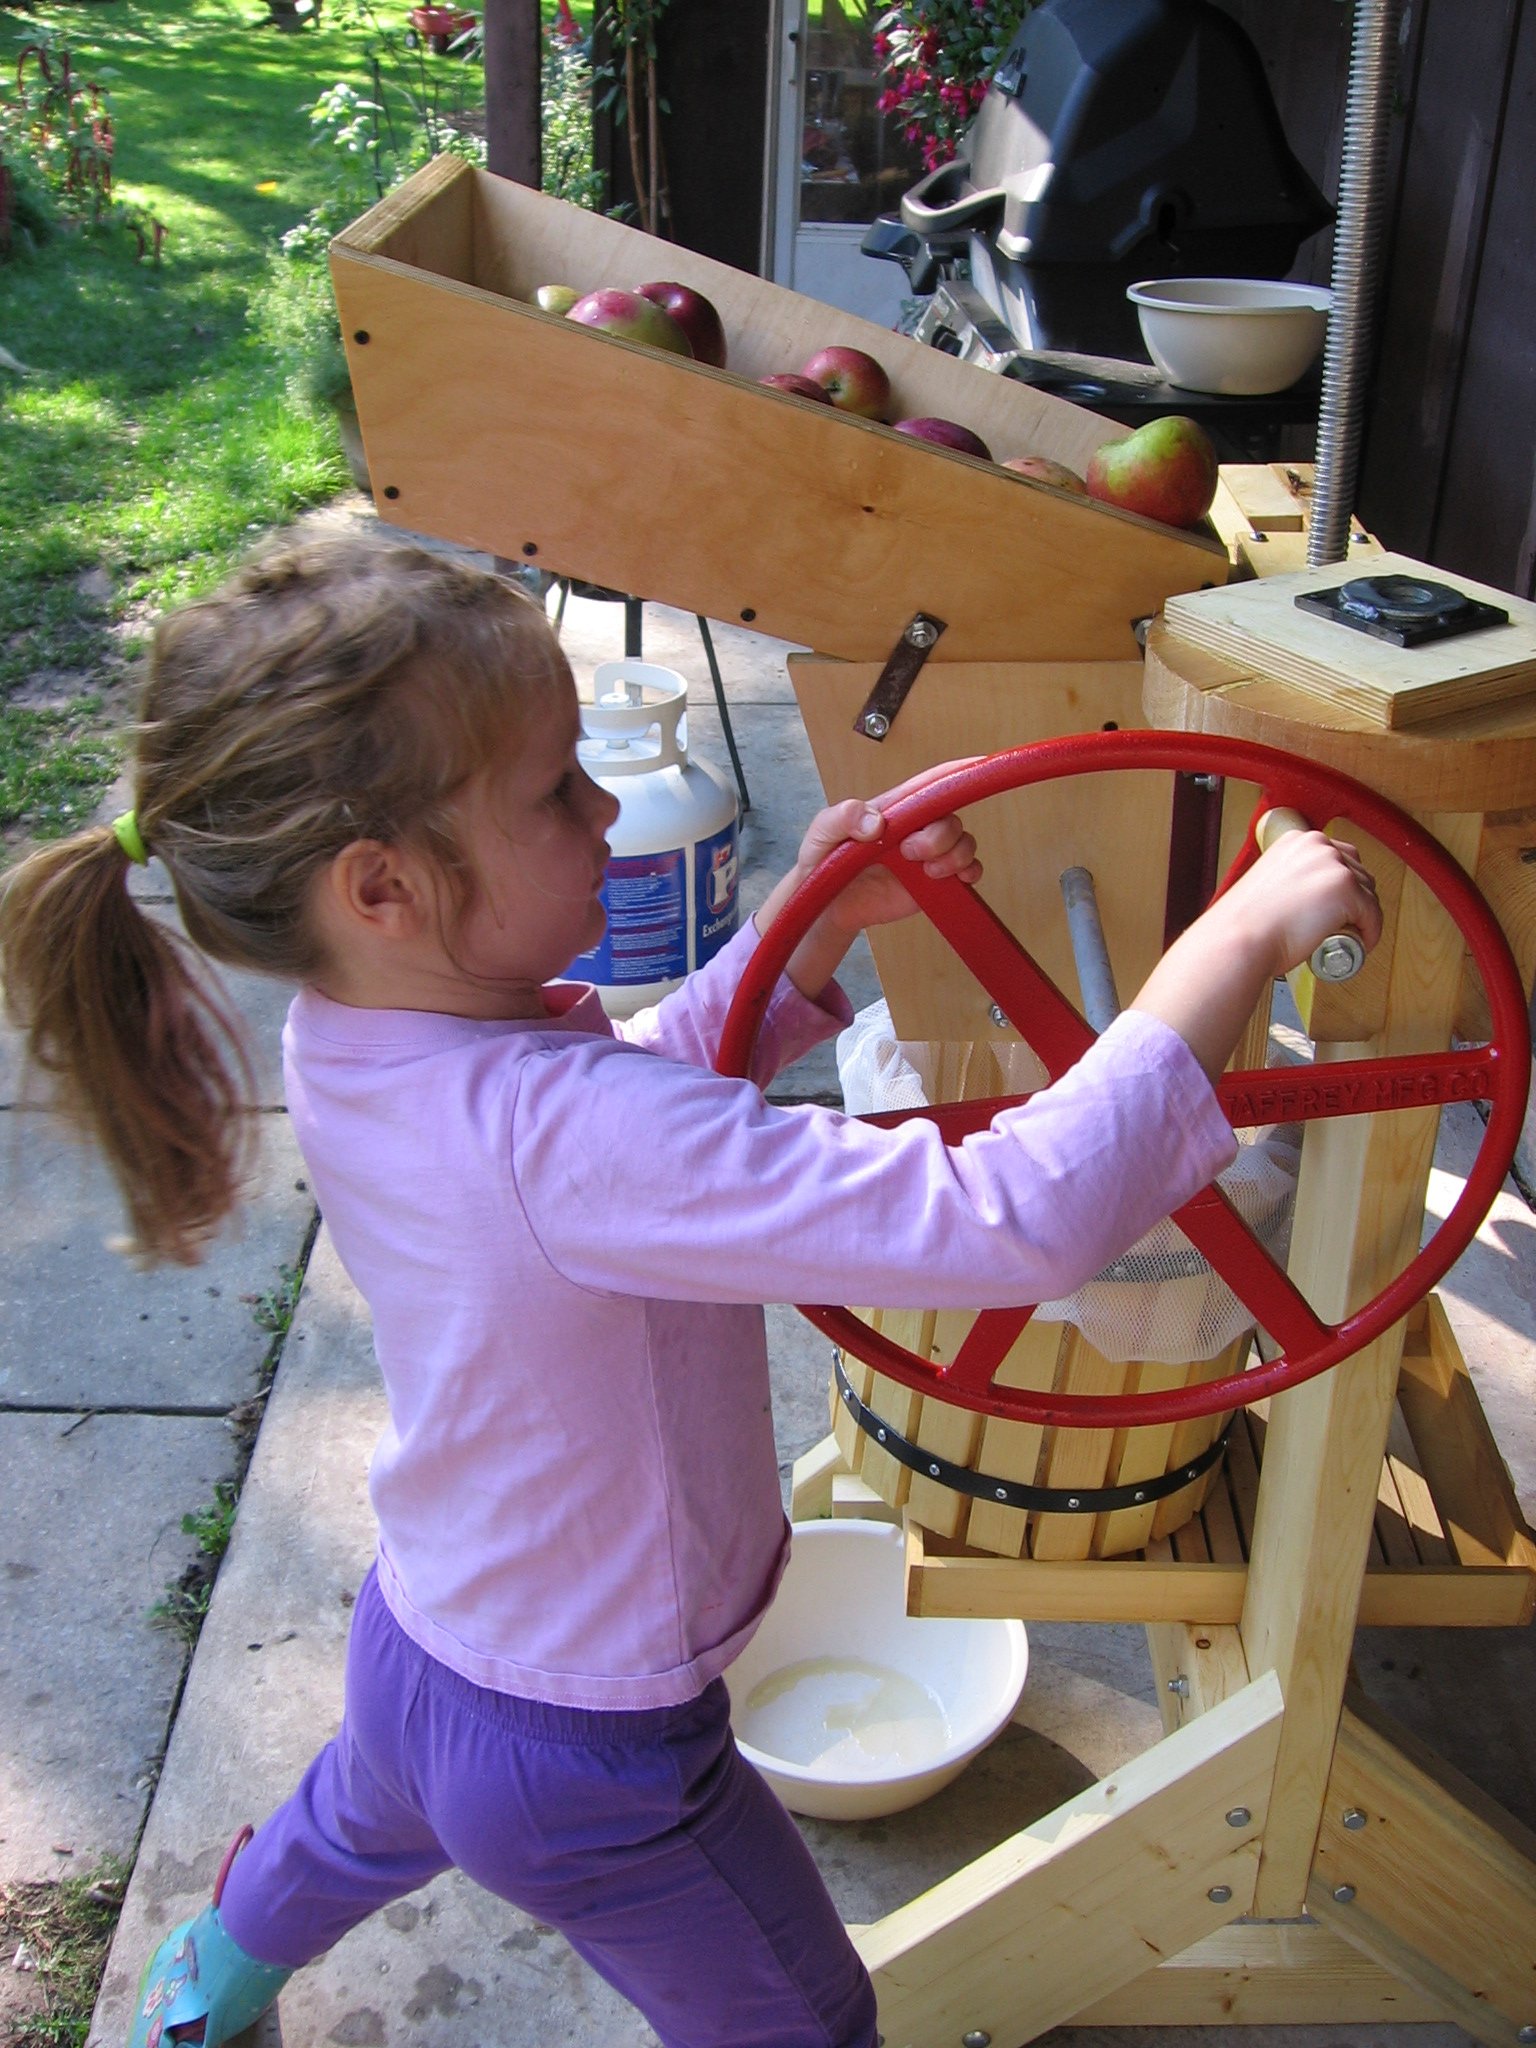
My kids helping make apple cider.
Fresh apple cider has been part of our fall family get-togethers ever since I was a kid. Auntie Annie, Uncle Bill, and my cousins made apple cider every year, a few blocks from us in Willowdale. They “bottled” it in old milk cartons or, sometimes, unlabelled red-and-white cartons that Uncle Bill had bought somewhere. Then they’d drop by for a visit with a couple of cartons. It was delicious.
It was a family tradition that I didn’t think anything of at the time.
One Thanksgiving, after I had grown up, we got together with my aunt, uncle and cousins and made cider while the turkey was roasting in the oven. It was then that I started to appreciate what a good opportunity cider making was to hang out together.
If you’re interested in making your own apple cider, keep reading to find out how I do it—and for my cider-making tips.
Apple Season
I enjoy fall trips to apple orchards. There is nothing quite like polishing a freshly picked apple on my shirt and then taking a bite. The smell reminds me of childhood walks with my dad past an old apple tree in Willowdale that had very sour apples: We’d kick fallen apples, hoping that we could make one last for the two-block walk home. I enjoy apple shopping, too—bins full of apples at roadside stands smell divine. And when I find an orchard selling something different from the grocery store—maybe a spicy ‘Tolman Sweet’ or the white-fleshed ‘Snow’—I feel as though I’ve struck gold.
Making Cider
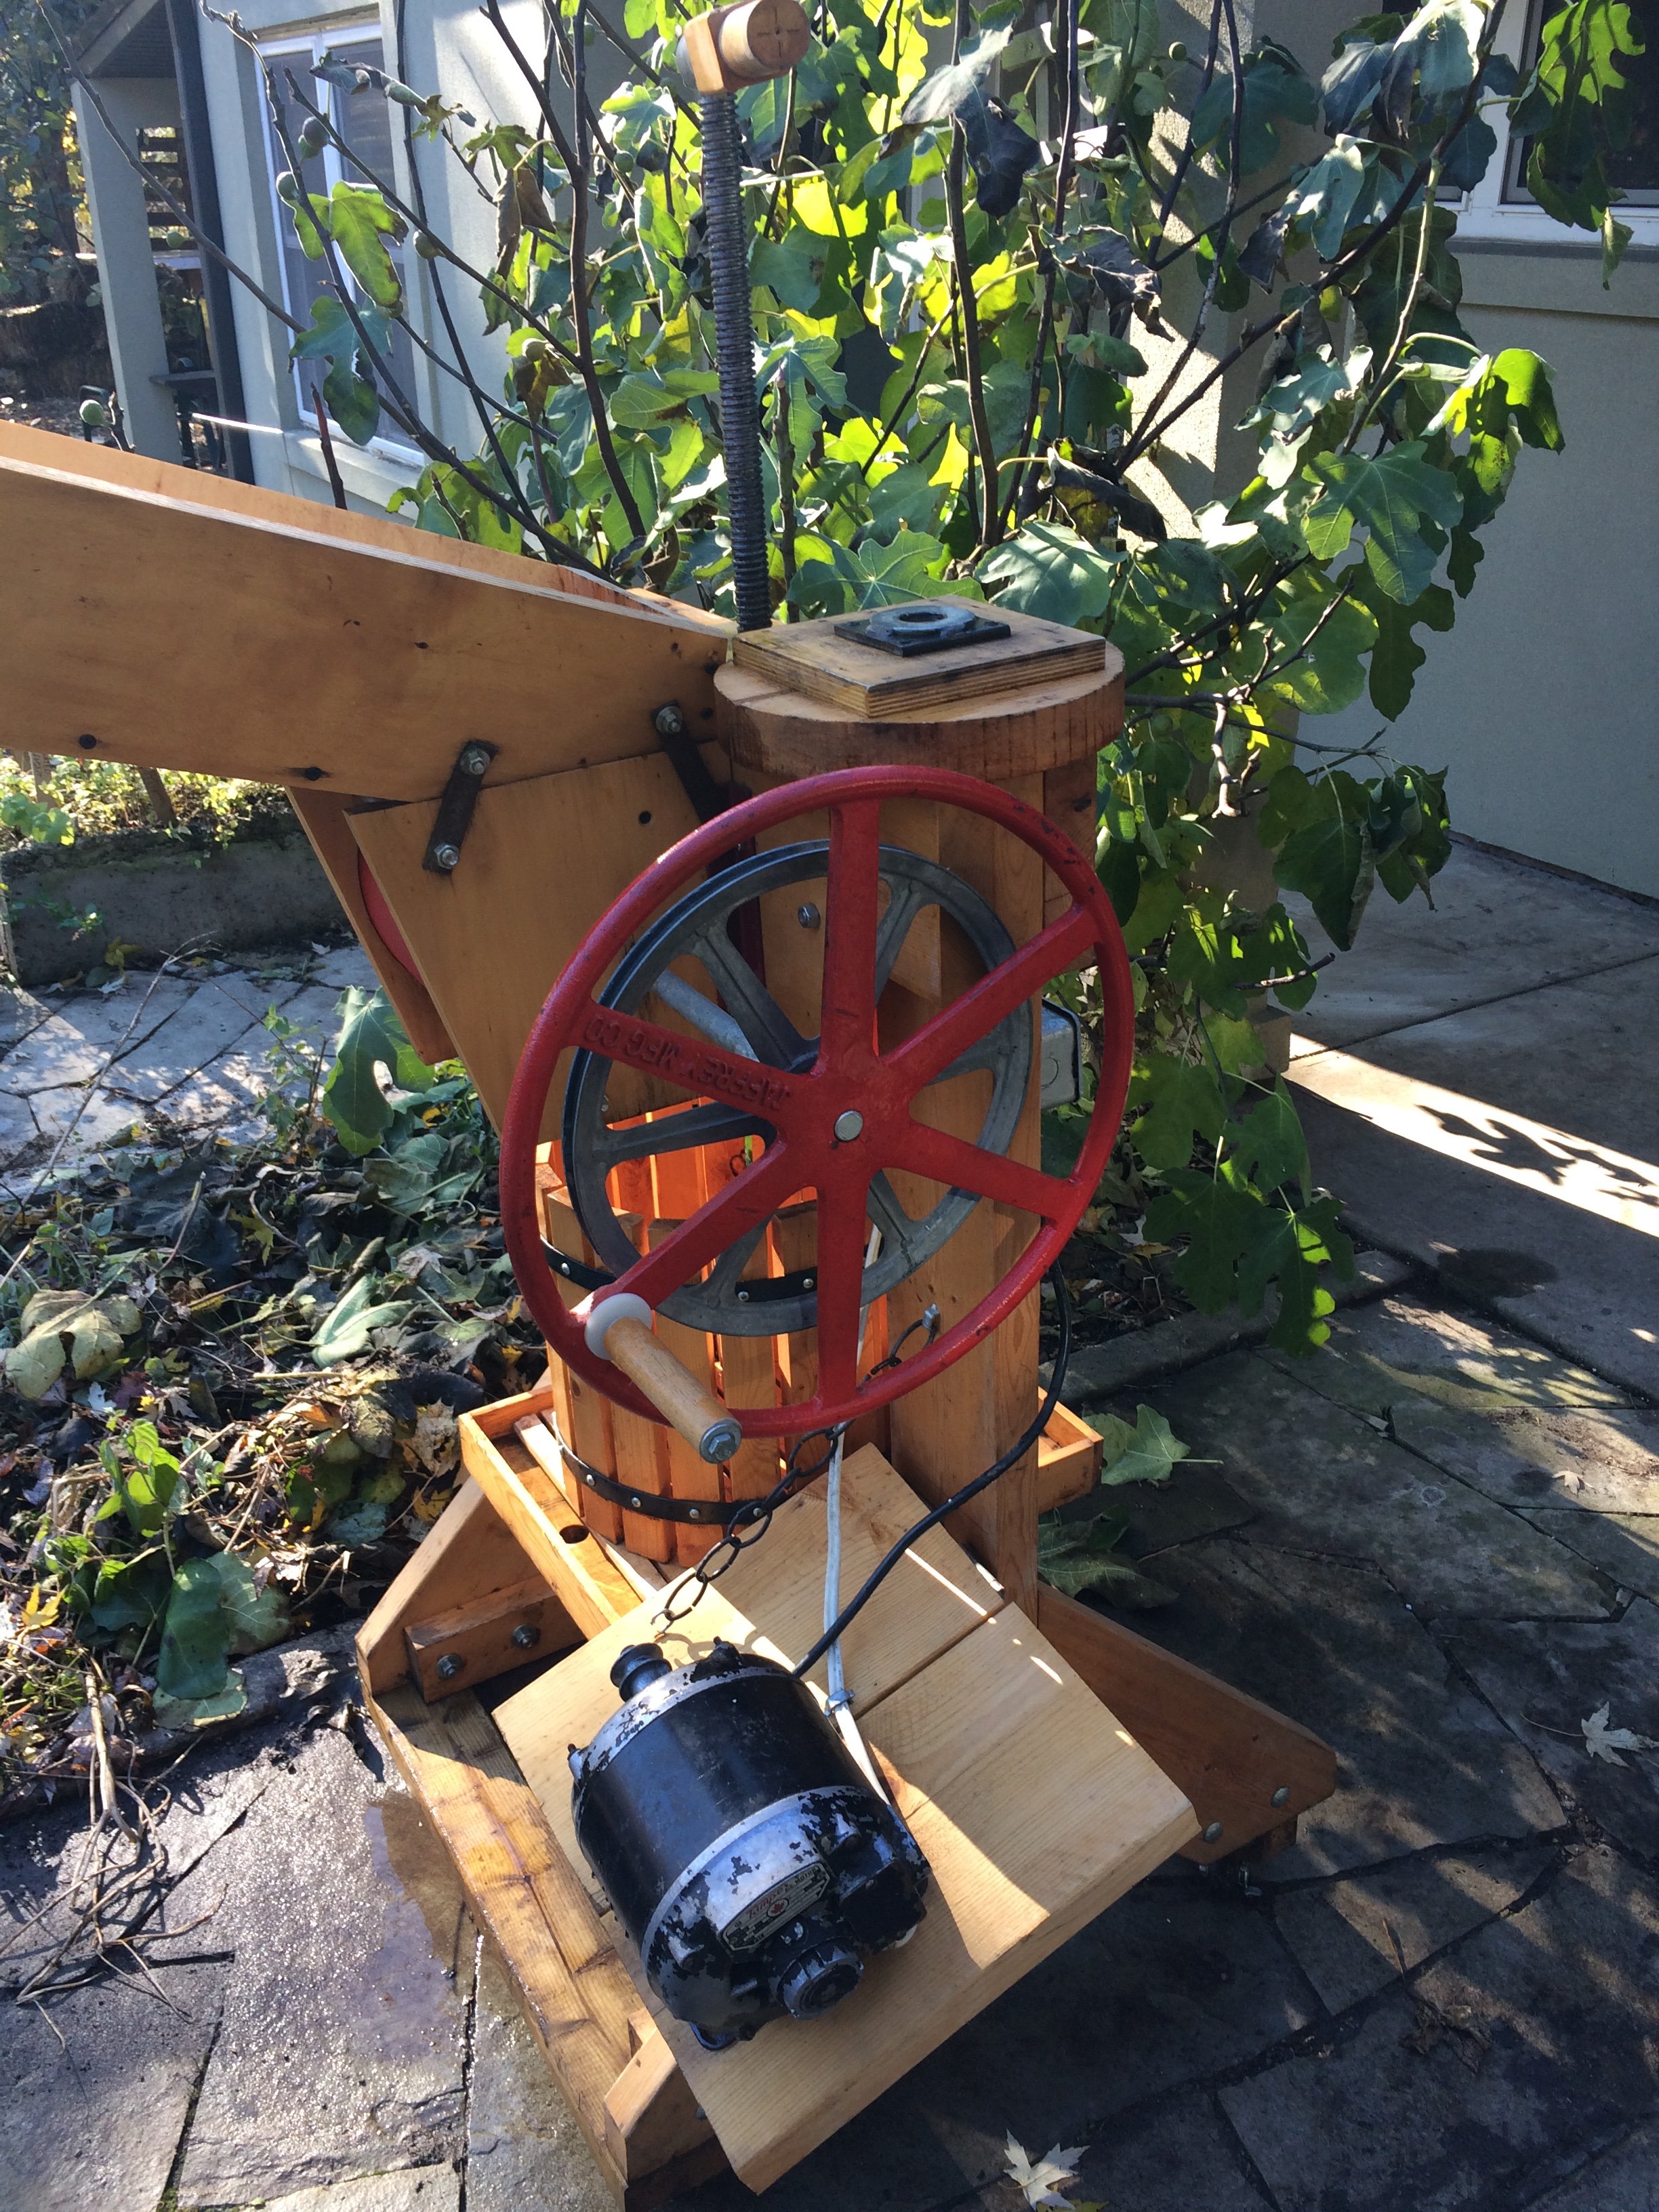
My apple cider press is fairly simple. A metal-studded wooden cylinder grinds the apples, then the apple bits fall into a slatted tub where I use a hand-operated screw press to press them.
Apple juice runs down the tub into a tray and pours out of a hole into our cups. We guzzle the first few glasses. Then we fill jugs for immediate use, and freezer-safe containers to store cider for later in the year.
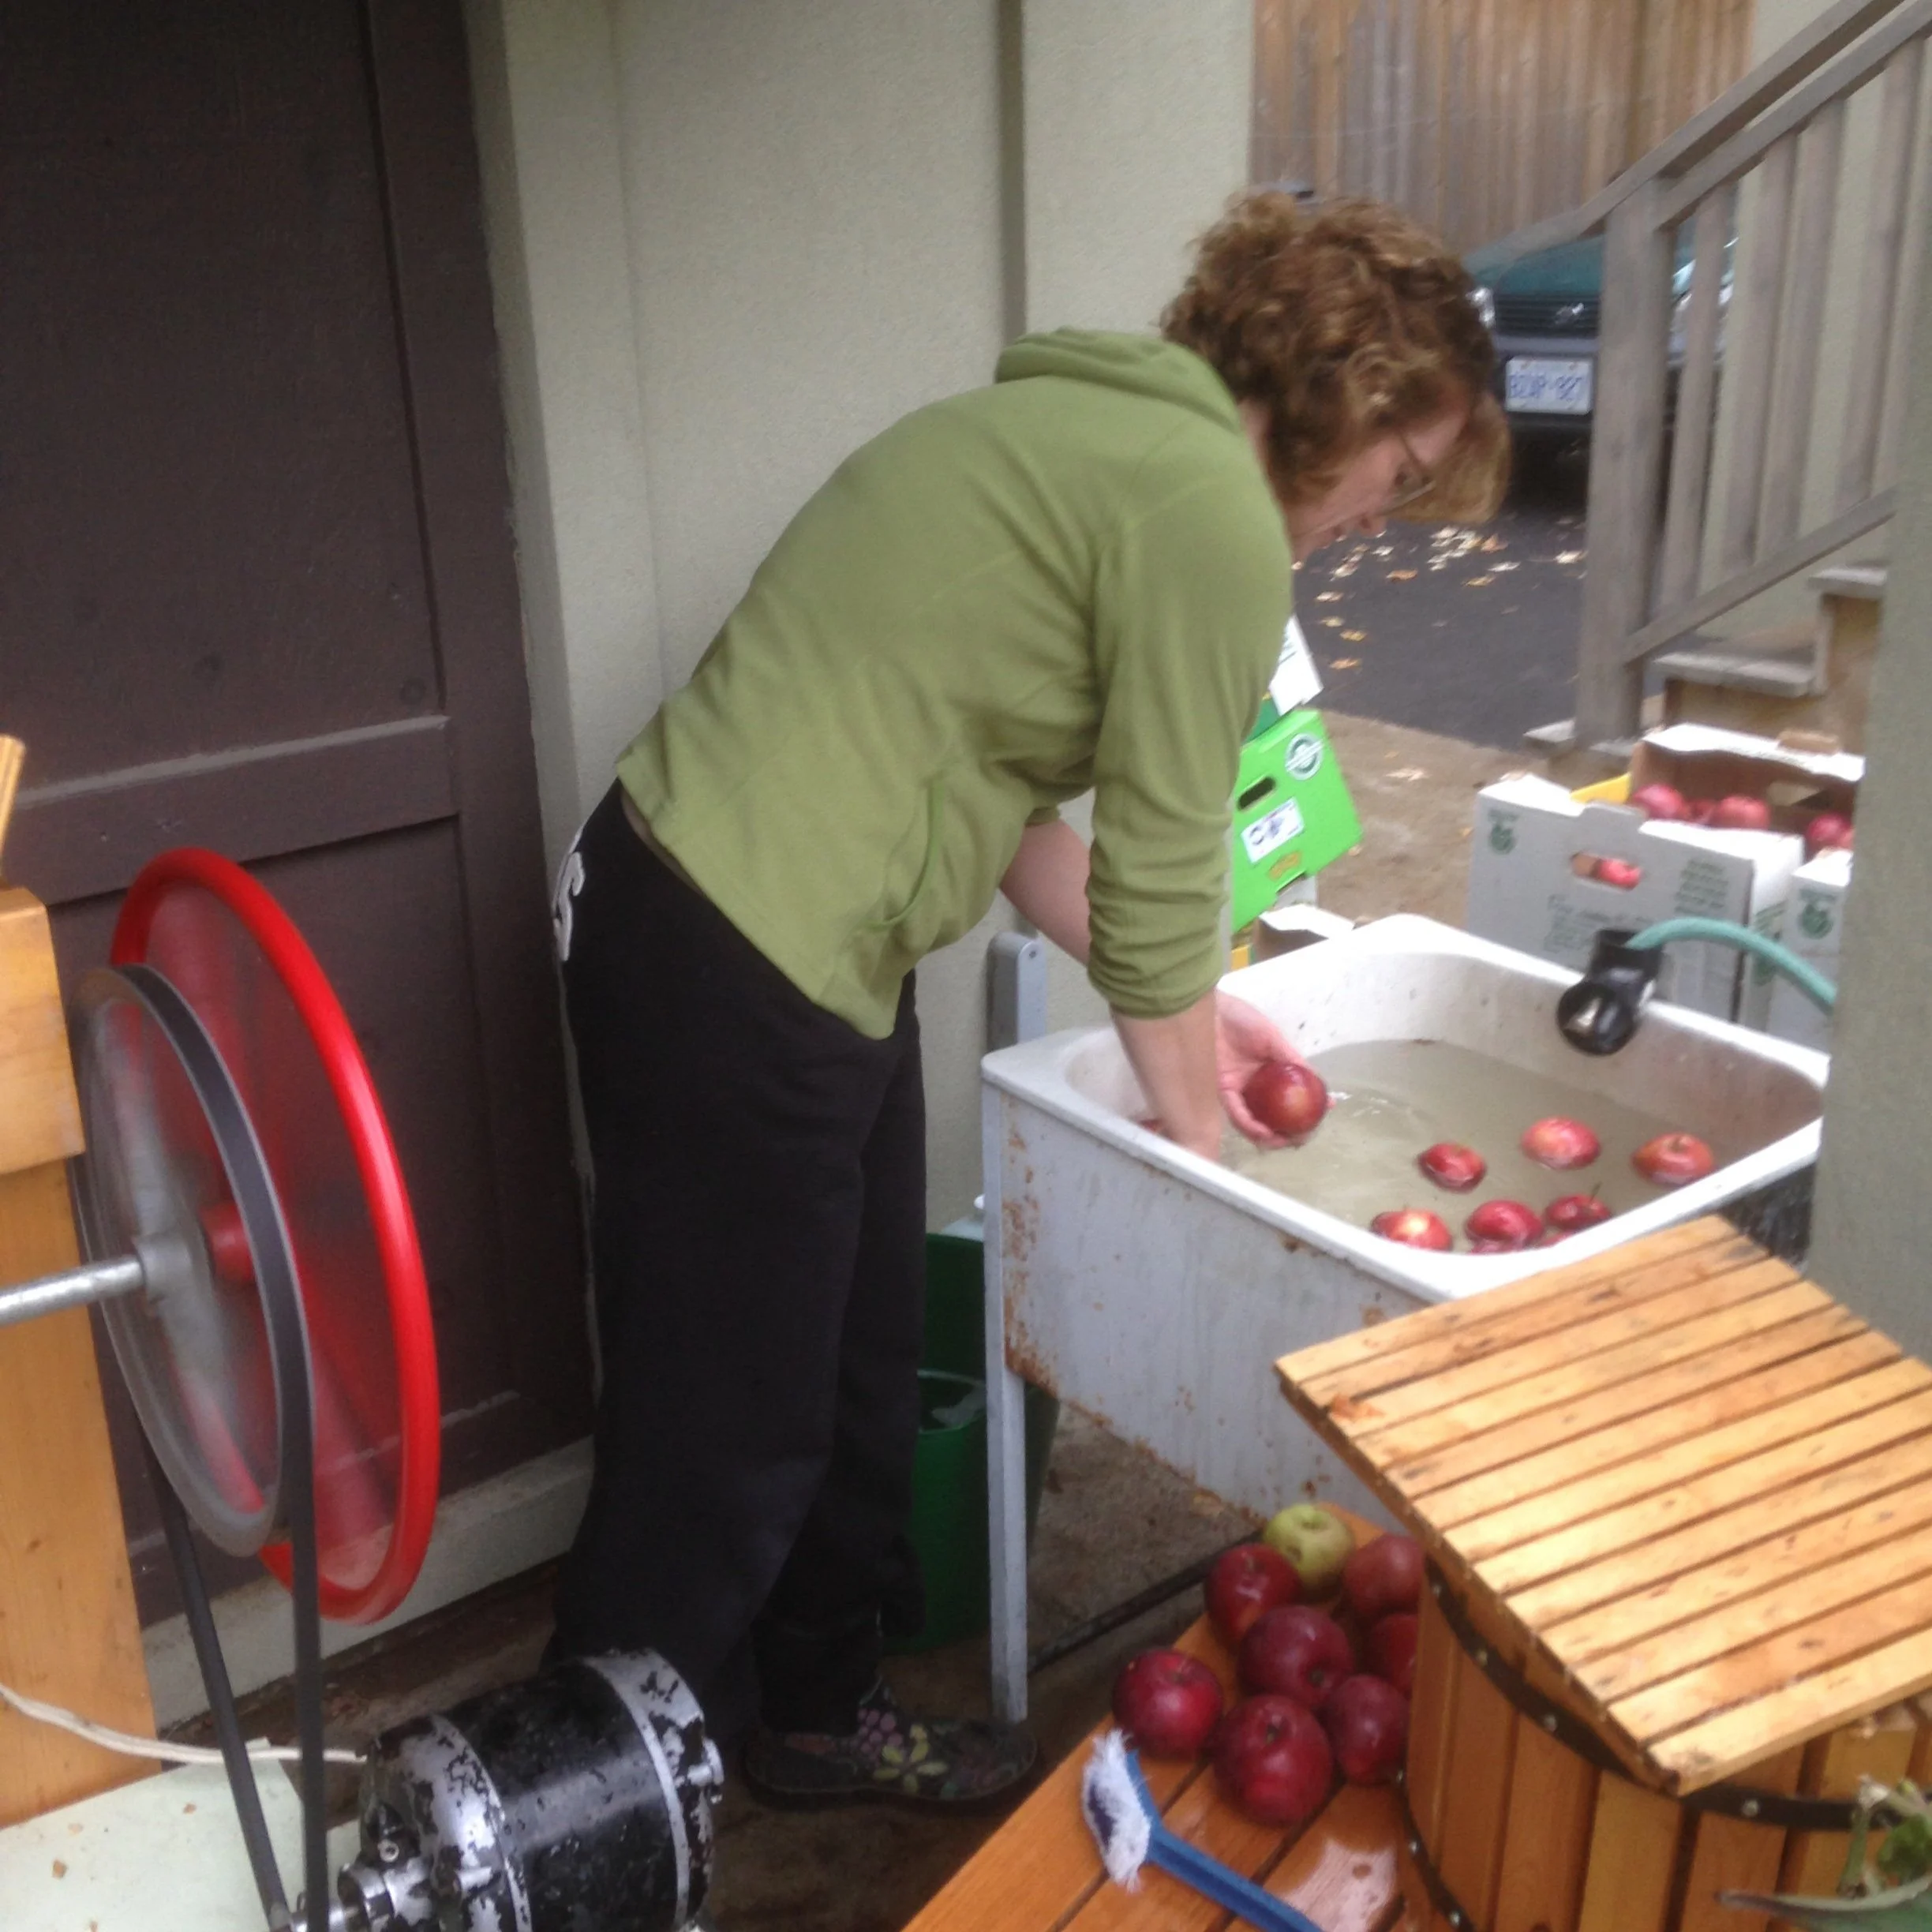
My wife Shelley rinsing apples for pressing into cider.
Some years October presents summer-like weather, and the drowsy yellowjackets hang out with us, intoxicated by the smell of the apples; other years, there are flurries, so we dress warmly.
Cidering 2.0
Hand-grinding apples is fun at first, but less so after a dozen bushels! My mechanical aptitude is marginal, but I knew it was possible to install a small electric motor on the grinder. Lucky for me, my friend Dave took one look at the press and knew what to do.
Some presses, like my Uncle Bill’s, have two tubs. But my press has only one tub to both catch apple from the grinder and press it. That means I can’t press and grind simultaneously.
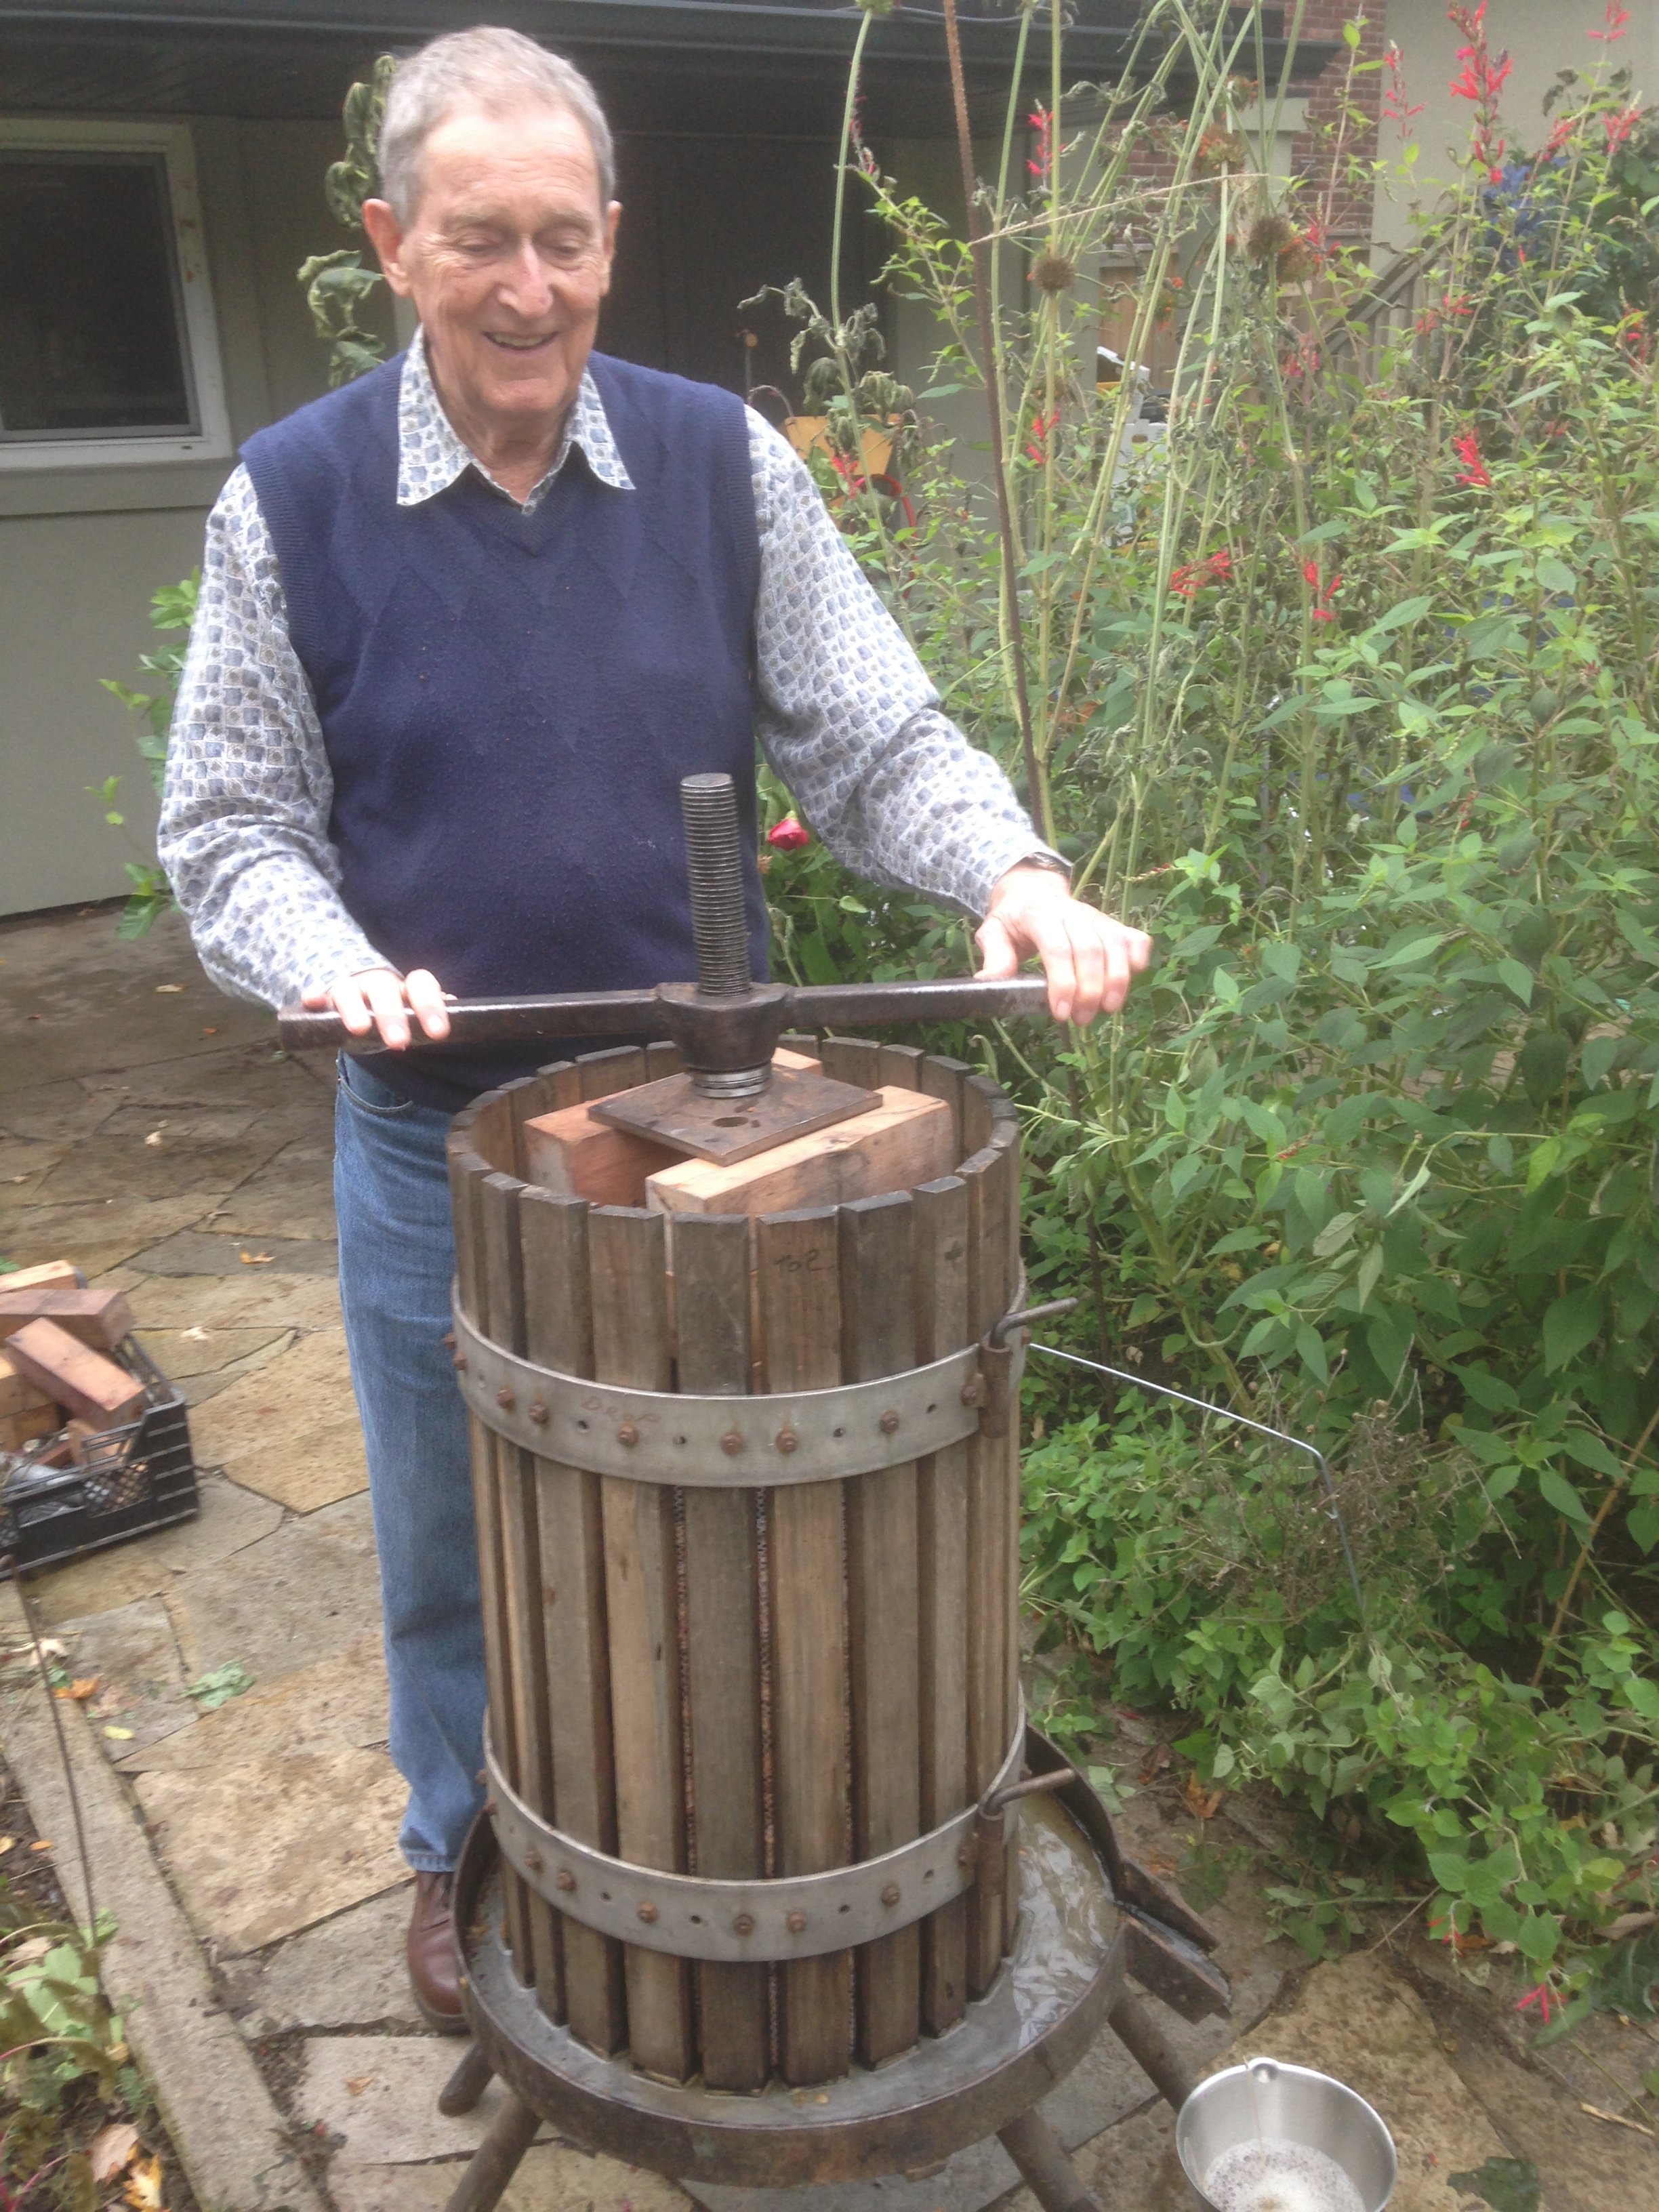
Luckily, my friend Tony gave me an old grape press which solved the bottleneck. Now I can grind the apples on my original unit while I press cider on Tony’s grape press. Not only is the tub on his press much bigger than mine, but the screw press has better compression, so I can squeeze out more cider.
Cider vs. Cider
The word “cider” confuses: It makes some people think of sweet, fresh-pressed juice (sweet cider), while others think of its more potent fermented cousin (hard cider).
Making hard cider is another reason for a get-together. My friends Dave and Rob have collaborated with me for a few batches.
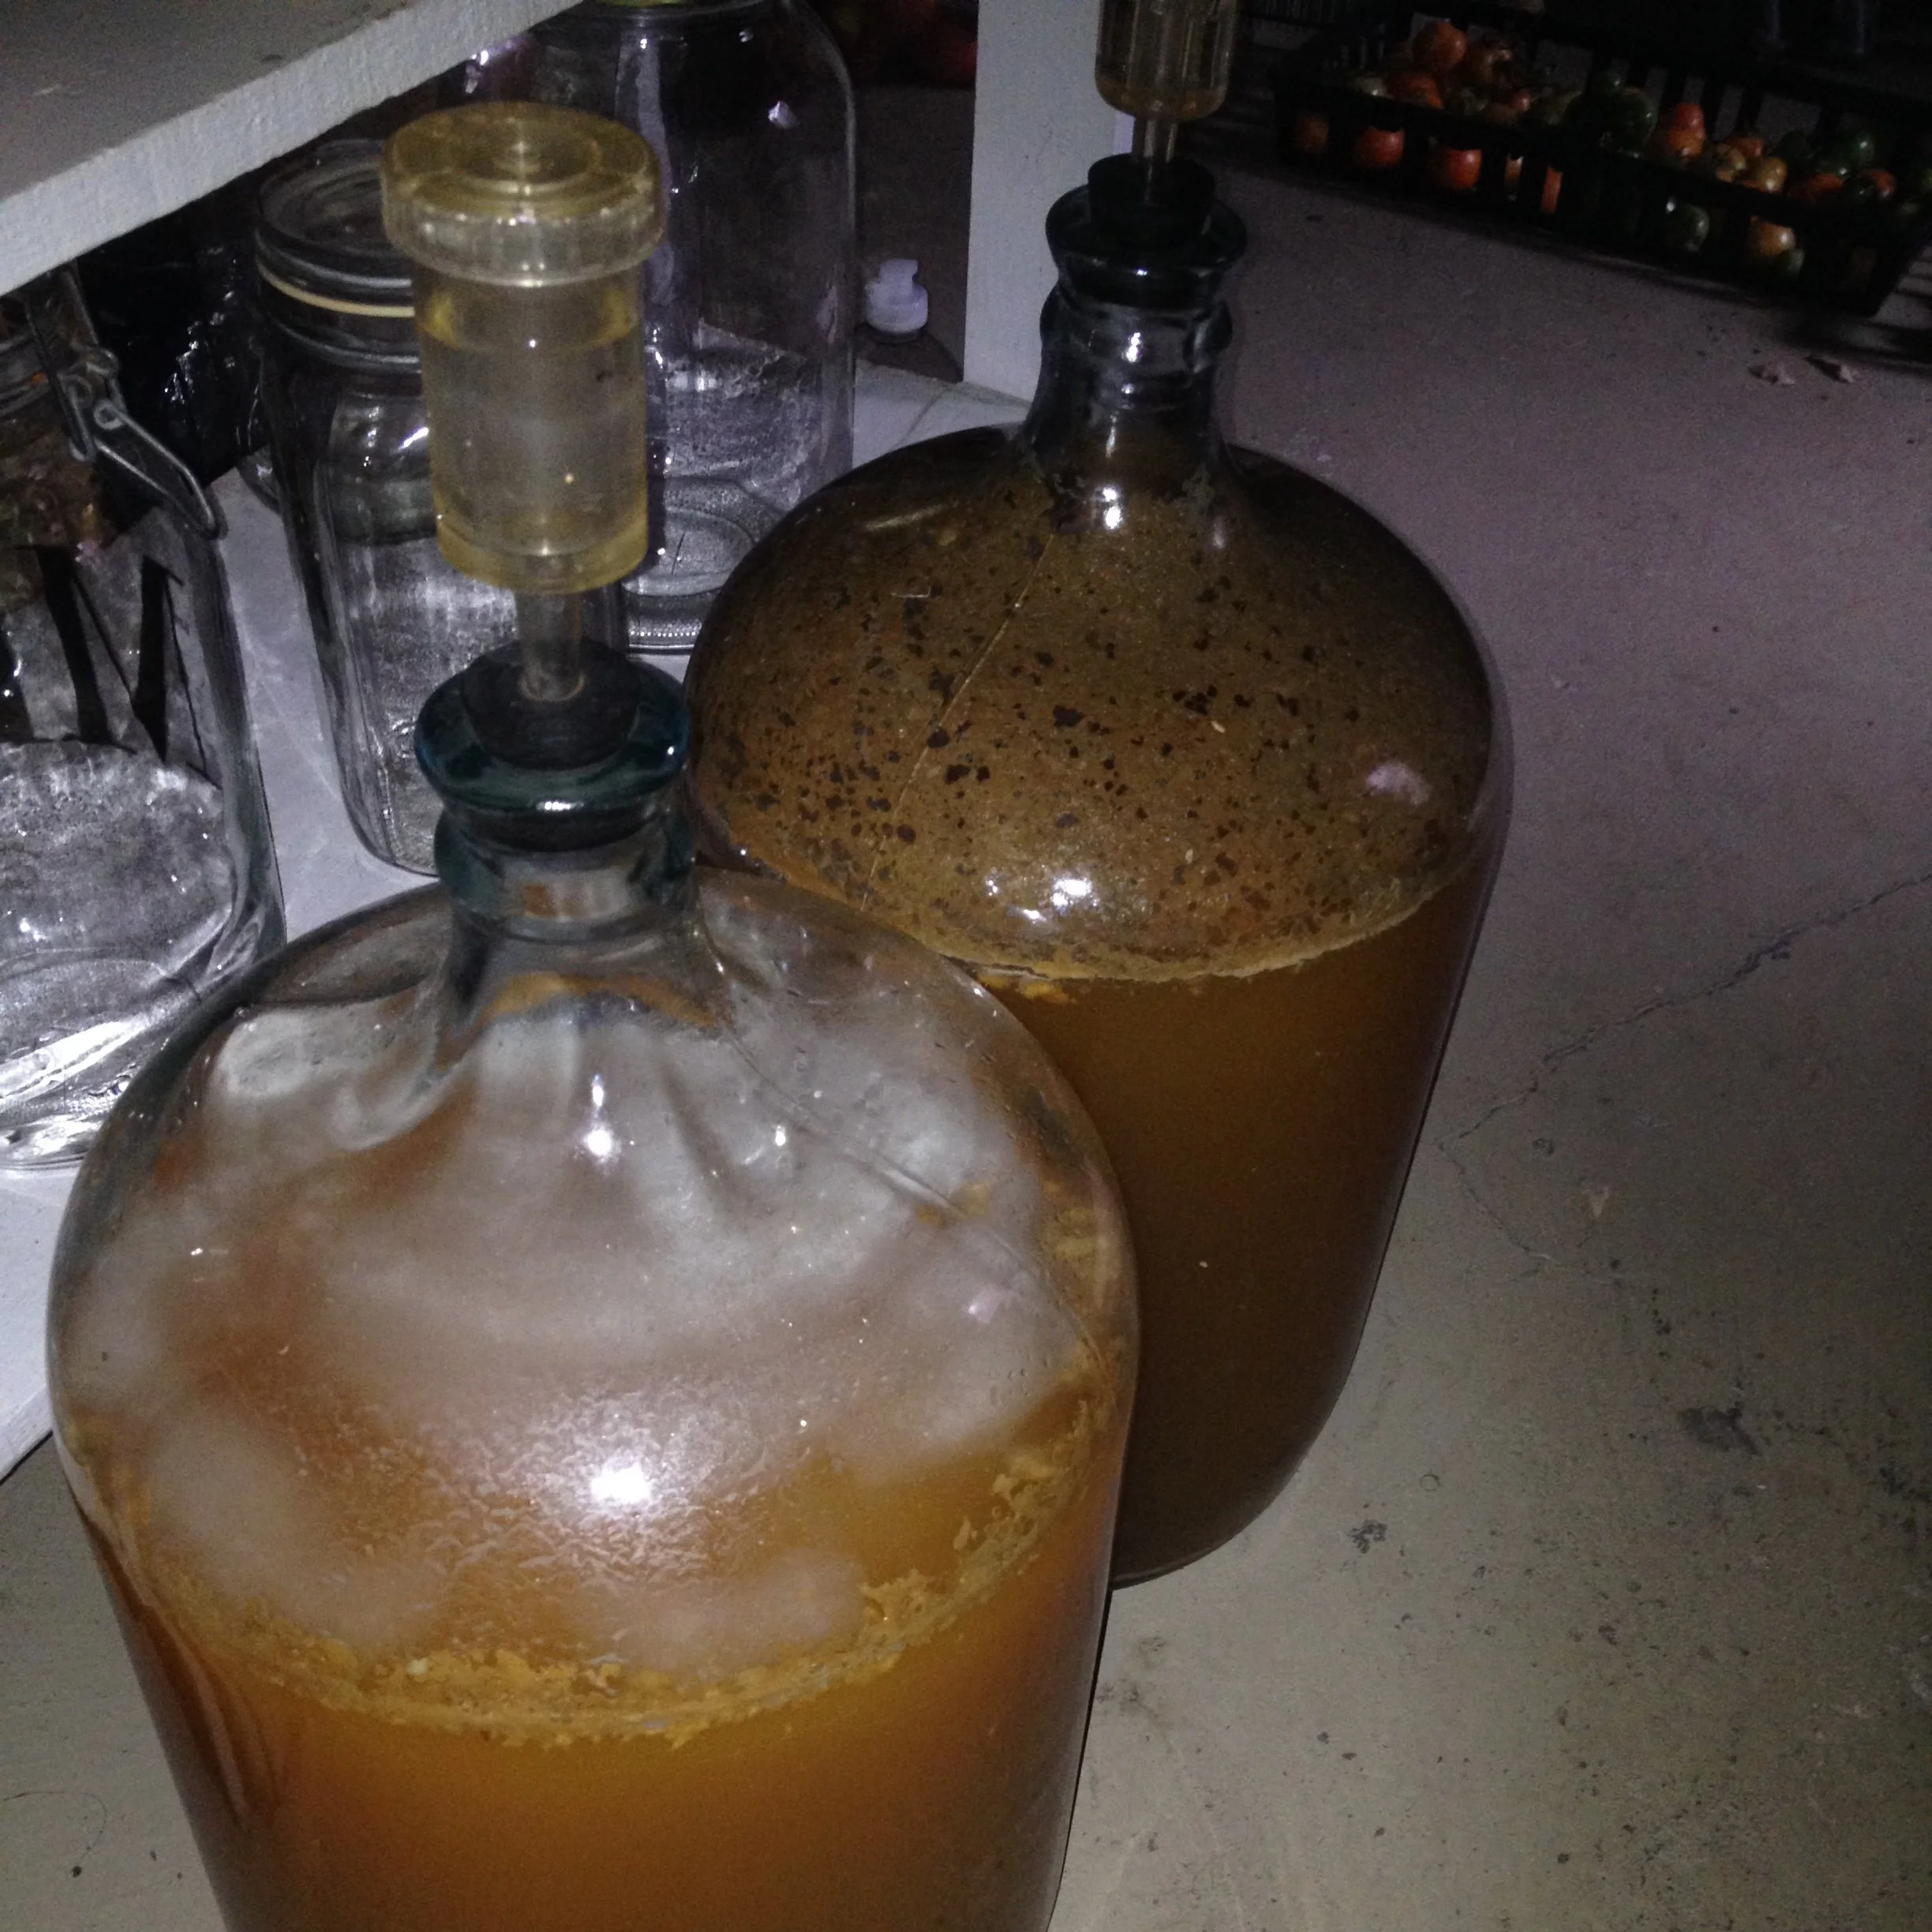
Fermenting carboys of cider fill the basement with a delicious smell. We’ve tried the all-natural approach, letting naturally occurring yeasts on the apples drive the fermentation. The result tasted a bit like … socks. Champagne yeast gives us better results. Batches not fit for drinking are useful in the kitchen (see my Cider-Making Tips below).
Cider-Making Tips
APPLE PRESS. I’ve never seen them for sale in stores, but you can find both new and used presses online. Be warned: they are not cheap. But I’d say they offer better long-term value than a new large-screen TV.
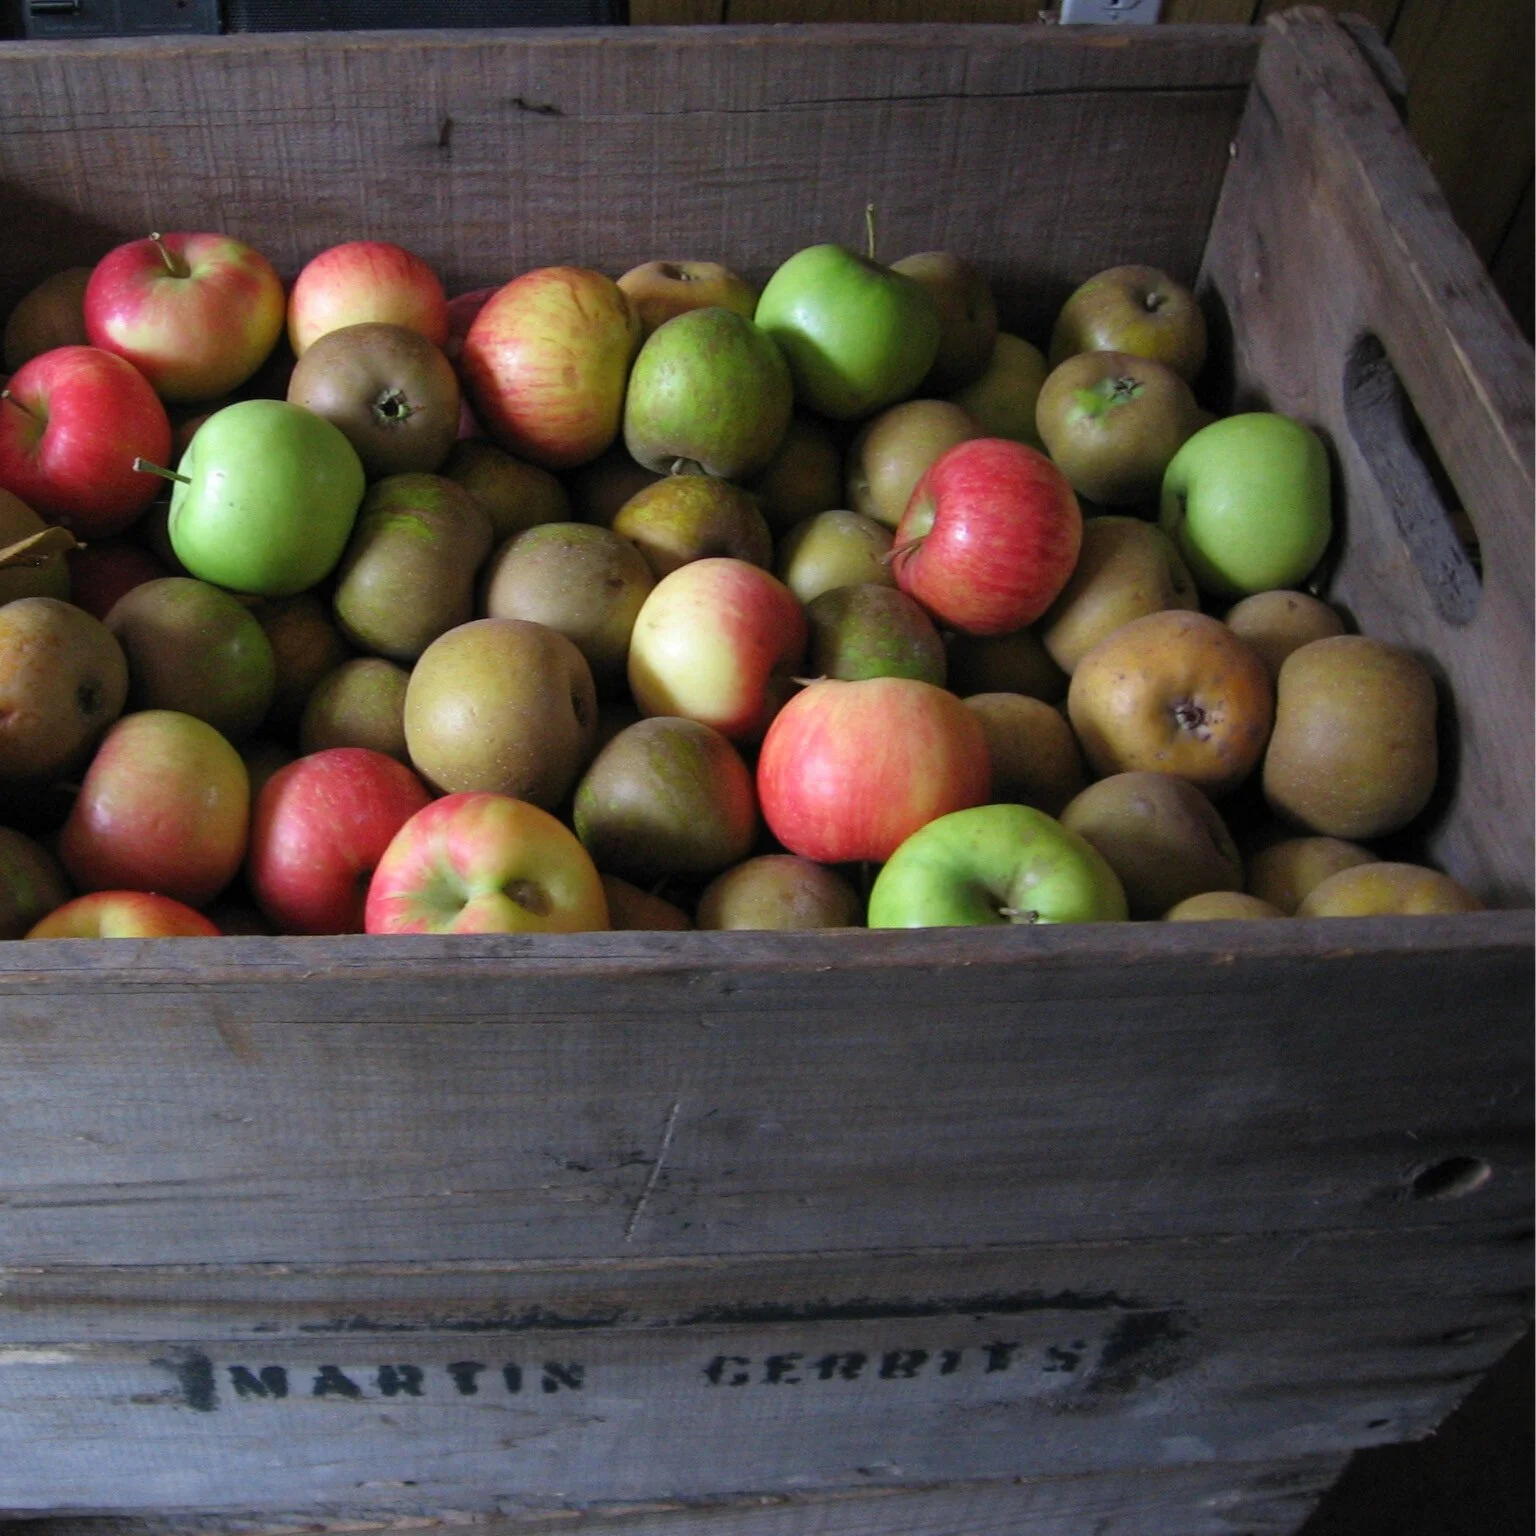
APPLE SHOPPING. There’s no need for blemish-free apples. Go to roadside stands or orchards and look for “C” (sometimes called “cee”) grade apples, which are misshapen, blemished, or smaller or larger than retailers want. Some varieties are juicier than others: ‘Macintosh,’ for example, is quite juicy, while ‘Russets’ are more dry and mealy (but they can be very sweet!). Some varieties are sweet, some are tart, some are aromatic—and some are astringent. For a more complex flavour, especially if you’re fermenting it, try to use a blend. One year I saw a couple of pecks of crabapples for sale so added them to the apples I was grinding for a carboy of hard cider. Crabapples often have more tannins, which can be a nice addition. Another year, my friend Dave picked the crabapples growing in the schoolyard.
STORING CIDER. Refrigerate fresh cider. It will last 1 to 2 weeks in the fridge before it begins to ferment. For freezing, milk cartons and plastic juice bottles work well. Don’t fill containers to the top because cider expands as it freezes, and you’ll end up with a bunch of little cider volcanoes in your freezer.
CIDER FOR COOKING. I use lots of cider in my cooking. My approach to French onion soup combines consommé, red wine, and apple cider that have simmered all day. Apple-cider baked beans are a big hit with my kids. And I use cider in marinades and glazes.
GROWING APPLES. Growing apples in an urban garden is hit and miss. Some years the old ‘Mutsu’ apple tree in my yard is laden; other years start off well until the squirrels make off with nearly all of the fruit. Without thinning, apples tend to bear fruit in alternate years. I grew espaliered apple trees with some unusual cider apple varieties: some died because of a nearby black walnut tree; and the others, which were coming along nicely, have just been gnawed back to the trunk by a squirrel that used the branches to make a nest. Maybe next year…
Want to Store More of Your Own Food?
25 Storage Crops
Growing crops that store well is one way to store more of your own homegrown food. Here are 25 storage crops for your garden.
Interested in Growing Fruit?
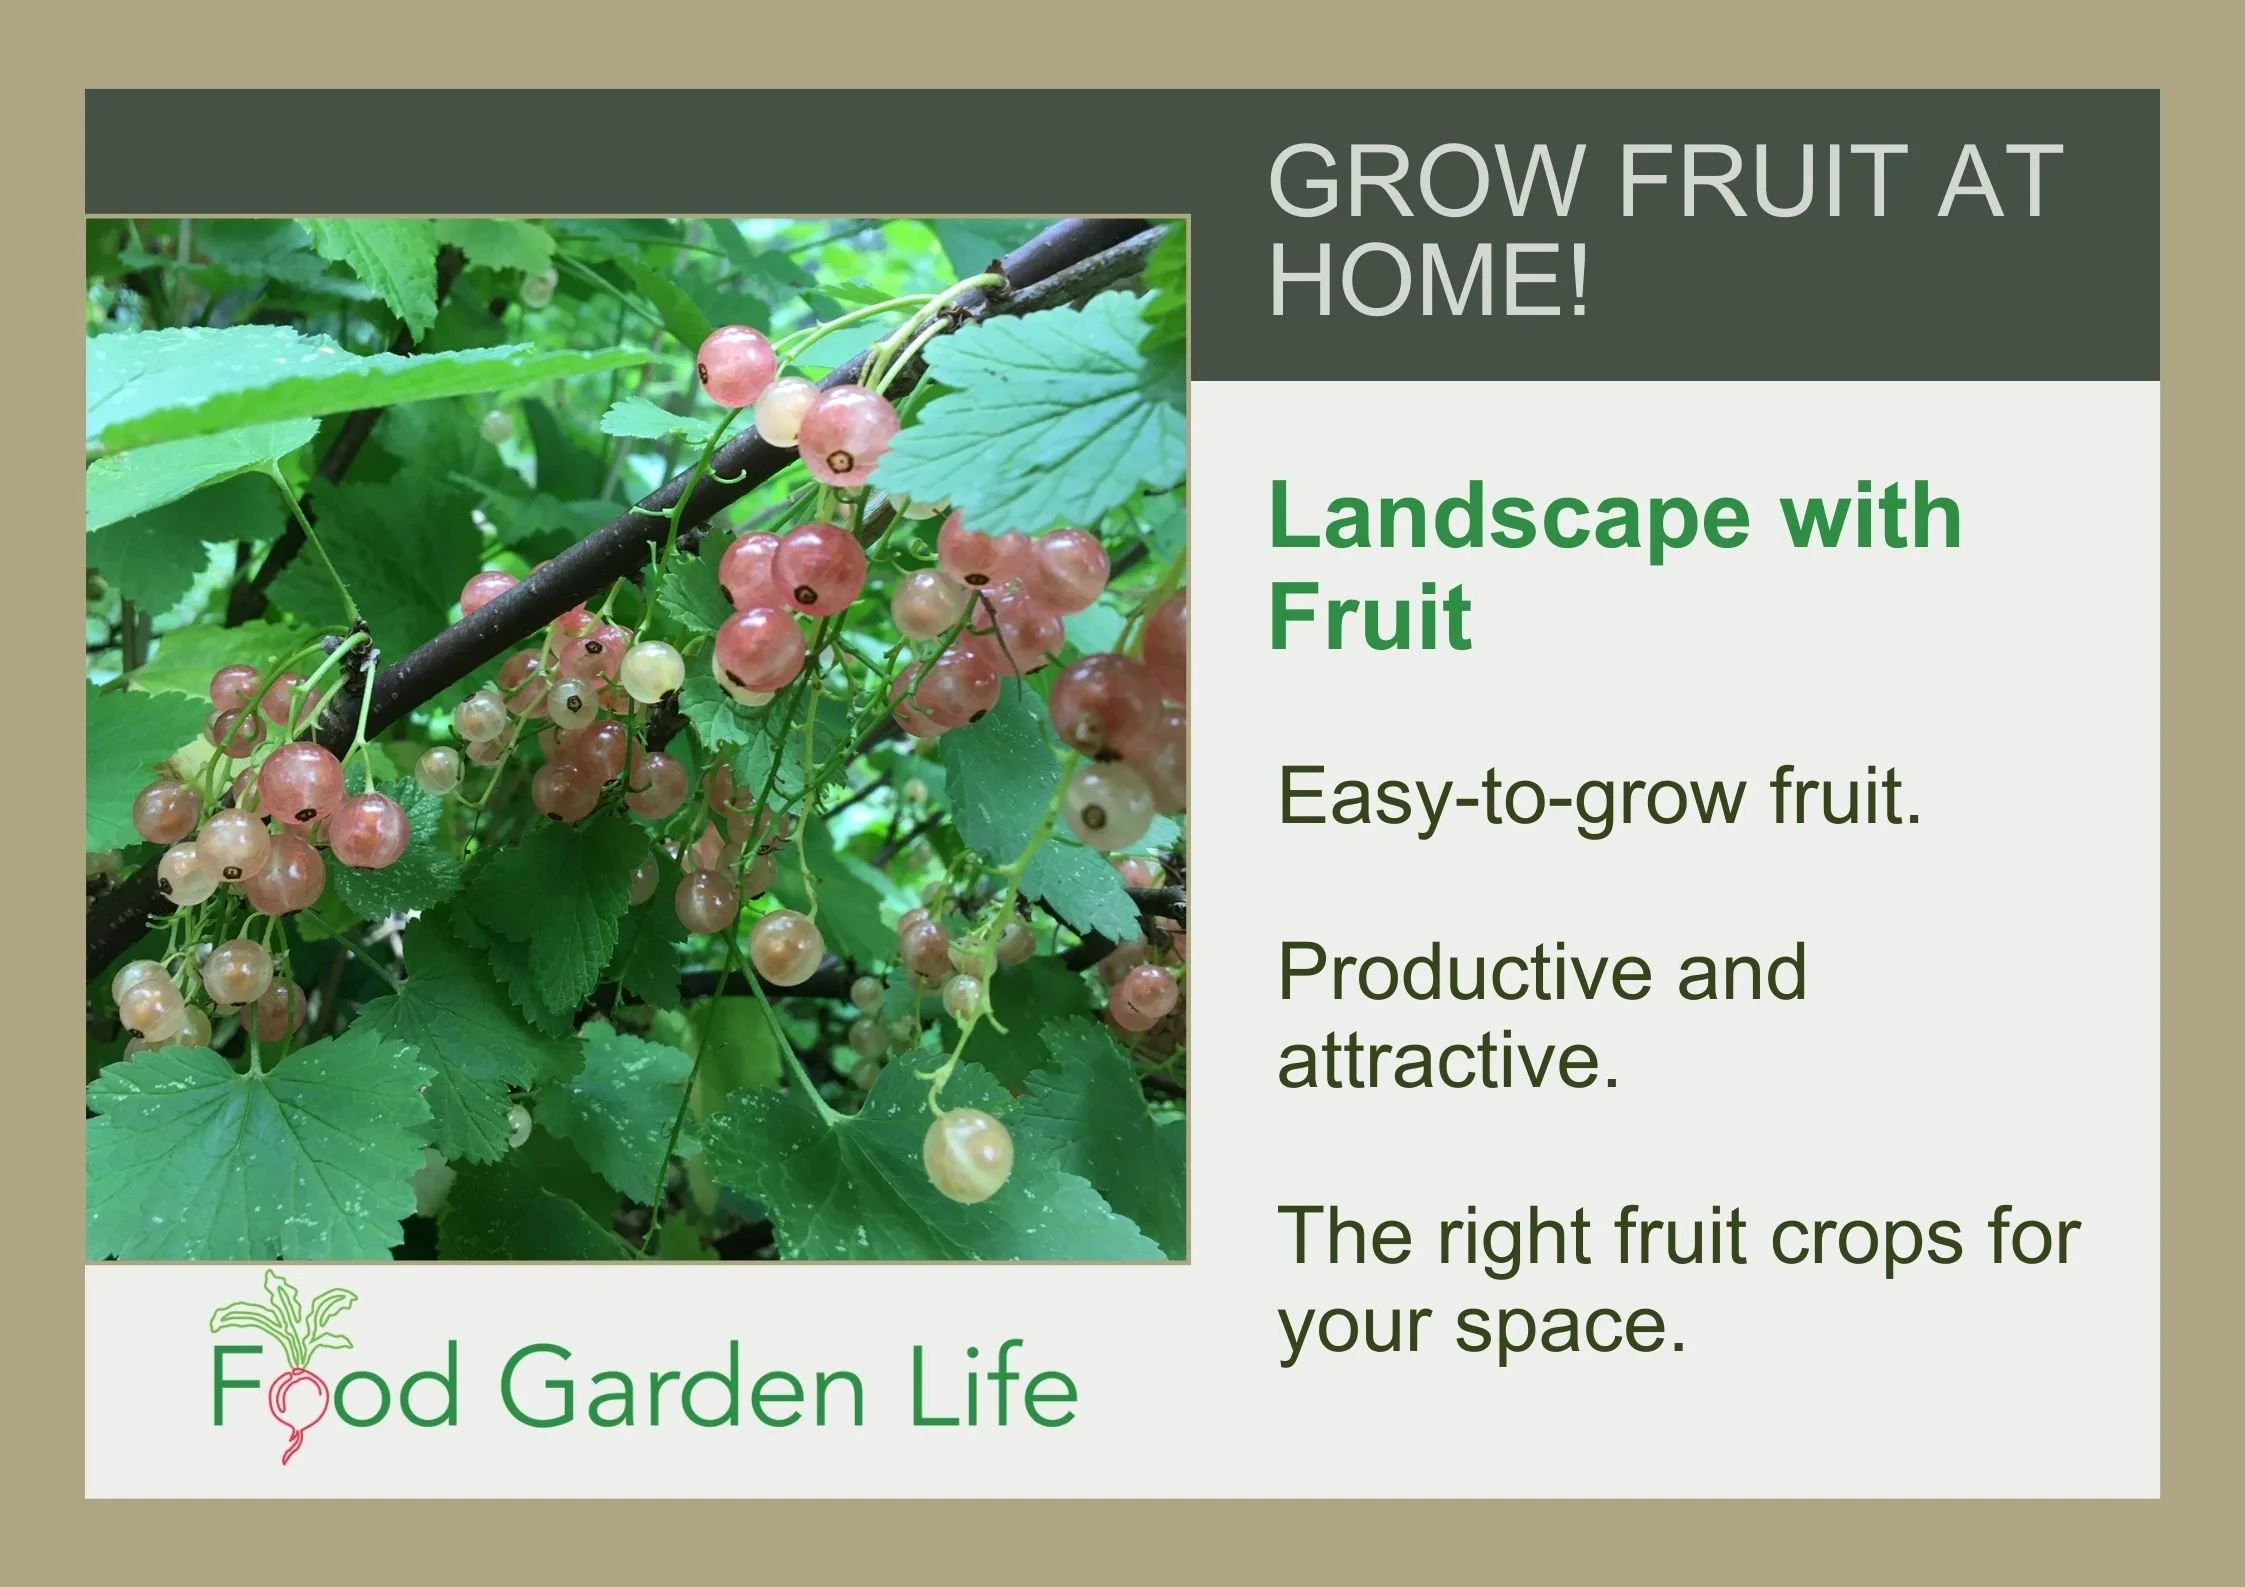
Find out how to grow fruit at home with these articles.
Or take the Fruit Masterclass to find out about easy-to-grow fruit and landscaping with fruit.
Landscape with Fruit
That’s easy to grow in a home garden!
Top Vegetables to Plant in August for a Continuous Harvest
Top crops to sow in August for a late-summer and fall harvest.
By Steven Biggs
As August rolls around the mid-summer vegetable garden harvest includes heat-loving crops such as tomatoes, okra, and eggplant.
(August is also when many people realize they've planted too much zucchini!)
And by early August there's usually space open for succession crops as early crops finish:
The garlic and onions are done
Pea vines have withered in the summer heat
Early beans are kaput
There's still lots of the growing time left before the snow flies. Early August is a good time to sow seeds for fall vegetable gardening.
Not sure what to plant in August? Keep reading for ideas about what to plant in August.
Vegetable Garden Crops to Sow in August
August is the time to sow cool-weather crops for the fall garden.
It’s also last call for some fast-growing heat-loving crops too, such as bush beans.
By August, the remaining frost-free window is getting shorter. So our focus is crops that mature fairly quickly.
Tips for Planting in August
Summer conditions such as dry soil and scorching heat can be hard on seeds sown outdoors.
Here are tips for direct-sown crops:
Water regularly for faster, more consistent seed germination in hot weather
Where possible, shade young plants of heat-sensitive crops such as lettuce with row cover or mini hoop tunnels
Grow varieties that are fast to mature
Find out your first frost date so you can pick suitable crops (Here in Toronto I know that I can expect my first frost in late October.)
Top Late-Summer Crops for August Planting
Wondering what to plant in August?
If you are looking for ideas of what to plant in August, here are some of my favourites.
Beets
Beets are an excellent crop to plant in August.
My grandmother always made us pickled beets from perfect little cherry-sized beets. If you want smaller beets for a fall harvest, keep planting beets into August.
(Experiment with varieties and planting dates to figure out what works well in your area. The worst case scenario if you plant too late is that you will have lots of beet greens for your fall salads.)
Summer-Sowing Tip: Throw some radish seeds over top of your newly planted beet seeds. The radishes mature more quickly than the beets.
Find out more about storage crops such as beets.
Bush Beans
Keep harvesting beans all summer by sowing more bush beans in early August.
This is the last call to sow bush beans!
Summer-Sowing Tip: Speed up bean germination by soaking seeds in water overnight before planting.
Grow a Container Vegetable Garden
And get an early harvest of crops that usually take too long!
Cabbage Family
August is a good time to transplant broccoli, cauliflower, and cabbage seedlings
Now is a good time to transplant broccoli, cauliflower, and cabbage seedlings into the garden. There’s not enough time to seed these directly in the garden at this time.
If you haven't already started your own seedlings, there’s no shame in buying them!
Don't worry if you don't have broccoli, cauliflower, or cabbage seedlings. There are other cabbage-family crops that don't need as much time to mature.
Kale. Planting kale seeds outdoors in August works well.
Rapini. A favourite of mine in the summer garden.
Carrots
Carrots are a must-have crop for serious succession gardeners.
Summer-Sowing Tip: Carrot seeds are fairly small, and can have a hard time breaking through dry, crusty soil in the summer. So water daily. Or, cover the bed to keep it moist. (I use old boards; and some people use burlap.)
Carrots and beets are root vegetables that store well in the ground for an early winter harvest. Find out about storage crops.
Keep sowing carrots in August.
Leafy Greens
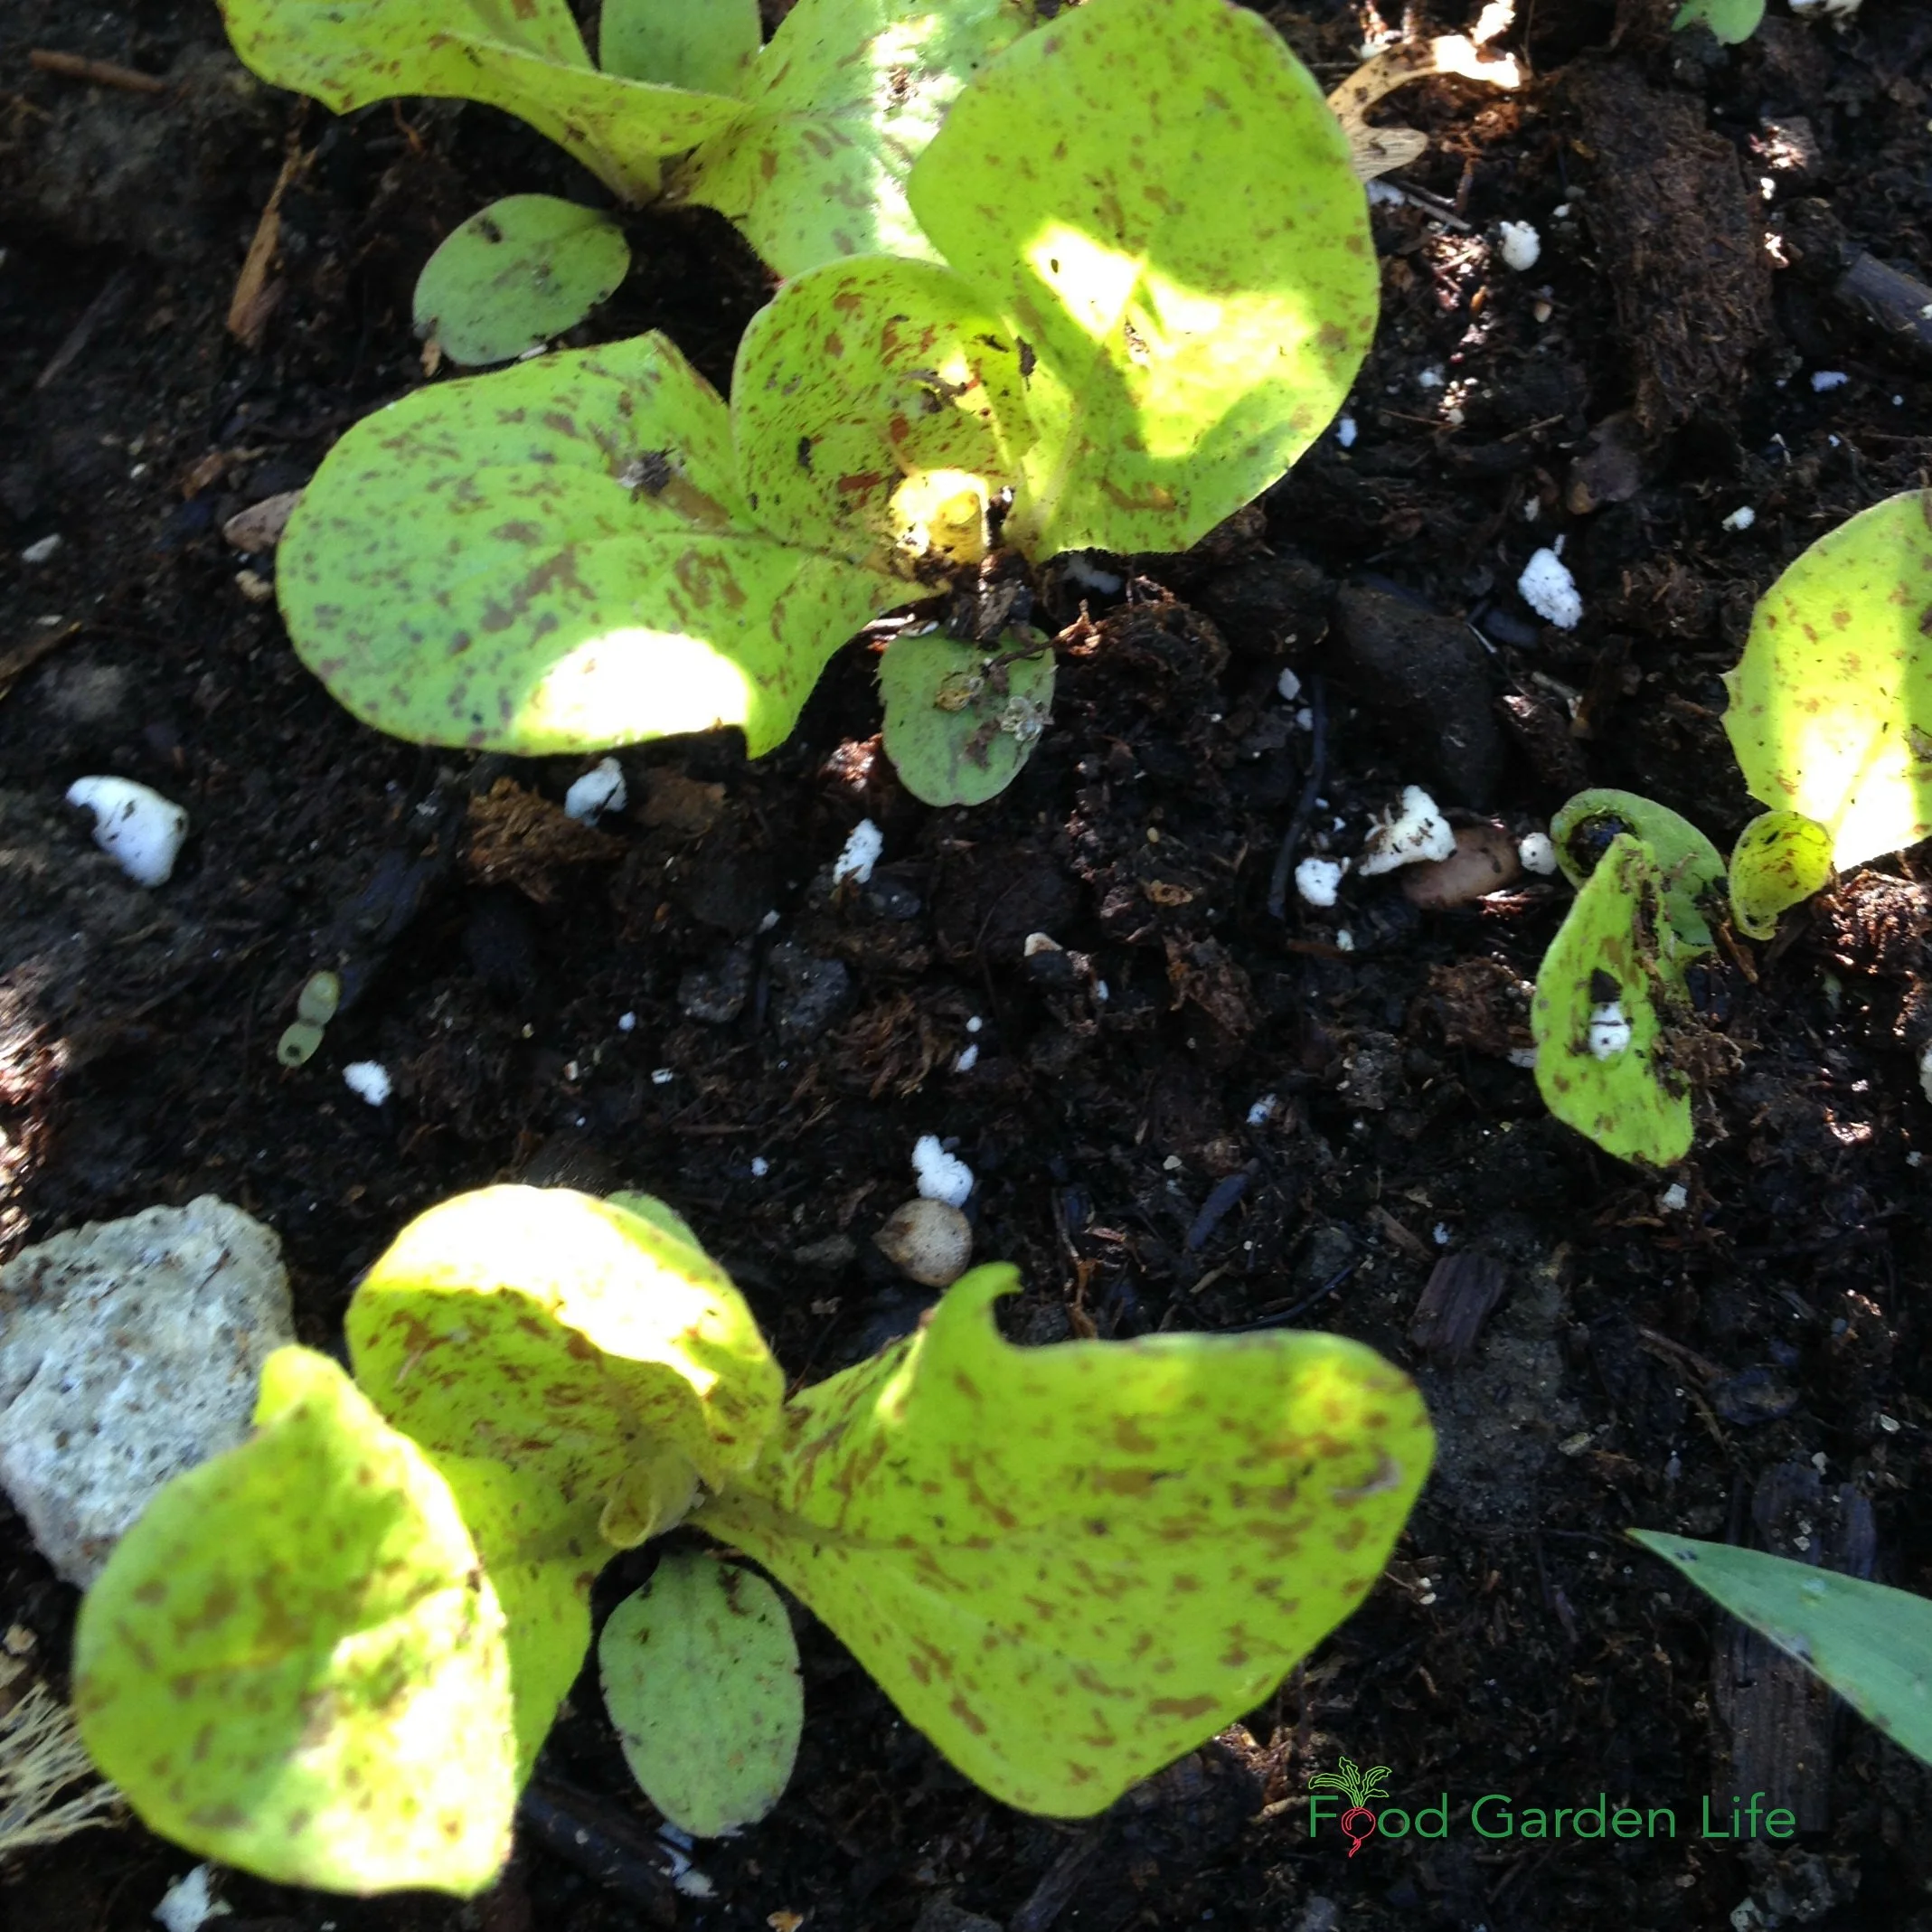
Start planting lettuce for fall harvest in August. Grow lettuce in partial shade, or protect plants from full sun with row cover or a hoop house.
Many of the cooler weather leafy greens such as lettuce and spinach have faded by mid-summer. But August is the time to start planting more for a late summer and fall harvest.
I plant these cooler weather leafy greens about 8 weeks before the first fall frost.
Swiss chard usually keeps going in my garden all summer long. But in August I plant more, so that I have lots of small chard leaves to enjoy in the fall.
Green Onions
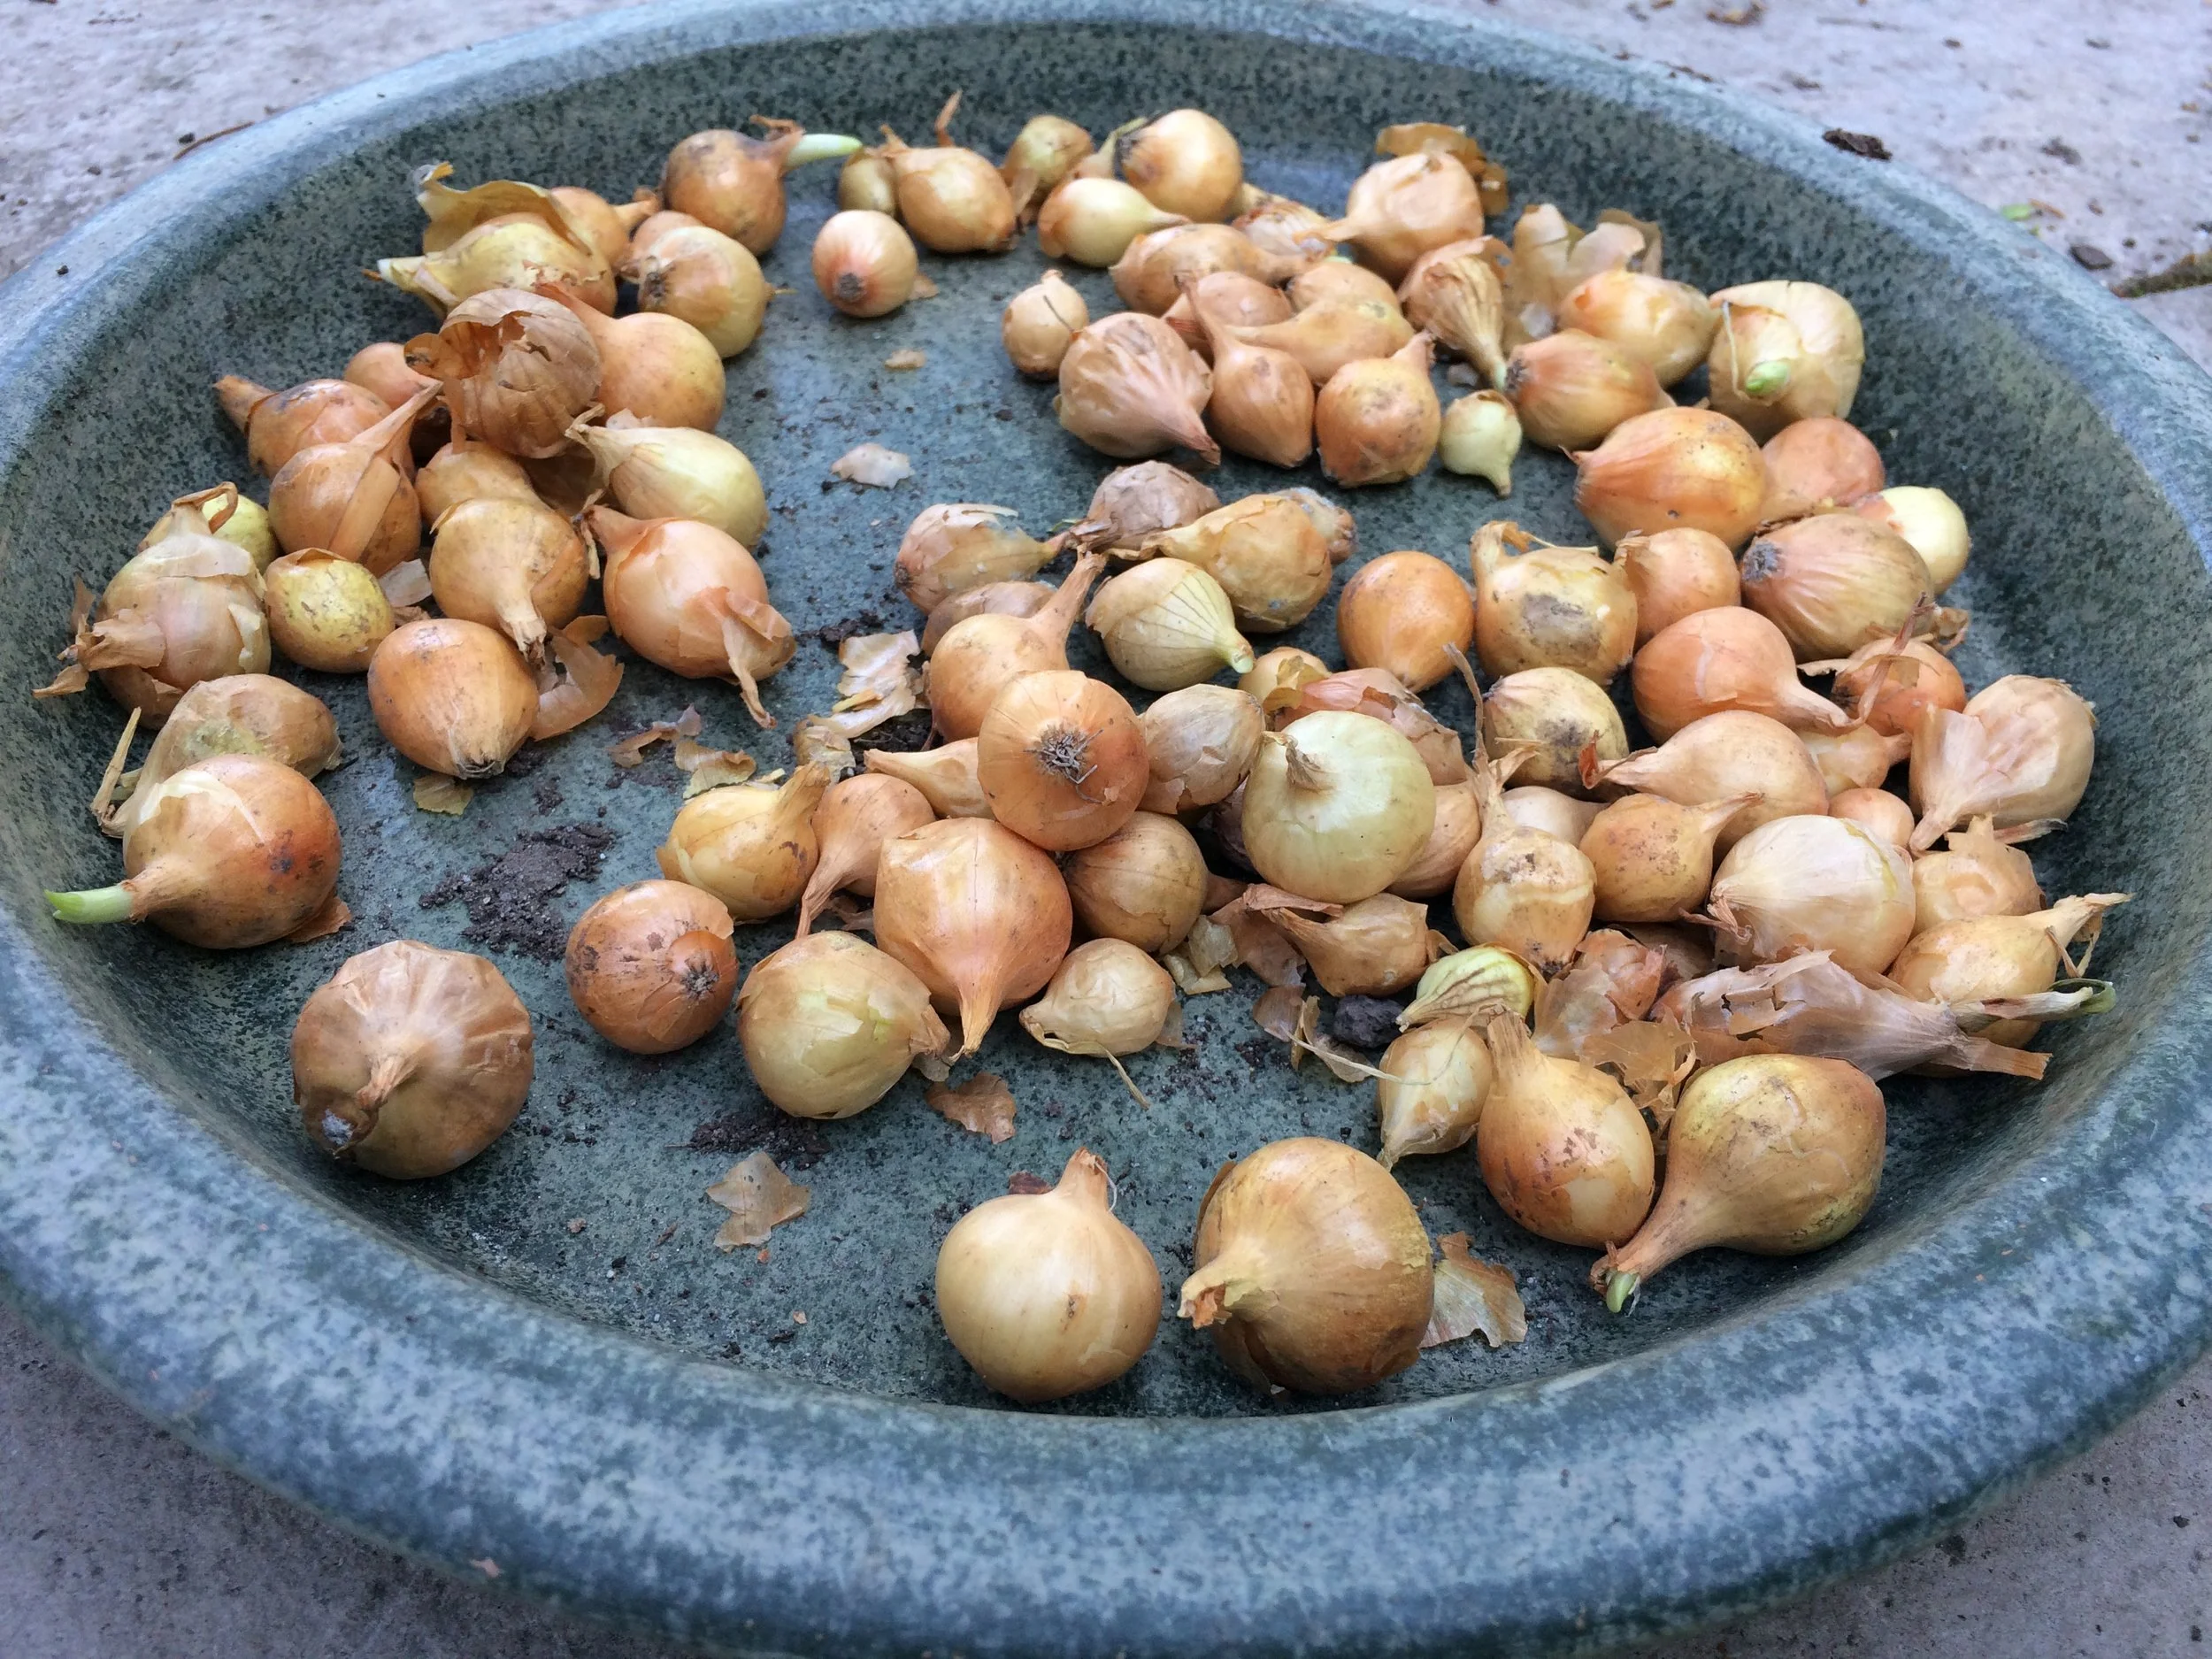
Get extra onion sets in the spring for planting in August.
When I buy onion sets in the spring I get extra sets to store in the fridge until August, when I start planting more so that I can enjoy green onions into the fall.
Turnip and Rutabaga
Often overlooked, and easy to grow.
And don’t forget that with turnips you have both an edible root and greens. Find out about other plants with more than one edible part.
Still not sure about turnip and rutabaga? Mom’s rutabaga casserole includes apple, and is topped with buttered bread crumbs…a nice way to enjoy these crops.
More Ideas for Fall Crops
More Vegetable Gardening Resources
Articles + Interviews
Courses
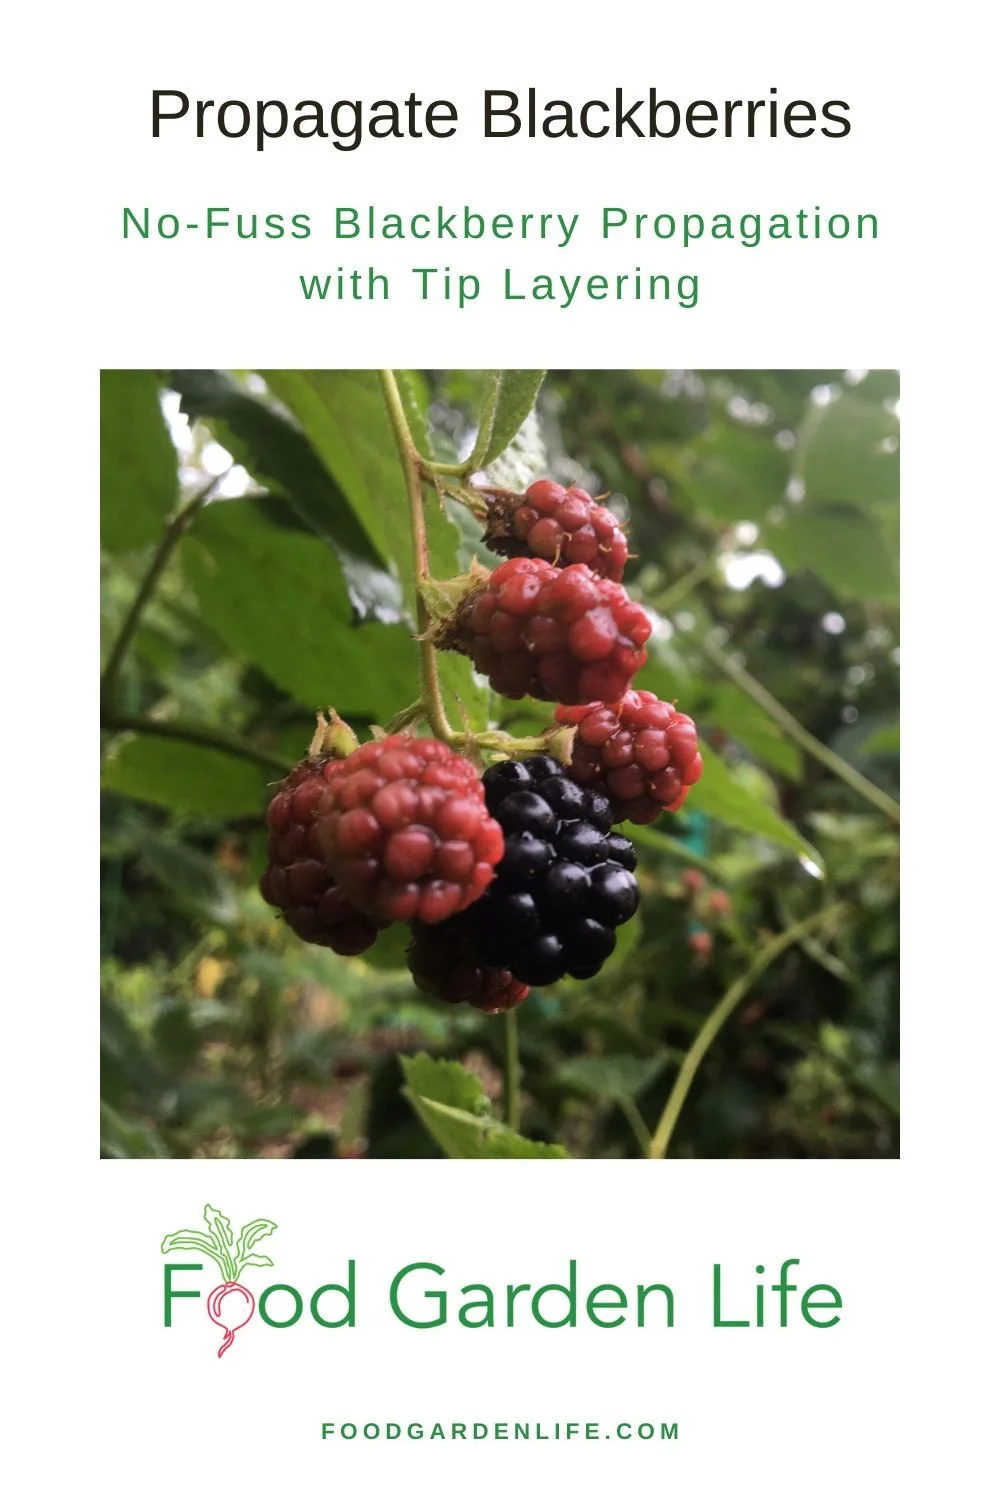
Propagate Blackberries by Tip Layering
Propagate your blackberry plants with tip layering.
By Steven Biggs
A Simple Way to Grow Your Own Blackberries
What is the easiest way to make more blackberry plants?
It's called "tip layering."
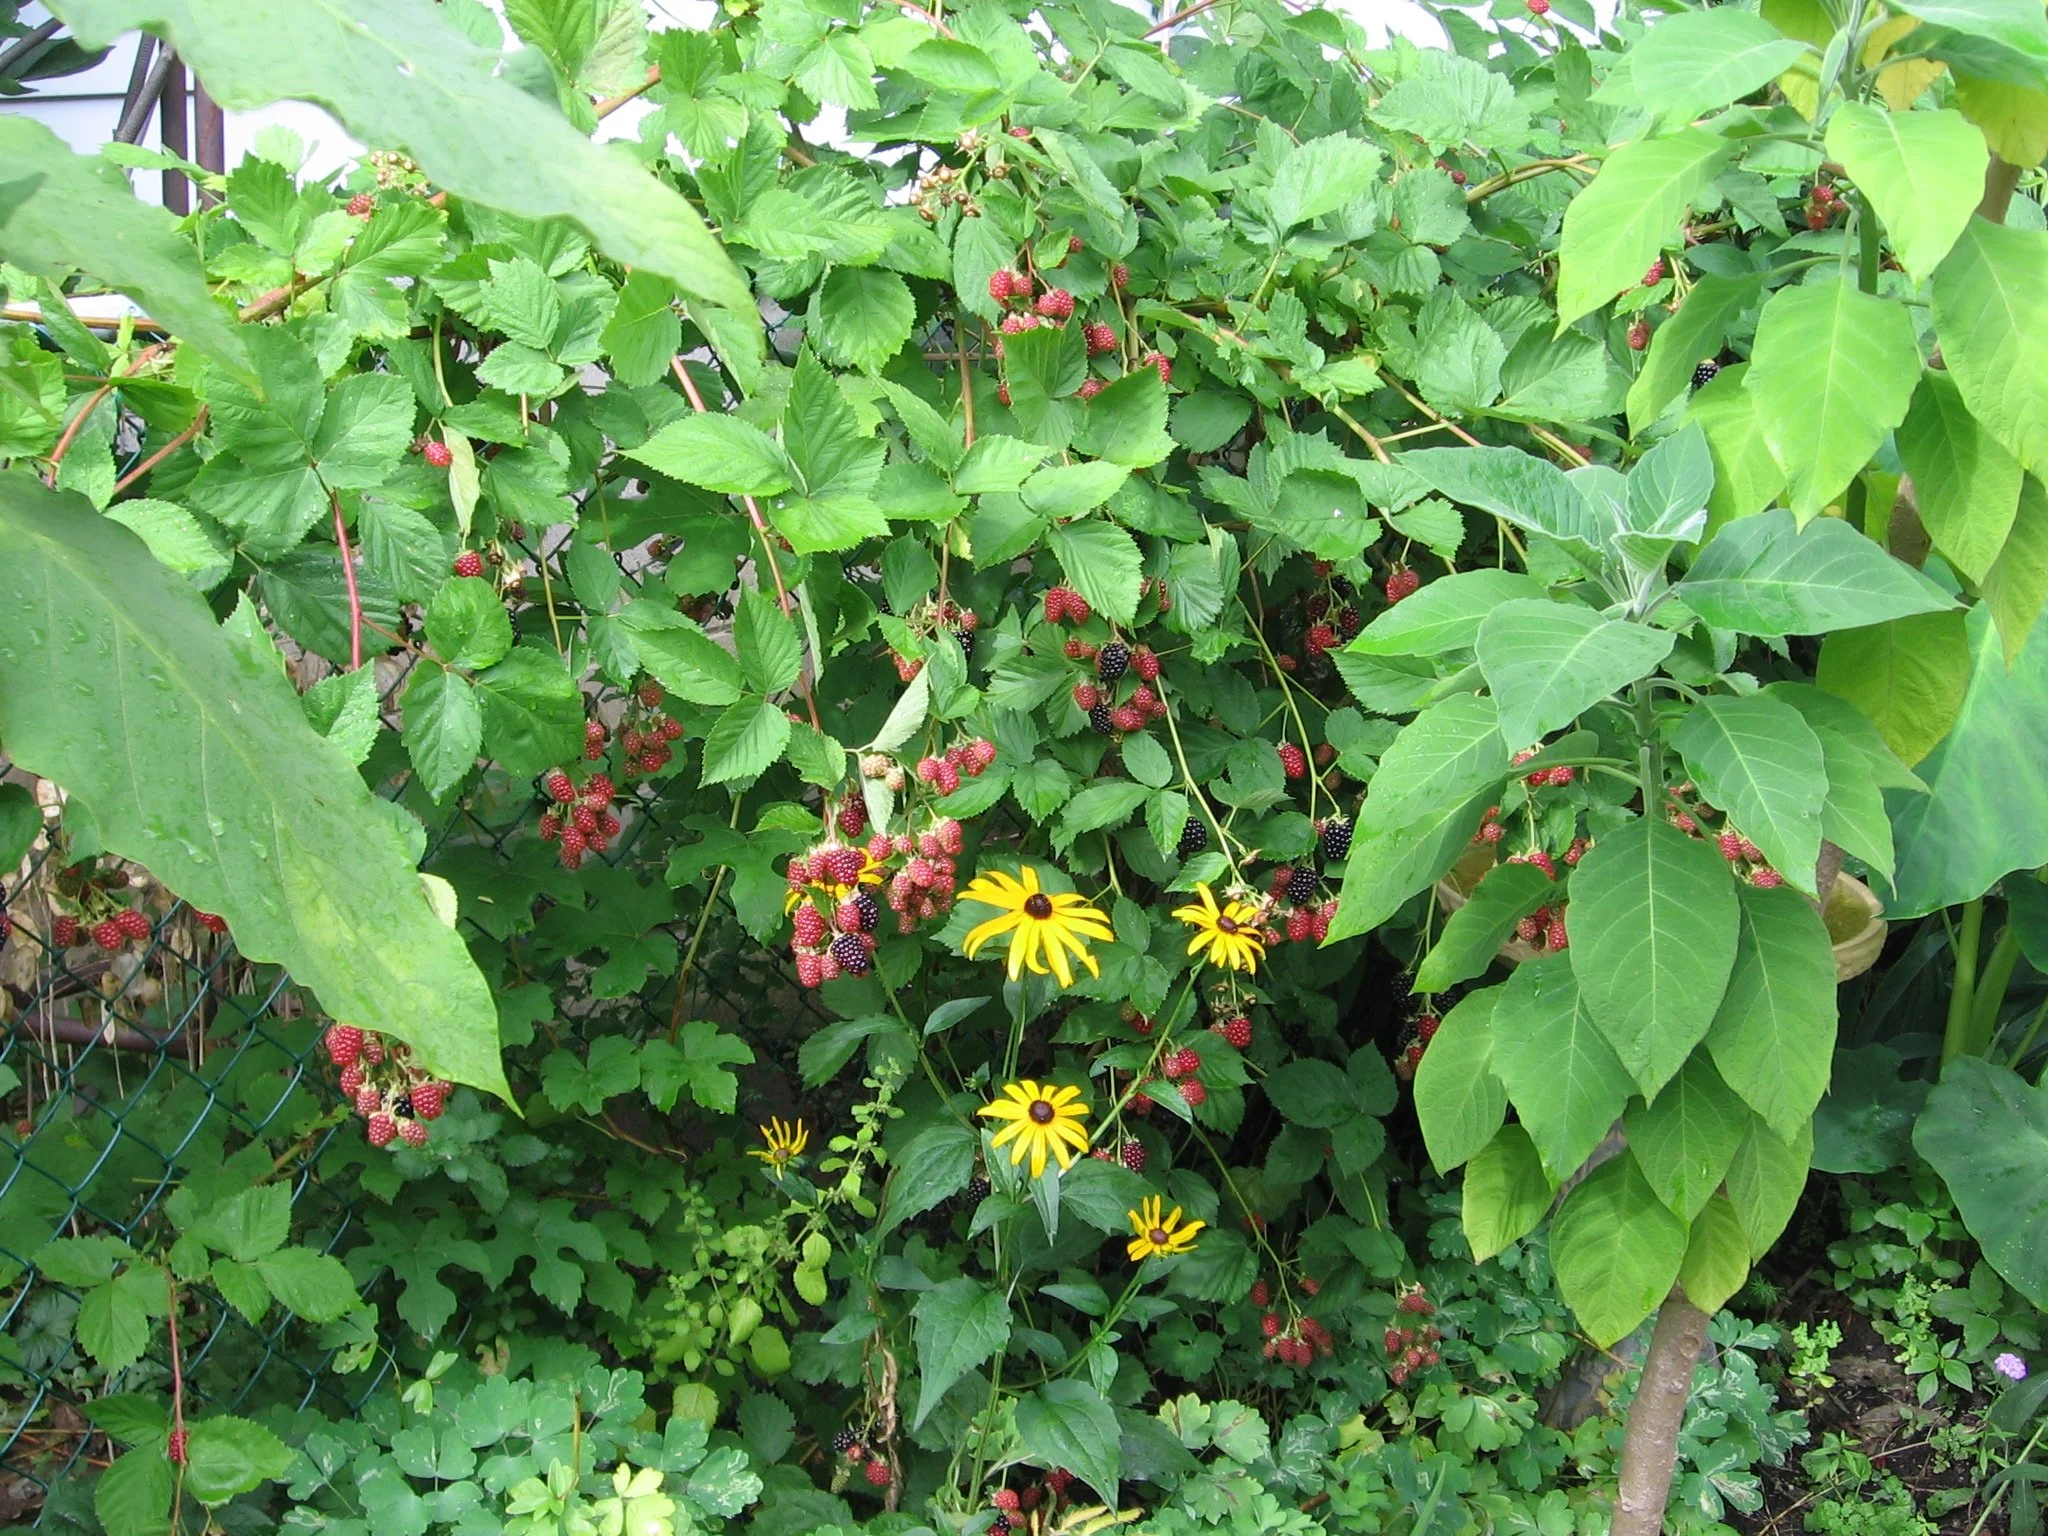
In mid-summer, as their long, arching canes reach the ground, blackberry plants often propagate themselves by tip layering.
If you want to make more blackberry plants, it’s an easy way to do it. I once tip-layered a single blackberry plant into a 30-foot stretch of blackberries along a chain-link fence!
This article tells you about this simple approach to propagating blackberries.
What is "Layering"?
I once tip-layered a single blackberry plant into a 30-foot living blackberry-plant wall along a chain-link fence.
Layering is when roots form on a stem while it's still attached to a parent plant.
Many plants naturally layer when low-lying branches touch the soil. (I find currant "layers"—rooted currant branches—in my currant patch. Find out more about how to grow and propagate currants.)
Some plants don't layer as easily, and gardeners can help the process by:
Wounding the stem where it will contact the soil
Applying a rooting hormone
Pinning the stem to the ground (or burying a portion of it)
Once it has its own root system, the rooted layer can be detached from the parent plant.
What is "Tip Layering"?
Tip layering is when the tip of a stem touches the soil and forms roots. (It's sometimes called "tip rooting.")
Unlike blackberry stem cuttings, which need ongoing care, blackberry tip layering is a hands-off blackberry propagation method.
Landscape with Fruit
That’s easy to grow in a home garden!
How Blackberry Plants Grow
A blackberry plant has long arching stems, called canes. The canes grow upwards, and when they get tall enough, they start to bend. They keep growing, and the tip of the can will often bend over and touch the ground.
Once the tip of the blackberry cane touches the ground, it will grow roots. This cane has reached the ground and will stop getting longer, and instead form roots.
Once the tip of the blackberry cane touches the ground, it will grow roots. When the roots are well developed, you can cut the cane to detach it from the parent plant, and you now have a new blackberry plant.
Other Cane Fruit for Tip Layering
Purple and black raspberries can also be propagated by tip layering.
(Red and yellow raspberries are different. They send out lots of suckers and grow into a patch. To make more red and yellow raspberry plants, simply dig up plants around the edge of the patch.)
Training to Prevent Tip Layering
Tip layering is an easy blackberry propagation method. But you can have too much of a good thing…
I've seen enthusiastic gardeners inadvertently allow and an impenetrable thicket of new blackberry plants to form!
Where you don't want additional plants, train the canes to keep them off the ground. If you have a fence, simply tie them to the fence. Or put in a few stakes to which you can tie the canes to keep them above the ground.
Pruning Blackberry Plants
One other thing to keep in mind as you grow blackberries is that the canes only live for two years.
Year 1: Stems grow upwards from the base of the plant, and as they get tall enough, arch over
Year 2: The stems produce fruit
So if you want to keep pruning simple, at the end of the growing season, remove any canes that have produced fruit.
FAQ Blackberry Tip Layering
What time of year do you propagate blackberries?
The blackberry canes often begin to tip layer on their own mid-summer, as the canes get long enough to bend over and touch the ground.
Are there other types of layering?
Yes. Along with the basic layering and tip layering we talk about above, there is:
Serpentine (compound) layering, where we make several layers on a long stem by burying several sections of it.
Stool (mound) layering where a shrub or tree is cut to ground level, causing it to send up multiple shoots, which are then mounded with soil. This gives multiple, rooted stems. (It's what I use to propagate my apple rootstock.)
Air layering, where soil or a damp medium is wrapped around an above ground portion of stem to induce root formation. (I sometimes use this if want to root a long, gangly fig branch. Find out more about fig propagation.)
Why grow so many blackberry plants?
For blackberry daiquiris, of course.
More on Growing Fruit
5 Heat-Tolerant Salad Greens to Grow All Summer Long (Plus a Great Garnish)
Lettuce bolting in hot weather? Here are 5 easy-to-grow and heat-tolerant salad greens to grow in hot weather. (Plus a delicious heat-loving garnish for your salad!)
By Steven Biggs
Pick Crops to Expand Your Hot-Weather Menu
As hot summer weather arrives, many spring greens start to bolt. When they bolt (when they send up flower stalks) they stop producing tender leaves. It’s game over.
Find out how to slow down lettuce bolting.
One way to harvest a steady supply of green leaves over the summer months is with succession crops. Make ongoing plantings of bolt-prone crops such as lettuce, spinach, and arugula. (Look for heat-tolerant lettuces.)
Here's more about succession crops.
But there's another way to get a steady supply of summer salads: Grow heat-tolerant greens.
If you want hot-weather greens, keep reading. As warm weather arrives, add some of these other leafy greens to the garden to spruce up your salads.
5 Leafy Greens for Summer Heat
Here are five of my favourite heat-tolerant greens for the summer garden.
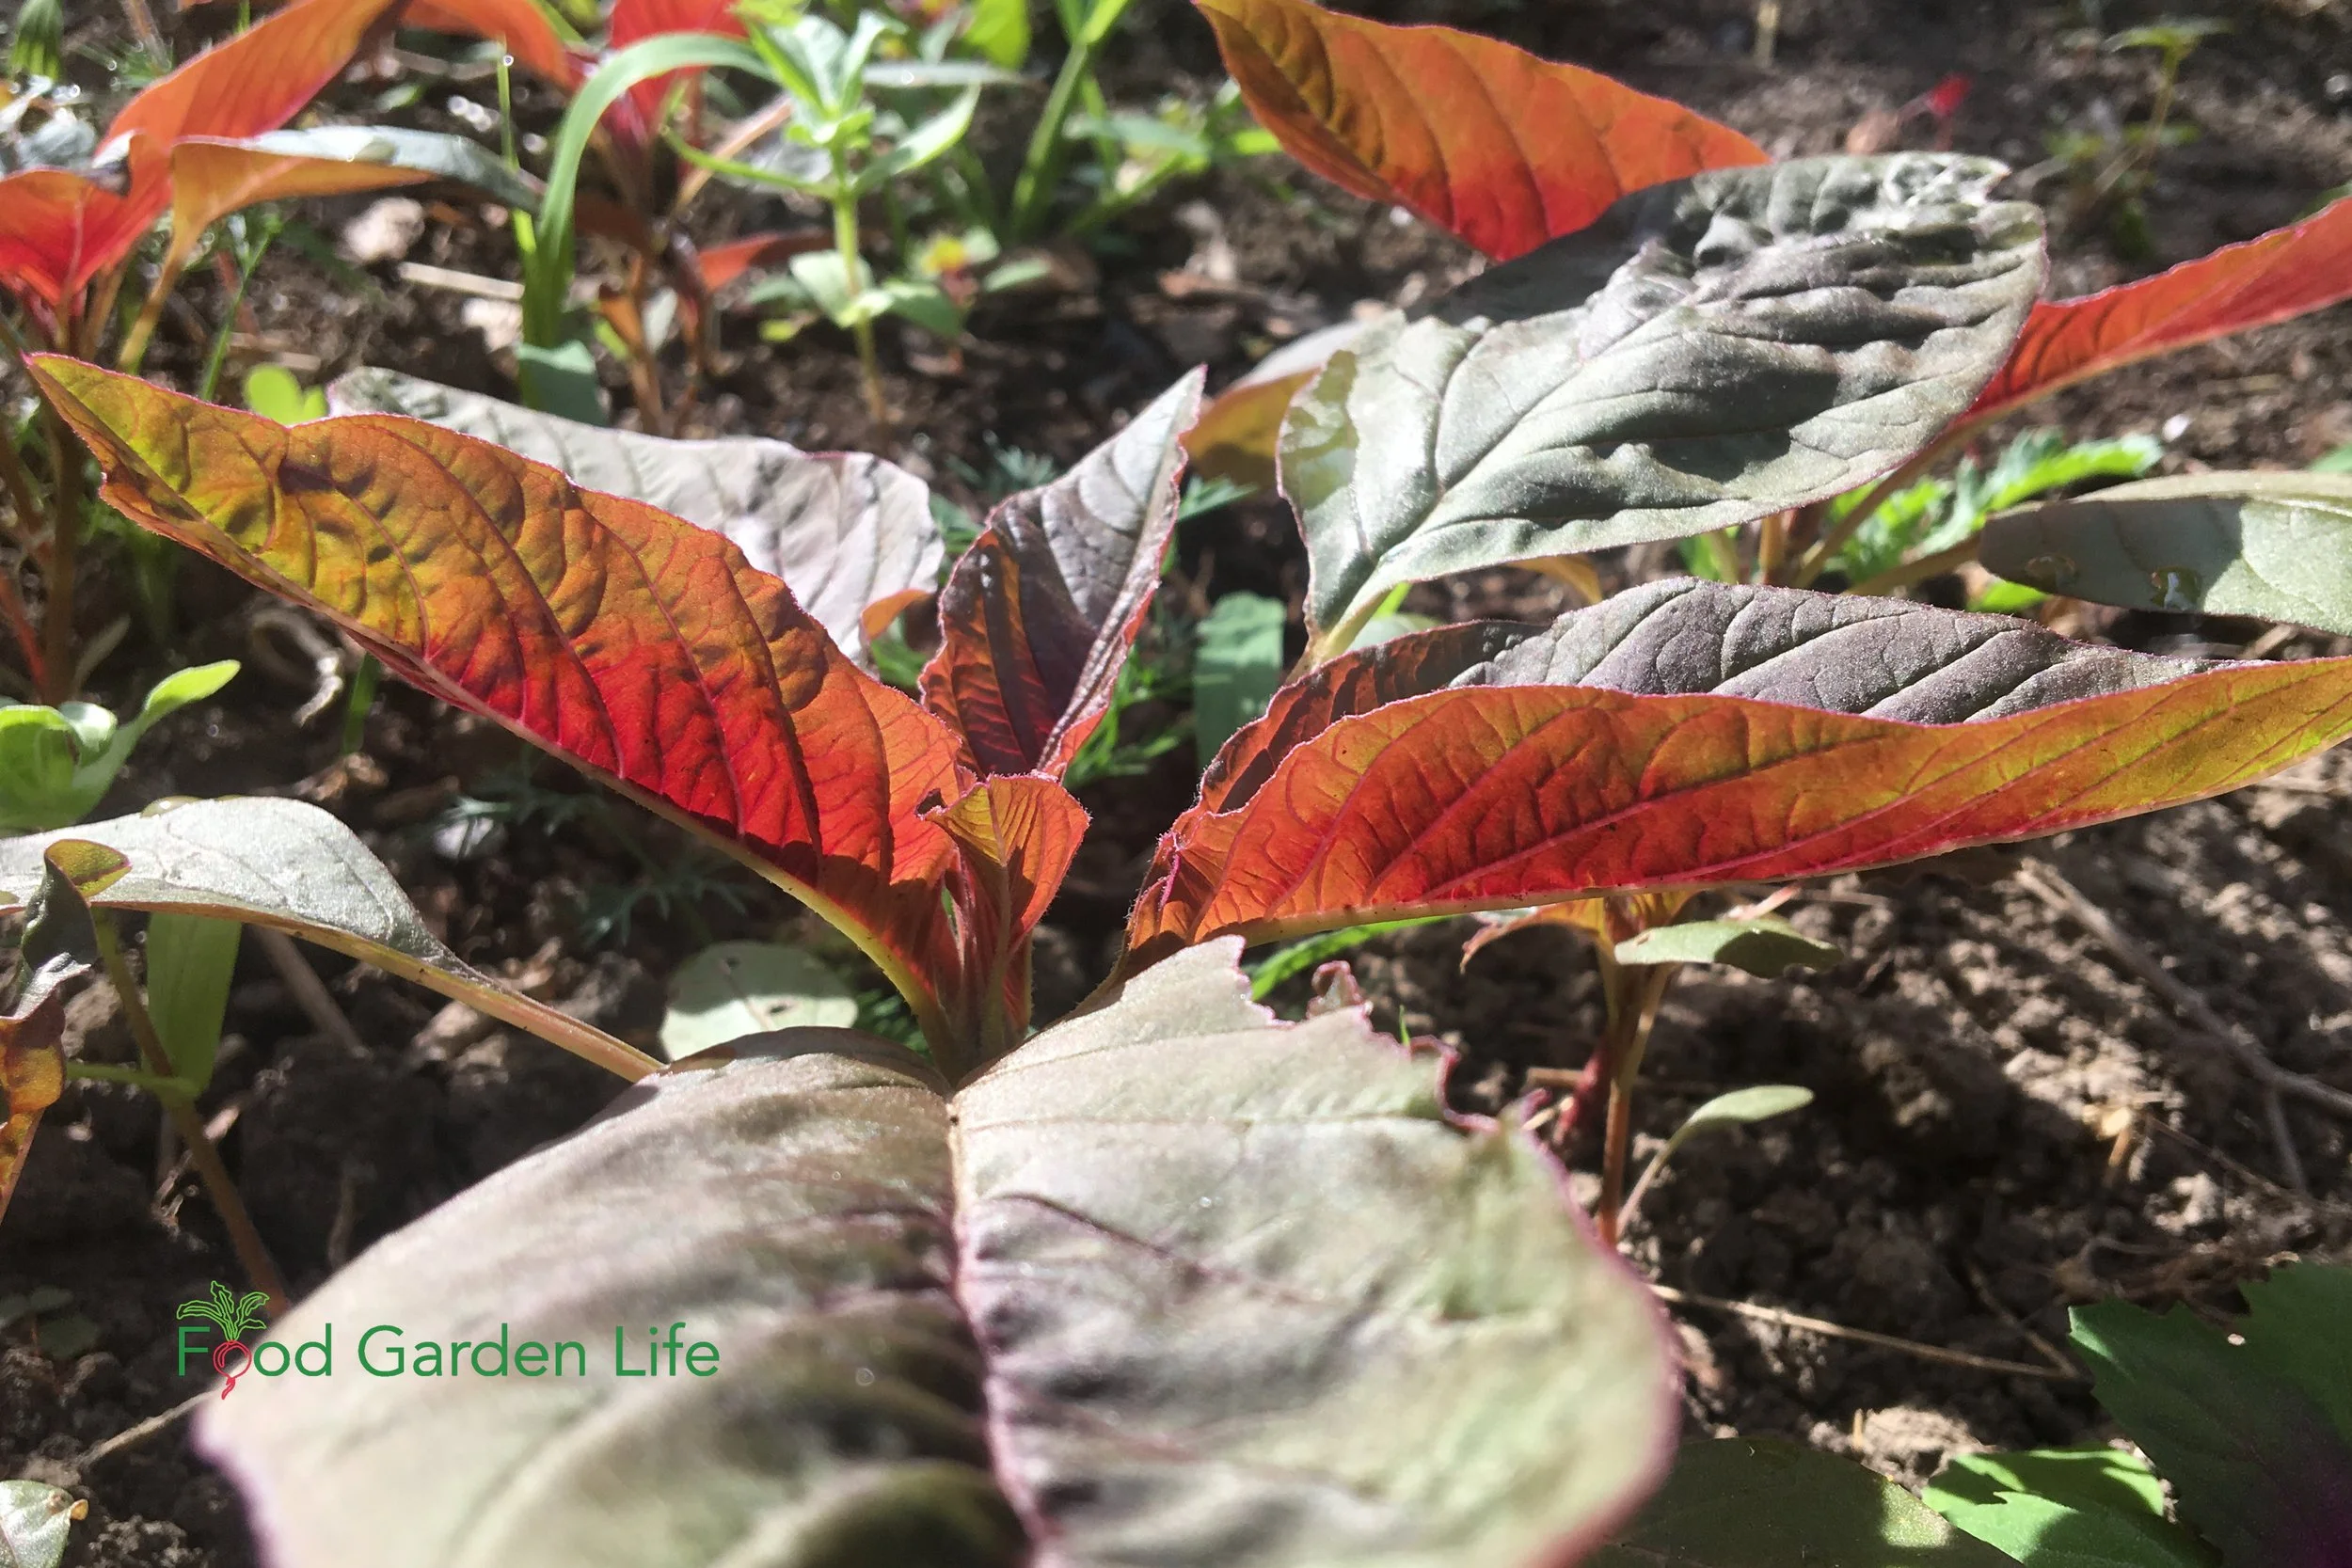
Amaranth Leaves
Amaranth is easy to grow and thrives in the heat. It loves hot summers!
Amaranth is a versatile plant and a great choice for spots where you want to weave together the edible and ornamental. It's grown for its edible seeds, its ornamental uses, and for its edible leaves.
The leaves can be eaten raw when young. They taste a bit like spinach. Use larger leaves cooked, in soups and stews.
This is a crop that confidently self-seeds. Grow it once, and you're set for upcoming years. As little amaranth seedlings pop up in my veggie patch, I curate—I pull out some of the small amaranth plants for the salad bowl, and leave a few to grow where I want larger amaranth plants.
Grow a Container Vegetable Garden
And get an early harvest of crops that usually take too long!
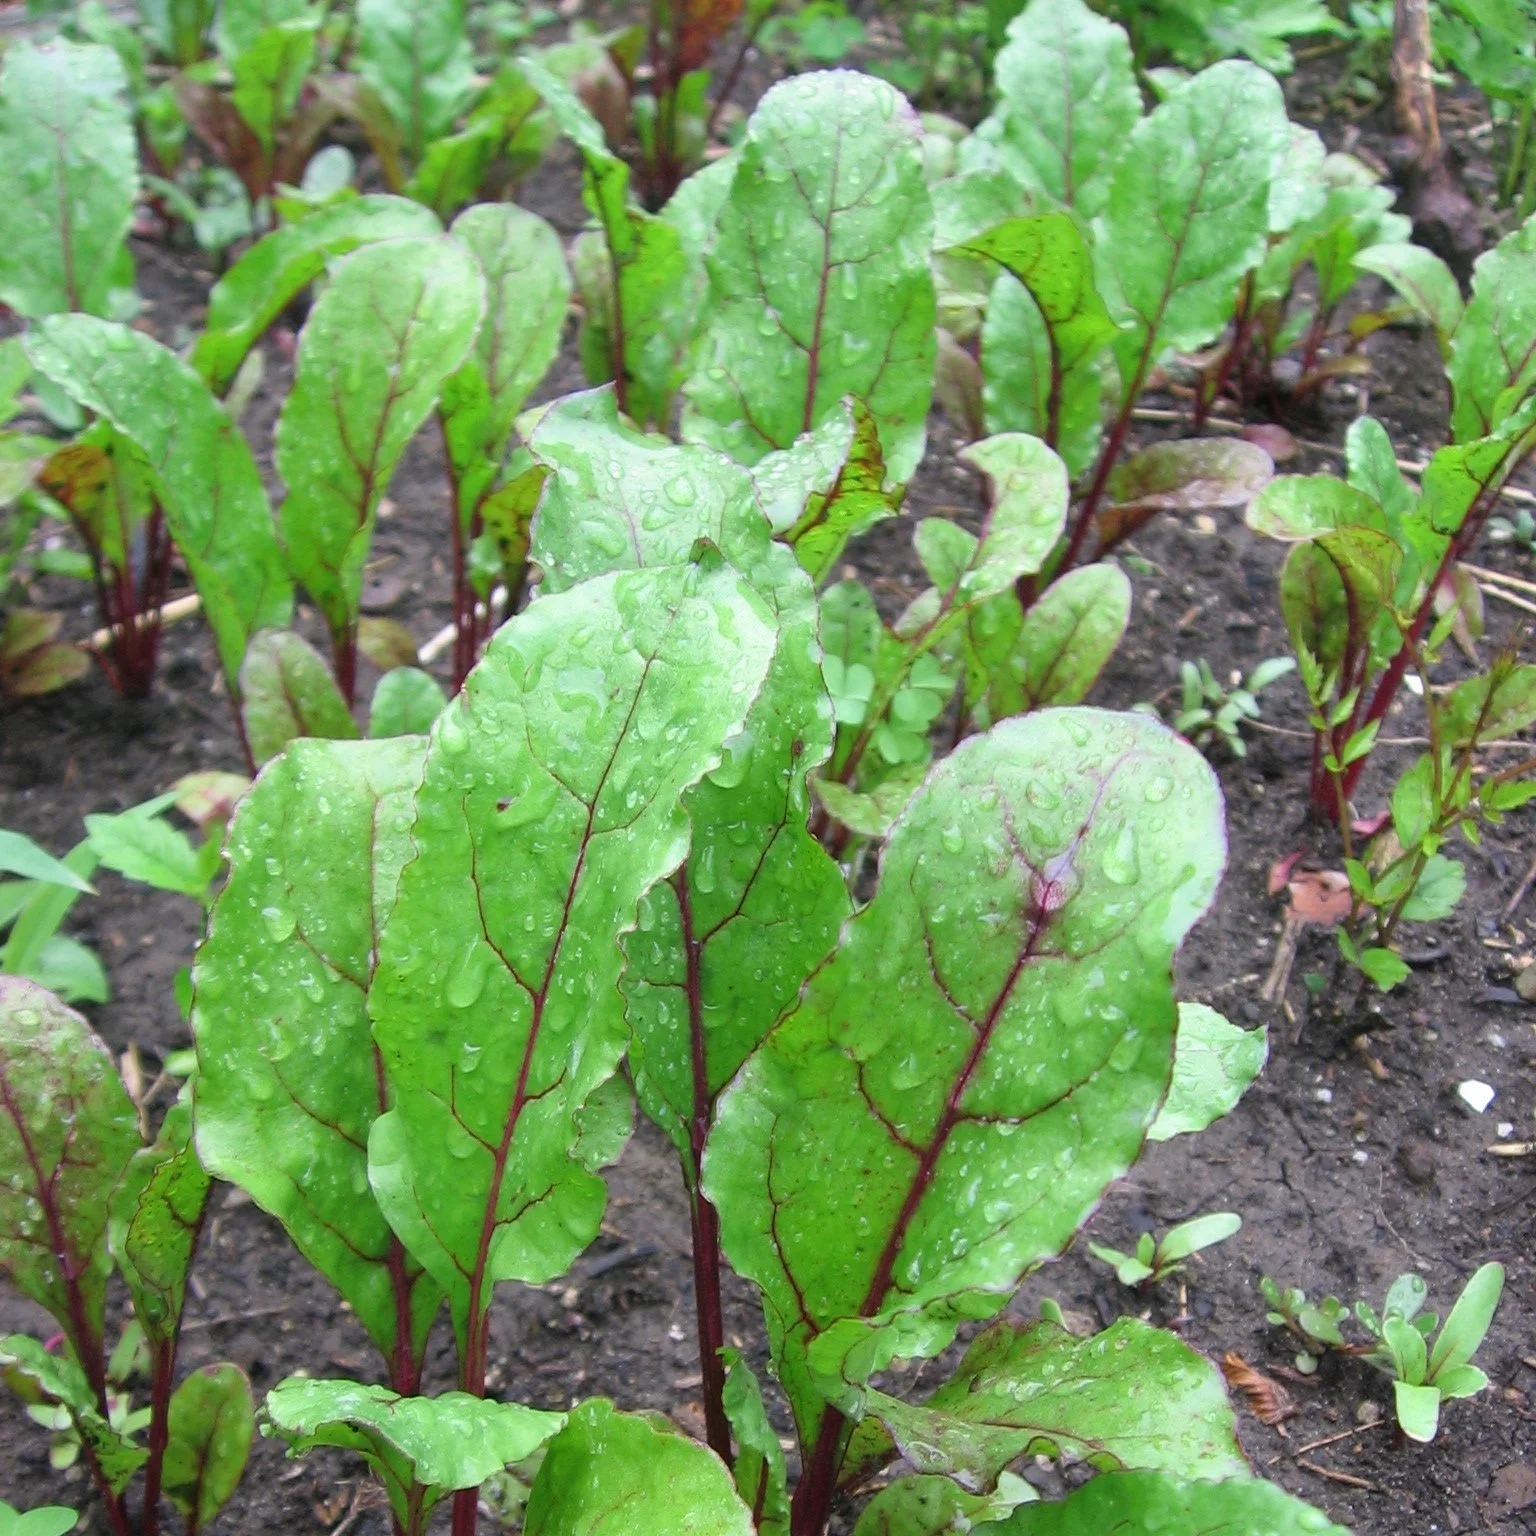
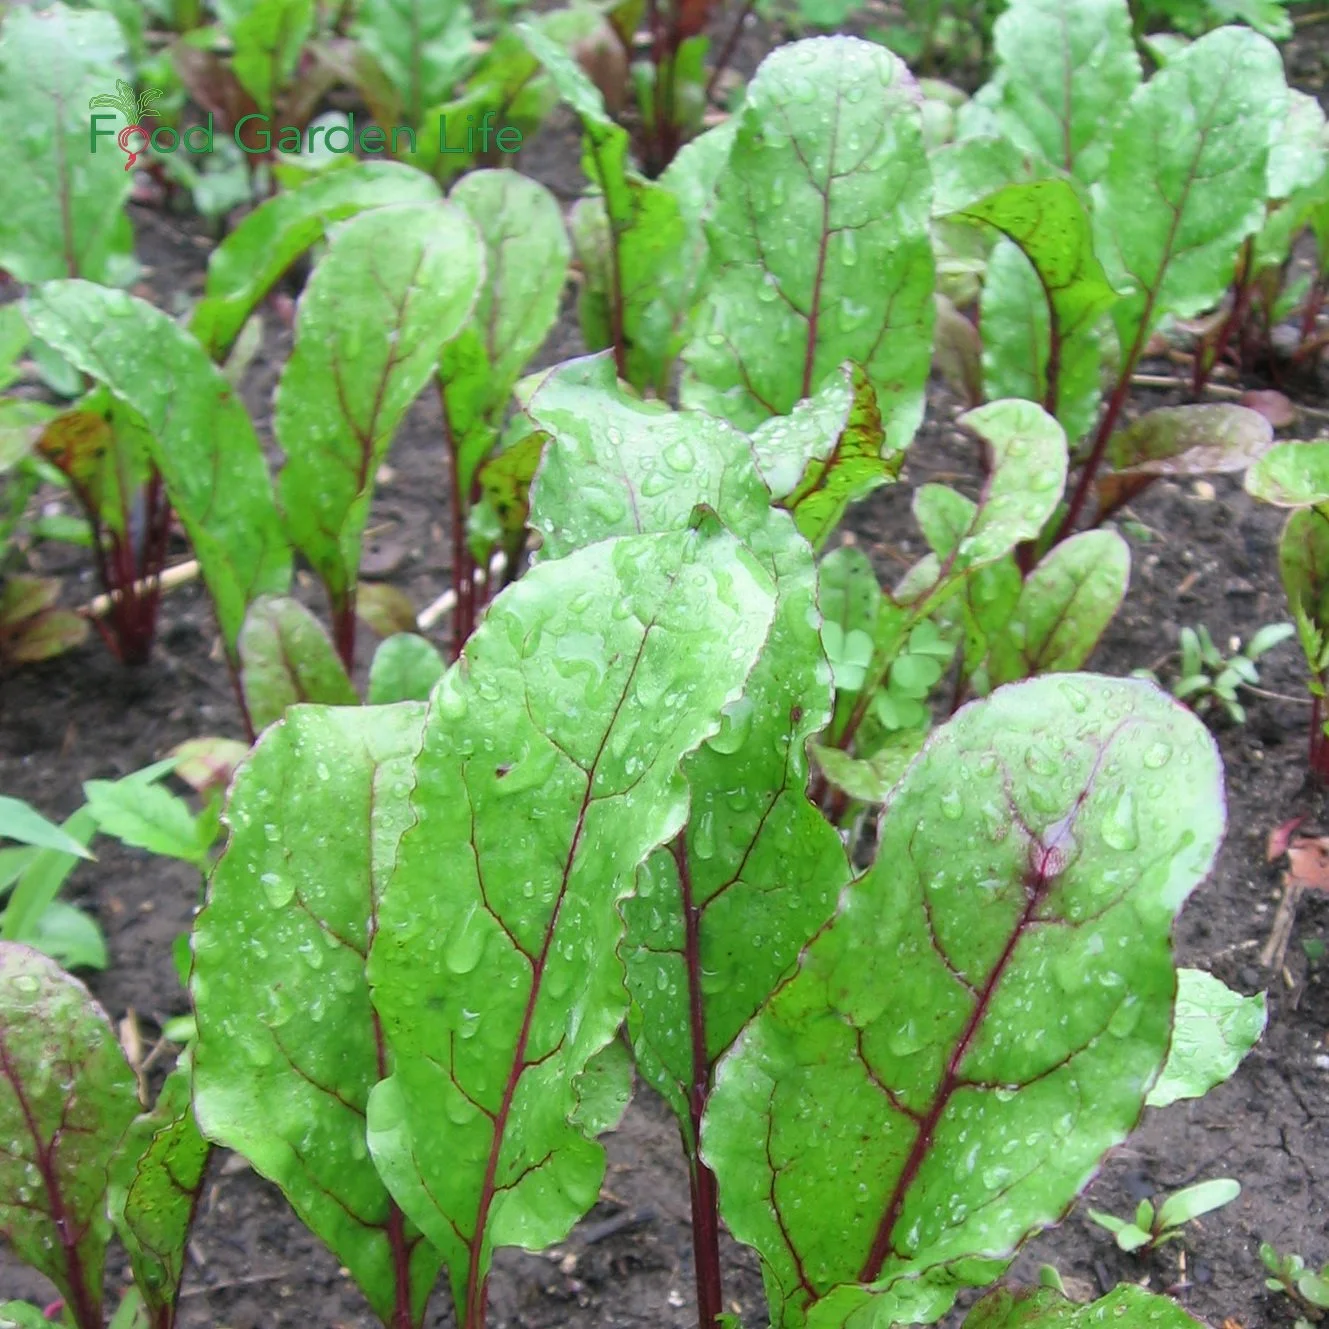
Beet Leaves
Steal a few leaves from the beet patch to add to summer salads.
As I make salads with summer greens, I like to steal a few small leaves from the beet patch.
Beet greens are edible. Use young leaves raw in salad, and cook larger leaves. (I add mature leaves to borsch. Here's Mom's borsch recipe.) Eaten fresh, these young leaves have a slightly earthy taste, like their kin, Swiss chard.
Even though I grow this crop for its root, taking a few small leaves is no problem; just don't take them all from one plant.
There's one beet variety that I grow especially for its leaves: 'Bulls Blood' has vibrant red leaves that add nice colour to a bowl of summer greens.
Malabar Spinach
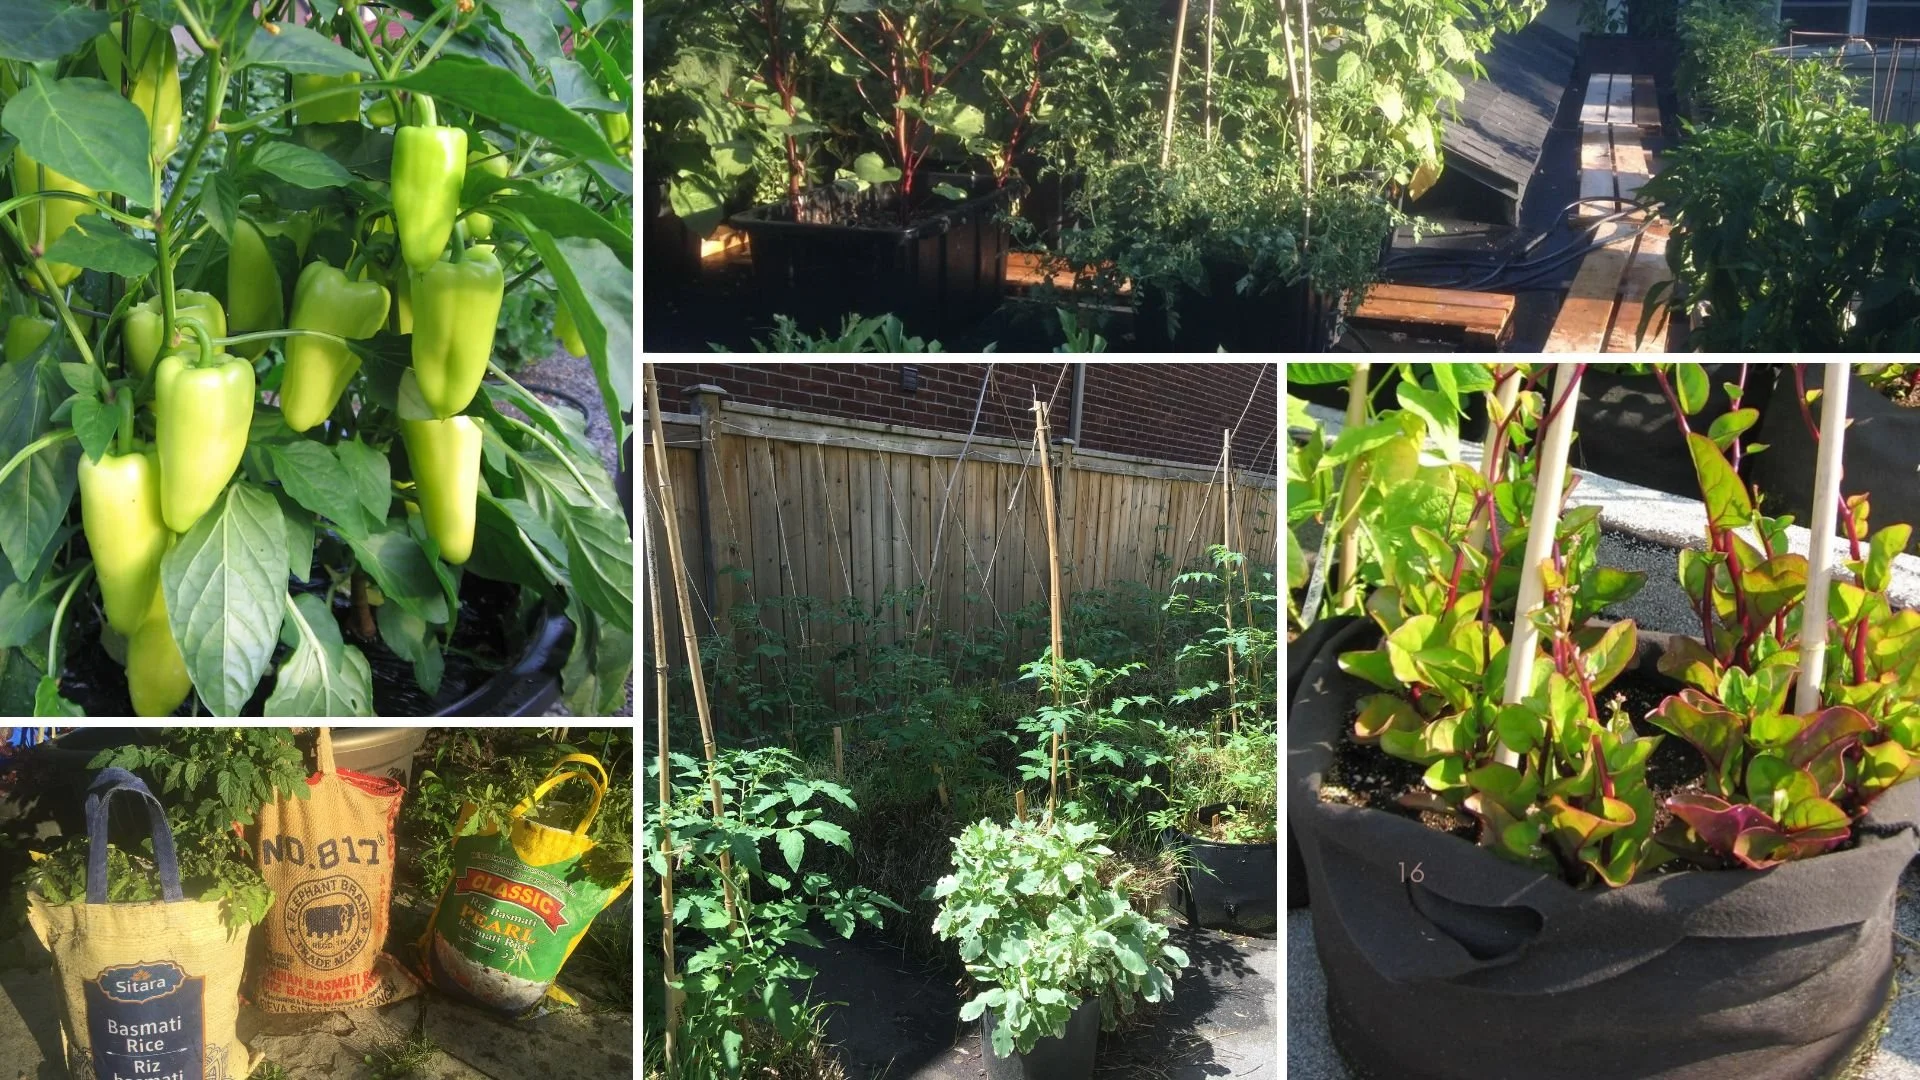
Malabar spinach thrives in hot conditions. As a vining plant, it’s also great if you want to add vertical elements to a vegetable garden.
Malabar spinach (Basella alba) thrives in the heat of summer. This vining plant usually takes off as the regular spinach starts to wane in the heat.
Malabar spinach, despite the name, is of no relation to spinach. It has fleshy, mucilaginous leaves that you can eat raw or add to a stir fry. You can also use it to thicken soups.
Best of all, this tropical plant keeps growing all summer long, through the heat.
I don't often see Malabar spinach plants at garden centres. If you want it, plan to grow it from seed. There is a green-leafed type, as well as a strikingly beautiful red-leafed type.
Malabar spinach is also a great crop for vertical gardening. Find out how to save space by adding vertical crops to your garden.
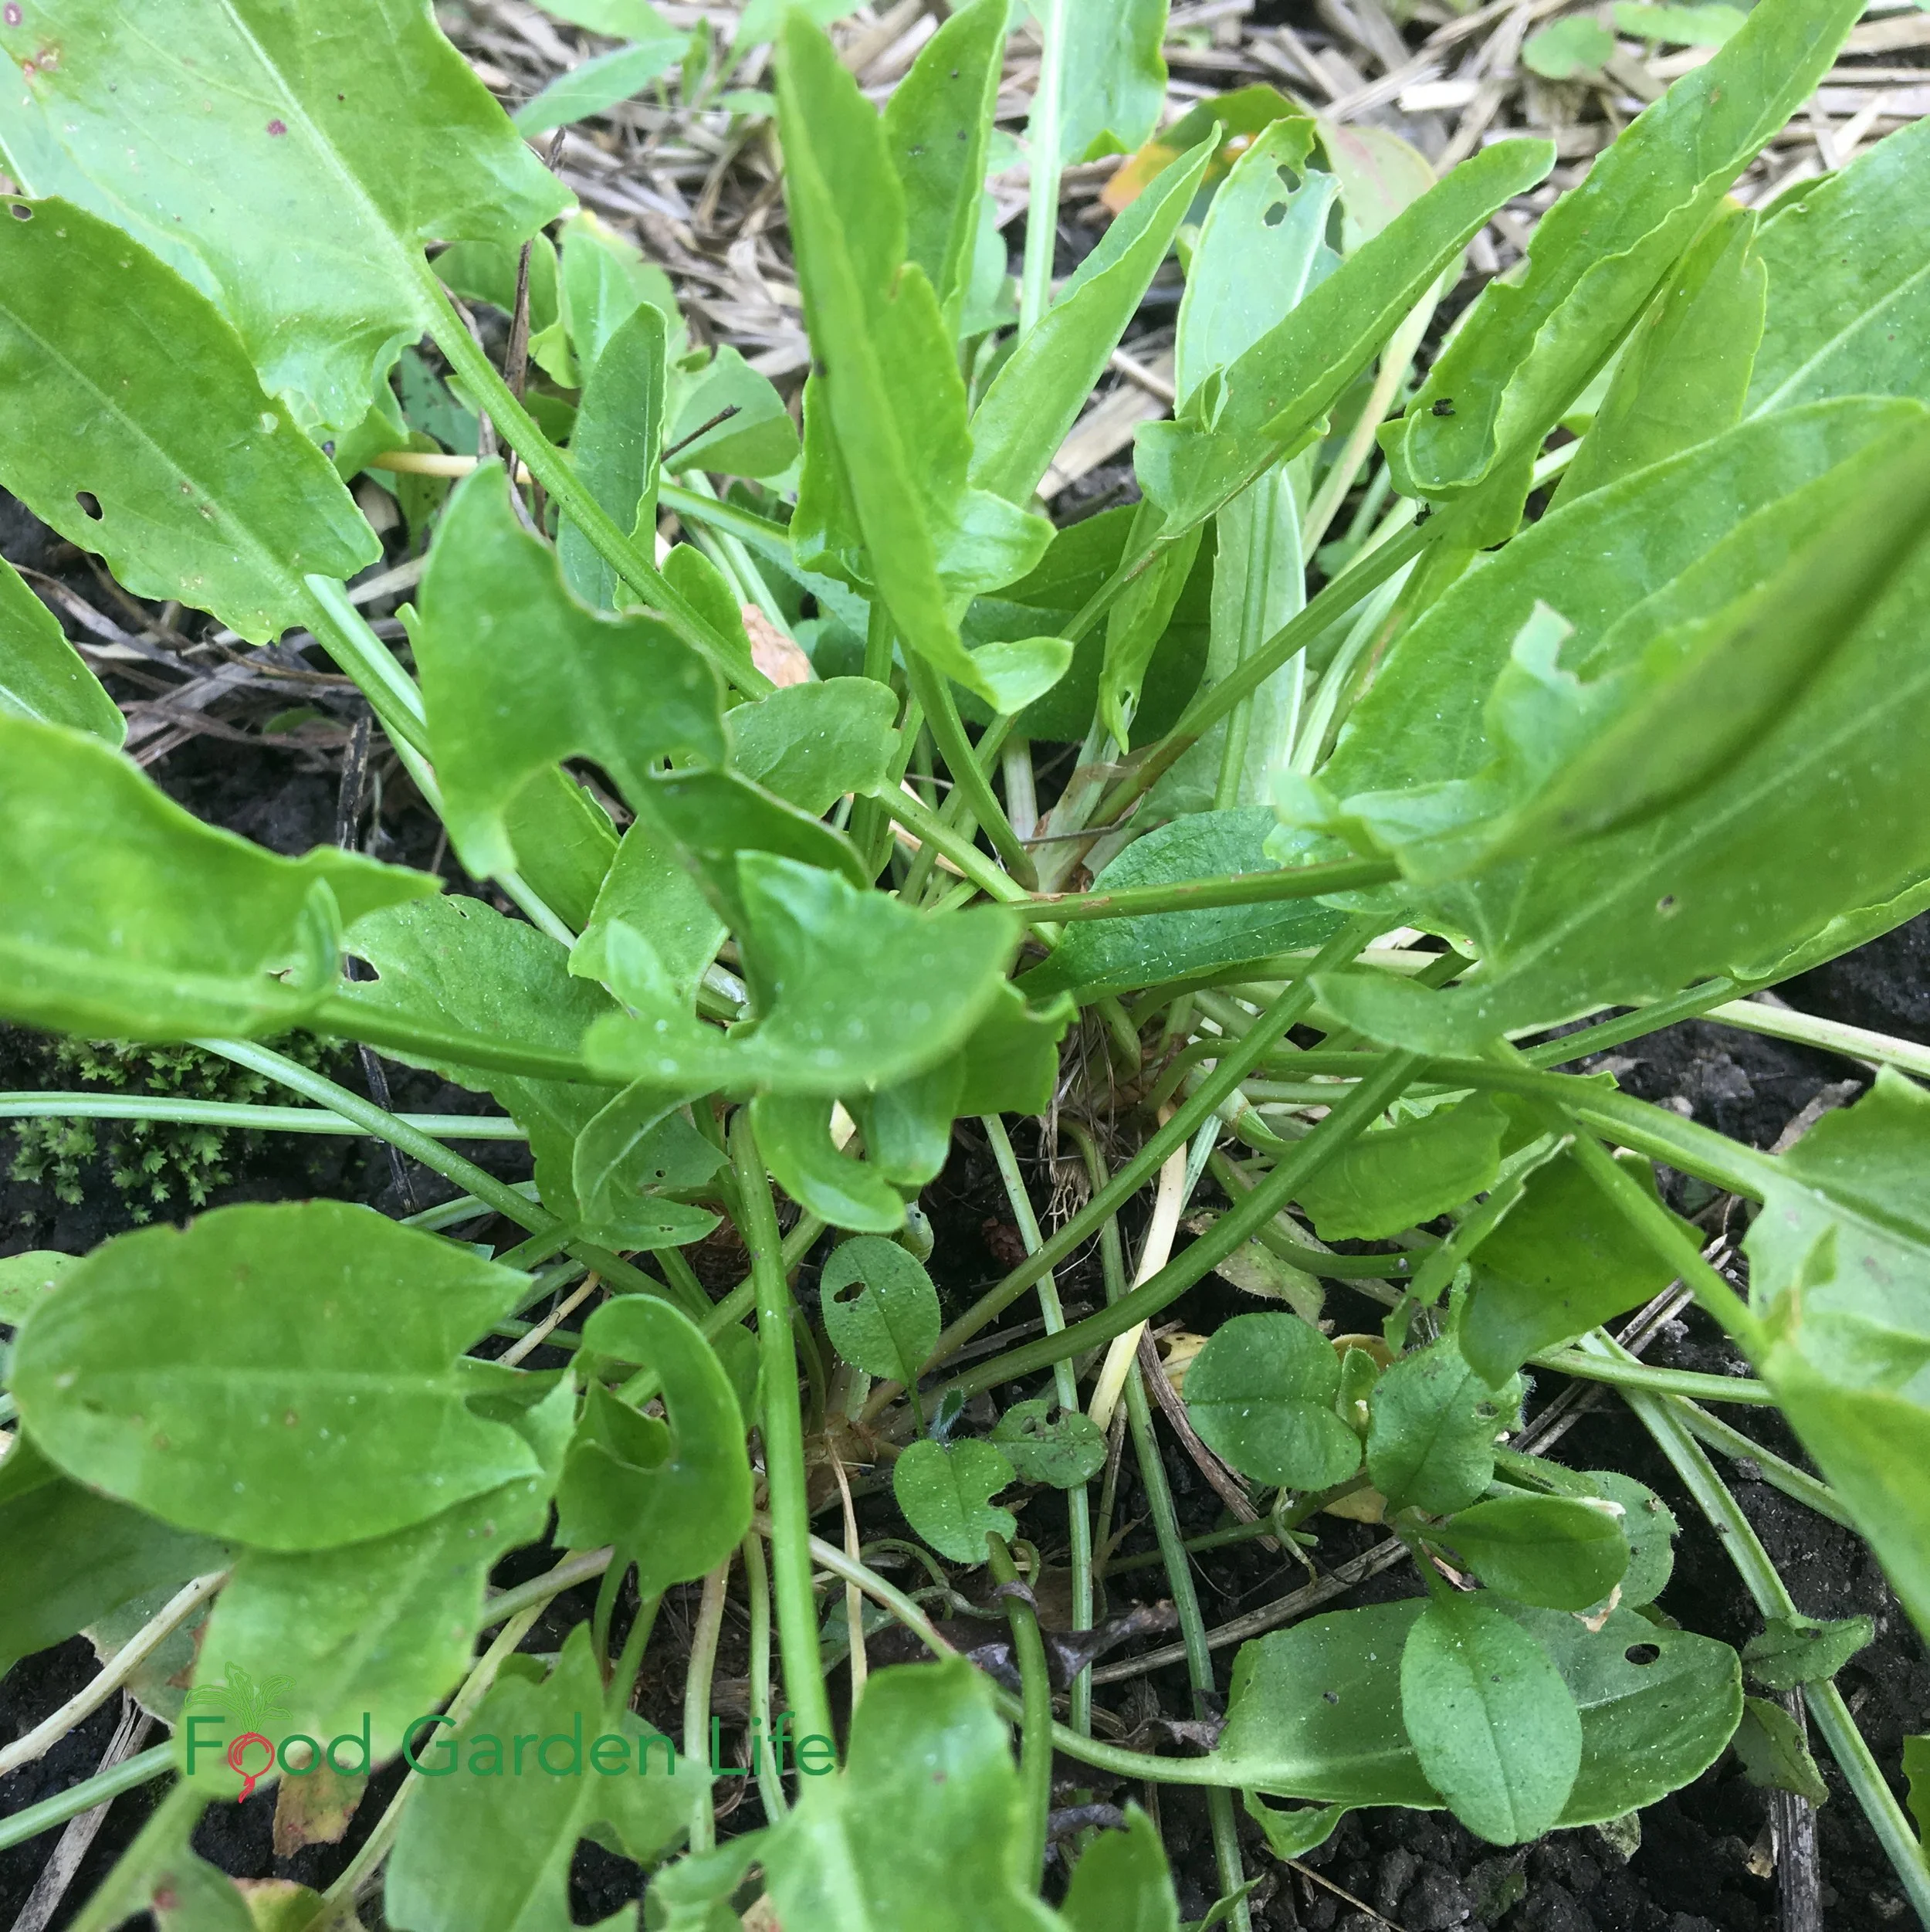
Sorrel
Garden sorrel is a perennial, and a useful salad green over the summer.
This is a favourite in our garden. Sorrel is a perennial leafy green crop that's up early in the spring. It keeps producing tender leaves all summer long.
Sorrel has a tangy taste. I think of it as a lemon substitute for northern gardeners. Add sorrel leaves to a mixed green salad—or when making a sauce add in sorrel, and as the leaves cook into the sauce they add a citrusy tang.
Here's a recipe for sorrel soup.
Garden sorrel (Rumex acetosa) is what you'll find at garden centres. I like ‘Profusion’ garden sorrel, a large-leaved variety that doesn’t bolt.
If you're a forager, you might find sheep sorrel (Rumex acetosella). Both are edible, though I wouldn't plant sheep sorrel in a home garden...it's a spreader.
(There's also a weed called wood sorrel. It's part of the oxalis clan, with clover-like leaves. It's edible too...but I'm not proposing you grow it—it shows up on its own.)
Find out more about how to grow sorrel.
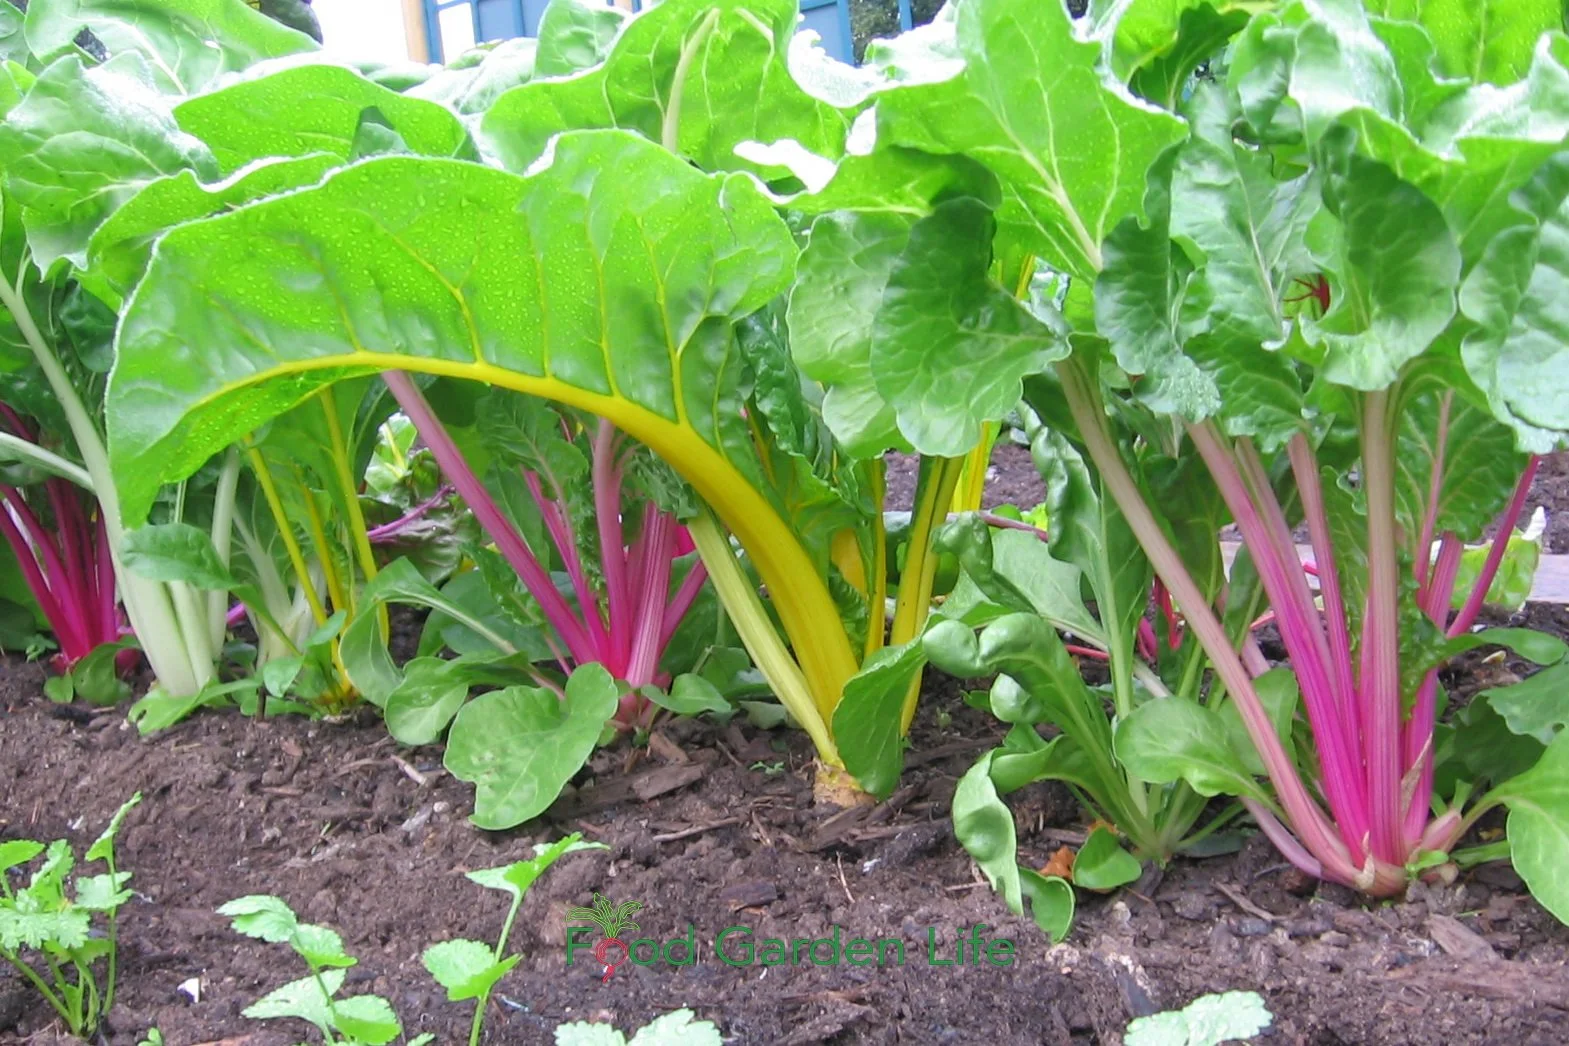
Swiss Chard
Swiss chard has a two-year life cycle, so during its first year, even during the heat of summer, it keeps on making leaves.
This is my favourite summer green. Swiss chard is a work horse; pick heavily and continually all summer and it keeps growing.
Unlike lettuce and spinach, it doesn't try to flower in its first year. That’s because it has a two-year life cycle...and that makes it a very valuable heat-tolerant green.
When picked young, the small leaves can go straight into the salad. I like larger leaves and the more substantial leaf rib in stir-frys.
Along with green varieties, there are many colourful ones that paint the veg patch a rainbow of colours.
Create Your Own Unique Edible Landscape
That fits for your yard, and your style!
One More Hot-Weather Crop
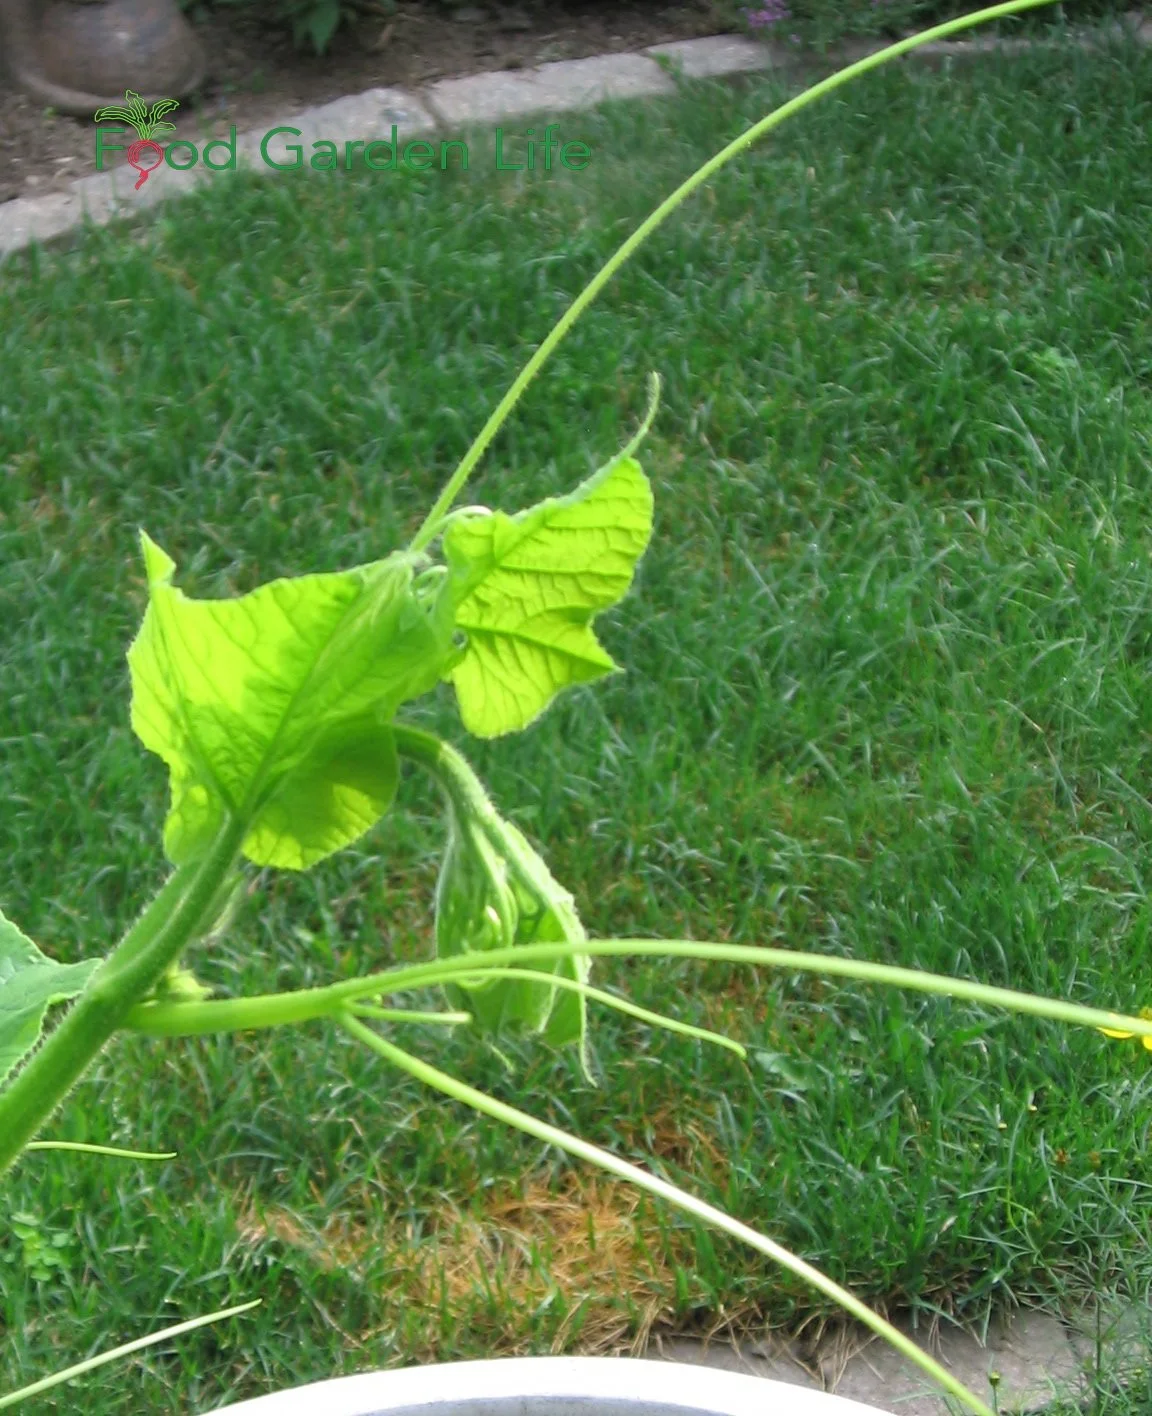
Squash tips and tendrils are edible.
Here’s a crop that doesn’t fit into my list of hot-weather salad greens because we cook it. But I’m including it in this post because it’s a fantastic garnish for a summer salad, and it has great heat tolerance.
Squash Tips
Squash shoot tips, squash tendrils, and squash leaves are all edible.
But…cook them briefly. A quick sauté in olive oil does the trick. That’s because when they’re not cooked, they’re a wee bit prickly. But cooked, they’re transformed.
Squash has many edible parts on the same plant: There's the fruit, the flowers, tender stems, and then the leaves and tips. You can cook larger leaves too, but harvest them before they’re too fibrous.
More Vegetable Gardening Ideas
Articles
Want to browse our articles and interviews about vegetable gardening? Check out the Vegetable Gardening Home Page
Do you have a shady yard? Here are things you can grow: Crops for Shade
Trying to figure out how to fit as much as possible into your vegetable garden? Try these Vegetable Garden Layout Ideas
Interviews
Courses
Check out our self-paced online courses. The practical information is in bite-size chunks, so you can work through them at your own speed.
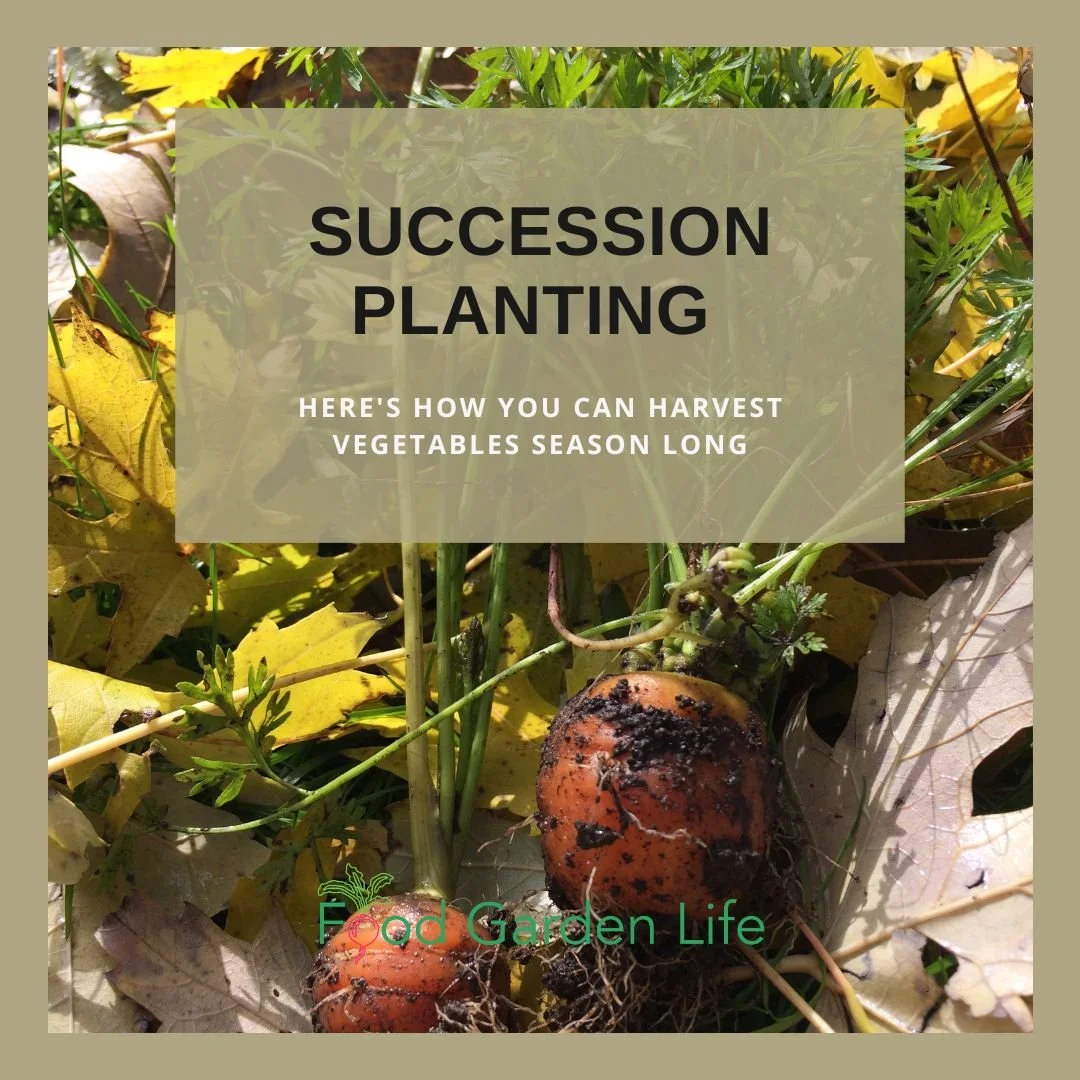
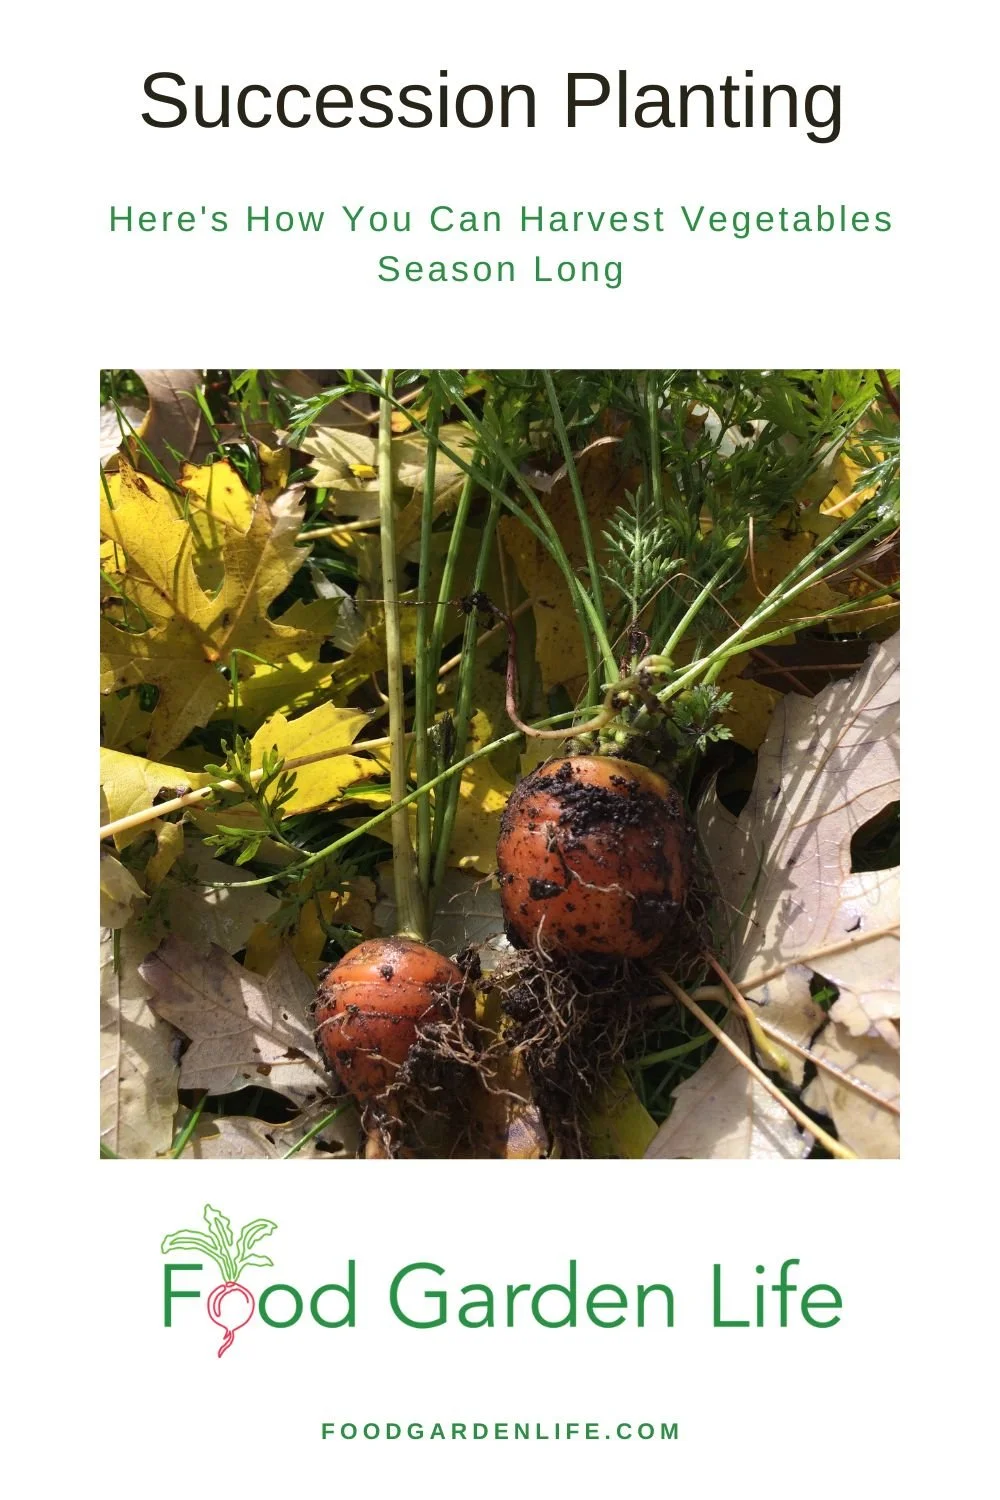
Succession Planting: Here's How You Can Harvest Vegetables Season Long
By Steven Biggs
Succession Crops are the Ticket to an Uninterrupted Harvest
"Succession planting" is when we grow more than one crop in the same space over the growing season. We grow a succession of crops.
As one crop finishes, the succession crop takes its place.
Many crops mature before growing season is done, leaving time to plant a second (or even a third) crop. This means we can follow our spring crops with warm season crops and fall crops.
A "succession crop" is just a fancy name for the crop(s) that come after the first crop is done.
Succession planting works in large gardens, small gardens—and even containers!
If you are interested in the idea of a continuous harvest, keep reading: This article explains how you can use the same garden space for more than one crop.
Plan for an Uninterrupted Harvest
As you plan your vegetable garden, there's more than one way to achieve successive harvests. See how you can slot these planting methods into your garden.
Find out more garden planning and layout ideas.
Different Crops - One Follows Another
A common succession planting method is follow one crop with another one. For example, when the summer harvest of green beans is finished, a new crop of kale for winter harvest takes its place.
Different Crops - At the Same Time
Planting carrots and radish together.
Planting two different crops at the same time is not really succession planting, but it's worth mentioning here because it's a useful idea in garden planning, and can be a good way to get multiple harvests from the same space.
Some people use the term companion planting to describe this idea.
Here are examples:
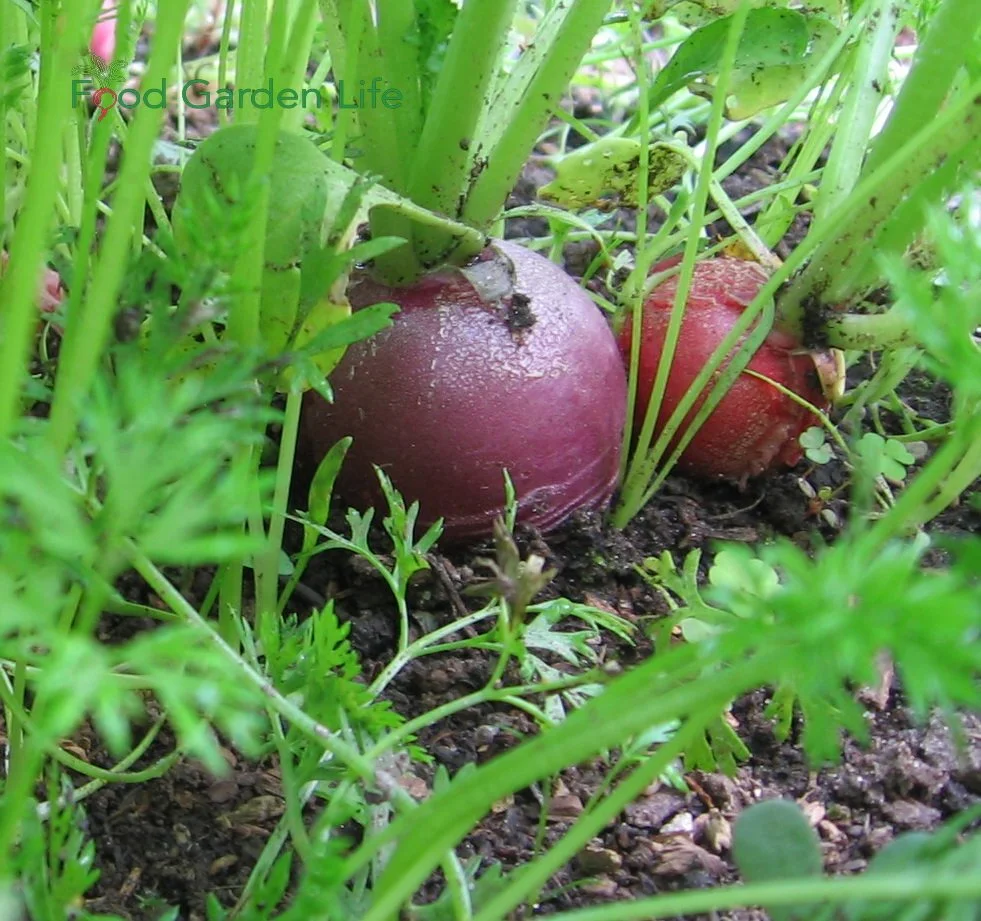
Fast-growing crops with slower crops: My favourite fast-slow combo is to plant beets in the same space as radish. The radishes grow much more quickly than the beets. So you'll have harvested the radishes by the time your beet seedlings need more space. (And don't forget...beet greens are edible too!)
Sun-lovers with Shade-lovers: Another example of putting two crops together is pairing a tall plant with a shade-loving plant. In this case, summertime lettuce (which lasts longer in shade) under tomatoes.
Grow a Container Vegetable Garden
And get an early harvest of crops that usually take too long!
Same Crop - Staggered Plantings to Spread out the Harvest
By staggering plantings of a crop you can get a longer harvest window. This is especially helpful if you grow lettuce or other leafy greens that bolt quickly.
Unless you’re a market gardener, you probably don’t need an entire row of lettuce ready at once. So only plant part of the row. Then, a couple of weeks later, plant more of the same. And repeat.
Same Crop - Different Maturity Dates
Days to maturity (DTM) is a measure of how long it takes a crop to be ready to harvest. Get a few varieties of the same crop, each with a different DTM so that you have an ongoing harvest. Look for DTM on the seed packet or catalogue.
(The number of days it takes for a crop to be ready to harvest varies with growing conditions, so use DTM as a guide, not an exact planning tool.)
Find out more about seed shopping and lingo such as DTM.
Succession Crops
Succession crops are crops that don’t take the whole growing season to mature. They only need part of a season.
Here are common succession crops:
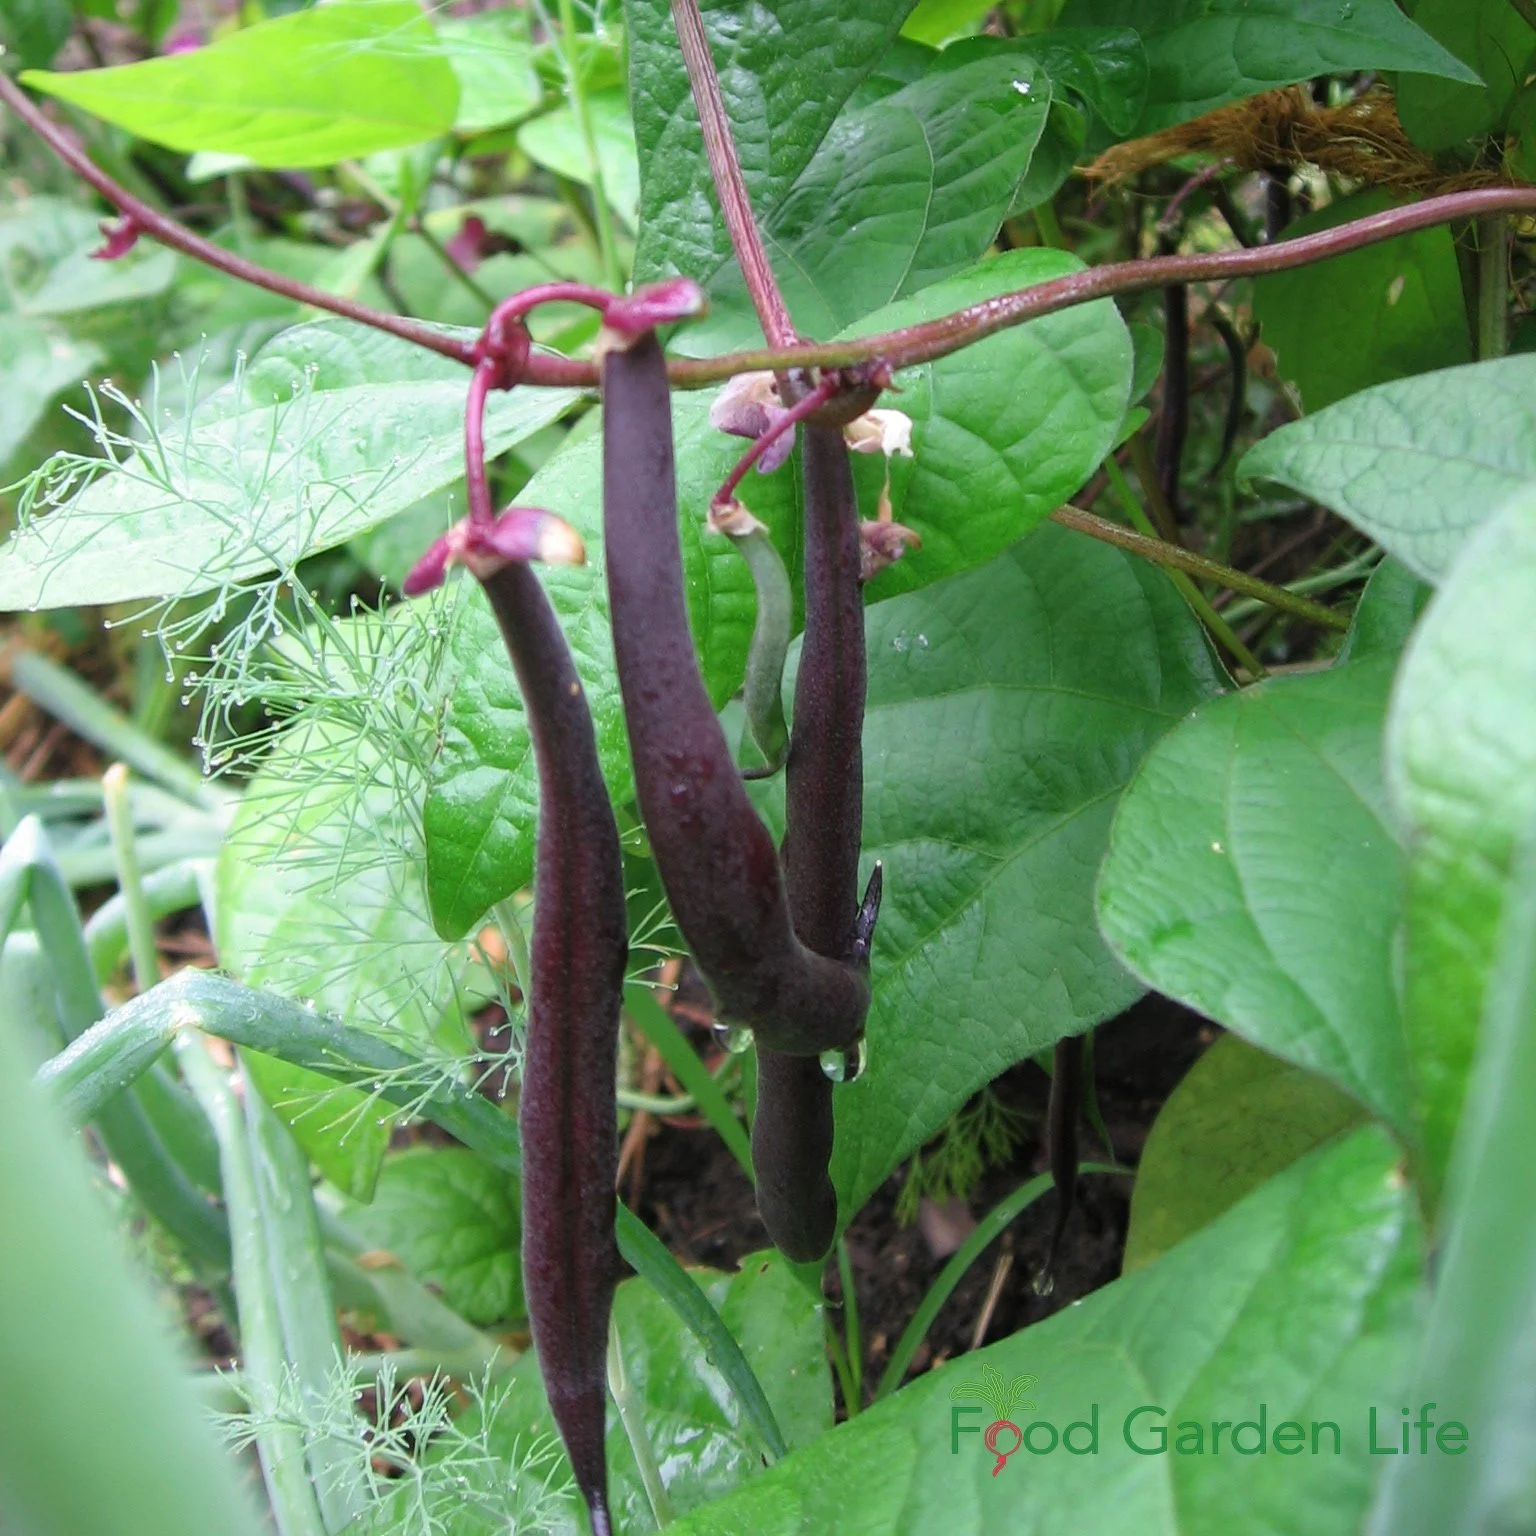
Bush beans are a common succession crop.
Leafy Greens (plan for successive sowings if you want leafy greens during the summer)
Beets (baby beets for pickling are often from a succession crop of beets planted in the summer)
Cabbage
Carrots
Bush beans
Green onions (I keep an extra bag of onion sets in the fridge, ready as a second crop when I need more green onions)
Kohlrabi
Radish and winter radish
Rapini (I like to plant rapini as a mid-summer succession crop when I harvest garlic in July, because it’s fast-growing and does well in the heat of the summer)
Rutabaga
Summer squash (a good second crop where you start off with early spring greens)
Swiss chard (does well in heat without bolting)
Winter squash
Turnip (I like turnip as a late-summer crop…and you can eat the leaves too!)
Find out how to slow down lettuce bolting.
Interested in growing storage crops? Here are 25 storage crops.
Create Your Own Unique Edible Landscape
That fits for your yard, and your style!
Sowing Summer Crops
Hot summer growing conditions are not always suitable for starting seeds directly in the garden.
That’s because:
In hot, dry weather, place a board over fine seeds to keep in soil moisture and improve germination.
Hot weather can affect germination.
In hot, dry summer conditions a crust can form on some types of soil.
Pest pressures are higher.
Here are tips to plant crop successions in hot weather:
Start transplant in pots, in protected conditions.
For plants that are best directly sown into the garden (e.g. carrots), place a board over the soil so that conditions are more moist for germination
Water regularly because dry conditions really mess up germination.
Transplanting Succession Crops
Summer conditions can make transplanting difficult because transplanting into the hot sun is a big stress for the plant.
So wait for a rainy or cloudy day if possible. At the least, don't transplant in the heat of the day.
Make shade for your transplants using mini hoop houses covered with shade cloth or a light floating row cover.
Or even easier: Put an inverted web tray over top of your transplant for a few days. (The webbed plastic trays from garden centres.)
And then water transplants regularly until they are established.
Lettuce transplants for succession cropping.
One Key to Successful Succession Planting
With intensive growing like succession planting, we’re taking more from the soil. That makes it especially important to manage soil fertility. Feed the soil by amending with compost between crops.
Final Succession Cropping Suggestions
Keep extra seed packets on hand for succession planting!
And don’t forget to grow microgreens indoors over the winter.
Find out how to grow our own microgreens indoors.
More Vegetable Gardening Articles
Courses
Prevent Lettuce from Bolting: 5 Ways to Beat the Bitterness
5 Ways to prevent lettuce from bolting as quickly.
By Steven Biggs
Delay Bitterness and Bolting Lettuce
Once day you're looking at a bed of perfect lettuce plants with juicy, tender leaves. Looks like you have enough lettuce for days.
But before you know it the lettuce heads change shape and start to stretch up in the centre. Your lettuce is bolting.
And with the change in shape comes a change in taste. Bitterness comes with bolting.
But there are ways that you can delay lettuce bolting. This article tells you how.
Bolting Lettuce Plants
It's a normal thing for a lettuce plant to bolt. Lettuce plants start out in leaf-making mode. They make leaves, get bigger, store energy.
But as the lettuce plant gets big enough—and as things around it act as triggers—the lettuce plant changes gears and moves into flowering mode. It bolts.
Lettuce plants are annuals, meaning they have a one-year life cycle. In that one year they flower and make seed.
So your bolting lettuce is a normal thing.
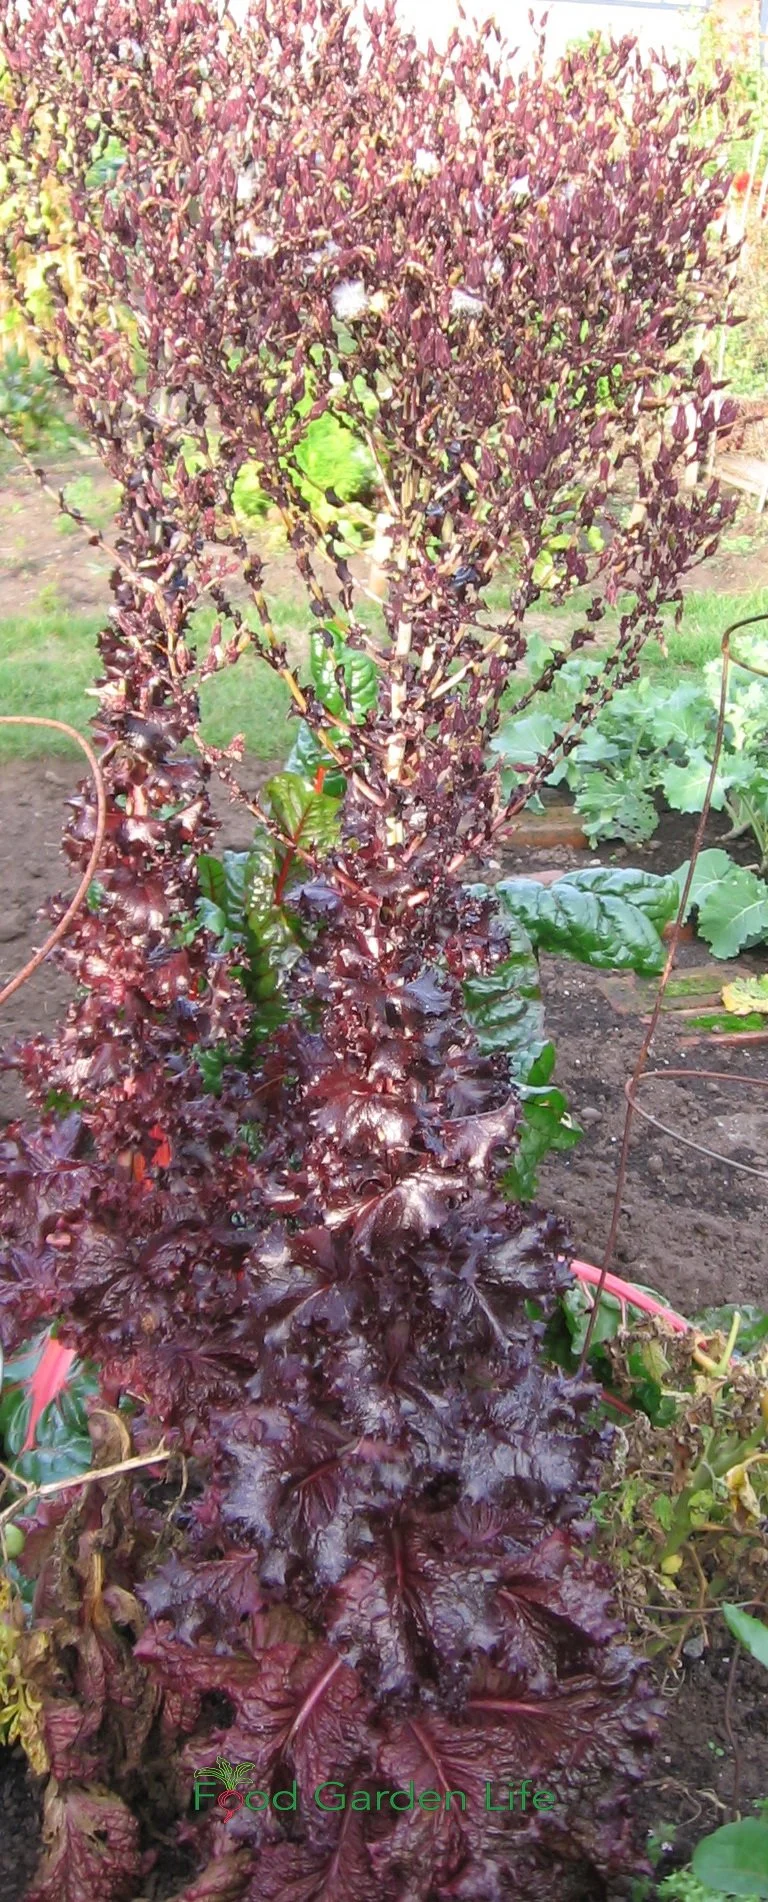
Bolting lettuce plants can get quite tall!
What Bolting Lettuce Looks Like
Bolting lettuce looks a bit like plant yoga as the centre of the leaf rosette begins to stretch upwards. Next, the now-lanky lettuce sends up a flower stalk.
Meanwhile, the leaves become bitter and tough.
What Makes Lettuce Bolt?
Bolting is normal. But lettuce plants don't bolt according to the calendar. A lettuce plant bolts because it's triggered by what's going on around the plant.
Here are triggers:
Heat
Dry conditions
Long days
As you see, lettuce bolts as we get normal summer weather. But you can still enjoy lettuce leaves in the summer using the ideas below.
5 Ways to Delay Lettuce Bolting:
Here are ways to keep growing these cool-season plants during the summer for continuous supply of salad greens:
Choose Slow-to-Bolt Lettuce Varieties
Some lettuce varieties don't bolt as quickly in summer weather. As you're shopping for lettuce seeds, look for a "heat-tolerant" or "bolt-resistant" lettuce variety.
Provide Shade for Summer Lettuce
When conditions are cooler and moister in the spring, lettuce does well in full-sun locations.
But as things heat up, give your lettuce some shade. When it's shadier it's also cooler and there's often more soil moisture.
There are a few ways to grow a shaded lettuce crop in the summer:
Growing lettuce in pots placed in a shady location.
Grow lettuce underneath taller crops that shade it. I grow lettuce underneath staked tomato plants.
Put up a mini hoop tunnel with shade cloth over top of the lettuce.
Grow vining crops such as cucumbers over an A-frame—and grow your lettuce in the shaded space underneath
Grow a Container Vegetable Garden
And get an early harvest of crops that usually take too long!
Mind the Moisture
Well-watered lettuce doesn't bolt as quickly. Water regularly.
If you're growing in rows and can mulch around plants, a generous layer of mulch helps to hold in moisture.
Don't Overcrowd
Prevent lettuce from bolting quickly with heat-resistant varieties, ample moisture, shade, enough space—and a shock treatment!
Stress can cause lettuce to bolt sooner. When lettuce plants are tightly packed into a garden, there's less space for roots, less space for leaves to grow—and less moisture. These stresses can make lettuce plants bolt sooner.
When I sow a bed of lettuce, I seed fairly densely. But as the little lettuce plants grow, I pull out some of the small plants as I harvest. This allows more space between remaining plants.
Shock Treatment
A little shock can temporarily derail the plant's readiness to bolt. Dig up and transplant a few of your perfect heads of lettuce to give yourself a few extra days of lettuce harvest.
A Non-Bolting Lettuce Alternative
Here's another idea for you: Grow a leafy green that won't bolt.
Swiss chard has a two-year life cycle. It's a "biennial."
That means that for the whole first year, the plant makes leaves. It only bolts in its second year.
Create Your Own Unique Edible Landscape
That fits for your yard, and your style!
Let a Few Lettuce Plants Flower
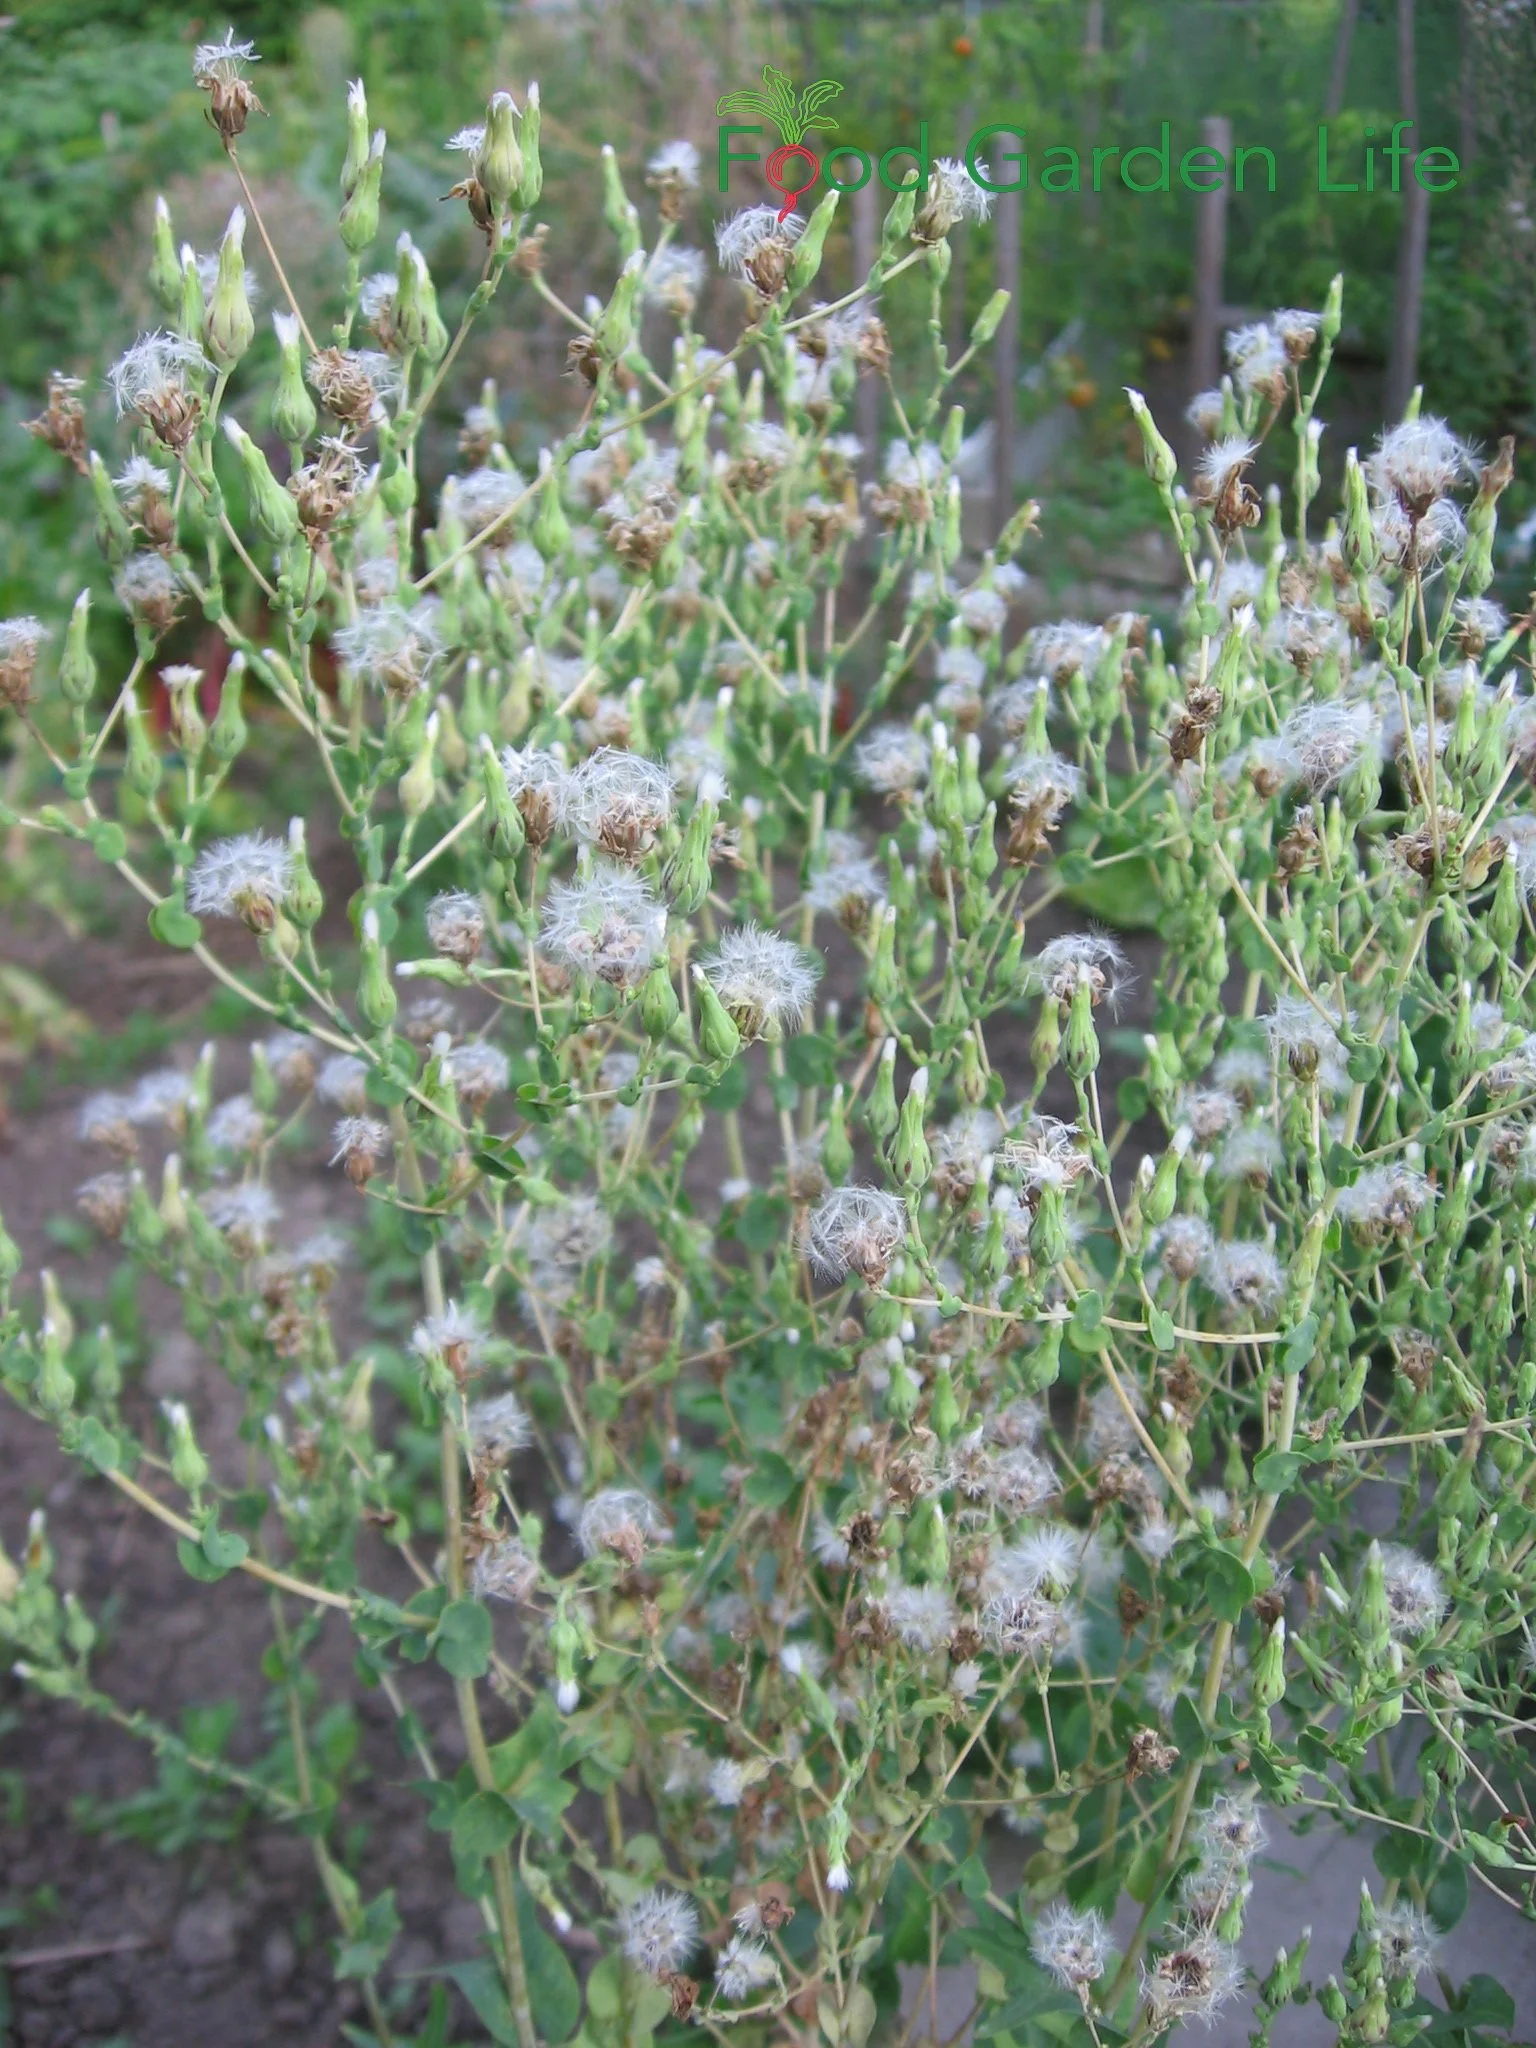
Lettuce producing seeds that float around the garden if left long enough. Grow your own lettuce seed—and attract birds to the garden with lettuce seed.
When the lettuce begins to bolt, I remove most of the plants. But I keep a few.
Here's why to keep a bolting lettuce plant:
Grow your own seeds. You can save the seeds to plant later, or, you can allow the wind to move the floating seeds around your garden.
Attract finches to the garden. I love to watch gold finches swoop in and land on the tall lettuce seed head to dine on the seeds.
FAQ: Bolting Lettuce
Can you eat bolted lettuce?
It's not toxic, but it's hardly palatable. But if you enjoy something that combines bitter and tough, give it a try.
Can you prevent lettuce from going to seed?
Short of killing the plant, you probably can't derail that one-year life cycle that terminates with seed.
But if you follow the steps above, you can delay bolting and seed formation.
What other leafy greens bolt?
Arugula, spinach, cilantro, bok choy, and mustard are common leafy greens that bolt.
More Vegetable Gardening Ideas
Articles
Courses
Meyer Lemon Tree: Planting, Care, and Growing Guide
Meyer Lemon Tree: Planting, Care, and Growing Guide
By Steven Biggs
This Little Lemon is Absolutely Prolific!
50 Meyer lemons on a knee-high bush.
The branches hung to the ground under the weight of the fruit. The bush was yellow with fruit. Not a single branch broke under the weight of the fruit. Meyer lemon trees are work horses. If you want to grow your own citrus, it's what I recommend starting with.
'Meyer' lemon (Citrus x meyeri) is the lemon that's not fully a lemon.
It's a hybrid between a lemon and an orange or mandarin orange. While the leaves of Meyer lemon trees look like true lemon leaves, the fruit are thin-skinned, taking on an orange tinge as they ripen.
I love the mild taste of the fruit and the distinctive smell of the rind. It makes an unbeatable sorbet.
Here's my Meyer lemon sorbet recipe.
Lemons and Meyer Lemons are the fruits I recommend for first-time home citrus growers. They're the gateway citrus trees. They're easy to grow, and have a better chance of ripening in the short summers we get in cold climates.
Here are more reasons that lemons are a good choice for gardeners in cold climates.
Learn How to Easily Grow Meyer Lemon Trees in Pots
Meyer lemon trees are a great choice for cold-climate gardeners who want an exotic crop. They have a compact, bushy form that makes them suitable for growing in a pot, and they're quite cold hardy—more cold hardy than true lemons. (See more about hardiness below.)
In northern gardens Meyer lemon is usually grown as a potted plant...but there are gardeners pushing the boundaries in warm zones.
Potted Meyer Lemon Size
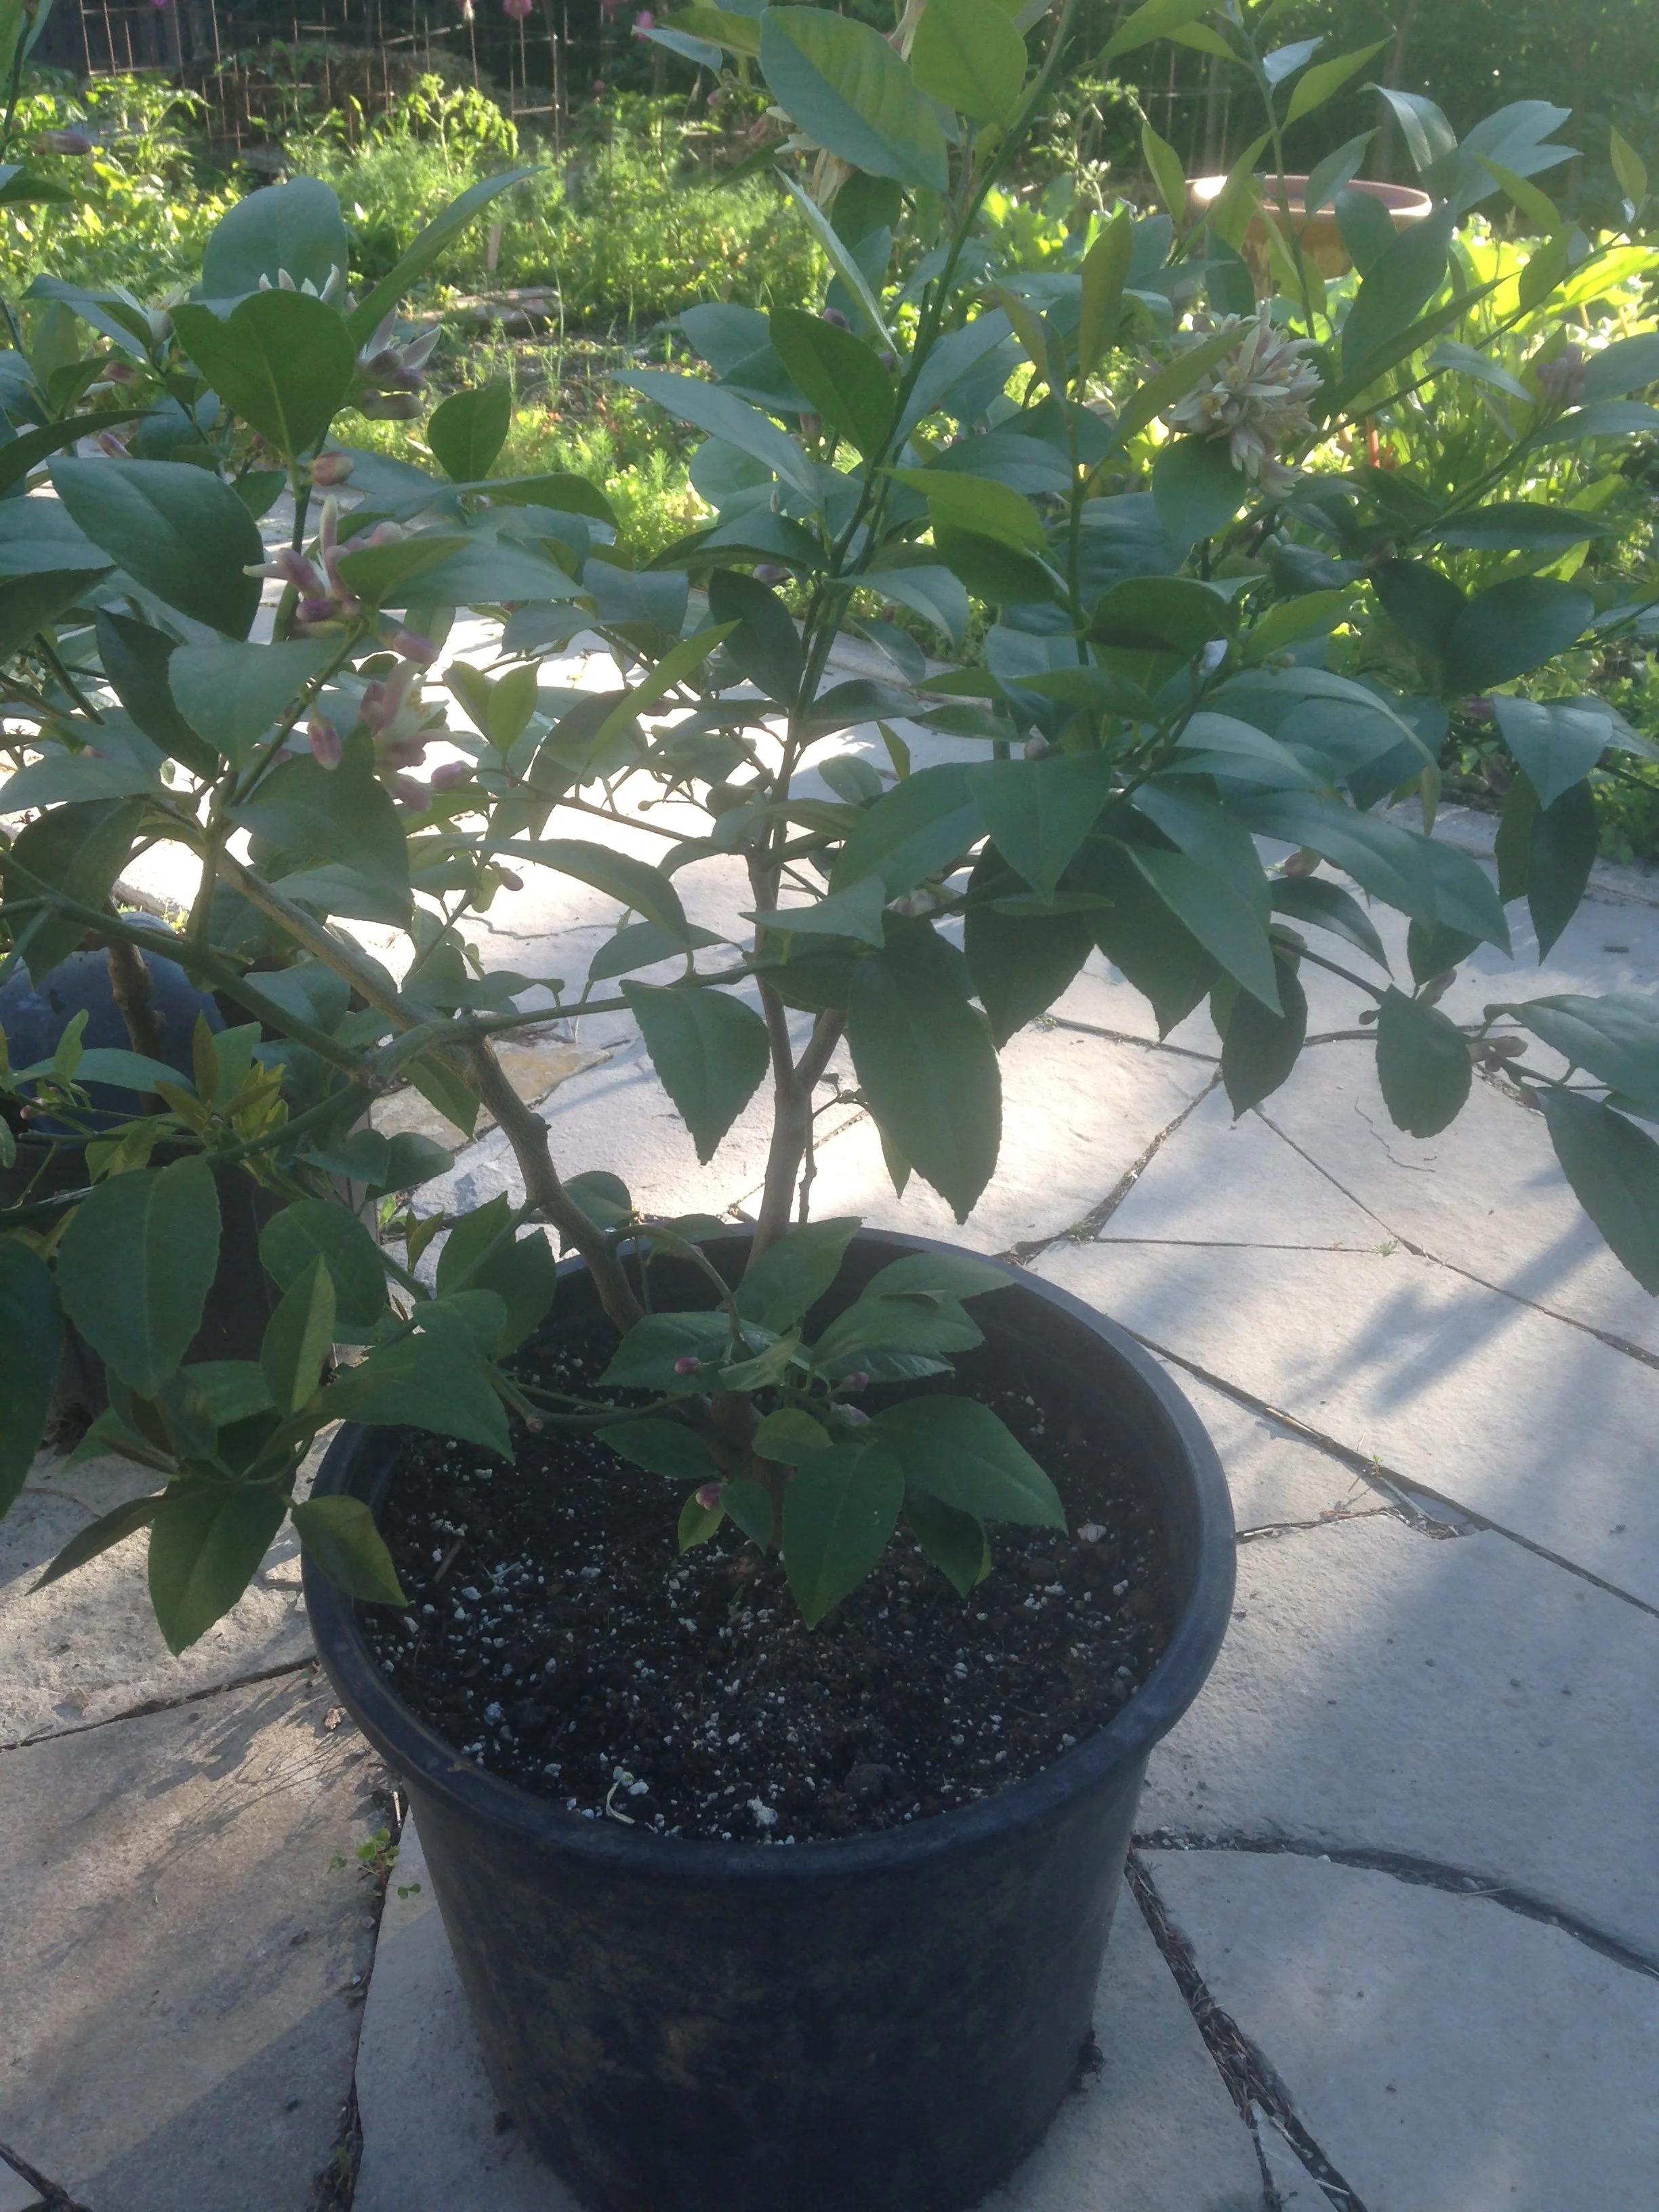
This potted Meyer lemon is pruned into a bush form to keep it compact.
When it comes to the size of the plant, you’re the boss. You control plant size with pot size and pruning. Think of bonsai, where a decades-old tree is only knee high.
The other thing that affects size is the rootstock; some types of rootstock are dwarfing and keep a tree smaller. Meyer lemon trees sold in garden centres are often on dwarfing rootstock.
Meyer Lemon Tree Care
While it's outdoors over the summer, keep your Meyer lemon tree in a sunny location.
As with any potted plant, your pillars of success are:
Suitable pot size
Good potting soil
Regular feeding
Proper watering
If you get these four things right, you'll keep your Meyer lemon tree happy.
Here's a full guide to growing a potted lemon tree year round and getting the conditions right.
Keep Your Lemon Tree Through the Winter
And enjoy fresh homegrown lemons!
Watering a Meyer Lemon Tree
When it comes to watering Meyer lemon trees, more is NOT better.
Meyer lemon trees hate wet feet. That's another way of saying that when the soil is constantly wet, the roots can die.
I aim to keep the soil of my potted Meyer lemon trees on "the dry side of moist." Keep the soil moist but not soggy.
If you're in doubt, wait another day before watering. Lift up small potted lemon trees and let the weight help you gauge how dry the soil is.
Find out more about how to water a lemon tree so that it thrives.
Feeding
Potted lemon plants must be fed! There's a small volume of soil feeding the whole plant.
Start feeding in the spring, when new growth begins. Cut back on feeding in late summer as cooler temperatures and less light cause plant growth to slow.
There are many fertilizing products on the market. And each lemon grower has a favourite formula.
Not sure where to start?
Look for “all-purpose” or “general-purpose” product. Make sure it has micronutrients
Decide what suits your style of gardening (do you want to mix solutions regularly – or apply slow-release fertilizer granules just once in the spring)
Find out more about feeding and micronutrients in this article.
Repotting Meyer Lemon Trees
Mature Meyer lemon trees don’t need to be repotted annually. Just replace the top few centimetres of soil every couple of years. Faster growing young Meyer lemon trees can be moved to a bigger pot each year if the roots have filled the current pot.
Soil structure breaks down over time, so you will eventually want to repot mature Meyer lemon trees in new potting soil.
Meyer Lemon Tree Pollination
Meyer lemon flowers have both male and female parts and are “self-fertile.” That means you don’t need pollen from a different lemon tree for a Meyer lemon tree to bear fruit.
If the plant is outdoors over the summer, insects and wind move the pollen. You don't have to help with pollination.
Pollinate flowers on lemon trees growing indoors using a small paintbrush.
Keep Your Lemon Tree Through the Winter
And enjoy fresh homegrown lemons!
Propagating Meyer Lemon Trees
Growing Meyer lemon trees from seed is easy...but be prepared to wait years for fruit. That's because seed-grown plants go through a juvenile stage before they begin to flower and fruit.
To get fruit more quickly, buy a plant, or root a cutting from a mature plant. (Meyer lemon trees grow well on their own roots, so it's not necessary to graft them.)
Meyer Lemon Challenges
Insect Pests
Outdoors, pest problems are usually minimal. It's when a potted Meyer lemon tree is indoors for the winter that you're more likely to encounter pests. Two common pests are scale and spider mite.
Watch for spider mites when overwintering lemon plants indoors at room temperature. That’s because spider mites do well in the dry air in centrally heated homes.
Find out more about controlling scale and spider mite on lemon trees.
Leaf Drop
Leaf drop is common when Meyer lemon trees are brought into warm, centrally heated homes
On more than one occasion, I’ve had a naked Meyer lemon in my kitchen over the winter. It reminded me of the Grinch's Christmas tree!
When Meyer lemons are brought into the house in the autumn, expect leaves to drop. It's normal. The warm, dry air in centrally heated homes is not ideal.
If you want less leaf drop, cool, bright overwintering locations are ideal. (See below for ideas.)
Fruit Drop
Some fruit drop is normal when the fruit are still pea-sized. If only a few little lemons drop, it's nothing to worry about.
If all the fruit drop off, that's not normal. Two common causes are poor pollination and not enough water.
Meyer Lemons Over the Winter
Meyer Lemon trees are evergreen and keep leaves through the winter. (As I note above, if your plant is unhappy in the house, it might drop quite a few leaves.)
Meyer lemon plants tolerate more cold than many people realize (see below). When they are in cold conditions, they also tolerate darkness, because the plant stops growing.
Cold Tolerance
Meyer lemon is hardy to about -6°C (21°F). Hardiness is never exact, so expect younger growth to be more tender and susceptible to cold.
But the important temperature to remember is the temperature at which the fruit is at risk of freezing, around -3°C (27°F)
Indoors
Consider moving Meyer lemon trees indoors earlier rather than later, so there is less of a drastic change in temperature and humidity. This helps to minimize leaf drop.
While the fragrance of the flowers makes it nice to have Meyer lemons in a bright kitchen or living room window, you might have other options:
What about a cool, bright attic window?
A cool sunroom with a temperature just above freezing
A cold, dark garage or shed
Find out more about how cold a lemon tree can get during the winter.
Indoors – Care over Winter
Keep soil on the dry side of moist
Too much water can rot the roots
Higher humidity helps minimize leaf drop and make conditions less suited to spider mites
Watch for scale and spider mites
Meyer Lemon FAQ
Why is my potted Meyer lemon tree turning yellow?
There are a few things that can cause this. It could be not enough nutrients in the soil. It could also be that the soil is too alkaline, so that plant can't take up the nutrients that are in the soil. But another common cause is overwatering—which kills the roots and sends the tree into a downward spiral.
What time of year do you repot Meyer lemon?
The best time to repot Meyer lemon is in the spring, just before new growth begins.
Can I grow a lemon tree indoors in Canada?
Yes! Here's what you need to know.
Should I mist my Meyer lemon tree?
If it's growing in a centrally heated home with dry air, misting is a simple way to raise humidity.
If I want to propagate my Meyer lemon tree myself, do I have to graft or can I root cuttings?
You can root Meyer lemon cuttings. Your rate of success is better if you use rooting hormone and apply bottom heat (e.g. with a heat mat.)
More Lemon Information
Guide: Vertical Vegetable Garden Ideas and Plants
Harvest more from the same space with these vertical-vegetable-garden ideas and vertical gardening crops.
By Steven Biggs
Vertical Gardens to Harvest More
Vertical vegetable gardening squeezes more plants into a limited space by making use of space above the ground.
By growing sprawling plants upwards, there’s space on the ground to grow more plants.
Other Vertical Garden Benefits
Along with making it possible to grow more plants in the same space, a vertical vegetable garden has a couple of other benefits:
Vertical vegetable gardens for easy harvests. Less bending, because crops are raised
Vertical Gardens Help Provide Shade. Some crops do better in partial shade during the summer. Leafy vegetables grown on the ground space in the shade of a vertical vegetable garden are sheltered from the midday sun.
If you’re interested in creating more growing space to grow vegetables, keep reading. This article includes vertical garden crops, vertical vegetable garden ideas, and easy-to-work-with materials to make supports and trellises.
How to Add Vertical Crops to a Garden
Vertical Vegetable Garden Ideas
There are many ways to add vertical elements to a vegetable garden.
Look for ready-to-use products if you want to start small. It can be something as simple as a tomato cage to support a vining plant—or a window box for cascading herbs.
There are also lots of creative ways to make your own support structures so that you can grow vertically.
Add Tiers with Containers
Containers are a simple way to fit more plants into a garden. Having different tiers means that the canopies of different crops aren’t competing for space at the same level.
Another advantage of containers is that they make it possible to add a crop to an area where there is root competition from a neighbouring crop.
Fences to Support Vines
Squash growing on a fence as part of a vertical vegetable garden.
Fences can be a great opportunity to grow a vertical garden. If the space next to the fence is paved, consider growing in a container.
Tie tomato plants to a chain-link fence
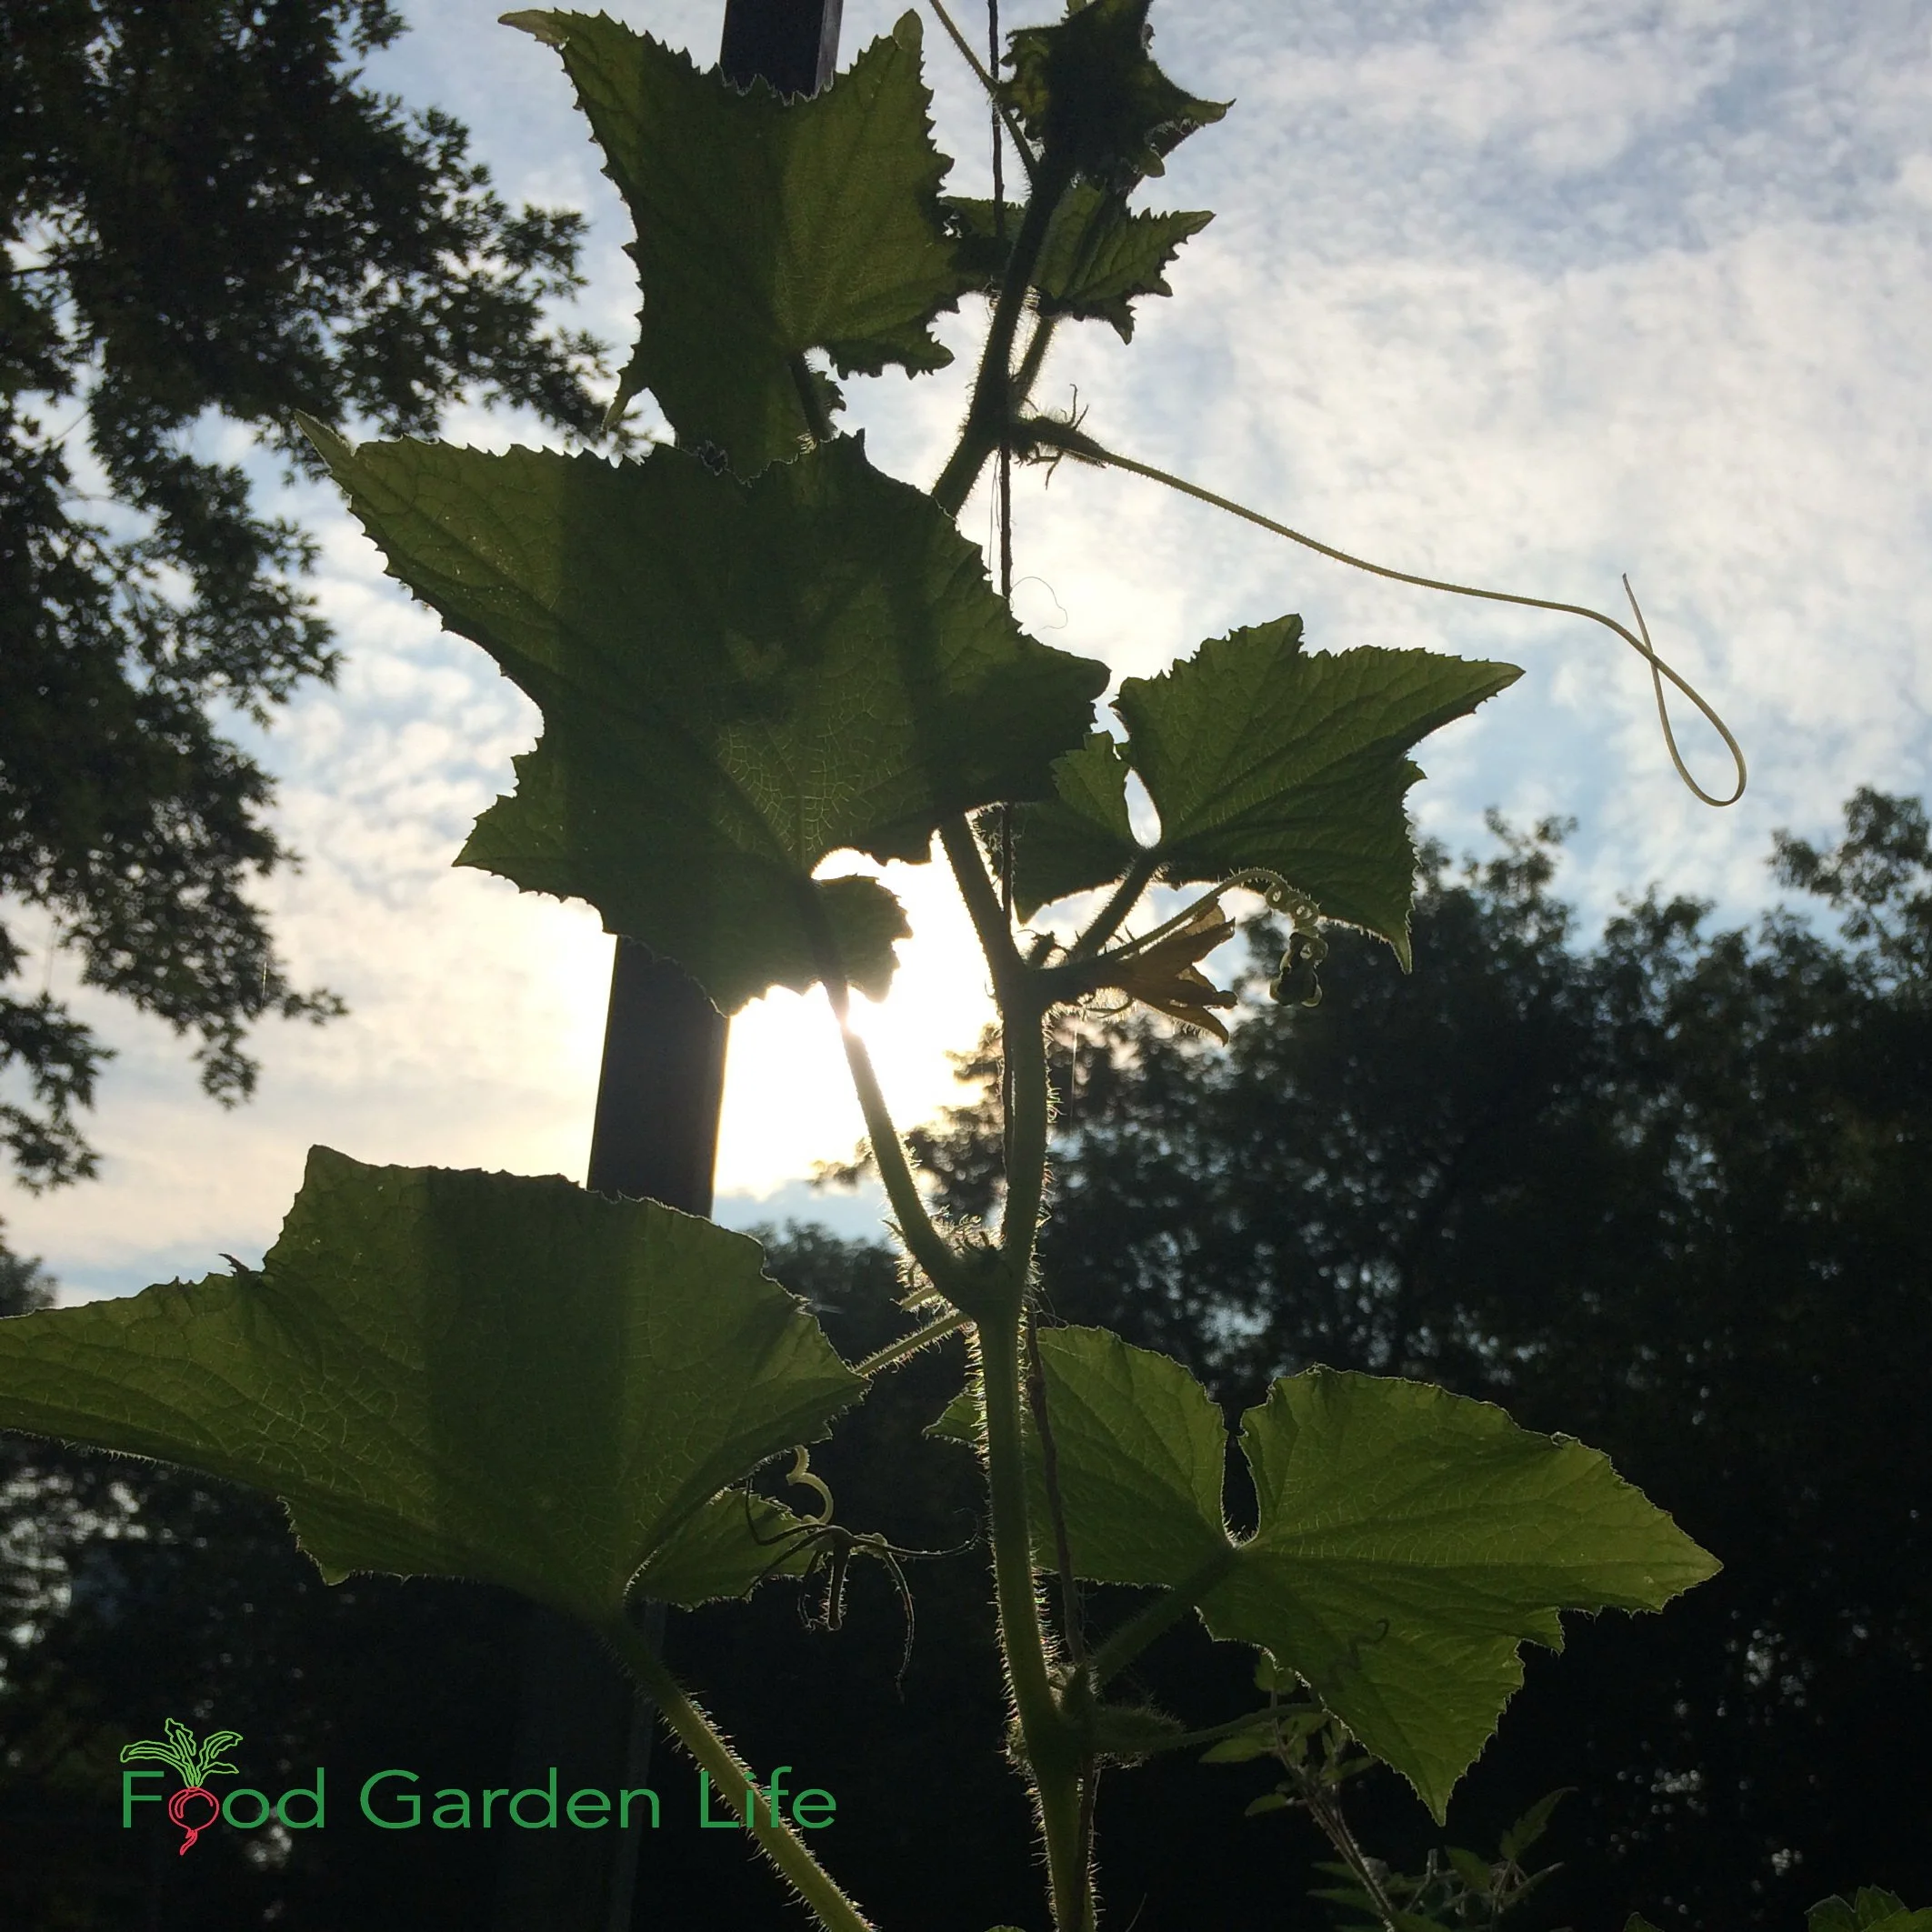
Run twine along a board fence for cucumbers and other vining plants
Grow strawberries or herbs in planters fastened to the fence
Hanging Baskets and Hanging Planters
Vertical gardening doesn’t always mean training a plant upwards.
It can include plants dangling down. A hanging garden.
There are lots of crop options for hanging baskets. Here are ideas to get started:
Add hanging baskets to vertical vegetable gardens.
Strawberries
Tomato plants
Herbs
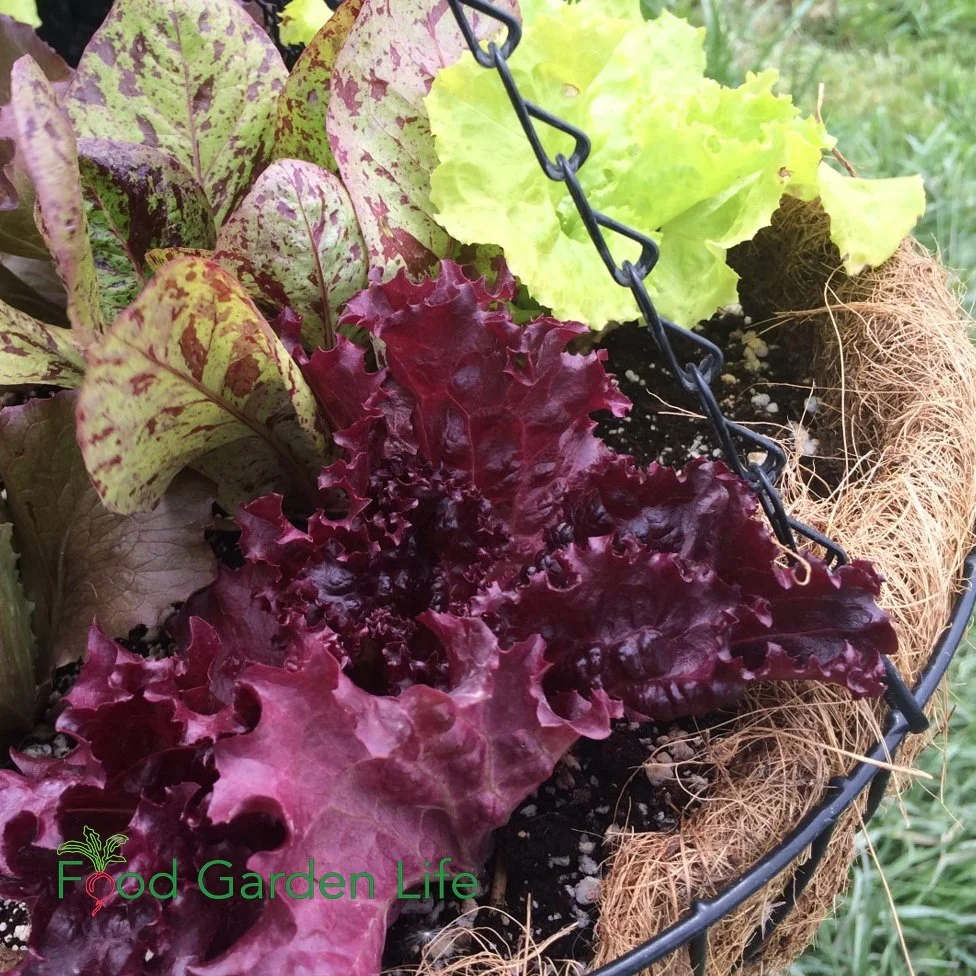
Salad greens for hanging baskets in partial shade
Trailing nasturtiums (edible flowers!)
Stakes for a Vertical Vegetable Garden
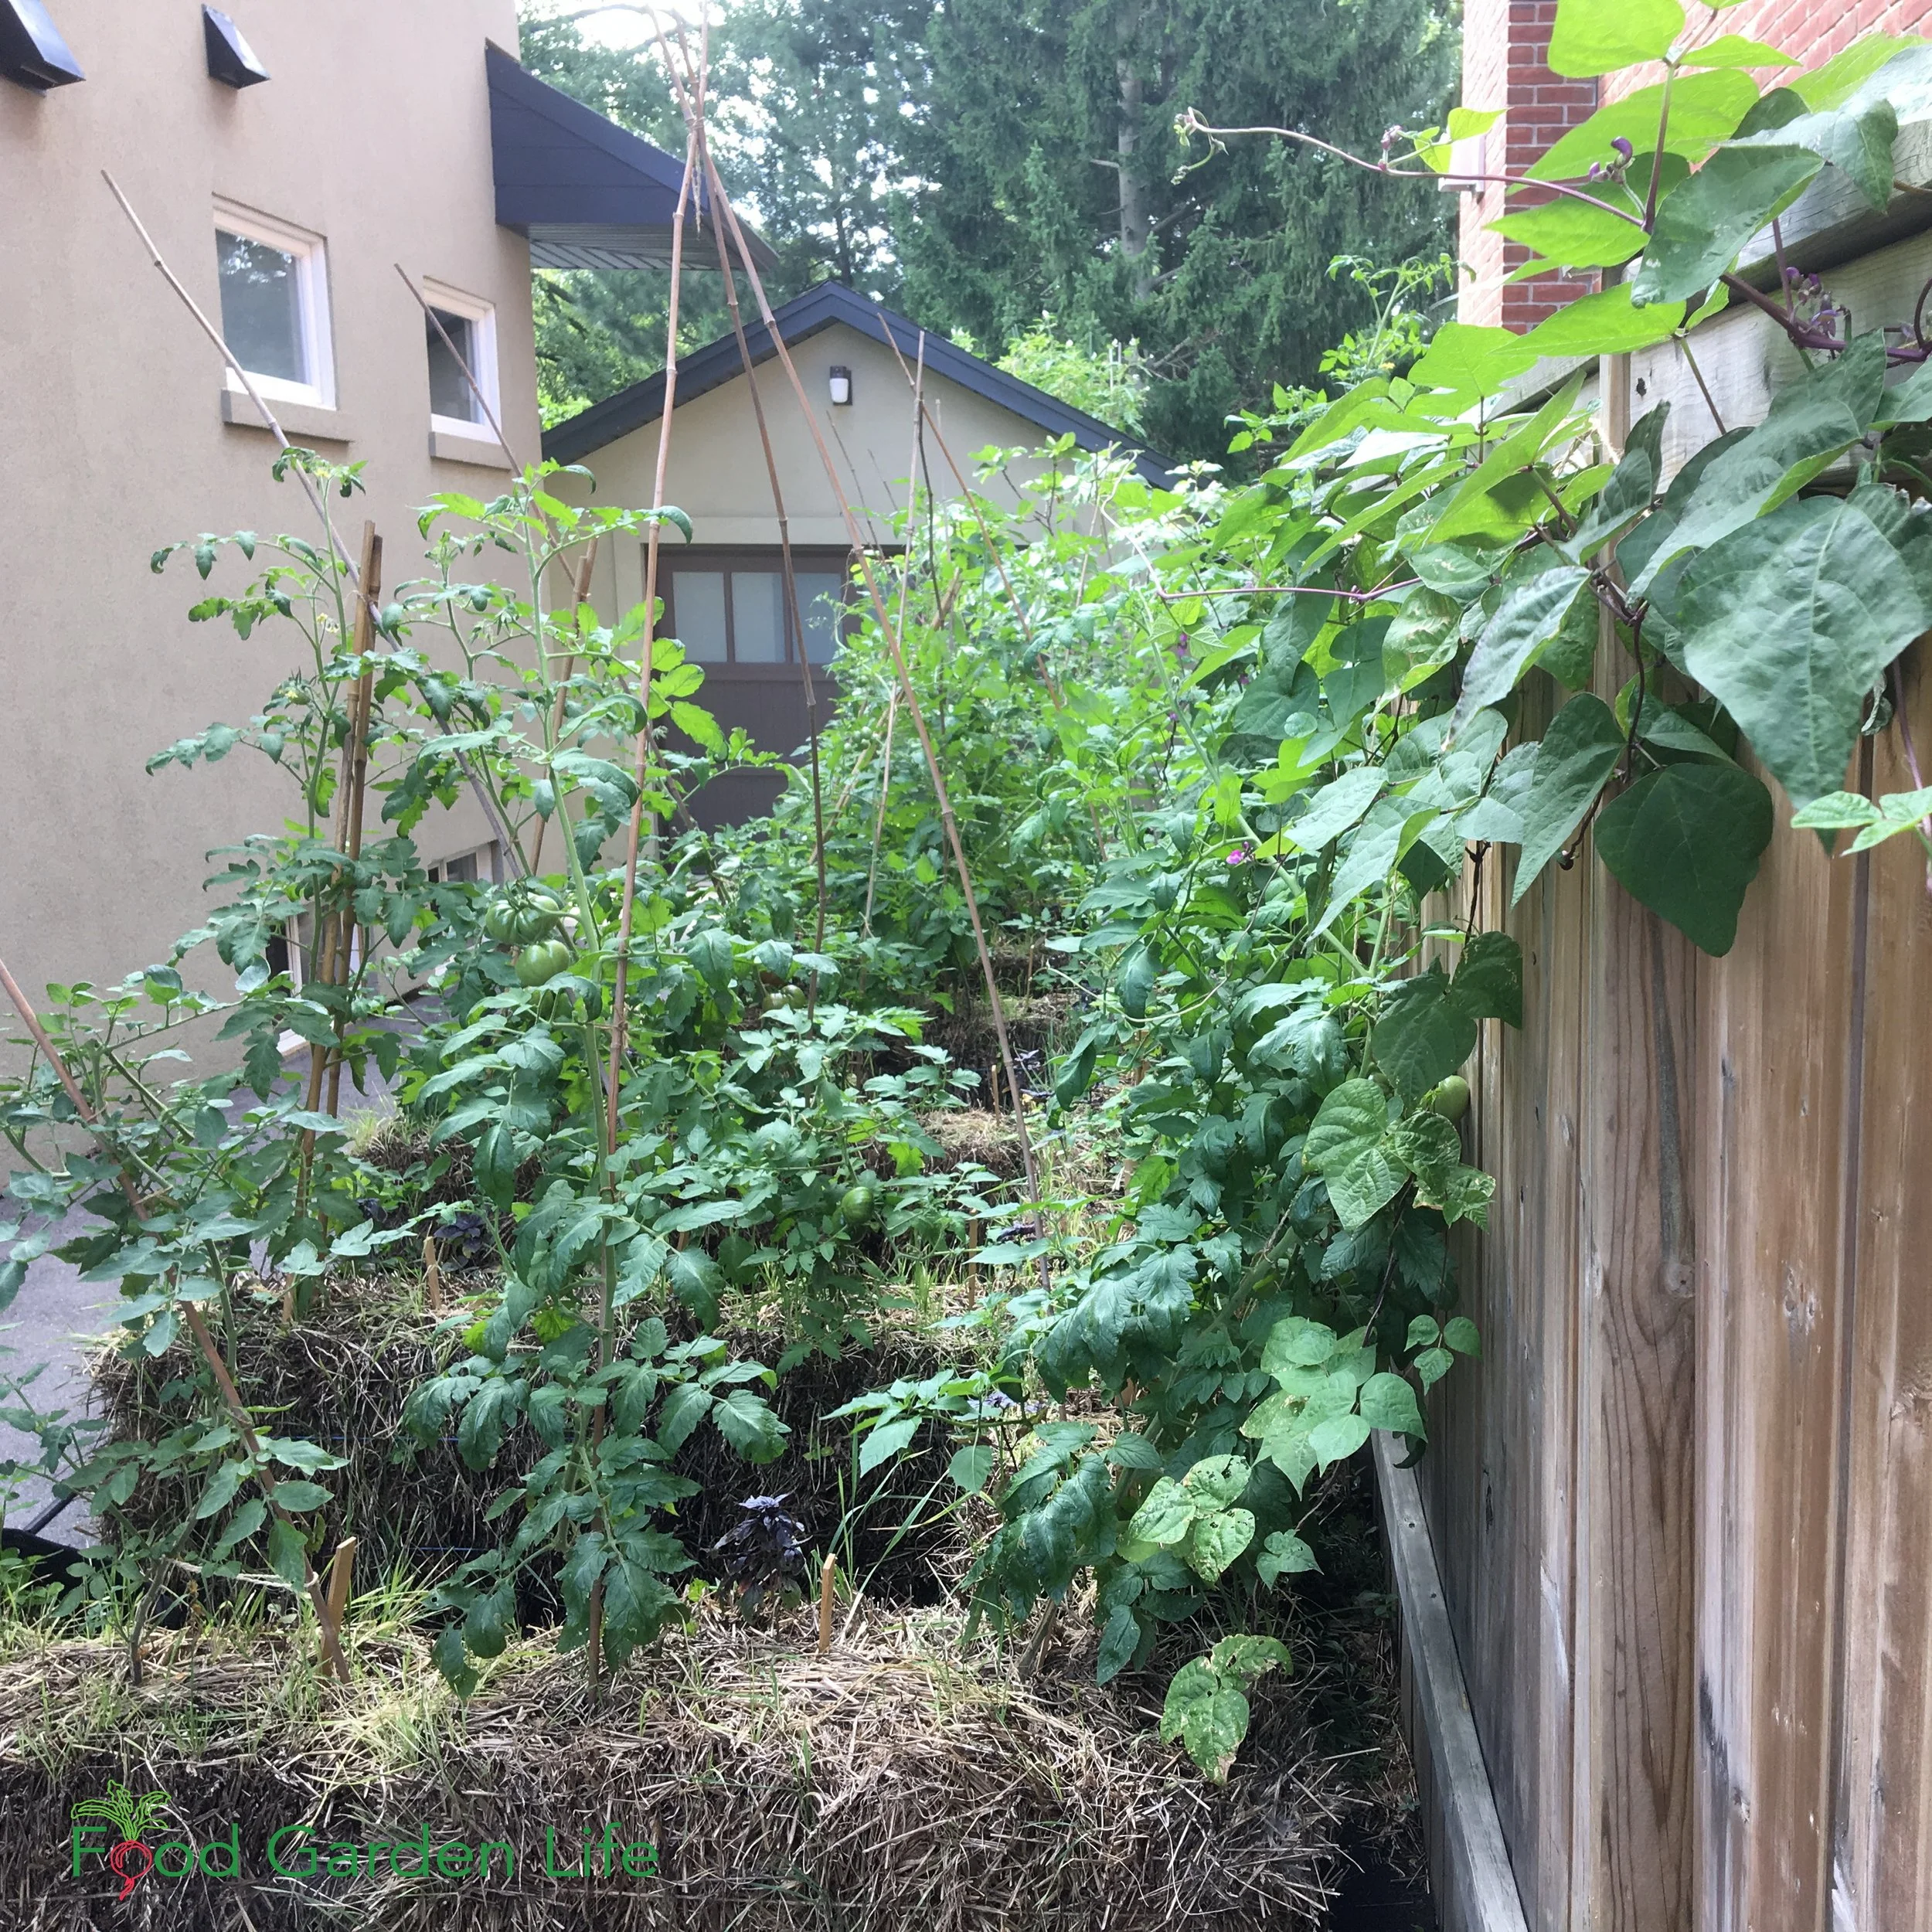
Staked tomatoes leave space for some parsley plants at the ground level.
When staking a plant and growing it upwards you’re opening up space below for another crop. For many gardeners, the sight of staked tomatoes is familiar. Now picture those tomato plants with lettuce or parley underneath.
Some plants can wrap around or grab onto a stake. Other, such as tomatoes, must be tied to the stake.
Self-Supporting Structures for Vertical Gardens
There are many ways to make self-supporting structures for vertical growing.
Even if a vertical garden structure is self-supporting, it’s a good idea to secure it to the ground with a stake so that it doesn’t topple in strong wind.
Here are a few ideas to create vertical space:
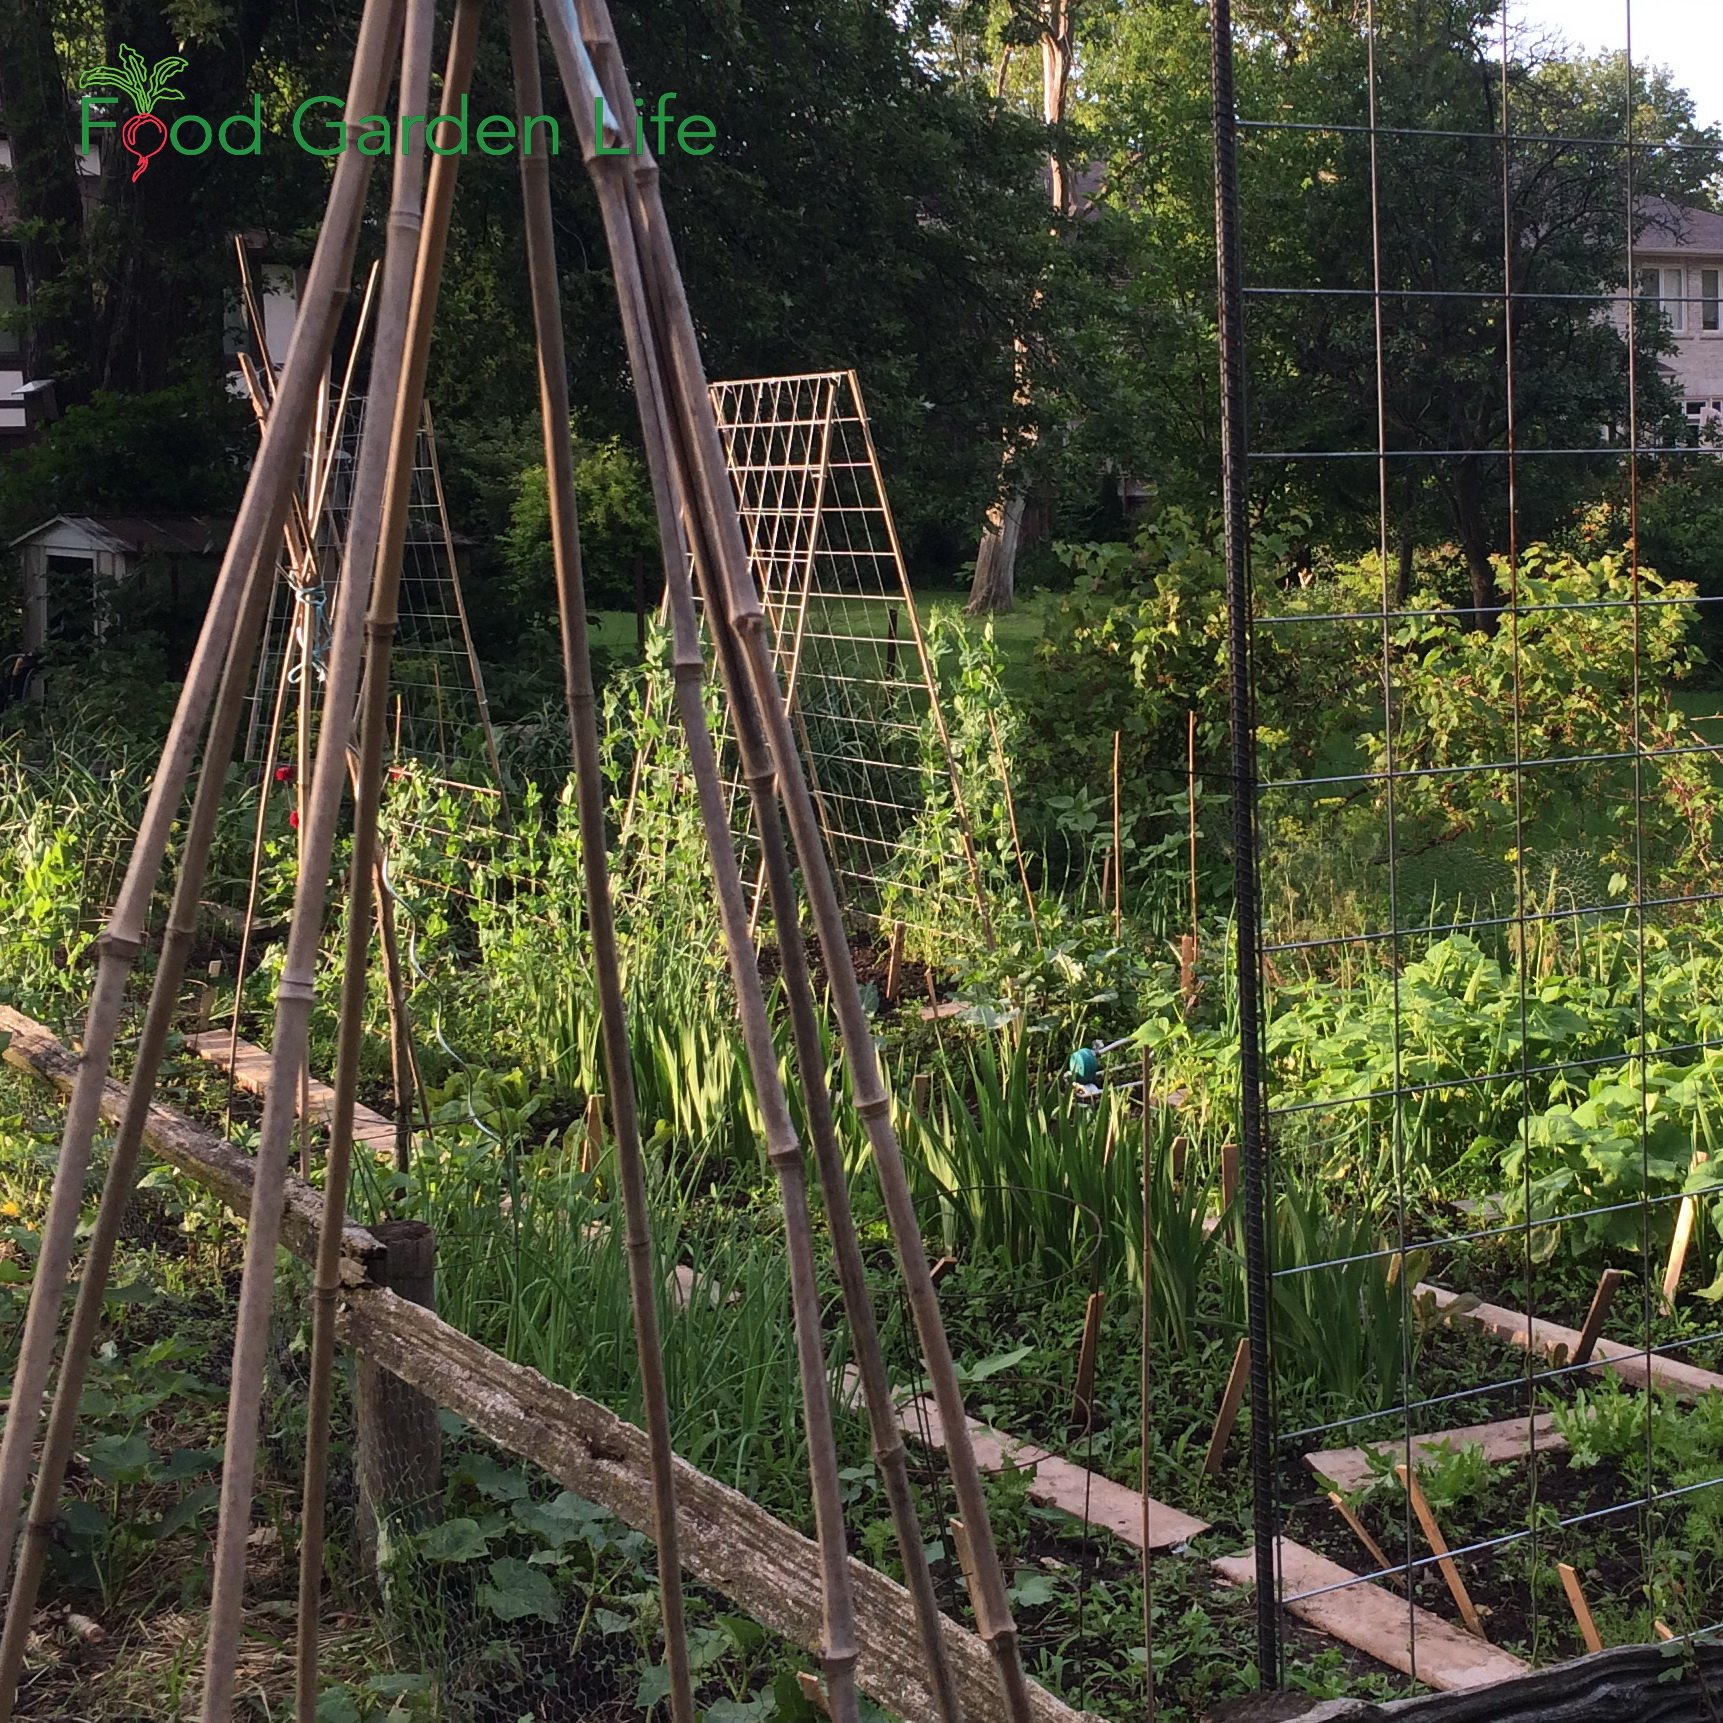
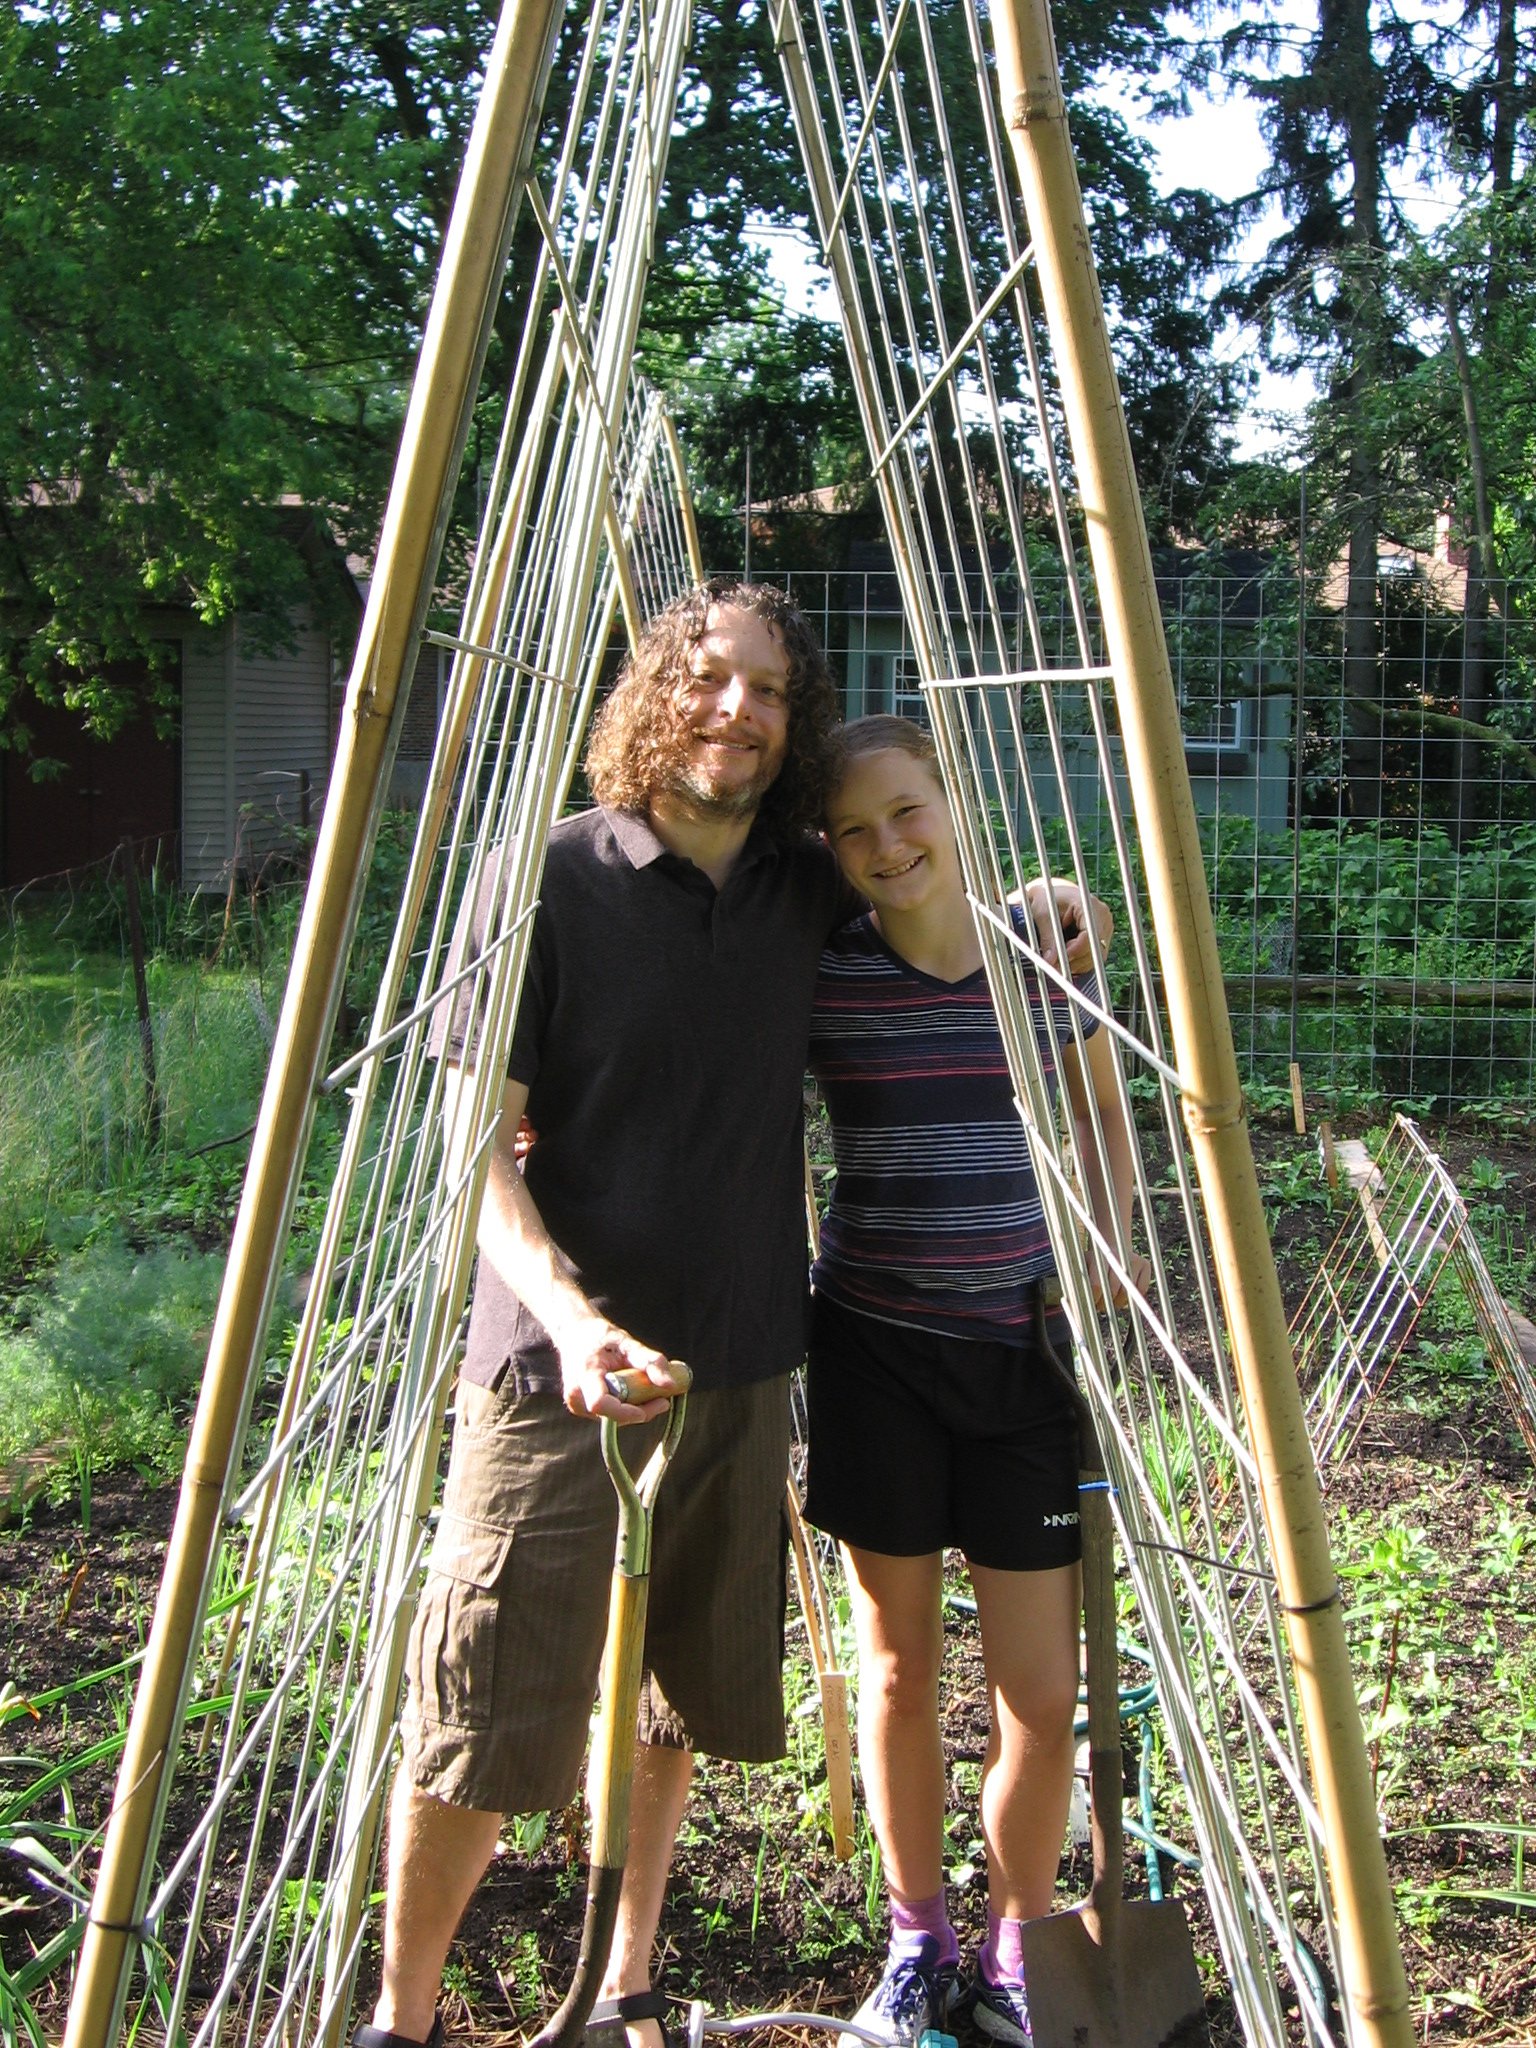
Tee Pees
A-frames
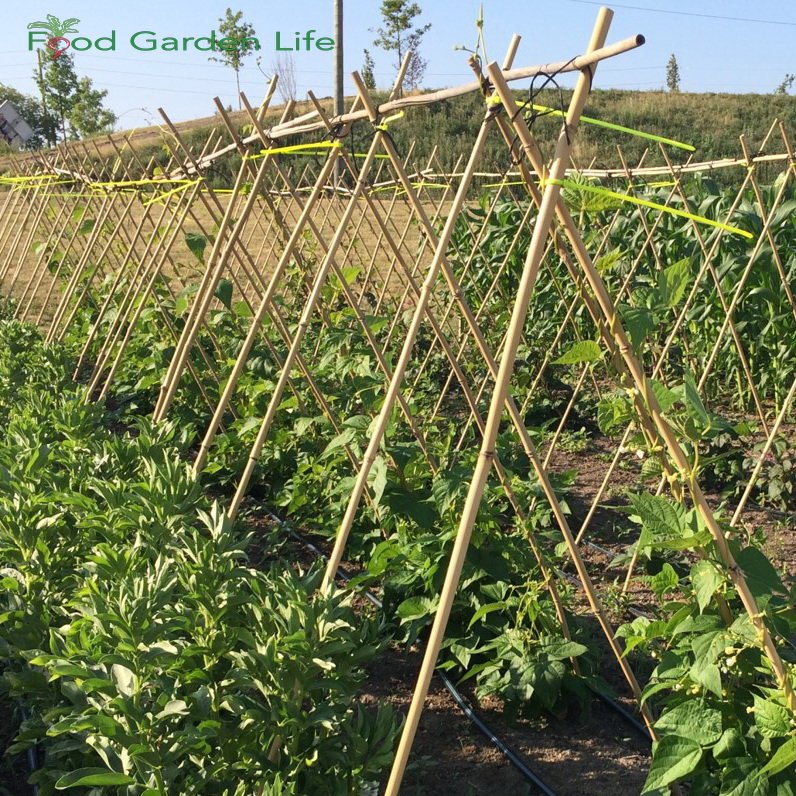
A Row of angled, crossing poles jointed together with a pole laying across the top
Grow food vertically using simple bamboo structures such as teepees and A-frames.
Or make more permanent structures for climbing vegetables using lumber:
Lattice-and-lumber A-frame
Wood frames from which twine can be suspended for vining crops
Wooden A-frames over which vining crops grow; and under which shade-tolerant leafy greens thrive during the summer
Or make ornamental landscape features the double as support for growing crops:
Arbours
Pergolas
Use Plants in the Landscape for Vertical Growing Space
Use plants within the landscape to support vining vertical crops:
Save space by growing squash along a hedge!
Hedge (grow a squash vine along a hedge)
Tree (let runner beans grow into a small tree)
Sunflower or corn as a living trellis
Trellises for a Wall Garden
Trellises are a simple way to add more vertical growing space.
Turn an empty wall into a home for a vining crop
Add height to a fence with a trellis
Cover an unsightly utility pole and make it into a growing space
Vertical Garden Crops Ideas
Here are crops that are suited to growing vertically.
Achocha (a.k.a. Bolivian cucumber)
Achocha is a vining crop that’s easy to grow in a vertical vegetable garden.
If you’ve been frustrated by pests and diseases on more delicate vining crops such as cucumber, try achocha. It’s a survivor.
This vining crop has small pods that are eaten raw when small, and cooked when a bit bigger. (There’s a limit to how big they can get without being too woody, so aim to harvest them while small.)
Beans (pole beans and runner beans)
Both of these vining beans are a great addition to a vertical vegetable garden.
Grow them up trellises, garden structures, and tall fences.
Runner beans do better in cooler, maritime climates—and they tolerate partial shade.
Bitter melon
This vining crop has tendrils. Both fruit and young shoot tips are edible. Tolerates partial shade.
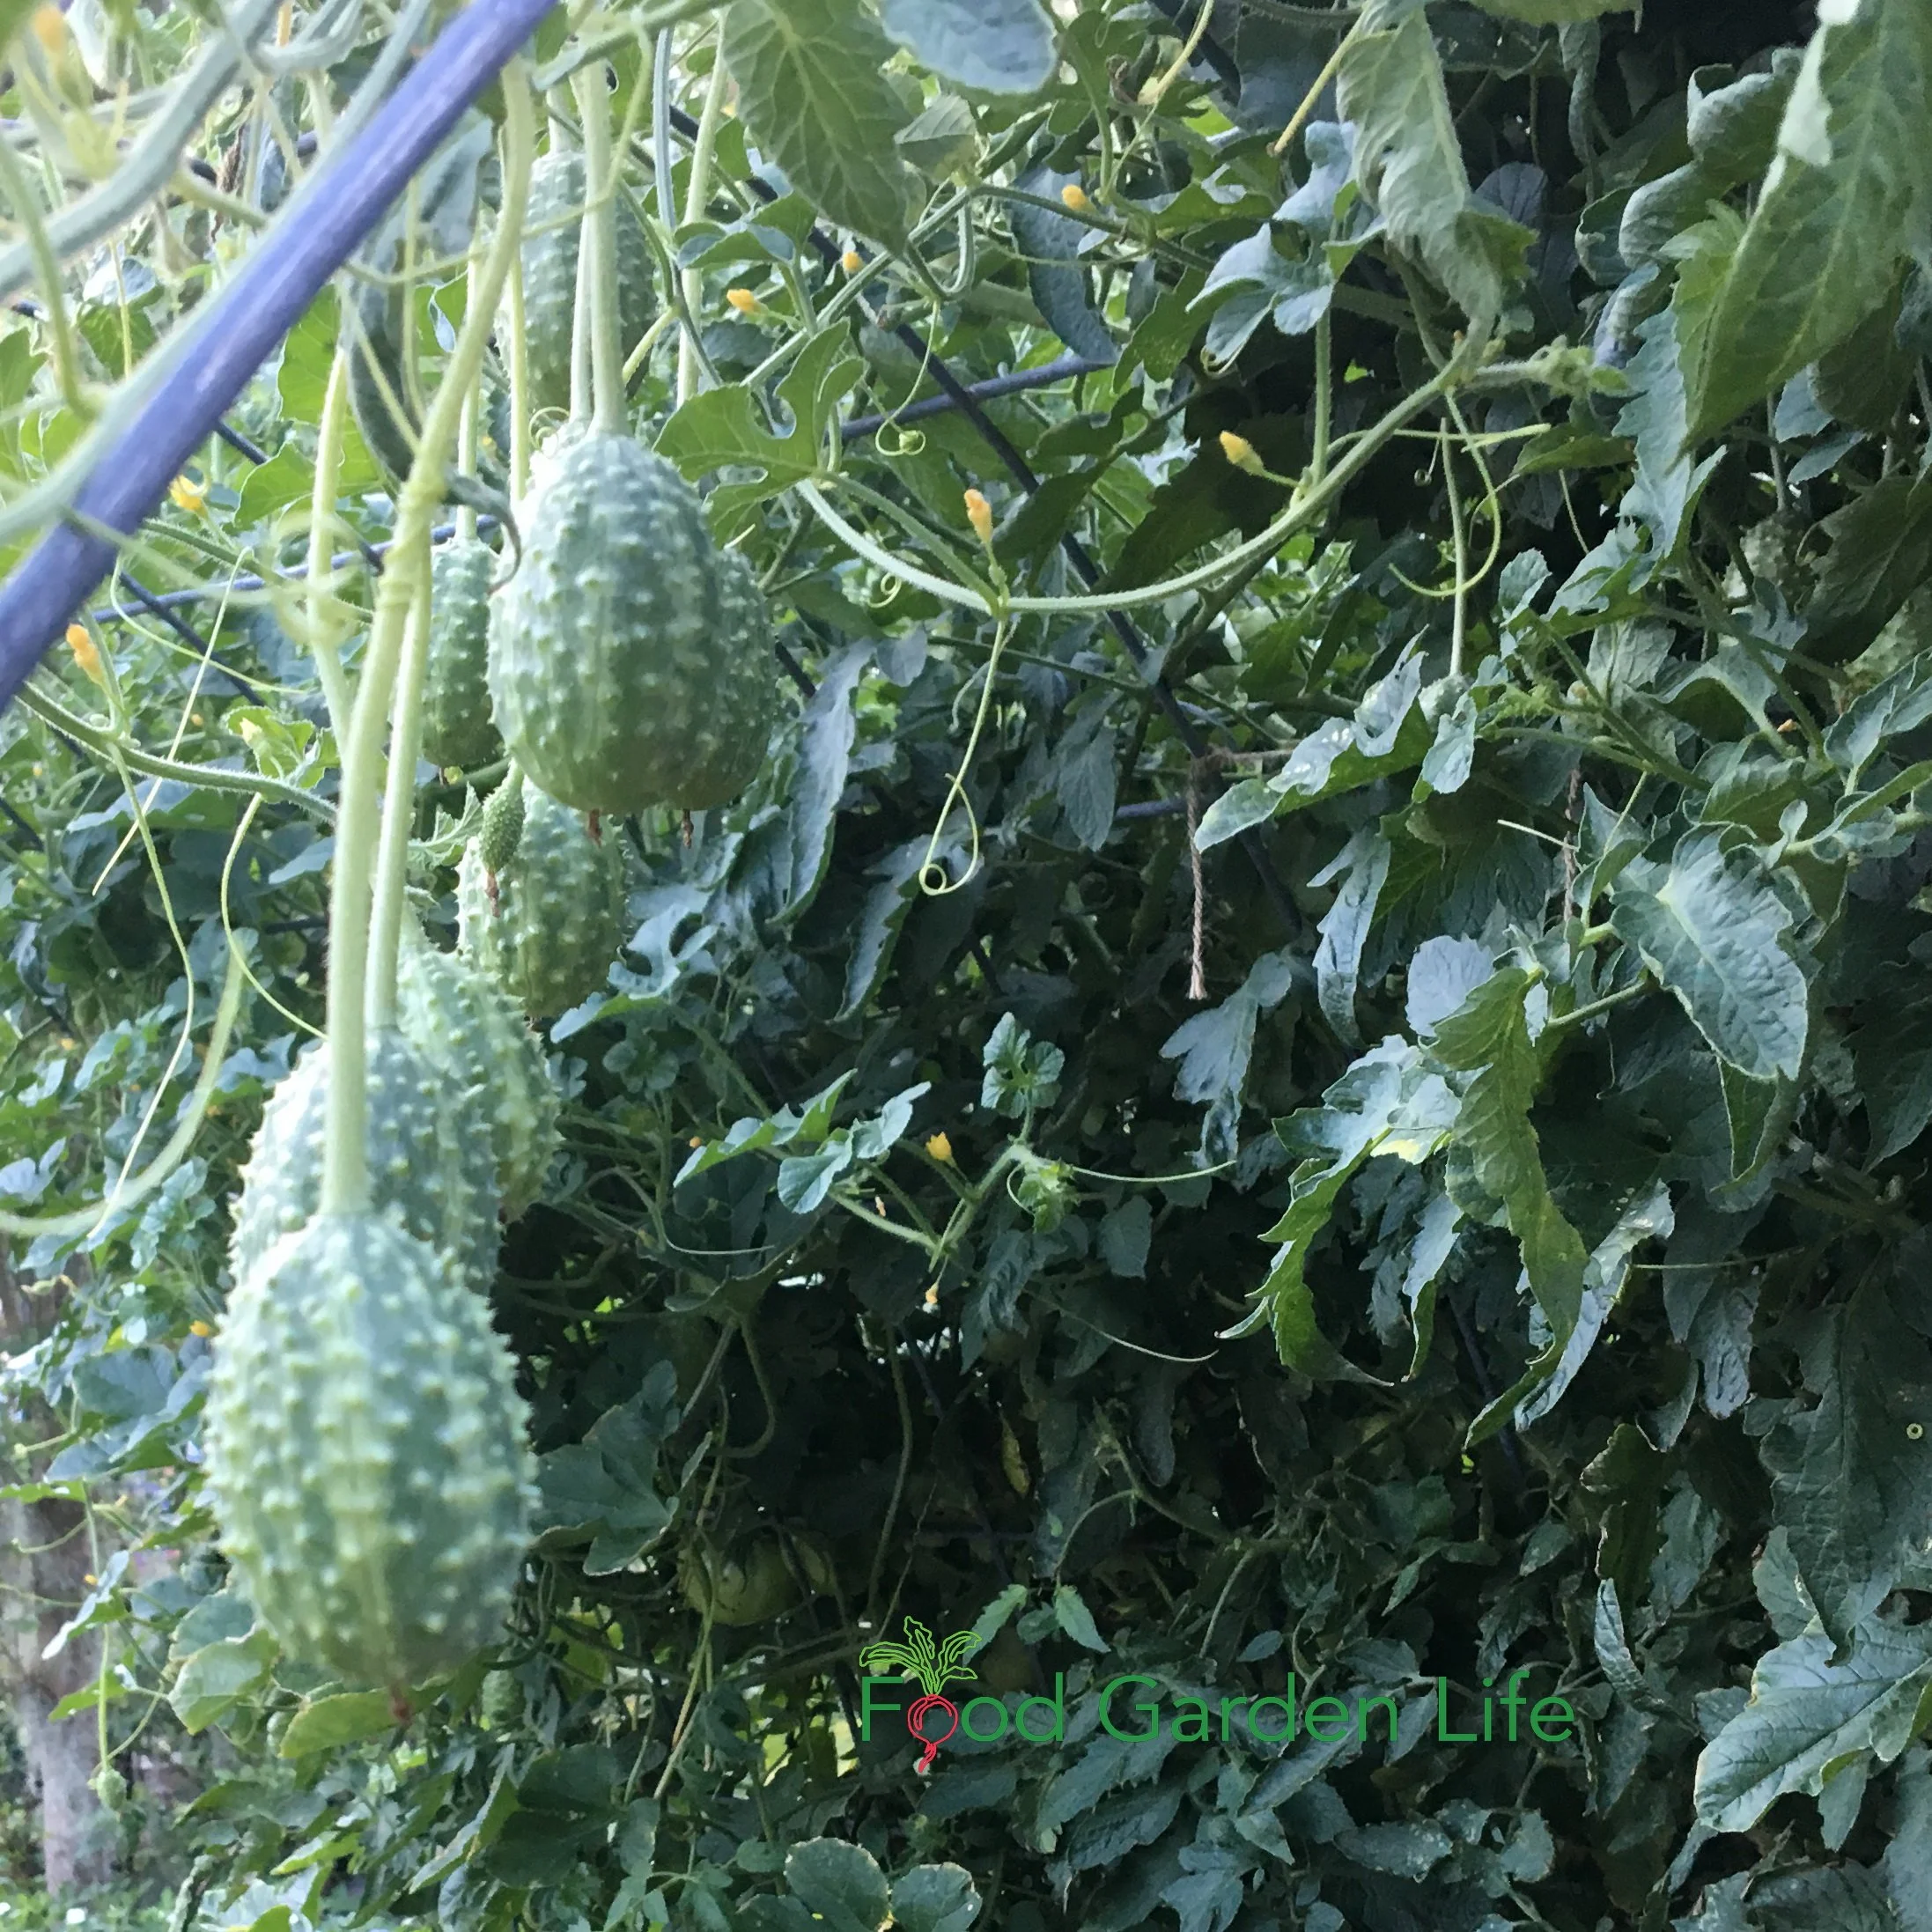
Burr Gherkin
Burr gherkin is a vining crop that’s easy to grow in a vertical vegetable garden.
Spiky little cucumber relatives with a citrusy taste. Tasty fresh, and good for pickles too. Vines grow like cucumbers.
Cucamelon
(a.k.a. Mouse Melon, Mexican Sour Gherkin)
This cucumber relative has smaller leaves and fruit, but is a vigorous grow that easily climbs a trellis.
The small, thumbnail-sized fruit are cucumber-like, with a bit of citrus. Eat fresh, or make into pickles.
Cucumbers
Along with conventional cucumbers, look for Armenian cucumbers (not actually a cucumber…but a relative). Both make excellent vining crops.
Luffa
While many people think of using mature luffa fruit for the sponge-like scrubbies, the young luffa is edible—like a summer squash.
If you’re in a cold zone, know that this is a heat-loving crop that does best with a long growing season.
Create Your Own Unique Edible Landscape
That fits for your yard, and your style!
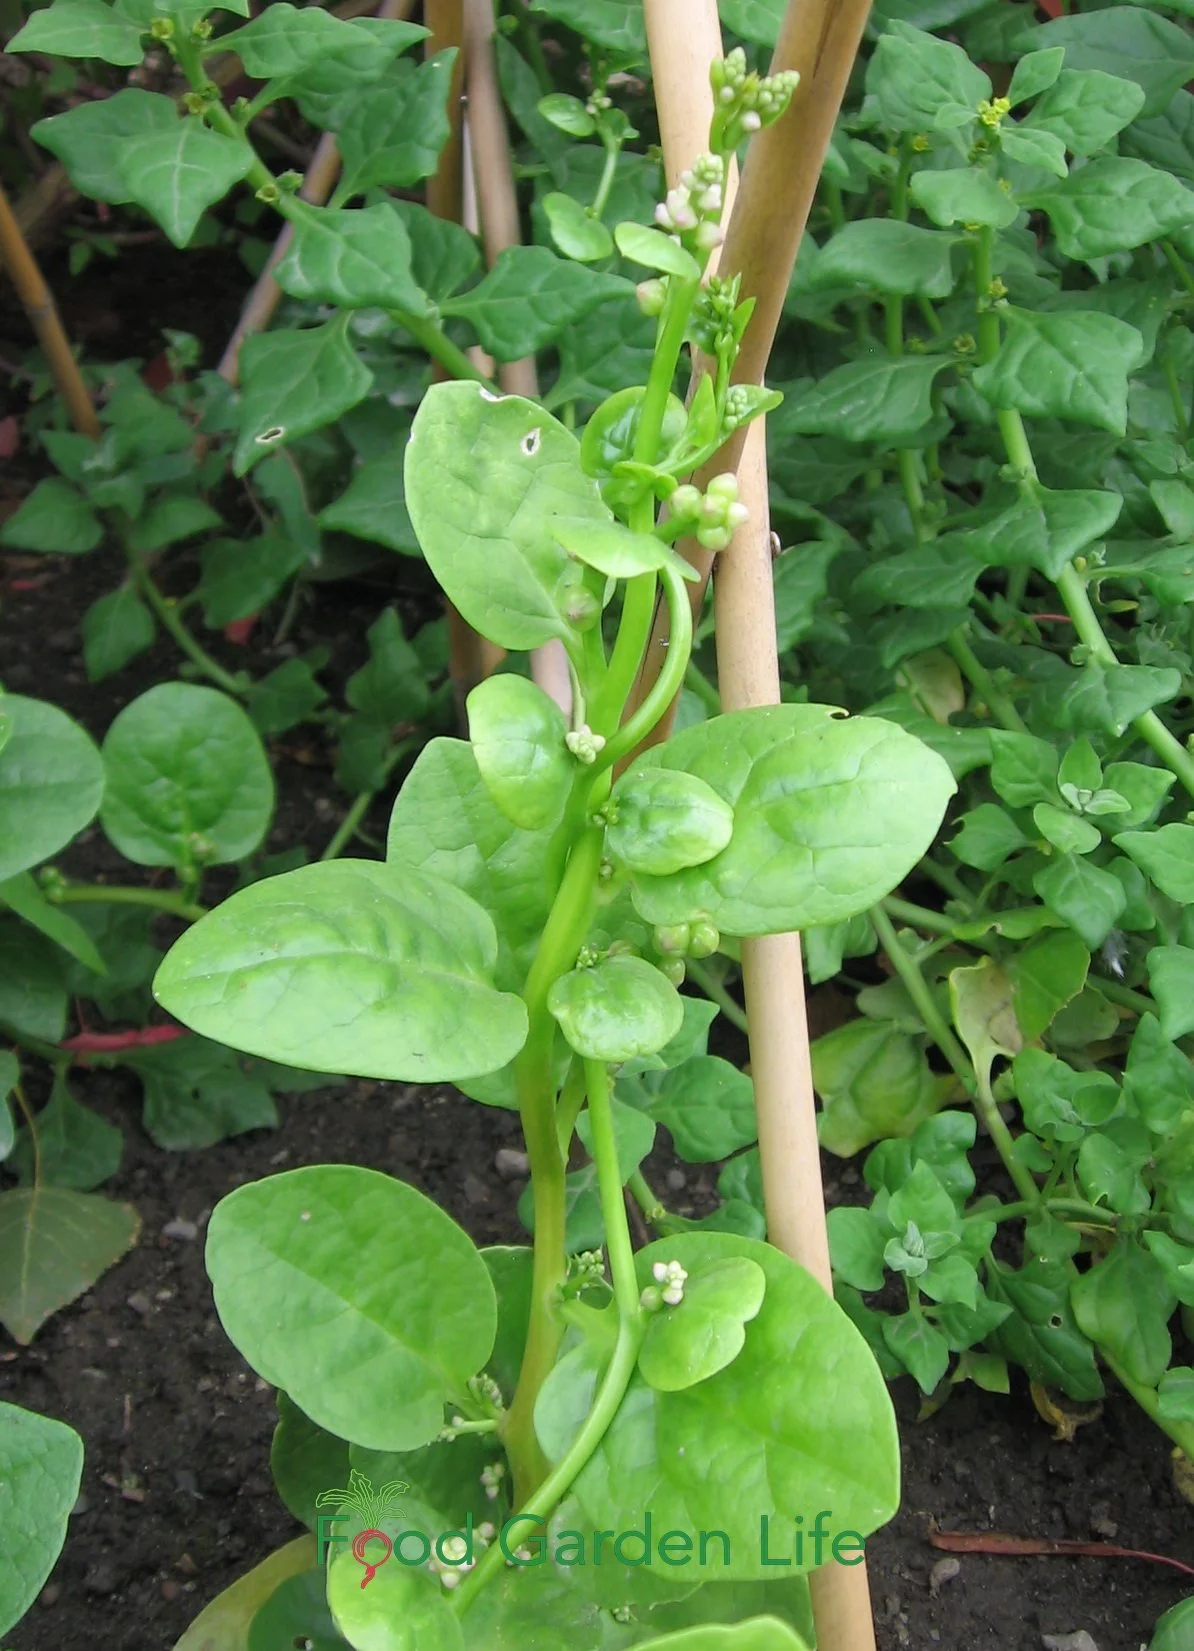
Malabar Spinach
(a.k.a Indian spinach, Ceylon spinach, vine spinach)
This vining plant is a spinach in name only. The leaves are thicker and waxier than true spinach. But it grows all summer—and grows well in heat of summer. The red-leaved varieties are quite ornamental.
Melons
Worried that you can’t grow melons and watermelons vertically because they’re too heavy? Don’t worry. Just make a sling to support the fruit.
Peas
If you've grown bush-types peas, you might not think of them as a vertical vegetable. For vertical gardening, get vining-type peas, which grow 6-8’ tall. ‘Tall Telephone’ is a well-known variety. (Remember, tendrils and shoot tips are edible too!)
Squash
Be sure to grow a vining squash variety, as many of the summer squash have a bush-like growth habit.
And…remember that you can eat more than just the squash fruit. Shoot tips are edible too.
Find out about eating squash tips and other lesser-known edible plant parts.
If you’re growing large winter squash, give extra support with a sling.
Tomatoes
Grow “indeterminate” tomatoes (a.k.a. vining tomatoes) for training upwards. They get taller and taller all summer long.
Most people think of growing tomatoes upwards…but some gardeners also let them dangle down. How about a curtain of tomato vines coming off a low-roofed shed or outbuilding?
Malabar spinach.
Grow a Container Vegetable Garden
And get an early harvest of crops that usually take too long!
Materials for Making DIY Vertical Support Structures
Bamboo Poles
Bamboo poles are an easy-to-use material that is widely available.
Use bamboo poles to stake individual plants, or to make trellises and A-frames.
When attaching poles together to create a trellis or support structure, use twine or zip ties. (Just don’t use the bright yellow zip ties like the ones in the photo below…clear ones are much less noticeable!)
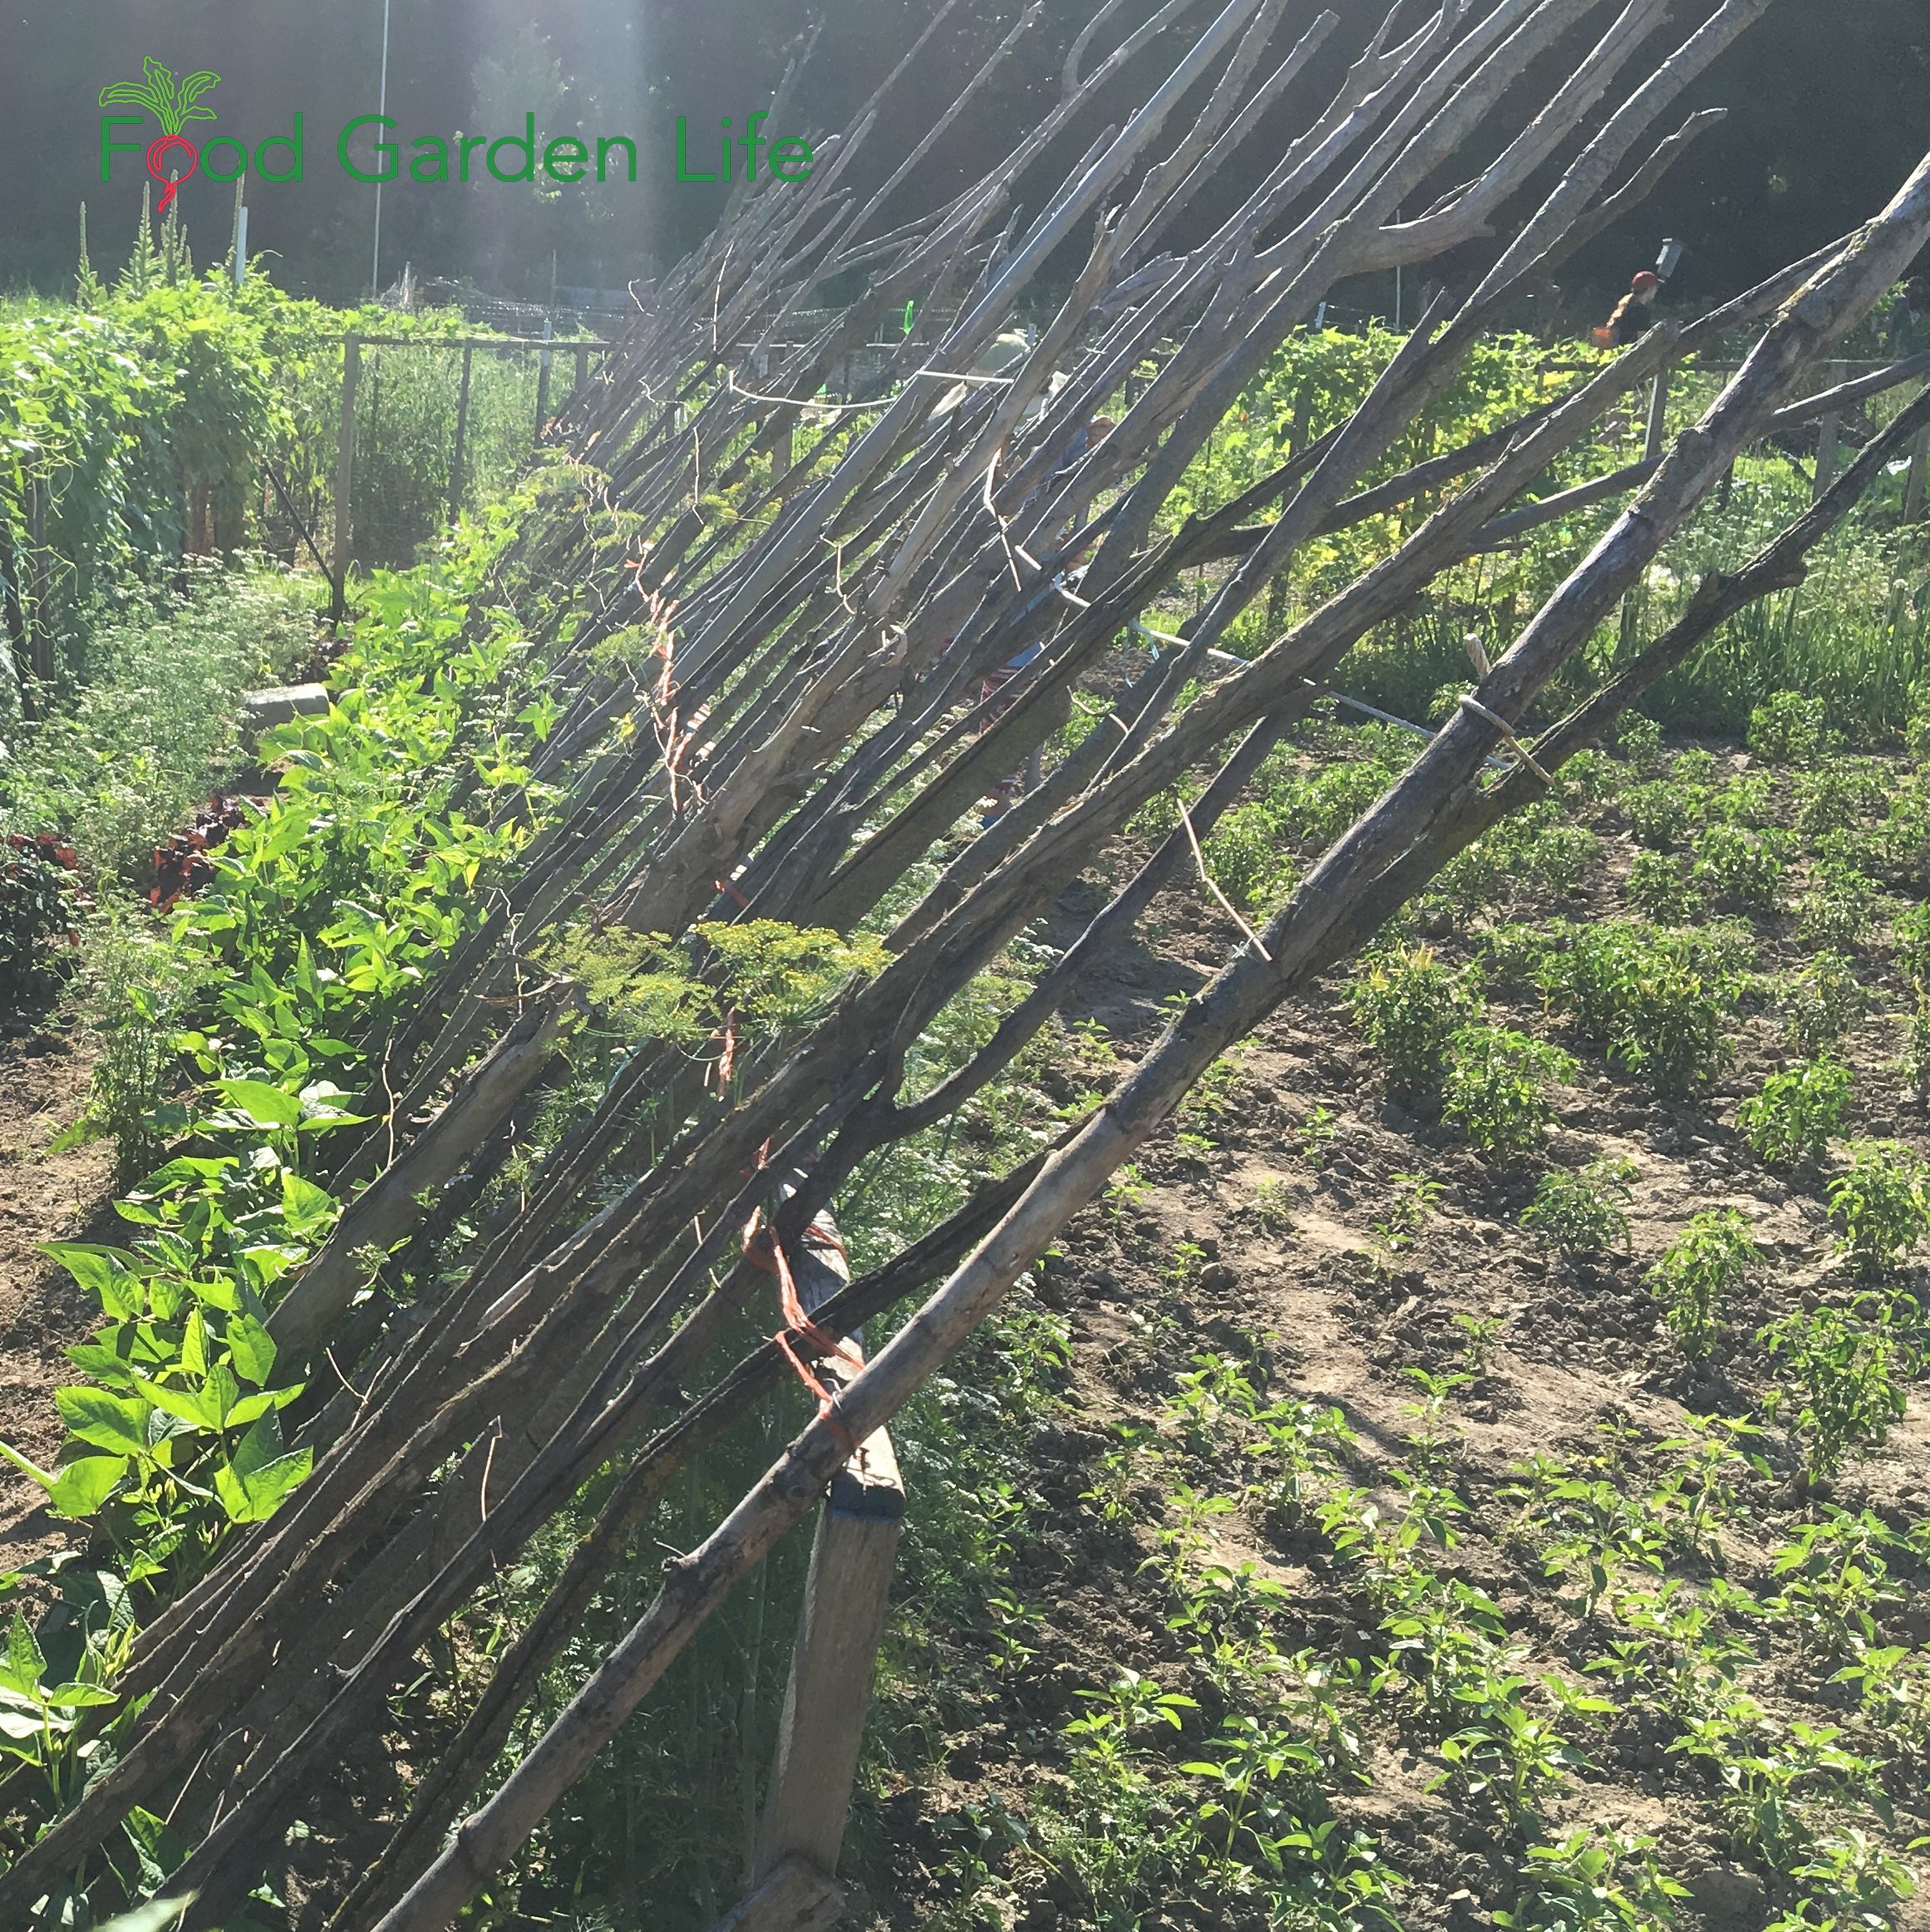
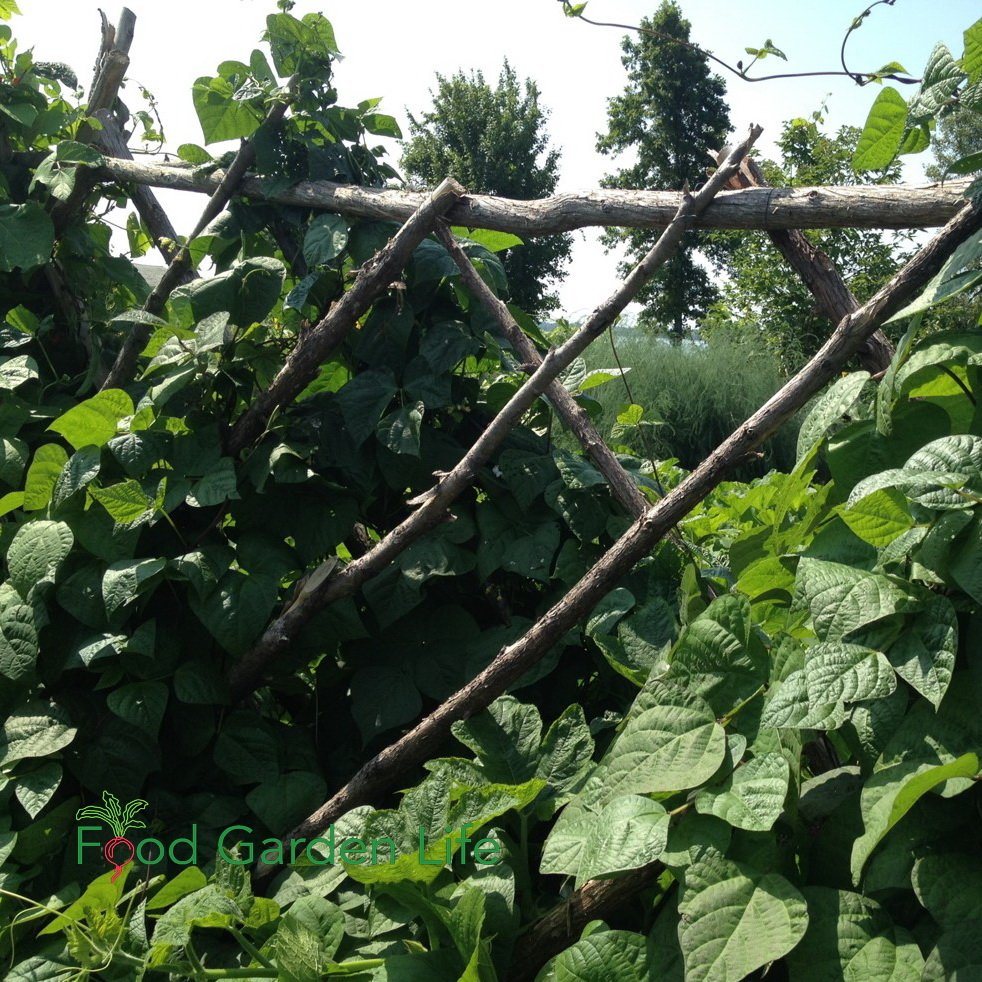
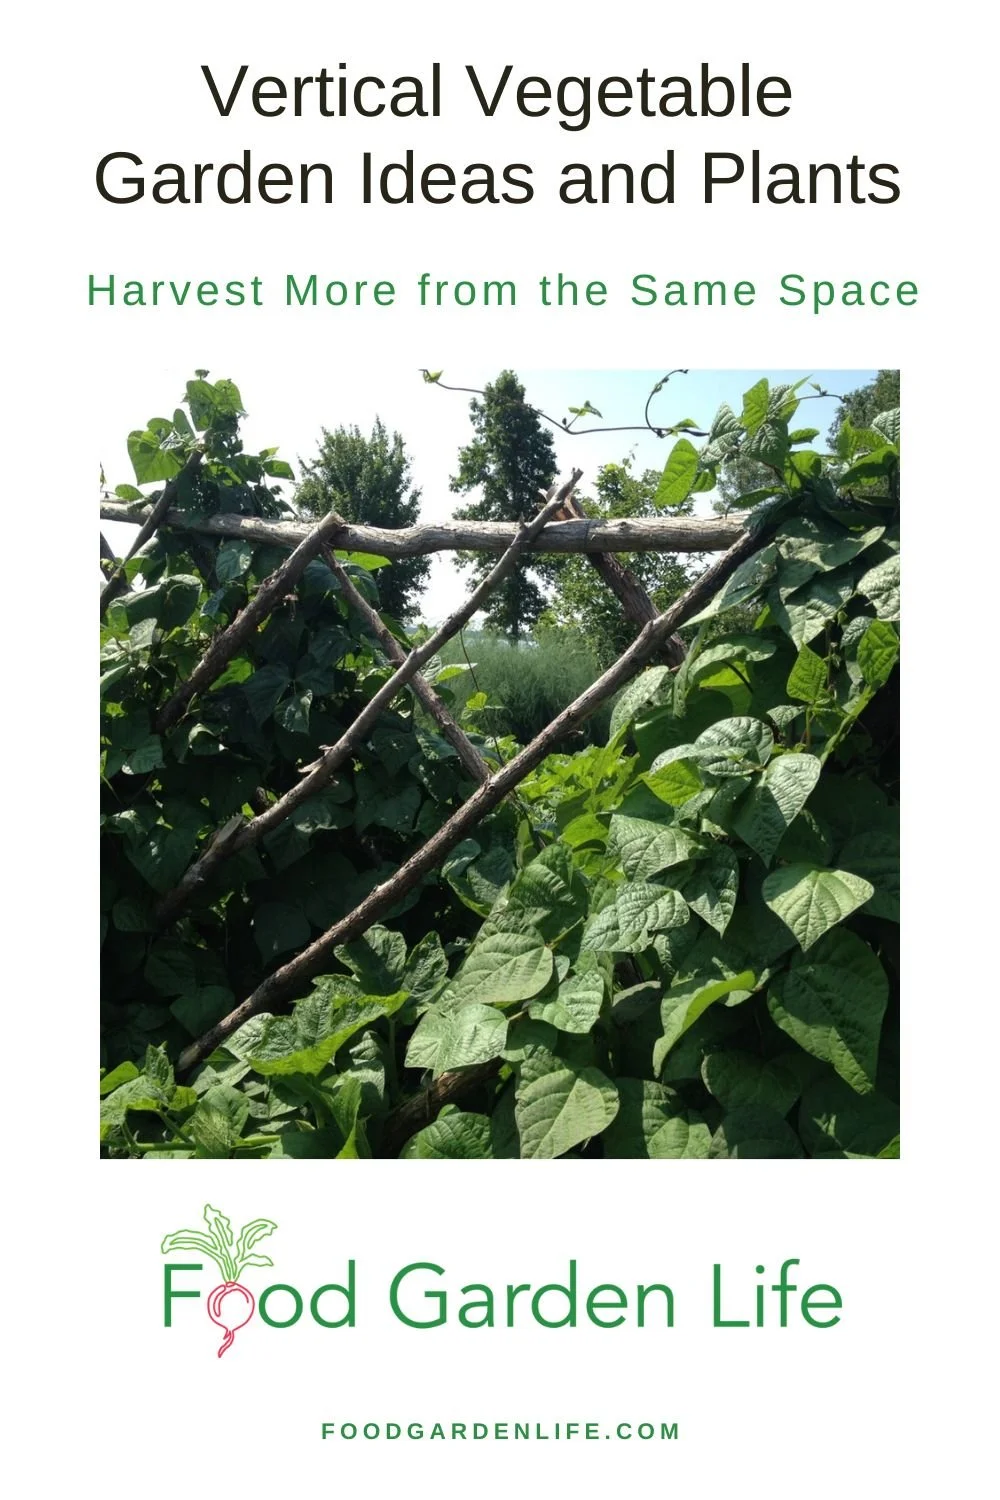
Branches
For a natural look—and for good economy—nothing beats branches.
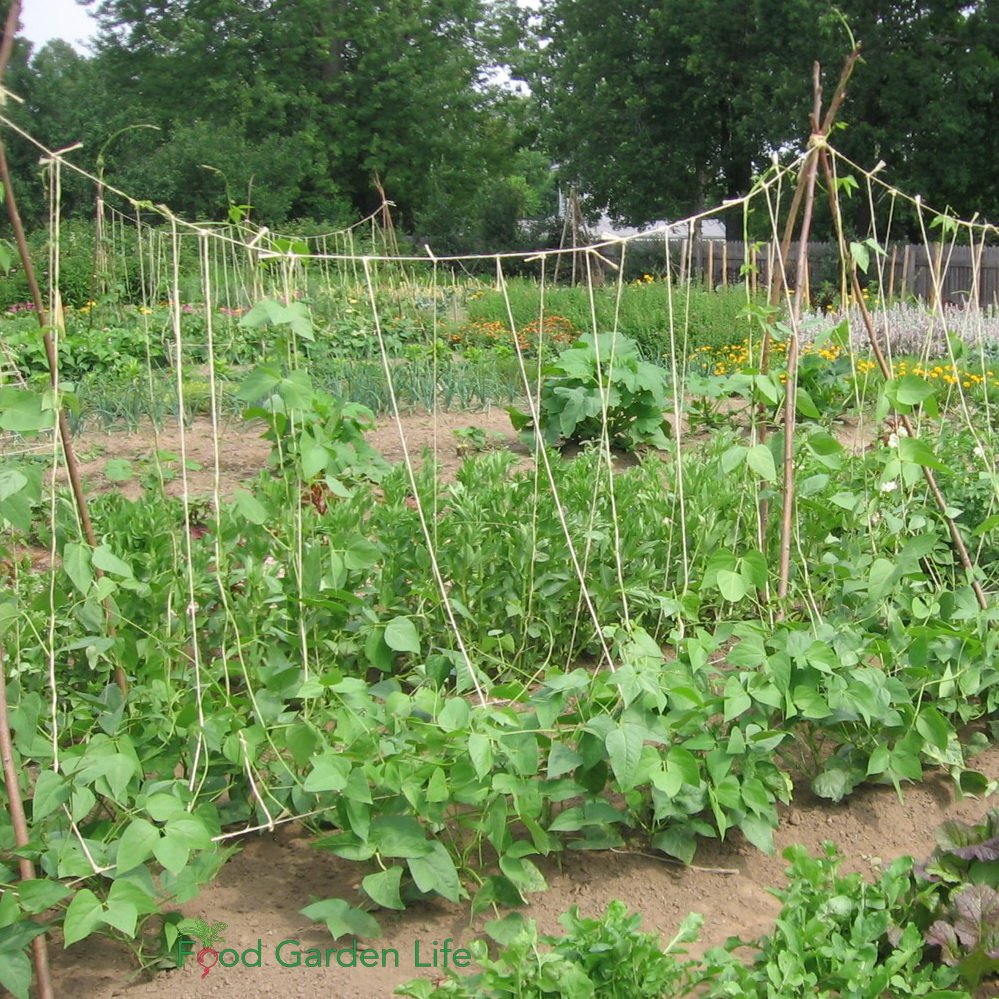
Twine
Natural-fibre twines such as jute and sisal readily break down when added to the compost pile or buried. They work well for tying plants and for making structures such as teepees.
If the twine will support a lot of weight (e.g. an 8’ high tomato-laden vine by the end of the season) consider something stronger. Either a thicker natural twine, or a synthetic twine.
Lumber
Like branches, lumber can often be scavenged for free.
The one caveat: Don’t use pressure-treated wood. It contains copper compounds.
Lattice
Looking to combine vertical growing with some privacy shields? Lattice could be a building material to consider.
A sheet of lattice usually bends when stood upright, so plan to frame it with wood so that it doesn’t bend.
Create Your Own Unique Edible Landscape
That fits for your yard, and your style!
Metal Stakes
Metal stakes last a long time!
T-bar stakes. Strong. Plan to use a post driver or a sledge hammer to drive them into the ground
Iron rebar. Thinner than T-bars, meaning that if the soil is moist, it can often be pushed into the ground.
PVC Pipe
Use PVC pipe to create supports for your vertical vegetable garden. It's readily available,
Looking for ways to connect horizontal poles to an upright T-bar? Stick a PVC plumbing tee-join on top of the T-bar – and now there are holes on either side into which to slip a horizontal pole.
Wire Mesh
There are a few types of wire mesh available; not all of them at garden centres. See what you can find at hardware and building-supply stores. And if you’re in a rural area, farm-supply stores often carry a good selection of wire.
To get you started as you think about using wire mesh…
Chicken wire. Easy to cut with tin snips.
Wire mesh to reinforce concrete. (A.k.a. remesh) Not galvanized like some other types of wire mesh, so it quickly takes on the patina of time and blends into the landscape. Tin snips won’t cut through this…plan for bolt cutter or a hack saw.
Hardware cloth. If you want closely spaced mesh that offers a visual shield, this can be an option. Cut with tin snips.
Cattle panels. Often galvanized. The spacing in the lower couple of courses of wire is often less than the other courses. More bendable than the mesh used for concrete—so if you’re looking to make an arch, a better choice.
Rolls of livestock fencing. Various gauges or wire and hole size available.
When buying mesh, think about this:
Do you want a galvanized product or not? Shiny obvious metal, or oxidized and less noticeable?
How will you transport it? Rolls can easily fit into the trunk of a car…but if you’re buying sheets of cattle panel or concrete mesh, you might need to put them on a roof rack (or track down a friend with a pickup truck!)
More Vegetable Gardening Information
Courses
Guide to Family Backcountry Camping
Family backcountry camping. Tips, ideas, and a list of what to bring on your backcountry trip with kids.
We camp as a family, at backcountry sites accessible only by canoe.
By Steven Biggs
Baby Steps to Backcountry Camping with Family
“Crayfish and going on rocks is our favourite thing in the world.” With that sort of endorsement, my wife Shelley and I knew family camping trips were a hit with our three young children.
We have had unexpected hiccups...
One time Quinn said to us, “Dad, I think there’s something in the van.” We’d left the van doors open as we prepared our meal, and a raccoon took the opportunity to rummage through our food packs. Yes, we learned our lesson.
Then there was the time the boys removed their shoes at a portage to chase frogs through the mud…and we were on the next lake before we remembered the shoes.
For our first few years of family camping we went to drive-in campsites. We’d rent a canoe for day trips and go for hikes. We prefer hikes and time on the water to busy beaches and cramped campsites, so we shifted to backcountry camping sites accessible only by canoe.
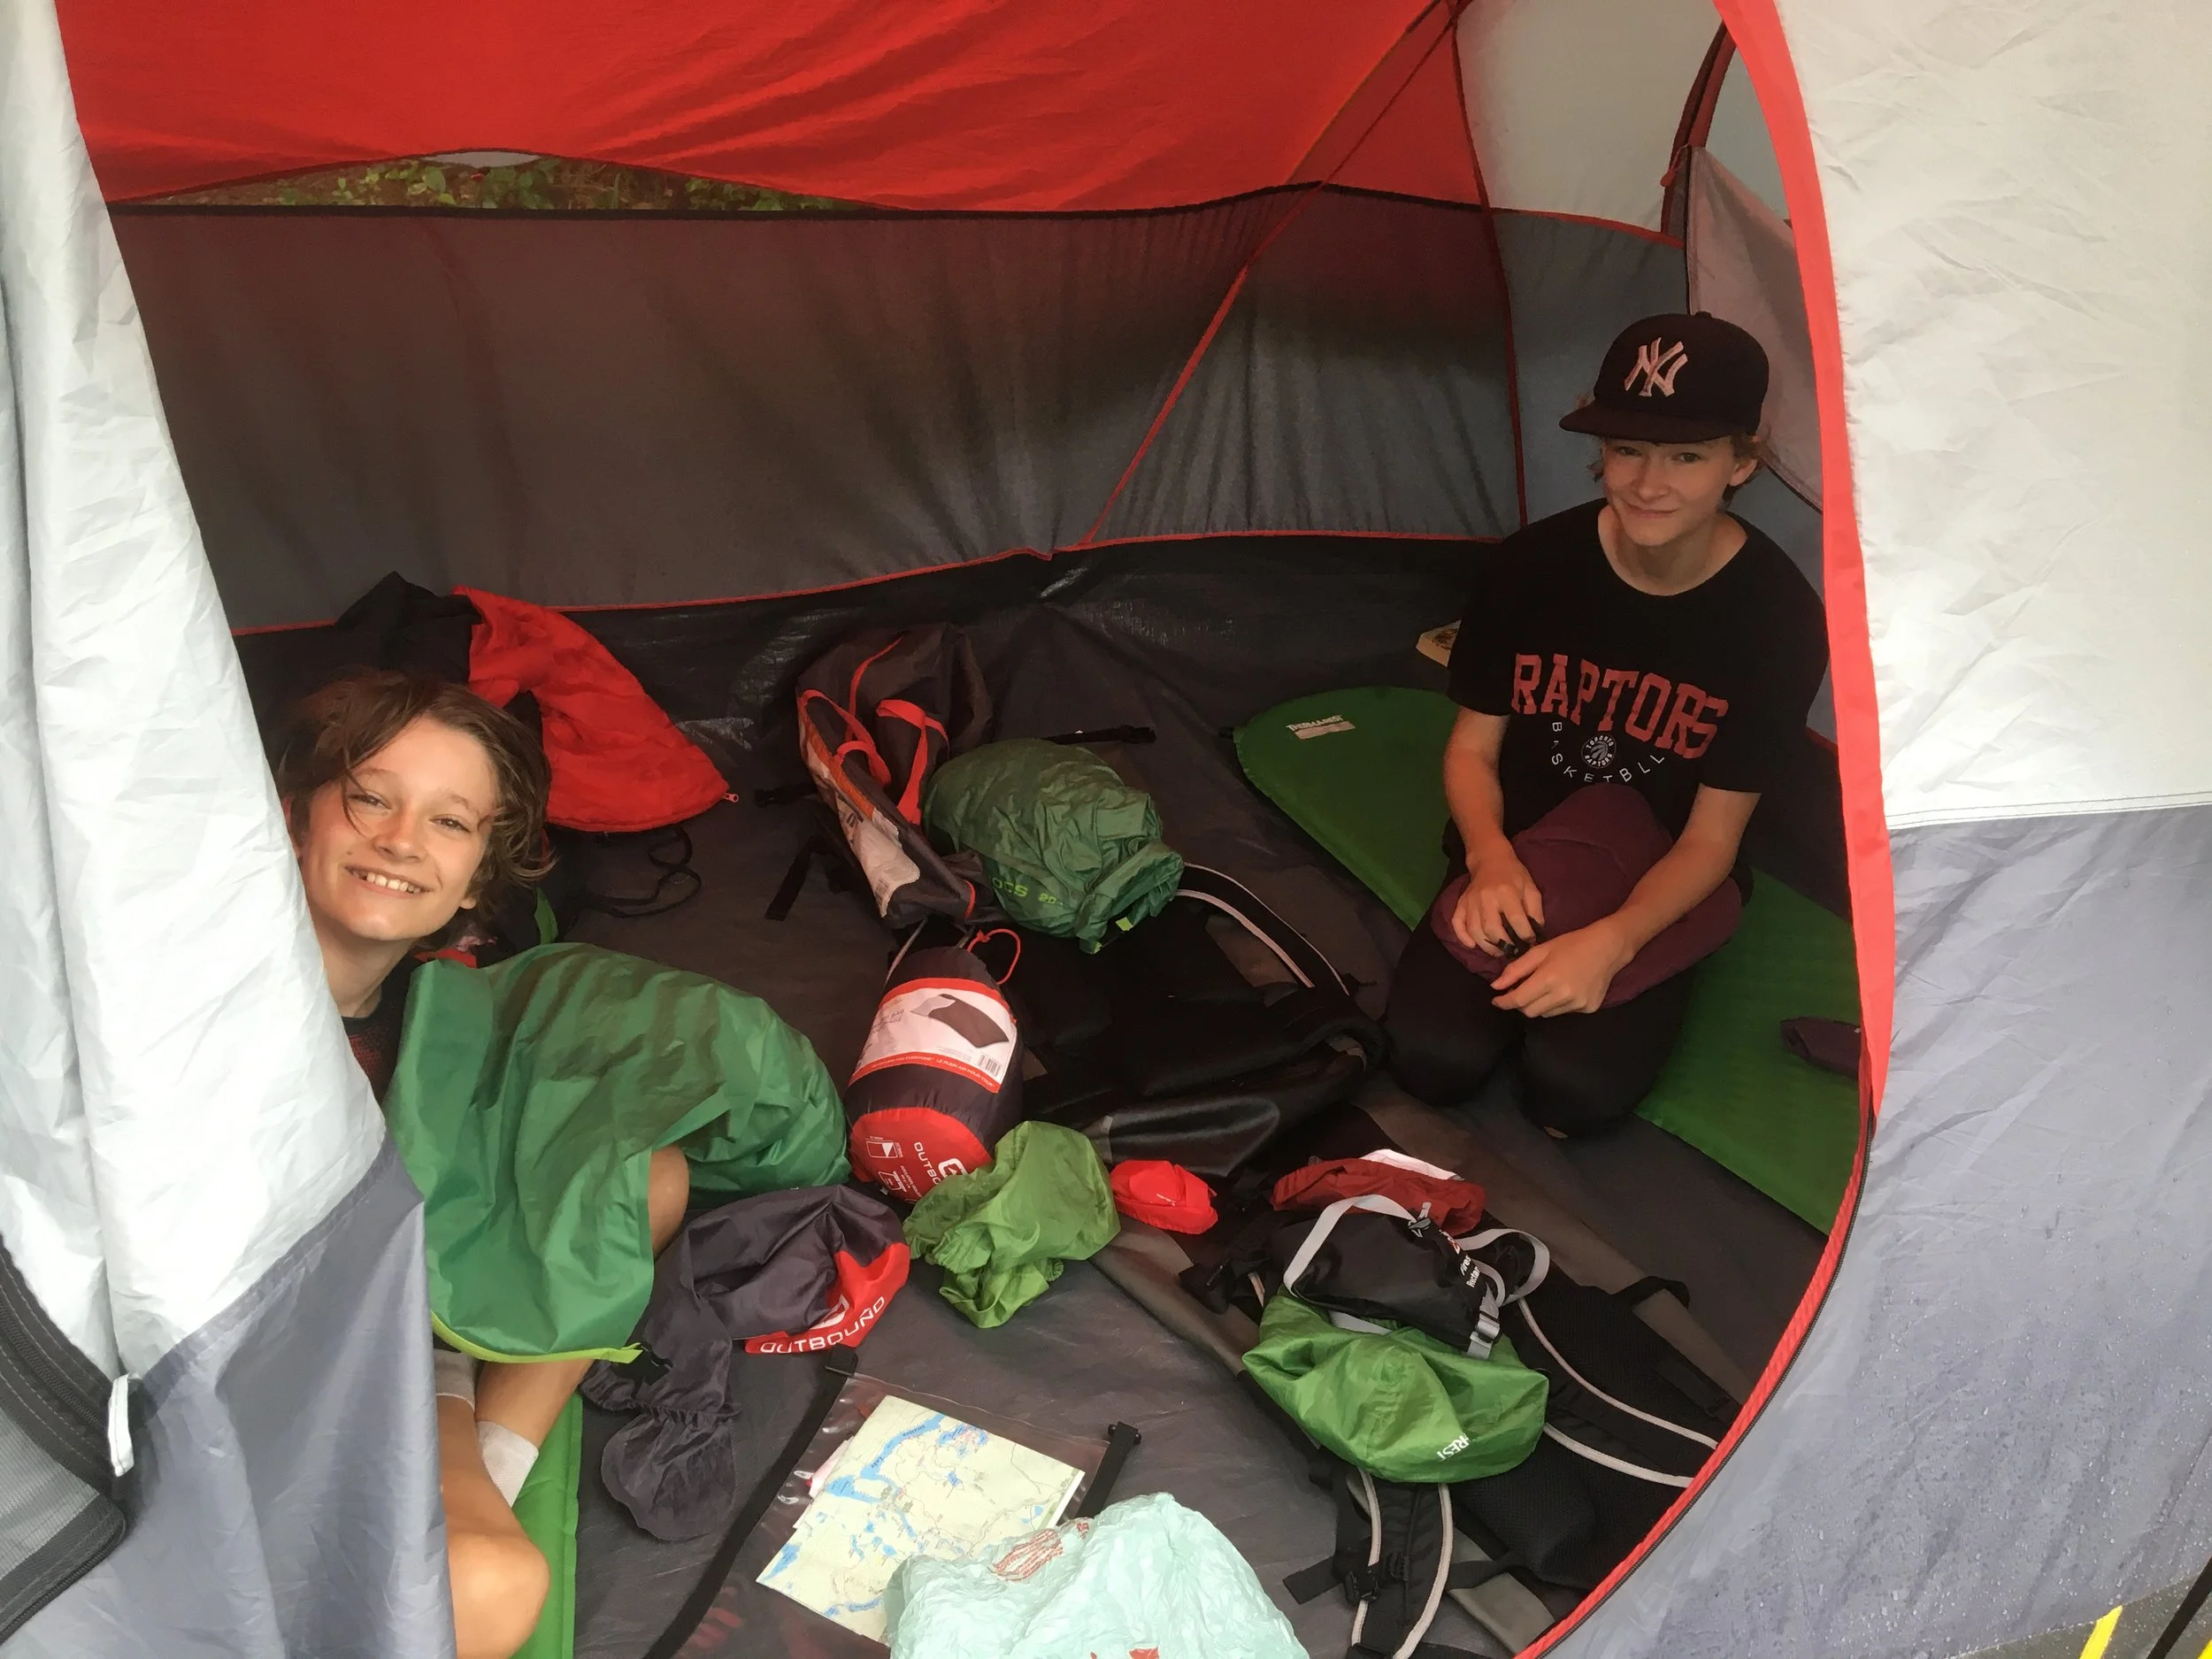
We have three teenagers now. And it’s a hoot with five of us squeezed into a tent at night. Catching any mosquitoes that make it into the tent, telling jokes, maybe a card game, and jockeying for as much space as possible.
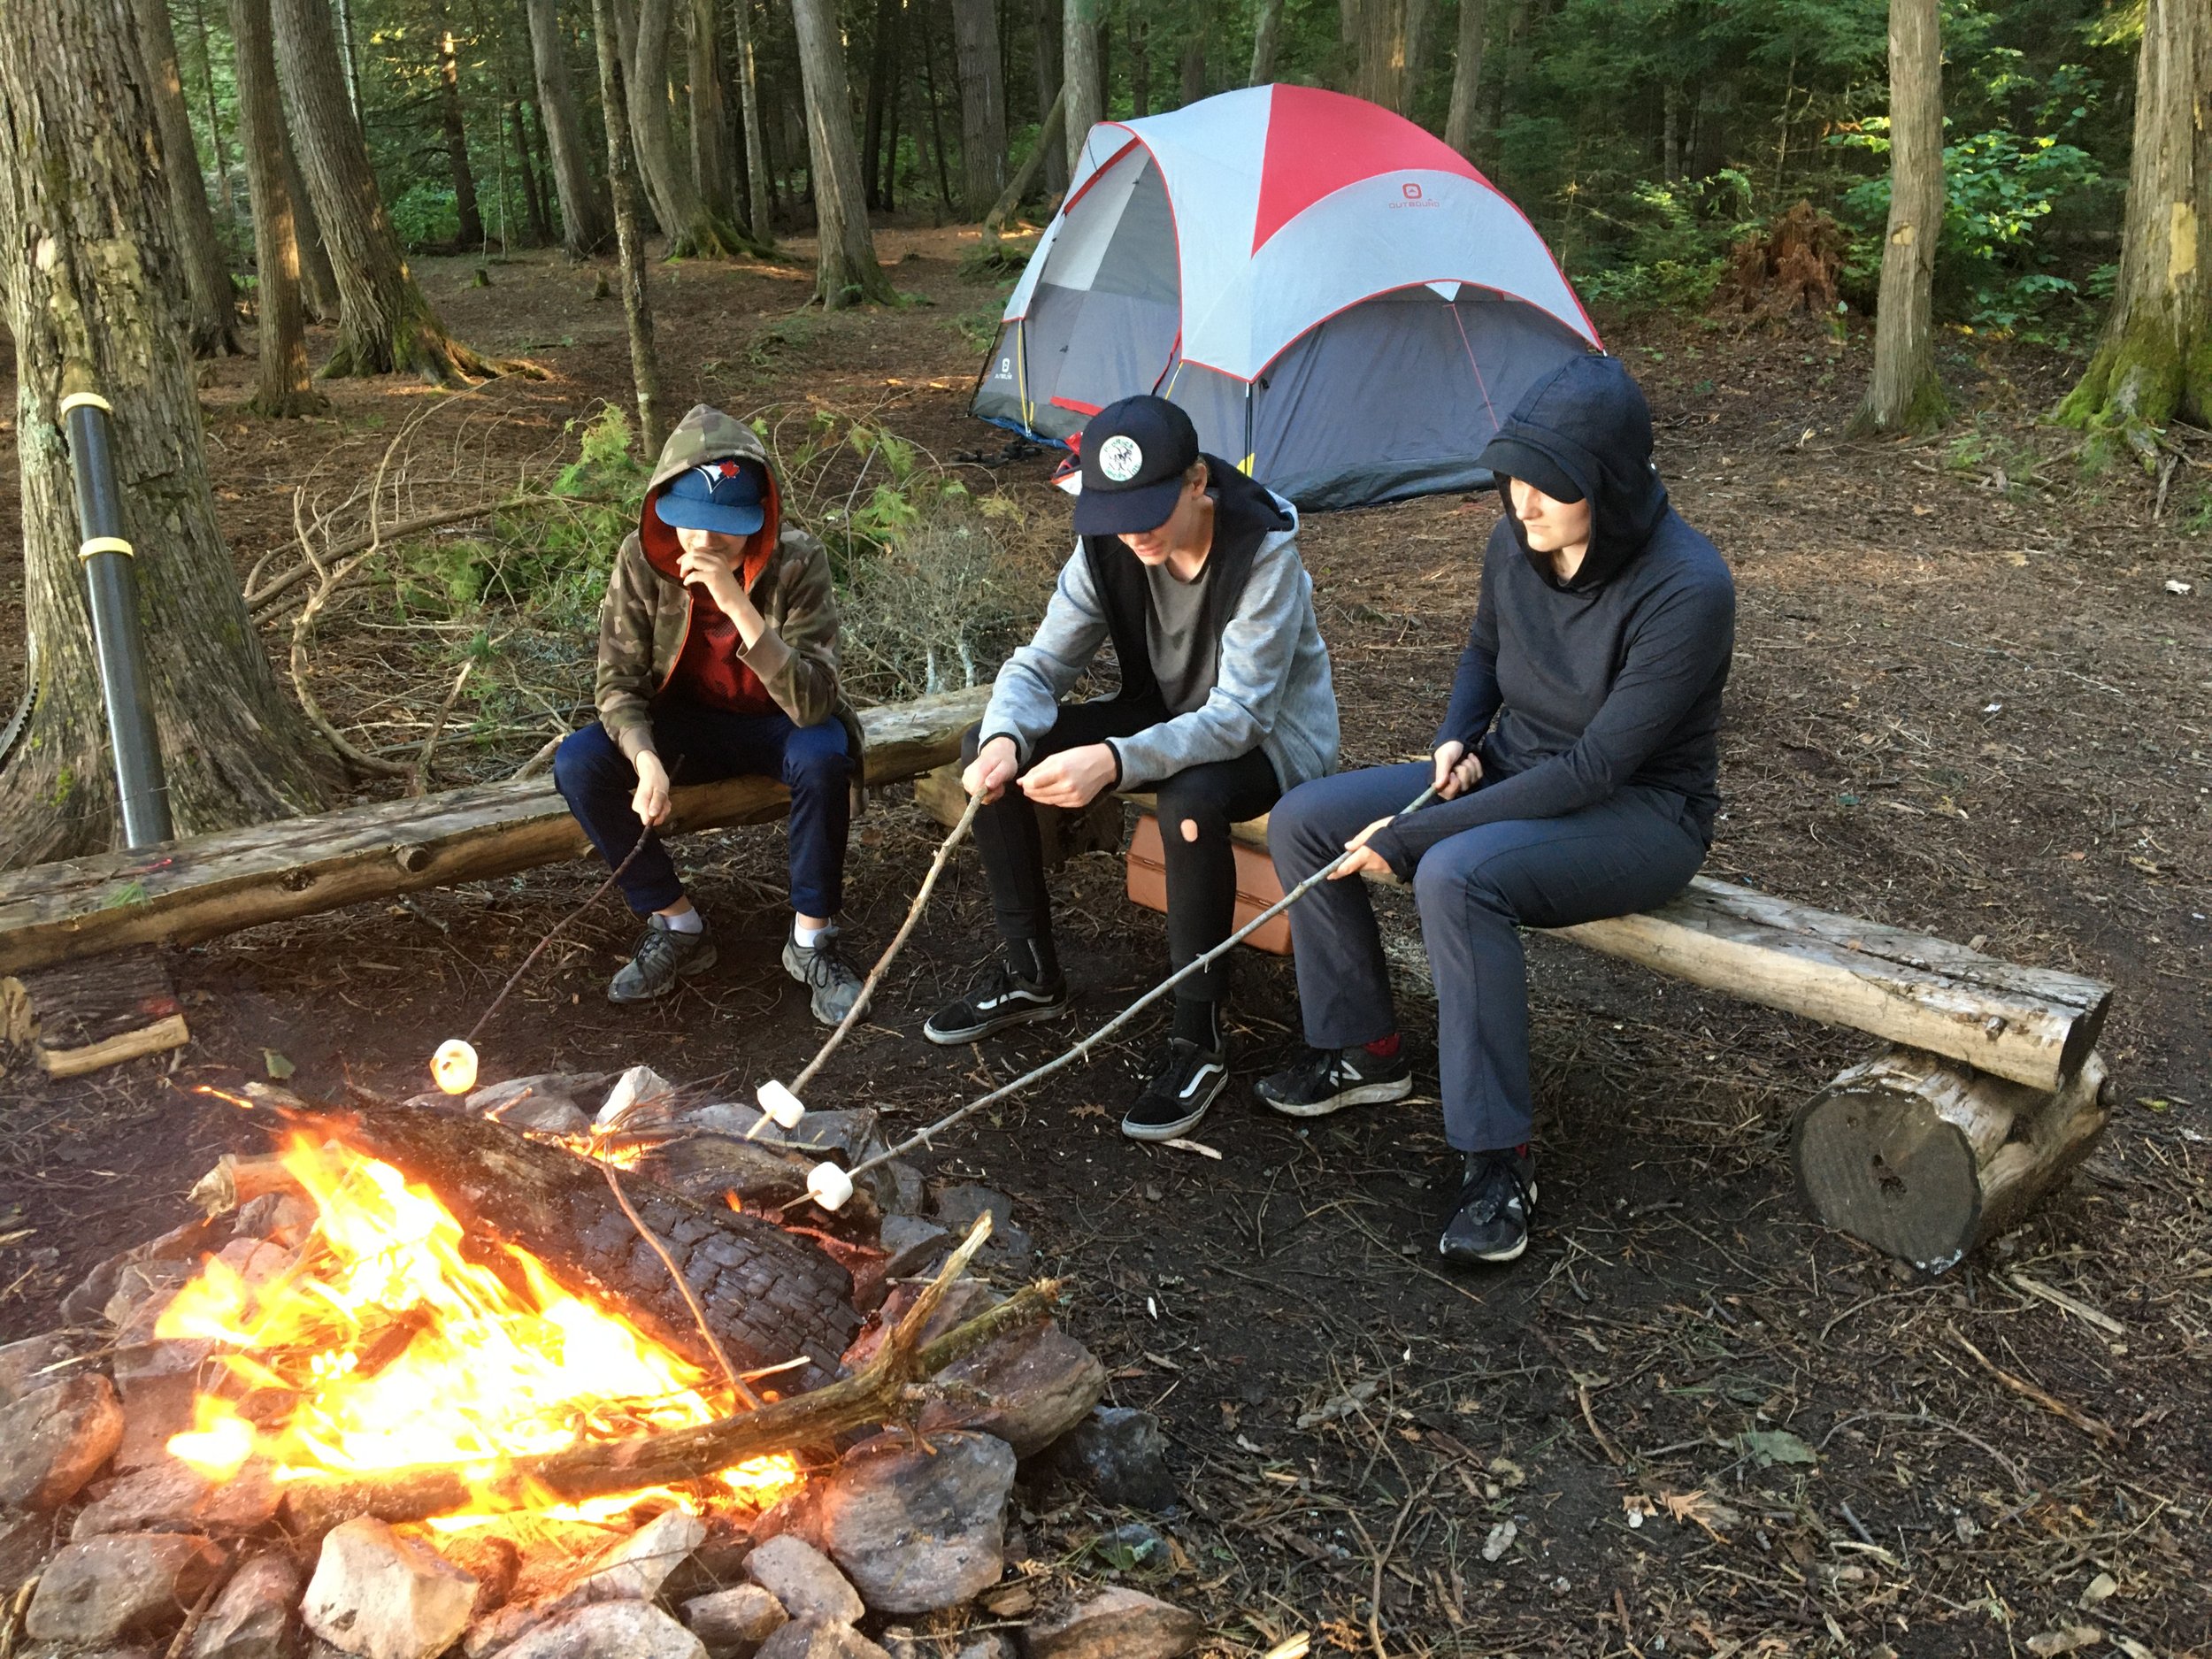
Here’s how things typically unfold when we arrive at a site:
Keaton and Quinn getting the mattresses and sleeping bags set up.
Keaton gets ropes in place to hang the food barrel
Quinn lines up firewood for the first night
Emma and my wife Shelley set up the tent
I hang a tarp to create a covered area, and then set up my kitchen
Then it’s time to swim, eat, and fish!
Plan Your First Family Backcountry Camping Trip
Good planning is the ticket to make your backcountry trip a success. There’s no hopping in the car to get gear or food that you forgot. So double check your list before you head out! (See the packing list below.)
Packing for a backcountry trip is a balancing act: Pack everything you might need, but also pack lightly…because you’ll be hauling it.
Backcountry Light: Camp Backcountry Without Portages
The kids and I celebrate the end of school with an annual camping trip.
If you want to move beyond car camping, but are not ready to tackle portages, look for campsites with canoe-only access that don’t require portaging – campsite on the same lake as the access point.
The kids and I celebrate the end of school with an annual camping trip. It’s a trip for relaxing, so I often pick canoe-in campsites that don’t require portaging. That way we can pack extra gear such as a folding table and chairs, knowing that we don’t have to portage it.
(We enjoy Algonquin Park here in Ontario, and examples of lakes with canoe-access sites that don’t require portaging are Rain, Kingscote, and Sec Lakes.)
Pick the Right Route for Your Family
With 3 teenagers, I don’t have to carry as much gear as I used to.
We go backcountry by canoe (there are also backcountry sites accessible by hiking trails.) So we carry canoes and gear from lake to lake along portages. Some portages are short, maybe just a few metres around a beaver dam. Others not so short.
The kids are all teenagers now, so the work at portages is spread out between us (and it gets more and more equal every year!) This past summer we tackled a 2900 metre portage. We packed lightly and were able to carry everything in a single trip. But when they were smaller, I avoided long portages.
When picking a route, I look at official park maps (we camp at Ontario provincial parks), which show canoe routes and portage lengths. Then I look for other maps, online comments and trip logs that give me an idea what a route is like.
Pack for Portaging
Quinn portaging a canoe. If you’re renting a canoe for the first time, ask about weight and stability. Weight matters at portages.
I remember backcountry trips when I was a poorly equipped and not-so-savvy student. We carried in two-burner camp stoves and bags of fresh produce and meat. It was heavy and bulky. There was no way we could manage a single trip at portages.
There’s a whole world of light gear designed for the back country. Everything from tents, tarps, kitchen and cookware, and sleeping bags. It can get expensive re-equipping yourself if you already have a lot of gear for car camping. We’ve taken a gradual approach and each year get some new light-weight gear. This year it was quick-dry lightweight towels.
Outfitters rent many of the things you need, so there’s no need to buy everything at once.
If you have a lot of heavy gear and are not ready to upgrade, then select your route accordingly, with fewer and shorter portages.
Top Tip When Camping with Kids
A cold kid is a grumpy kid. It’s hard to stay warm when you’re wet. My kids regularly got soakers as they explored the shoreline and looked for snakes and frogs. So the one area where I don’t pack lightly is extra dry clothes and footwear for the kids.
Tips for Kid Safety in the Backcountry
Whistles. When our kids were small we had them wear whistles in case they got separated from us.
Cutting wood. I don’t take an axe back-country with kids. I think teaching kids axe safety is a great idea, but I don’t think back-country is the place to practice. I use a folding saw instead.
Water shoes. Water shoes are a good way to prevent cuts and scrapes. Clam shells can cause big gashes…we know from experience.
Life jackets when swimming. Depending on the age of your kids and their level of swimming, consider having them use life jackets when swimming
Things to Do with Kids Backcountry
Fish (even if you don’t want to cook fish, catch-and-release can be thrilling for kids)
Swim (Keaton loves exploring underwater and looking for fish and shells)
Hunt for crayfish
Watch for birds (on a recent trip we were treated to pileated woodpeckers – the big ones – hanging out at our campsite, and on another trip we watched a seagull dive-bombing a bald eagle)
Day trip to a portage for a hike
Picnic at another campsite
We also take a portable bocce ball set, cribbage board, a deck of cards, and a small foam football.
Make a Covered Area
Use a tarp to create a covered area at your campsite
We hang a tarp to make a covered area where we stow empty packs (no need to have them clutter up the tent, it’s already small enough.) And it doubles as a covered space if it rains. I can cook under it, and we’ll eat there if needed.
Leave no Trace
Teach your kids to clean up the site when you leave. We’ve arrived at sites where previous campers must have watched too many reality TV survival shows and had hacked down all sorts of trees near the campsite in an attempt to make furniture. Too bad…it takes years to grow back.
Canoe Skills
If you have not canoed before, learn basic canoe skills and safety before taking your kids out on the water. Find a group that provides training in your region. For example, here in Ontario, the Ontario Recreational Canoeing And Kayaking Association has a list of classes.
Renting a Canoe
If you’re renting a canoe for the first time, ask about weight and stability. Weight matters at portages. But if you’re only going across a lake, it doesn’t, and a less expensive, heavier canoe is fine.
Renting canoes is also a good way to test out canoes before buying your own. Over the years we decided we really liked a certain model of canoe. So I bought a couple of them from an outfitter who was selling off used canoes at the end of the season. (There’s no need for pristine canoes when we’re trekking with kids!)
Bear Safety and Hanging Food
Keaton and I hang the food barrel between two trees.
We camp in black-bear country. There’s nothing to fear, but take bear avoidance seriously. We’ve seen bears at a distance while hiking. But have never had one in our campsite.
3 Tips to Avoid Attracting Bears
We keep our food in a food barrel, which we hang above the ground when we’re not using it
We burn food scraps and garbage with food odours in the campfire
No foods or scented items (e.g. cosmetics, candy, gum) in the tent. Ever.
I hang the food barrel between two trees. Here’s what I’ve found is easiest:
Pick a couple of trees that are upwards of 30 metres apart
I use two ropes
I throw a rope over a high branch on each of the trees (tie a rock to the end of the rope so it’s easier to throw it upwards)
When the ropes are in place, I tie off one end at the base of the tree, and then I connect the two ropes in between the two trees using a small metal pulley attached to the end of one of the ropes (you’ll find pulleys at any hardware store)
When it’s time to hoist up the food barrel, we clip the barrel to the rope with carabiners
Then we pull tight on the rope that goes through the pulley, until the barrel is high off the ground
Then we tie off the rope on a tree.
Packing List for Family Backcountry Camping
Not sure what to bring on a backcountry camping trip? I have a spreadsheet with my must-have backcountry camping gear. Why recreate the wheel every time we camp! Use the items below to make your own list.
For the Canoe Travel
We keep our map, along with phones, wallets, and keys in a sealable waterproof pouch that’s attached to the canoe.
Take extra rope. It’s useful to secure tarps, dry clothes, or tie canoes.
Waterproof bags (dry bags) and knapsacks
Sunglasses
Water bottle
Snacks for kids
Map
Insect repellent
Camping permit
Fishing licence
Shelter
Tent and tent pegs
Ground sheet to go under the tent
Sleeping bag
Sleeping bag liners (useful in the shoulder seasons when there might be an unexpectedly cool night)
Sleeping pads
Camping pillows
Campsite Stuff
Headlamps, lanterns, flashlights
Tarp
Rope for hanging your food, hanging tarps, and a clothesline…and extra rope, just in case
Saw for cutting firewood (see below: I do not take an axe or hatchet backcountry)
Your Camp Kitchen
This is a backcountry site with a nice fire pit, and chairs and tables the previous campers have made out of rocks.
Some of the parks we’ve stayed at have picnic tables at backcountry sites. Many don’t. We always find fire grates at the sites we go to, so I never bring one. But nonetheless, all my meals are planned to be cooked on our stove.
Water purification tables or reverse osmosis water filter
Stove and fuel (I use a small single-burner stove)
Matches, lighter
Utensils for eating and cooking
Filleting knife if you’re fishing
Plates, bowls, cups, mugs, cutlery (plastic sporks are light)
Cookware (If you want something compact, look for sets of pots that nest one within another)
Pot grabber
Collapsible basin for washing dishes (don’t wash dishes in the lake!)
Biodegradable dish soap
Cutting board if you might fillet a fish
Vessel or jug for treated water
Wash cloth and dish towel
Garbage bags
Optional Stuff for the Perfectionist
Small broom and dustpan for the tent
Things to Keep Everyone Busy
Fishing gear
Swimming goggles
Notebook and pen
Camera
Binoculars
Field guides (flowers, insects)
Books
Play stuff (cards, ball, games)
Clothing
We wear synthetic moisture-wicking fabrics because cotton takes a long time to dry out if it gets wet. Take extra clothing when camping with kids. I take two sets for myself and wash the set I’m not wearing…but I take multiple sets for the kids. Even when the weather is warm, you might want to pack long-sleeve shirts for bugs and sun protection on the water.
Underclothes
Shirts (long and short sleeve)
Pants and shorts
Sweater
Hat
Rain gear
Boots or shoes that are good for rough terrain
Close-toed waterproof footwear for getting in and out of canoe
Water shoes
Sleepwear for those who get cold at night
Swimwear
Personal Care
Toilet paper
Toothbrush and toothpaste
Hand sanitizer
First-aid supplies
Sunscreen
Sunglasses
Insect repellent
Glasses (on a recent trip I brought a book I was eager to read…and forgot my reading glasses)
For the Unplanned
First aid kit
Duct tape*
Fire starter (good to have on hand in wet weather when there is less dry material for starting fires.)
A second set of waterproof matches
Extra batteries
*If you’re wondering about the duct tape, it’s a quick and easy way to patch a canoe. It’s also useful when your tent poles break. I was backcountry with the kids once when one of a fibreglass tent pole split lengthwise. Duct tape saved us.
Glamping Checklist
The coffee percolator.
On our trips we’ve met some amazing campers with top-notch gear that they pack lightly and efficiently. I really admire that. But our family trips are not marathons, so we often pack a couple of heavier items.
Hammock (OK, confession, on the last trip we had 4 hammocks because everyone argues over them!)
Camp stools (Because I’m the one cooking and spending a lot of time at the stove, I pack myself a small folding stool. Some sites have great benches or chairs that people have made from rocks…others don’t)
Camp table (if no picnic table)
Coffee percolator (I’m fine with instant coffee when I camp, but my wife Shelley really enjoys perked coffee, so when she’s on a trip with us the percolator comes along too.)
Want More Ideas for Outdoor Family Fun?
Guide to Fruits and Vegetables that Grow in Shade
Looking for fruits, vegetables, and herbs that grow well in a shady garden. This article has partial-sun crop ideas for you.
By Steven Biggs
Shade-Tolerant Vegetables and Fruits for Home Gardens
But there are fruits, vegetables, and herbs that do nicely in a shady garden.
Not enough sunny real estate in your yard? Partial sun? Light shade? You're not alone.
When I first landscaped my place, my neighbour Bob asked, "Steve, why is your patio so far from your house?"
Here's what I told Bob:
"It's all about the vegetables. Direct sunlight for my vegetables, and the shady spot for the patio," I told him.
House, garage, fence, shed, tree, hedge...there are lots of things around a home that cast a little shade. And not all fruits and vegetables grow well in shade.
Lots of crops need "full sun" (6-8 hours of direct sunlight every day) to grow well.
But there are fruits, vegetables, and herbs that do nicely in a shady garden. This article has partial-sun crop ideas for you.
Perfectionism meets Shade Garden
Don’t have a sunny field for growing vegetables? That’s fine, there are many shade-tolerant crops.
Before we get to shade-tolerant crops, let's start with the elephant in the room.
Perfectionism.
Many seed packets suggest full sun...and many yards don't have full sun. You might be contrasting your shaded yard to bright, sunny fields of vegetables.
Your space doesn't compare...
So what?
So what if your plants don't look as good as what a commercial grower would grow! If you're a home gardener, you're just growing edible plants for yourself, not to sell at market.
When I needed more growing space, I decided to reclaim the end of my ridiculously long driveway as a straw-bale garden that I could pack full of tomato plants and pole beans. (Find out more about straw-bale gardens here.)
My driveway garden is in partial sun, nestled between two houses.
The driveway is nestled between two houses. It gets less than six hours of sun exposure. But it’s better to have some less-than-perfect tomato plants on that driveway and get a decent harvest than to have no tomatoes from that driveway.
Five hours of sun isn't perfect. So what? The results are still quite satisfactory.
A vegetable garden is a great cure for perfectionism. In home gardens we often have less-than-perfect conditions. So what!
A Word on Shade
Not all sun (and not all shade) is created equal. Here are things to consider as you look at the shady spots and sunny spots around a yard:
Dappled shade. Think of the shade under a locust tree, spotted with little flecks of light.
Deep shade. This is where no light is gets through or is reflected, like next to buildings or under trees with dense canopies. Norway maple...I'm talking about you!
Afternoon shade. A.k.a. morning sun...and morning sun isn't as strong as afternoon sun.
Morning shade. Or afternoon sun.
Create Your Own Unique Edible Landscape
That fits for your yard, and your style!
Choosing Crops that Tolerate Partial Shade
Start with Leafy Greens
Start with leafy greens when gardening in partial shade.
The reason partial shade is fine for leafy greens is that we're not trying to grow a perfect crop: All we want is the leaves. We're not growing for flowers or fruit or seeds.
(And with a bit of shade, leaves are often bigger!)
Many of the crops we grow as leafy greens (e.g. arugula, lettuce, and spinach) have a short life cycle that's less that the length of the growing season. And that means that at some point they give up making tender leaves, and send up a flower stalk. (This is called "bolting.")
Bolting happens more quickly in hot, sunny locations. By growing leafy green crops in partial shade during intense summer heat, they'll bolt more slowly, and make tender leaves for longer time.
So even if you have a north-facing garden area or planter, grow leafy vegetables.
Here’s more about how to prevent lettuce from bolting.
Leafy Vegetables That Grow in Shade
Here are a few leafy greens that do very nicely in partial shade:
These lettuce plants will do well in this dappled light over the summer. It’s cooler than in direct sun.
Amaranth
Arugula
Beets (for the edible leaves…don’t expect as much from the roots as you get in a sunny location)
Bok choy
Claytonia
Collards
Corn salad
Cress
Endive
Kale
Lettuce
Mizuna
Mustard greens
Spinach
Swiss chard
If you have a favourite leafy green that's not on this list, try it. Leafy greens usually do very nicely in partial shade.
One more crop that I don't think of as a leafy vegetable (even though we eat the leaves) is green onions. With green onions, we're not trying to encourage bulb development...we're just trying to get tender leaves. So partial shade is fine.
Try Vining Crops in Partial Shade
Grow vining crops that can grow upwards and into the sunlight.
If you have a partially shaded area where vining crops could grow up into a sunnier location, this can be a useful strategy.
Train them up a trellis, arbour, hedge, or tree into sunnier conditions.
Cucumbers. They also grow respectably well in partial shade. I've grown them in afternoon sun, up a trellis on the west side of a garage with very respectable results.
Squash. Like cucumber, they grow respectably well in partial shade. I've grown them along a semi-shaded cedar hedge, and was delighted to find the hedge studded with squash at the end of the season.
Pole and runner beans. The year I grew runner beans up a tee-pee underneath my apple tree they grew right up into the tree above...and those scarlet flowers looked great amongst the green apples!
Vining Peas. Some pea varieties are bush-like, but if you want a vining crop to grow up into a sunnier space, look for vining peas. And with peas, you can also harvest and eat young shoot tips and tendrils.
All of these vining crops work well for vertical gardening. Find out how to make a vertical vegetable garden.
Grow a Container Vegetable Garden
And get an early harvest of crops that usually take too long!
Beyond Leafy Vegetables
I already told you about my 5-hour-a-day driveway tomatoes.
If you're experimenting with other sun-loving vegetables in partial shade, just expect them to have lanky growth and lower yield. And at a certain level of sunlight, you won't get enough to make it worth your while.
But if you don't try, you won't know.
Herbs for Partial Shade
Lovage is a perennial herb that tolerates some shade.
There are many herbs that grow in shade. Here are my favourites:
Chives
Cilantro
Dill
Lemon Balm
Lovage (this perennial herb lives in my semi-shaded perennial border)
Mint (see Full Shade, below)
Parsley
Fruit Crops for Partial Shade
When growing fruit in partial shade, take the same approach we do with veggies. Just adjust expectations accordingly.
Here are fruit crops that grow well in partial shade:
Choke cherry. Often found on the forest edge, where there's some shade. (Find out about 5 Types of Cherry Bushes for Edible Landscapes.)
Currants. My favourite. Here’s an article about how to grow currants.
Elderberry. Often found on the forest edge, where there's some shade.
Gooseberry. They take the same low-light conditions as currants.
Hardy Kiwi Vine.
Pawpaw. While young pawpaw trees benefit from shade, best fruit production is in full sun. But they fruit well in partial shade. No surprise as that's where you often find them in the wild.
Serviceberry. An understorey tree often found on the forest edge, where there's some shade. My favourite member of the serviceberry clan is the Saskatoon bush. Find out more about the Saskatoon bush.
Landscape with Fruit
That’s easy to grow in a home garden!
What About Full Shade?
This rhubarb plant is in partial shade, but I’ve seed decent rhubarb patches even in full shade.
If you have a space without any direct sunlight, reflected sunlight, or dappled sunlight, your crop options are more limited.
Here are ideas for you:
Mint is an invasive plant that I normally only grow in containers. But in full shade, mint can be your friend. This is the one situation where I plant mint in the ground.
Rhubarb can do very nicely in full shade. My friend Chris had a lovely rhubarb plant that graced the edge of his shady pond...it looked quite tropical with the big leaves! Find out how to force rhubarb indoors over the winter.
Currants and gooseberries are a good fit underneath bigger trees. My neighbour Mr. Browne had a currant bush growing in the full shade of an apple tree...and that bush faithfully fruited year after year, albeit not as much as it would have in a sunnier spot.
FAQ Shade Tolerant Crops
Pin this post!
What is the best shade tolerant vegetable?
Parsley. Hands down. Because it's delicious, tolerates a wide range of conditions—and it’s very ornamental. I’ve used it as a flower-border edging plant on the north side of a house. The curly-leaf types add great texture, and last well into the fall in cooler temperatures—until there's a hard freeze.
You might be saying, "But it's a herb." I've heard people argue it's a herb, others say it's a vegetable. In the quantities I use in my salads, I'm using it as a veg.
Can vegetables get too much sun?
Yes. Too much sun and too much heat cause many of the leafy greens to bolt quickly. They do better in shady areas in the heat of summer.
What is the difference between partial sun and partial shade?
If you read different sources, you'll come up with various definition.
To me, it's semantics. It just means less than full sun. I guess it depends whether you're the type of person who sees the glass as half full or half empty!
Parsley does very well in shady locations. And it’s a great plant for adding texture to a garden!
Find This Helpful?
If we’ve helped in your food-gardening journey, we’re always glad of support. You can high-five us below! Any amount welcome!
More Articles on Growing Crops
Articles about Growing Vegetables
Find out how to stake and support tomato plants.


