Charcoal BBQ Rotisserie Turkey
How we cook a whole turkey on a charcoal barbecue using a rotisserie spit.
By Steven Biggs
BBQ a Turkey
Our kitchen is a busy place around Thanksgiving and Christmas holidays. There’s family, guests, and lots of food prep underway.
But we cook our turkey outdoors, roasting it on our charcoal BBQ.
We barbecue a whole turkey outdoors for our Thanksgiving and Christmas meals. It frees up space in the oven. It’s also a social thing – Dad and me outside, tending the BBQ. And, most importantly, it makes for a very delicious turkey.
If you’re new to roasting a whole turkey – or new to charcoal cooking, it might seem daunting. But it’s not difficult.
I show you the steps of our outdoor turkey-roasting process below.
Rinse the Turkey?
Mom taught me to put the turkey in the sink and rinse it, both inside and out. This is a step some people swear by – while others recommend skipping it.
The rationale for not rinsing is that rinsing can spread around microbes from the raw poultry – increasing the chance of contaminating other food. (That’s also what the Turkey Farmers of Canada recommends.)
So I skip rinsing. Sorry Mom!
Prepare the Cavity
We cook our Thanksgiving turkey outdoors, roasting it on a charcoal BBQ.
Some turkeys come with the giblets placed inside the cavity. (Giblets are the liver, heart, gizzard, and neck.)
Put your hand in and feel around for the giblets. Sometimes they’re wrapped in plastic…and you definitely don’t want that roasting away inside your turkey. I’ve sometimes found the neck in the cavity, and the liver under the flap of skin where the neck used to be…so check both these places.
After I’ve retrieved the giblets, I rub salt around the inside of the cavity.
Make a Rich Gravy with the Giblets
My father-in-law loves fried giblets. It’s a treat for him while the turkey is cooking. Nobody in my house likes to eat the giblets – but that doesn’t mean I let them go to waste. I put the giblets into a saucepan with water, and simmer them to make a flavourful stock. I usually simmer the giblets with bay leaves, an onion, garlic, celery, and parsley. After it’s reduced by about half, I discard the giblets, and use the stock to make gravy.
Whether to Stuff Your Charcoal BBQ Rotisserie Turkey
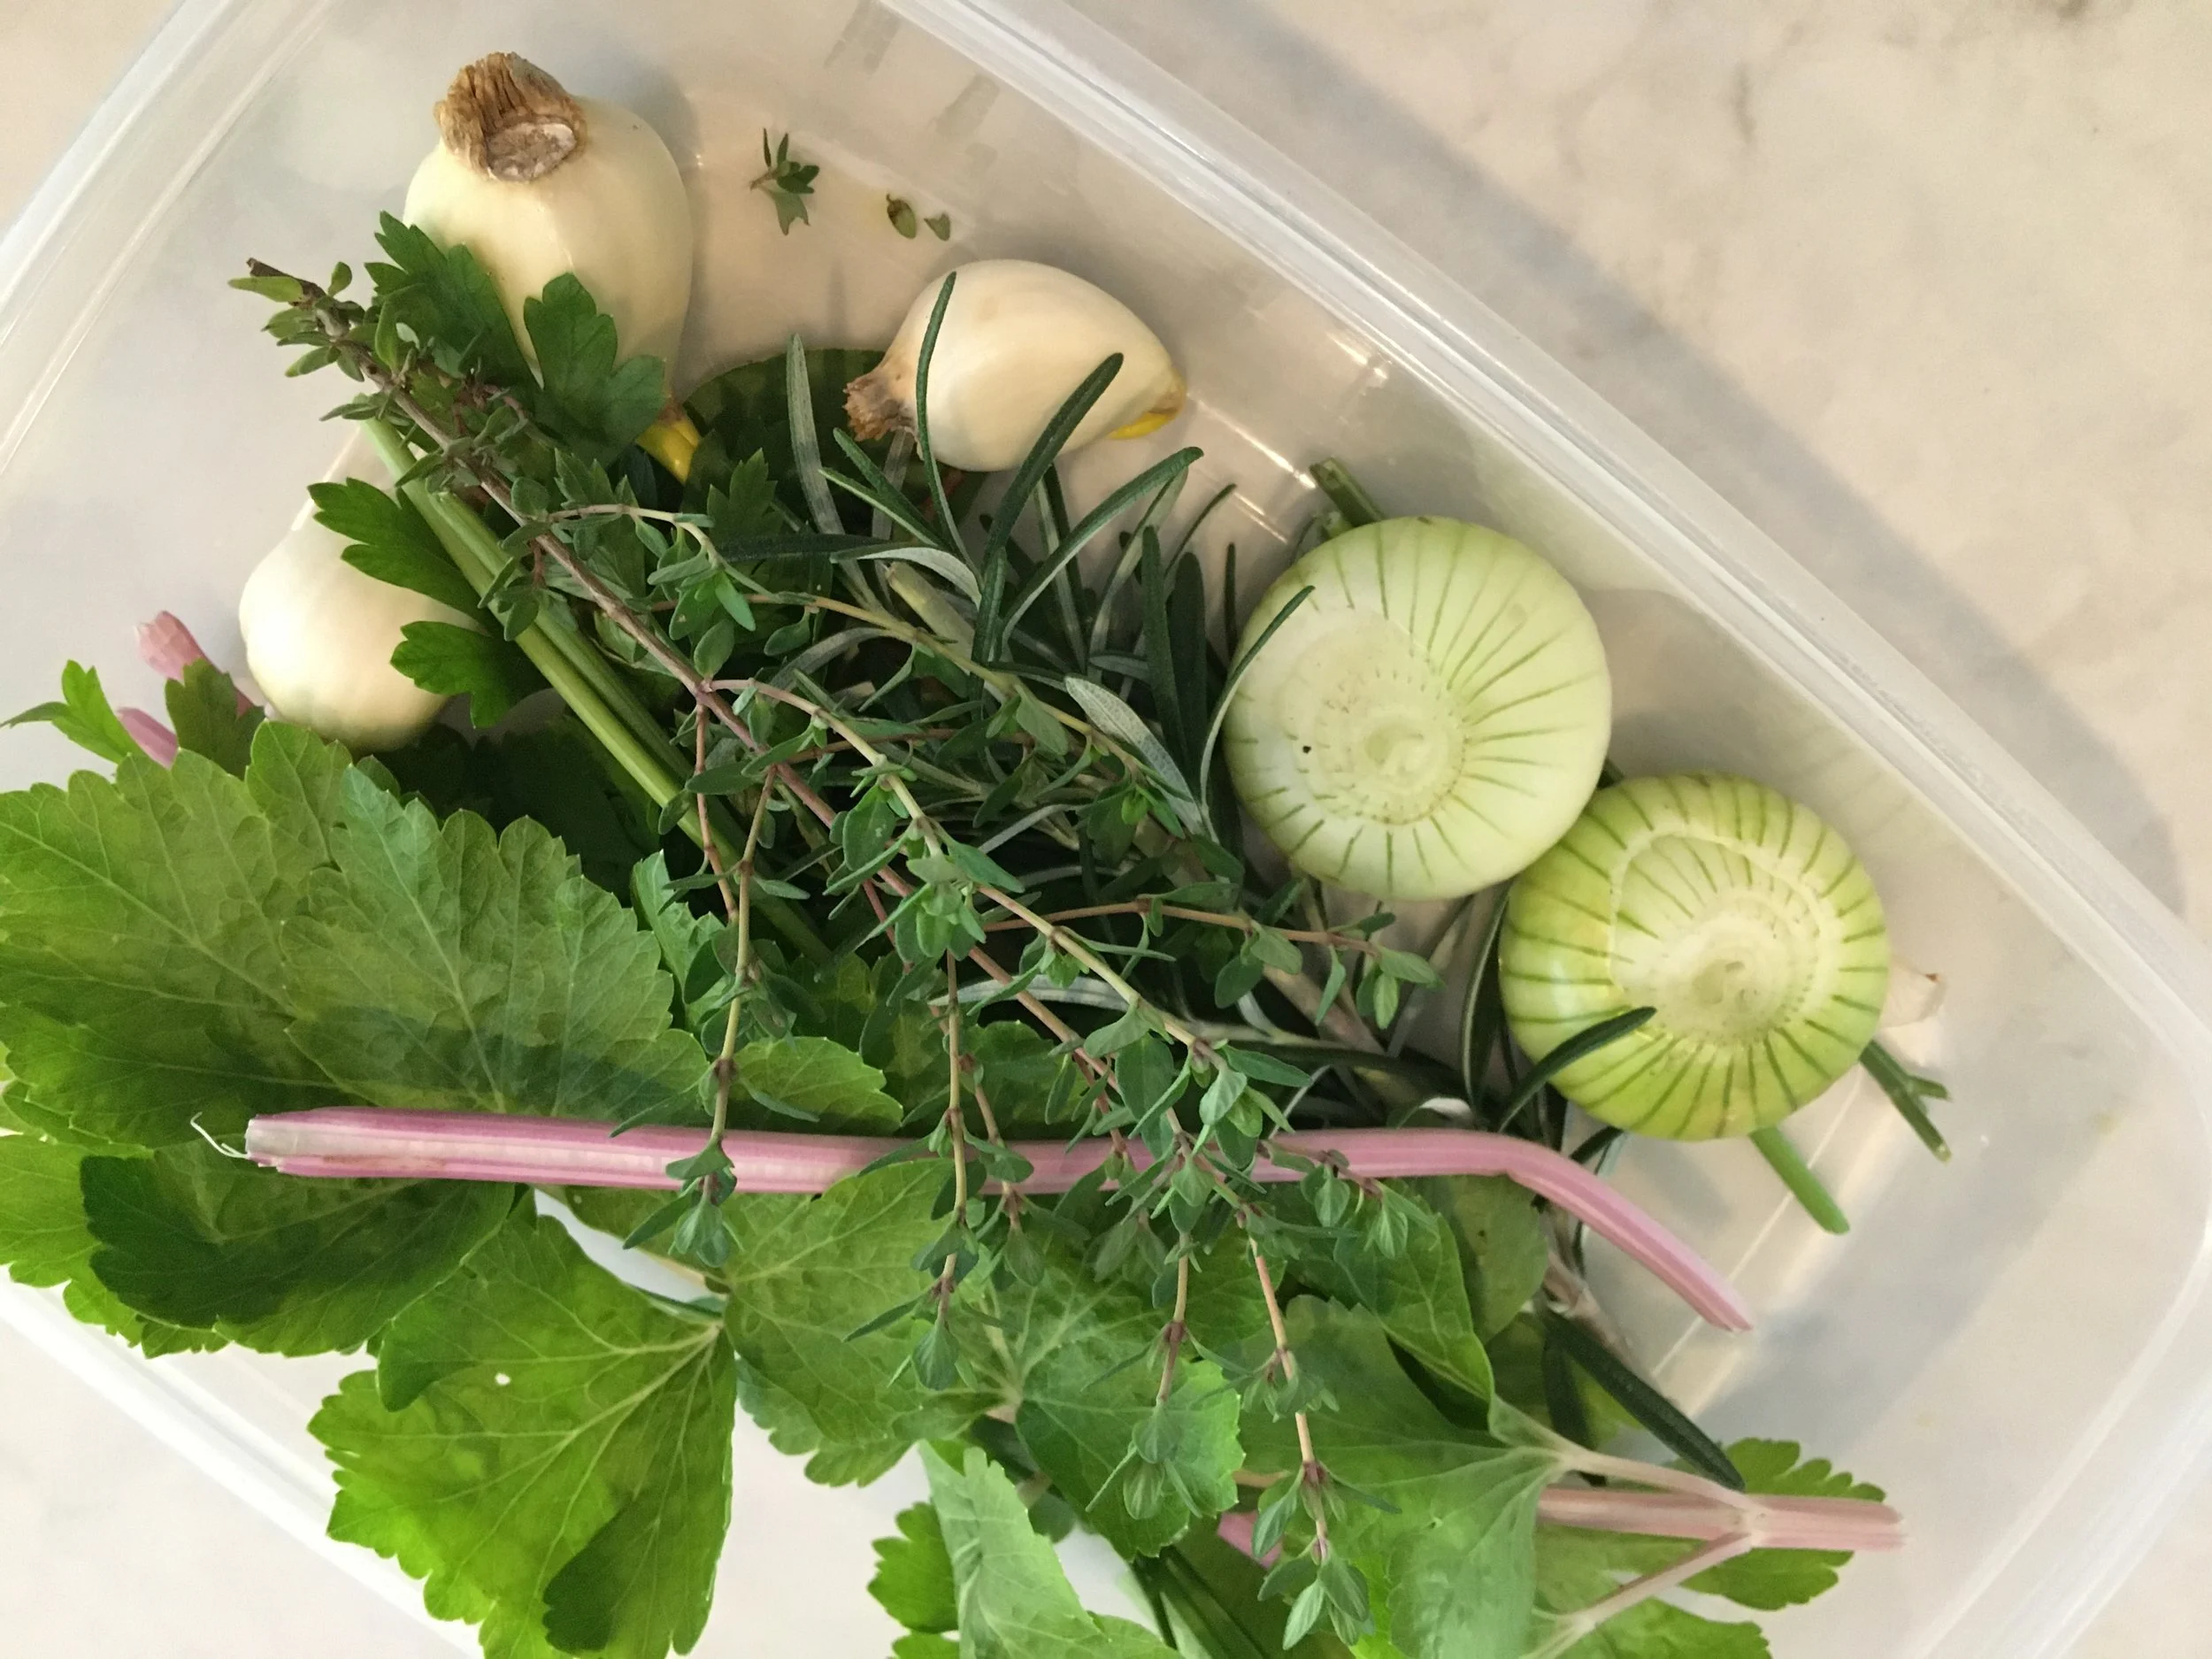
I put bay leaves, rosemary, parsley, thyme, an onion, garlic cloves, and celery into the cavity.
I don’t stuff rotisserie turkey. It’s easier to cook stuffing separately, in the oven. I’ve had too many episodes of escaping stuffing.
While I don’t cook my bread stuffing in the bird, I do put things inside the turkey to give a nice flavour as it cooks. Here are things that I put in the cavity while it cooks:
Bay leaves (or, lemon leaves)
The squeezed out lemon halves (from the lemon I use for basting, see below)
Parsley
Sprig of thyme
Sprig of rosemary
Onion, halved
Garlic cloves
Stalk of celery
Flavour the Skin
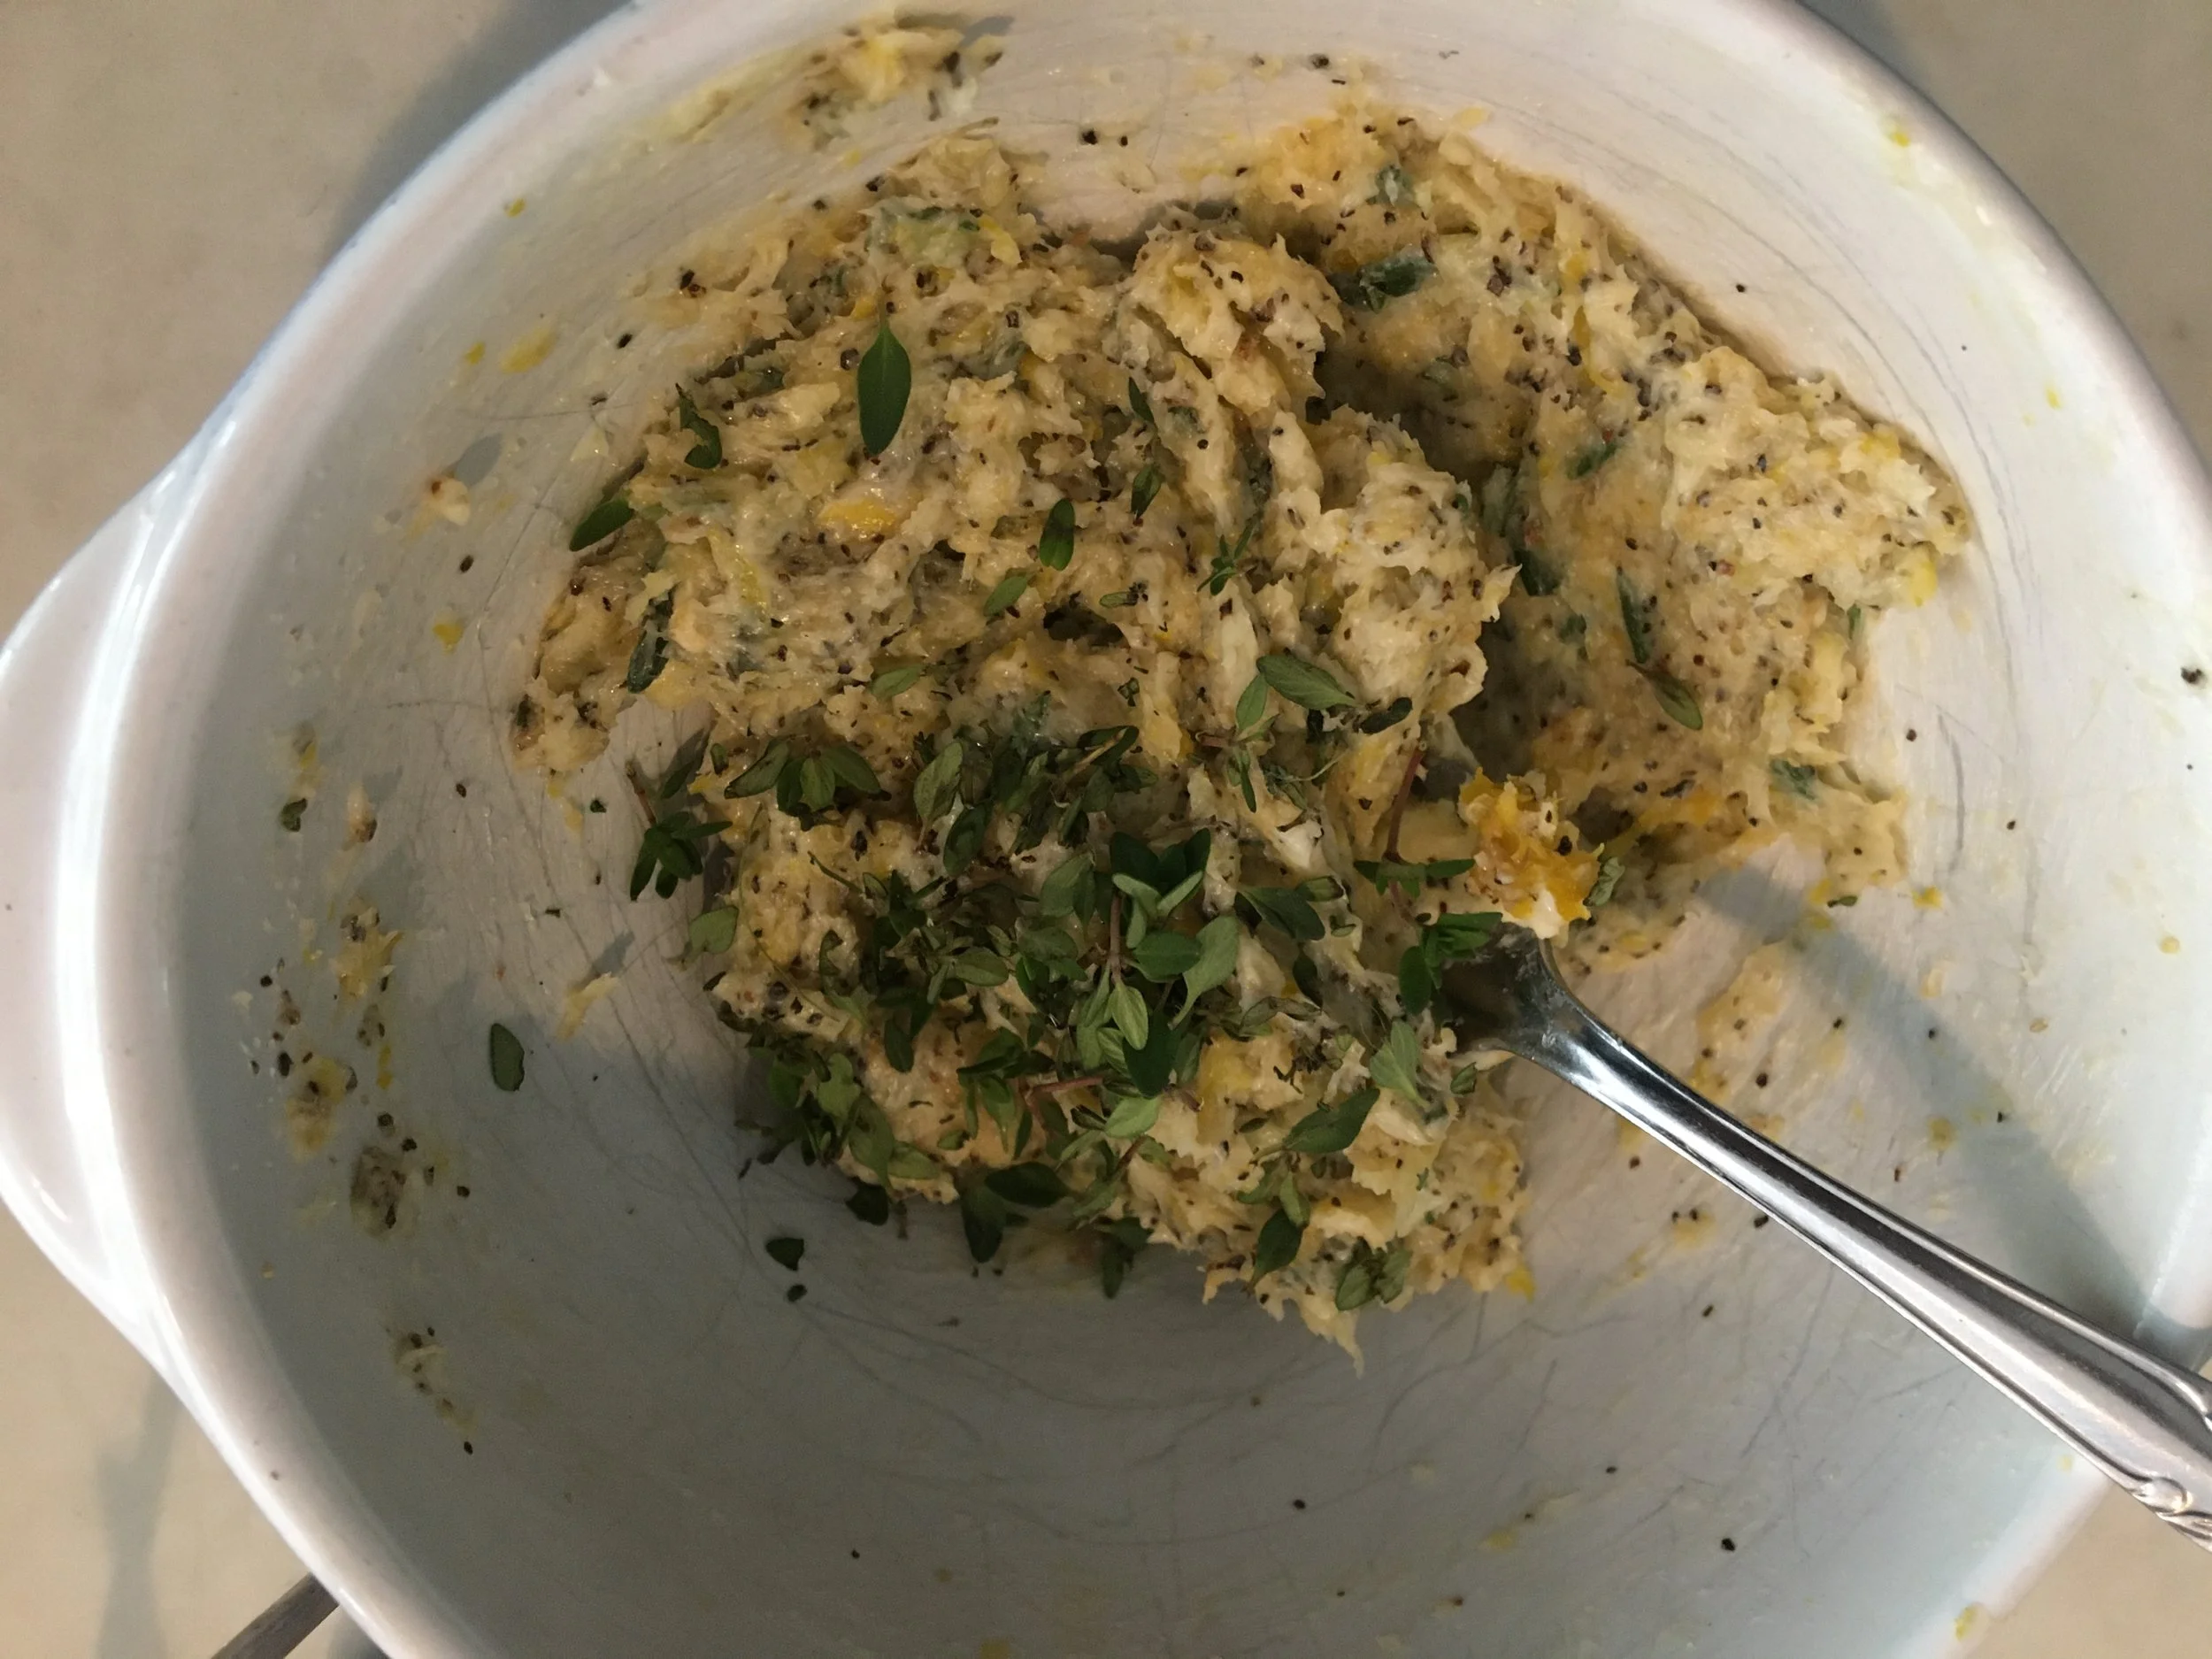
I make up a rub that I put on the skin before cooking. As the bird turns, it bastes itself.
I make up a rub that I put on the skin before cooking. As the bird turns, it bastes itself.
I mix together:
Lemon zest
Soft butter
Generous amount of salt
Copious amount of crushed garlic
Black pepper
Thyme
I know a lot of people like sage. I have overdone it with the sage too many times – and it’s a strong flavour. I skip the sage.
Mount the Turkey on the Spit
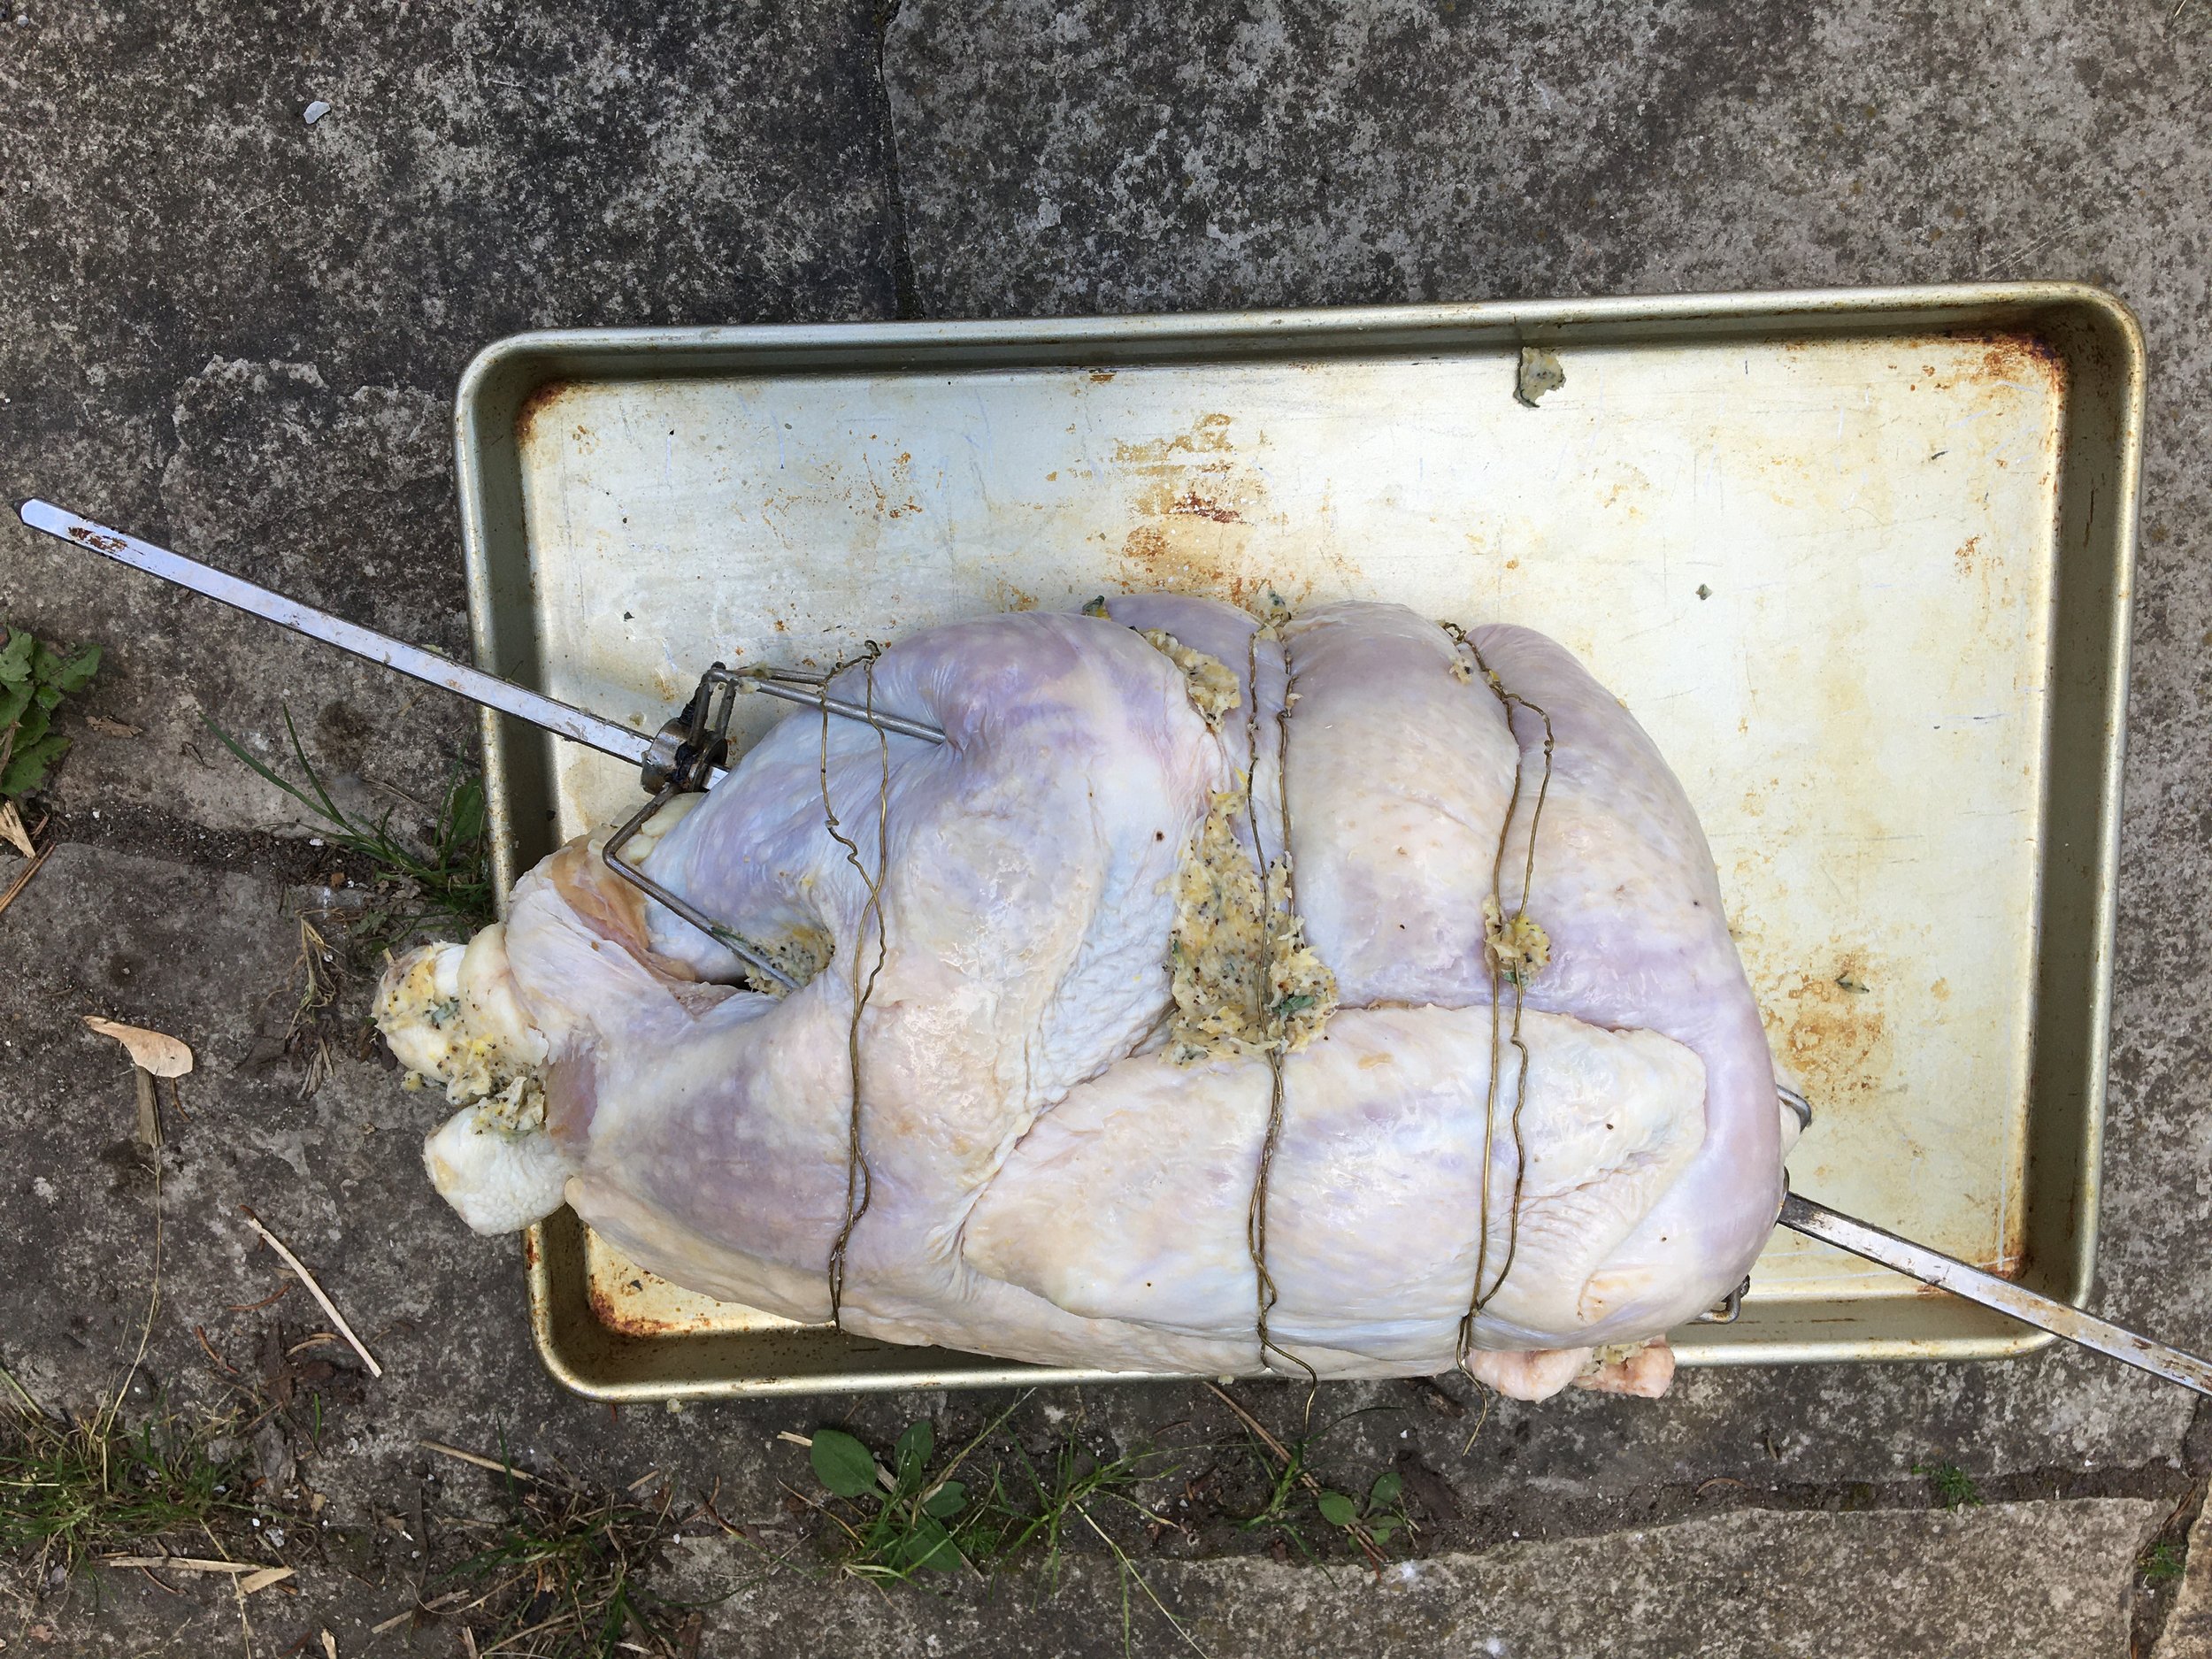
Mount the turkey on the spit so that the weight is balanced. Try turning the spit with your hands; it should rotate a couple of times, not just flop down because one side is more heavy than the other.
It doesn’t have to be perfect – but balanced enough so that the motor isn’t strained from turning a lopsided roast. You don’t want that motor to burn out while you’re cooking!
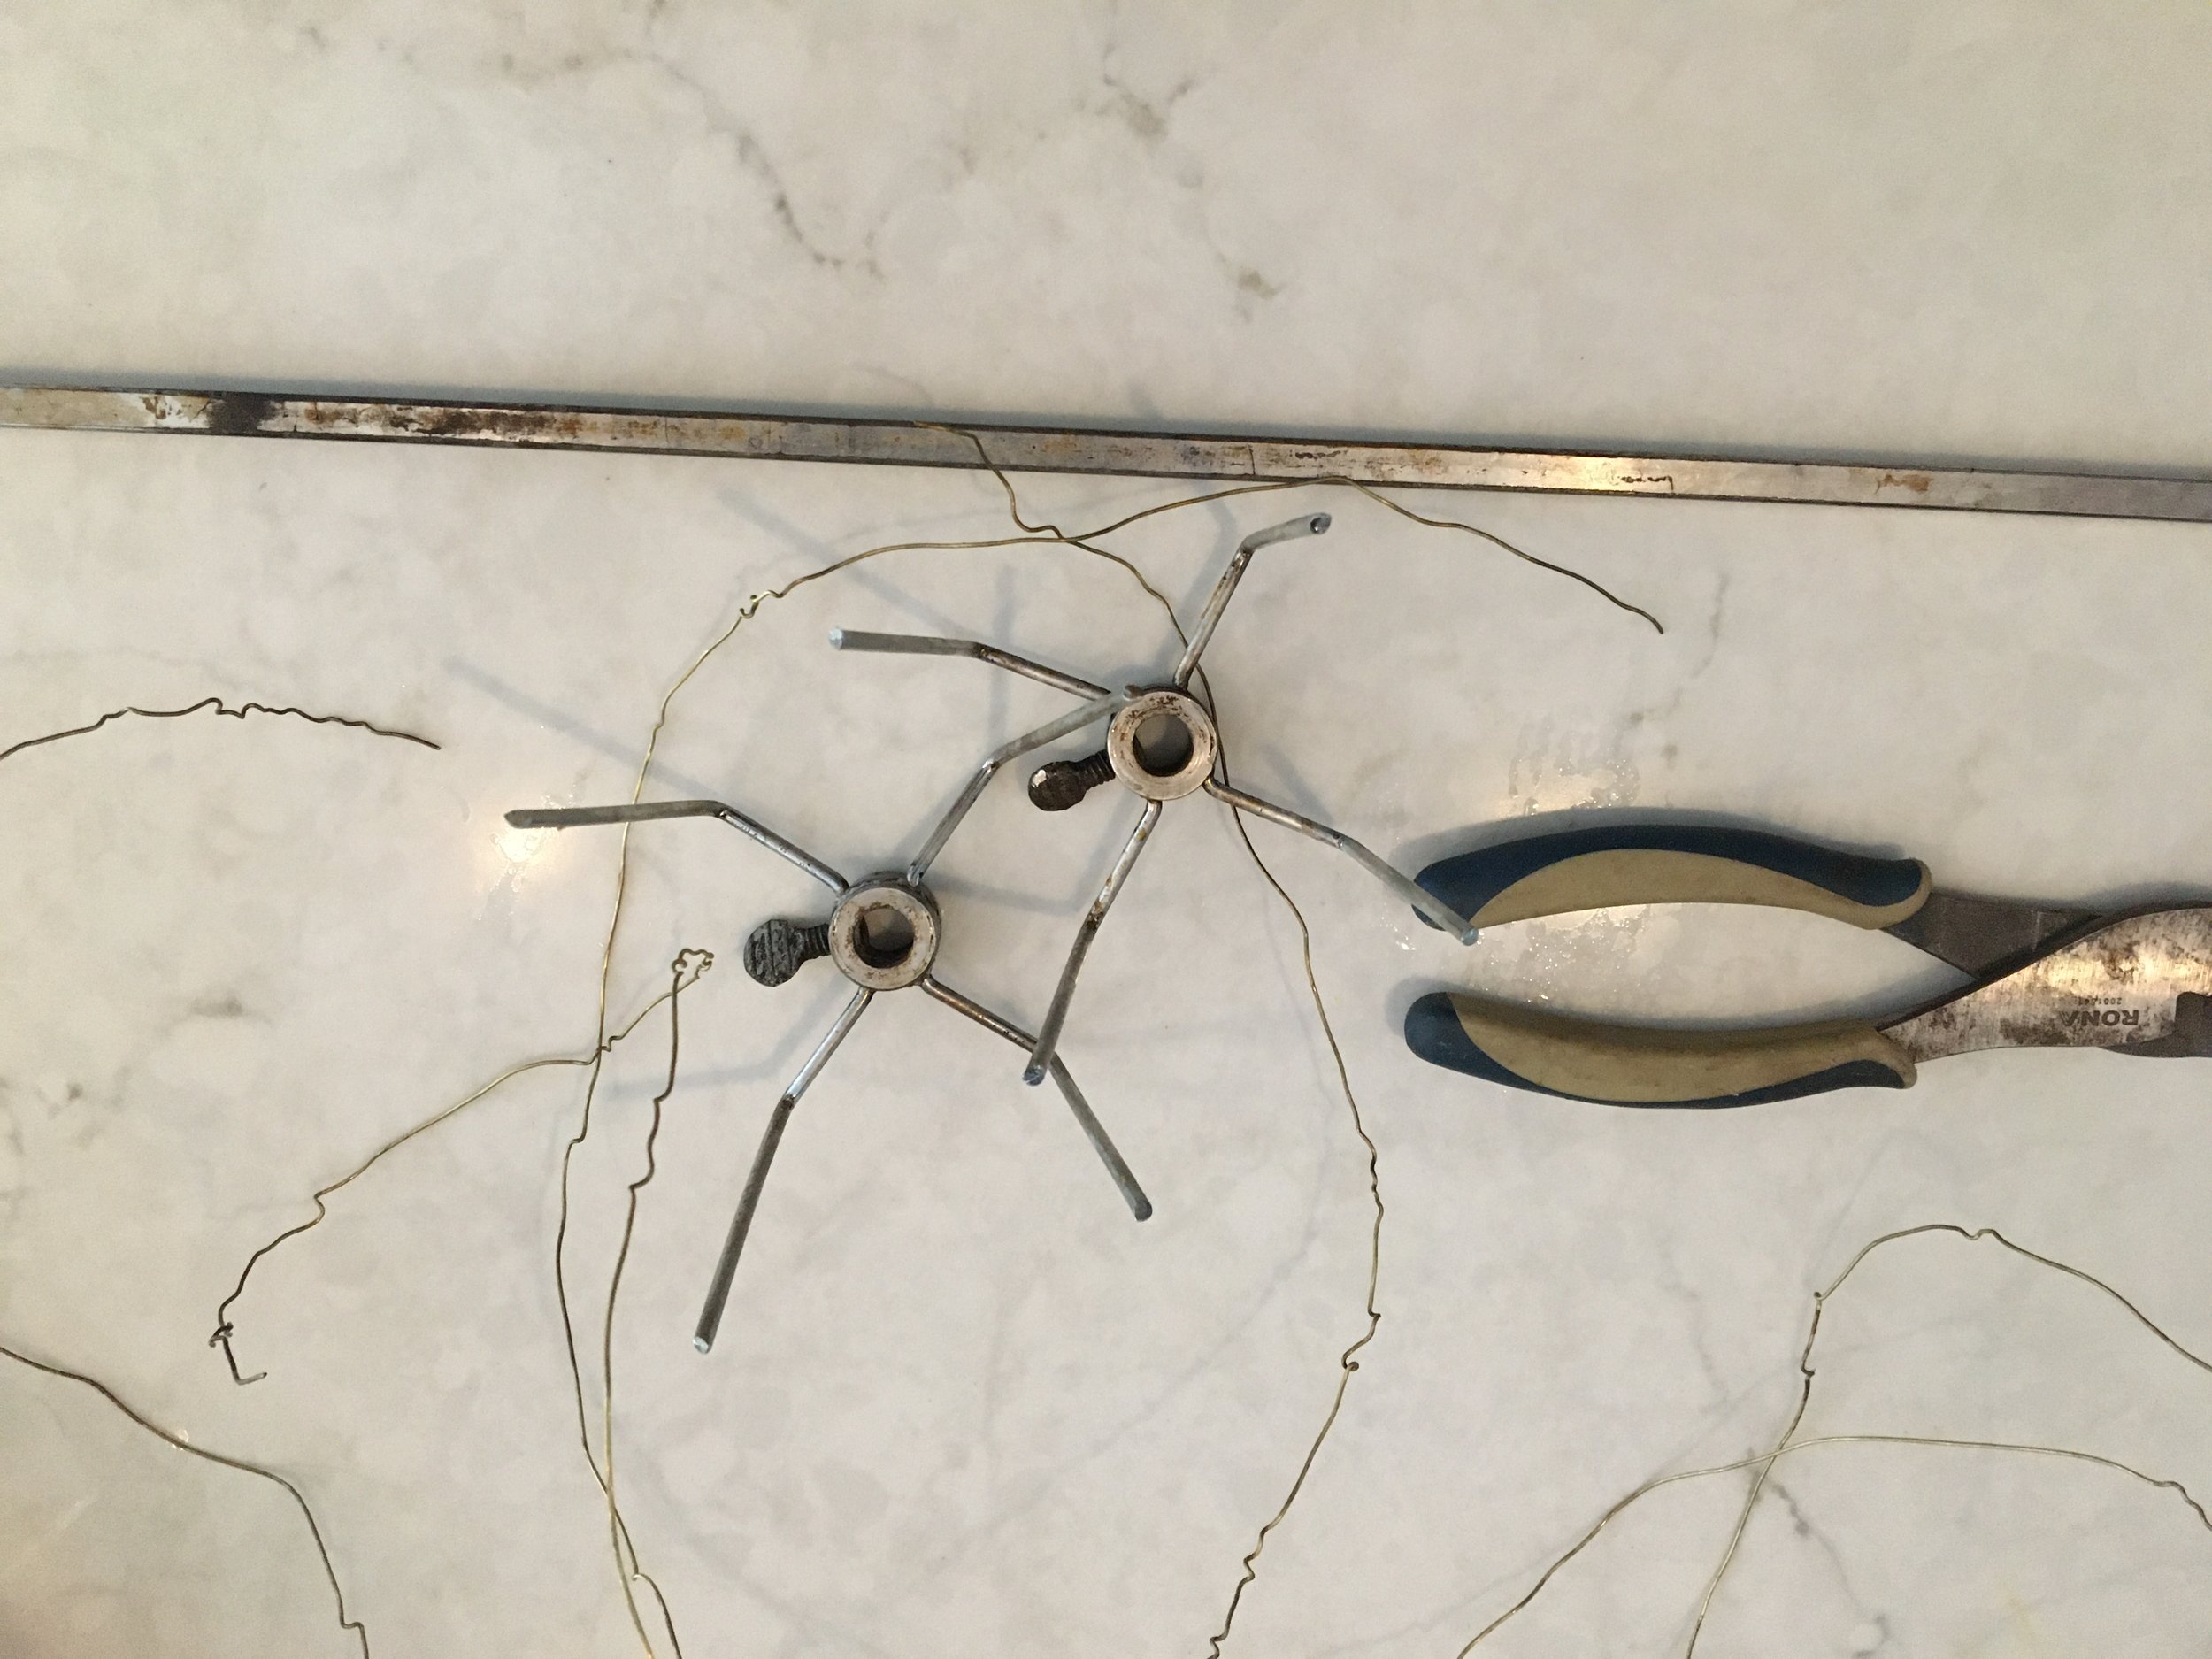
Truss the bird. Tie in the wings tightly. Sometimes there’s a strong flap of skin you can tuck the legs under to hold them in place. If not, tie the legs too. You don’t want your roast flapping its wings as it goes around. I truss with wire – no worries about it breaking in the heat as butcher twine sometimes does.
There are “spit forks” that slide over the spit, and press against and into the turkey. Get these nice and snug so that the turkey doesn’t move around as it turns on the spit.
Preparing the Charcoal BBQ
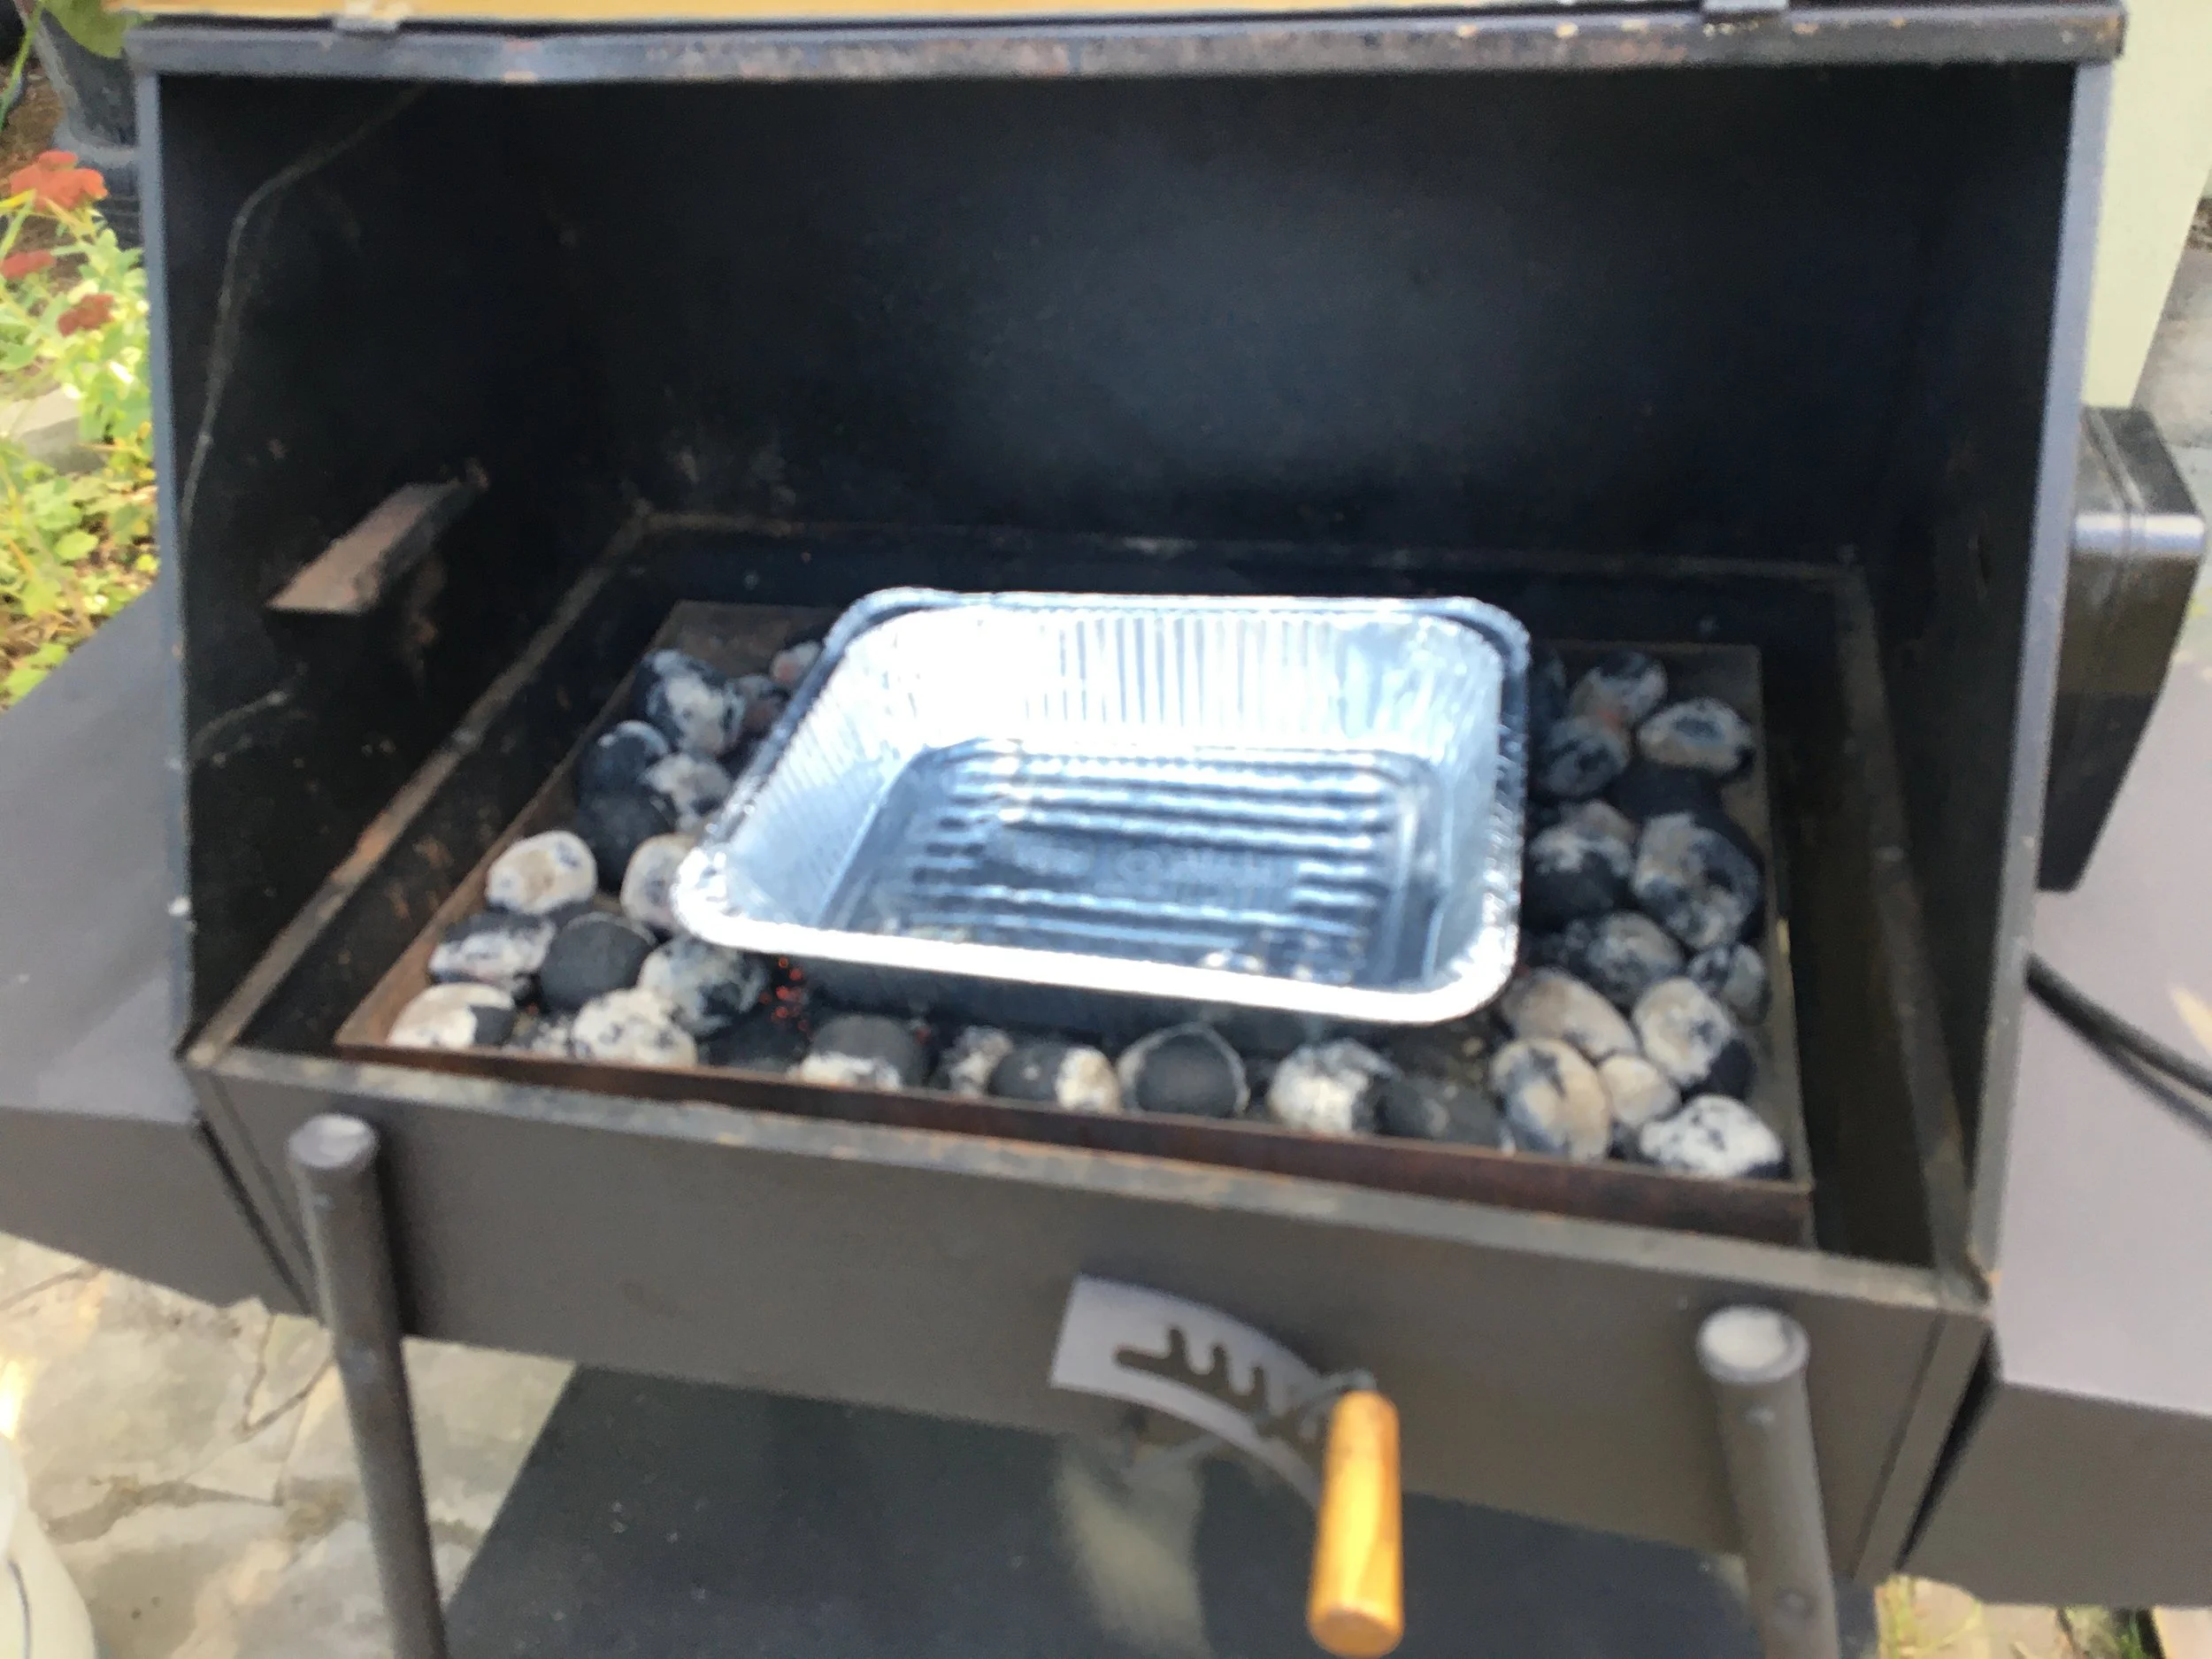
Briquette charcoal placed around a drip tray in the centre of the BBQ.
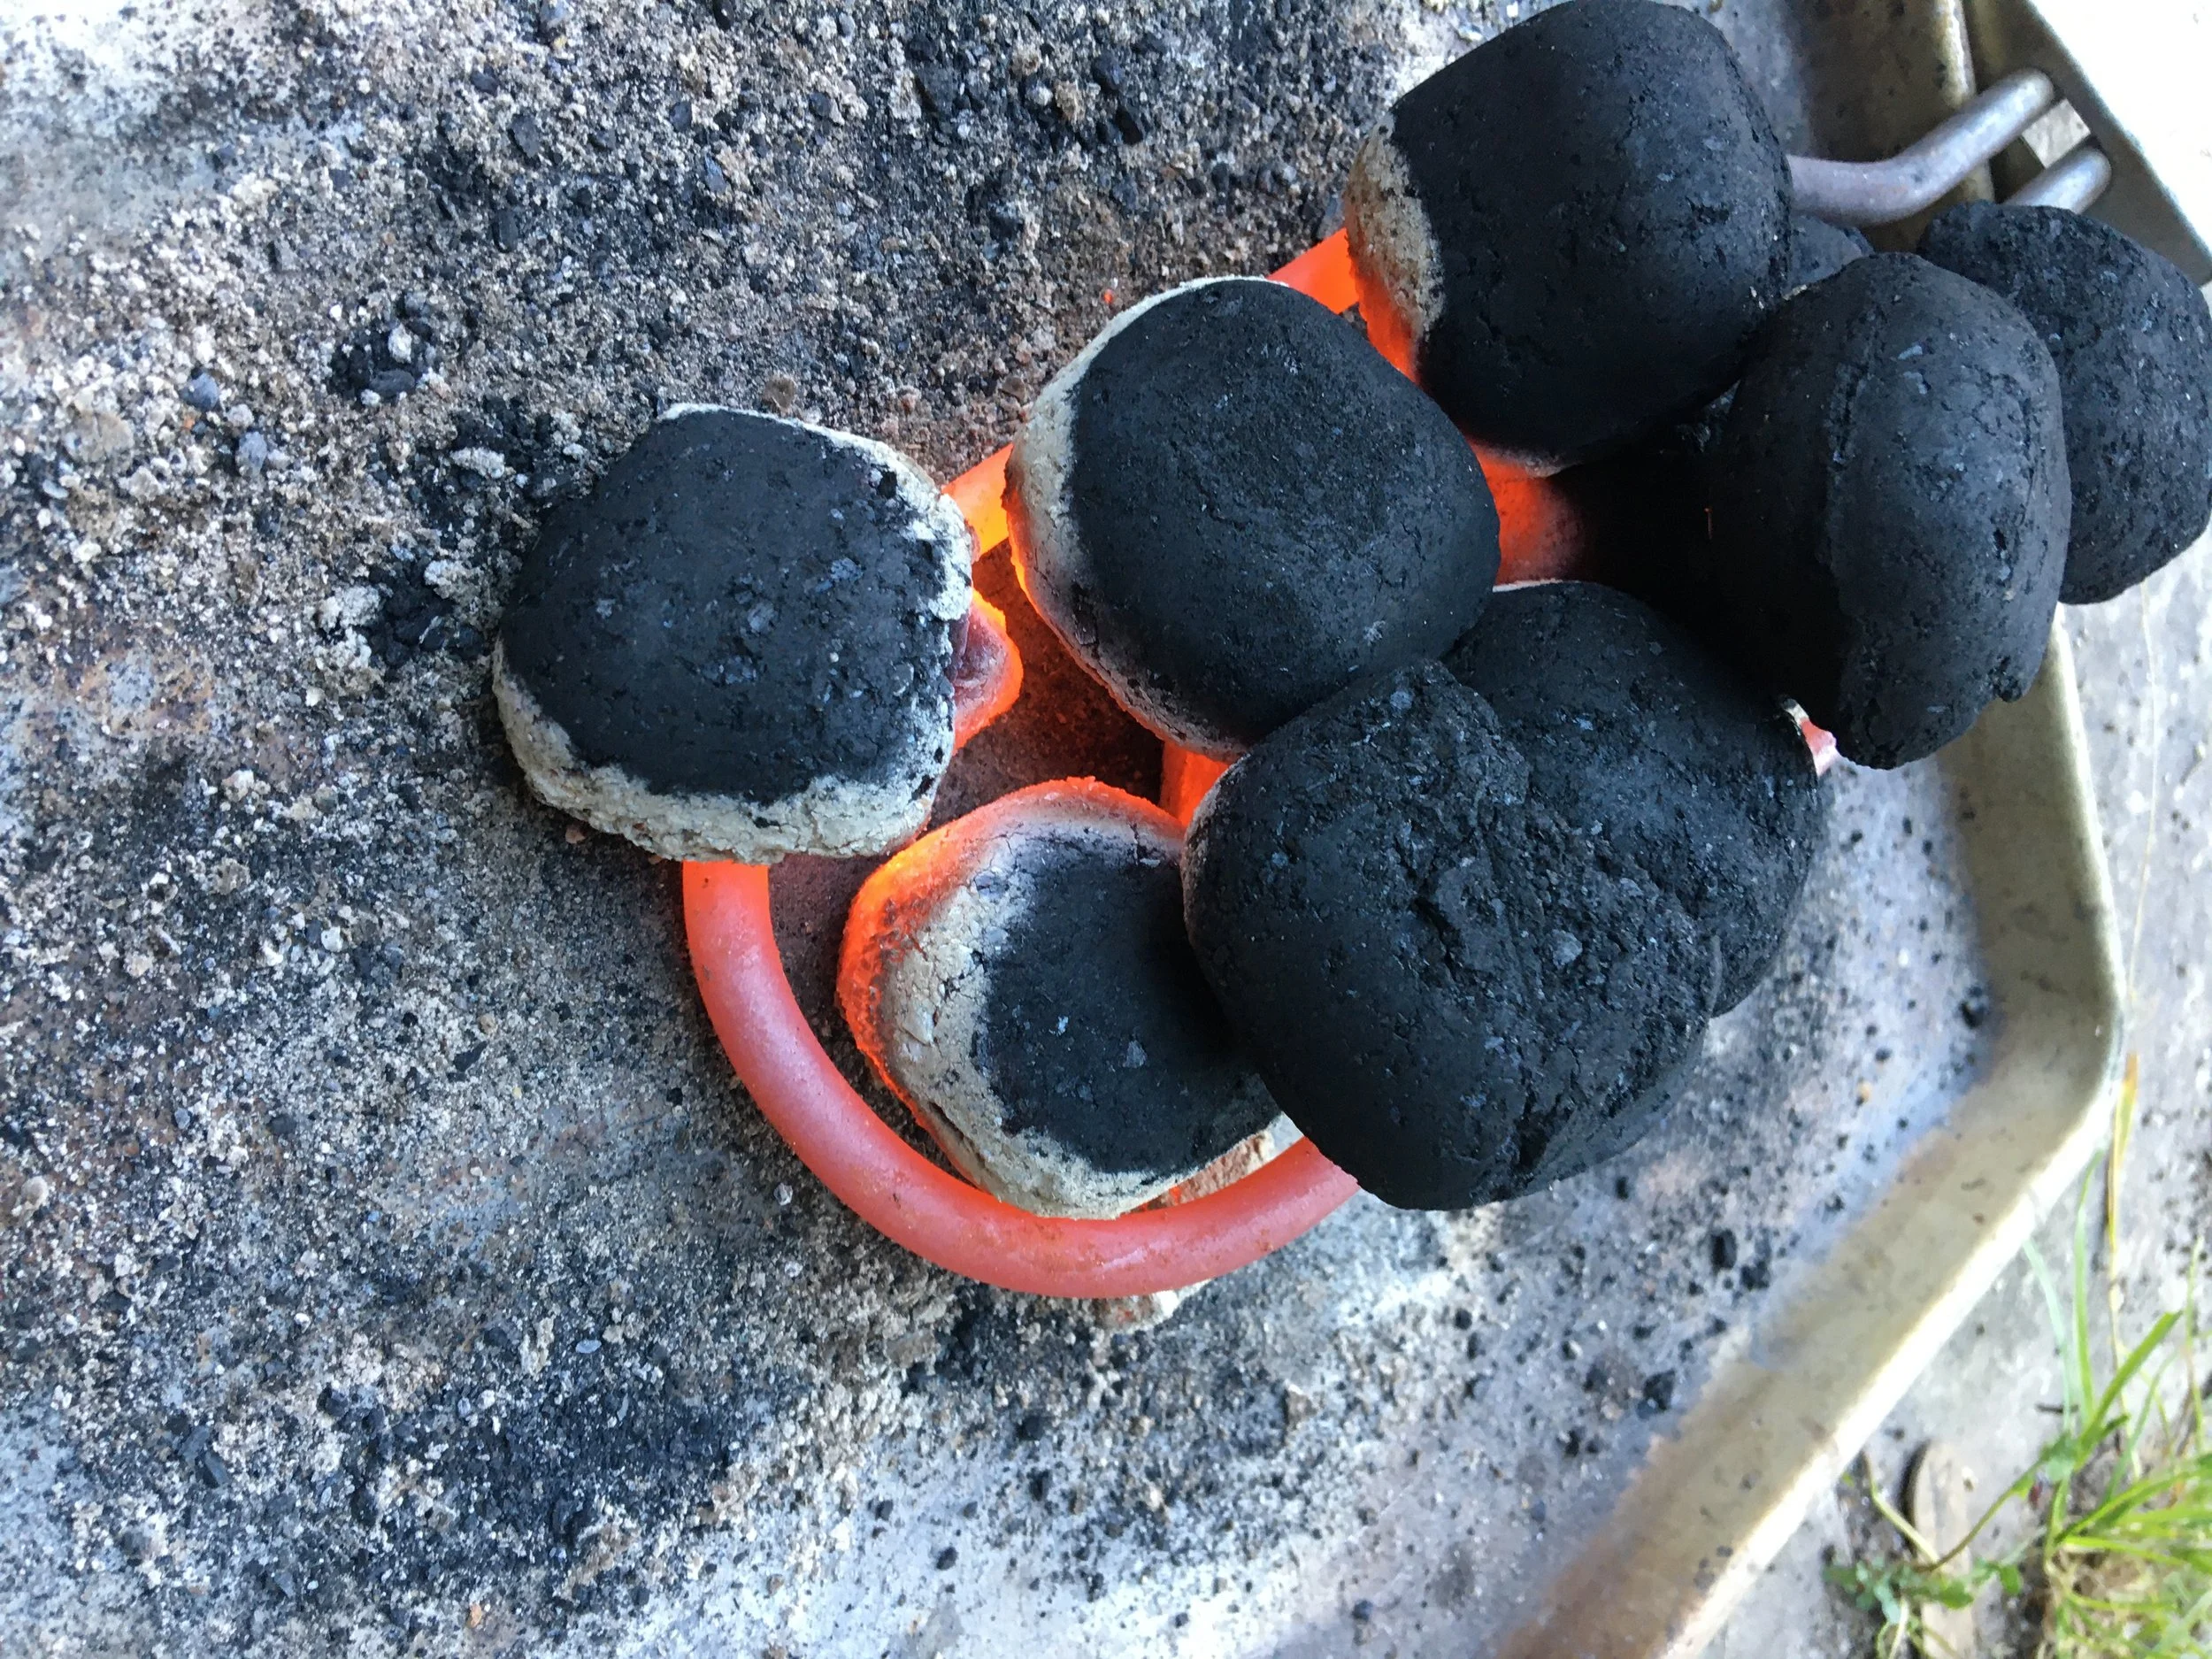
I use briquette charcoal, which lasts for a long time. I pile the charcoal over an electric starter on an old cookie sheet. Then I place the charcoal around the drip tray, which is in the centre of the BBQ.
The drip tray is important. It catches fat to prevent flare ups. (And some of that fat goes into the gravy.)
Basting Your Rotisserie Turkey
The great thing about cooking on a rotisserie is that the roast bastes itself as it turns.
But I baste it even more as it cooks. The reason is that turkey tends to be a dry meat. Barbecued turkey skin can be leathery, but if you baste it as cooks, you get crispy, golden, flavourful skin.
Here’s what I baste with:
The pot with liquid for basting staying warm on top of the BBQ. It’s a mix of lemon juice, butter, thyme, and salt.
Juice of a lemon
Butter
Thyme
Salt (don’t be stingy)
Enhancing the Smoke Flavour
By cooking your turkey on a charcoal barbecue you already have a smoky flavour. But you can make a nicer smoky flavour with wood from fruit trees. Fruit woods such as apple, cherry, pear, and plum improve smoke flavour.
The trick is to add a bit of fruit wood to the charcoal, without causing a flare-up. To avoid flare-ups, I cut up branches into small pieces, and soak them in water. Then, as the roast cooks, I add a few now and then.
(In my opinion cherry wood gives a delicious flavour, and I save branches I prune from my Nanking cherry bush for when I cook turkey. Find out more about Nanking cherry, a perfect cherry bush for home gardens.)
Check Your Turkey as it Roasts
Starting briquette charcoal with an electric lighter on an old cookie sheet. When it’s ready, I use tongs to place it around the drip tray.
Sometimes I re-balance the turkey and tighten the forks if I see the turkey is wiggling a bit as it turns.
Along with making sure that roast is balanced, make sure there is still enough heat from the charcoal. I replenish the charcoal at least once while roasting a turkey. I start a new batch on the cookie sheet and transfer the briquettes (using tongs) around the drip pan.
My BBQ doesn’t not have a temperature gauge. So I touch it to see if it’s hot enough.
If I touch the top of my barbecue and it’s too hot to hold my hand there, I’m happy with the heat.
If I can hold my hand there for a moment, it’s time for more charcoal. It’s not an exact science.
One year, Dad and a friend were responsible for the Thanksgiving turkey. They got distracted (wine tasting, maybe!) and forgot to add more charcoal. That year we had our roast at about 10 p.m.!
Knowing when Your Charcoal Rotisserie Turkey is Ready
At risk of offending food safety experts, I go with what Mom taught me. She didn’t use a meat thermometer. She explained to me that when you pull back a leg and poke a fork into that area where the let attaches to the bird, you want the juice that comes out to be clear. If the juice is still reddish, cook more. That’s my rule of thumb.
If you new to roasting, you might feel more comfortable with a meat thermometer. That’s probably a good idea. And while you don’t want to undercook turkey, you don’t want to overcook it because turkey is dry to begin with.
Once your roast is fully cooked, let it sit, tented with foil, for a few minutes. And during this time you can work on your gravy.
What Kind of Charcoal BBQ?
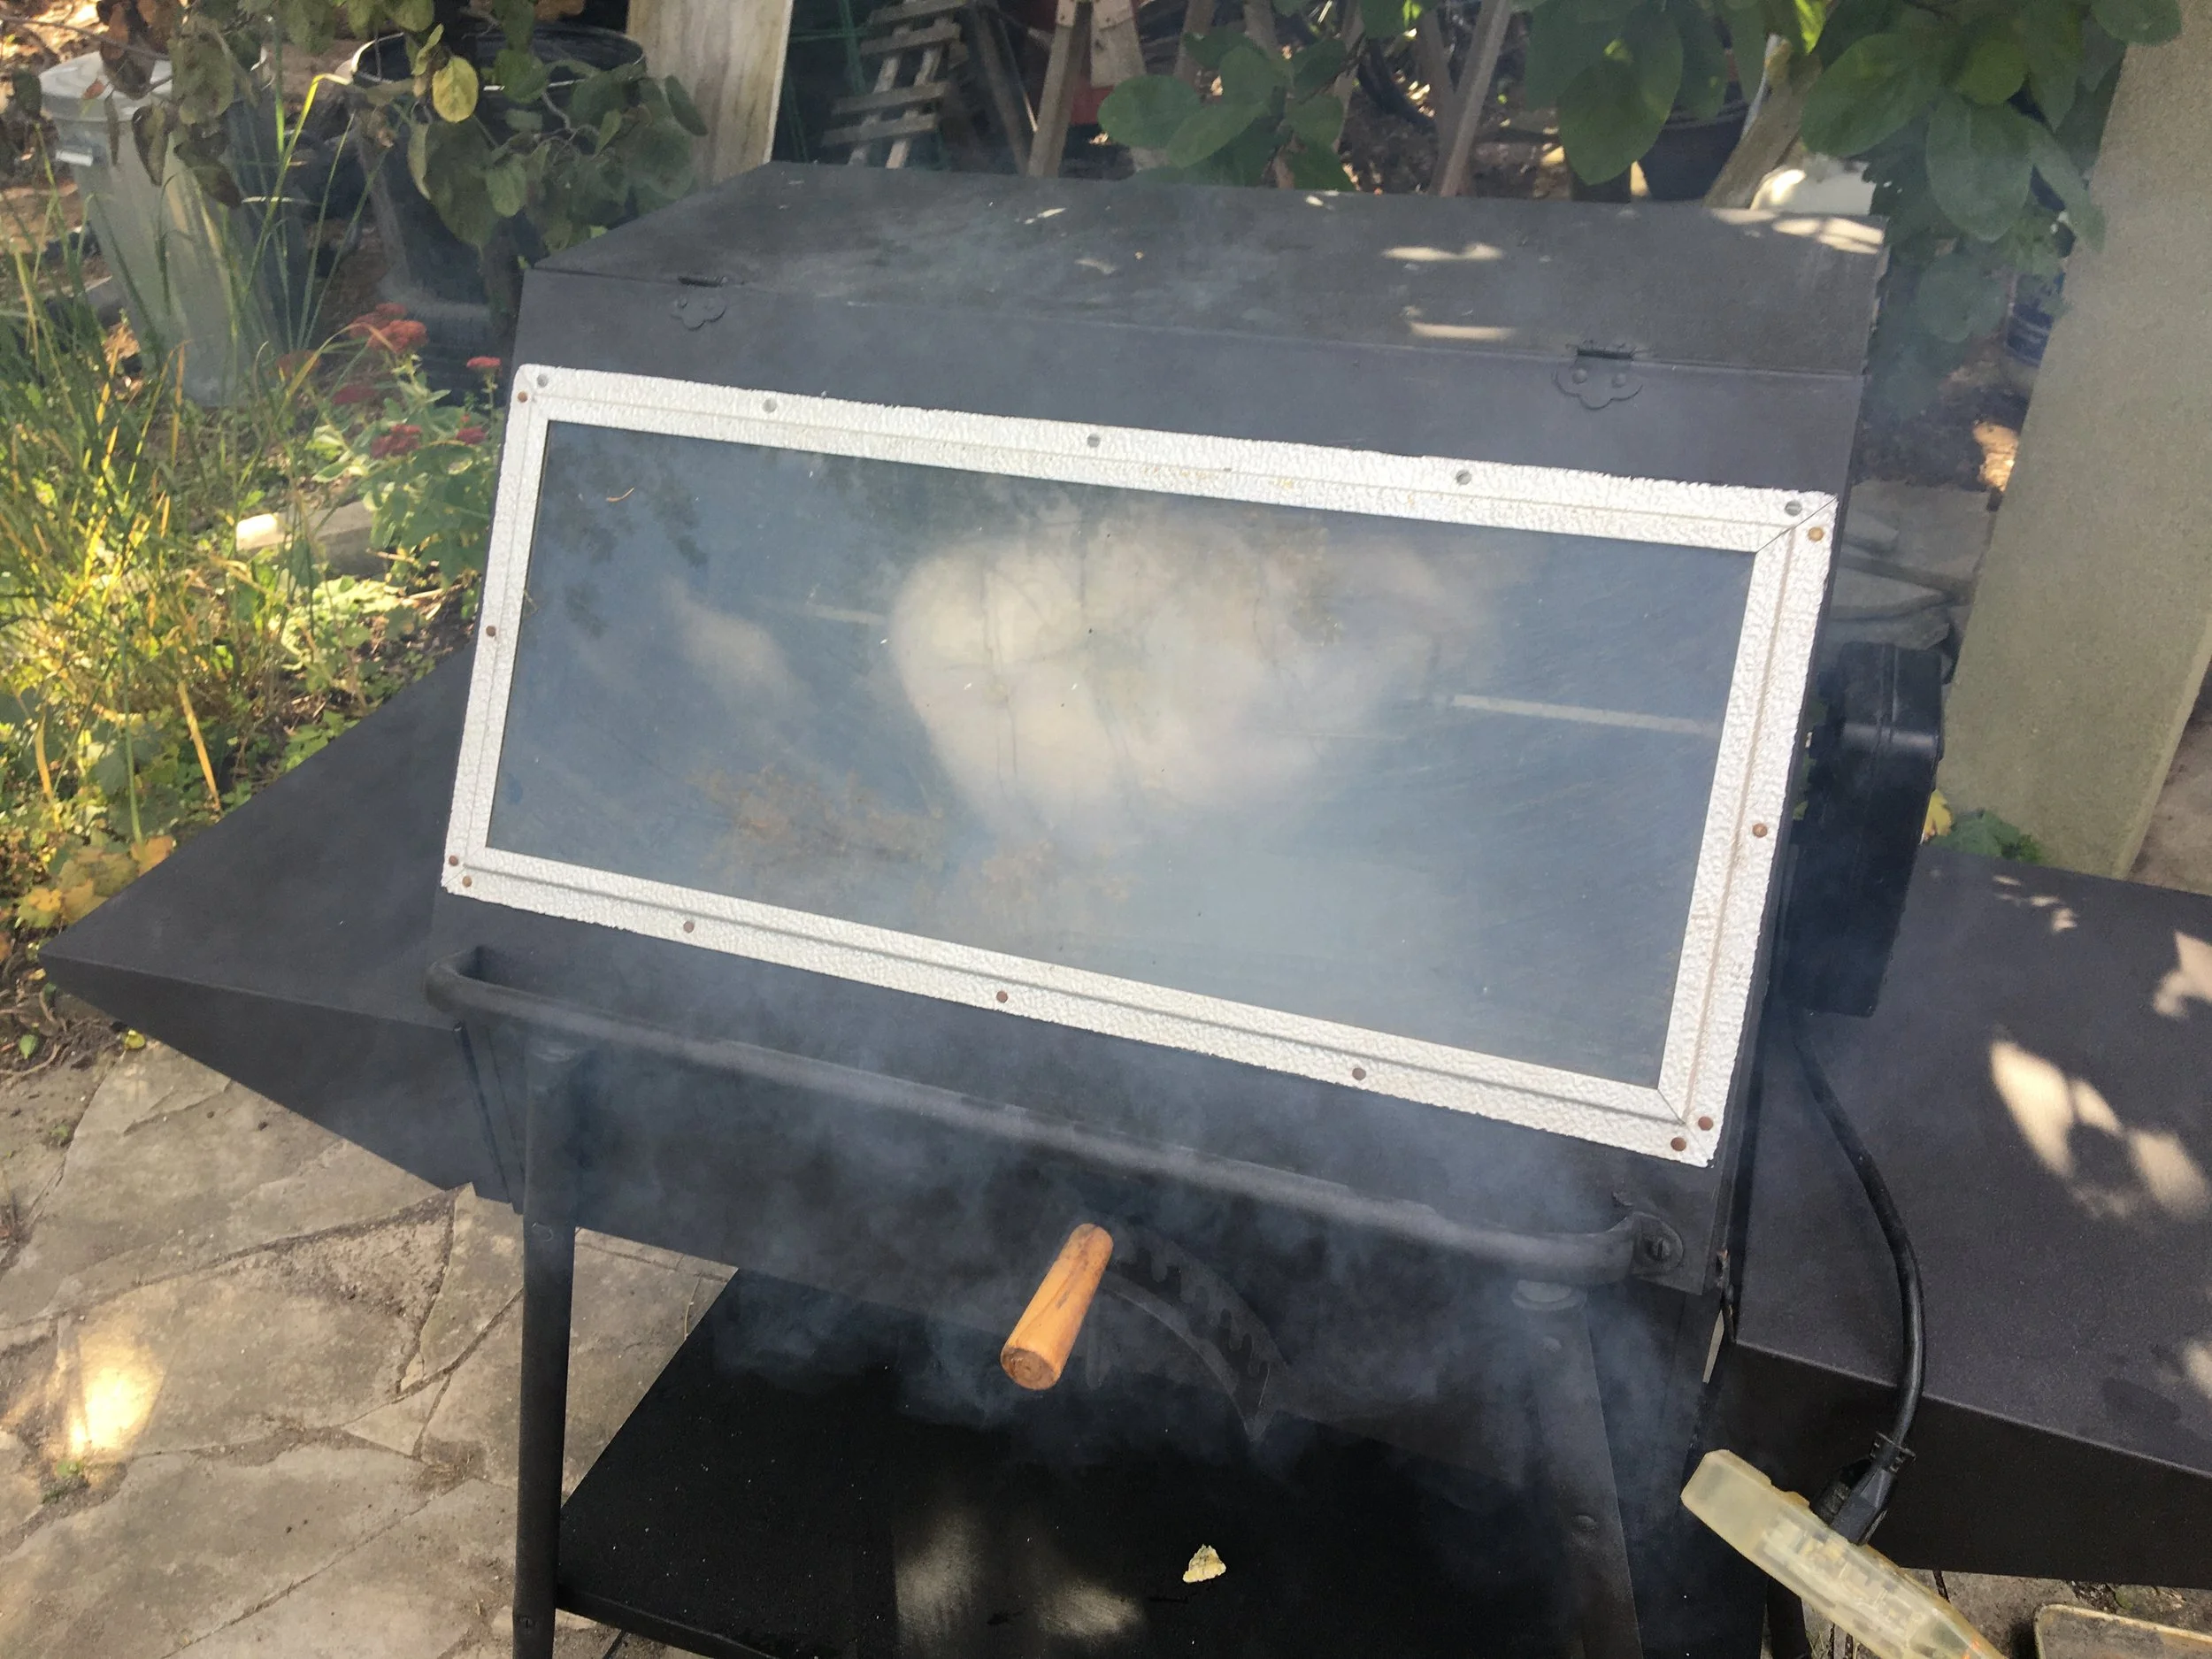
Our “new” charcoal BBQ that we use to roast turkey.
For years Dad used an old charcoal barbecue given to him by a friend. It was pretty wobbly by the time he moved from his house, but I brought the BBQ here and rehabilitated it a bit – a prosthetic leg to replace the once that had completely rotted out, a new tray inside, and a paint job.
That old barbecue did the trick for another decade. I’m sure it was 50+ years old when it finally rusted right through.
I couldn’t’ find anything like it for sale – something with a flip-open door. I like a flip-open door design as it holds in more heat when you’re checking the roast. Many new models have a lid that lifts off completely.
But when an old house down the street from me sold, somebody put the exact same barbecue to the curb on garbage day. It looked unused – so it must have sat in a garage for decades.
With this “new” barbecue, I’m set to keep our family tradition going – and hope that one of my kids will take over this barbecue in time.
Gas Barbecue
I’ve never done my roast turkey on a gas barbecue, but I’ve seen posts about people doing it. It’s the same idea, with a drip pan below your rotisserie turkey to catch the drippings.
A Very Important Note
Don’t get a turkey that’s too big for your BBQ. Dad and I know from experience that the biggest turkey we can cook on the spit in our BBQ is 12 pounds. Any bigger than that and it will rub against the door on every turn.
Looking for More Food and Cooking Ideas?
Guide to Family Backcountry Camping
Family backcountry camping. Tips, ideas, and a list of what to bring on your backcountry trip with kids.
We camp as a family, at backcountry sites accessible only by canoe.
By Steven Biggs
Baby Steps to Backcountry Camping with Family
“Crayfish and going on rocks is our favourite thing in the world.” With that sort of endorsement, my wife Shelley and I knew family camping trips were a hit with our three young children.
We have had unexpected hiccups...
One time Quinn said to us, “Dad, I think there’s something in the van.” We’d left the van doors open as we prepared our meal, and a raccoon took the opportunity to rummage through our food packs. Yes, we learned our lesson.
Then there was the time the boys removed their shoes at a portage to chase frogs through the mud…and we were on the next lake before we remembered the shoes.
For our first few years of family camping we went to drive-in campsites. We’d rent a canoe for day trips and go for hikes. We prefer hikes and time on the water to busy beaches and cramped campsites, so we shifted to backcountry camping sites accessible only by canoe.
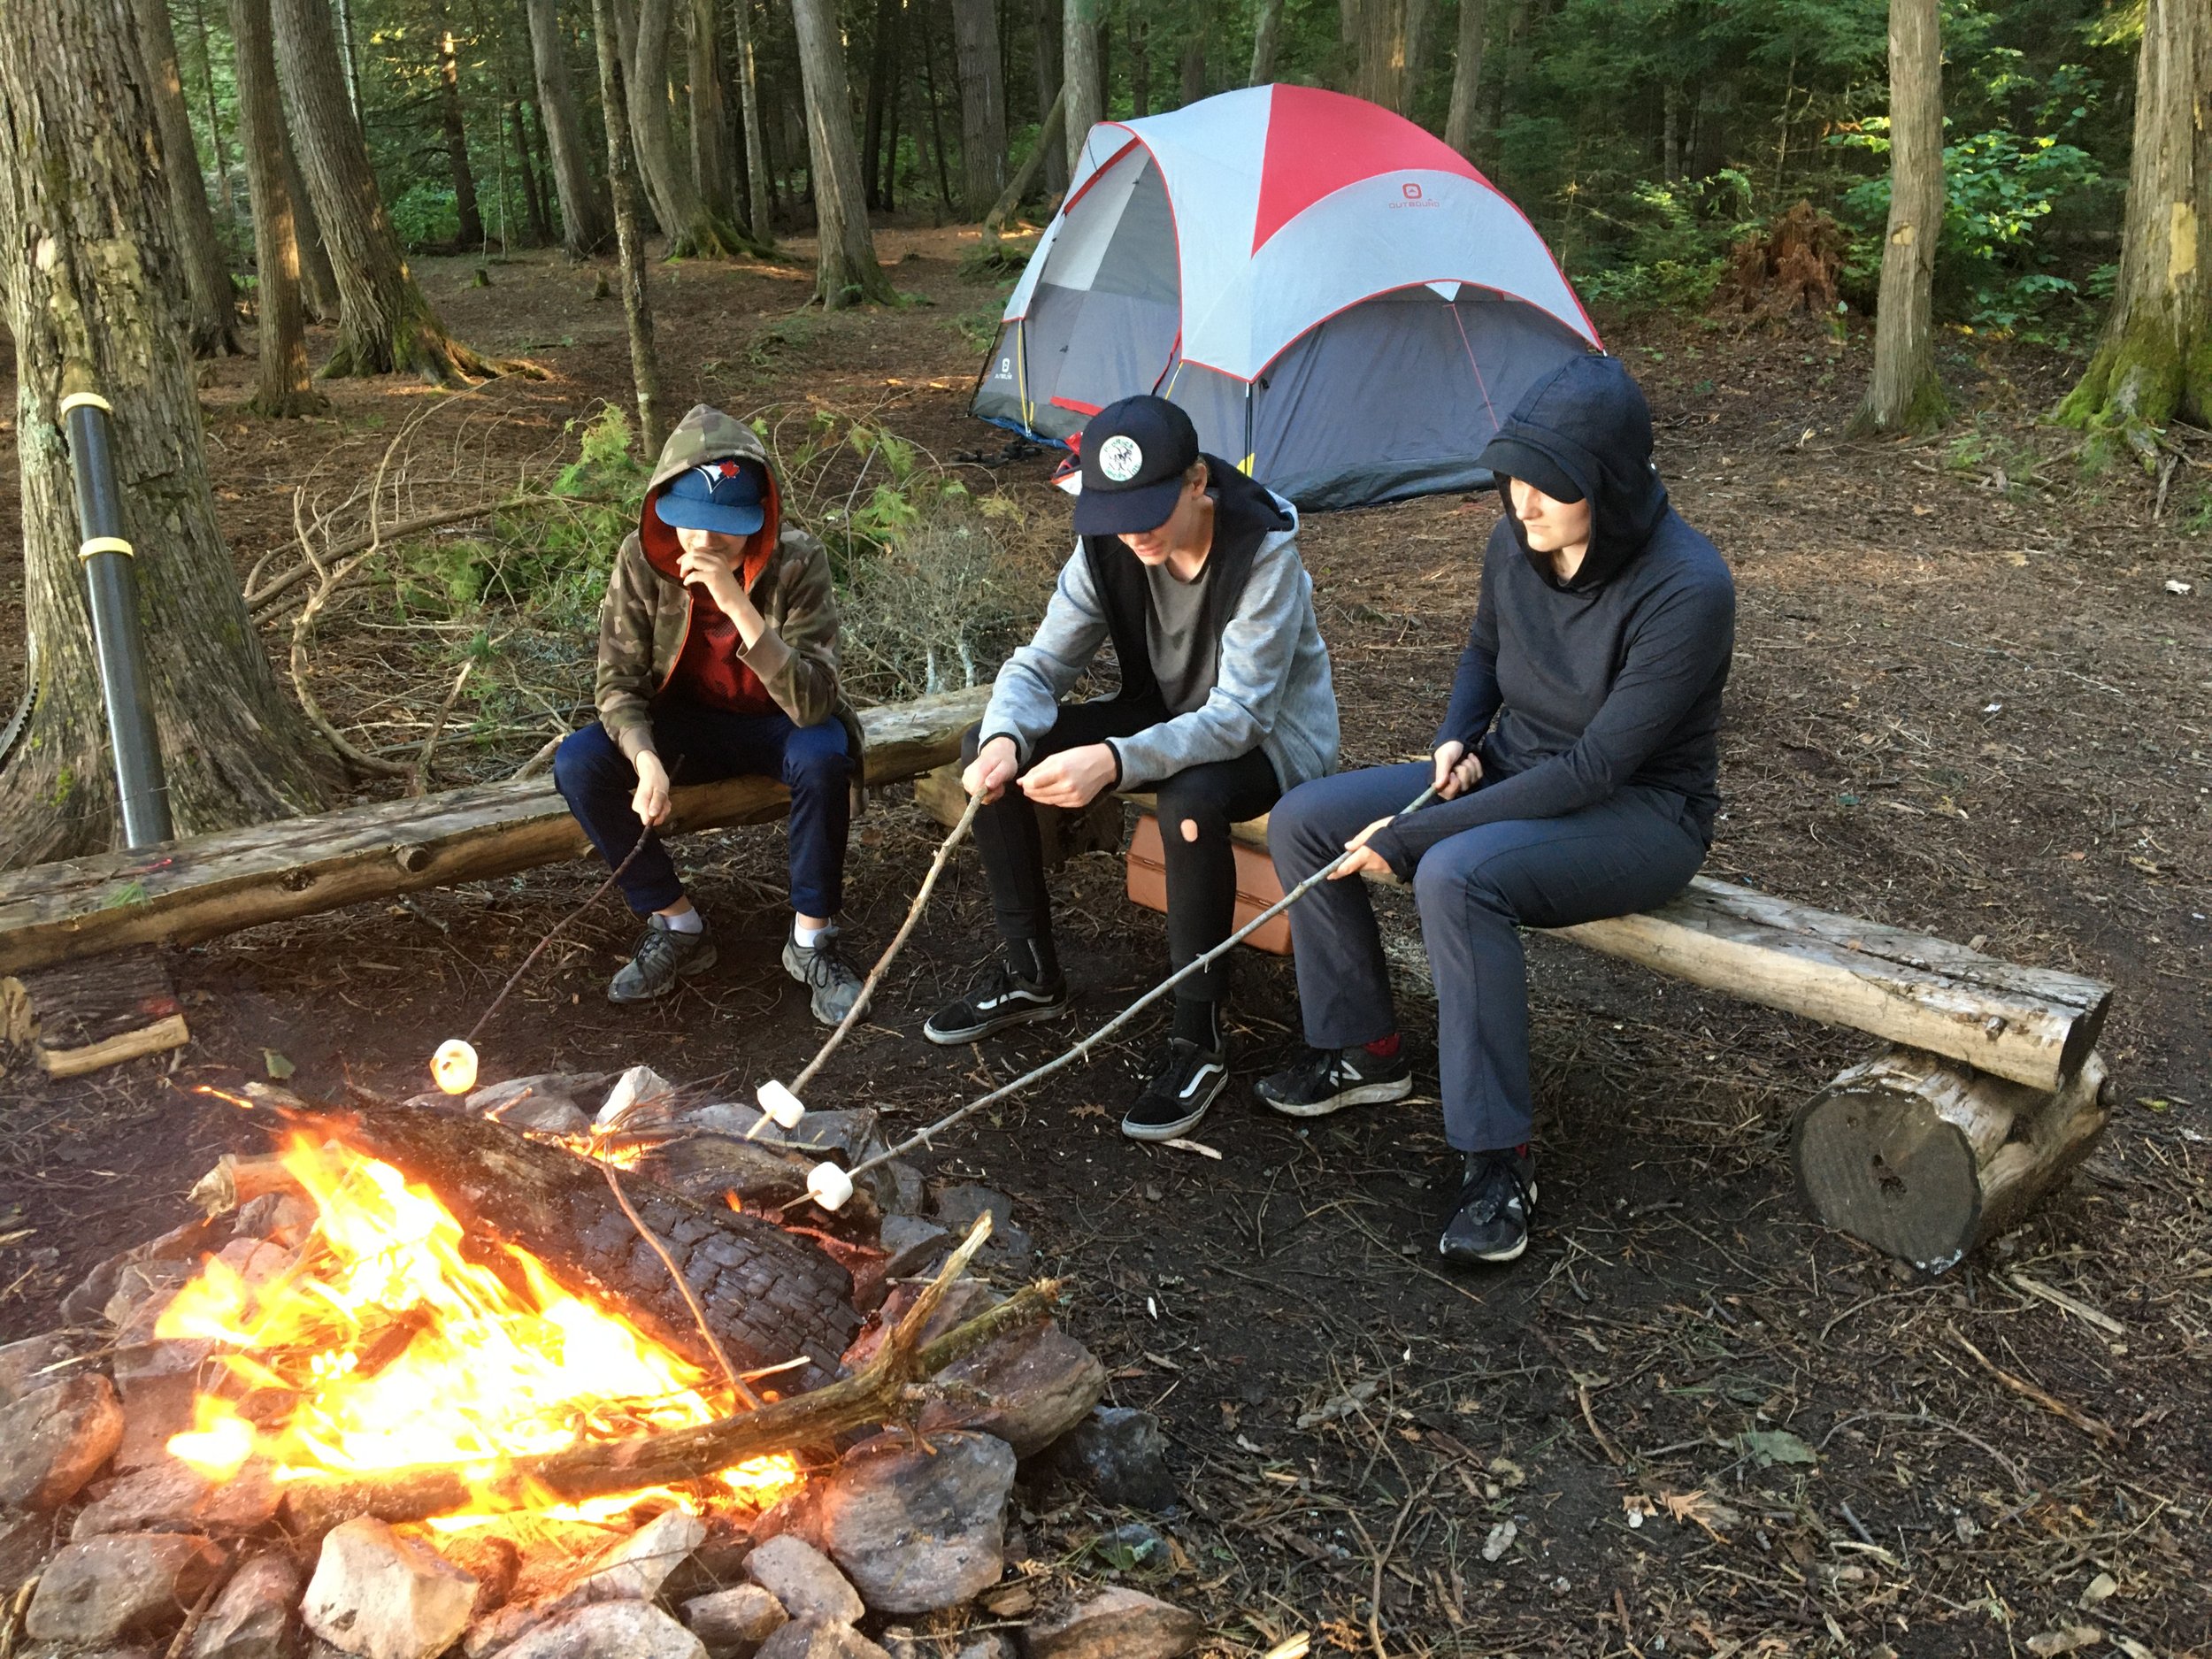
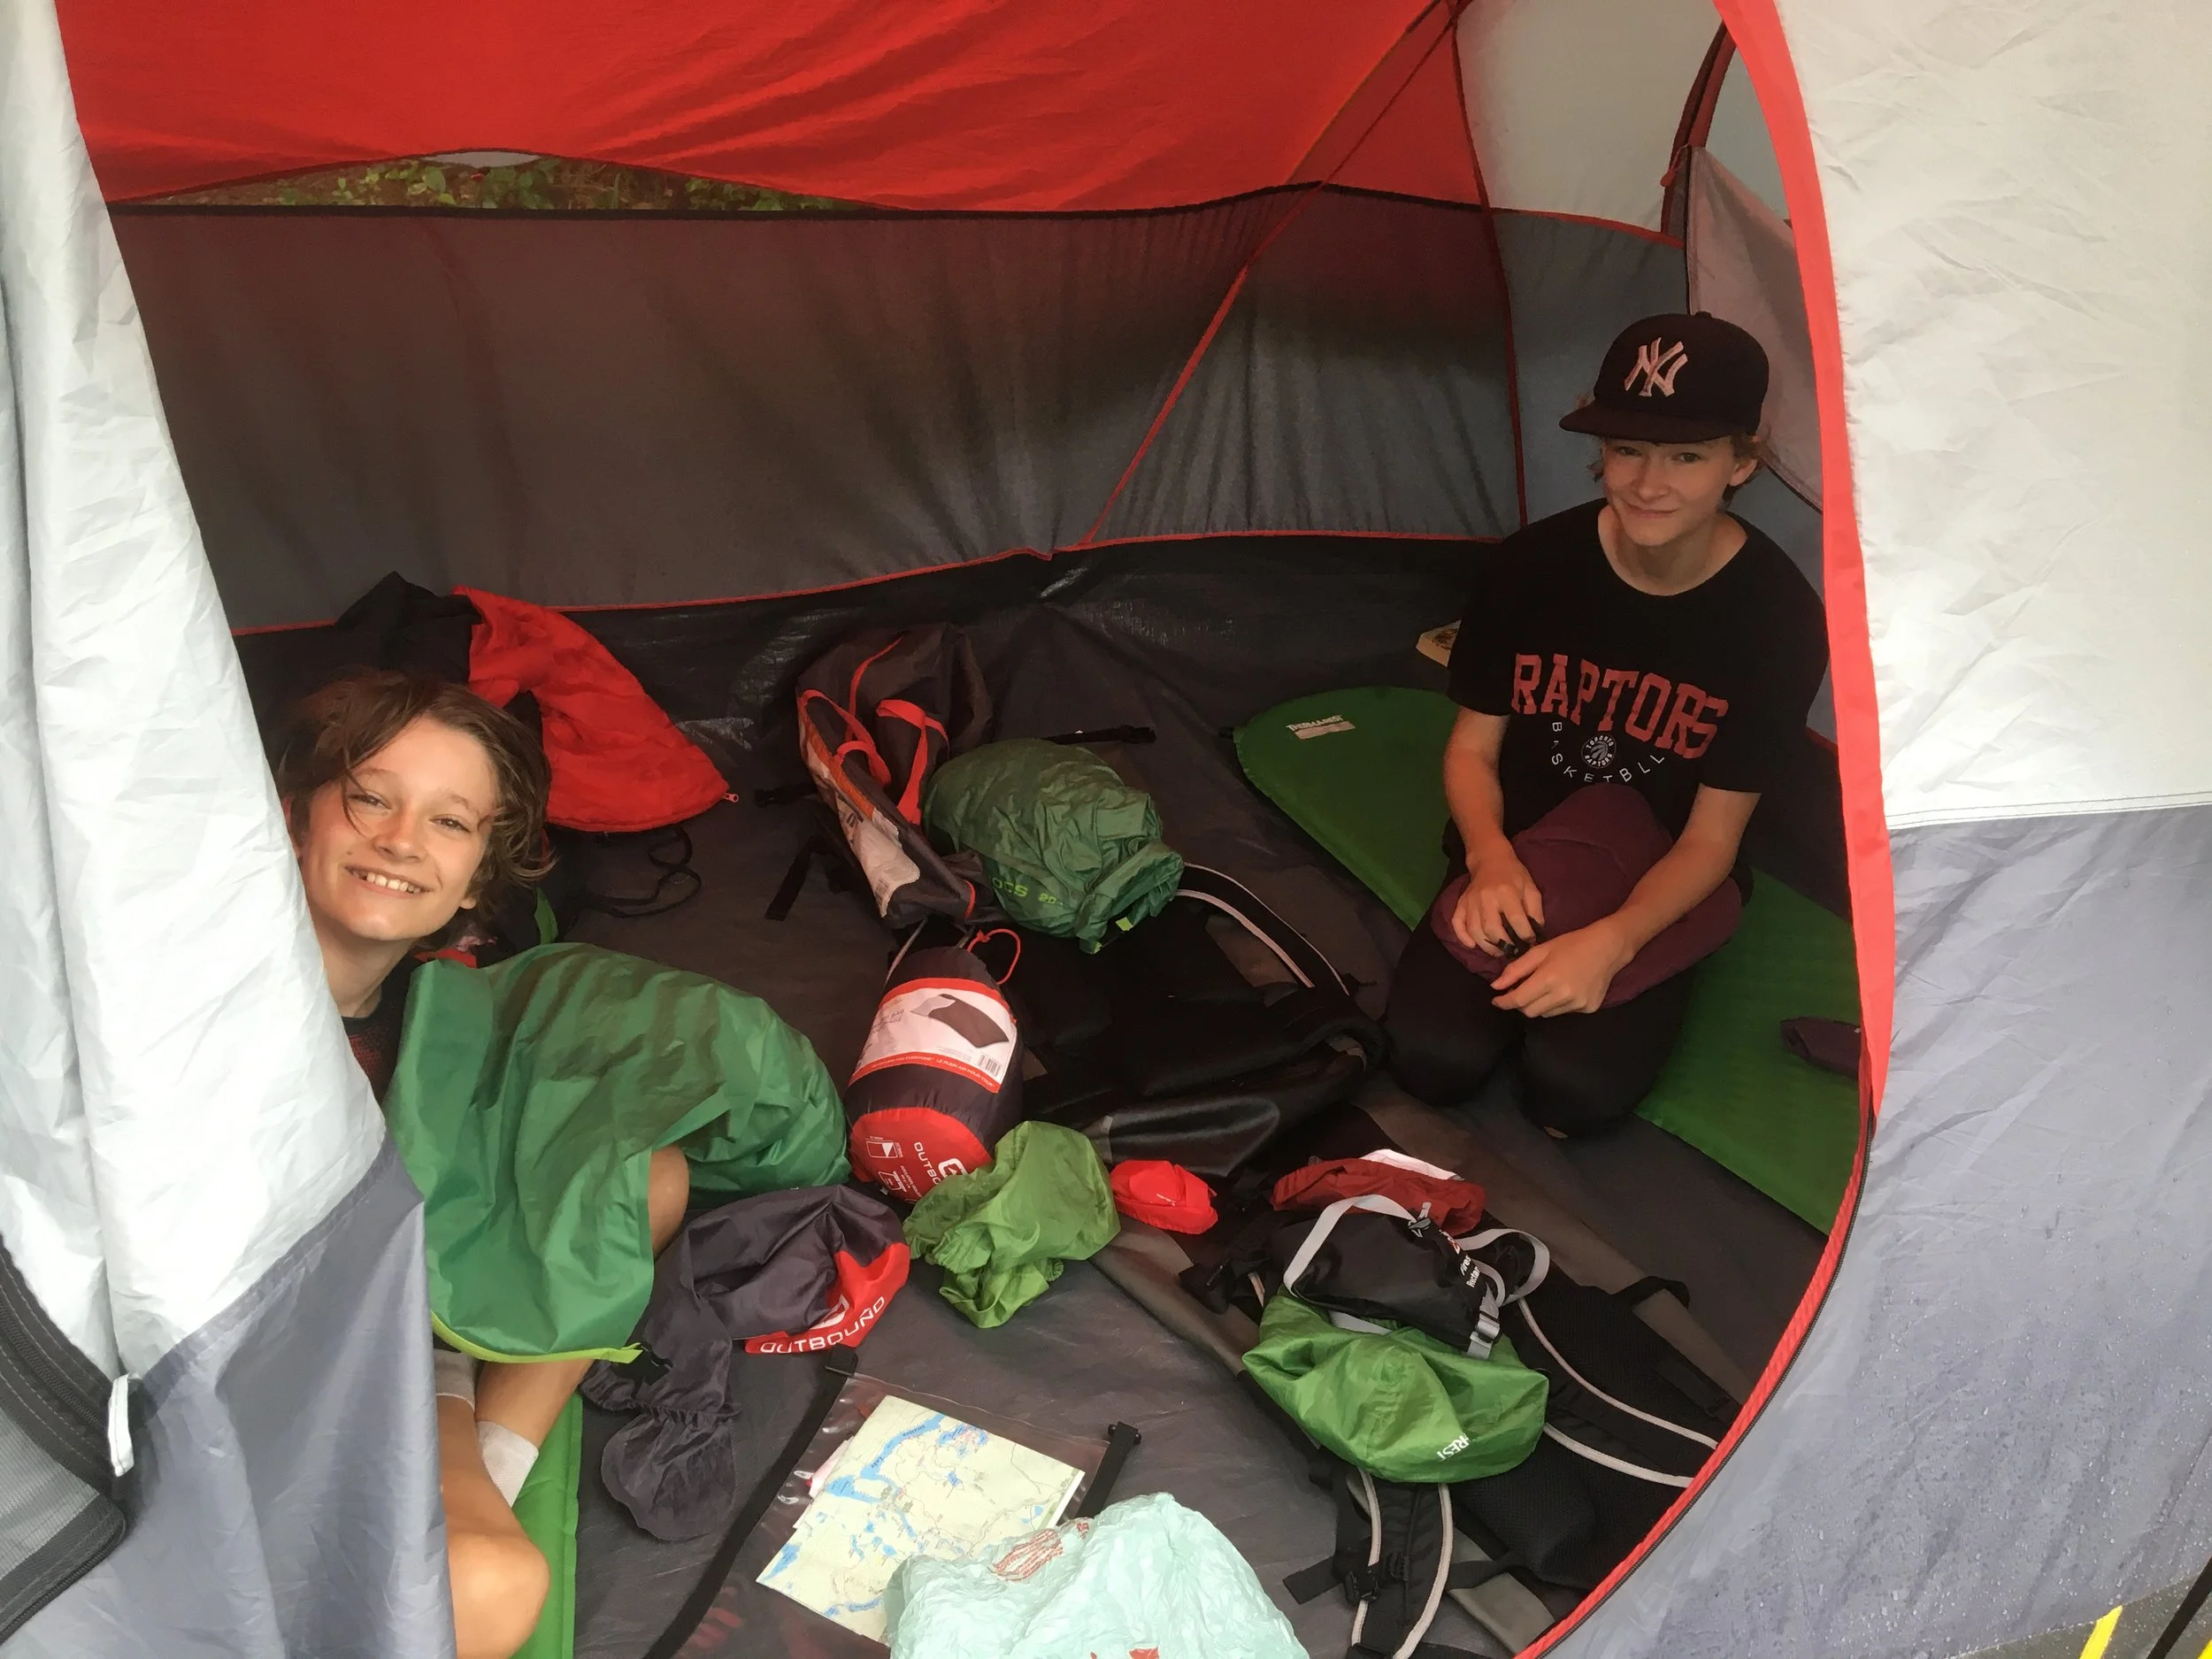
We have three teenagers now. And it’s a hoot with five of us squeezed into a tent at night. Catching any mosquitoes that make it into the tent, telling jokes, maybe a card game, and jockeying for as much space as possible.
Here’s how things typically unfold when we arrive at a site:
Keaton and Quinn getting the mattresses and sleeping bags set up.
Keaton gets ropes in place to hang the food barrel
Quinn lines up firewood for the first night
Emma and my wife Shelley set up the tent
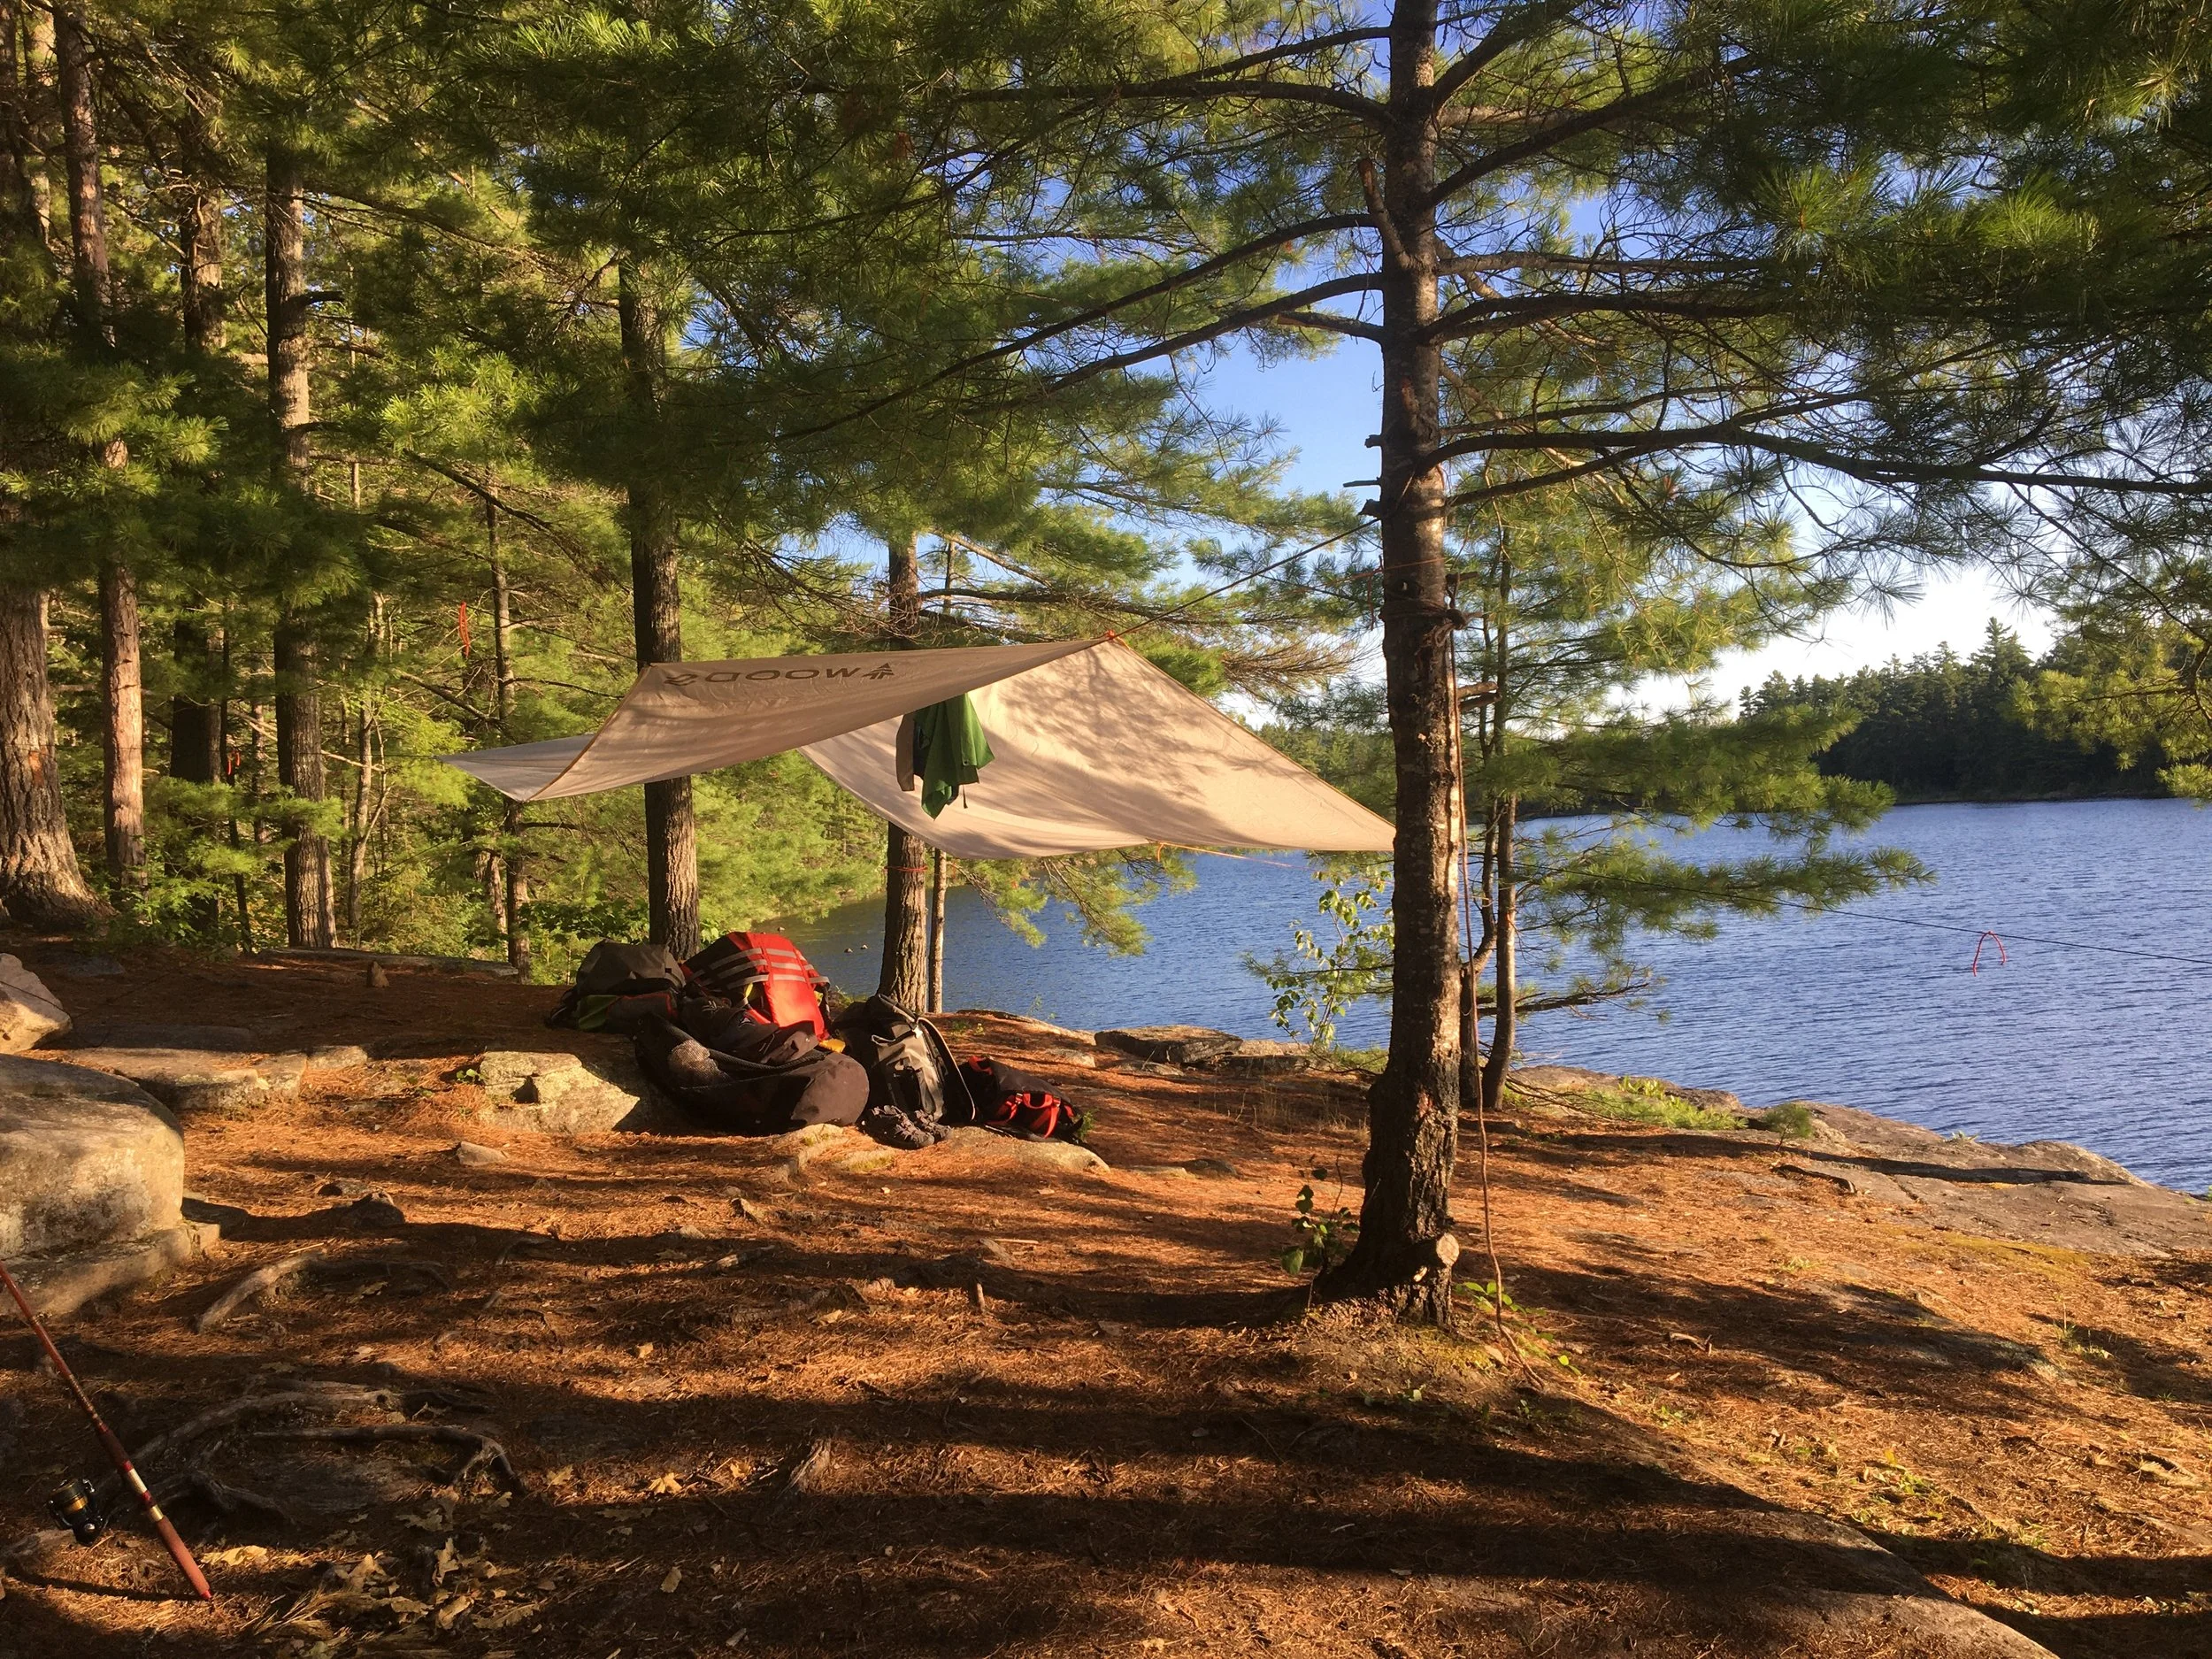
I hang a tarp to create a covered area, and then set up my kitchen
Then it’s time to swim, eat, and fish!
Plan Your First Family Backcountry Camping Trip
Good planning is the ticket to make your backcountry trip a success. There’s no hopping in the car to get gear or food that you forgot. So double check your list before you head out! (See the packing list below.)
Packing for a backcountry trip is a balancing act: Pack everything you might need, but also pack lightly…because you’ll be hauling it.
Backcountry Light: Camp Backcountry Without Portages
The kids and I celebrate the end of school with an annual camping trip.
If you want to move beyond car camping, but are not ready to tackle portages, look for campsites with canoe-only access that don’t require portaging – campsite on the same lake as the access point.
The kids and I celebrate the end of school with an annual camping trip. It’s a trip for relaxing, so I often pick canoe-in campsites that don’t require portaging. That way we can pack extra gear such as a folding table and chairs, knowing that we don’t have to portage it.
(We enjoy Algonquin Park here in Ontario, and examples of lakes with canoe-access sites that don’t require portaging are Rain, Kingscote, and Sec Lakes.)
Pick the Right Route for Your Family
With 3 teenagers, I don’t have to carry as much gear as I used to.
We go backcountry by canoe (there are also backcountry sites accessible by hiking trails.) So we carry canoes and gear from lake to lake along portages. Some portages are short, maybe just a few metres around a beaver dam. Others not so short.
The kids are all teenagers now, so the work at portages is spread out between us (and it gets more and more equal every year!) This past summer we tackled a 2900 metre portage. We packed lightly and were able to carry everything in a single trip. But when they were smaller, I avoided long portages.
When picking a route, I look at official park maps (we camp at Ontario provincial parks), which show canoe routes and portage lengths. Then I look for other maps, online comments and trip logs that give me an idea what a route is like.
Pack for Portaging
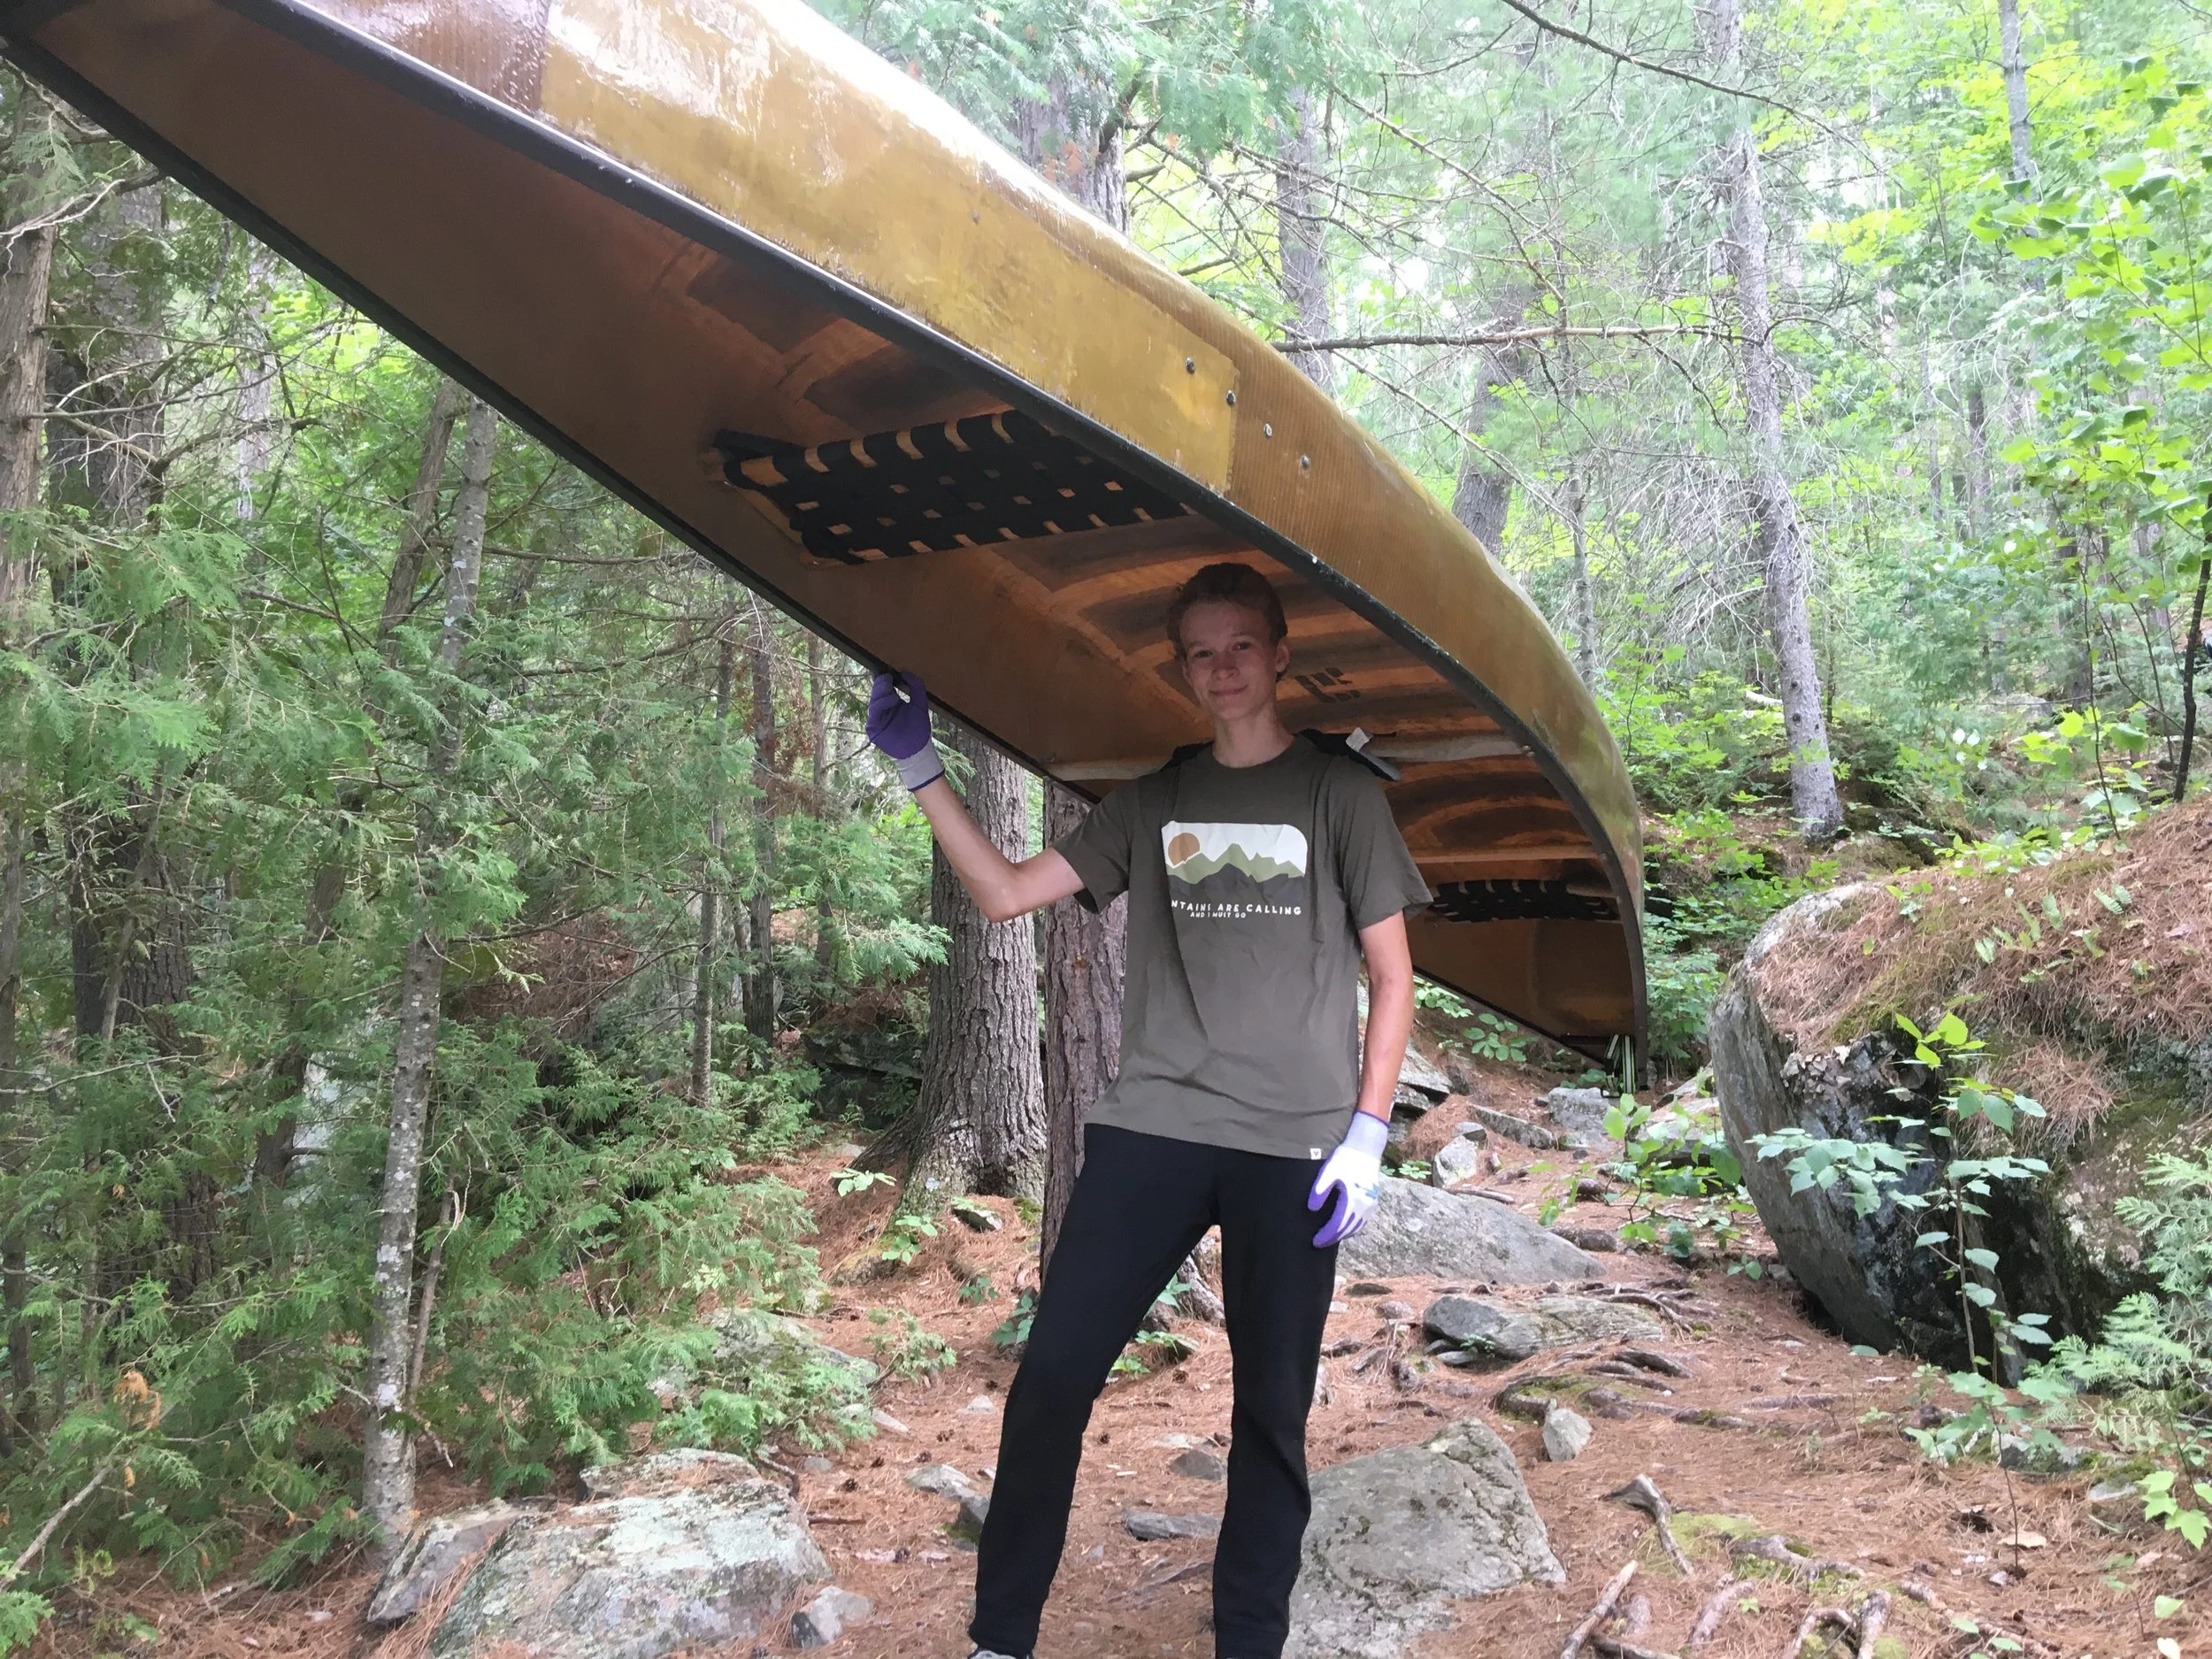
Quinn portaging a canoe. If you’re renting a canoe for the first time, ask about weight and stability. Weight matters at portages.
I remember backcountry trips when I was a poorly equipped and not-so-savvy student. We carried in two-burner camp stoves and bags of fresh produce and meat. It was heavy and bulky. There was no way we could manage a single trip at portages.
There’s a whole world of light gear designed for the back country. Everything from tents, tarps, kitchen and cookware, and sleeping bags. It can get expensive re-equipping yourself if you already have a lot of gear for car camping. We’ve taken a gradual approach and each year get some new light-weight gear. This year it was quick-dry lightweight towels.
Outfitters rent many of the things you need, so there’s no need to buy everything at once.
If you have a lot of heavy gear and are not ready to upgrade, then select your route accordingly, with fewer and shorter portages.
Top Tip When Camping with Kids
A cold kid is a grumpy kid. It’s hard to stay warm when you’re wet. My kids regularly got soakers as they explored the shoreline and looked for snakes and frogs. So the one area where I don’t pack lightly is extra dry clothes and footwear for the kids.
Tips for Kid Safety in the Backcountry
Whistles. When our kids were small we had them wear whistles in case they got separated from us.
Cutting wood. I don’t take an axe back-country with kids. I think teaching kids axe safety is a great idea, but I don’t think back-country is the place to practice. I use a folding saw instead.
Water shoes. Water shoes are a good way to prevent cuts and scrapes. Clam shells can cause big gashes…we know from experience.
Life jackets when swimming. Depending on the age of your kids and their level of swimming, consider having them use life jackets when swimming
Things to Do with Kids Backcountry
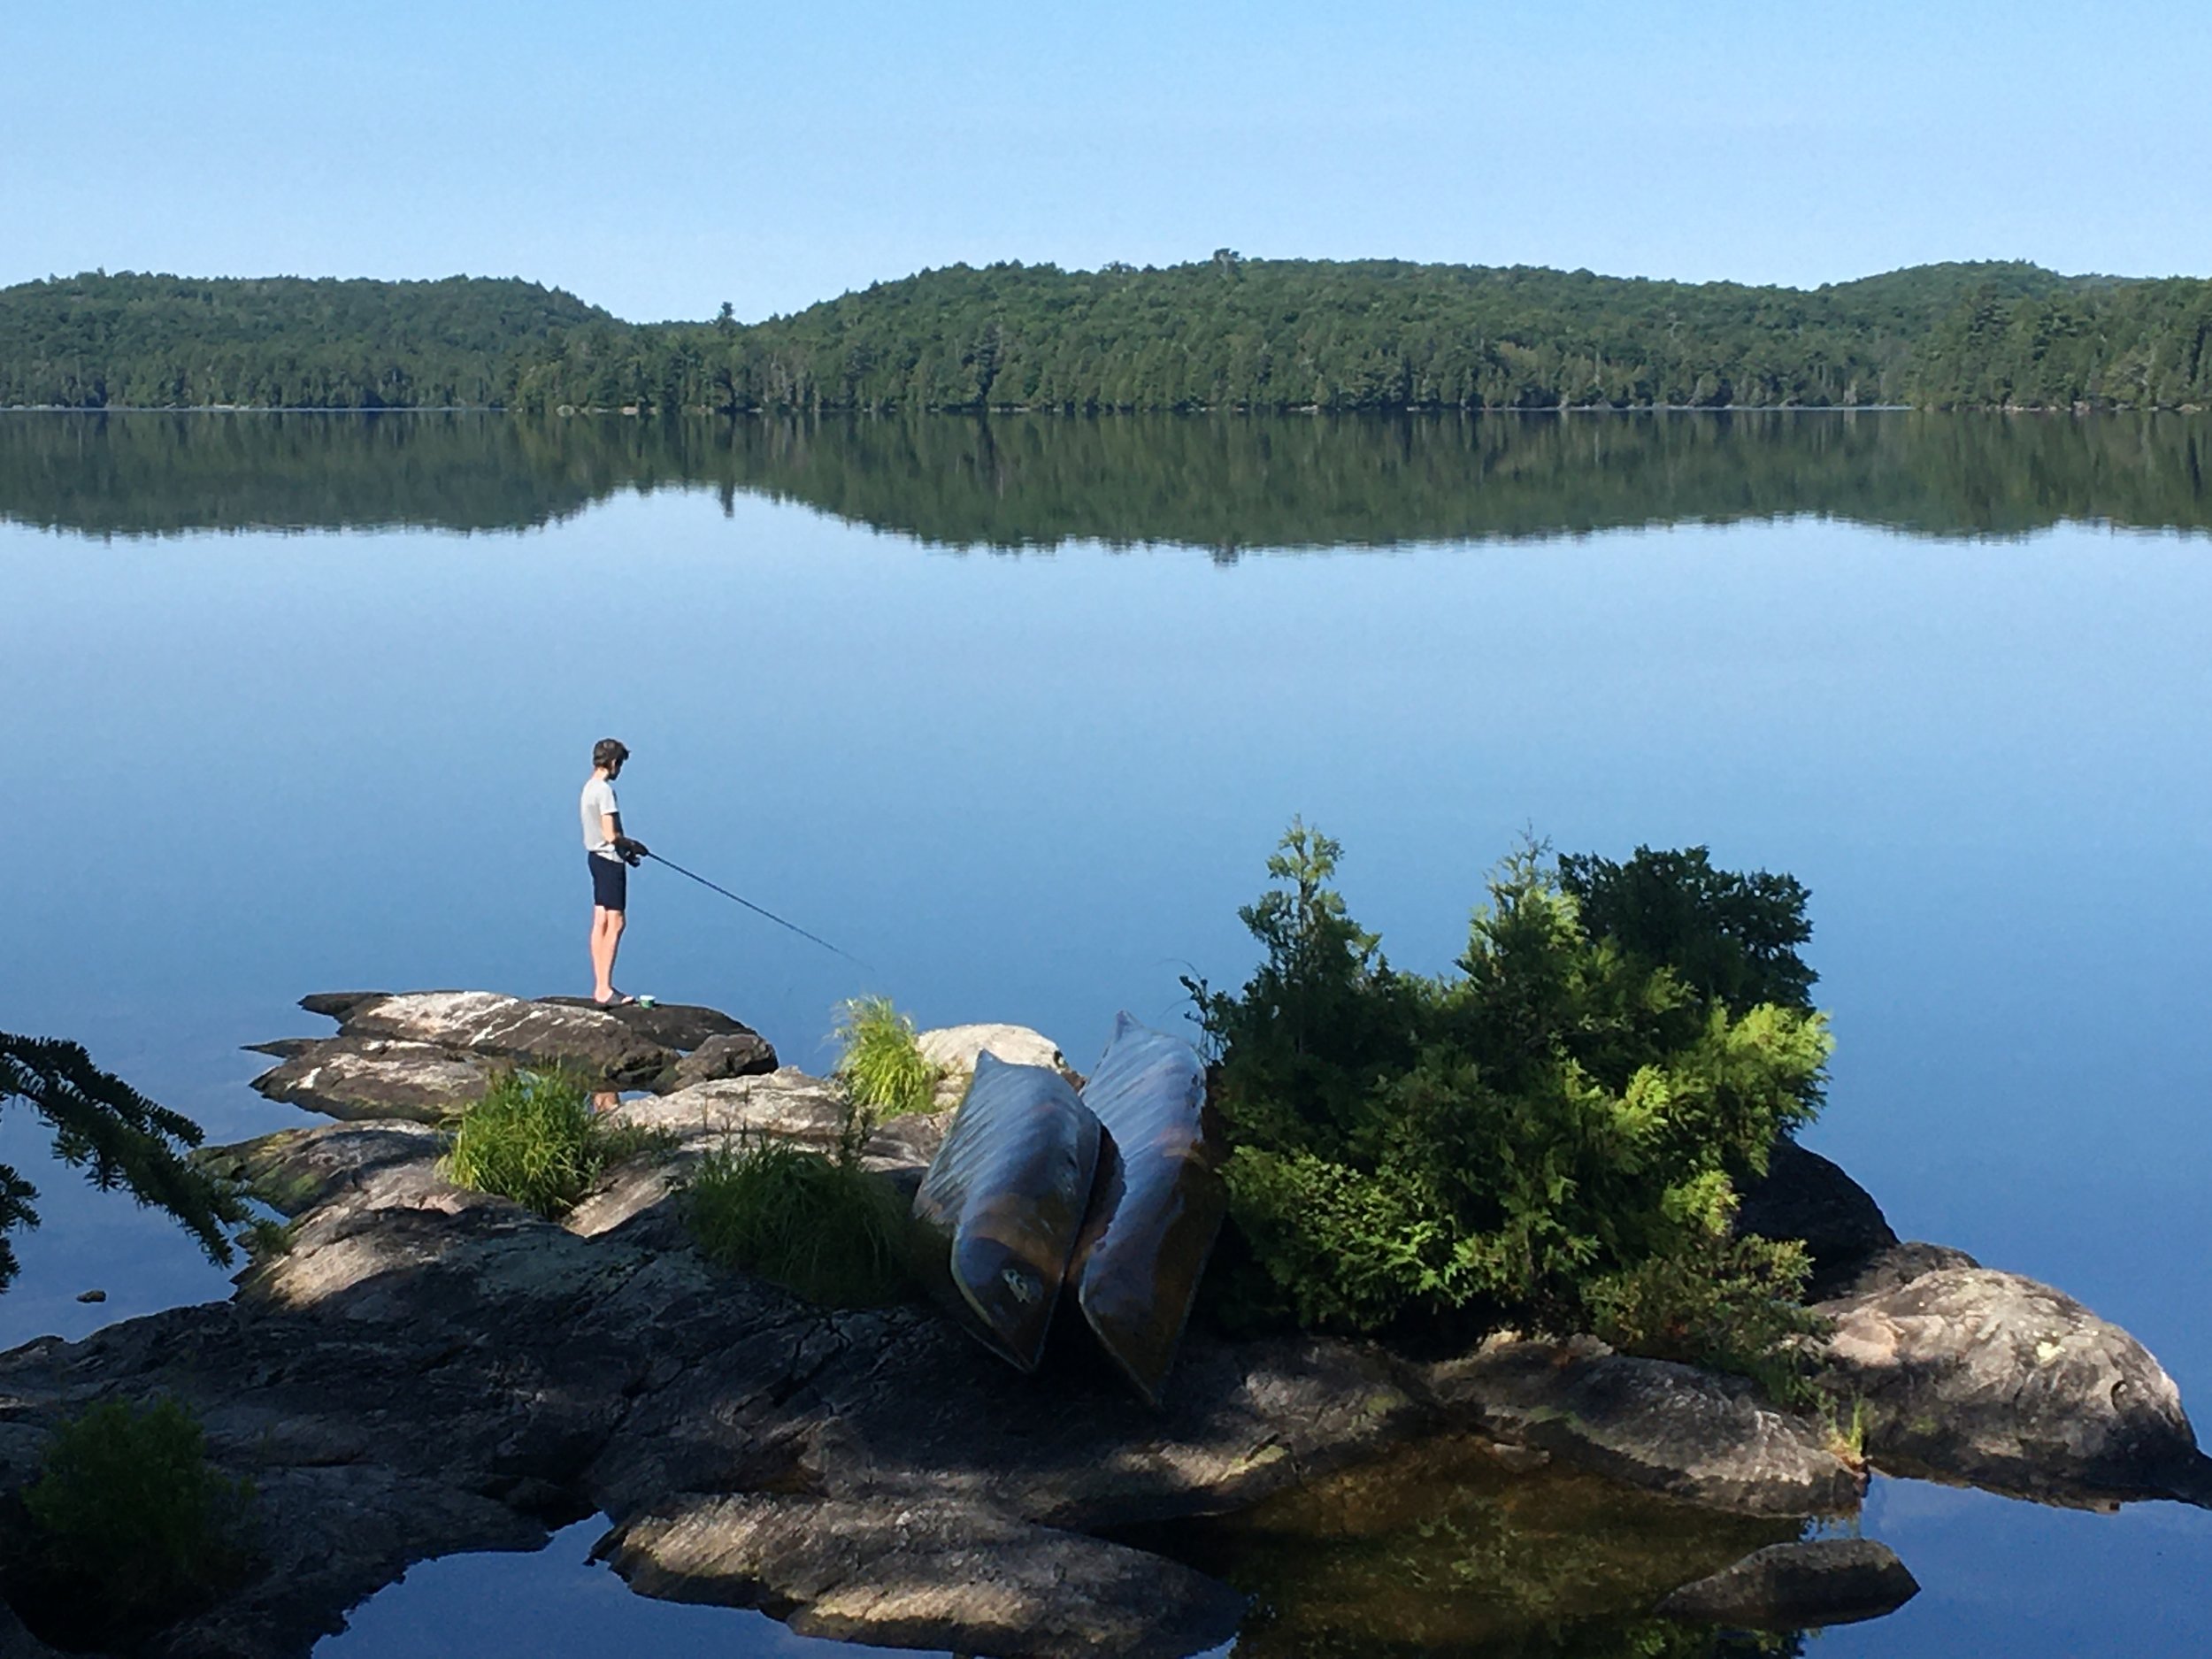
Fish (even if you don’t want to cook fish, catch-and-release can be thrilling for kids)
Swim (Keaton loves exploring underwater and looking for fish and shells)
Hunt for crayfish
Watch for birds (on a recent trip we were treated to pileated woodpeckers – the big ones – hanging out at our campsite, and on another trip we watched a seagull dive-bombing a bald eagle)
Day trip to a portage for a hike
Picnic at another campsite
We also take a portable bocce ball set, cribbage board, a deck of cards, and a small foam football.
Make a Covered Area
Use a tarp to create a covered area at your campsite
We hang a tarp to make a covered area where we stow empty packs (no need to have them clutter up the tent, it’s already small enough.) And it doubles as a covered space if it rains. I can cook under it, and we’ll eat there if needed.
Leave no Trace
Teach your kids to clean up the site when you leave. We’ve arrived at sites where previous campers must have watched too many reality TV survival shows and had hacked down all sorts of trees near the campsite in an attempt to make furniture. Too bad…it takes years to grow back.
Canoe Skills
If you have not canoed before, learn basic canoe skills and safety before taking your kids out on the water. Find a group that provides training in your region. For example, here in Ontario, the Ontario Recreational Canoeing And Kayaking Association has a list of classes.
Renting a Canoe
If you’re renting a canoe for the first time, ask about weight and stability. Weight matters at portages. But if you’re only going across a lake, it doesn’t, and a less expensive, heavier canoe is fine.
Renting canoes is also a good way to test out canoes before buying your own. Over the years we decided we really liked a certain model of canoe. So I bought a couple of them from an outfitter who was selling off used canoes at the end of the season. (There’s no need for pristine canoes when we’re trekking with kids!)
Bear Safety and Hanging Food
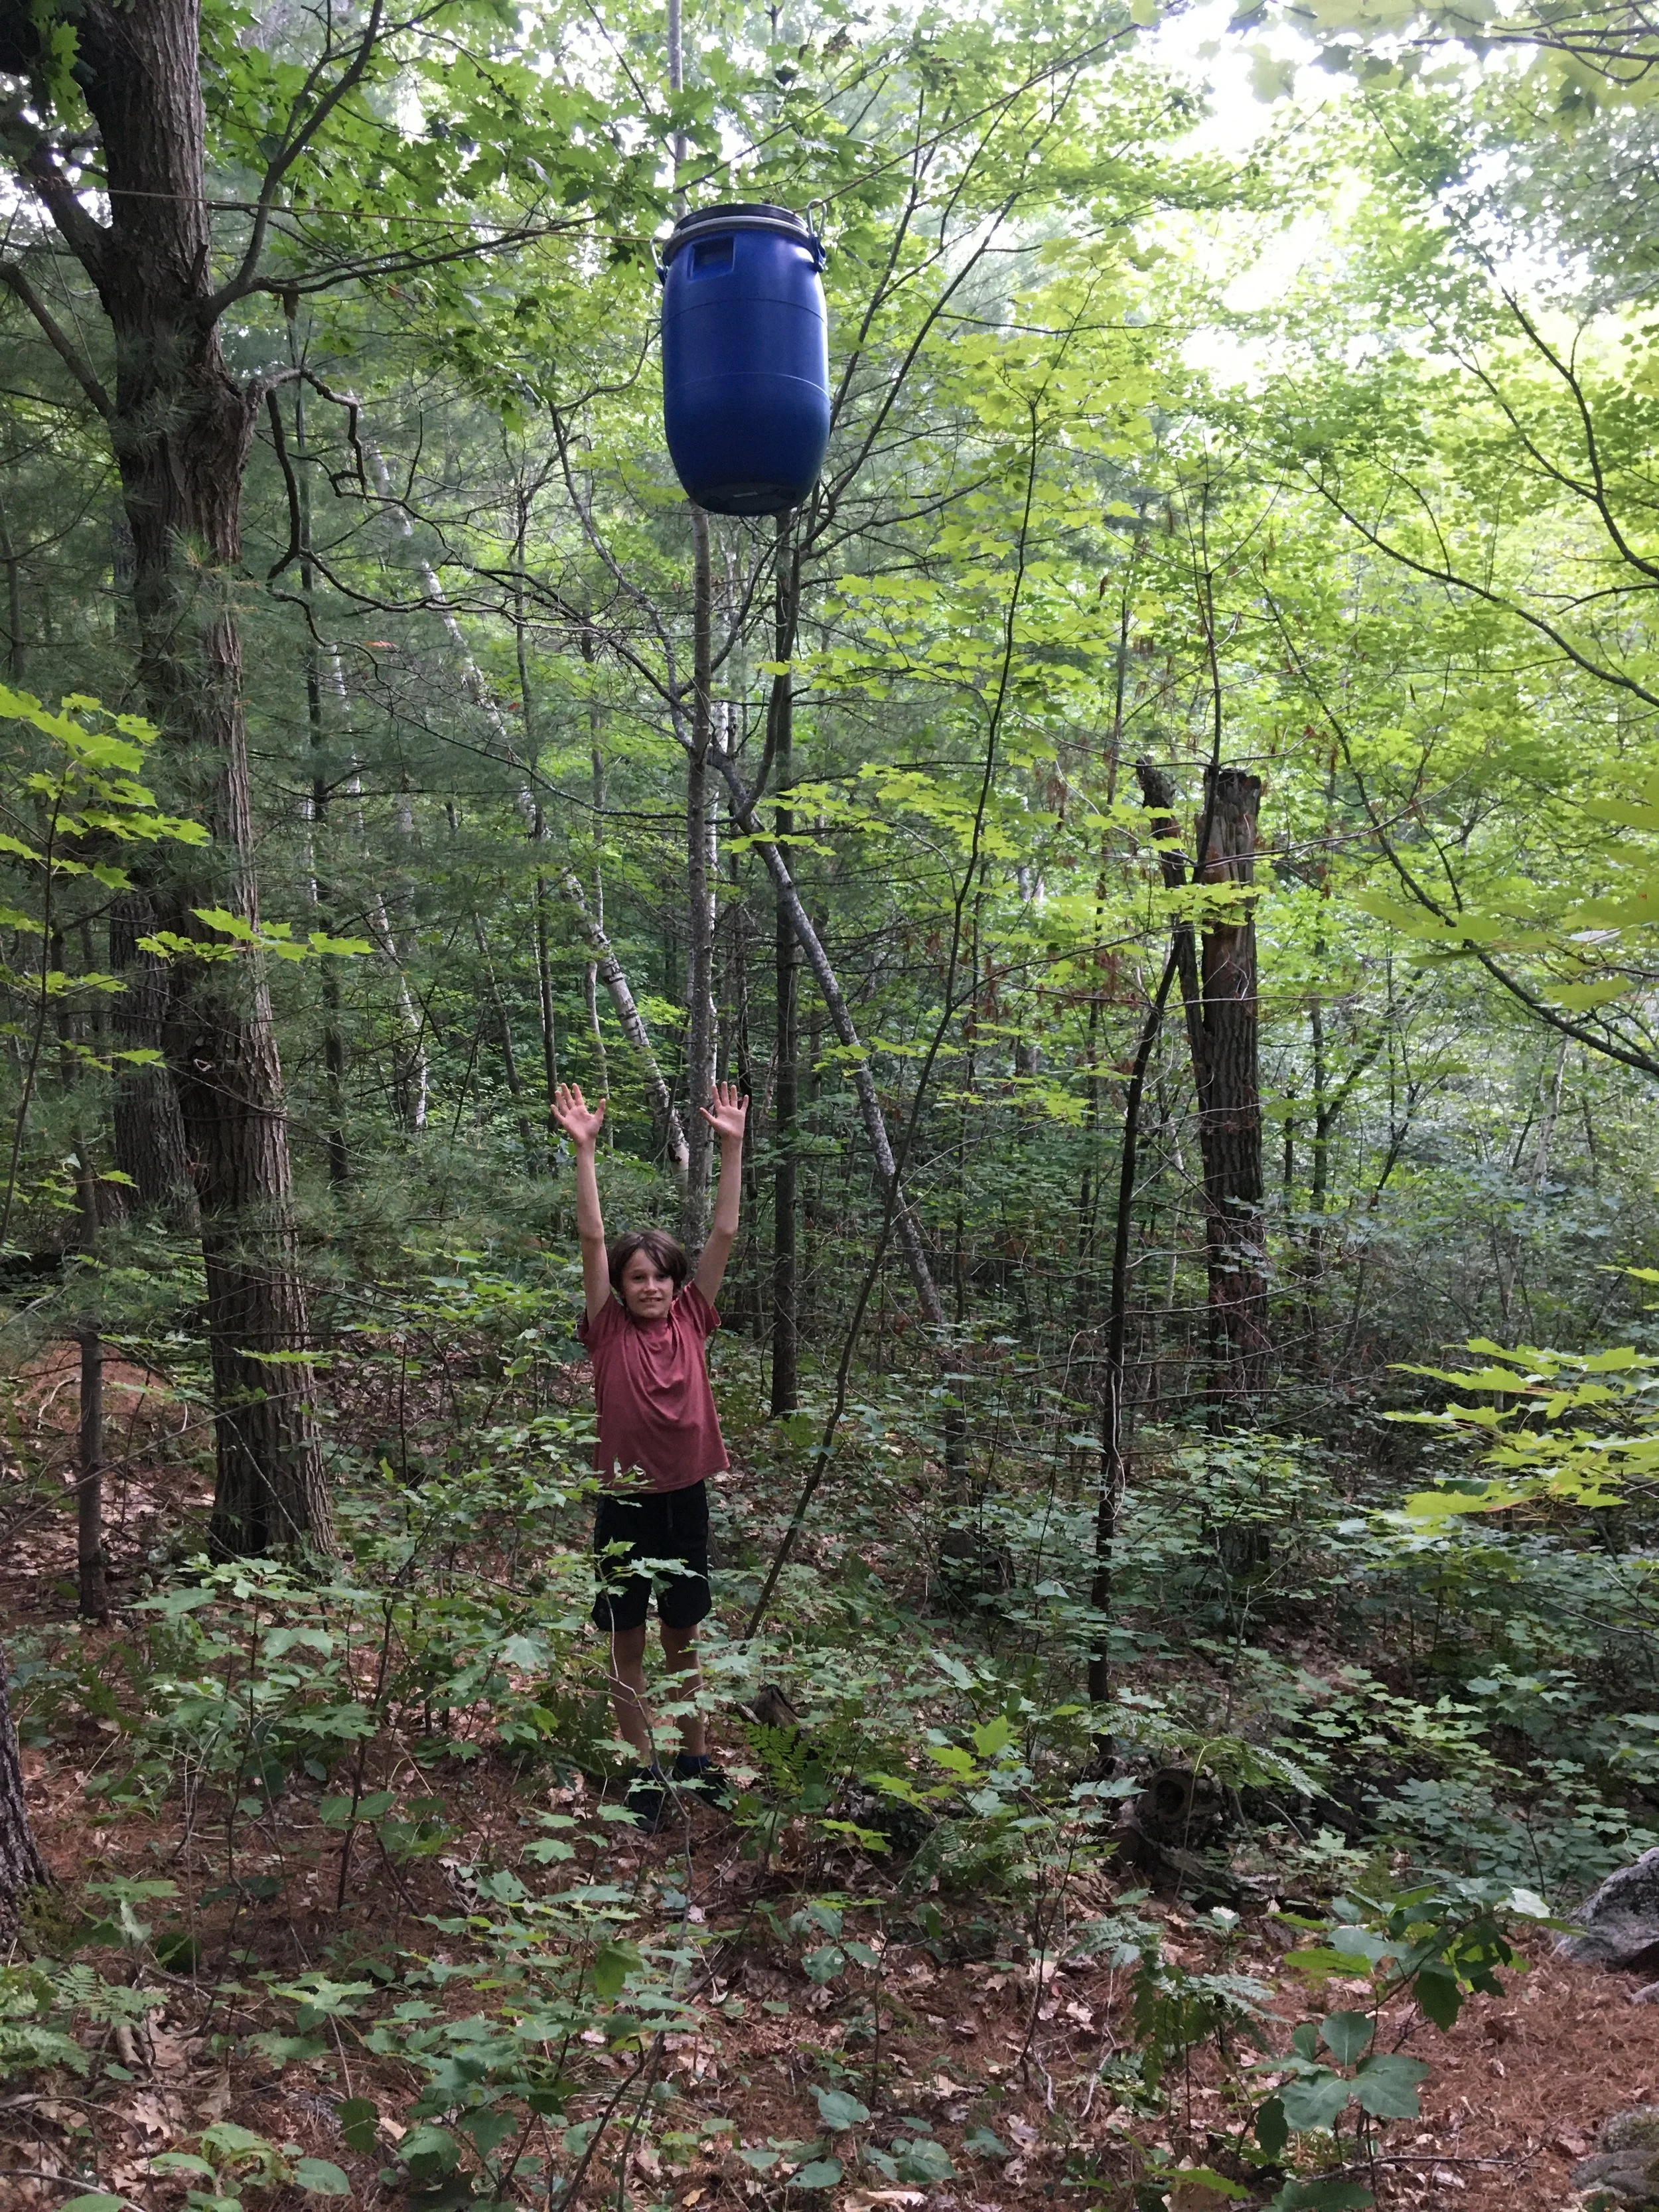
Keaton and I hang the food barrel between two trees.
We camp in black-bear country. There’s nothing to fear, but take bear avoidance seriously. We’ve seen bears at a distance while hiking. But have never had one in our campsite.
3 Tips to Avoid Attracting Bears
We keep our food in a food barrel, which we hang above the ground when we’re not using it
We burn food scraps and garbage with food odours in the campfire
No foods or scented items (e.g. cosmetics, candy, gum) in the tent. Ever.
I hang the food barrel between two trees. Here’s what I’ve found is easiest:
Pick a couple of trees that are upwards of 30 metres apart
I use two ropes
I throw a rope over a high branch on each of the trees (tie a rock to the end of the rope so it’s easier to throw it upwards)
When the ropes are in place, I tie off one end at the base of the tree, and then I connect the two ropes in between the two trees using a small metal pulley attached to the end of one of the ropes (you’ll find pulleys at any hardware store)
When it’s time to hoist up the food barrel, we clip the barrel to the rope with carabiners
Then we pull tight on the rope that goes through the pulley, until the barrel is high off the ground
Then we tie off the rope on a tree.
Packing List for Family Backcountry Camping
Not sure what to bring on a backcountry camping trip? I have a spreadsheet with my must-have backcountry camping gear. Why recreate the wheel every time we camp! Use the items below to make your own list.
For the Canoe Travel
We keep our map, along with phones, wallets, and keys in a sealable waterproof pouch that’s attached to the canoe.
Take extra rope. It’s useful to secure tarps, dry clothes, or tie canoes.
Waterproof bags (dry bags) and knapsacks
Sunglasses
Water bottle
Snacks for kids
Map
Insect repellent
Camping permit
Fishing licence
Shelter
Tent and tent pegs
Ground sheet to go under the tent
Sleeping bag
Sleeping bag liners (useful in the shoulder seasons when there might be an unexpectedly cool night)
Sleeping pads
Camping pillows
Campsite Stuff
Headlamps, lanterns, flashlights
Tarp
Rope for hanging your food, hanging tarps, and a clothesline…and extra rope, just in case
Saw for cutting firewood (see below: I do not take an axe or hatchet backcountry)
Your Camp Kitchen
This is a backcountry site with a nice fire pit, and chairs and tables the previous campers have made out of rocks.
Some of the parks we’ve stayed at have picnic tables at backcountry sites. Many don’t. We always find fire grates at the sites we go to, so I never bring one. But nonetheless, all my meals are planned to be cooked on our stove.
Water purification tables or reverse osmosis water filter
Stove and fuel (I use a small single-burner stove)
Matches, lighter
Utensils for eating and cooking
Filleting knife if you’re fishing
Plates, bowls, cups, mugs, cutlery (plastic sporks are light)
Cookware (If you want something compact, look for sets of pots that nest one within another)
Pot grabber
Collapsible basin for washing dishes (don’t wash dishes in the lake!)
Biodegradable dish soap
Cutting board if you might fillet a fish
Vessel or jug for treated water
Wash cloth and dish towel
Garbage bags
Optional Stuff for the Perfectionist
Small broom and dustpan for the tent
Things to Keep Everyone Busy
Fishing gear
Swimming goggles
Notebook and pen
Camera
Binoculars
Field guides (flowers, insects)
Books
Play stuff (cards, ball, games)
Clothing
We wear synthetic moisture-wicking fabrics because cotton takes a long time to dry out if it gets wet. Take extra clothing when camping with kids. I take two sets for myself and wash the set I’m not wearing…but I take multiple sets for the kids. Even when the weather is warm, you might want to pack long-sleeve shirts for bugs and sun protection on the water.
Underclothes
Shirts (long and short sleeve)
Pants and shorts
Sweater
Hat
Rain gear
Boots or shoes that are good for rough terrain
Close-toed waterproof footwear for getting in and out of canoe
Water shoes
Sleepwear for those who get cold at night
Swimwear
Personal Care
Toilet paper
Toothbrush and toothpaste
Hand sanitizer
First-aid supplies
Sunscreen
Sunglasses
Insect repellent
Glasses (on a recent trip I brought a book I was eager to read…and forgot my reading glasses)
For the Unplanned
First aid kit
Duct tape*
Fire starter (good to have on hand in wet weather when there is less dry material for starting fires.)
A second set of waterproof matches
Extra batteries
*If you’re wondering about the duct tape, it’s a quick and easy way to patch a canoe. It’s also useful when your tent poles break. I was backcountry with the kids once when one of a fibreglass tent pole split lengthwise. Duct tape saved us.
Glamping Checklist
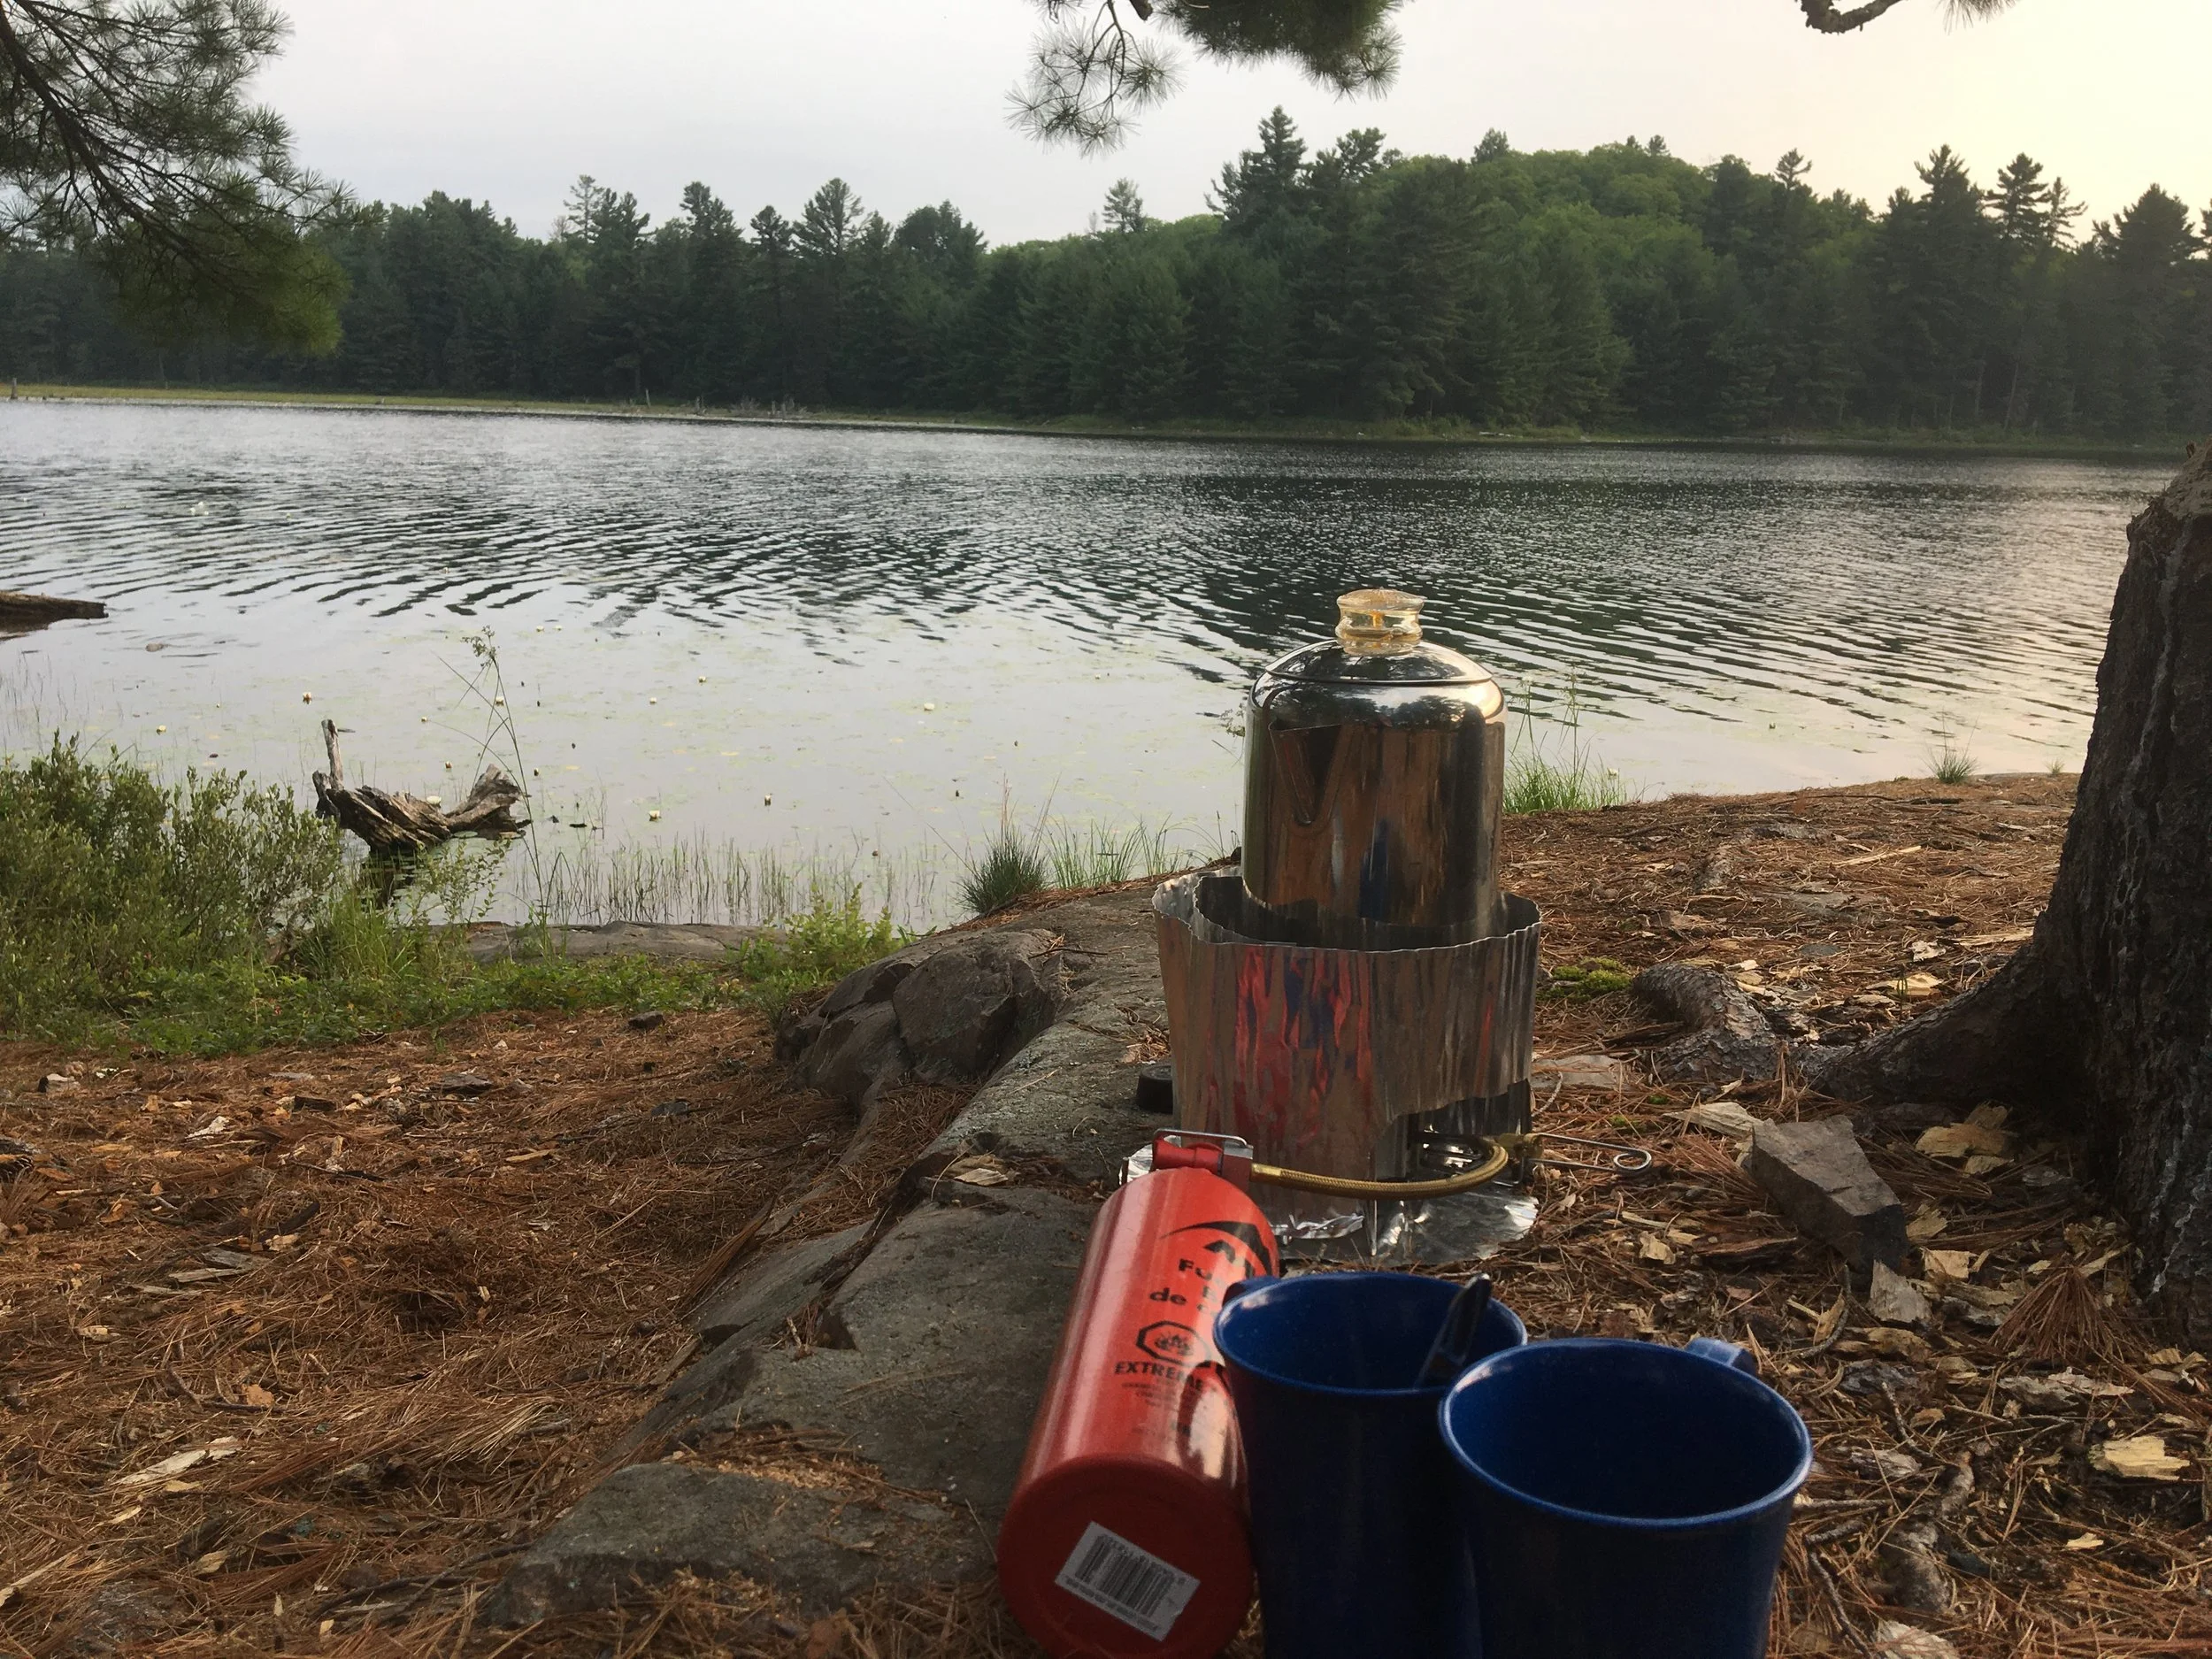
The coffee percolator.
On our trips we’ve met some amazing campers with top-notch gear that they pack lightly and efficiently. I really admire that. But our family trips are not marathons, so we often pack a couple of heavier items.
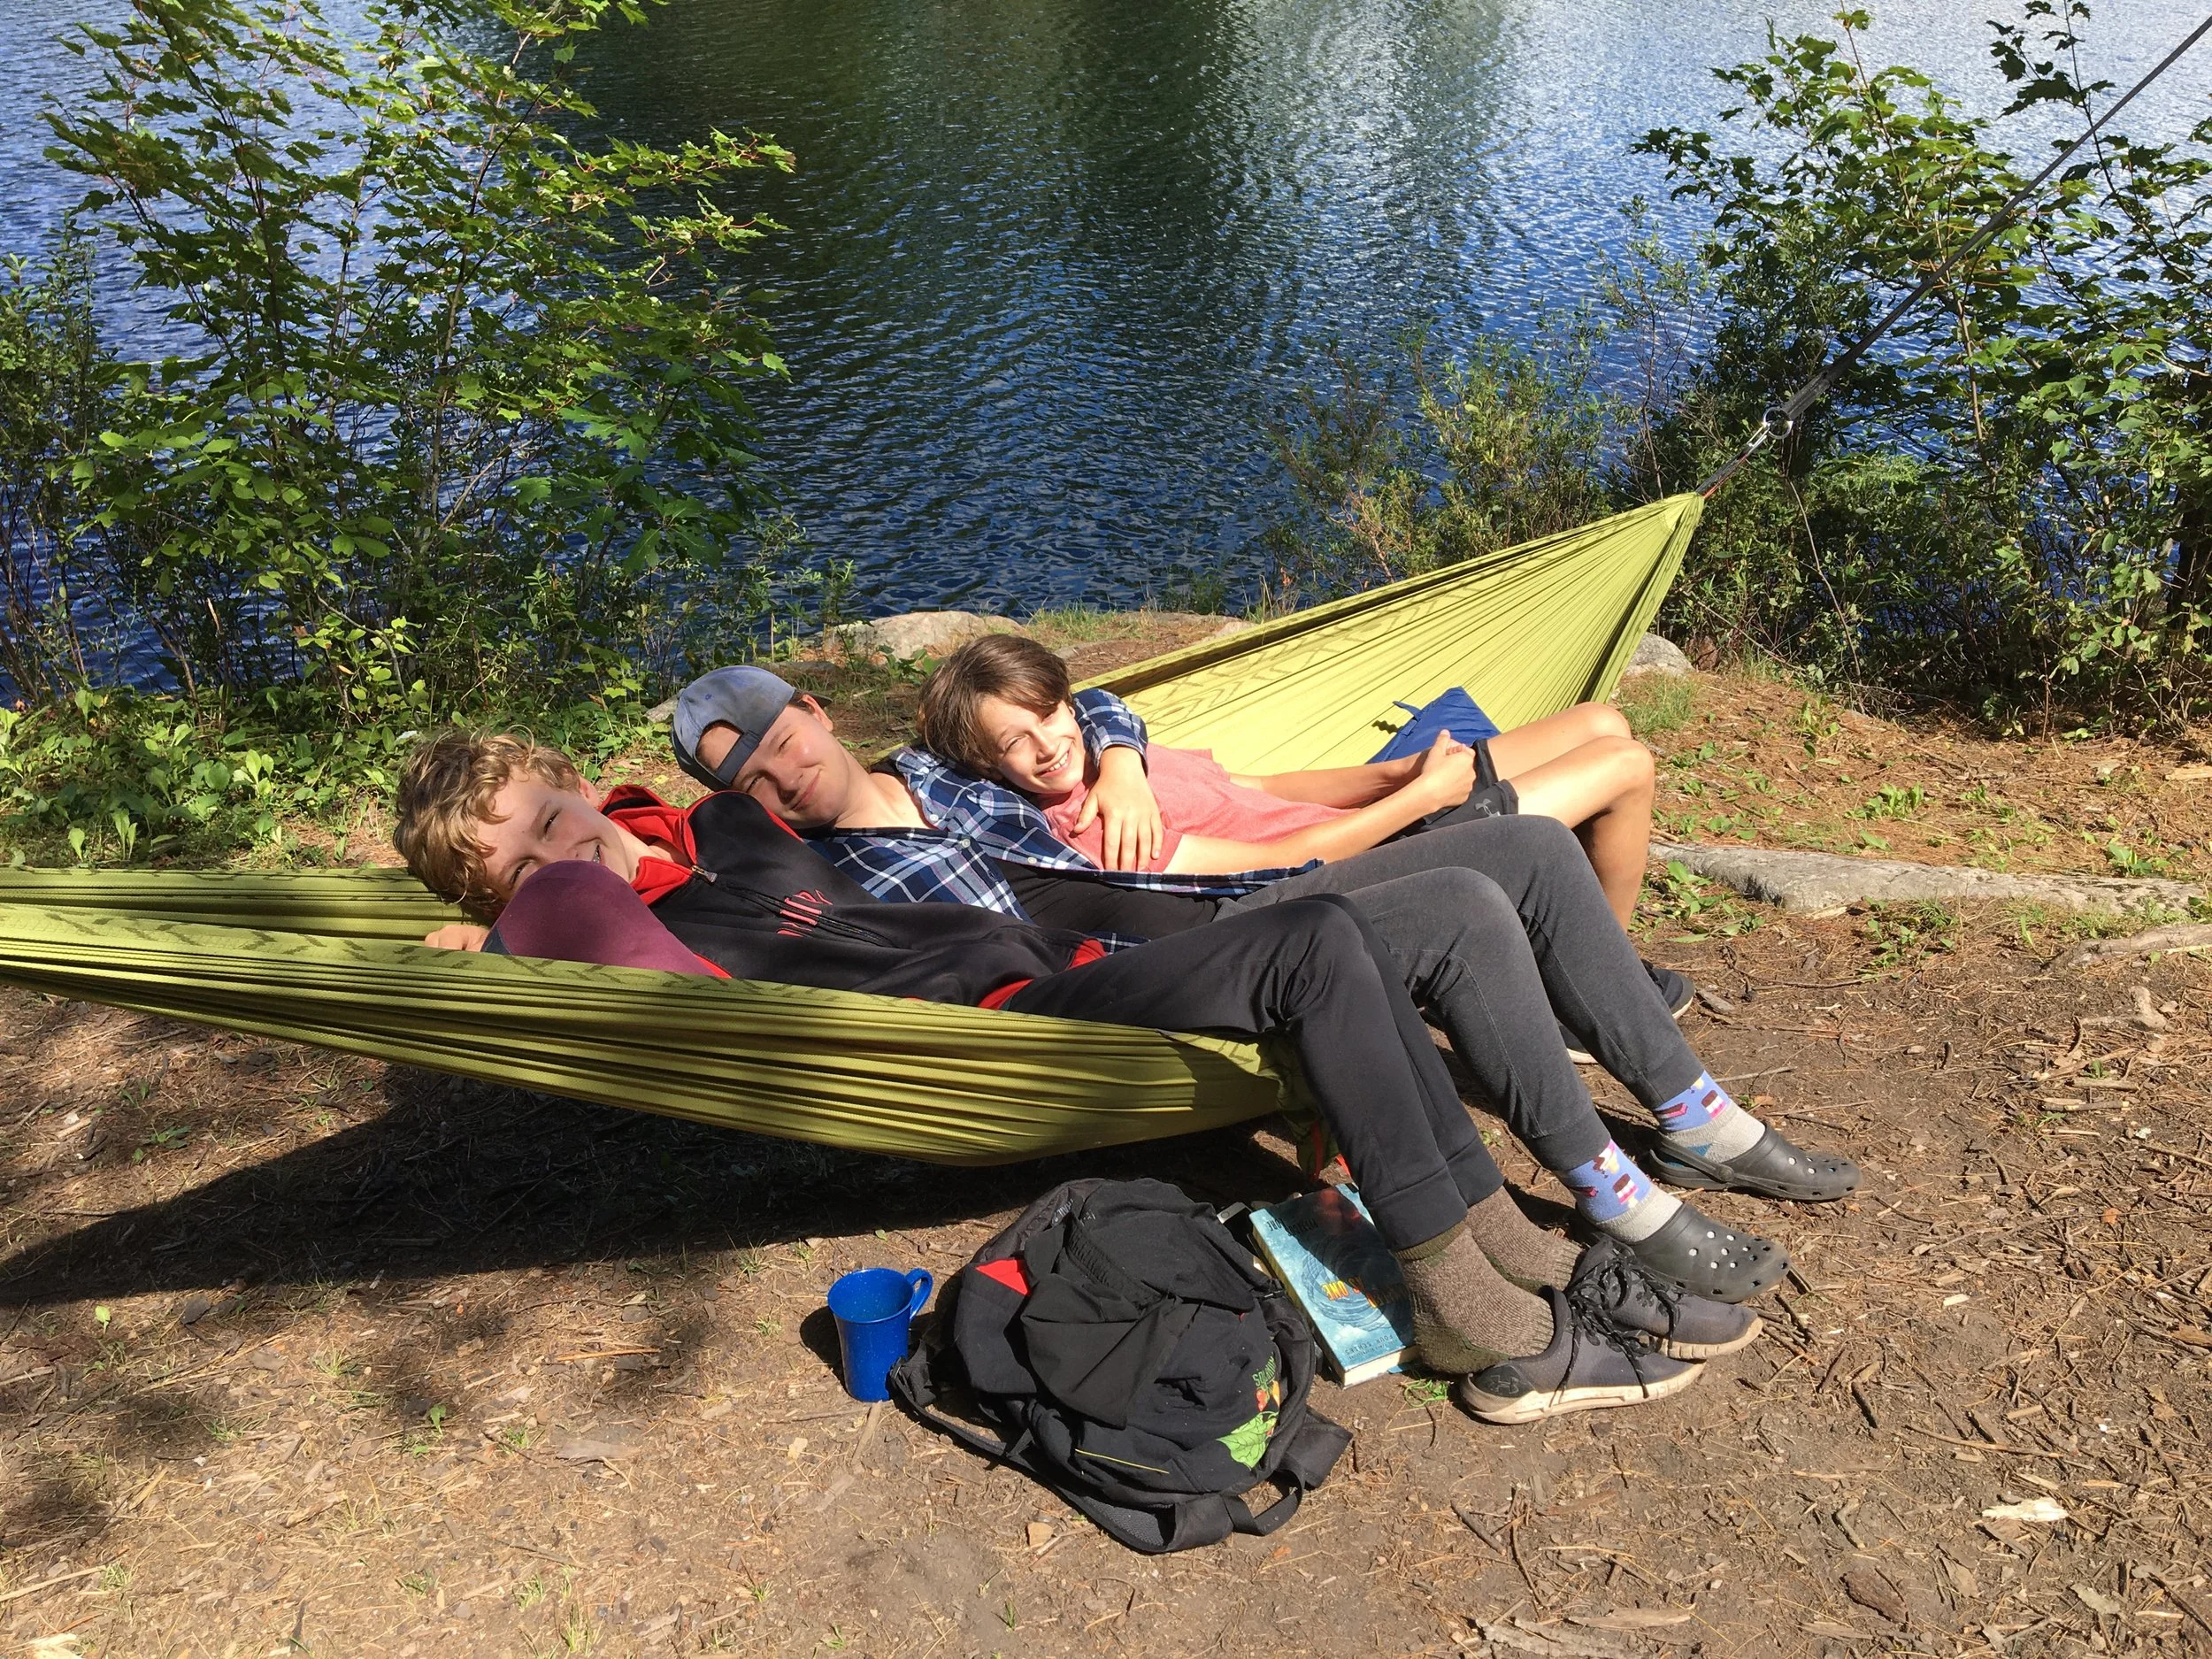
Hammock (OK, confession, on the last trip we had 4 hammocks because everyone argues over them!)
Camp stools (Because I’m the one cooking and spending a lot of time at the stove, I pack myself a small folding stool. Some sites have great benches or chairs that people have made from rocks…others don’t)
Camp table (if no picnic table)
Coffee percolator (I’m fine with instant coffee when I camp, but my wife Shelley really enjoys perked coffee, so when she’s on a trip with us the percolator comes along too.)
Want More Ideas for Outdoor Family Fun?
Garden Career Pivot
Thinking about a career in horticulture? Here’s more about the path I’ve taken.
By Steven Biggs
Working in Horticulture
I’ve had a number of readers and students ask about working in horticulture. Some are ready for a career change. Some are thinking about schooling.
But for me, working in horticulture involves going beyond working with plants and soil. It also include the internet and a way of expanding what I can earn in the field of horticulture. Read on to discover what I mean.
(And, yes, snails fit into my own story, as you’ll see below.)
The Great Snail Race
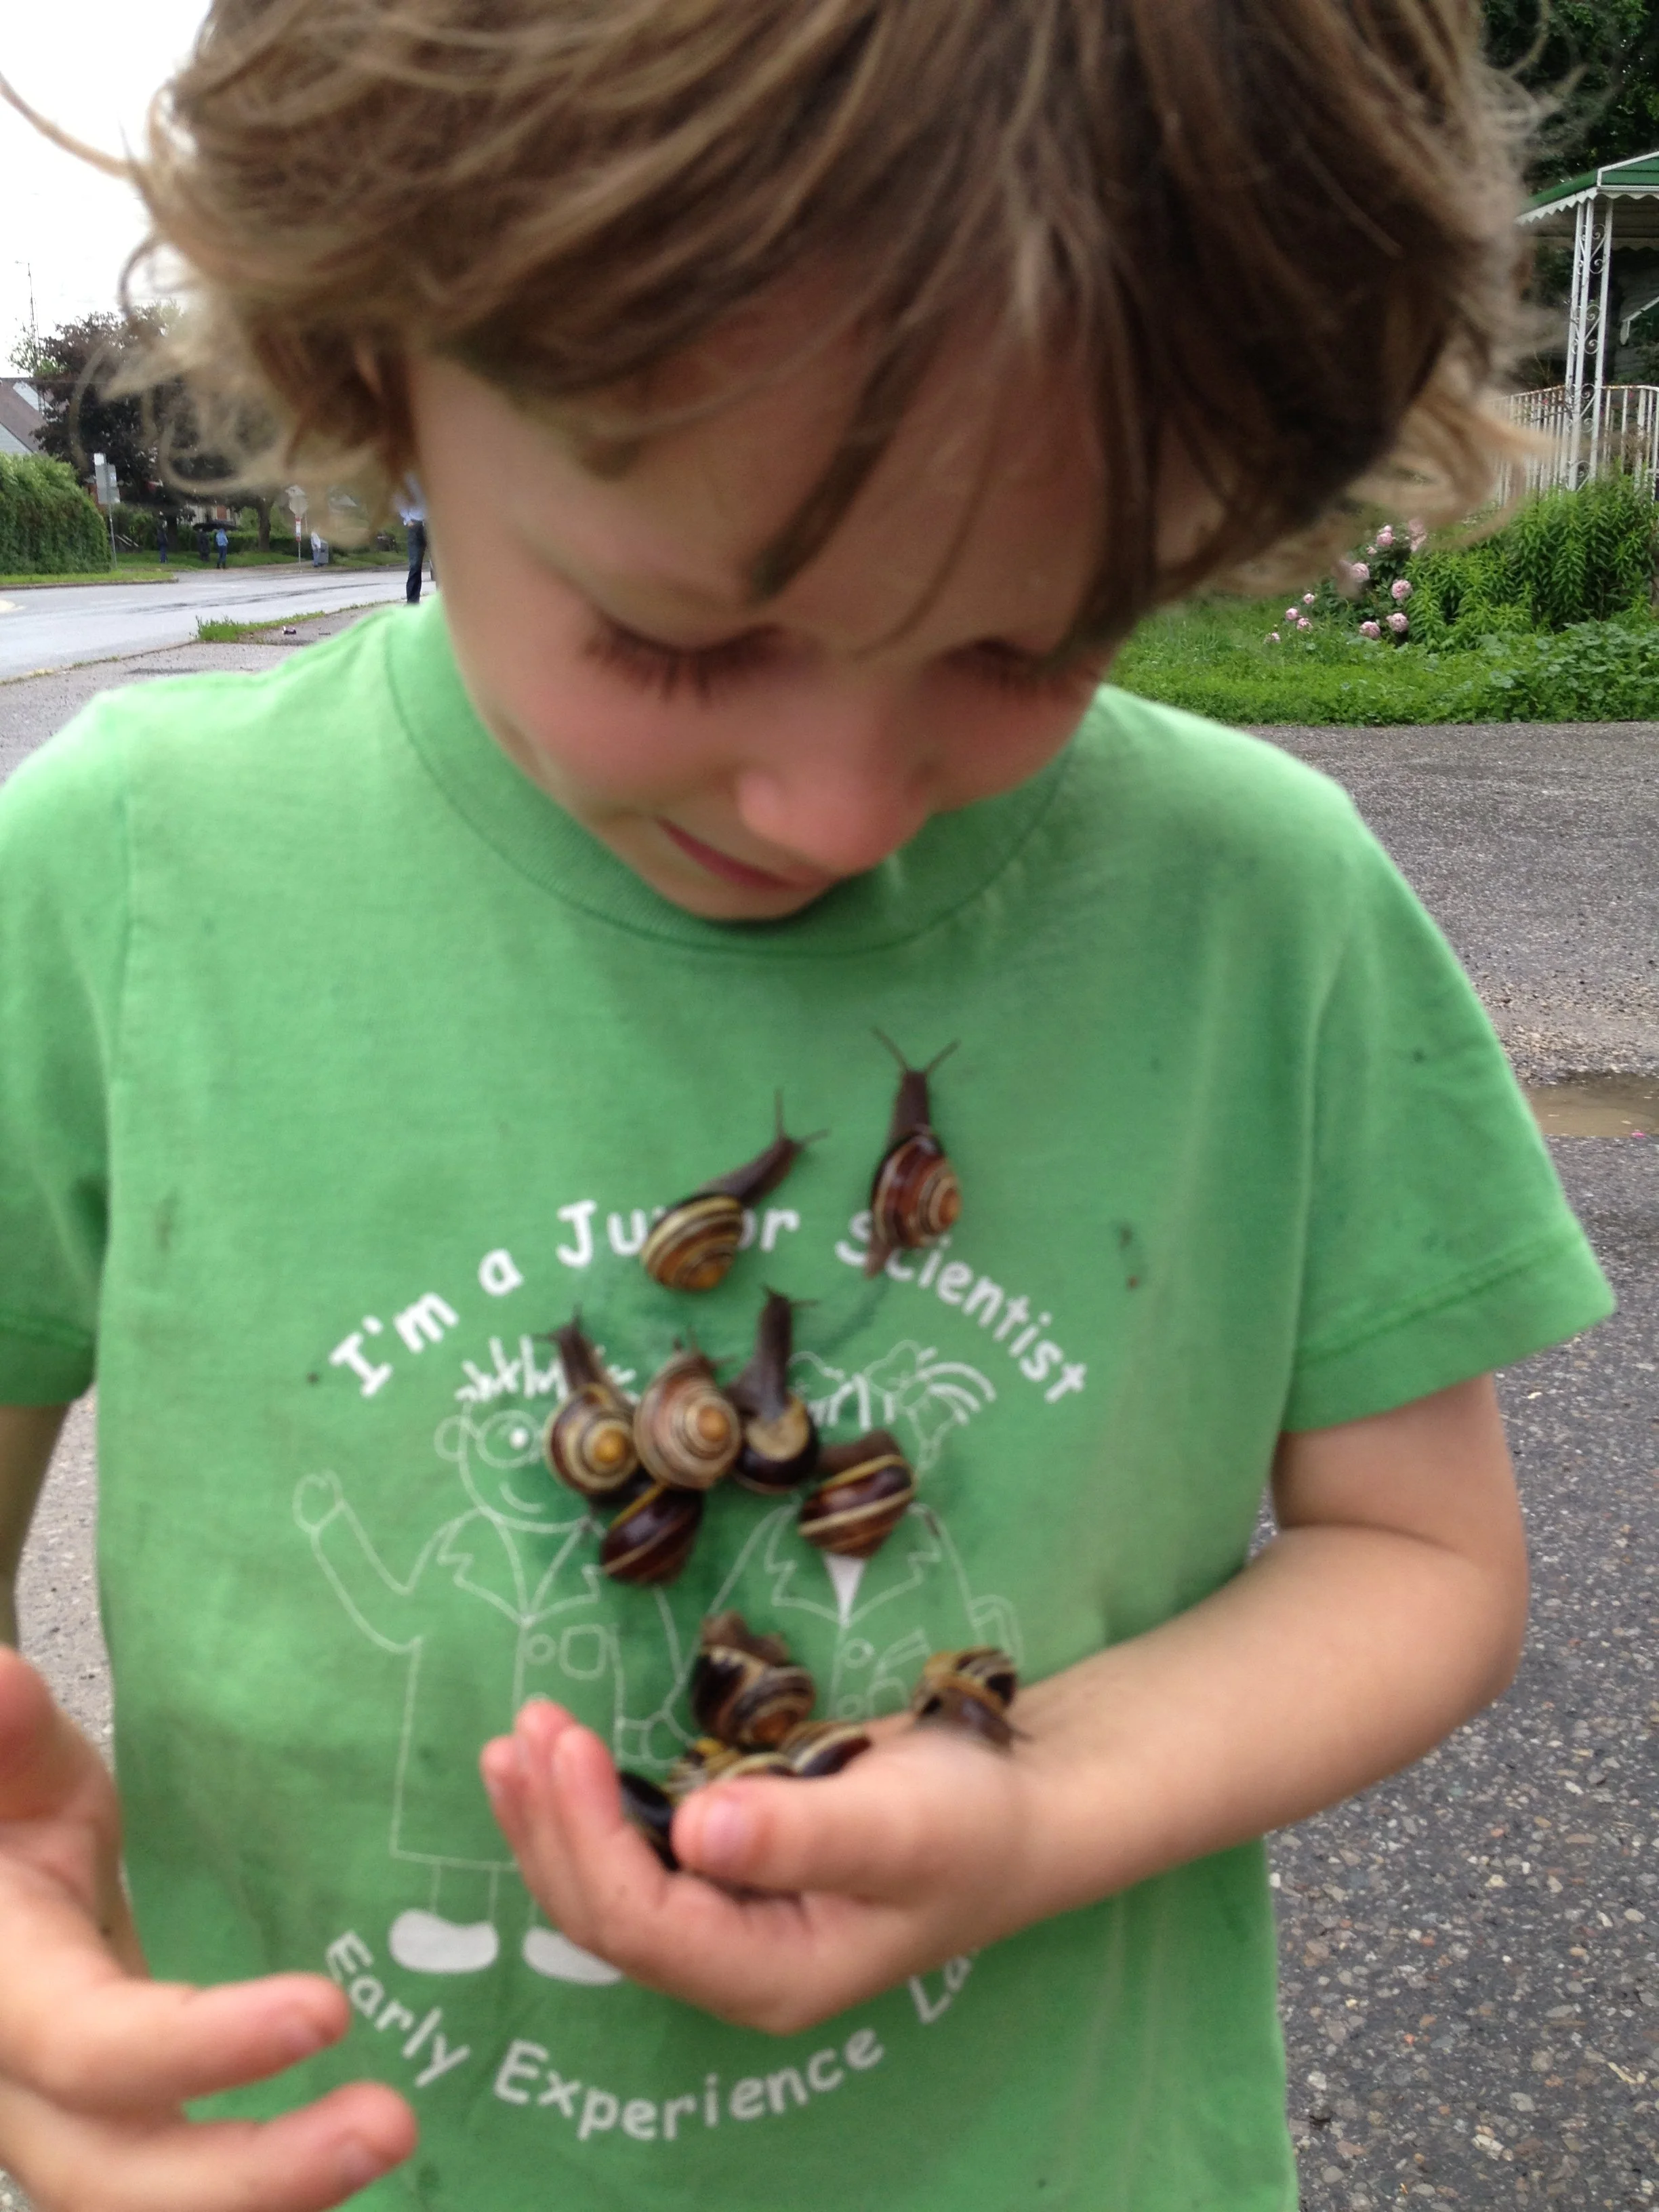
“There is a whole big family of snails I was just getting,” Keaton told me matter-of-factly.
He looked down at them as they moved from his cupped hand onto his shirt. The most daring of the snails was already halfway up his shirt.
But the adventures of the snail family didn’t end with the trek up Keaton’s shirt.
That slow climb up the shirt was just the beginning.
Keaton and the snails.
Next, the snail family sailed across a big puddle on our driveway, on a barely seaworthy scrap of wood. And once they’d sailed to the far side of the puddle, the adventures continued on the slide…with a snail race.
From Rat Race to Snail Race
I cherish that memory. It was a wet walk home from the schoolyard as Keaton collected all those snails.
At the time, my day revolved around walks to and from school. Morning drop-off. Midday drop-off. Afternoon pickup.
It wasn’t all snail races. I was at my desk working before the kids woke up. And between drop-off and pickup I’d snatch moments at my desk whenever I could.
The routine wasn’t something I imagined when I was at my previous job.
The routine was the result of an unwise (but fortunate) decision. I’ll tell you more about that decision in a moment.
But as a result of that decision I was out of the rat race. I was no longer a stressed-out commuter. I enjoyed small pleasures like snail races. And after wanting to quit the city, I was really enjoying city life.
I Started My Garden Work as an Imposter (At Least I Felt Like It)
It was 2006.
Even though the rat race was in the rear-view mirror, I hadn’t quite found myself. At least, I hadn’t convinced myself.
Asked about my profession, I’d hesitatingly respond, “garden and farm writer.” In hindsight, there was no need to hesitate.
My experience checked the right boxes:
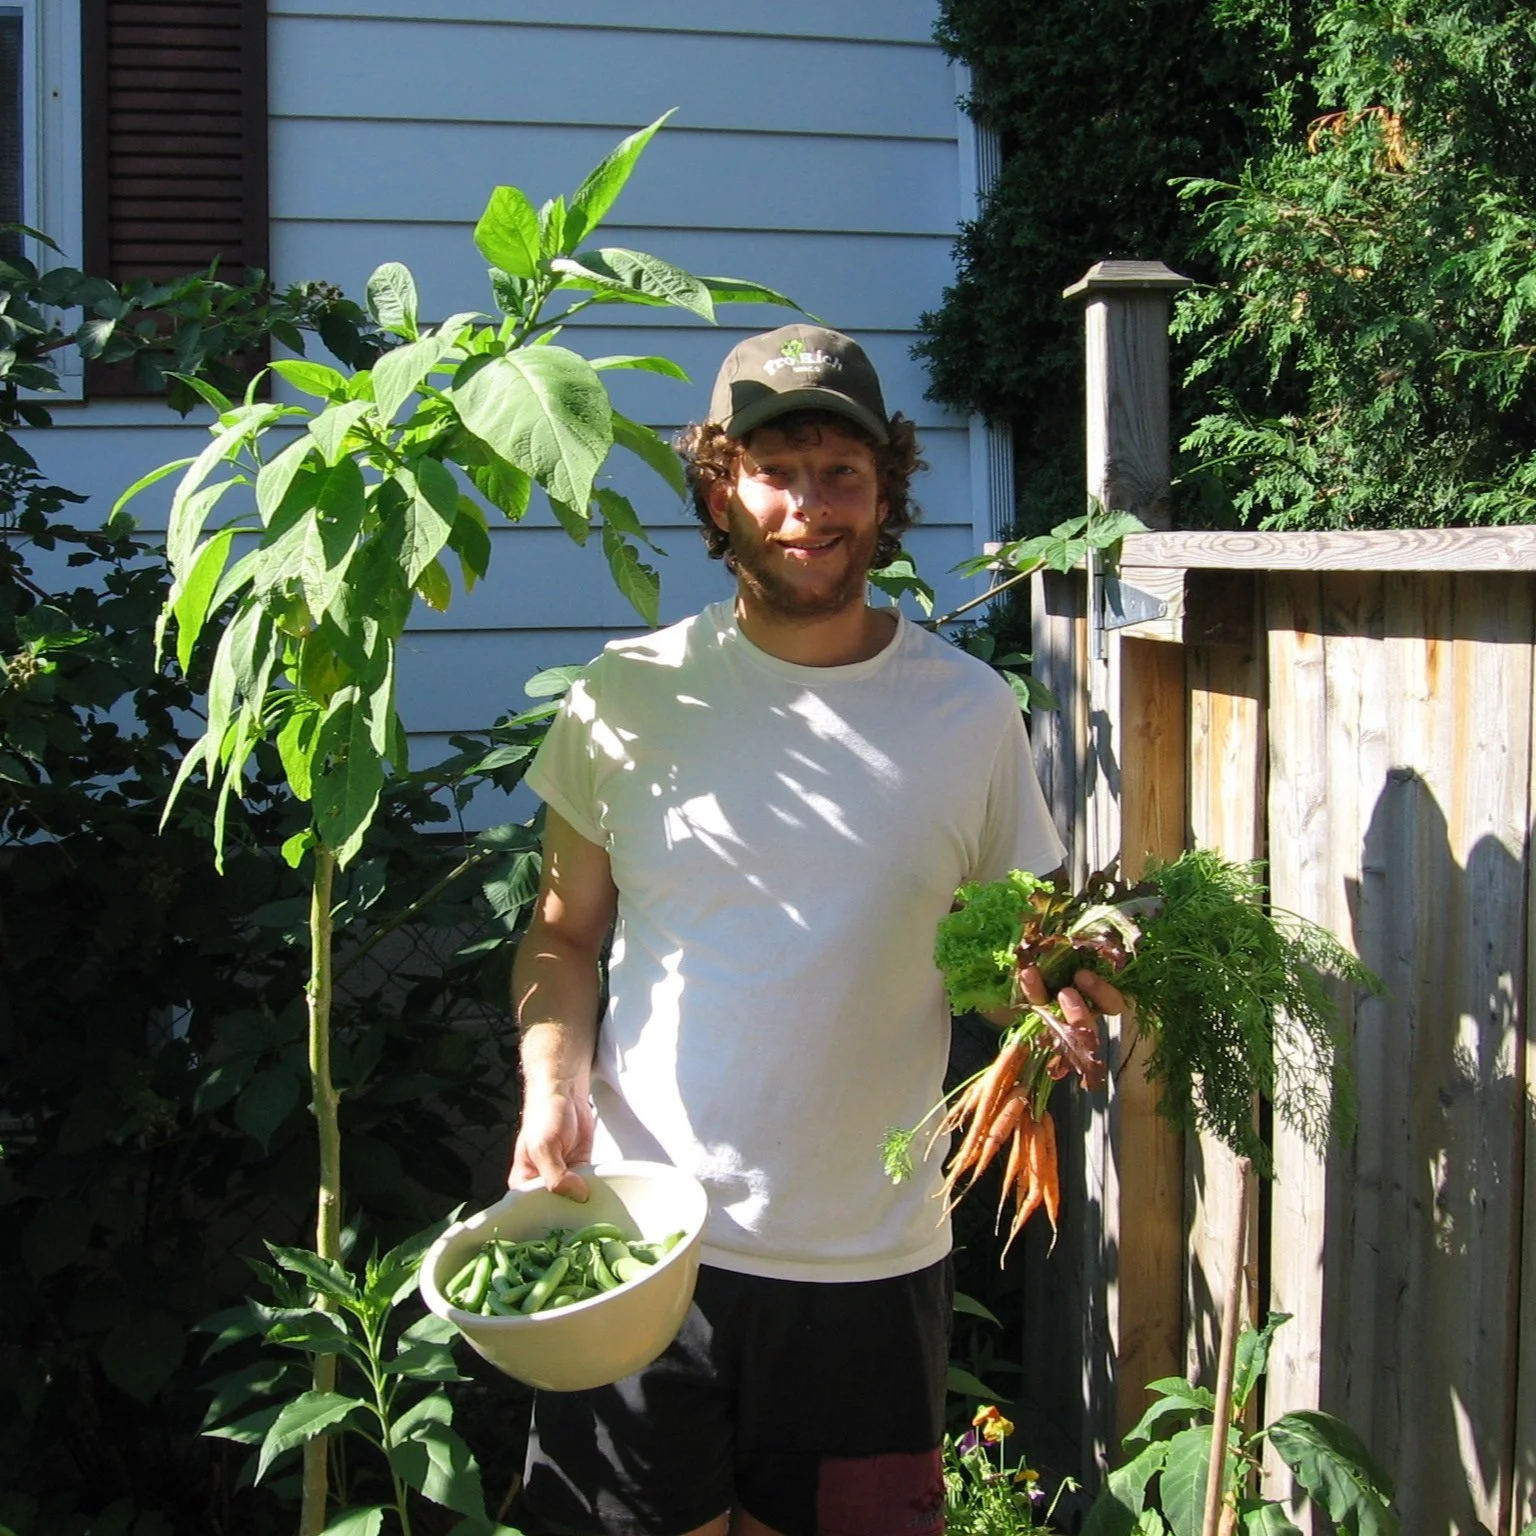
I’d been a gardener since I was a kid. As a teen had my own gardening business. As a student I got a degree in agriculture and went straight into the horticulture industry. Check.
And in all of the jobs I’d had along the way, I’d been the person who would put together disparate bits of information into written guides and lists. I get a kick out of sorting and packaging information. Check.
Today
Keaton holding a copy of my first book, No Guff Vegetable Gardening.
My gig today is garden communications. I juggle a few things that relate to gardening and communications. I work as a college instructor, broadcaster, speaker, and writer.
I’ve been honoured to get recognition for my magazine articles, books, and broadcasting. And I was recognized as one of the “green gang” of Canadians making a difference in horticulture.
Most important for me is the flexibility. Almost all of what I do is online. That means I camp with my kids in the summer. If I want to go ice fishing for a day in winter, it’s my call. I can’t not work—but I can weave work around other important parts of my life.
Thinking of a Change?
There’s a need for people in the horticultural industry.
If you’re looking for horticultural work, here are just a few of the roles you can consider:
Landscaping
Landscape design
Greenhouse technician
Retail
Wholesale supplies
Research
Consulting
Here’s a neat apprenticeship option here in Ontario.
Want to grow food? Here’s a neat program near Toronto.
Deciding Who’s the Boss
A lot of people like being an employee: It gives structure and security.
There’s also the option of creating your own work. It’s the path that I followed.
And that brings me back to my unwise decision—the one I mentioned earlier.
How an Unwise Decision Turned Me Into a Garden Writer
My unwise decision was a career change. But I made it for a good reason: Balance.
I was aiming for more family time and less commuting time. To change the balance in my life, I left a job in agricultural marketing to work as a recruiter.
Why as a recruiter?
For no other reason than the office was a bicycle ride from my place. I wanted to be closer to home.
I figured that because I was good at working phones I would be fine in this phone-based work. But there was a problem: I was not good at it…
Months passed. I was still not good at it. Meanwhile, my wife Shelley was just about to wrap up maternity leave, and we weren’t excited about the prospect of daycare. Plus I needed to help my parents more.
It was a collision of life events—not any foresight on my part—that got me to take the leap. The leap from employee to self-employed.
One other thing really helped. An internet connection.
An Internet Connection can be a Gateway
Connecting with work on the internet is easier now than when I started. (I took an HTML coding lesson so I could manage my first website!) Things are much more user-friendly now.
But even though it’s more user friendly, an internet connection or a website or a social media following isn’t a guaranteed income. It’s just a gateway to other people.
So if you’re thinking of creating work, your challenge is to figure out what value you can provide.
First: Take Stock
What are you good at; and what are you not good at?
I suggest you make a checklist for yourself.
For example, my checklist at the time of the great snail race would have looked like this:
Growing food had become a big part of my life — the kind of thing to put on your list as you take stock of your unique experiences
Good on the phone (too much time spent as call-centre slave!)
Not good at being pushy with people
Write well
Can shut up and let people tell me their story (from working on a help desk)
Like to sniff around for leads (from a short career tangent into fraud prevention)
Know how to grow (I’d turned my small urban backyard into a mini farm)
So if you’re thinking of change, stop now and make your own list like this.
Jot down your life experiences. It may seem insignificant; it’s not.
Next: Take Time
As you think about how your different life experiences give you a unique perspective, be open to new ideas.
The final nudge into a garden-focused career arrived when I was on a plane. I unknowingly sat beside an editor for an online magazine. We chatted, and she asked if I wrote…
Then: Grow New Skills
If you want to give people value that they’ll pay for, you might need new skills, or to brush up on skills you have.
In my case, I took night school courses on writing and journalism. Then I joined a garden writer’s association, a farm writer’s association, and a professional writer’s association because I really didn’t know how to go about becoming a “real” writer.
You Might Feel Uncomfortable
I left the house for my first garden writer’s meeting feeling like a fraud. Then I nearly walked out the door when I arrived. It was a sea of grey hair. A bit intimidating for a 30-something. But I met another writer who I then collaborated with to write my first book.
At the first farm writer’s convention I went to, I felt like a misplaced urbanite. But I swapped business cards with an editor, and that led to a decade-long gig writing farm-business articles.
Keep Pivoting
On assignment writing a farm business article, with the kids.
Industries change. Work changes. And your personal needs will change.
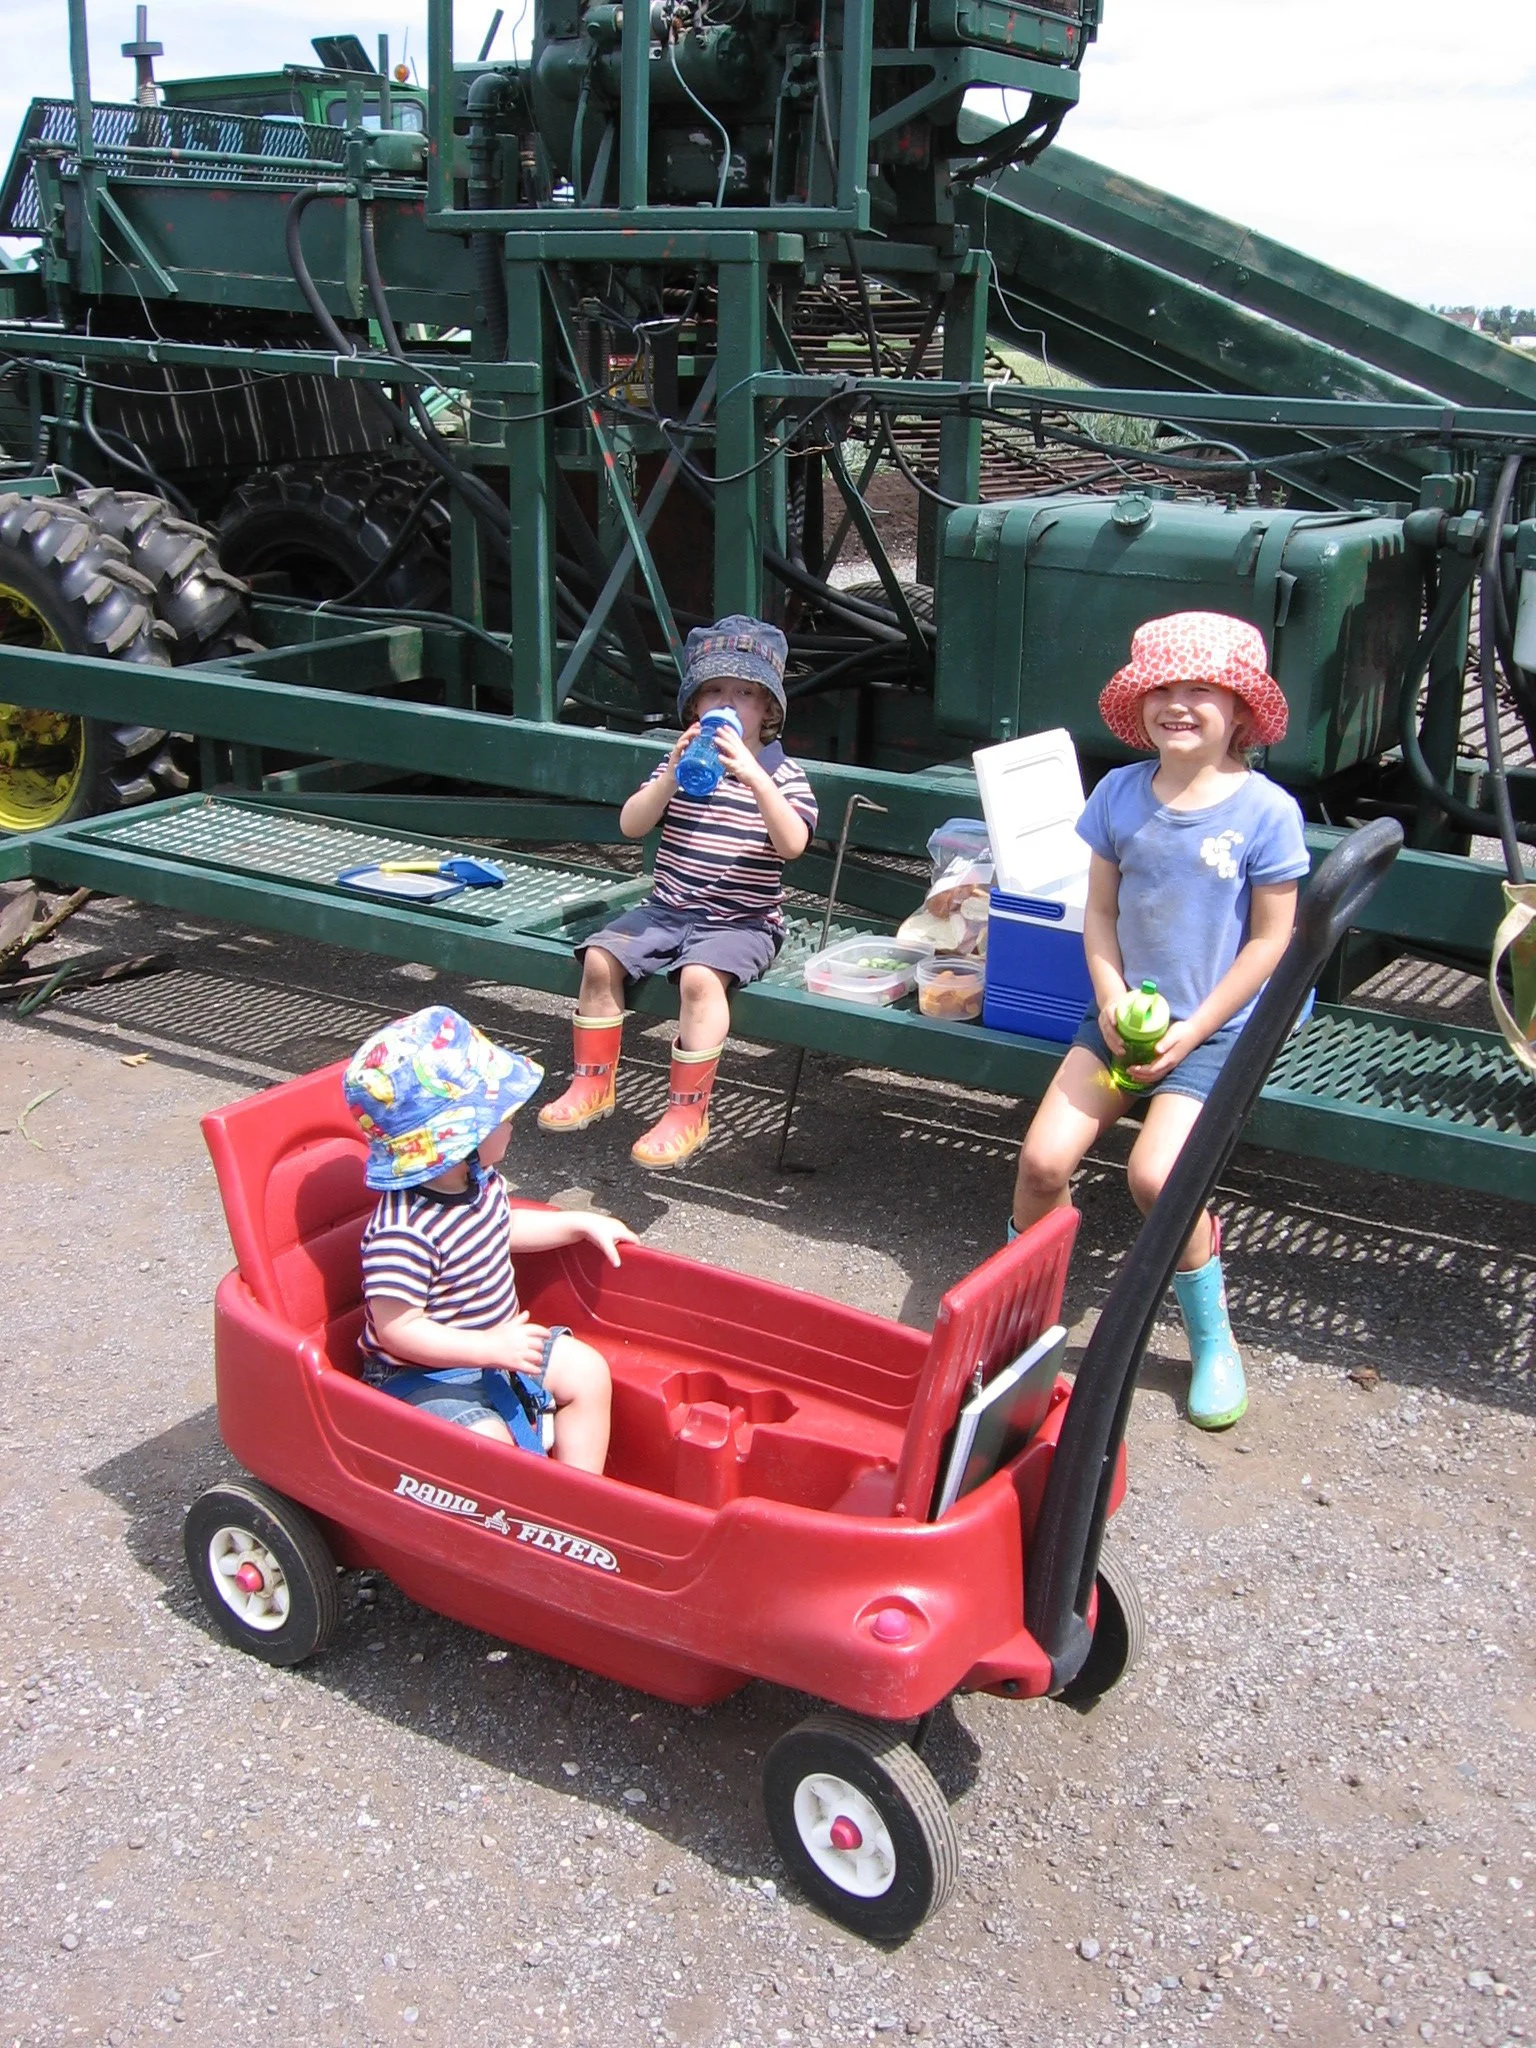
When my kids were little I’d pack them up and take them out on assignment to write an article about a farm. We had a few fun adventures.
As they got bigger, I jumped into the topic of gardening with kids, and my daughter Emma and I did videos and books together. (You can see some of that here.)
Now they’re all teenagers. I have my workdays to myself—and I’m blogging and podcasting on a regular schedule. I’ve been honing my interviewing skills, and I love it.
When the pandemic came and people moved to online learning, I pivoted and started teaching my own online gardening courses.
It can feel uncomfortable sometimes, but put yourself outside of your comfort zone.
Set Your Expectations
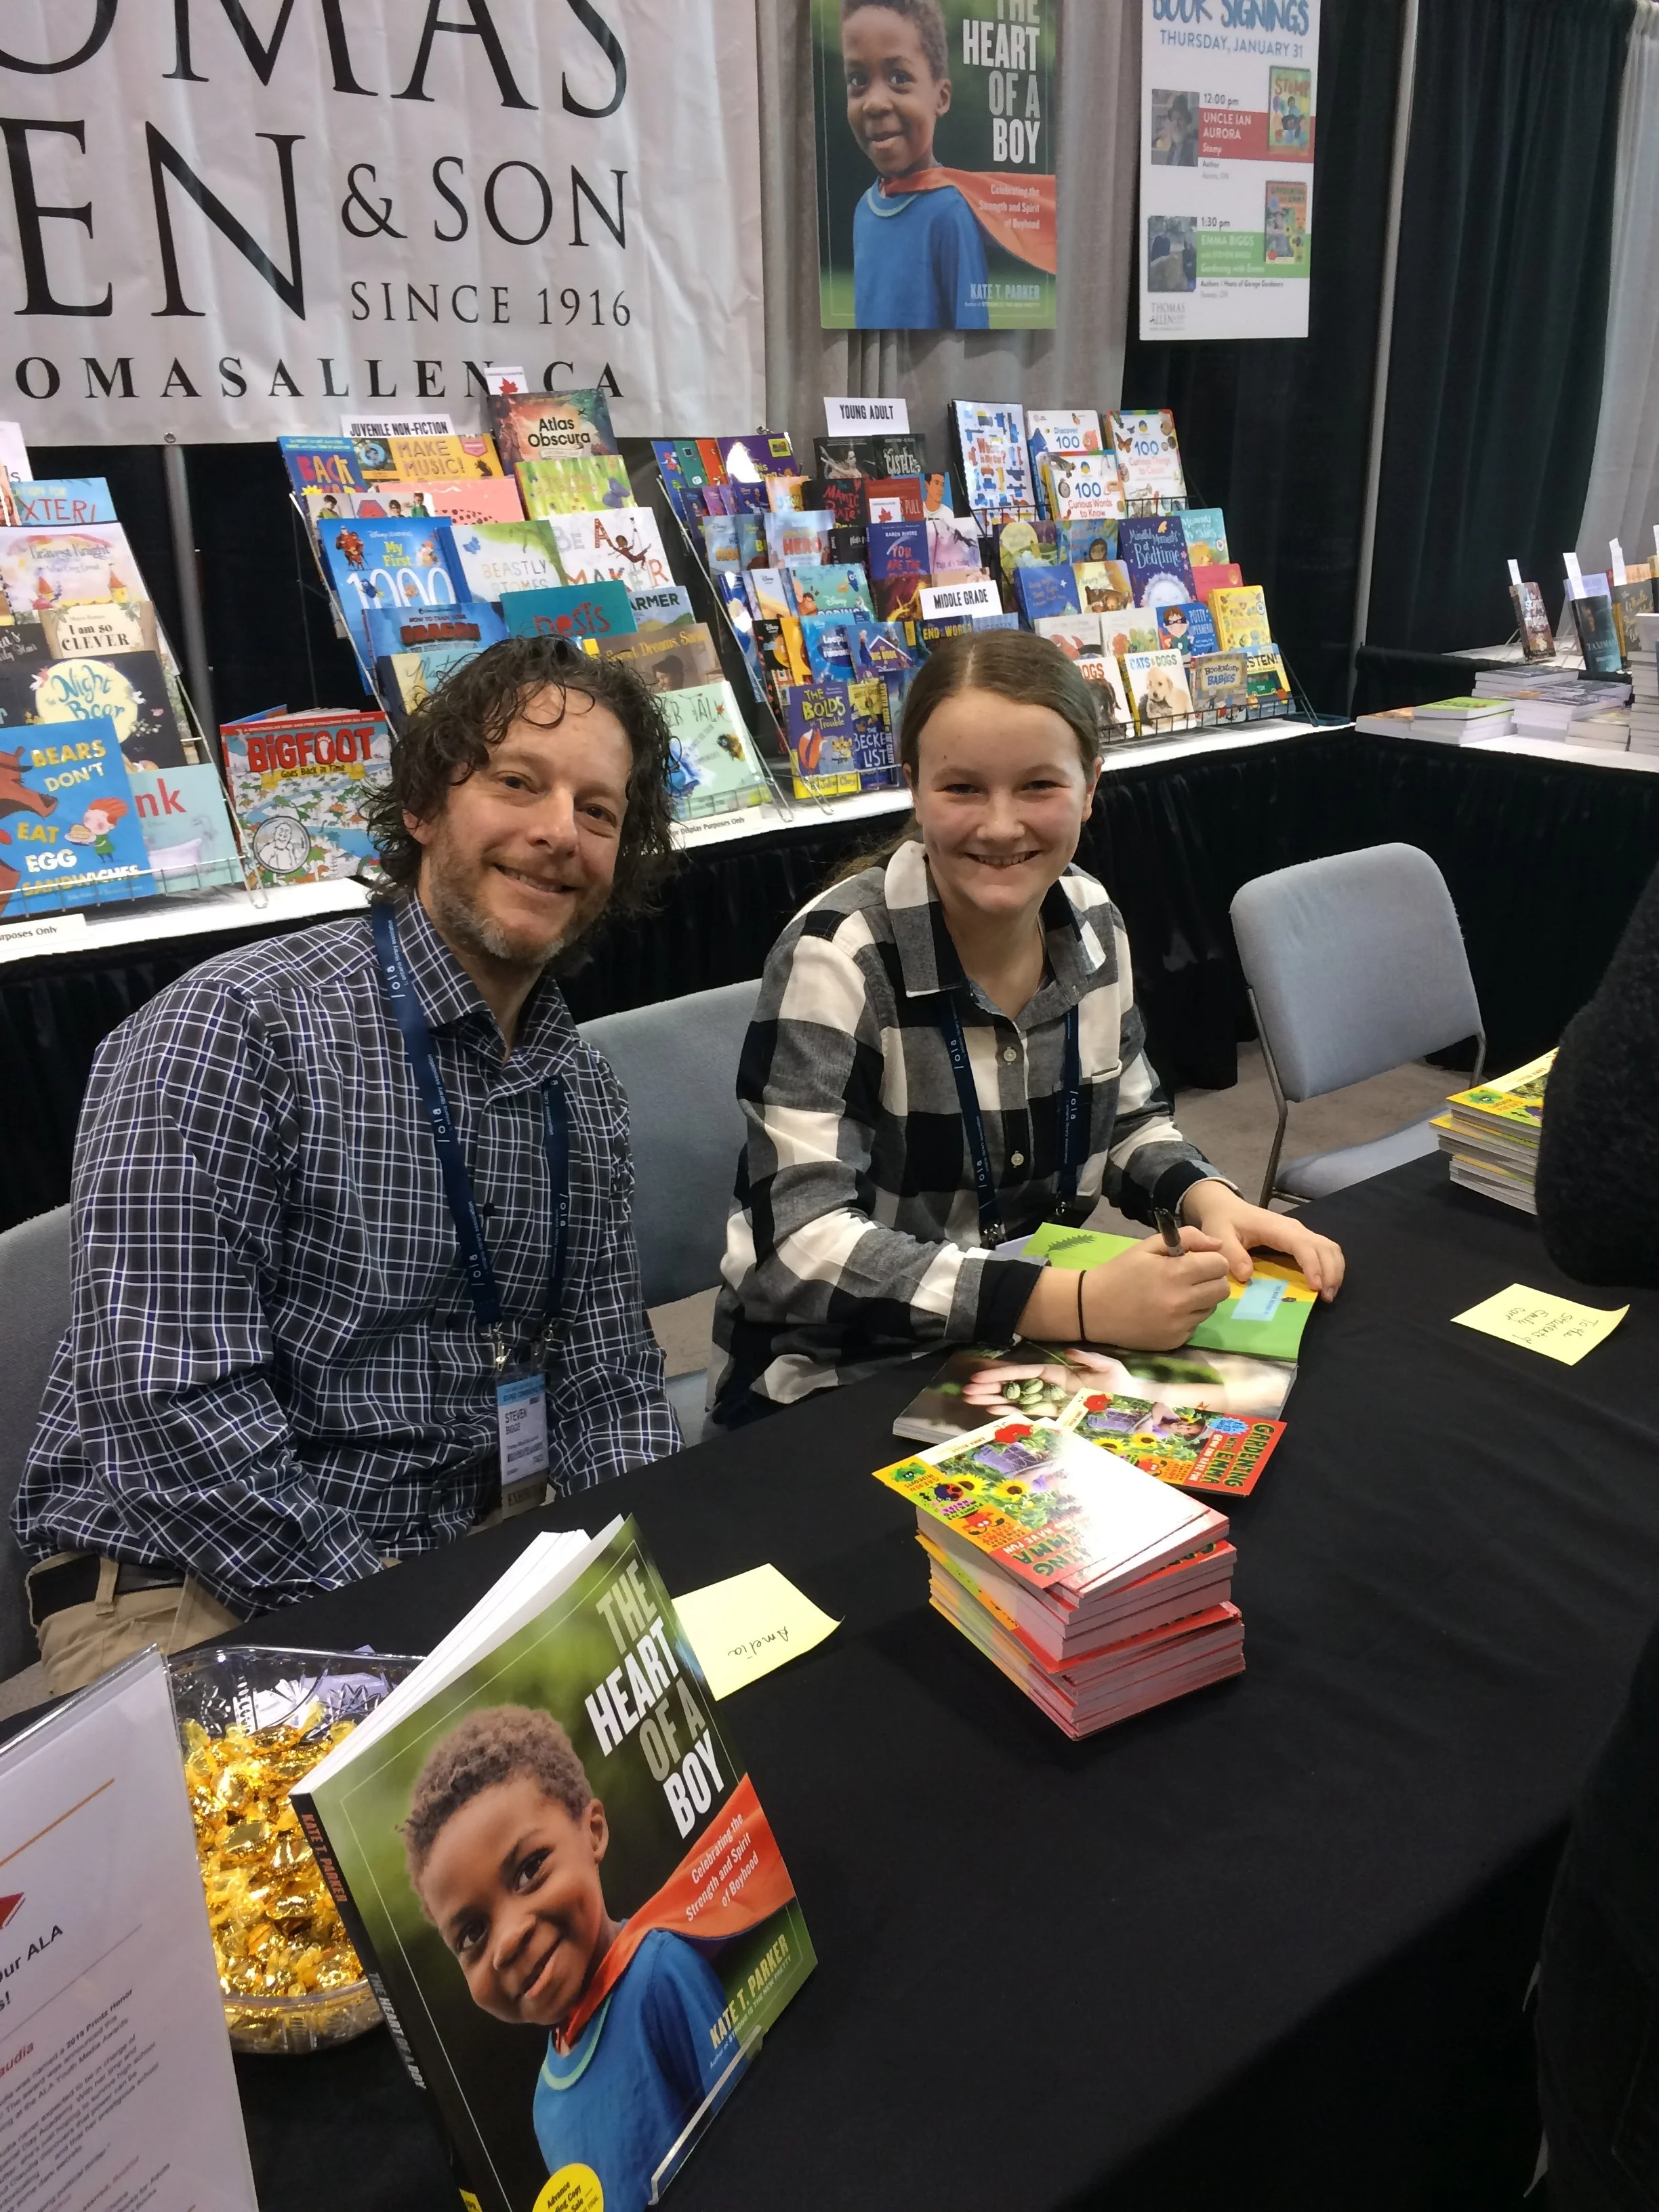
My daughter Emma signing copies of her book Gardening with Emma.
I see lot’s of online get-rich-quick and passive-income schemes.
My experience is that I can sell something I create when it gives people value and when they want it.
Passive income is an fair goal: After I put the work into a book or online masterclass, there is some passive income from future sales. But there’s also ongoing selling needed. So it’s not entirely passive.
The other thing you’ll want to hash out as you set your expectations is just what you want. This brings me back to the idea of balance.
For me, balance looks like this these days:
Make 3 meals a day for my hungry teenagers
Time with my dad
Time in the garden (so I can write about it)
Write about what I love
Regular garage band practice
No social media apps on my phone
You’ll see my expectations go beyond income-earning activities.
With the expectations I set, I work long days. Some nights I’m teaching until 10 p.m. – then I’m up at 5 a.m. to blog before the morning maelstrom of household teenage emotions puts me in a haze.
Ultimately, the mix you choose should be emotionally and financially sustainable for you. And it should be something that you like enough you can keep doing it. (I’ve had writing assignments that were so painfully mind-numbing that I froze. They weren’t sustainable. I quit those gigs.)
Next Steps
So whether you’re an urban person focused on life balance that includes gardening, or a rural homesteader considering ways to add to the homestead income, here are two questions to start with:
Employee or self-employed
Online work or location-dependent work
As you’re thinking about those questions above, start your creative process:
Take stock of your unique experience and skills
Take time
Grow your skills
Be uncomfortable
Be prepared to pivot
Set your own expectations for success
Foraging for Morel Mushrooms (and a Morel Sauce Recipe)
Here is the recipe for my morel sauce.
By Steven Biggs
How to Find Morel Mushrooms
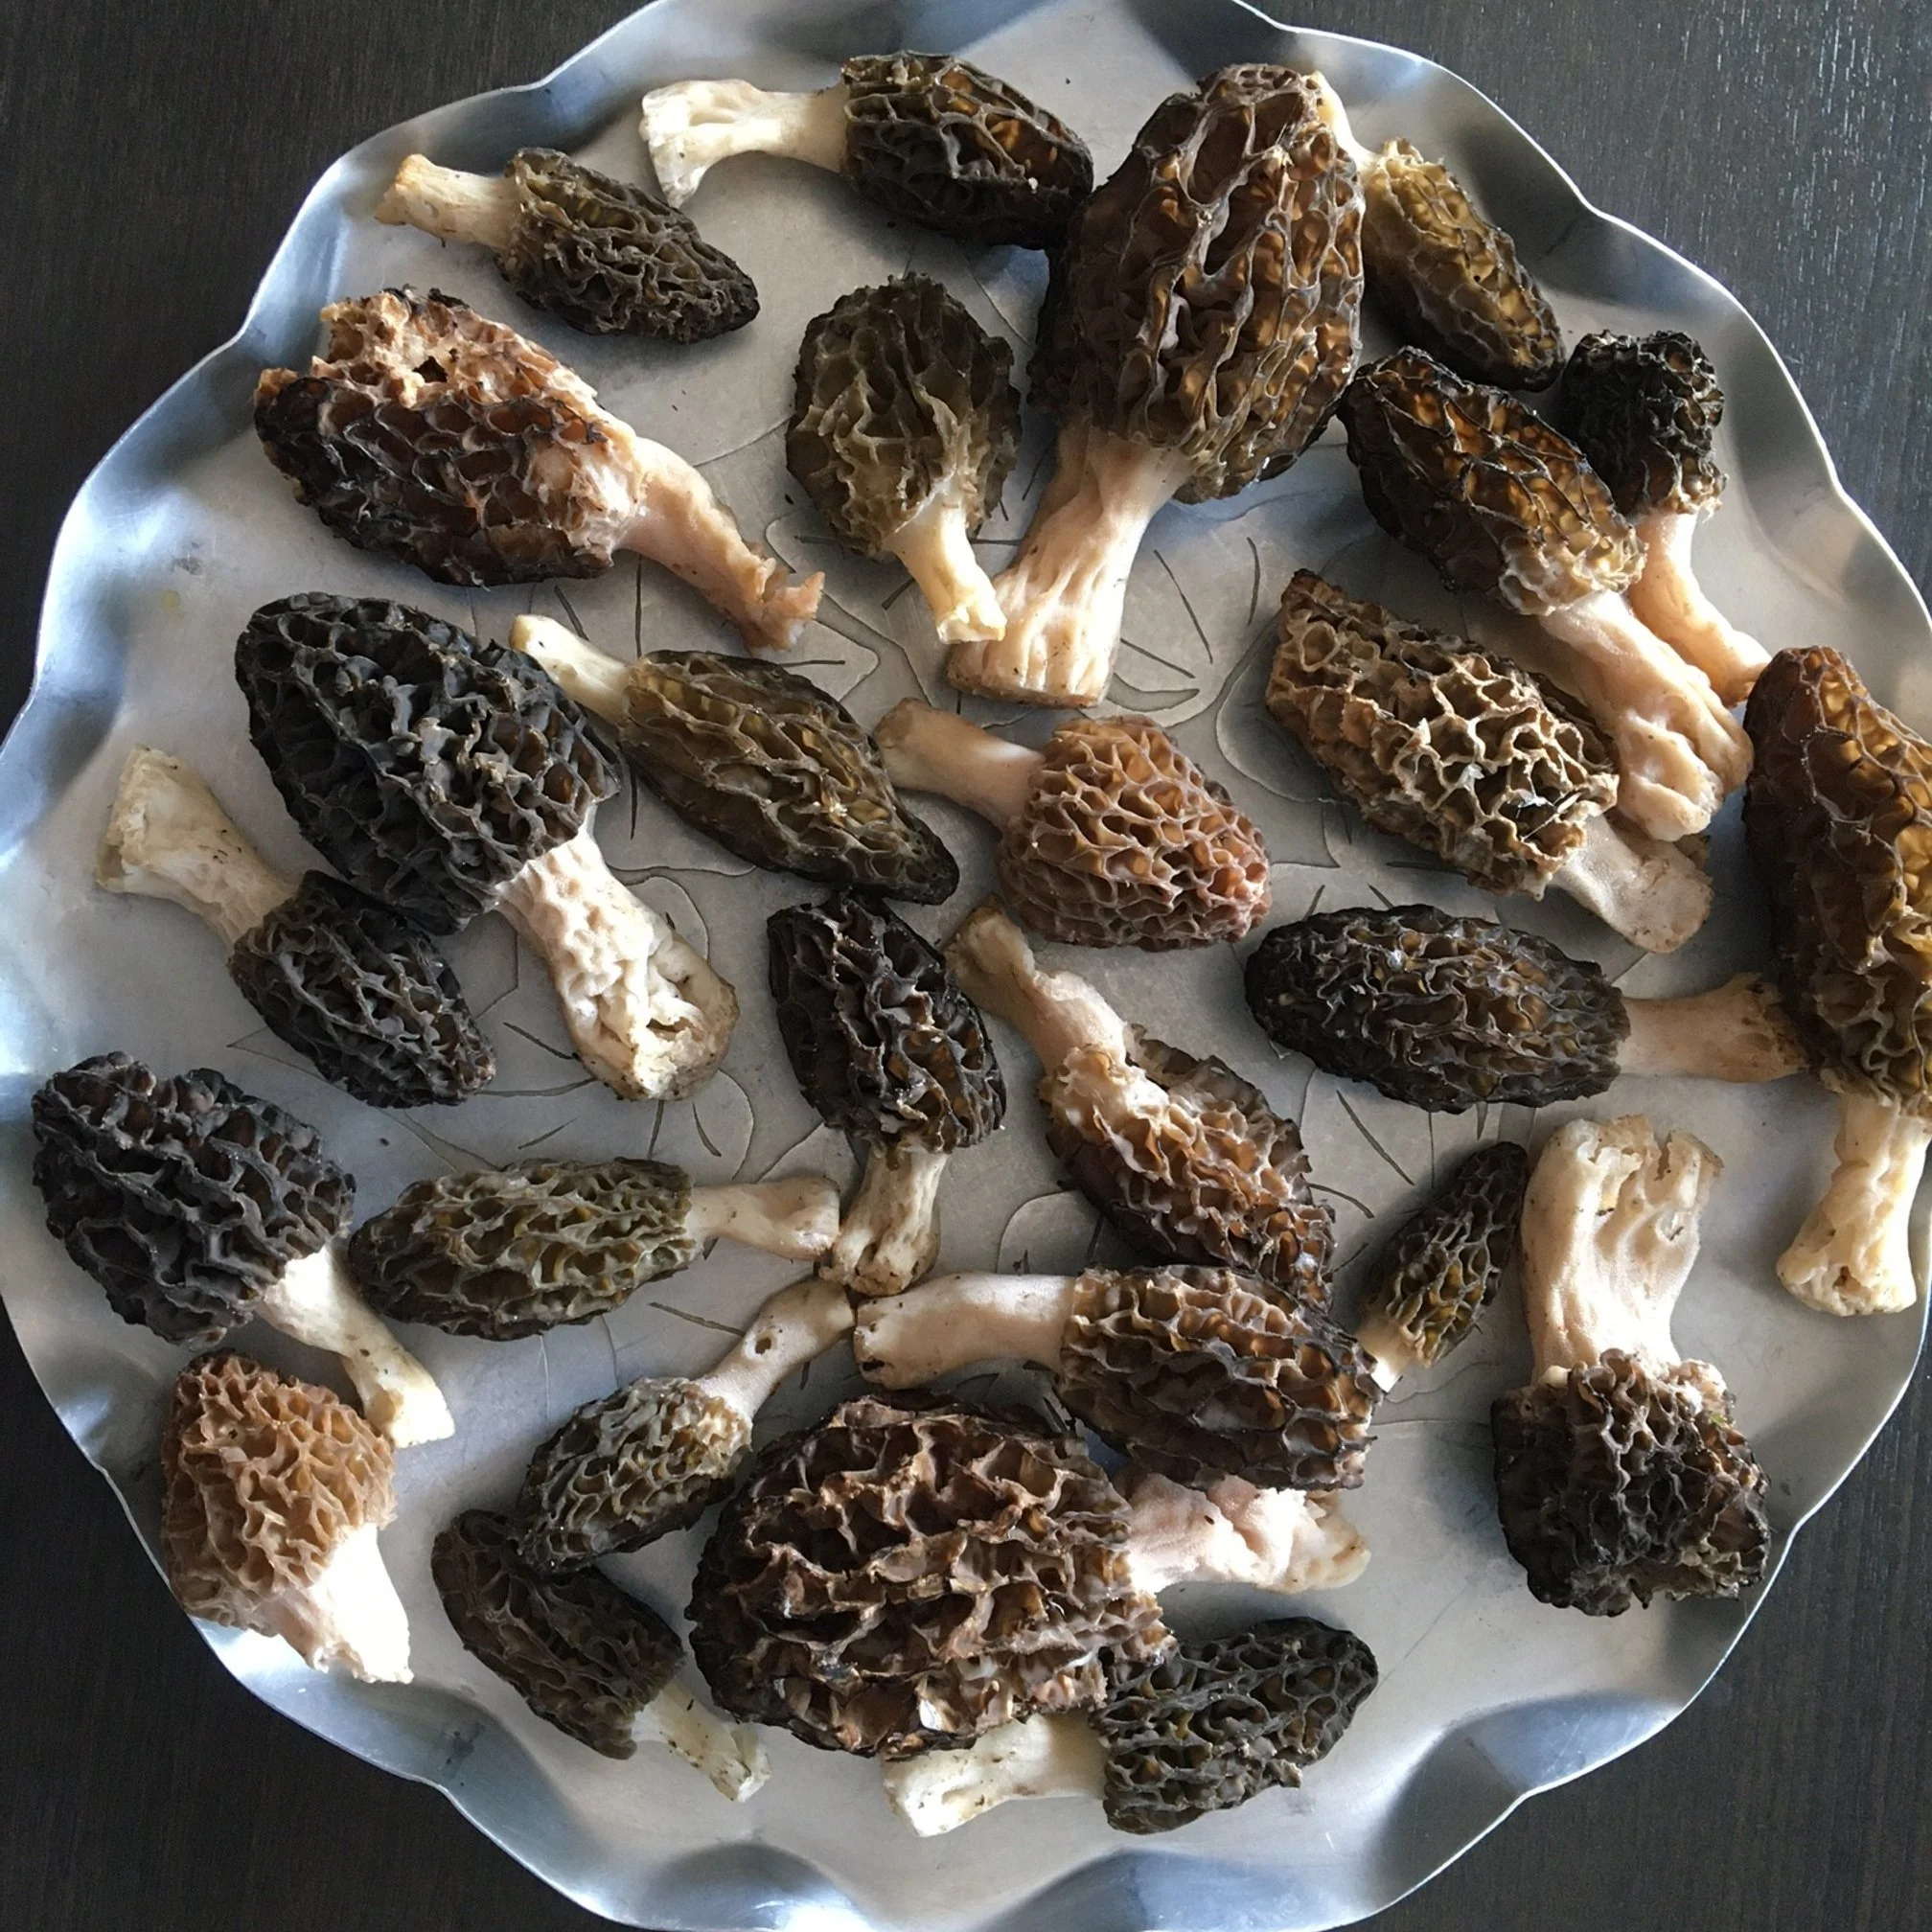
I recently posted a picture of morels on social media and mentioned I make them into a sauce. I had a few requests for the recipe, so here it is. I hope your family enjoys it as much as mine!
I love a springtime walk through the woods to look for morel mushrooms. I love cooking with morel mushrooms.
But there’s something else I love too: the hunt.
Walking slowly, scanning the ground: It takes intense focus. And I find that time spend in the woods, focusing on what I’m seeing, is a beautiful time for me.
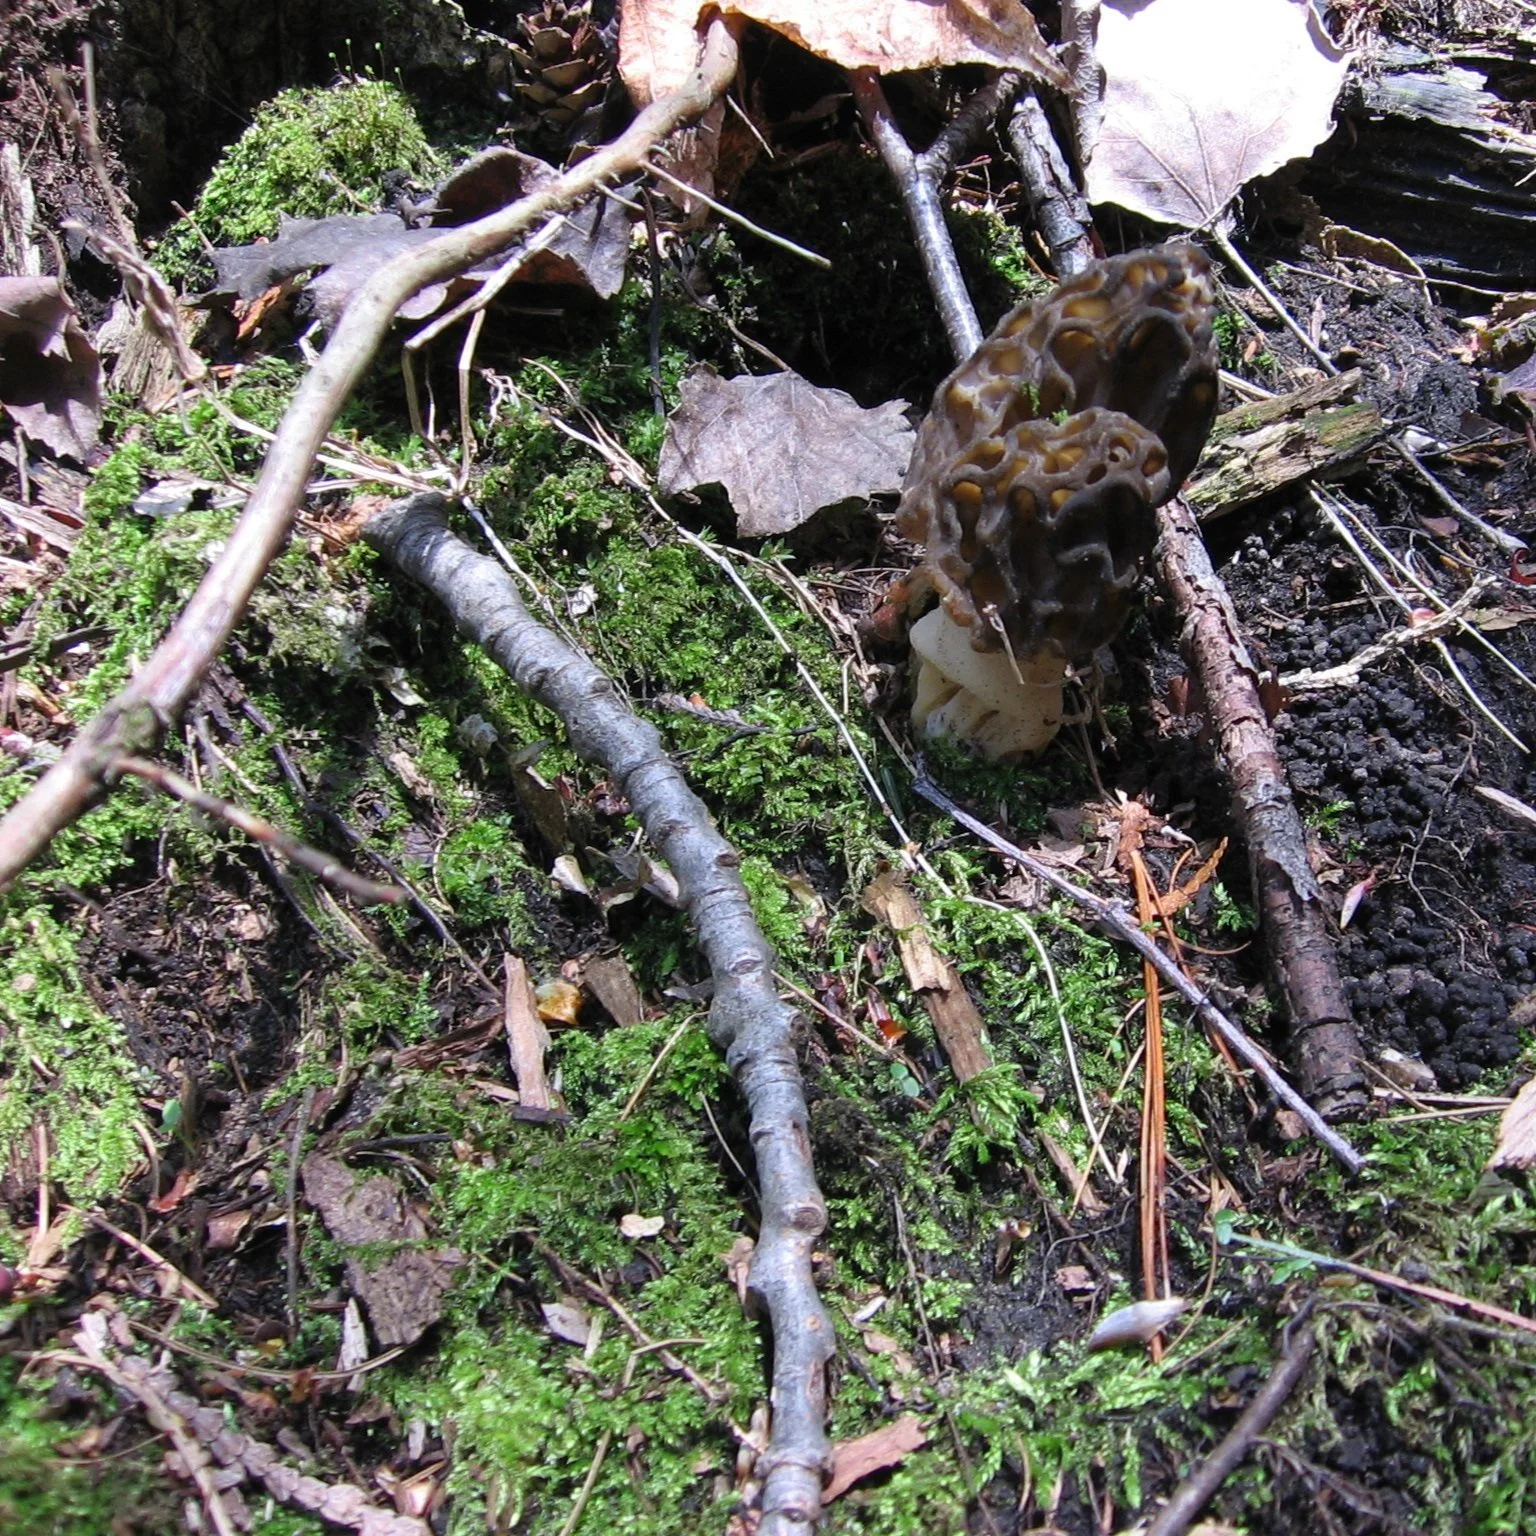
When I spot a morel, I stop in my tracks and then scan the ground all around it — because where there is one there are often more. And I don’t want to step on any of them!
When the lilacs bloom, I figure it’s time to look for morels. Some years I get lots; some years not as many. Either way, it’s a spring ritual I love.
Keep reading to find out more about foraging for morel mushrooms—and for my recipe for a delicious morel sauce.
Morel mushrooms can be difficult to spot. But once you see one, look all around, as there will often be more in the area.
A Great Family Activity
My wife, Shelley, and I started mushroom hunting before we had kids. And once we had kids, we kept on mushrooming.
I’d carry babies on my back…though it’s harder to bend over to pick the mushrooms! Or we’d choose locations where we could pull along a wagon.
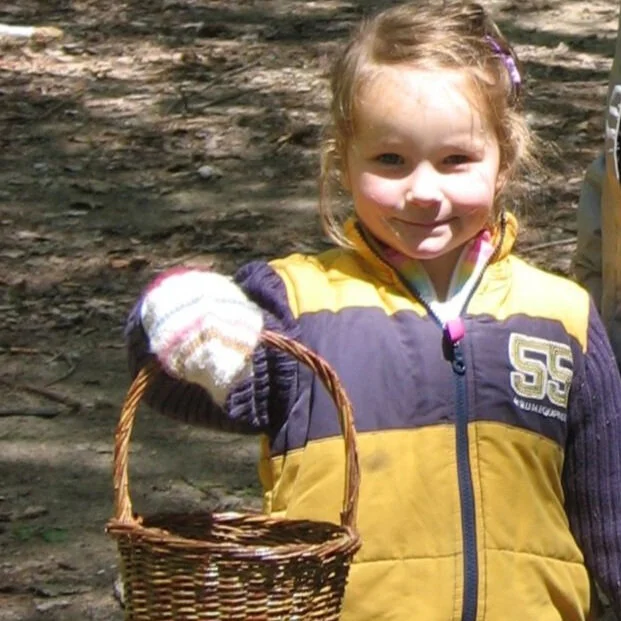
For small children, a basket makes morel hunting fun. Maybe they’ll find morels — maybe leaves or pine cones or snail shells.
One thing is for certain: Kids are lower to the ground, and they can be very observant. We’ve had many trips to the woods where the kids spot mushrooms before we do.
My daughter Emma on a springtime morel hunt with us when she was little.
Kids are lower to the ground, and they can be very observant. We’ve had many trips to the woods where the kids spot mushrooms before we do.
Morel Sauce Recipe
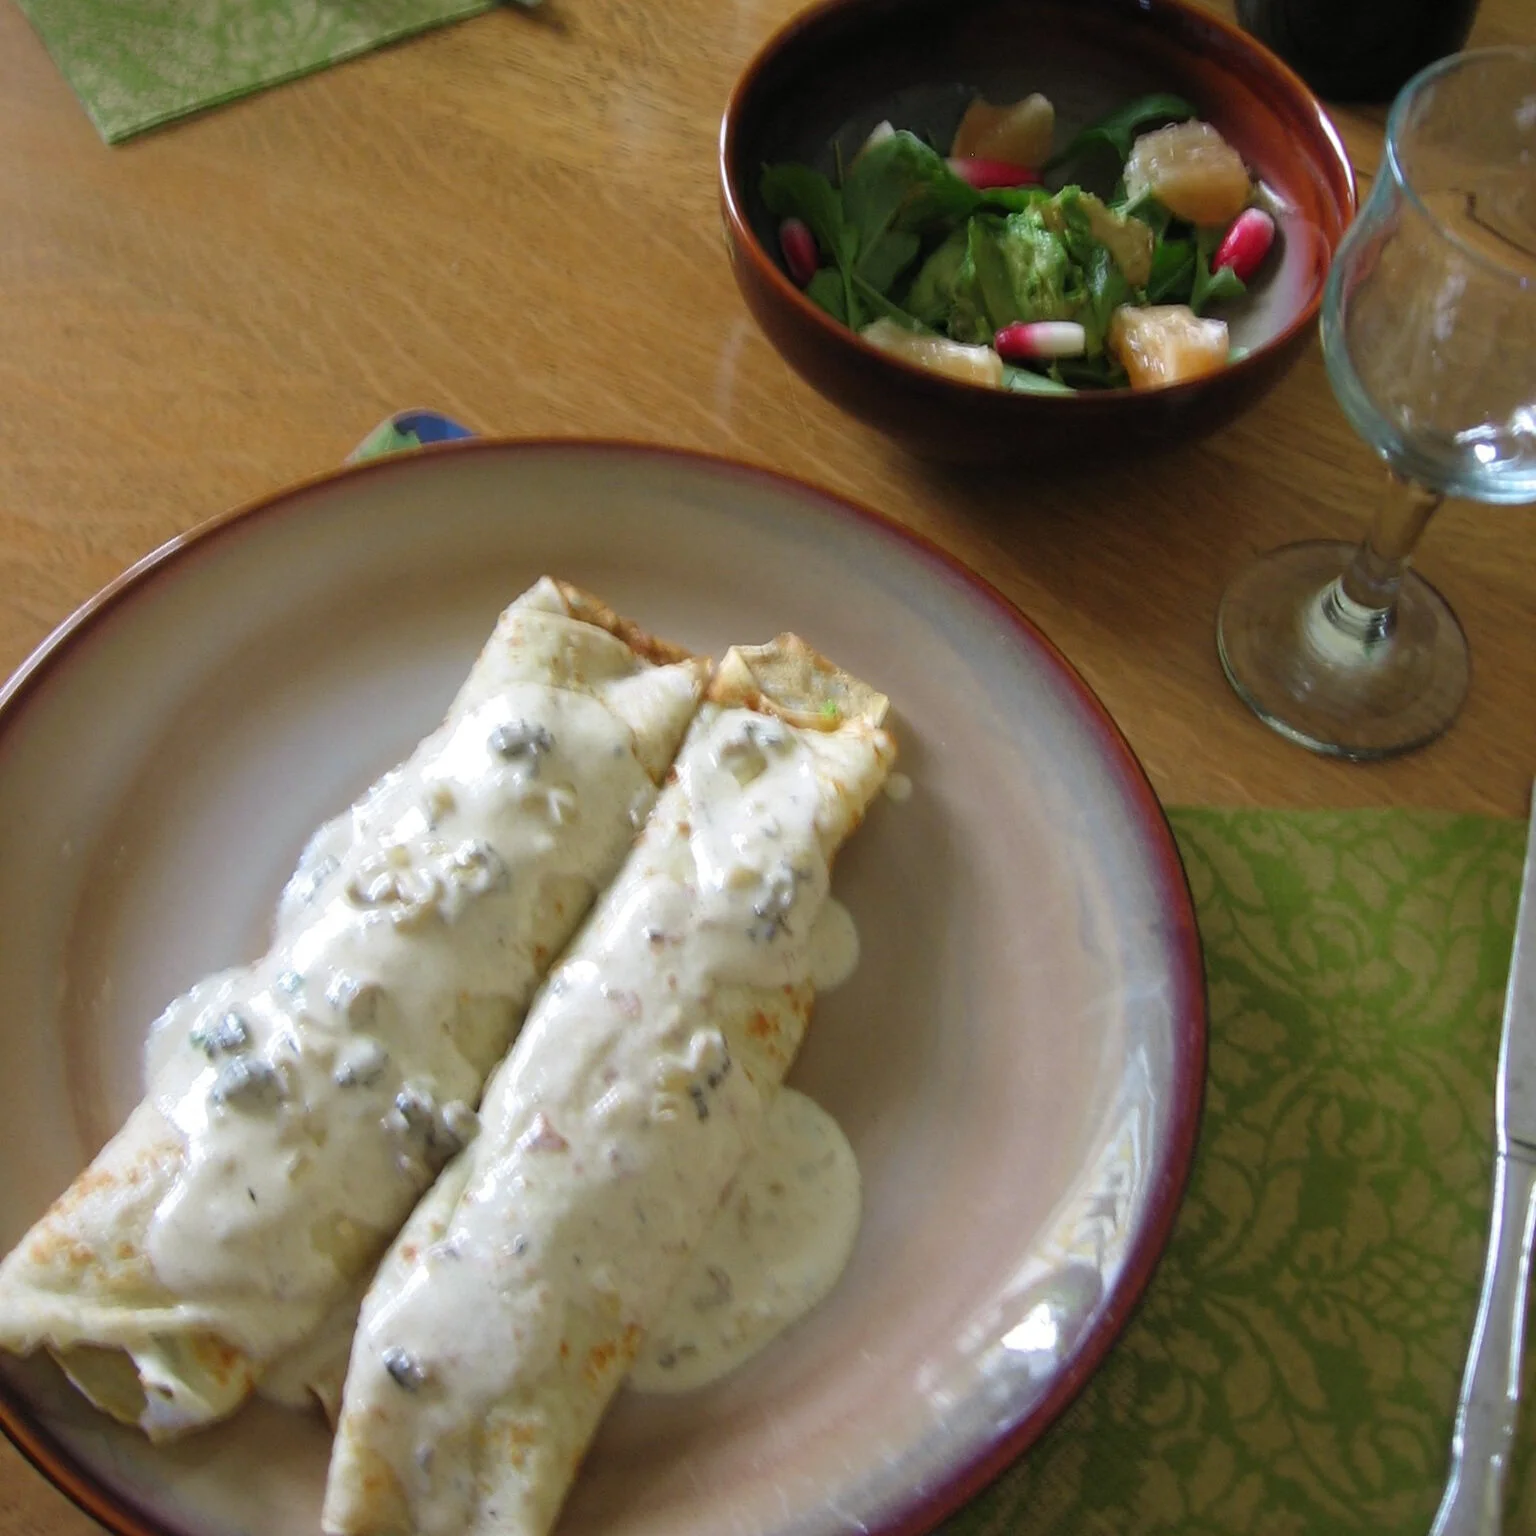
This sauce is great for lubricating crepes filled with ham and steamed asparagus (make sure to put some sauce inside the crepe before you wrap it up, and then put more sauce over the top of the crepe once it’s all wrapped up!)
It’s nice on grilled poultry. Or, use it spooned over a fried egg. (And…you might just want to taste a couple of spoonfuls of sauce on its own, just don’t let anyone see you do it!)
Crepes with morel sauce, inside and out. Don’t be stingy with the sauce!
This recipe uses the trinity of mushrooms, cream, and white wine. It’s not adulterated with lots of herbs, so the mushroom flavour shines through.
Depending on the time of year, you can use dry or fresh morels. (Of course, you can use other mushrooms too…but the morels are my favourite.)
Ingredients:
10 morels, coarsely chopped
1 shallot, minced*
½ cup white wine
3 cups stock (chicken or veg both work well)
1 cup heavy cream (don’t wimp out with light cream – you want good, heavy cream…this isn’t supposed to be a low-fat sauce)
1 tbsp butter
Salt and pepper to taste
*Don’t worry if you don’t have a shallot…use a cooking onion instead and it will be fine.
If using dried morels:
Start by reconstituting them in ½ cup of water for about 30 minutes before chopping
Reserve the liquid (strain if needed)
Instructions
Cook shallots in butter until translucent
Add morels, salt, and pepper and cook another 2-3 minutes
Add wine and stock (and reserved liquid, if using dry morels) – and cook until reduced by about 2/3
Add cream and simmer about 20 minutes, until the sauce will coat the back of a spoon
I love morels. And I love the hunt for morels!
A Final Note on Morels and Mushroom Hunting
Don’t eat what you can’t identify.
Full stop.
Neither Shelley or I grew up with morels. We didn’t know where to look for them or how to identify them. But experienced friends took us out mushroom hunting.
Then we joined a local mycological society (the fancy term for a mushroom club) which had forays to nearby woods. The forays were a great way to be around people who were knowledgeable about mushrooms and could help us identify what to eat — and what not to eat.


