Guide to Growing an Olive Tree in a Pot
Grow an olive tree in a pot if you live in a cold climate. They look great, and if you do it right, you can harvest your own olives. This article tells you what to do to help your potted olive tree thrive and give you olives.
By Steven Biggs
Grow Potted Olives in Cold Climates
It was over two decades ago that I came home from a garden centre with a small potted olive tree. I was entranced by the shimmering light in olive groves in Italy—so when I saw that little plant here in Toronto, I grabbed it.
Olive trees are beautiful when the wind goes through them. The feathery leaves take on a silvery glow as they billow in a breeze.
My potted olive tree grew bigger and bigger. I shaped it into a nicely proportioned tree. When it sent up a sucker, I lopped off the sucker to make a second olive tree.
They were a beautiful touch of the Mediterranean in my cold-climate garden.
But those potted olive trees never gave me a single olive.
Not until I learned a couple of the simple but important things about potted olive trees that I share with you in this article.
A Bit About Olive Trees
Olives (Olea europaea) are long-lived plants that you can shape into a bush or a tree. In climates where they are winter-hardy, they can become small trees.
Gardeners in cold climates can grow olives in pots, where they do very well. They make fine potted patio plants because they are tough as nails.
Young branches with small, leathery, silvery-grey leaves move in the breeze, so if you’re next to an olive tree on a breezy day there is a beautiful shimmering light.
(If you want to add silvery-grey tones to the garden, artichoke and cardoon have silvery-grey leaves too.)
New Release for December 2024.
Now available for pre-order.
Even if you live somewhere too cold for olive trees to survive the winter, you can enjoy the exotic touch of an olive tree in your garden. This book gives you what you need to know to grow an olive tree in a pot. (And get olives!)
Potted Olive Tree Summer Care
If it’s an option, put your potted olive tree outside for the summer. Olive trees do best with lots of sunlight.
(They look very nice amongst potted lemon trees ! Find out how to grow figs in pots.)
The quality of light indoors, even near a bright window, is not as good as outdoors.
Potted Olive Tree Winter Location
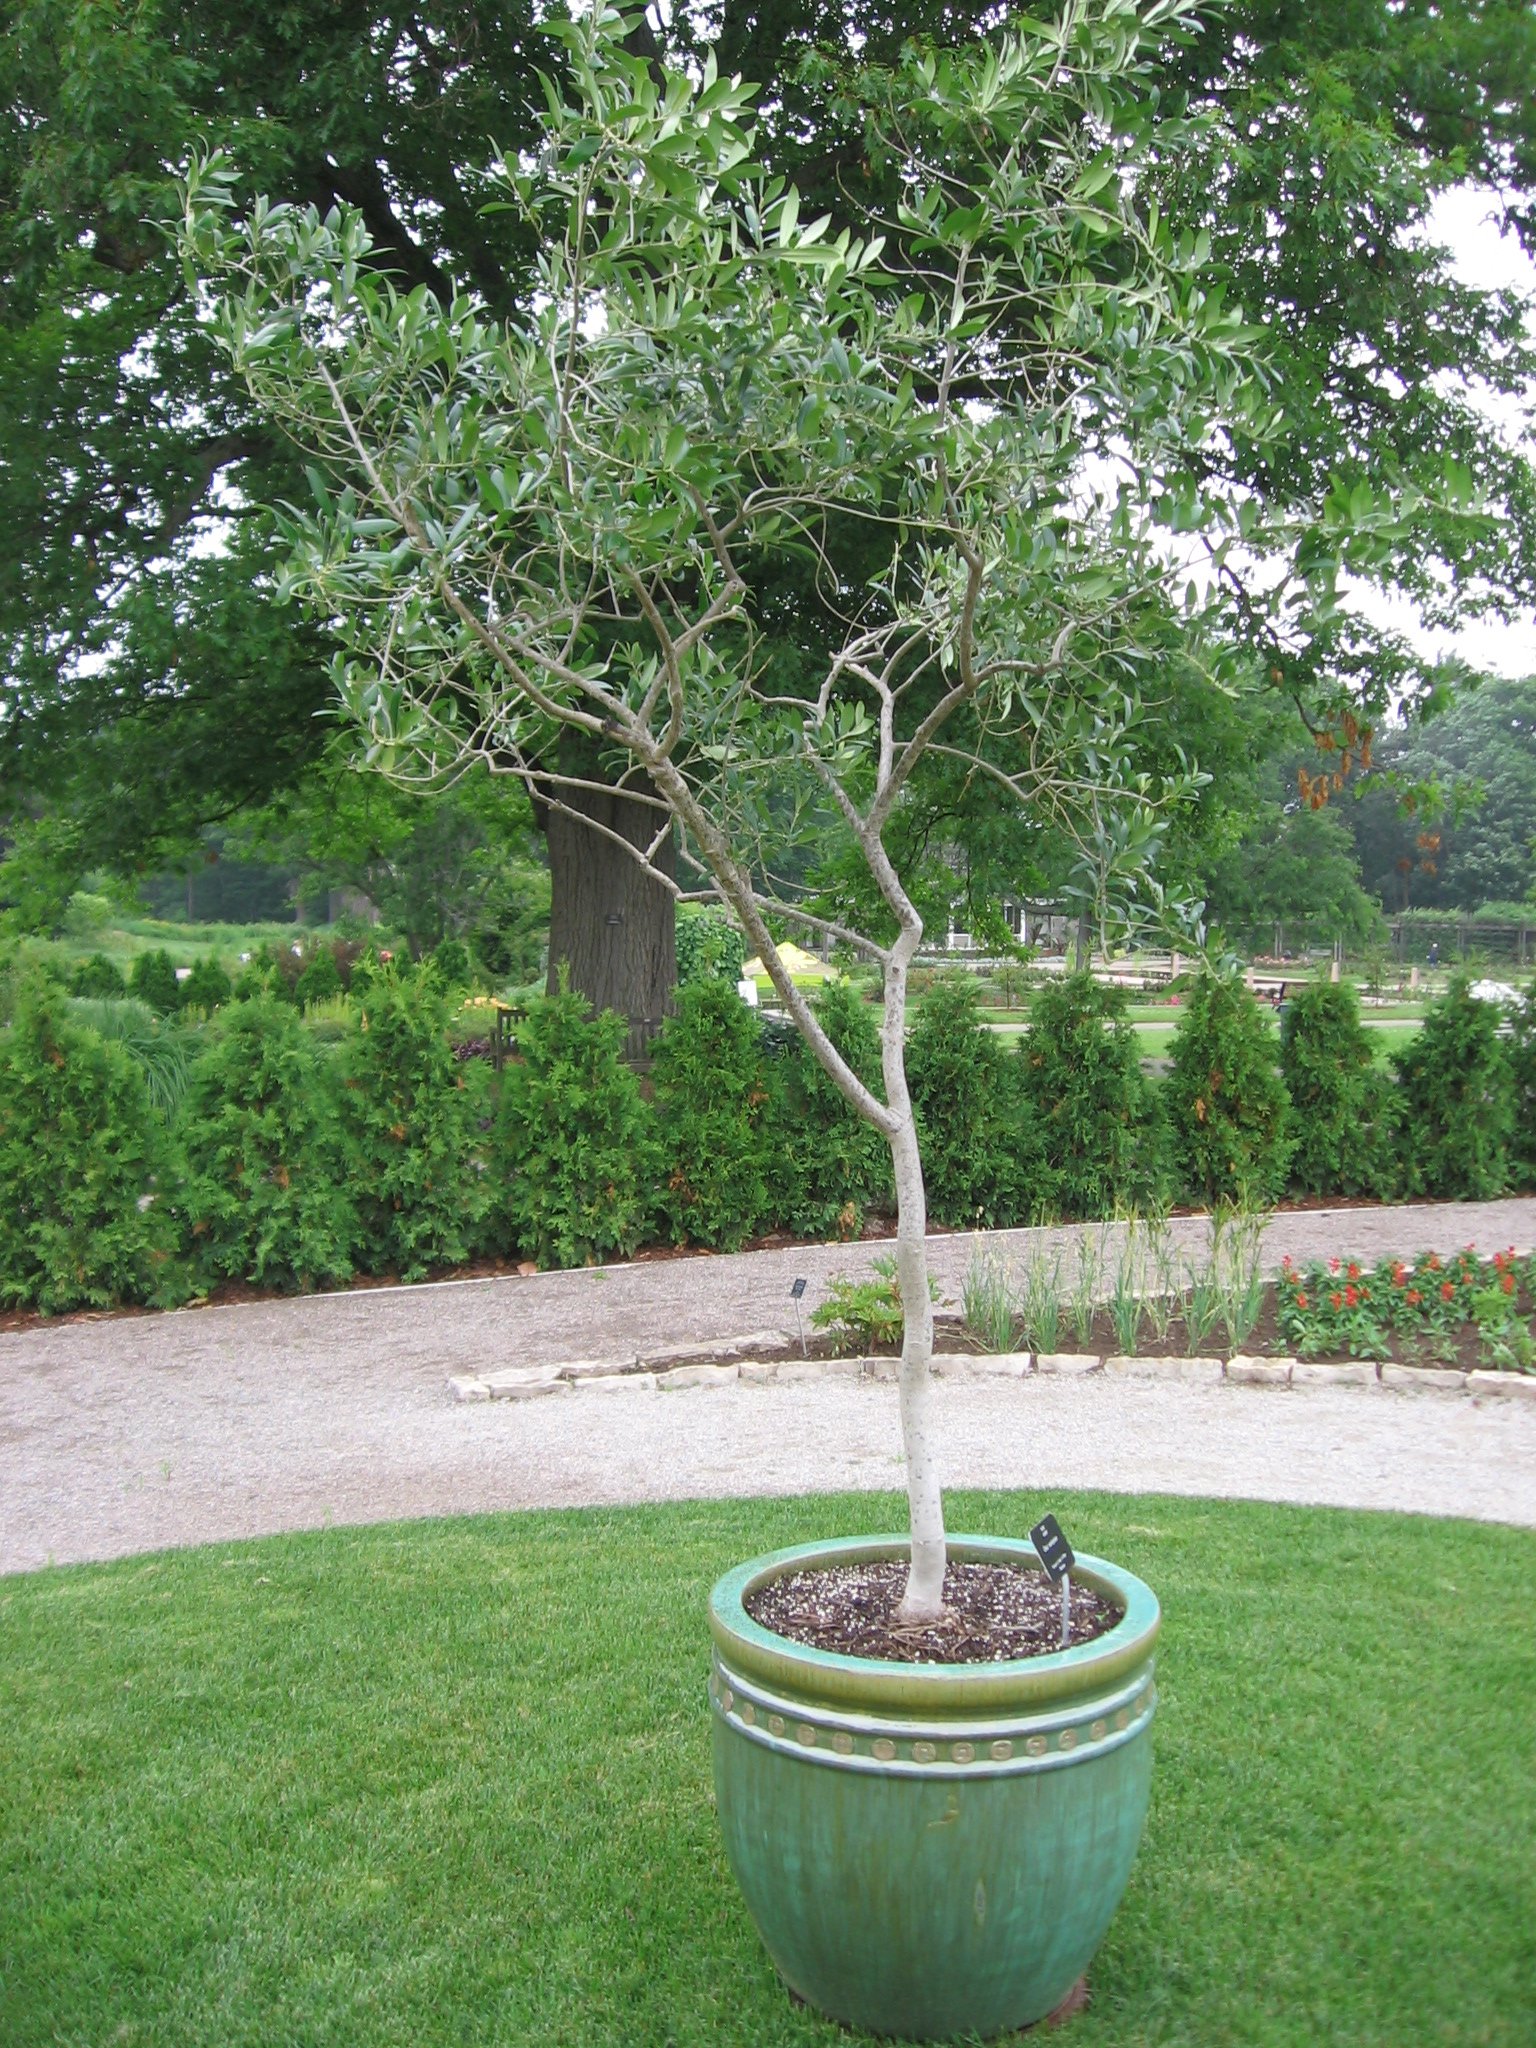
Olive trees do best with lots of sunlight. This potted olive tree is growing beside my deck.
There are a number of ways to keep potted olive trees over the winter. Over the years, my mine have spent the winter in a number of settings:
Minimally heated sunroom
Insulated garage (kept just above freezing)
A cool greenhouse
My dining room
(When they were in the dining room, we put lights and decorations on the for Christmas!)
If you have somewhere cool and bright, such as a sunroom, that’s my recommendation. A temperature range of 5-10°C (41-50°F) is ideal.
Olives do tolerably well indoors, in centrally heated homes...but it’s not ideal. The warm, dry conditions indoors are less than ideal for your olive tree.
Those warm, dry conditions in the house are:
Not conducive to flowering
Great for insect pests such as scale
But if the house is your only option, you can make it work. Choose a location with a bright window, or put the olive tree under grow lights.
The trench method is another way to keep an olive tree over the winter in a cold climate. Dig a trench, lay the olive tree in the trench, and then mulch heavily. The depth of the trench and amount of mulch you need will depend on where you are.
You can also lay over fig trees for winter. Find out how.
While in-ground trees are said to withstand -10°C (14°F), don’t expose your potted olive tree to more than a light freeze. (See notes on hardiness, below.) That’s because the root temperature of in-ground trees is moderated by the soil (the soil temperature doesn’t swing back and forth like the air temperature). The roots of potted plants are subject to air temperature fluctuations.
Get Your Fig Trees Through Winter
And eat fresh homegrown figs!
How to get Potted Olive Trees to Flower and Fruit
This potted olive tree is budded up and ready to flower. Without a cool spell, the flowering cycle of the tree can be disrupted.
As I mentioned, while olive trees survive in a centrally heated home, growing indoors at room temperature is not ideal.
Pests aside, the main reason is that with warm conditions over the winter, your olive tree might not gear up to flower. That’s because olive trees need “winter chill” to induce flowering. It just means that the plant makes flower buds in response to cool temperatures.
Without a cool spell, the flowering cycle of the tree can be disrupted. (Some people refer to this period of cold temperature as “chill hours.”)
My original two olive trees—clones from the same plant—looked great but didn’t fruit for years when I kept them over the winter in warm conditions. When I tweaked my overwintering technique to give them cool temperatures over the winter in a sunroom that almost hit the freezing mark on cold nights, they bloomed. They were covered in blooms!
So keep in mind that if you overwinter olive trees at room temperature, you might not get flowers.
And no flowers means no olives.
Pollination
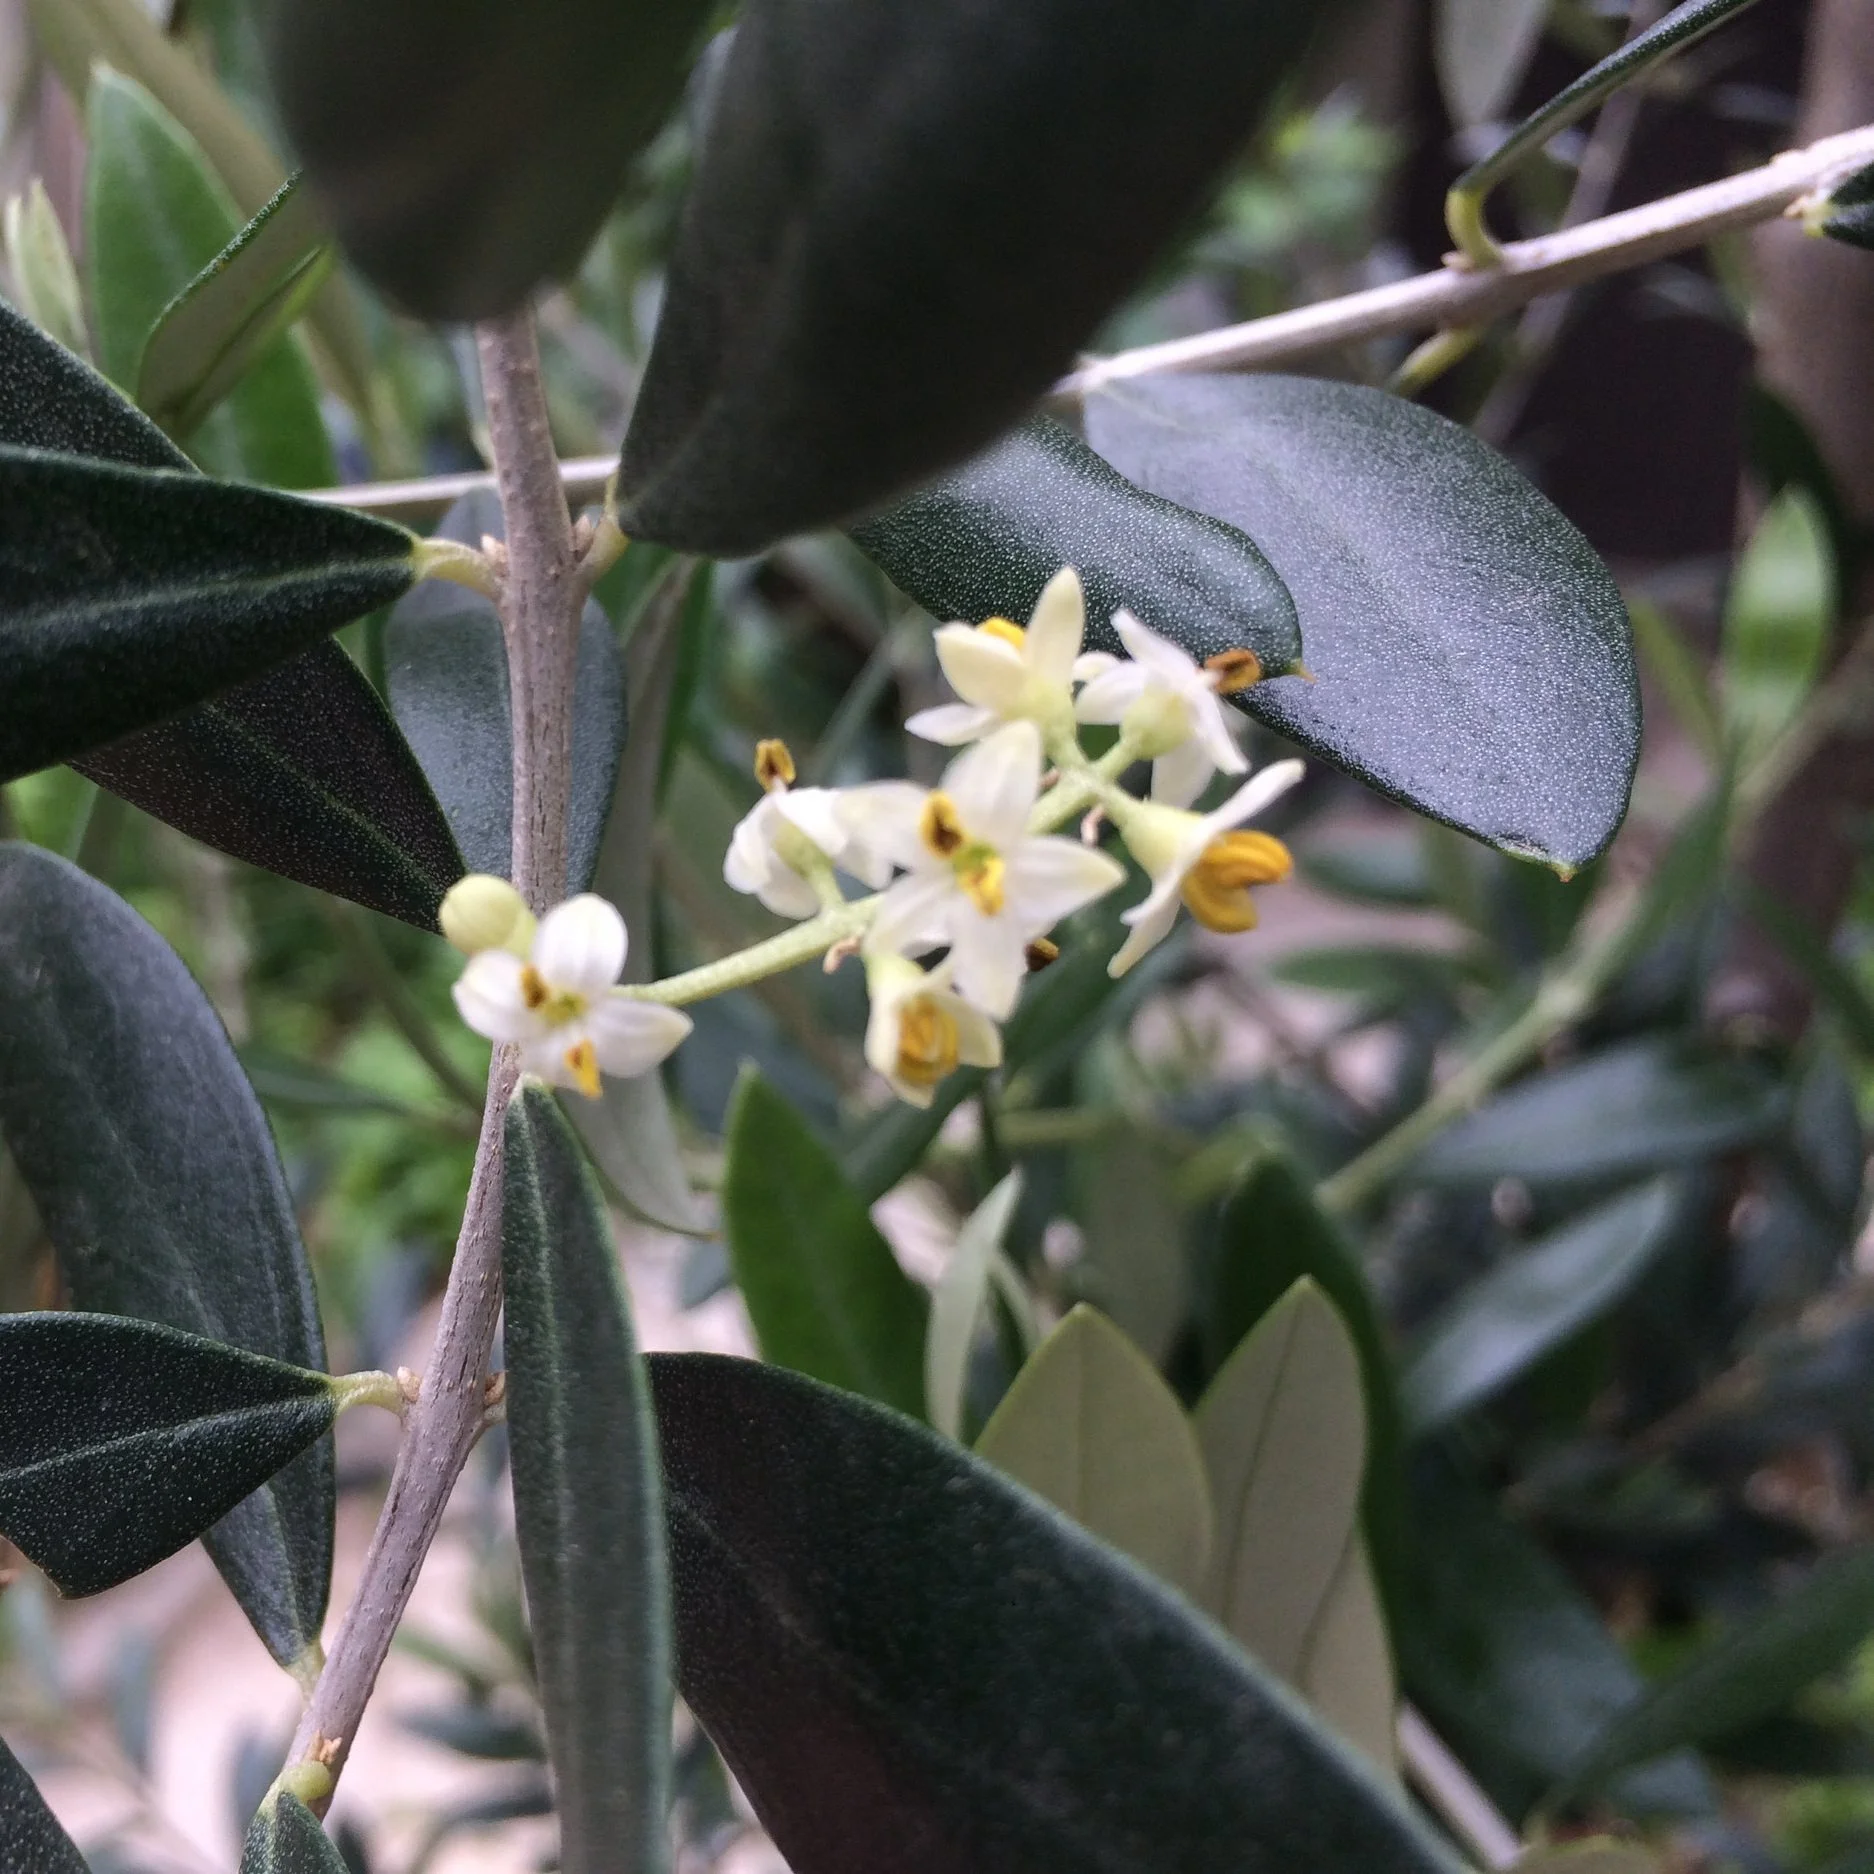
Olive flowers. When your olive tree blooms, expect lots of pollen. It’s everywhere.
Olive trees are not reliably self-fertile. That means that some olive varieties require a second plant of a different variety for successful pollination.
Even if you have an olive variety that is self-fertile, crops can be larger if there is cross-pollination with another variety.
When your olive tree blooms, expect lots of pollen. It’s everywhere.
That yellow dusting of pollen is normal because olives are wind-pollinated. If you want to help the process of pollination, you can use a feather duster, or a vacuum set on reverse to blow. (I let nature take its course, and don’t help with the pollination of my olive trees.)
When to Harvest Olives
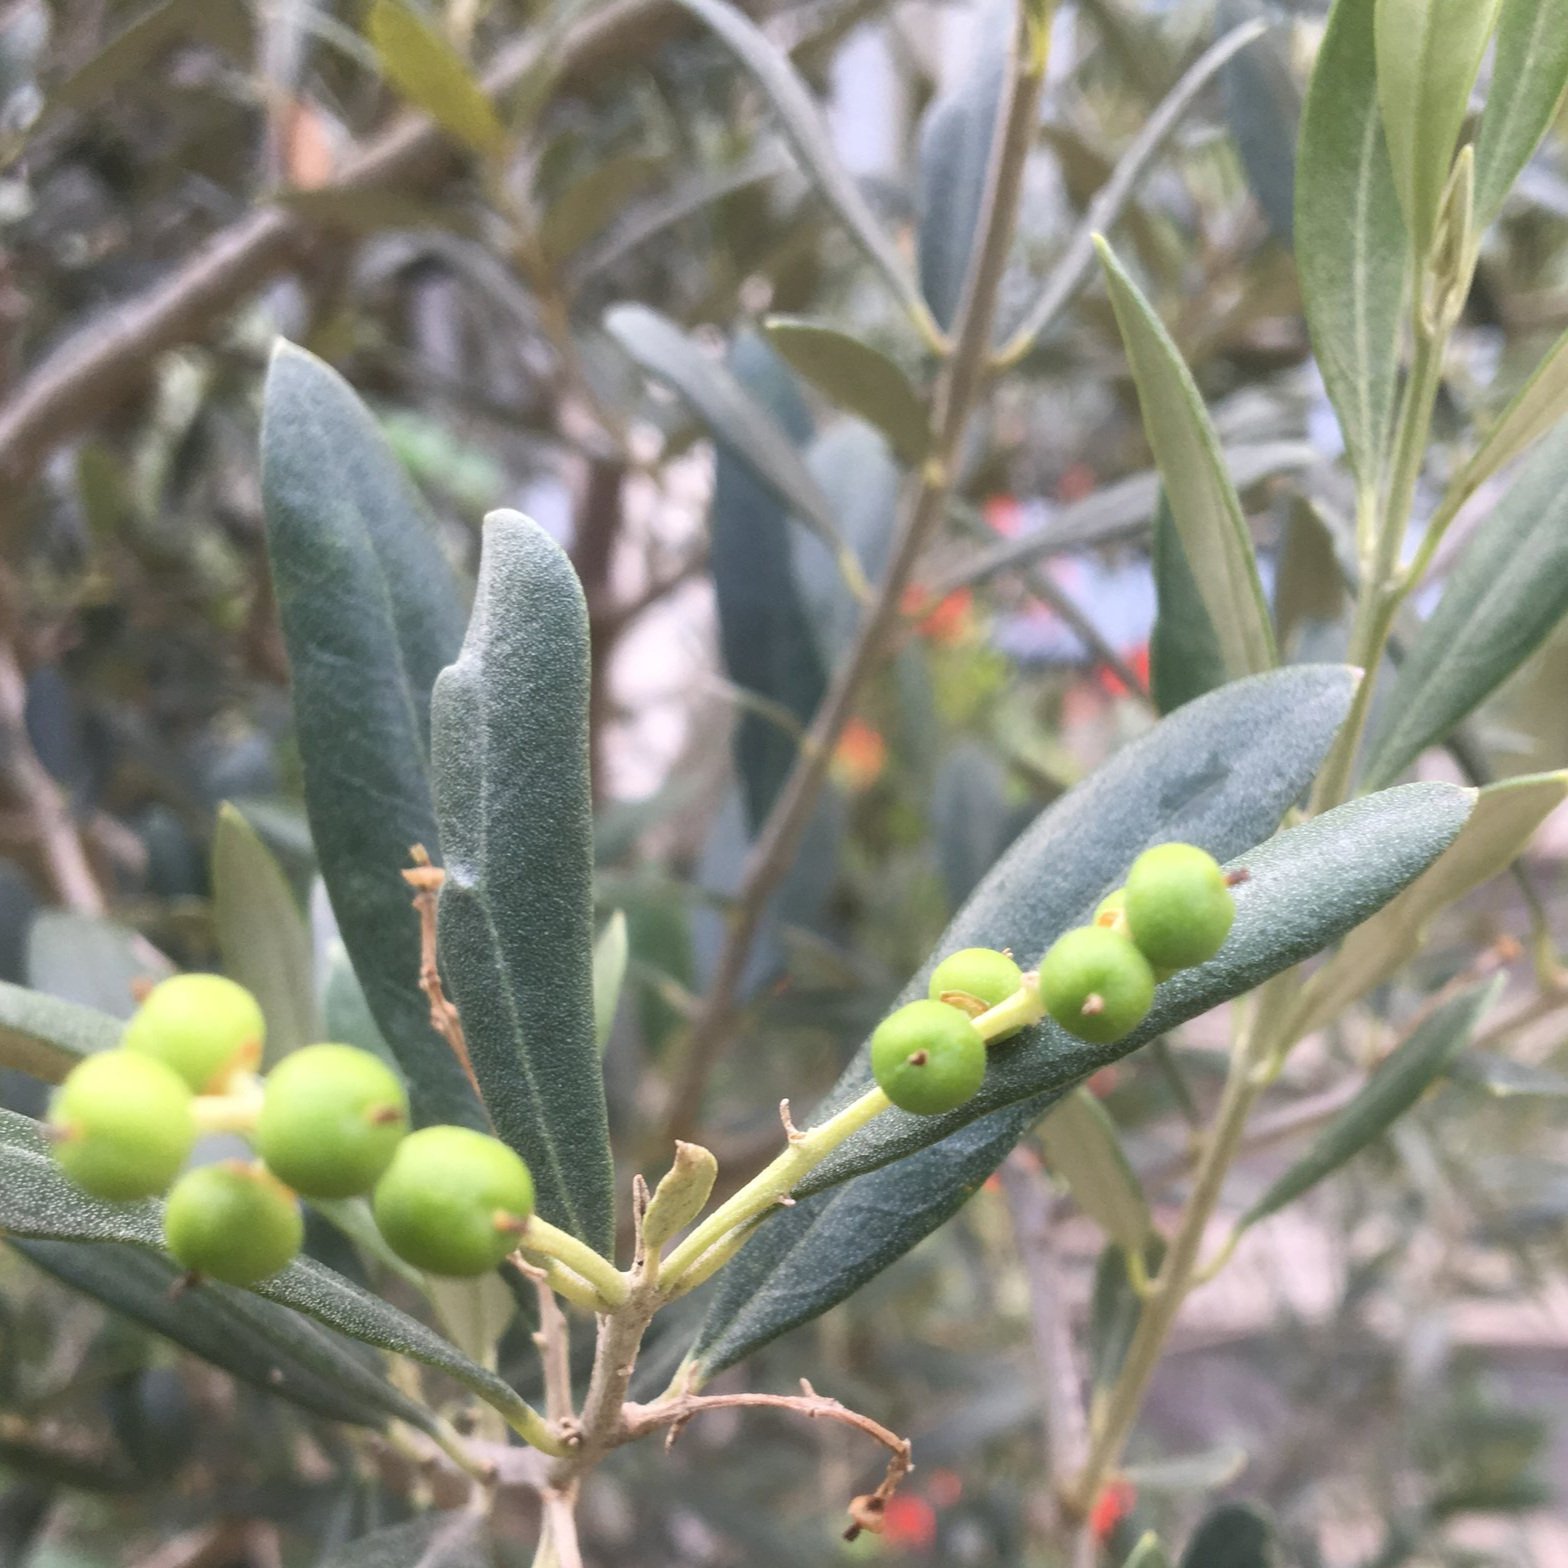
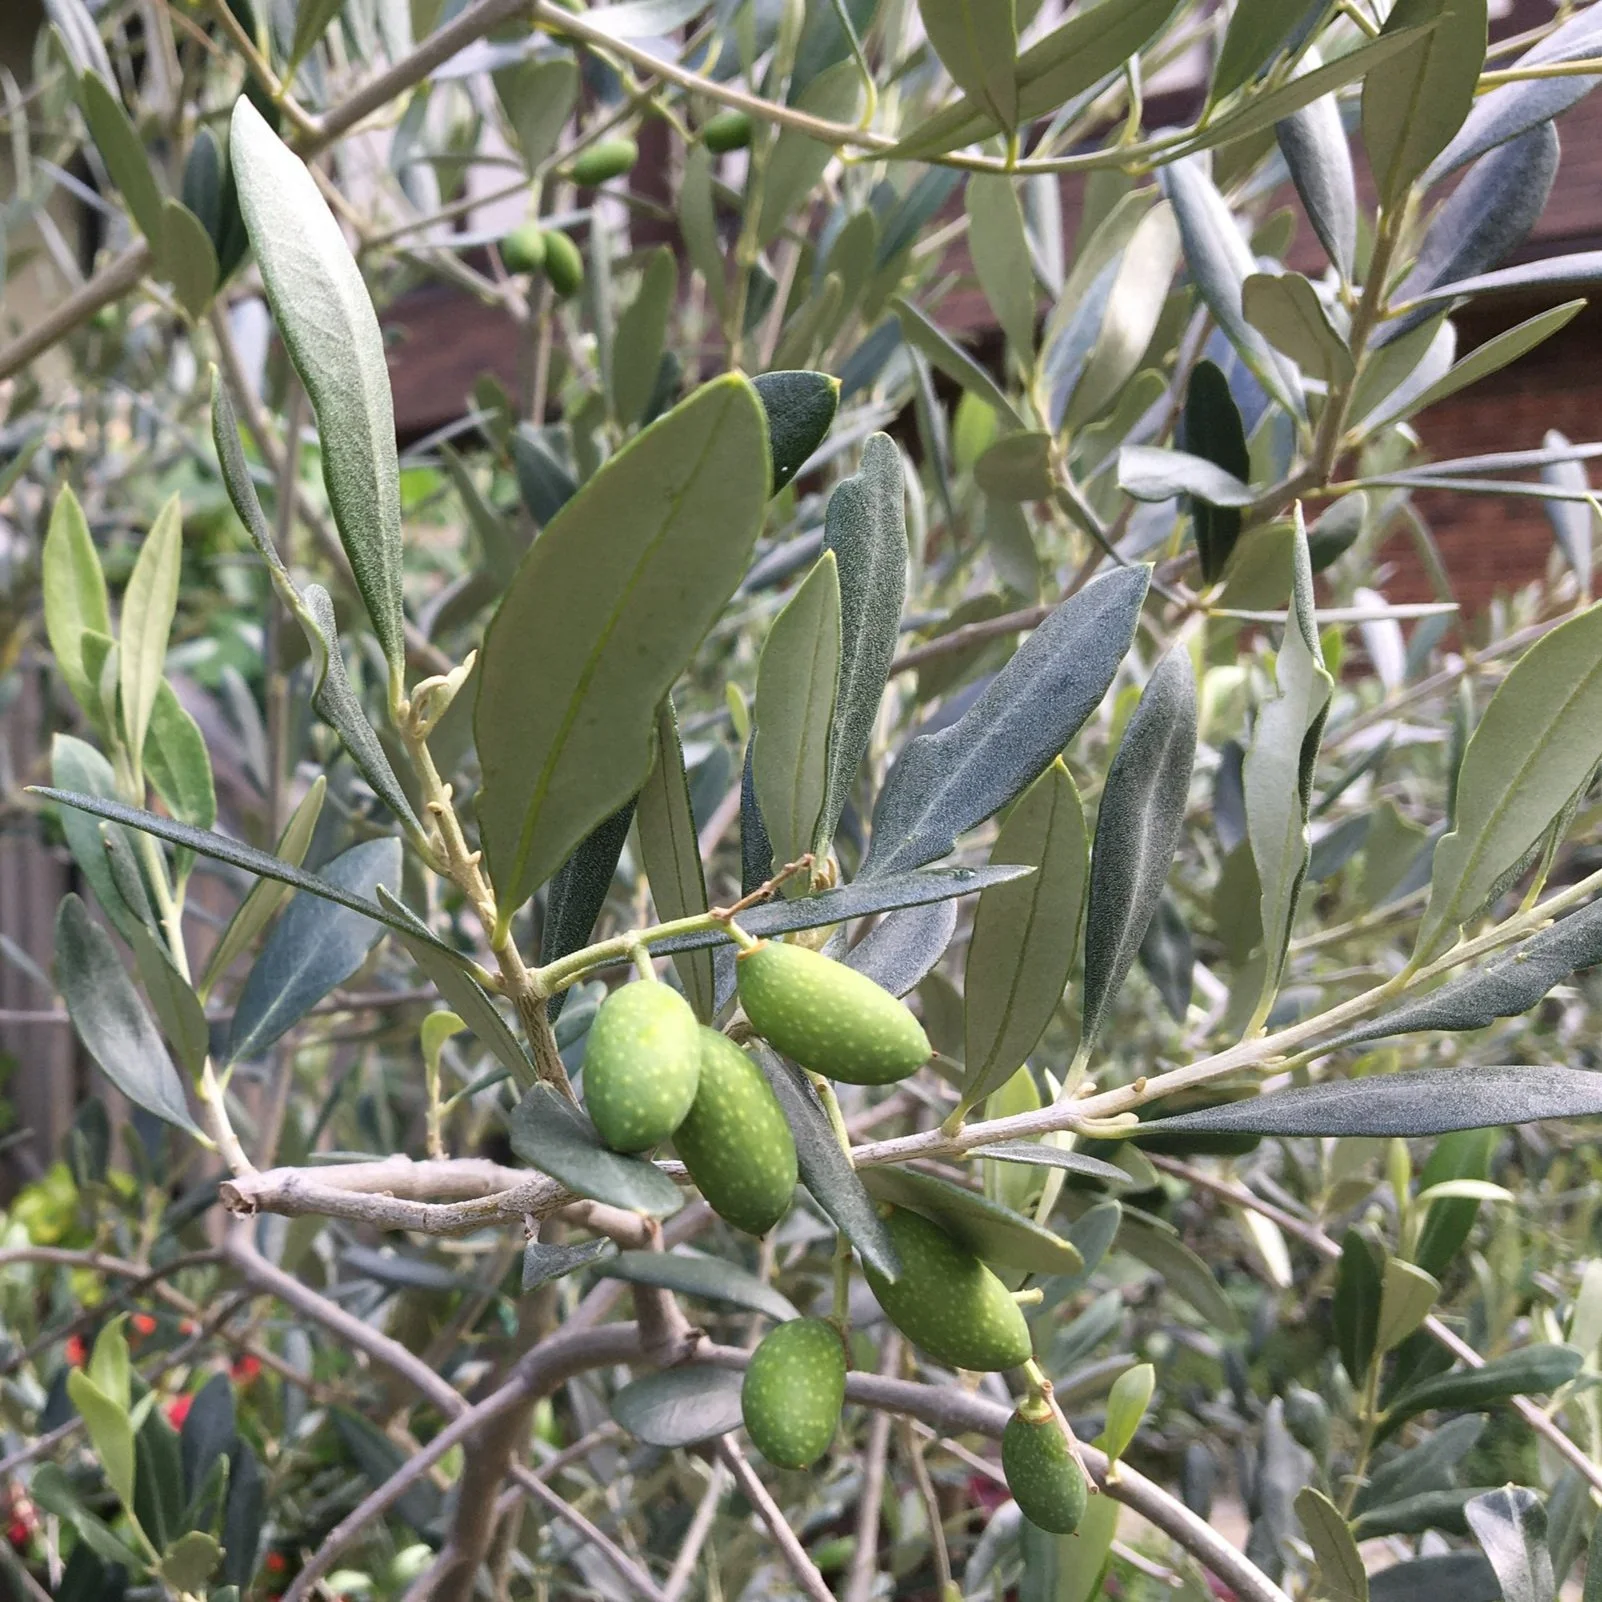
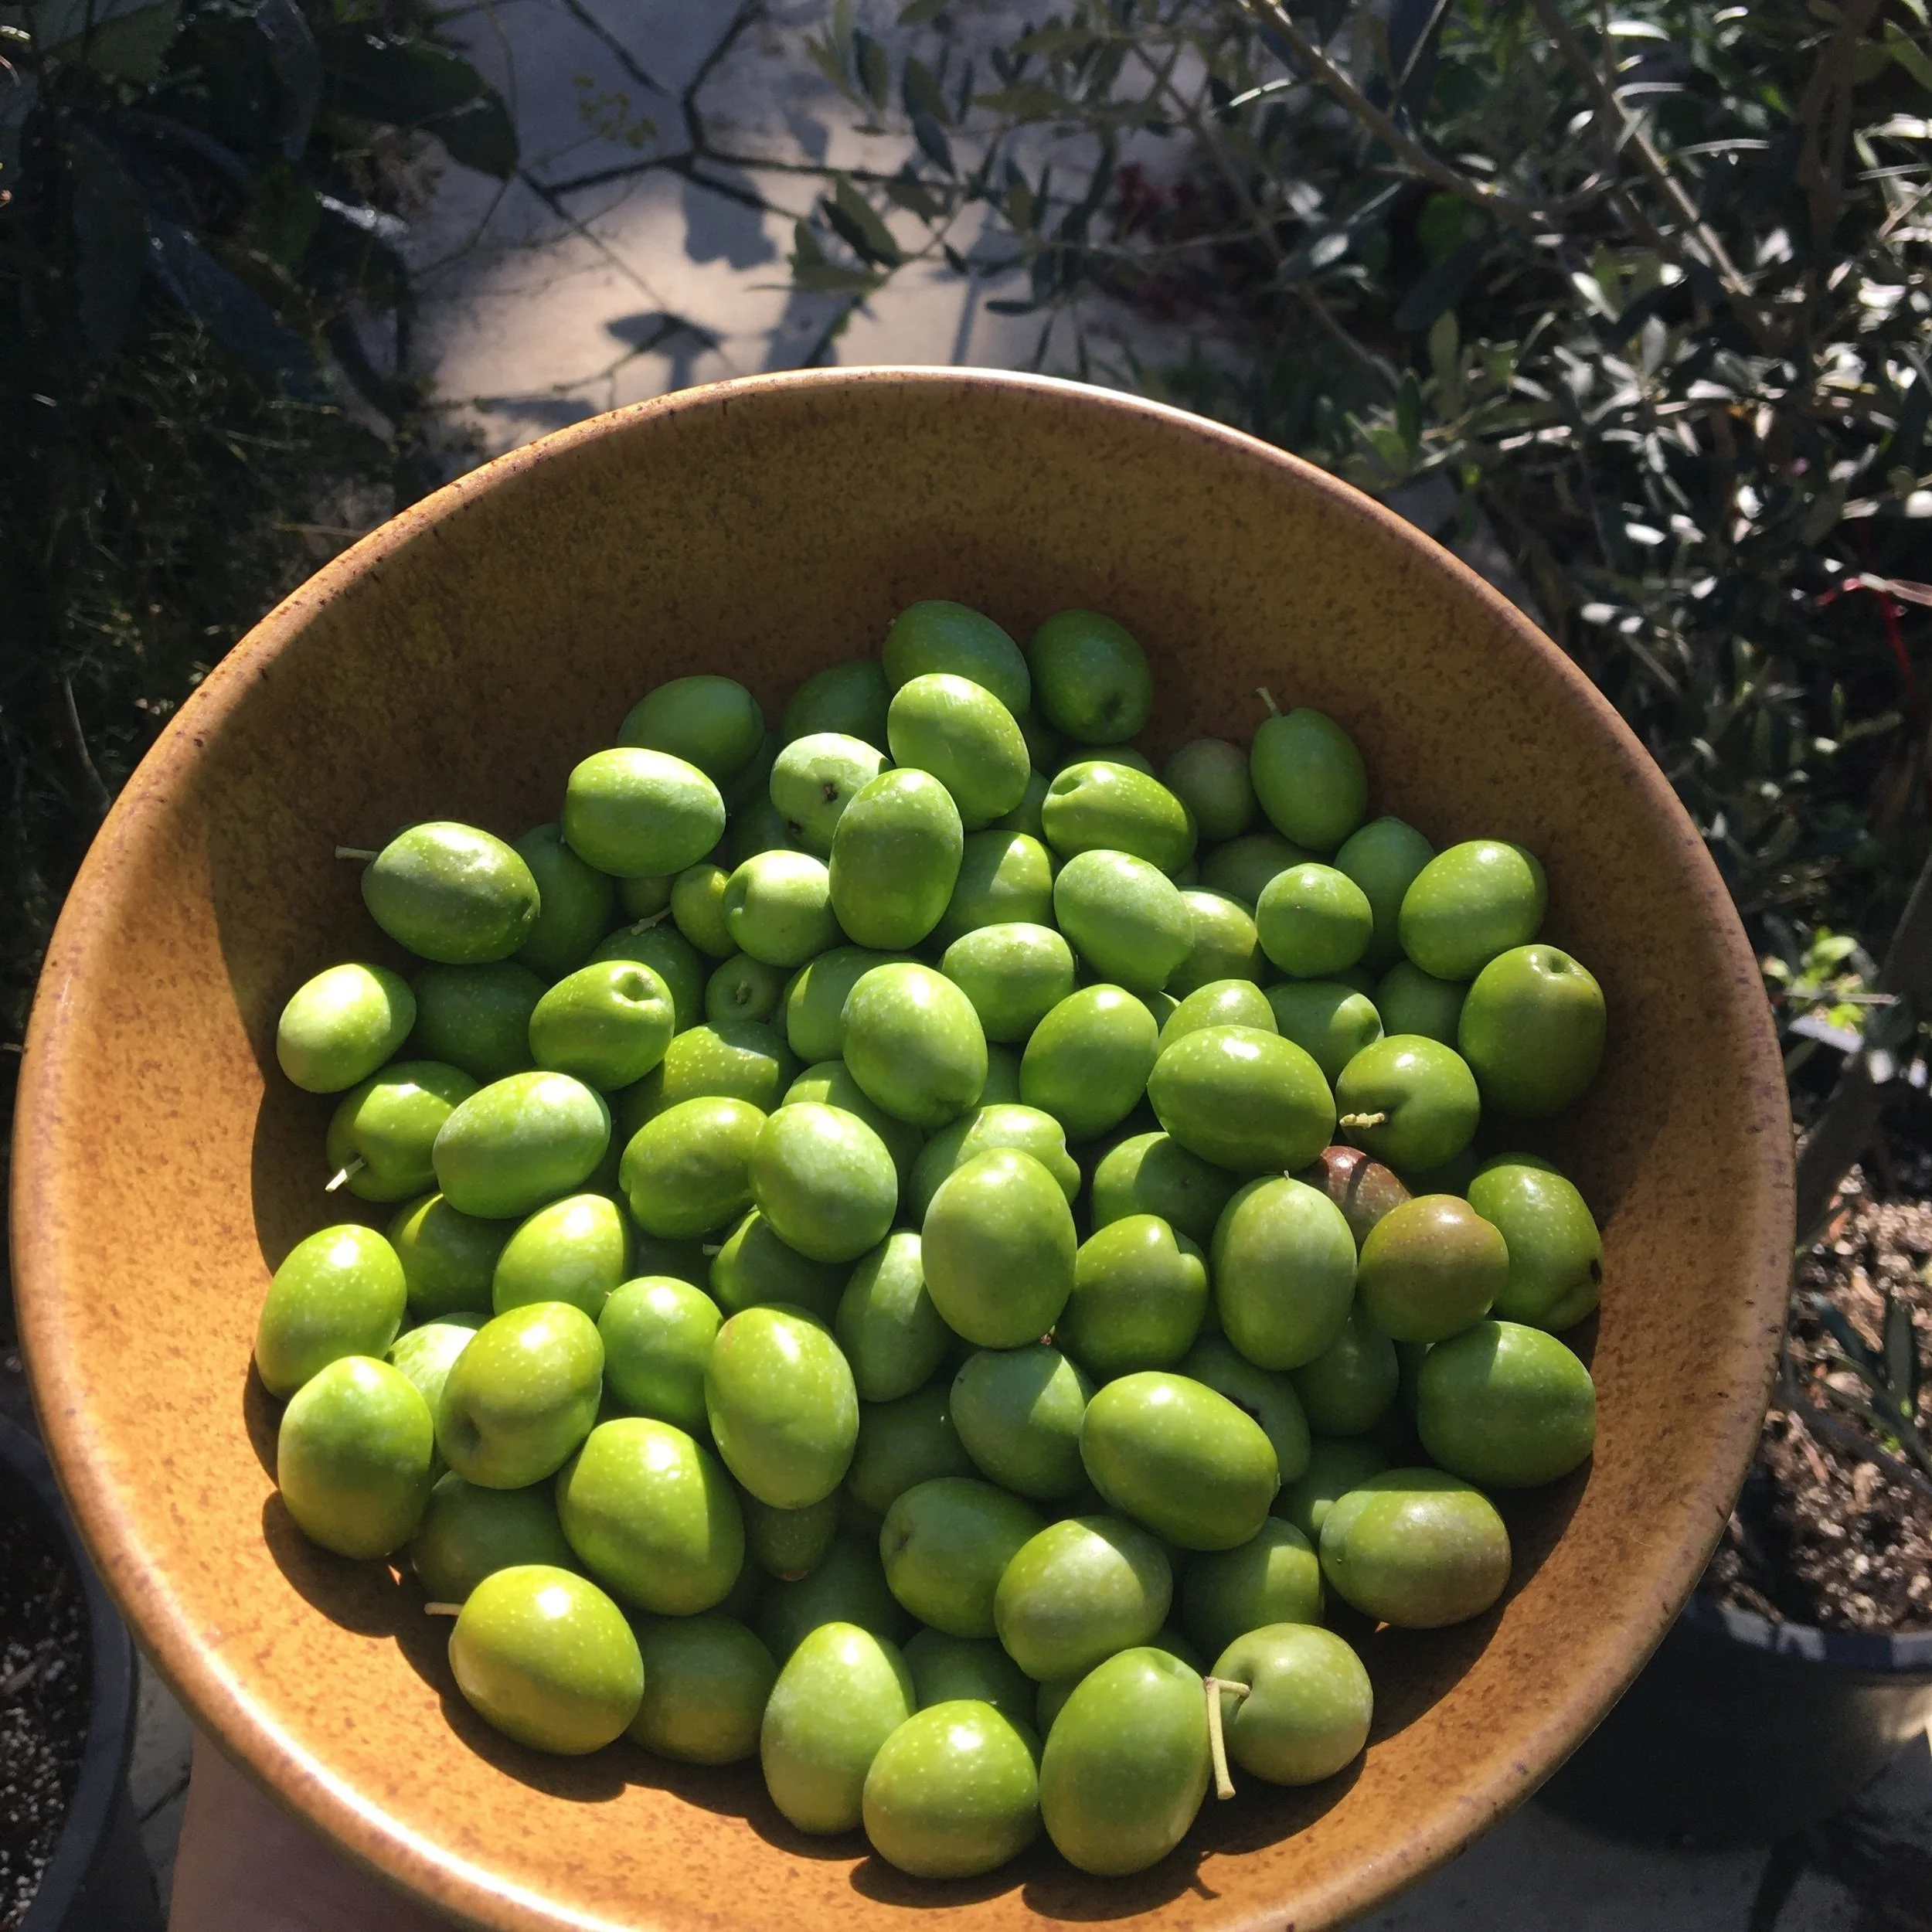
Olive harvest time depends on the growing season, the variety, and stage of ripeness. These green olives haven’t fully sized up — so even if I wanted green olives, I would wait longer, until they get to their final size and the sap inside is milky.
Harvest time depends on the growing season, the variety, and stage of ripeness.
Olives can be picked at different stages of ripeness:
Green (wait until the juice inside goes from clear to milky)
As they start to develop colour
When fully coloured (the longer you leave the olives, the more colour they will develop—and the final colour depends on the variety)
Care for Olive Trees in Pots
Soil
For small plants, where I’m repotting every year, I use a soilless mix.
For my full-size olive trees, which I repot every 3-4 years, I use a loam-based potting soil such as a John Innes mix. The soil portion of this sort of potting mix is stable in the long term. I like the combination of moisture retention and weight that the soil provides. (Weight is important so that the trees do not tip over in the wind.)
Water
Olive used as a street tree in California. Just because olive trees tolerate dry conditions doesn’t mean that you can skip watering…especially with potted olives.
Just because olive trees tolerate dry conditions doesn’t mean that you can skip watering!
Keep potted plants well watered, but not constantly wet. If that sounds like a contradiction to you, it just means let the soil get dryish—on the dry side of moist—before you water again.
Don’t let the bottom of the pot stand in water; for example, keeping it in a low spot where water collects after rain, or keeping a saucer under the pot. Olive trees don’t like to have “wet feet.”
Feeding
Feed your potted olive tree with an all-purpose fertilizer that has micronutrients in spring and summer. Stop fertilizing over the fall and winter.
Potted Olive Tree Autumn Care
There’s no rush to bring olive trees indoors in the fall. I leave mine out even as we get light frosts.
As you get them ready to bring indoors, check for pests. Scale is the most common pest of potted olive trees indoors.
Keep Your Lemon Tree Through the Winter
And enjoy fresh homegrown lemons!
Pruning Potted Olive Trees
Shape a Young Olive Tree
Scale is the most common pest of potted olive trees indoors.
(Formative Pruning for a Young Olive Tree)
A young tree might need support until its stem thickens. Tie it loosely to a stake. As the trunk thickens, you can remove the stake.
Plants that are grown from cuttings (as are most commercially available plants) are “physiologically” mature and can fruit while quite small. Twelve-inch trees might start to flower and fruit (teenage olive plants thinking they’re adults!)
Resist the temptation to let the fruit develop: While the plants are this small, you want to encourage stem growth. Fruit will slow down stem growth. Remove fruit from small trees and focus on building a permanent framework of branches.
If you’re developing your young olive plant into a tree, at a certain height you will want “scaffold” branches – like arms coming out horizontally from your main trunk. Aim for 3-5 scaffold branches. If you want your olive tree to be about as tall as a person, allowing these to form at about 3’ from the ground is a good starting point.
The size of potted plants is determined by the gardener. I prune the plants to six feet in height so they are easily carried through a doorway. Once the tree has reached the biggest size you can deal with, think of it like a big bonsai – and keep it at that size.
Young plants can be set back by heavy pruning, so, unless necessary, keep pruning of young potted olive trees to a minimum.
Maintenance Pruning for Established Plants
The first thing to keep in mind as you prune your olive tree is that fruit forms on growth from the previous season. So if you give the tree a haircut all around and prune off new wood, you won’t get much fruit.
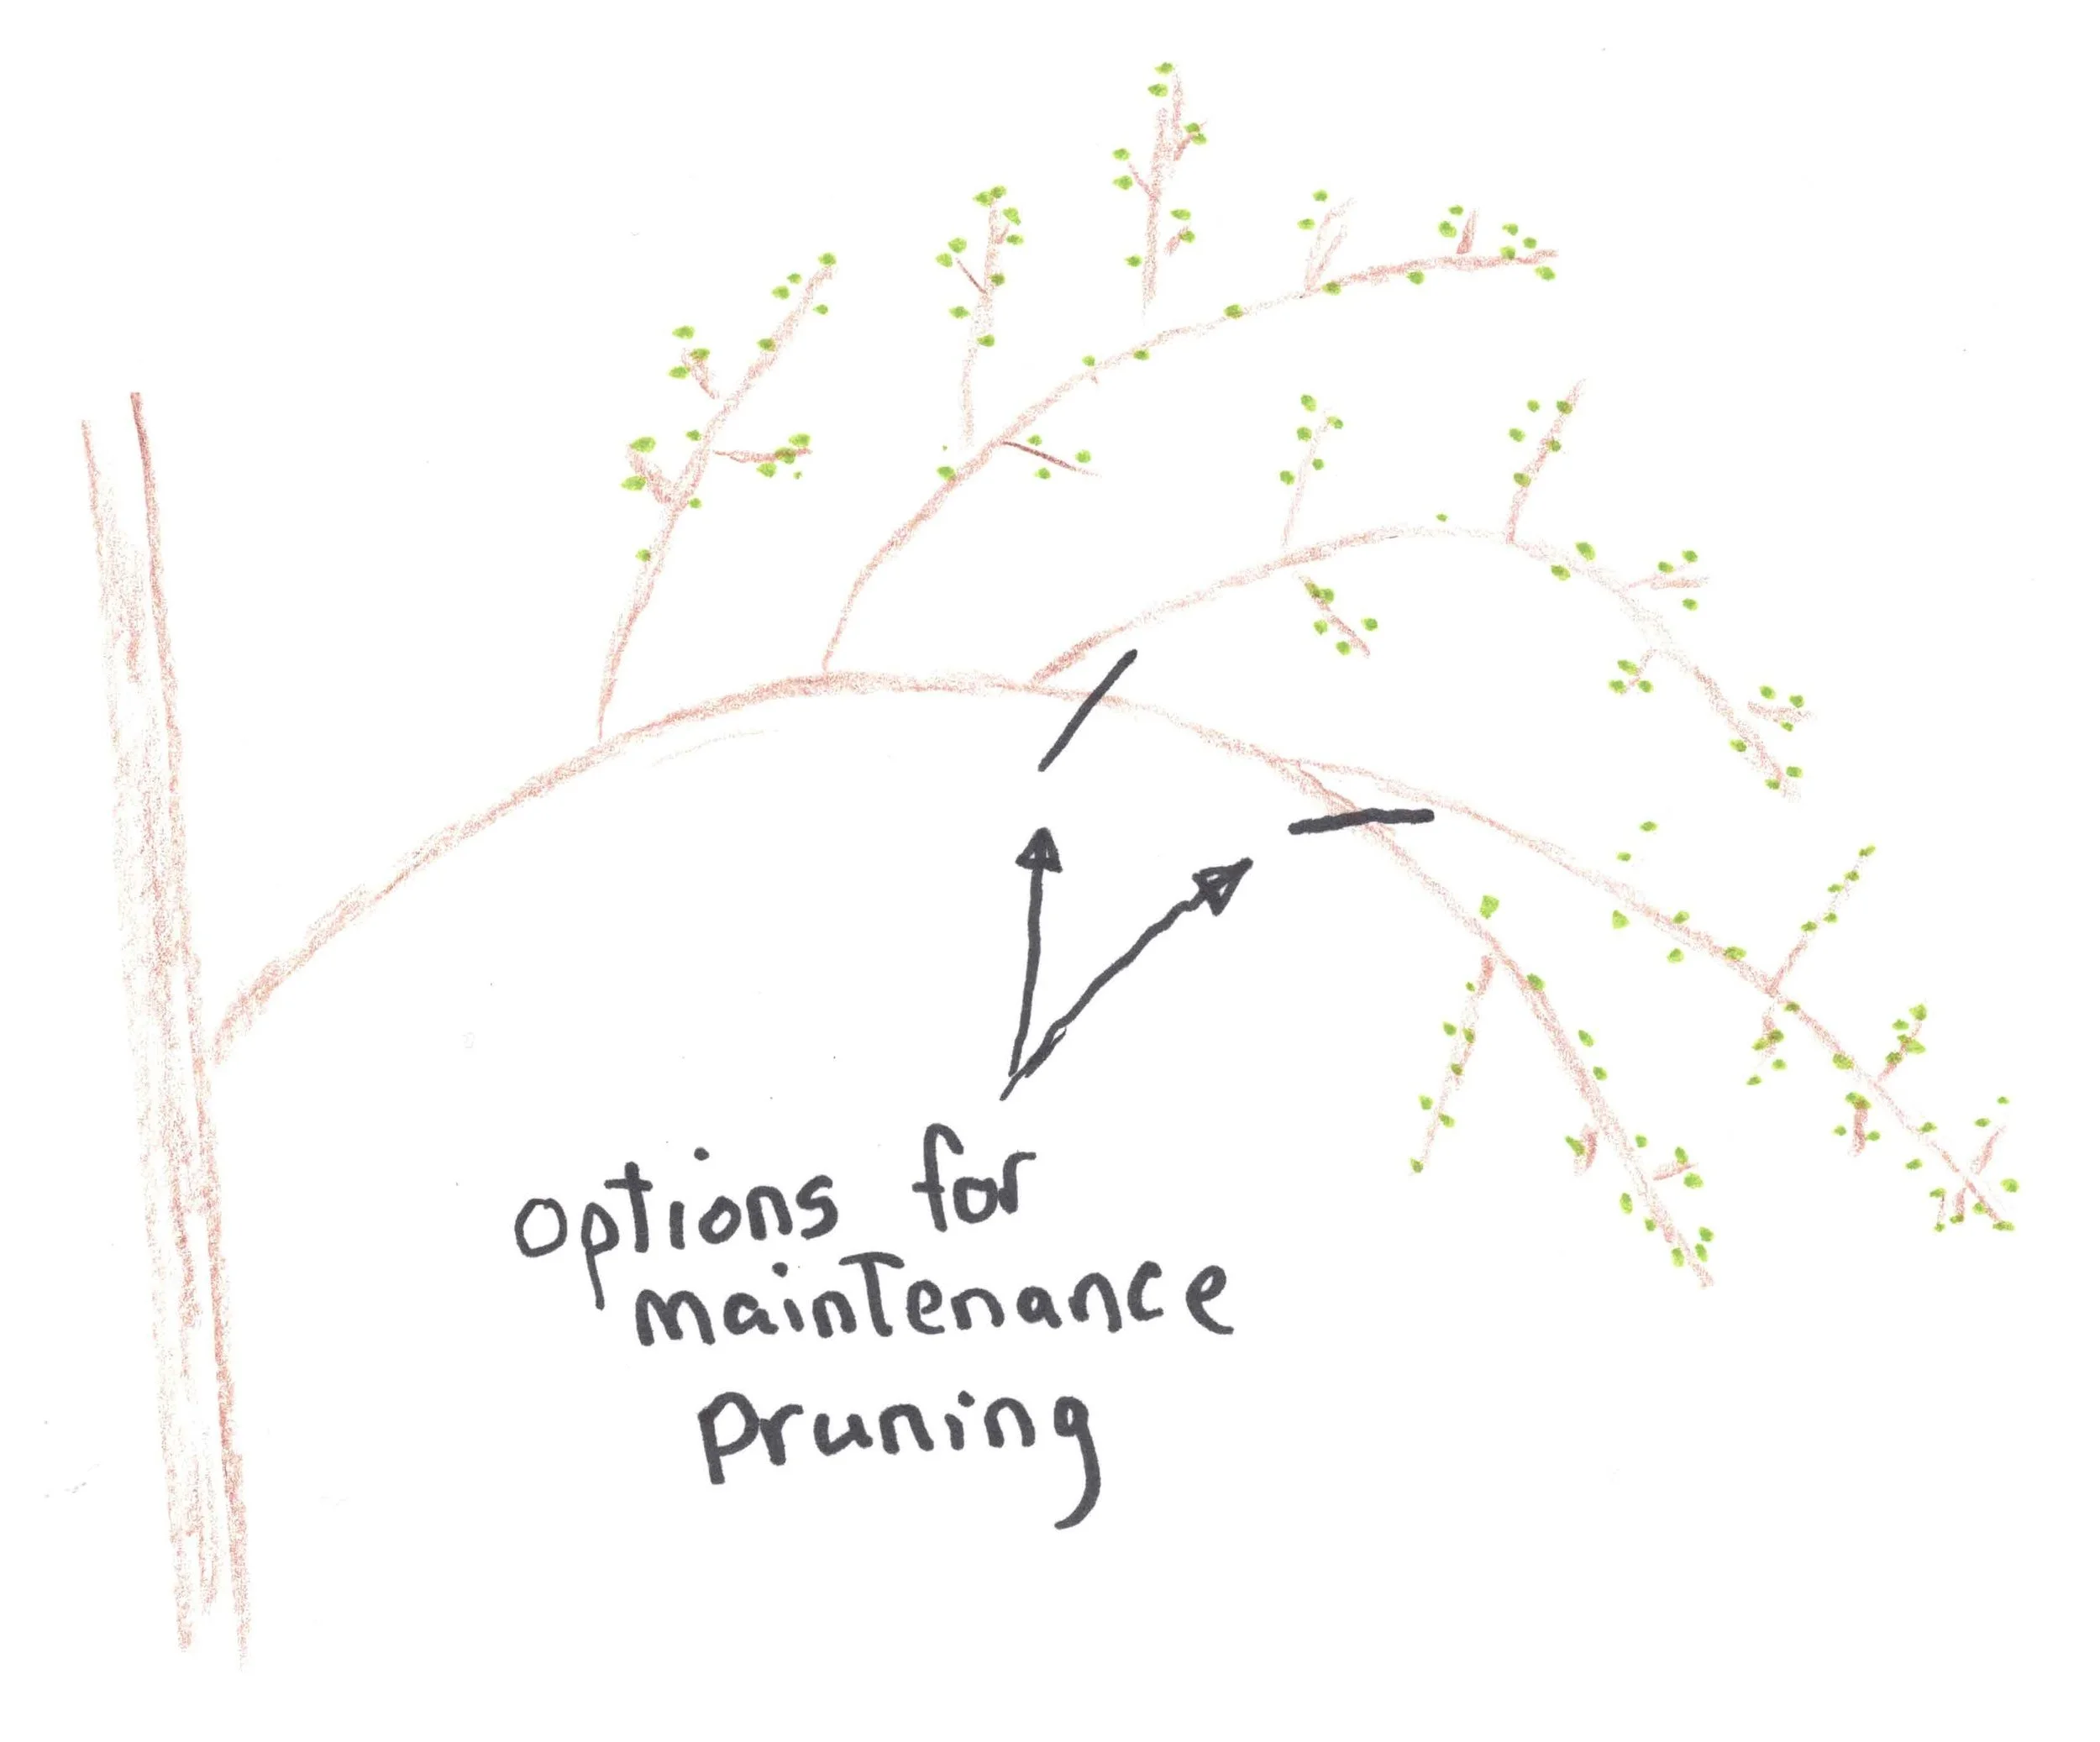
The second thing about olive pruning is that the plants have a growth habit which, after you develop and eye for it, actually makes them simple to prune. Branches bend under their own weight, sagging more and more as time goes on.
As the branch gets longer and the end sags, there are new branches growing upwards from it, closer to the centre of the tree. Prune off the sagging end of the branch, leaving these replacement branches. The new growth on these replacement branches gives olives.
Prune off the sagging end of the branch in the fall. This leaves the branches above as replacement branches.
Here are things to keep in mind as you prune your olive tree:
Prune to the size and shape you want
Remove crossing branches
Remove branches growing inwards, towards the centre of the bush or tree
Remove suckers that grow from the base of the plant
Remove vigorous shoots growing upwards as these are not usually very fruitful
Rejuvenation Pruning
Olive trees have an amazing ability to make new shoots from old parts of the plant. This means that if you have a tree or bush that is very overgrown, you can prune heavily, right back to major branches, and still have replacement branches grow.
When you make a major pruning like this, the response of the plant will be to send up lots and lots of new shoots.
Here’s the trick: Don’t leave all those new shoots until you prune the following year. Letting them all grow will let the plant waste lots of energy. Only leave the ones that you want—and snip off the rest.
One other thing if you’re renovating an older tree: Avoid tearing the bark as you cut and remove bigger branches. You don’t want to leave a little bit of bark attached, and then, as you pull away the pruned branch, tear a strip of bark from your tree.
When to Prune Olive Trees
I do the main pruning on my potted olive trees in the fall, before moving them into winter storage. My winter storage conditions are quite moderate…and I need to keep trees on the small size for my small storage space
Potting and Repotting Olive Trees
Repot olive trees in the late winter or spring, just before new growth begins.
Your choice of final pot size depends on how large you want your olive trees to grow. My own olive trees are in pots that are 36 cm (14”) wide — and that’s big enough for the two-metre-high trees (6’ high). Because you’re moving the trees around spring and fall, select a size that isn’t too heavy for you.
When you’re getting started with a small olive plant, like the little one I originally brought home from the garden centre, move it to a slightly bigger pot each spring.
Larger trees do not need to be repotted every year. In years that you don’t repot them, top up the potting soil with some fresh potting soil and compost.
I’ve seen fantastic specimens in half-barrel sized pots…but that’s too big for my setup.
Olive Varieties
My original two olive trees are an unnamed variety with olives that are large, plump, and green when I pick them here in Toronto in October.
There are many olive varieties. They differ in the size, shape, flavour, texture, colour, and oil content of the olives. The winter chill requirements also vary.
Different varieties also have different amounts of cold tolerance. While cold tolerance is important for in-ground olive cultivation in borderline zones, it’s not an issue for potted olives that are moved to a protected space over the winter.
My original two olive trees are an unnamed variety with olives that are large, plump, and green when I pick them here in Toronto in October. My third olive is a self-fertile variety called ‘Frantoio.’ It has smaller olives that are just starting to colour up as I pick before putting away my olives for winter.
Olive Tree Hardiness
Hardiness is never an exact science. It varies by variety; and is affected by the timing of the cold, the duration, and if there are large temperature swings.
The fruit can’t withstand temperatures as cold as the tree.
Different sources give different minimum temperatures. The key thing to keep in mind with a potted olive tree is that potted trees can’t take as much cold as in-ground plants.
So forget the exact numbers and just play it safe.
I use -2°C (28°F) as a safe minimum temperature for my potted olive trees. (I’m sure some gardeners have had potted olive trees survive temperatures colder than this — but there’s no need to take a chance if you’re going to all the trouble of growing a plant in a pot.)
If your olive tree is exposed to temperatures that are too cold, you will see damage to leaf and branch tips, and newer leaves that are around the outside of the tree canopy.
Are you in a borderline hardiness zone and wondering whether there’s a way to grow olive trees in the ground? Read this article about growing olives outdoors in Canada.
If you’re interested in the things that affect hardiness, here’s a post where I talk more about them and how they affect fig hardiness.
New Release for December 2024.
Now available for pre-order.
Even if you live somewhere too cold for olive trees to survive the winter, you can enjoy the exotic touch of an olive tree in your garden. This book gives you what you need to know to grow an olive tree in a pot. (And get olives!)
Potted Olive Trees in Landscape Design
Potted olive trees have great ornamental potential. One use is as a focal point.
If you’ve read this far and are thinking it’s a bit of a bother to grow a potted olive tree in a cold climate, aside from the olives, there’s one other thing to consider: The ornamental value of potted olive trees.
Here are some ideas:
Potted olive trees on either side of an entrance to frame it
Potted olive trees as a visual screen beside a sitting area
A potted olive tree as a focal point in a formal edible garden or potager
An exotic interest plant on a deck or patio (looks great next to a potted lemon tree!)
Olive Tree Propagation
The easiest way for a home gardener to propagate olive trees is to look for a sucker coming up from the base of the plant, at soil level. If you’re lucky, that sucker will have some of its own roots – and you can cut it from the plant and pot it up. (You might need secateurs or a saw.)
Nurseries propagate olives from cuttings. Olive cuttings don’t root as easily as some plants. But if you would like to try, get a cutting with a few nodes, 8-12” long. Use rooting hormone, and keep it in humid conditions. Keep humidity high by covering individual pots with clear plastic bag; or, if it’s a whole tray, with a clear dome.
Find out how I propagate fig trees from cuttings.
Potted Olive FAQ
The easiest way for a home gardener to propagate olive trees is to look for a sucker coming up from the base of the plant. I removed this sucker, along with roots, using a pair of secateurs.
Why does my olive only have fruit every second year?
This is called “alternate bearing” and is common with many fruiting plants. Apples are a good example. The tree uses lots of energy to develop a big crop, so no energy is used to make flower buds for the following year. This is solved by pruning and fruit thinning. If you prune your potted olive every year, you can minimize alternate bearing.
When should I bring my olive tree indoors?
It’s not an exact science. I leave my olive trees outdoors for a couple of weeks of temperatures near freezing before moving them to a protected space. This helps to satisfy winter chill requirements.
Can you grow an olive tree from a pit?
Yes. My neighbour Joe had a seed-grown olive tree that he liked to show me. If you enjoy the challenge of growing from seed, try it. But know that, like apples, olive seeds won’t give you a plant like the parent plant. If you want an olive with known properties, start with a cutting or a graft from a known variety.
Can I grow an olive tree in Canada?
Yes! Read about olive trees in Canada. In warmer areas they can grow in the ground (with or without protection, depending on the conditions—and in colder zones, in a pot.
Why can't you eat olives off the tree?
You can do it once, but I guarantee that you won’t try it a second time.
Fresh olives contain alkaloid compounds that make them jarringly bitter. You’ll contort your face and say something rude. And then know better next time.
How do you brine an olive?
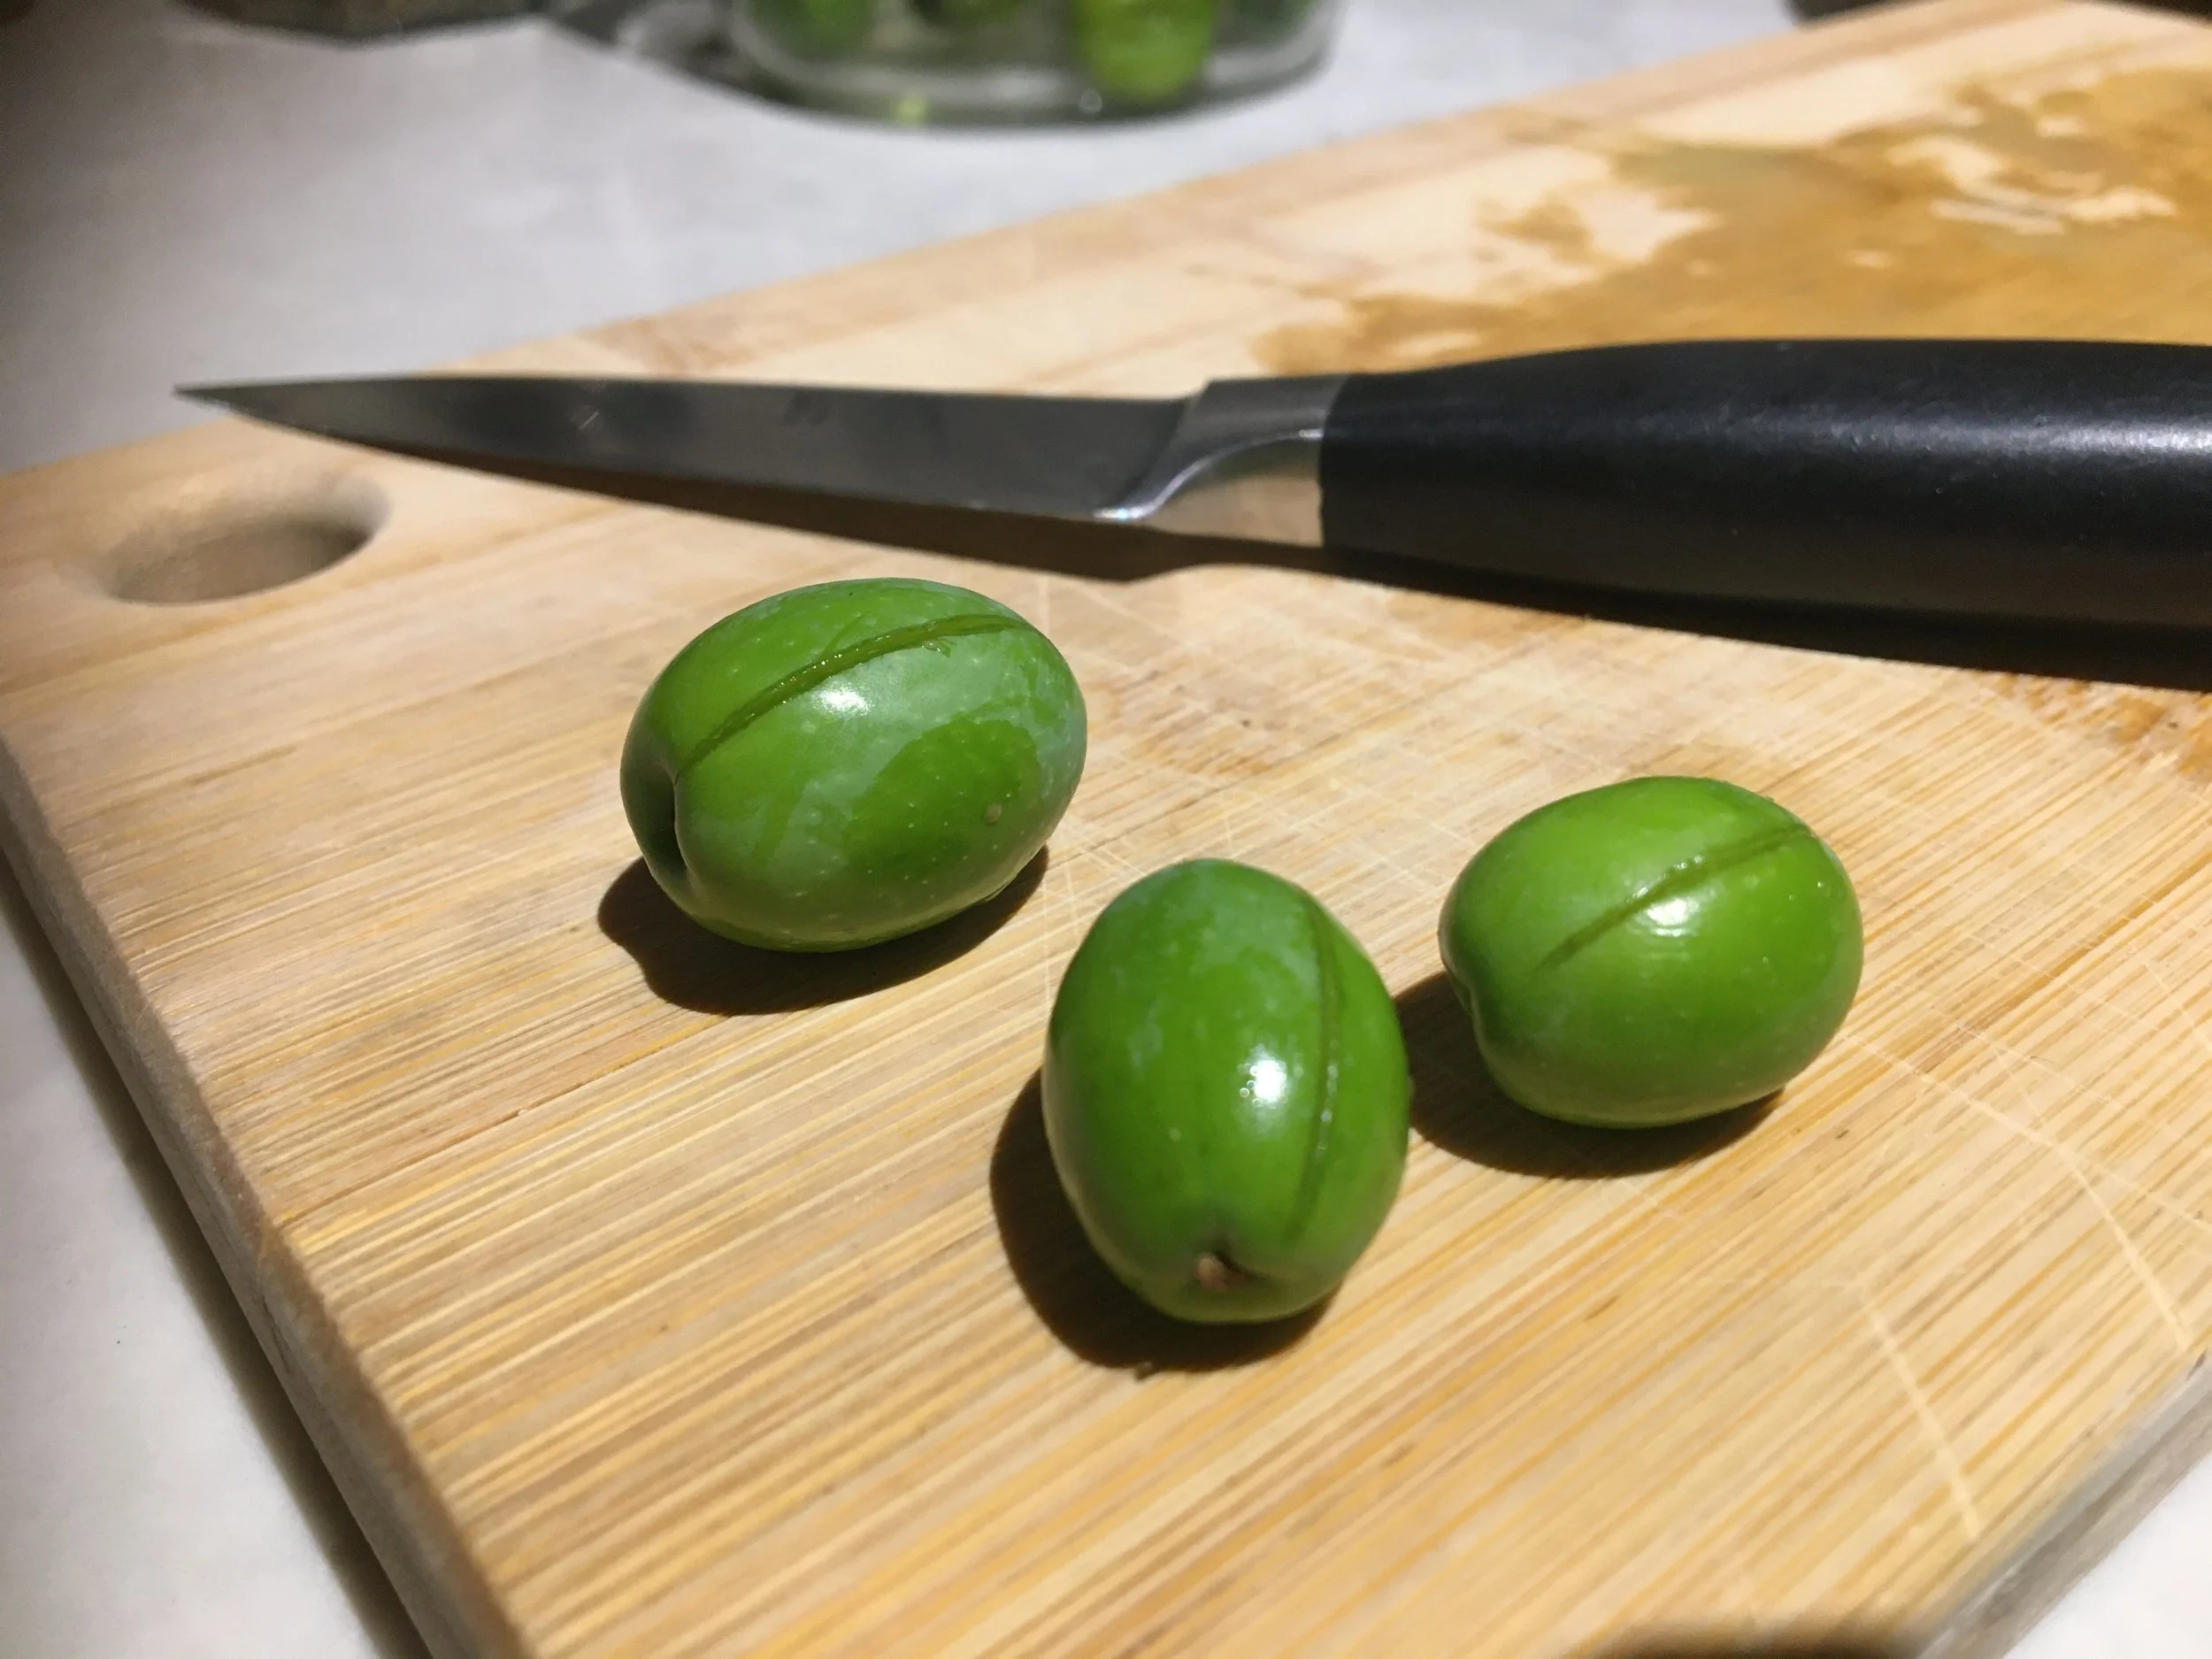
I just slit olives lengthwise with a knife as I prepare them for brining.
There is more than one way to do this. The goal is to remove the bitterness.
Here’s what I do, thanks to the guidance from friends from olive-growing regions:
First, break the skin so that the brine can better penetrate the olive. Some people crush the olive with a mallet or the end of a knife handle, and some people prick them with a fork. I just slit them lengthwise with a knife.
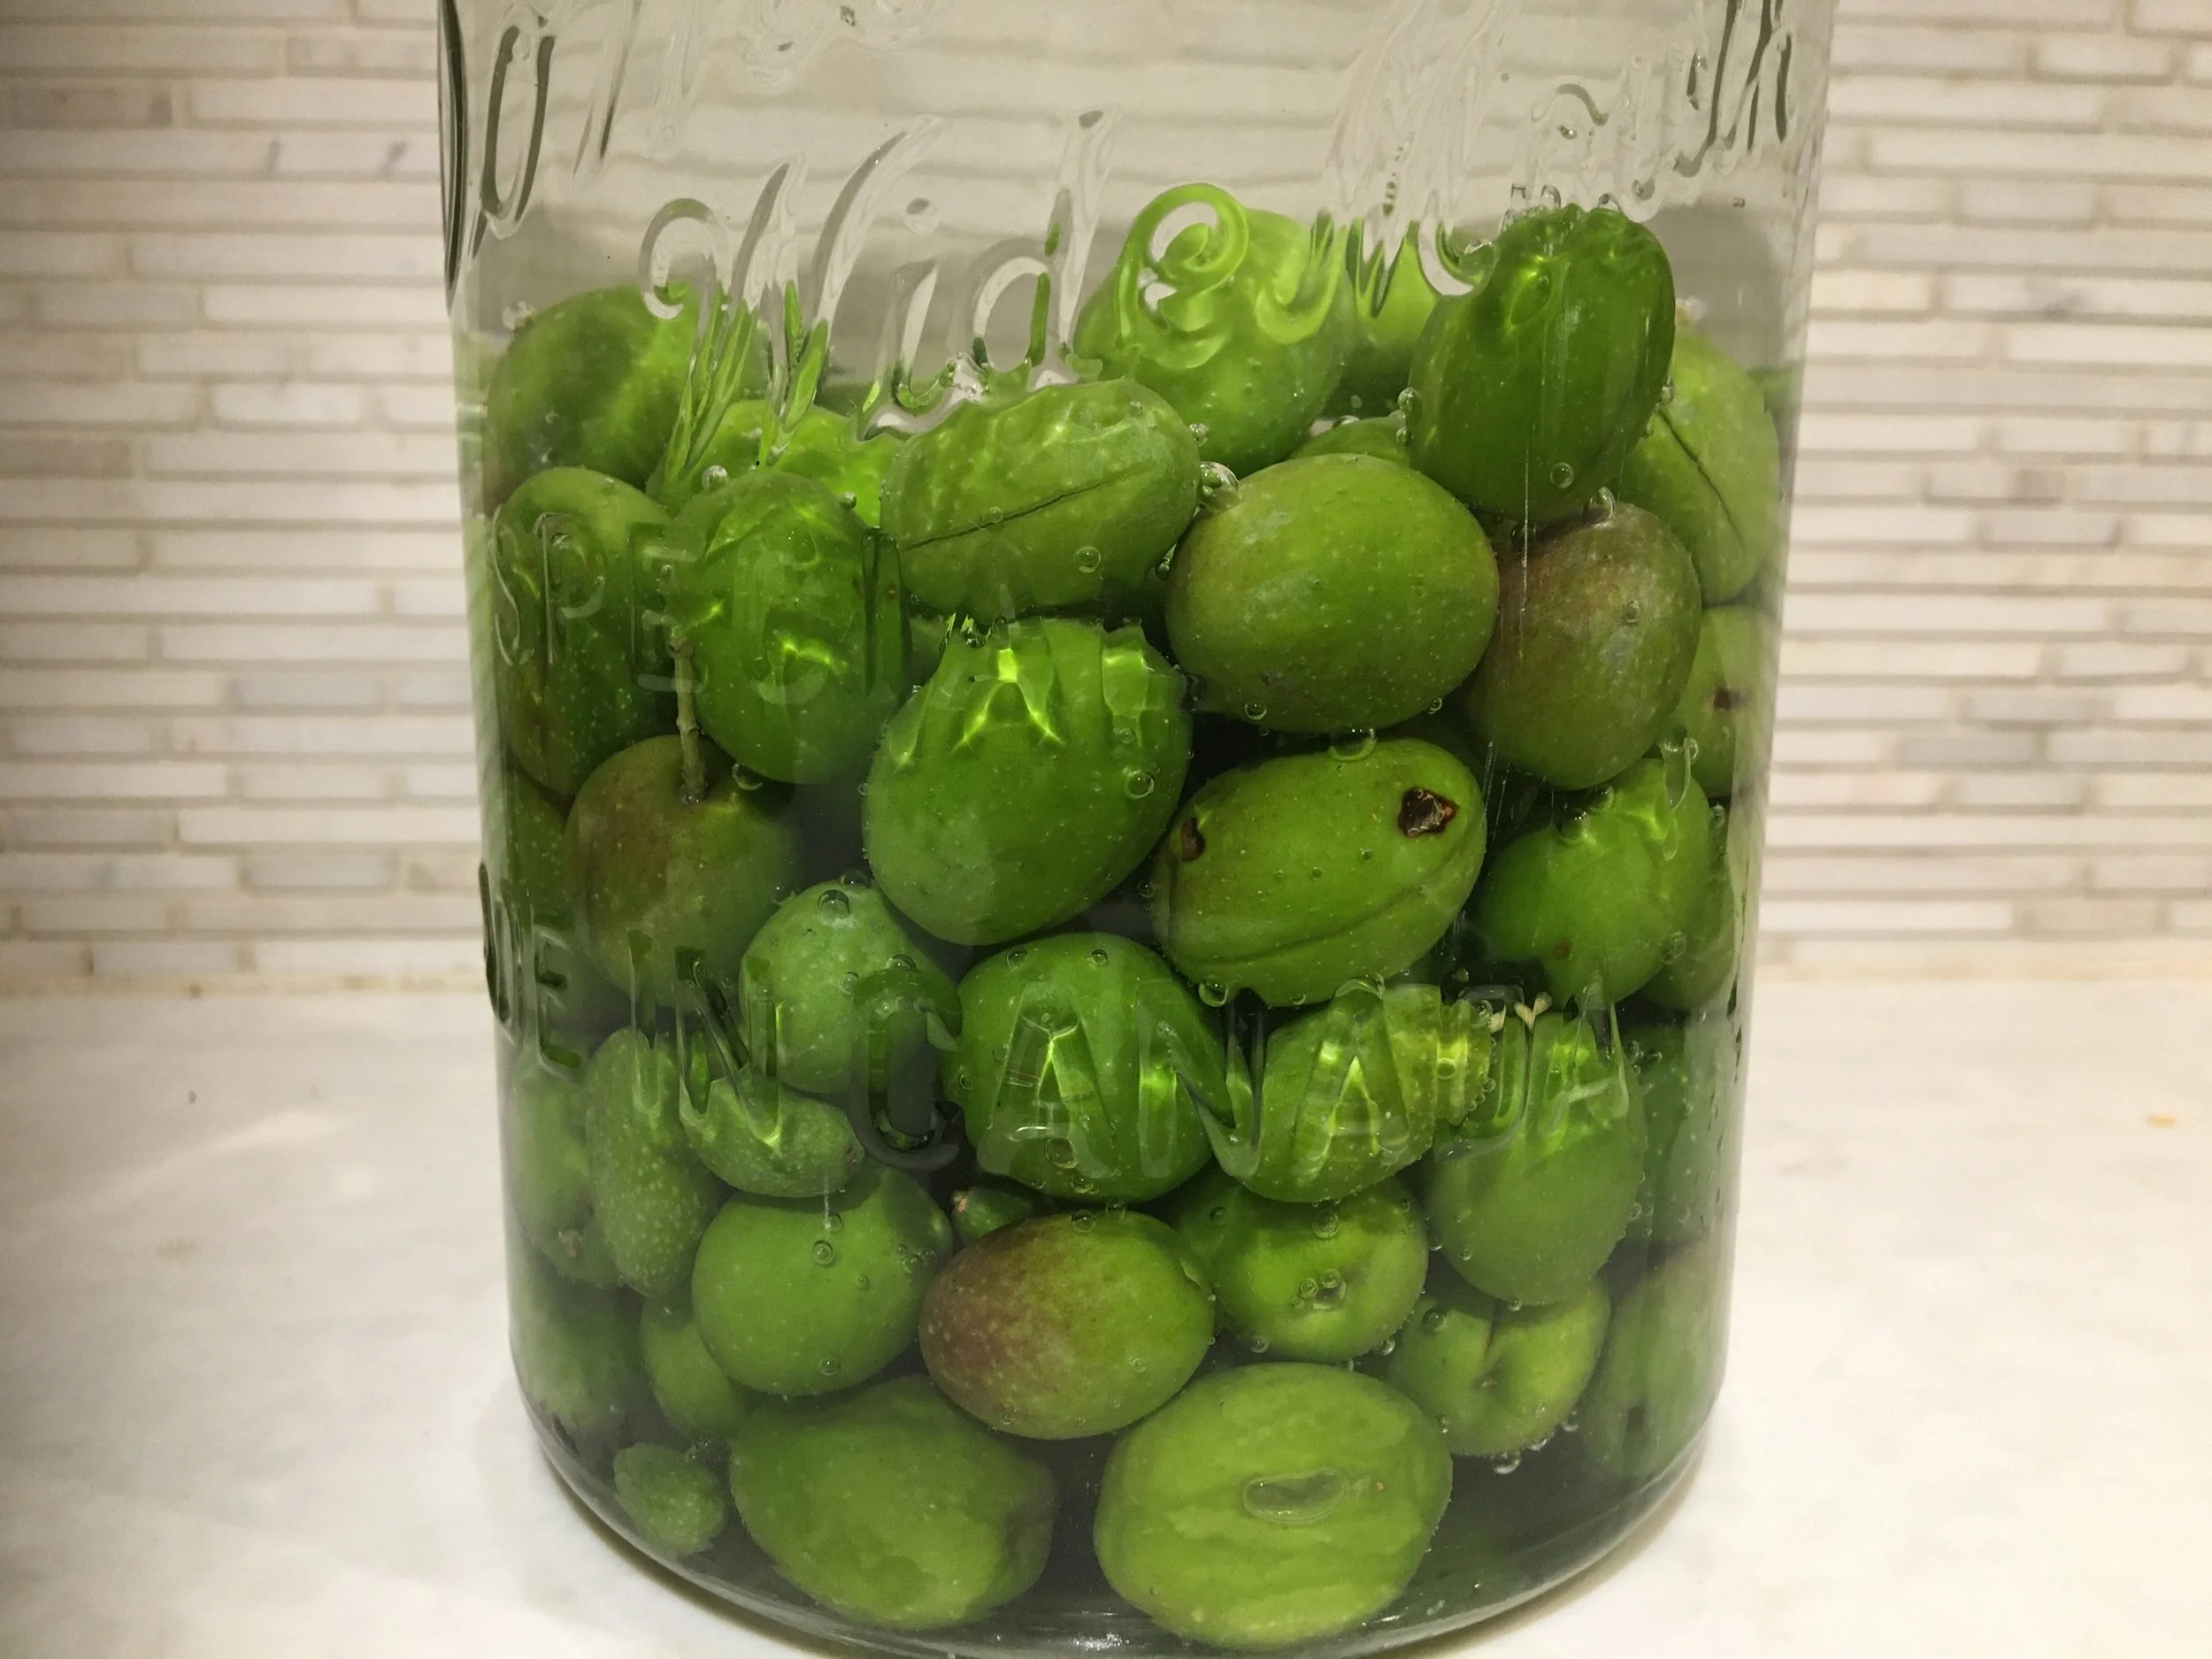
Then I put the olives in a jar or bowl of water to soak for 10 days, changing the water twice a day.
After that the olives go into a brine of 100 grams of salt per litre of water.
Leave the olives in the bring for at least 2 weeks, probably longer. Taste one, and if it’s too bitter for your liking, brine the olives longer.
When I think they’re ready, I put pour off the brine, and then marinate them with red wine vinegar, lemon zest and juice, a bit of olive oil, crushed garlic, rosemary, and ground pepper.
Put the olives in a jar or bowl of water to soak for 10 days, changing the water twice a day.
Find This Helpful?
If we’ve helped in your food-gardening journey, we’re always glad of support. You can high-five us below! Any amount welcome!
More on Olives
Find out about olive growers in Canada.
More Mediterranean Crops for Cold Climates
Push the Limits!
If you get a kick out of growing things where they don’t normally survive, find out about how to harvest figs and lemons in cold climates.
Articles and Interview About Figs and Lemons
Here are articles to help you grow figs and lemons in cold climates:
Courses on Figs and Lemons in Cold Climates
Here are self-paces masterclasses to help you grow figs and lemons:
Books on Mediterranean Crops
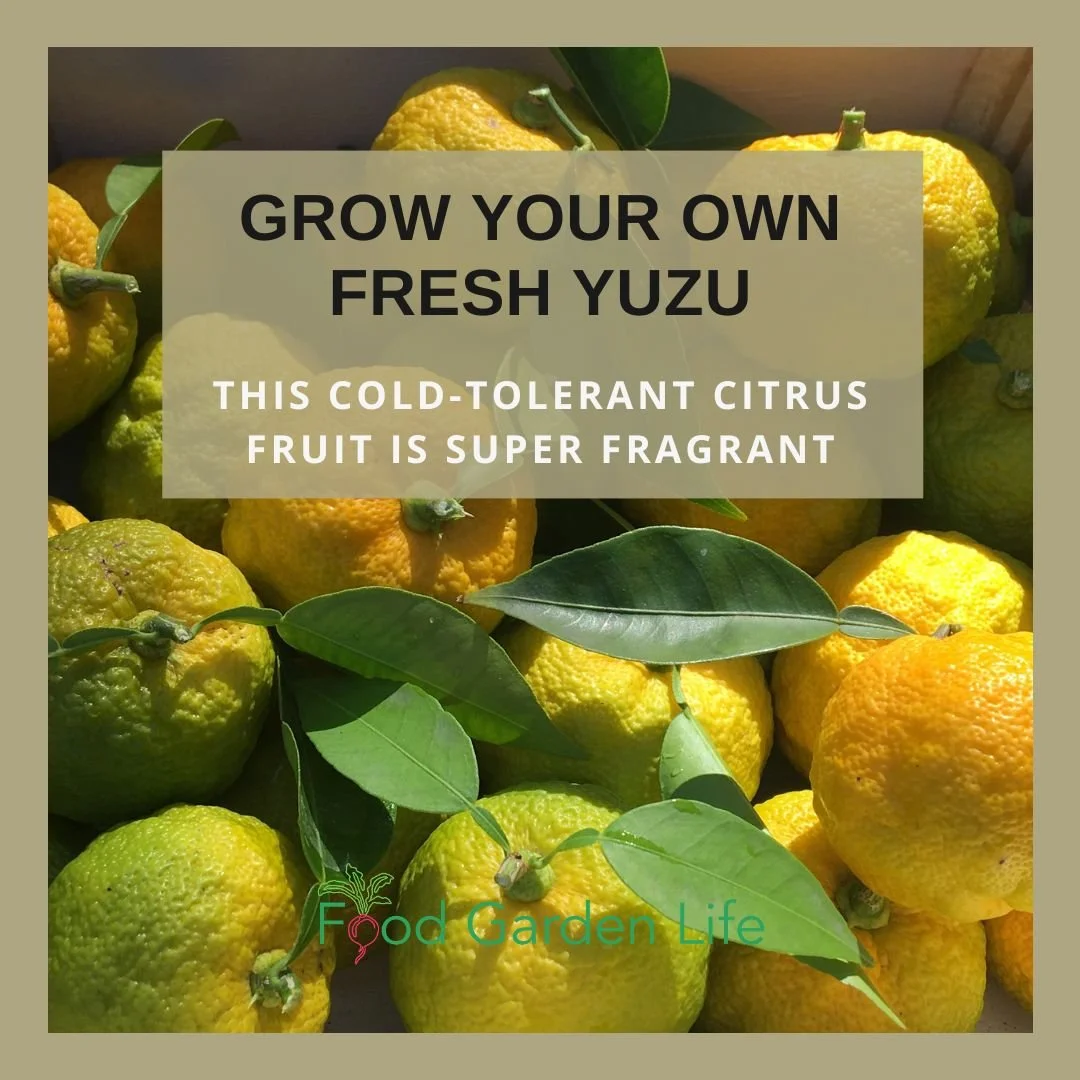
This Cold-Tolerant Citrus Fruit is Super Fragrant: Yuzu
Yuzu: This Citrus is a Rare and Fragrant Foodie’s Delight (And You Can Grow it in a Cold Climate!)
By Steven Biggs
Grow Your Own Fresh Yuzu Citrus
Yuzu fruit, also called yuzu citrus, is very cold tolerant.
This citrus fruit looks similar to a mandarin orange. But scratch the rind and you’ll quickly know it’s not.
Don’t pop it in your mouth, either. This isn’t a peel-and-eat fruit.
Unlike a mandarin it’s:
Pucker-up sour
Super seedy
Delightfully aromatic
Chefs and food enthusiasts know all about yuzu. Yuzu juice and yuzu zest are prized.
But good luck finding fresh yuzu fruit for sale—or finding a yuzu plant at a garden centre. The gardening world hasn’t caught up with the culinary world when it comes to yuzu.
It’s too bad, because yuzu is easy to grow. And—for cold-climate gardeners—it’s even more cold tolerant than lemon.
With its fragrant flowers and glossy leaves, it’s a fine addition to the cold-climate kitchen garden. Grow it as a potted plant—or an in-ground plant in borderline zones.
Keep reading this article to find out how to grow and harvest your own yuzu in a cold climate.
What is Yuzu
Pin this post!
Yuzu (Citrus junos) is a very cold-tolerant citrus plant. The cold-tolerance is no surprise given its pedigree: It’s thought to be a naturally occurring hybrid of two other cold-tolerant citrus fruits, mandarin and ichang lemon.
Yuzu plants are fairly upright, making them easy to grow as a single-stem potted tree. I keep my potted yuzu at about 1.5 metres (5’) high.
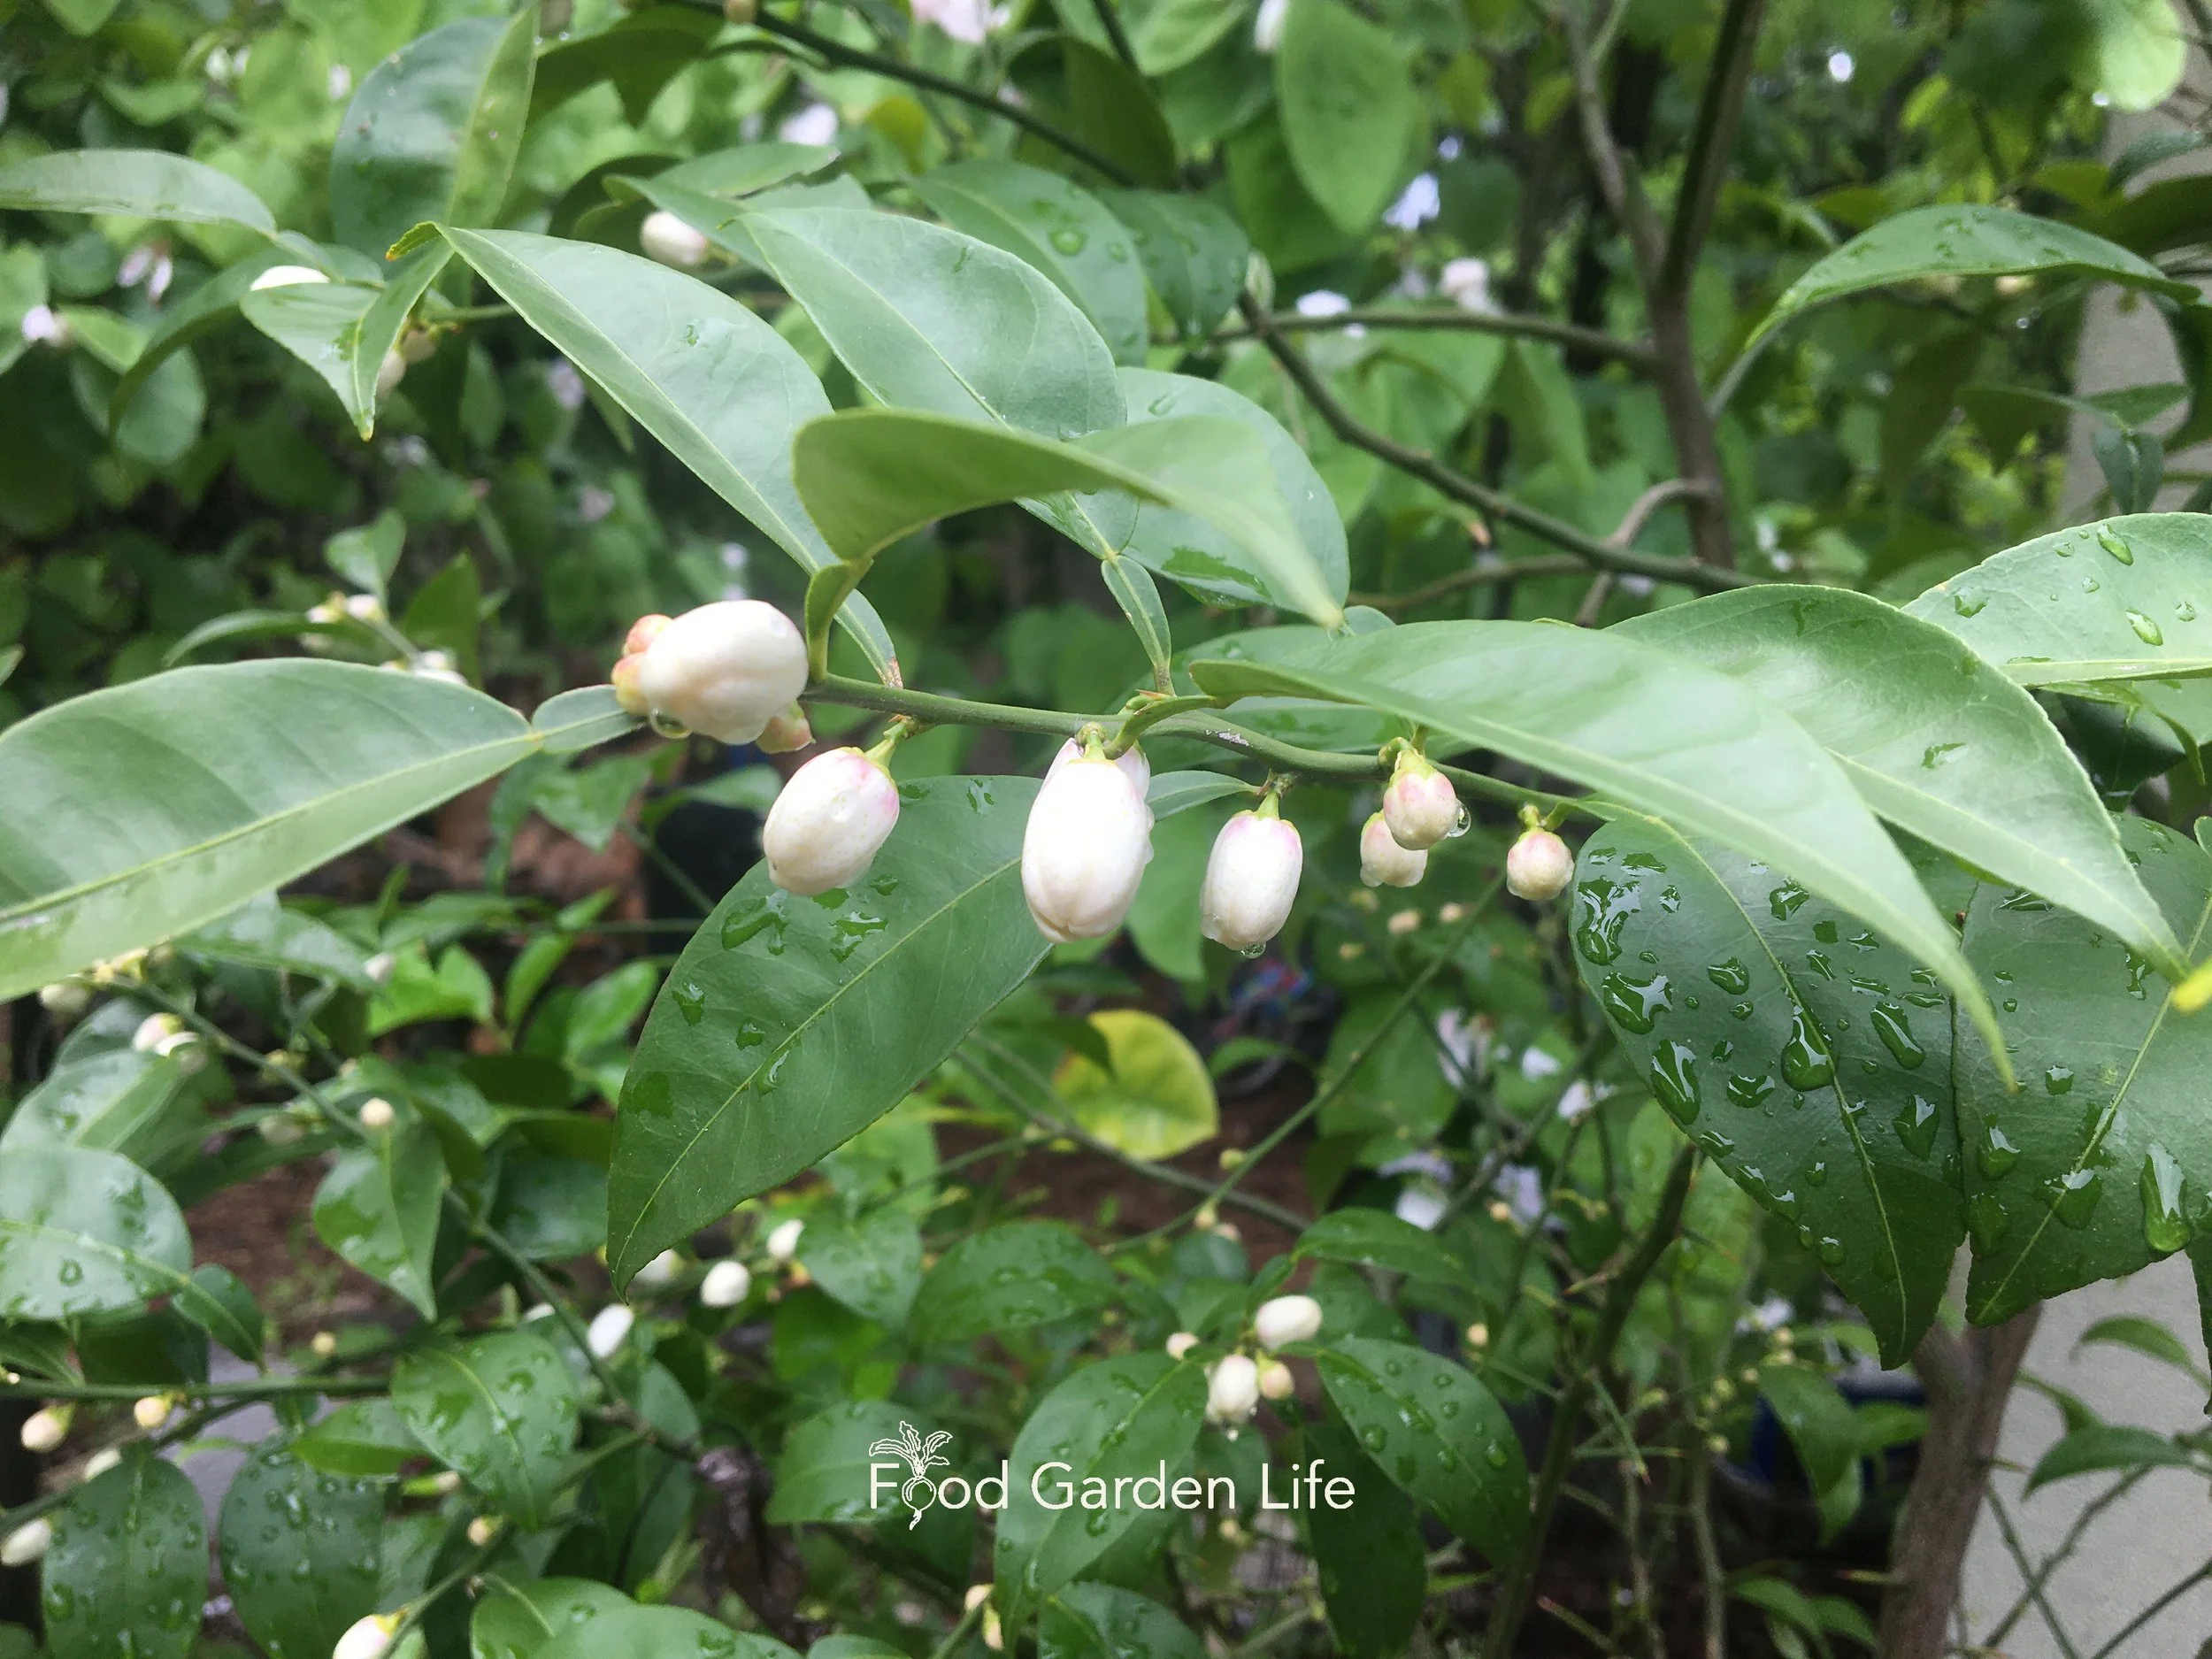
When the fragrant white flowers come out in the spring, they’re a magnet for pollinators. Bees love them.
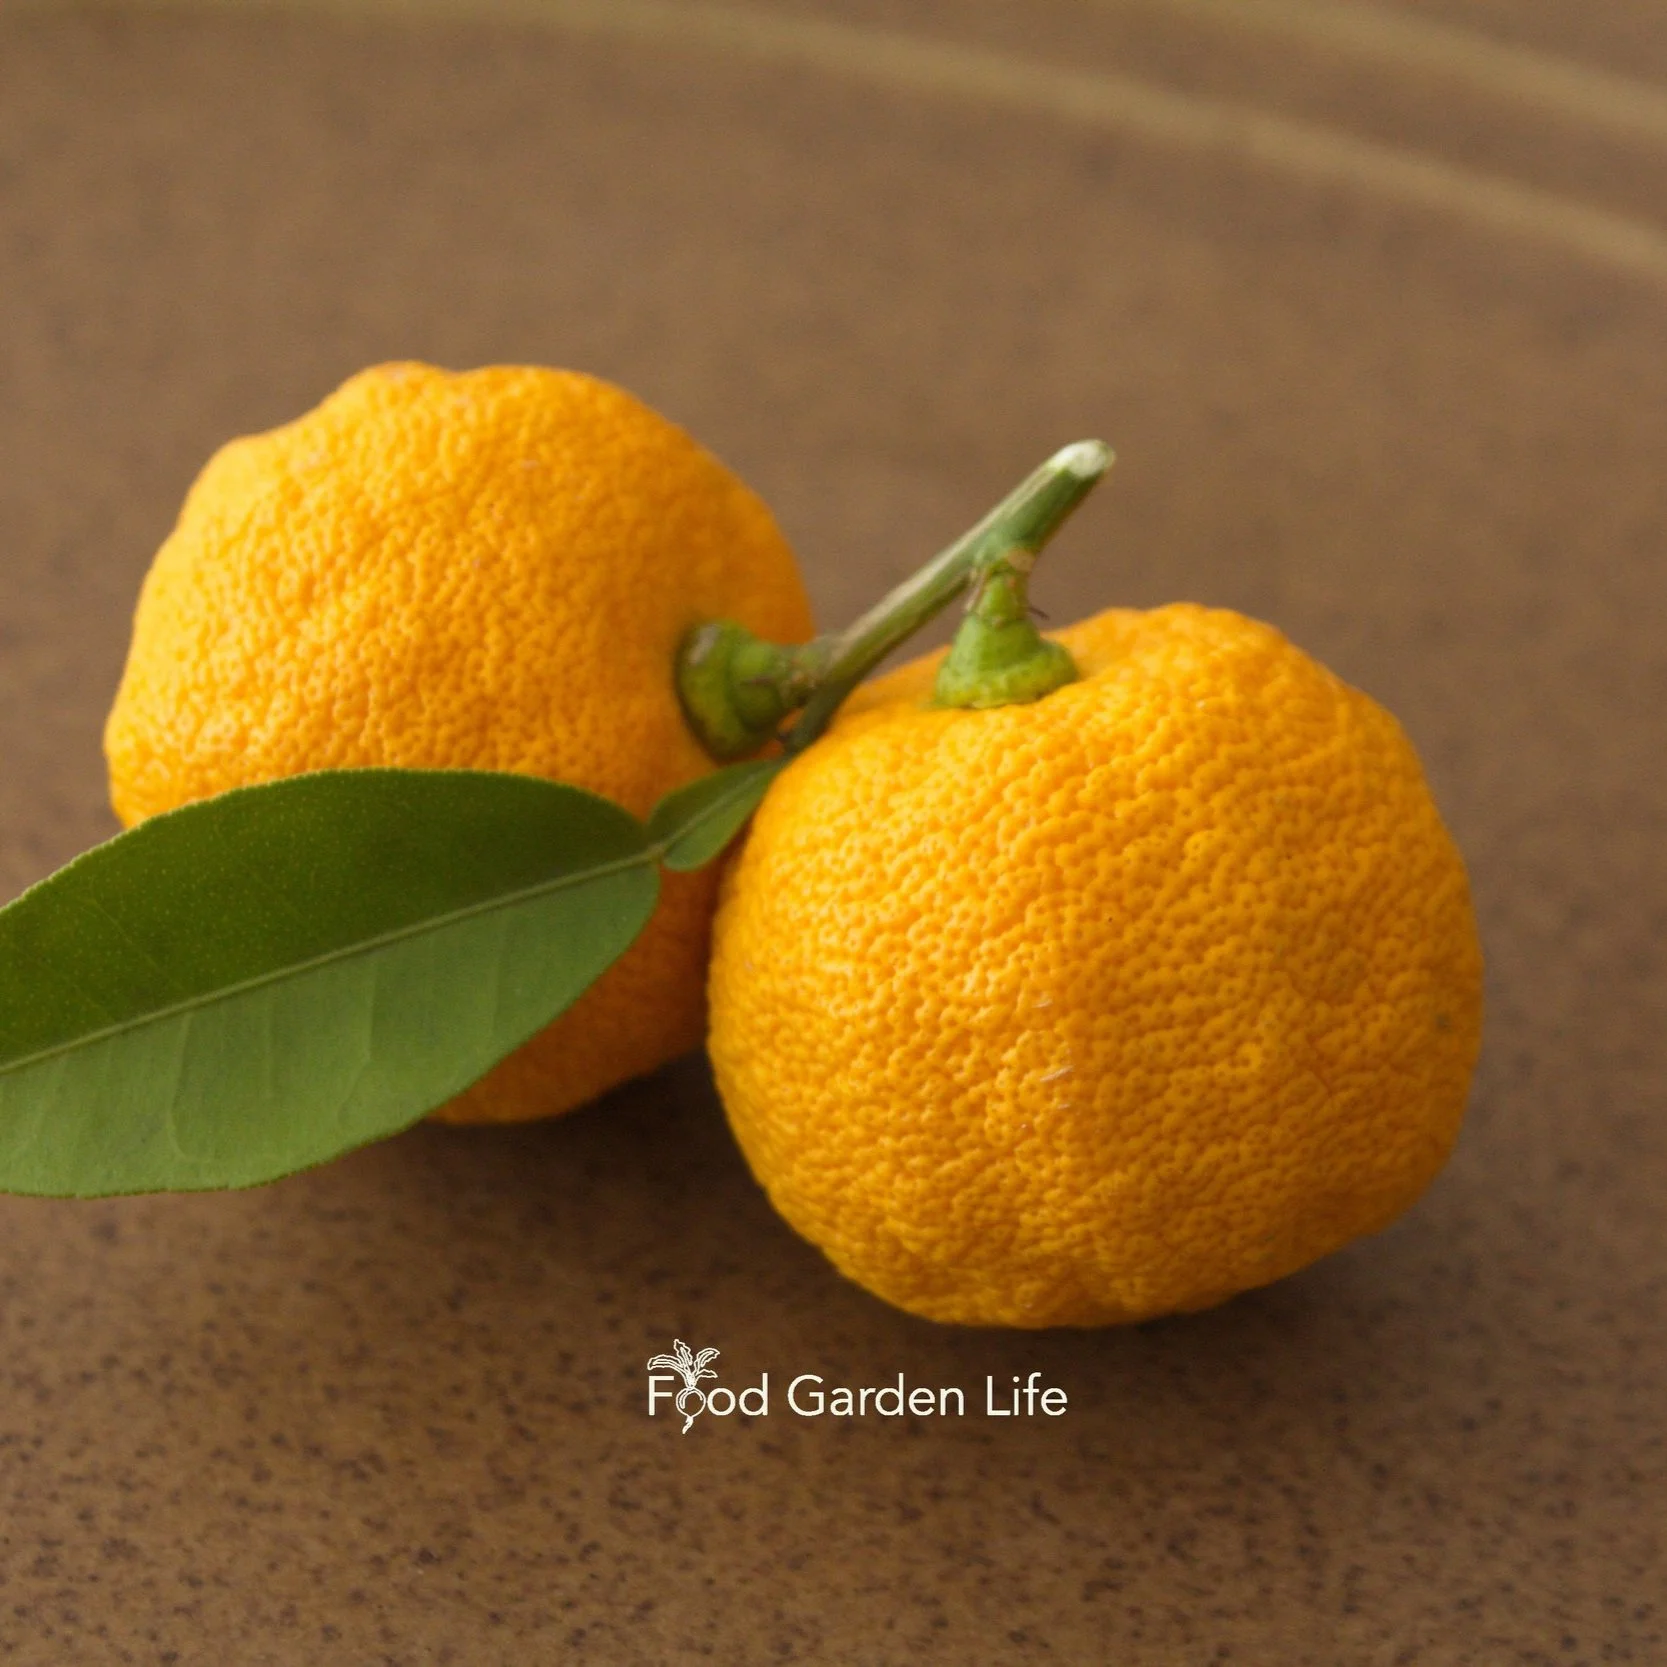
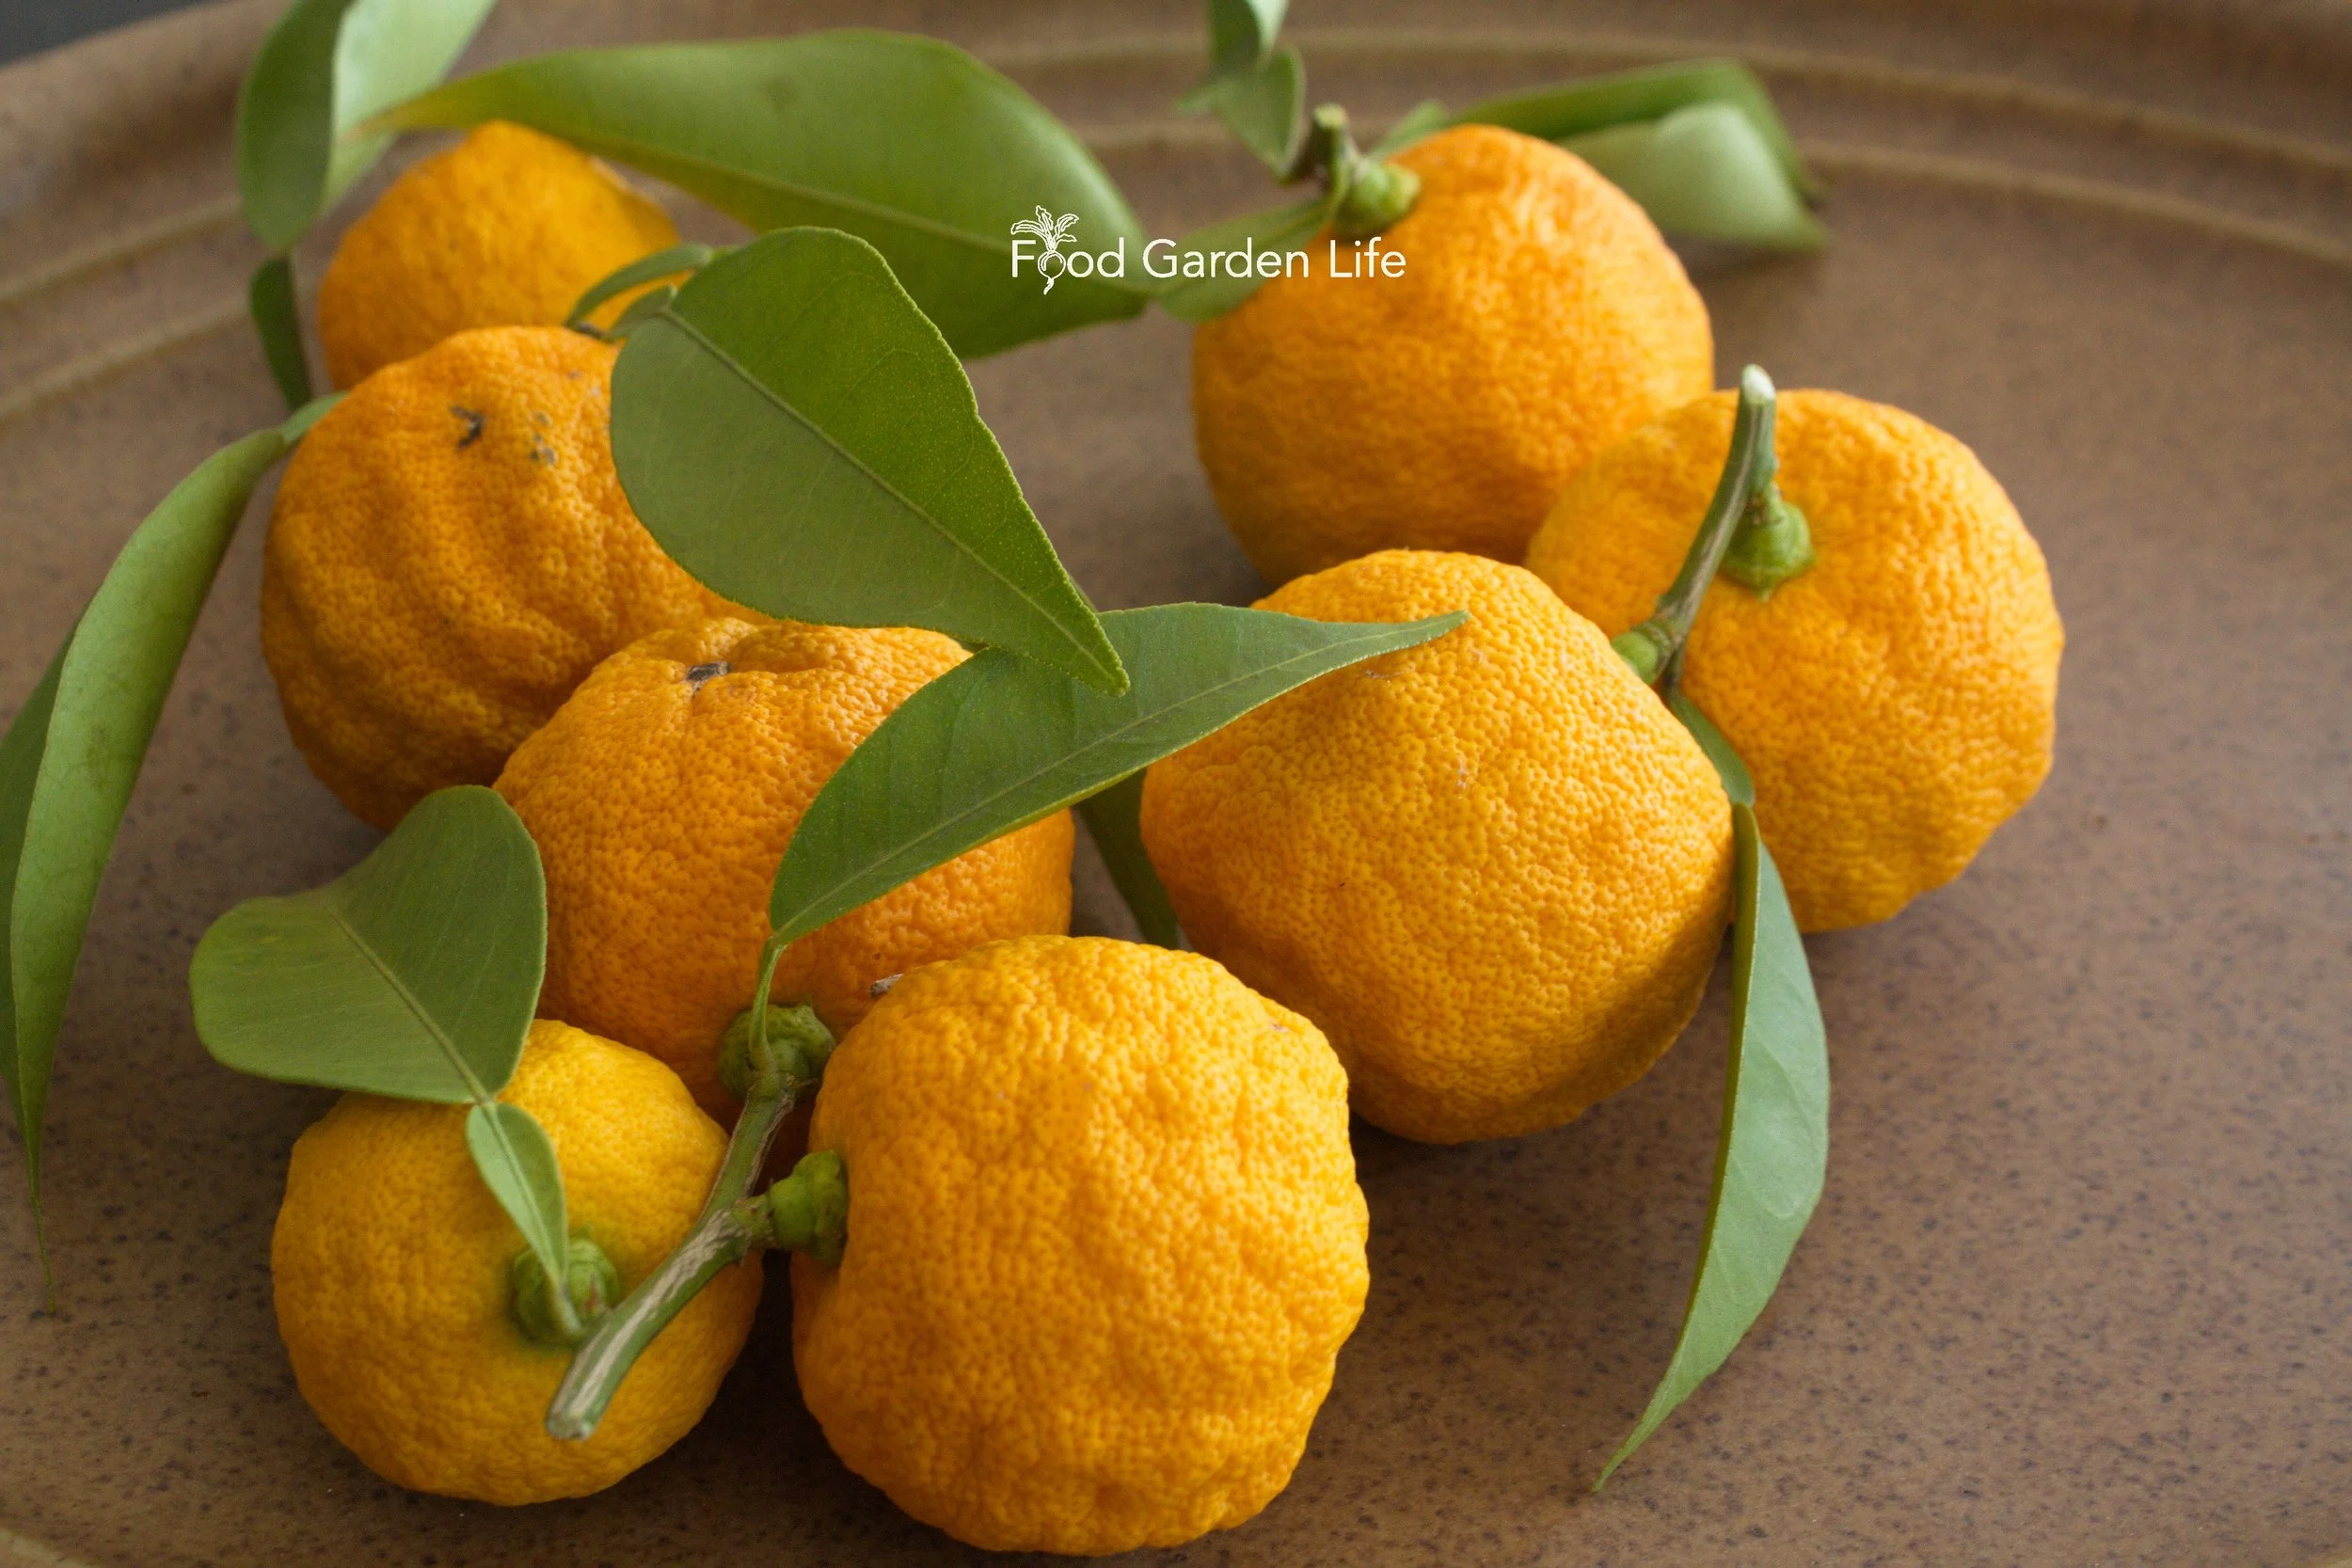
Unlike mandarin, yuzu peel is a bit pebbly.
Yuzu flowers are fragrant—and are a magnet for pollinators.
Like most citrus fruits, yuzu is evergreen, meaning it has leaves on it year round. (Unless you really stress it out, see below.)
Acid Citrus Fruits for Cold Climates
When it comes to growing citrus fruit in cold-climate gardens, here’s a great way to set yourself up for success: Start with “acid” citrus.
Acid citrus are the sour ones like lemon or lime—and yuzu
For sweet citrus, think navel oranges and grapefruit
Yuzu fruit is a bit pebbly, not smooth like a mandarin.
The reason to start with acid citrus fruit is that they can ripen in a cold-climate garden with cool or short summers. Sweet citrus need hot summers with sustained heat to ripen...and don’t always ripen.
Yuzu is an acid citrus. Perfect in colder climates.
Yuzu Tree Cold Hardiness
Yuzu Minimum Temperature
Yuzu fruit is an acid citrus, making it a good choice where summers are short or cool.
I’ve never pushed the lower temperature limits here in my Canadian Zone 6 (USDA Zone 5) garden because my yuzu tree spends the winter in a cold greenhouse, kept near freezing.
But yuzu can survive much colder temperatures than that.
Yuzu hardiness—like any plant hardiness—isn’t an exact thing. Hardiness guidelines vary, depending on who you ask. You’ll see recommendations down to -10°C (14°F) –and colder!
But one thing is for sure: As citrus go, yuzu is very cold-tolerant.
The reason for the varying minimum temperature recommendations is that hardiness is affected by a few things.
Here are a few things that affect the hardiness of a yuzu (or any plant!)
The rootstock used for grafted yuzu trees
Young trees are more tender than mature trees
New growth is affected by cold before older, woodier stems
The duration of cold temperatures
How sheltered or exposed the tree is
How many degrees the temperature drops
Container trees are more susceptible to cold than in-ground trees because the temperature around the roots fluctuates more
Yuzu Cold Tolerance: Bonus Point!
Covering everything from lemon varieties, to location and watering, to pruning and shaping, to overwintering, dealing with pests, and more—and including insights from fellow citrus enthusiasts—this book will give you the confidence you need to grow and harvest fresh lemons in cold climates.
Some citrus (e.g. lemon) bloom on an ongoing basis—so a plant can have unripe fruit going into winter. This can be fun if it’s indoors and you want to pick lemons over winter.
But the fruit can’t get as cold as trees; when the fruit freezes it spoils.
That means that the temperature at which the fruit freezes (around -2°C, 28°F) becomes the minimum winter temperature for cold-climate gardeners growing lemons outdoors.
Find out how cold lemon fruit can get over the winter.
Unlike lemon, yuzu has a spring bloom and fall ripening…so there is no fruit on the tree over the winter. That give you a wider temperature range for overwintering. You’re not constrained by the freezing temperature of the fruit.
How to Grow Yuzu
Grow Yuzu in a Pot
Yuzu does well as a potted plant. With its upright growth, it’s easy to manage.
Here are a couple of top tips for growing yuzu as a potted plant:
Use a potting soil that drains well
Keep the soil moist, but not wet
Potted Plant Yes: Houseplant No
Just because it grows well in a pot doesn’t not make it a good houseplant.
It’s not suited as a houseplant over the winter. Centrally heated homes are too warm. Instead, pick a bright and cool spot for winter. If you have a sunroom or a cool greenhouse, that’s perfect.
(I’ve also stored my yuzu in a cold, dark garage. The plant isn’t growing in cold weather—so it will tolerate the dark.)
No Place in Winter?
Not sure where to put a potted yuzu for the winter? A friend has a spare bedroom and turns off the heat there over the winter. It has a bright window, and is 10°C (50°F) cooler than the rest of the house. Perfect for citrus!
Outdoors for Summer
Wherever you store it for the winter, be sure to put it outdoors for the summer. Pest pressures are lower—and you have pollinators for the flowers.
Grow Yuzu in the Ground Outdoors
The first time I came across in-ground, unprotected yuzu trees growing here in Canada was when Bob Duncan gave me a tour of his experimental orchard on Vancouver Island. He has a great video about yuzu; watch it here.
Beyond USDA Zones 9-10, in borderline areas, choose a protected site with full sun and good drainage.
In borderline areas, you can grow yuzu flat (as an “espalier”) against a south-facing wall and protect it from winter extremes with horticultural fleece and a string of incandescent Christmas lights, as is done for lemons in borderline areas.
Another option in borderline areas is to grow yuzu in the ground in an unheated greenhouse.
As cold temperatures get close to the cold-hardiness limit—especially when coupled with cold wind—yuzu plants might drop their leaves. If the branches are still alive, they will grow new leaves in the spring. Scratch the bark to see if the cambium is still green…and if it is, you might be in luck.
Beware the Thorns
Whether it’s in the ground or a pot, mind the thorns! They are far from dainty! We’re talking horticultural acupuncture…
If you have yuzu on a patio where people might brush past it, snip off protruding thorns with your garden shears. If you have a larger tree and you’re reaching into it to harvest, thick gloves are a good idea.
Yuzu Tree Care
When a lot of fruit set, some small fruit drop off…but if they all drop off, the plant is stressed.
Potted yuzu plants need more care than in-ground ones. Like most fruit trees, when they’re stressed, they might drop fruit and leaves. A common stress with potted plants is drying out.
Here’s a good way to think of watering:
Don’t overwater and keep the soil continuously wet
Allow the soil to dry a bit before watering—let is get to the dry side of moist
When you water, water enough so that all of the soil in the pot is moistened and you have water coming out the bottom
Feeding
The top tip for feeding is to use a fertilizer that has “micronutrients.” Deficiencies of the micronutrients iron and zinc are common.
Pruning Yuzu Trees
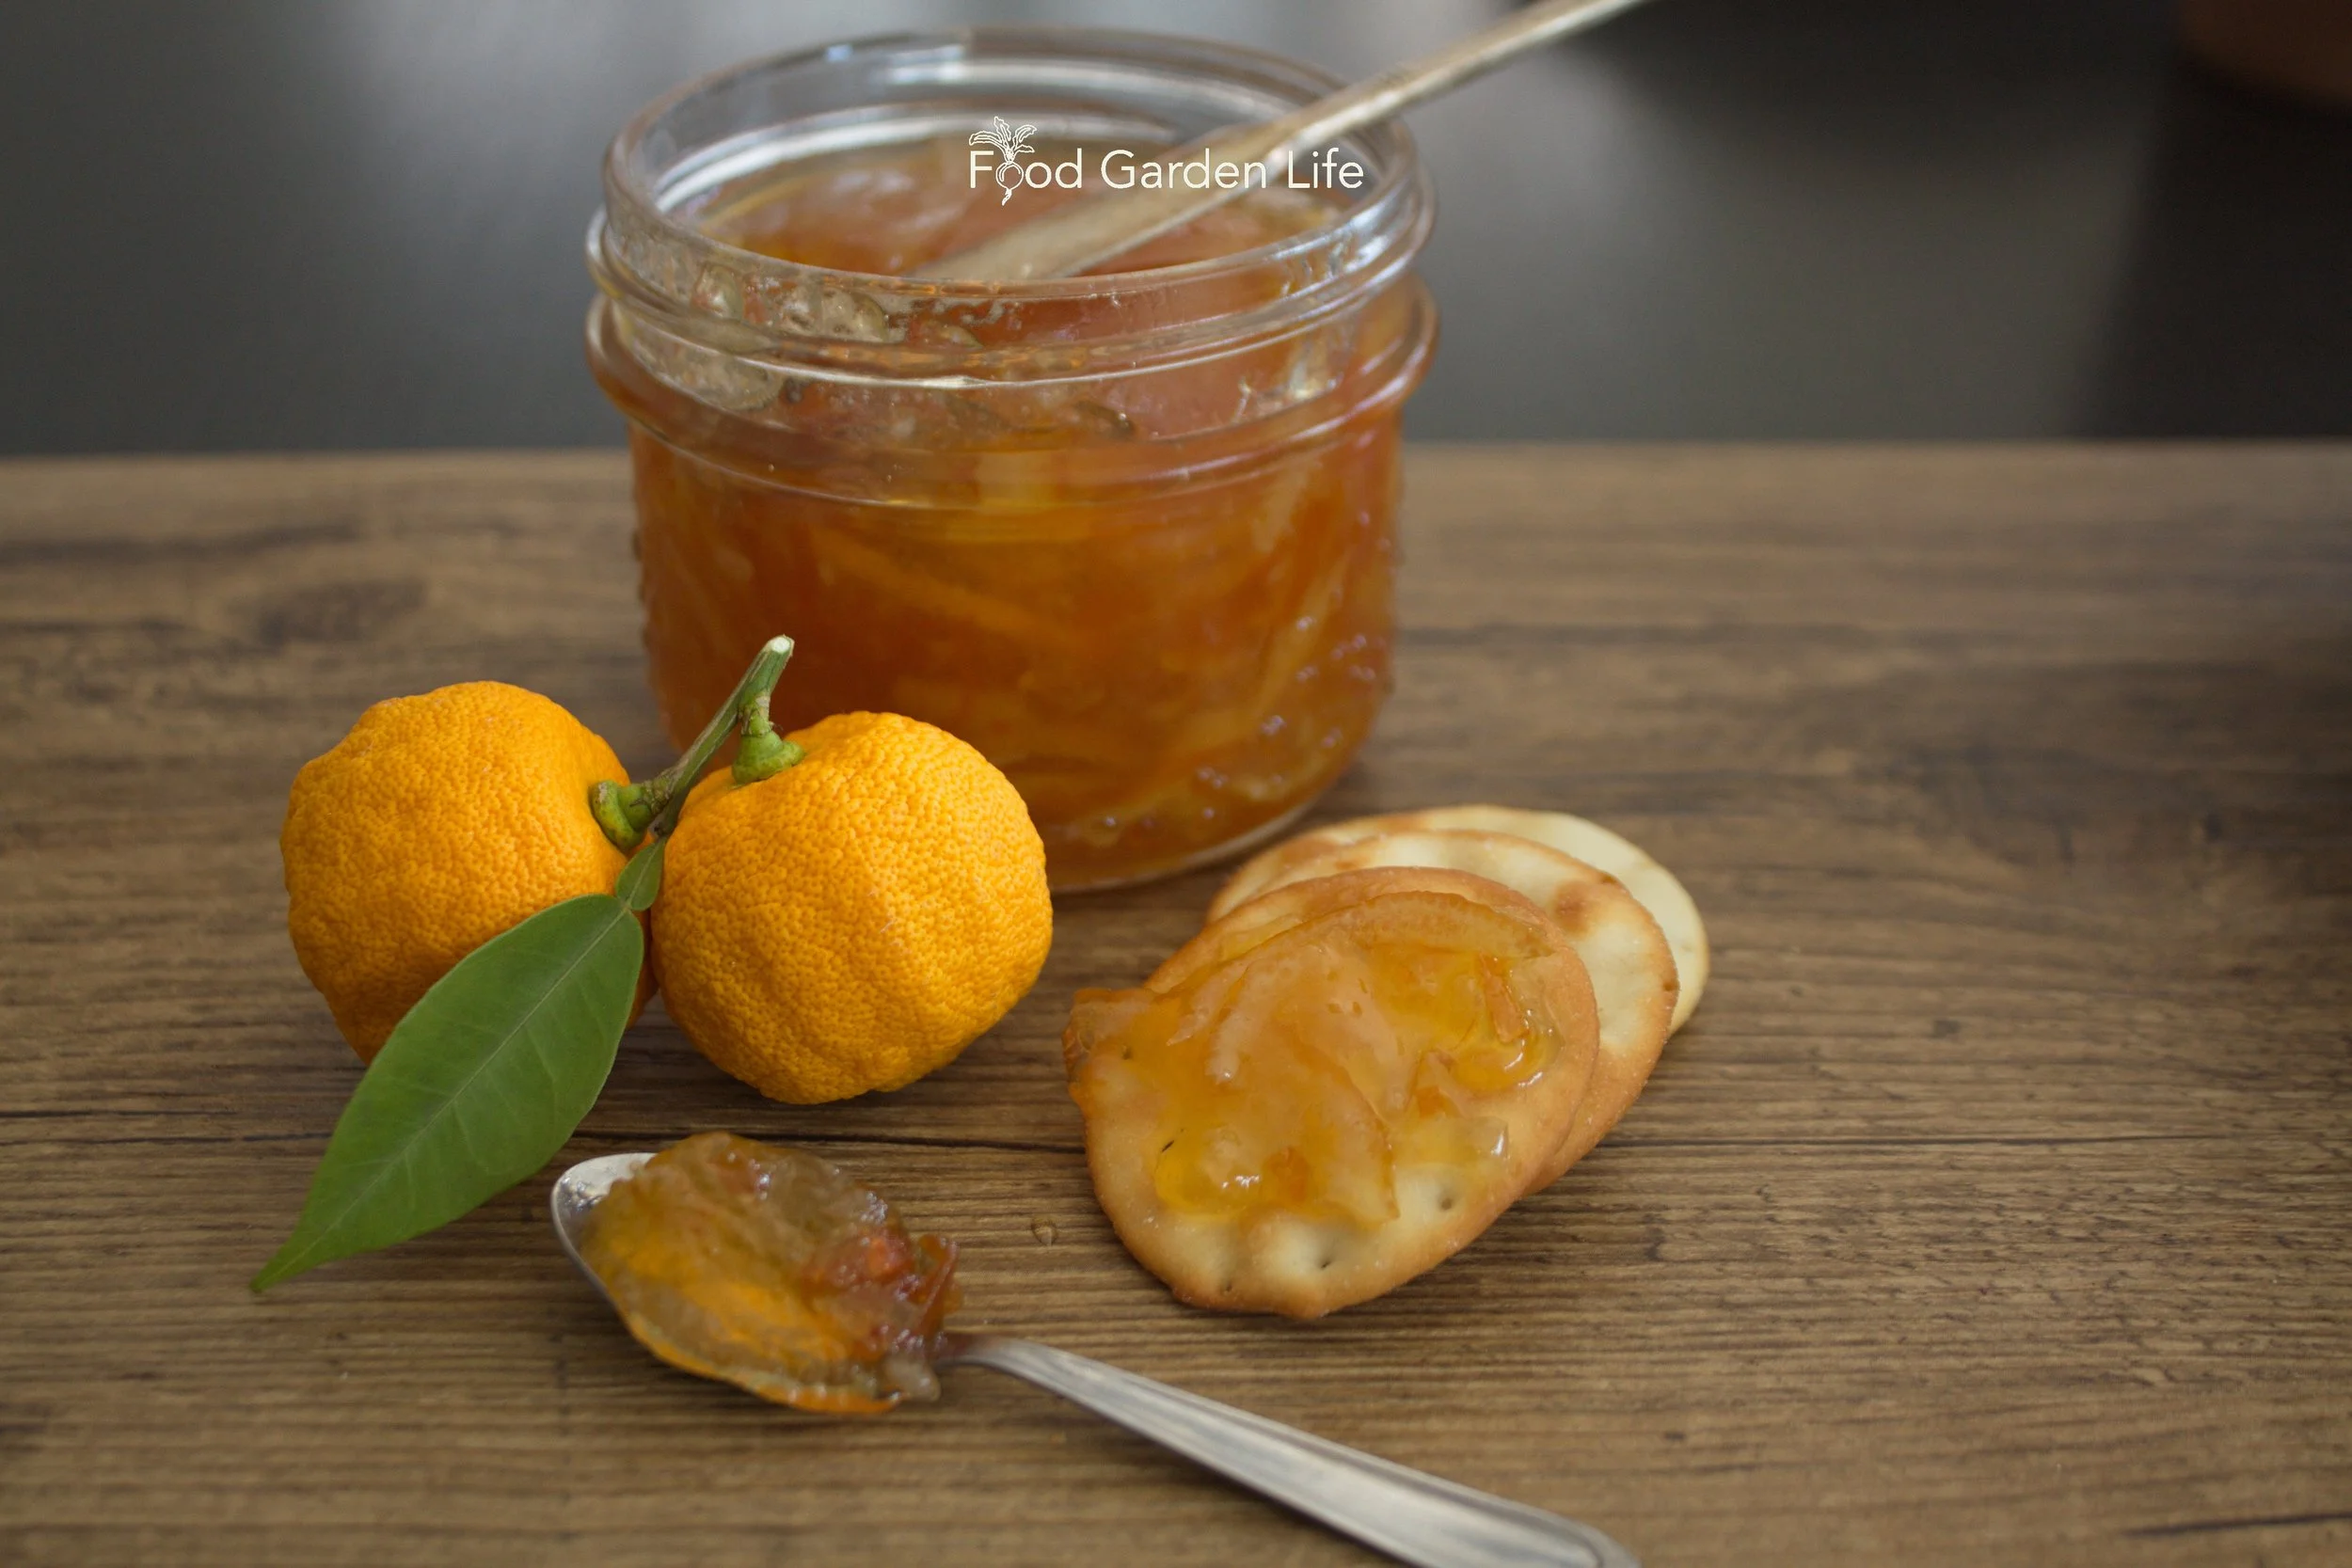
Yuzu marmalade. It makes great marmalade on its own—or mixed with other citrus fruit. More yuzu cooking ideas below.
For starters, remove growth from below the graft line…it’s your rootstock sneaking up. Not sure where the graft is? Look for a bump on the main stem close to ground level. (More on grafting yuzu below.)
Next, tidy things up:
Remove dead branches,
Cut out damaged branches
Remove interior branches that don’t get a lot of light and have few leaves
Next:
Prune to allow air movement within the plant
Prune so branches are well spaced and fruit will get some light
Trim back branches that have grown too long
Next, let’s look at how to prune a young tree compared to how to prune a mature tree.
Keep Your Lemon Tree Through the Winter
And enjoy fresh homegrown lemons!
Shape Young Trees
With young trees, we’re pruning to develop the shape. We’re creating a permanent framework of branches.
If you have a single-stem young plant (a “whip”) you want to get it to branch out. This is done with a “heading” cut. It just means cutting off the top of the stem.
If it’s a grafted plant, first find the bump on the stem so you know where the graft is. Make your heading cut well above this.
As side branches form after the heading cut, pinch the tips once they have 3-4 sets of leaves, which will cause them to send out side branches. You’re causing a shorter branch with side branches.
A well-shaped tree has branches coming out from the main stem at different heights…a bit like a spiral staircase.
Pruning Older Trees
This book will help you apply creative “fig thinking” in your garden and harvest fresh figs even if you have a short summer or cold winters. With some fig thinking, you can harvest figs in areas where they don’t normally survive the winter! In this book, I share many of the questions I have been asked about growing figs in temperate climates, along with my responses.
With young trees we’re creating a framework of branches. With older trees, the focus is size control.
My yuzu is at its final size: I don’t want it to get any bigger. So every year, I prune it back to the permanent framework of branches.
Prune in spring, before there’s new growth. If you heavily prune an actively growing tree in summer, it can cause lots of new growth that is less likely to survive cold winter temperatures.
Where to Get a Yuzu Plant
Canadian garden centres often bring in citrus plants from California in the spring. Ask in good time to see if they’ll bring in yuzu.
Mail order from a specialist nursery that carries citrus. Many specialist nurseries take pre-orders, and then bring in a load of citrus in the spring.
Propagating Yuzu
Can you Grow Yuzu Plants from Seed?
Yuzu is easy to grow from seed.
But…
I hear from gardeners who seed-grow yuzu plants…and then wait and wait and wait. For years. I’ve seed-grown yuzu too…and I’ll report back in a few years when they fruit for me!
The reason for the wait is that seed-grown plants go through a juvenile stage. It can be years before they produce fruit.
Grafting and Budding
With grafting and budding, we’re putting bits of a mature yuzu plants onto a set of roots that has desirable traits (smaller plant size, early bloom and fruit, cold hardiness).
Because we’re using mature wood to graft and bud, the result is a plant can produce fruit more quickly than seed-grown plants.
Flying dragon (Poncirus trifoliata) is a common rootstocks that has good cold-hardiness and dwarfing properties.
Cuttings and Air Layering
Like many other citrus, you can also propagate yuzu from cuttings and air layering.
Yuzu Flowering and Pollination
A cool period over the winter months encourages flower bud formation.
Yuzu is self-pollinating, meaning you can get a crop if you have only one plant.
(It doesn’t mean you don’t need insect pollinators…so if the plant is indoors where there are no pollinators, be prepared to act the part yourself! Simply jostlie flowers with a cotton swab to move around pollen.)
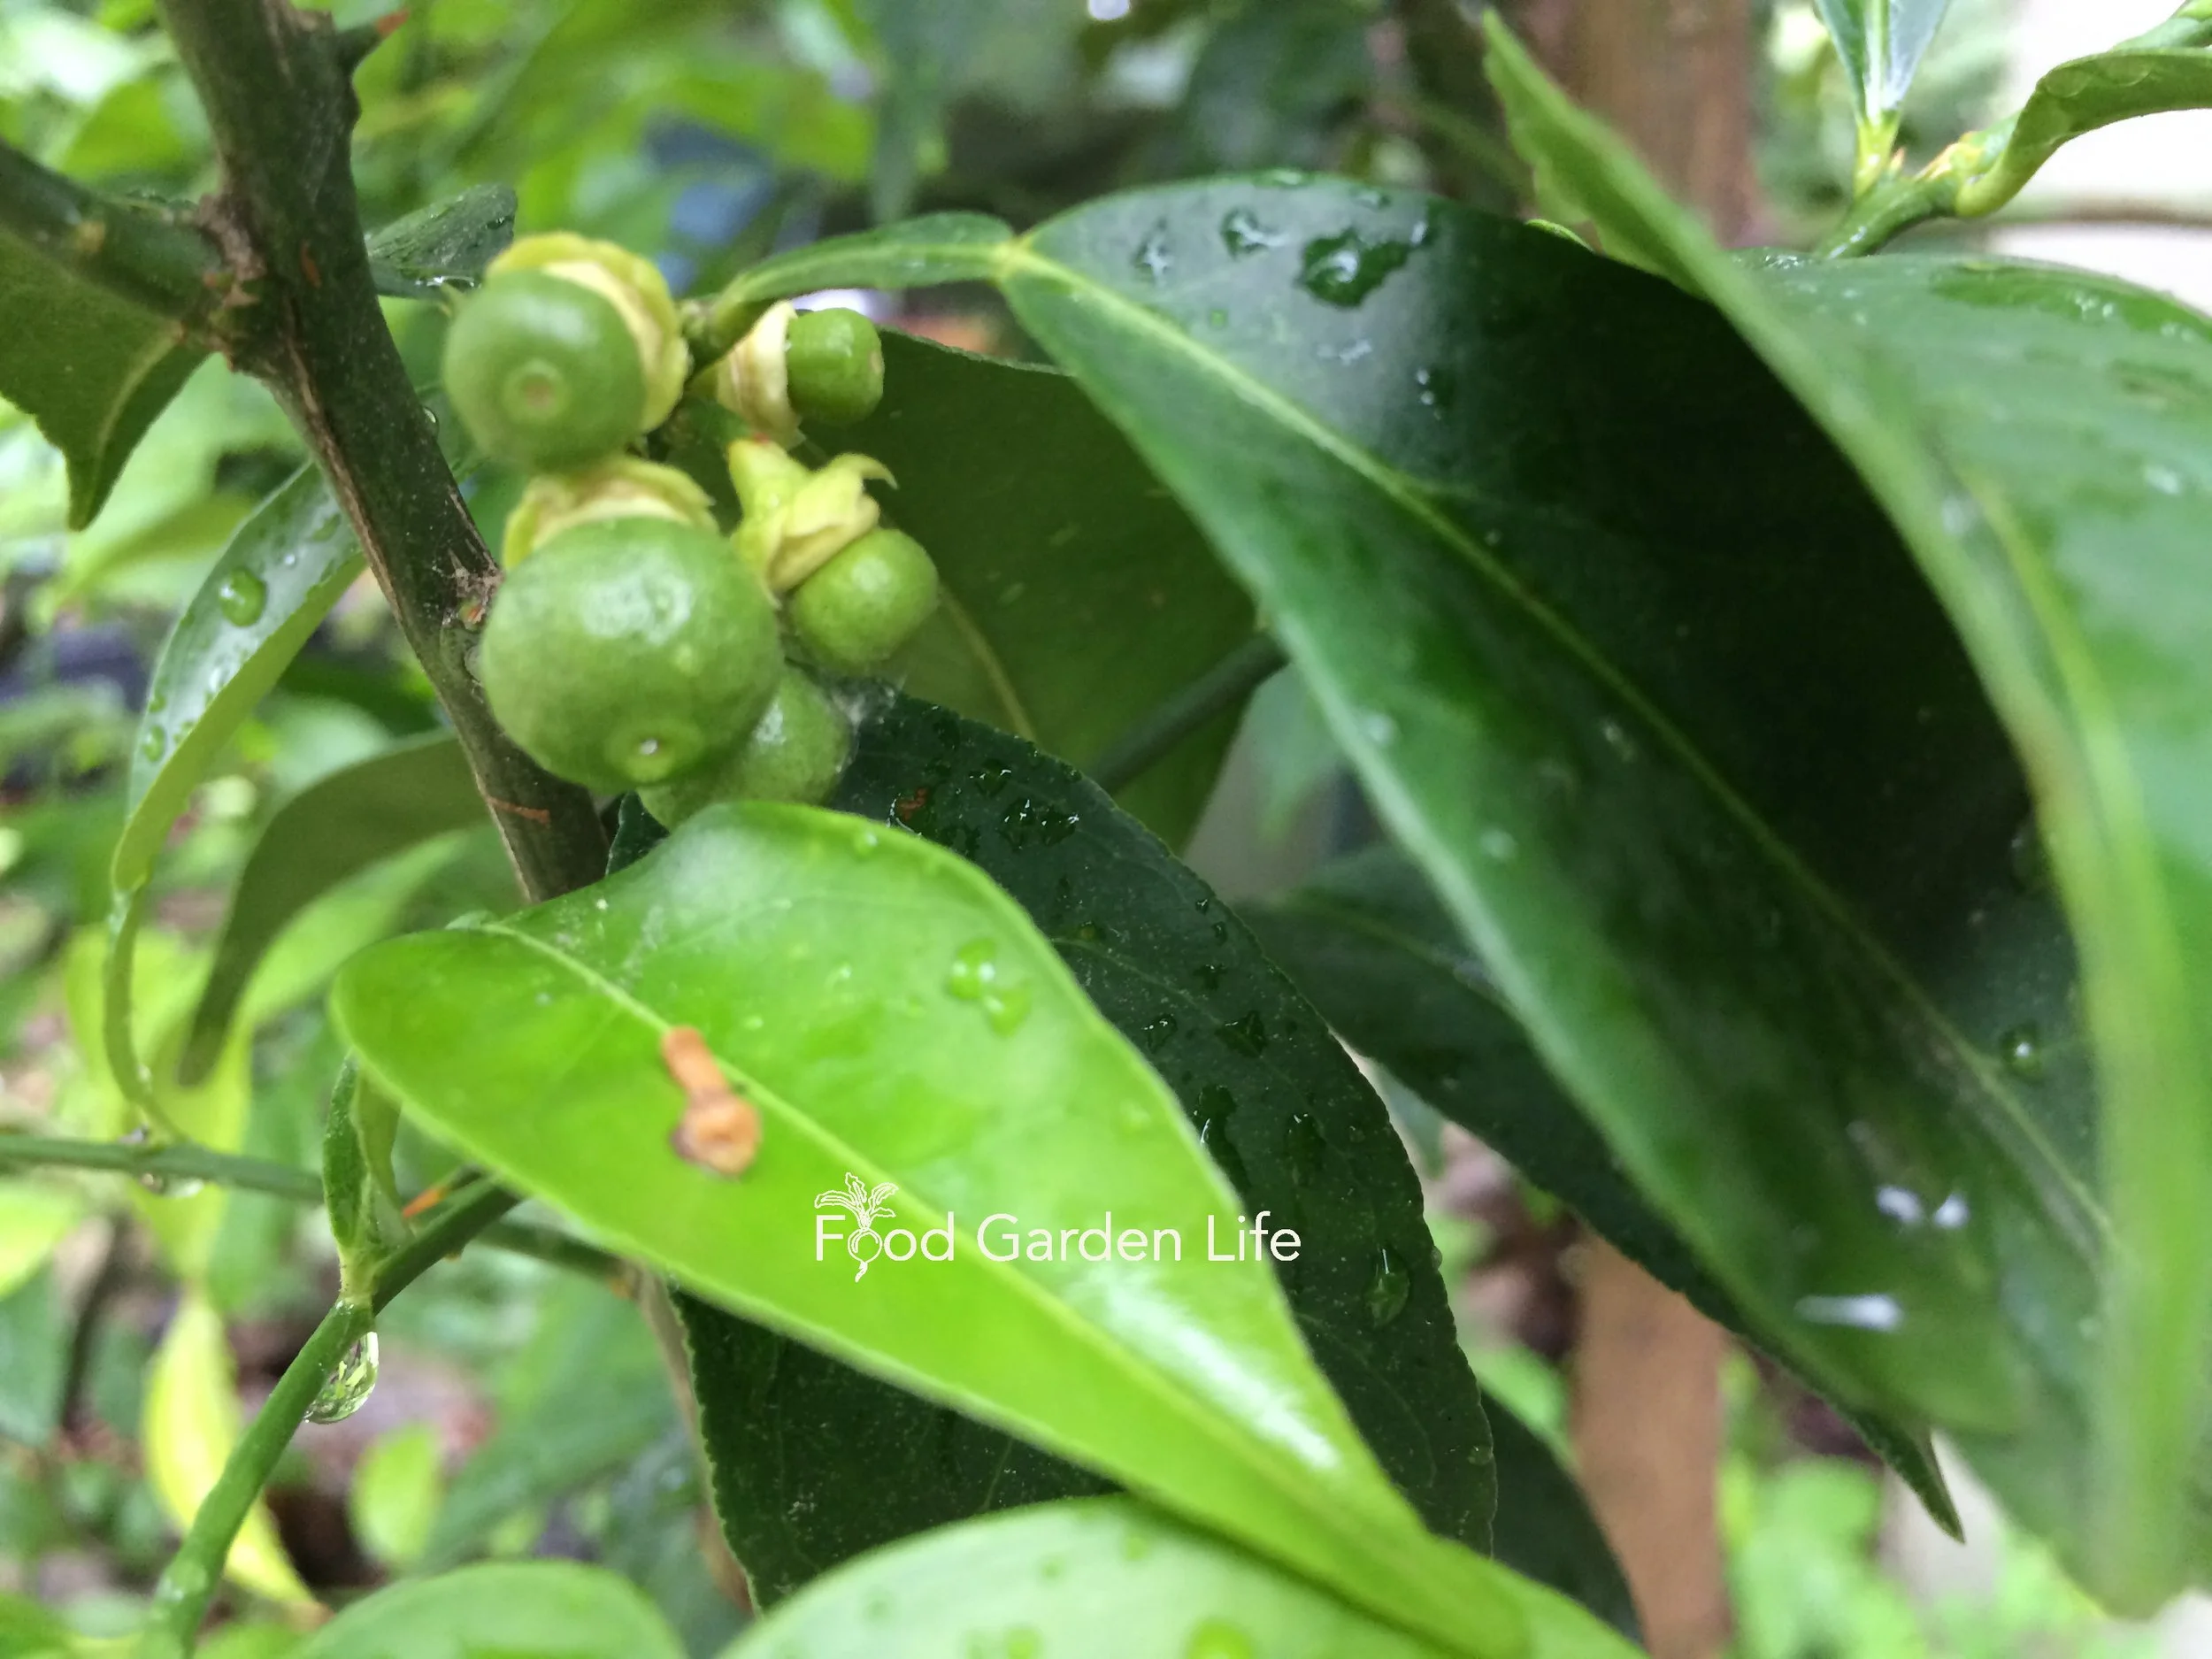
Small fruit will already be forming from early flowers as the blossoms finish up.
Harvest Yuzu Fruit
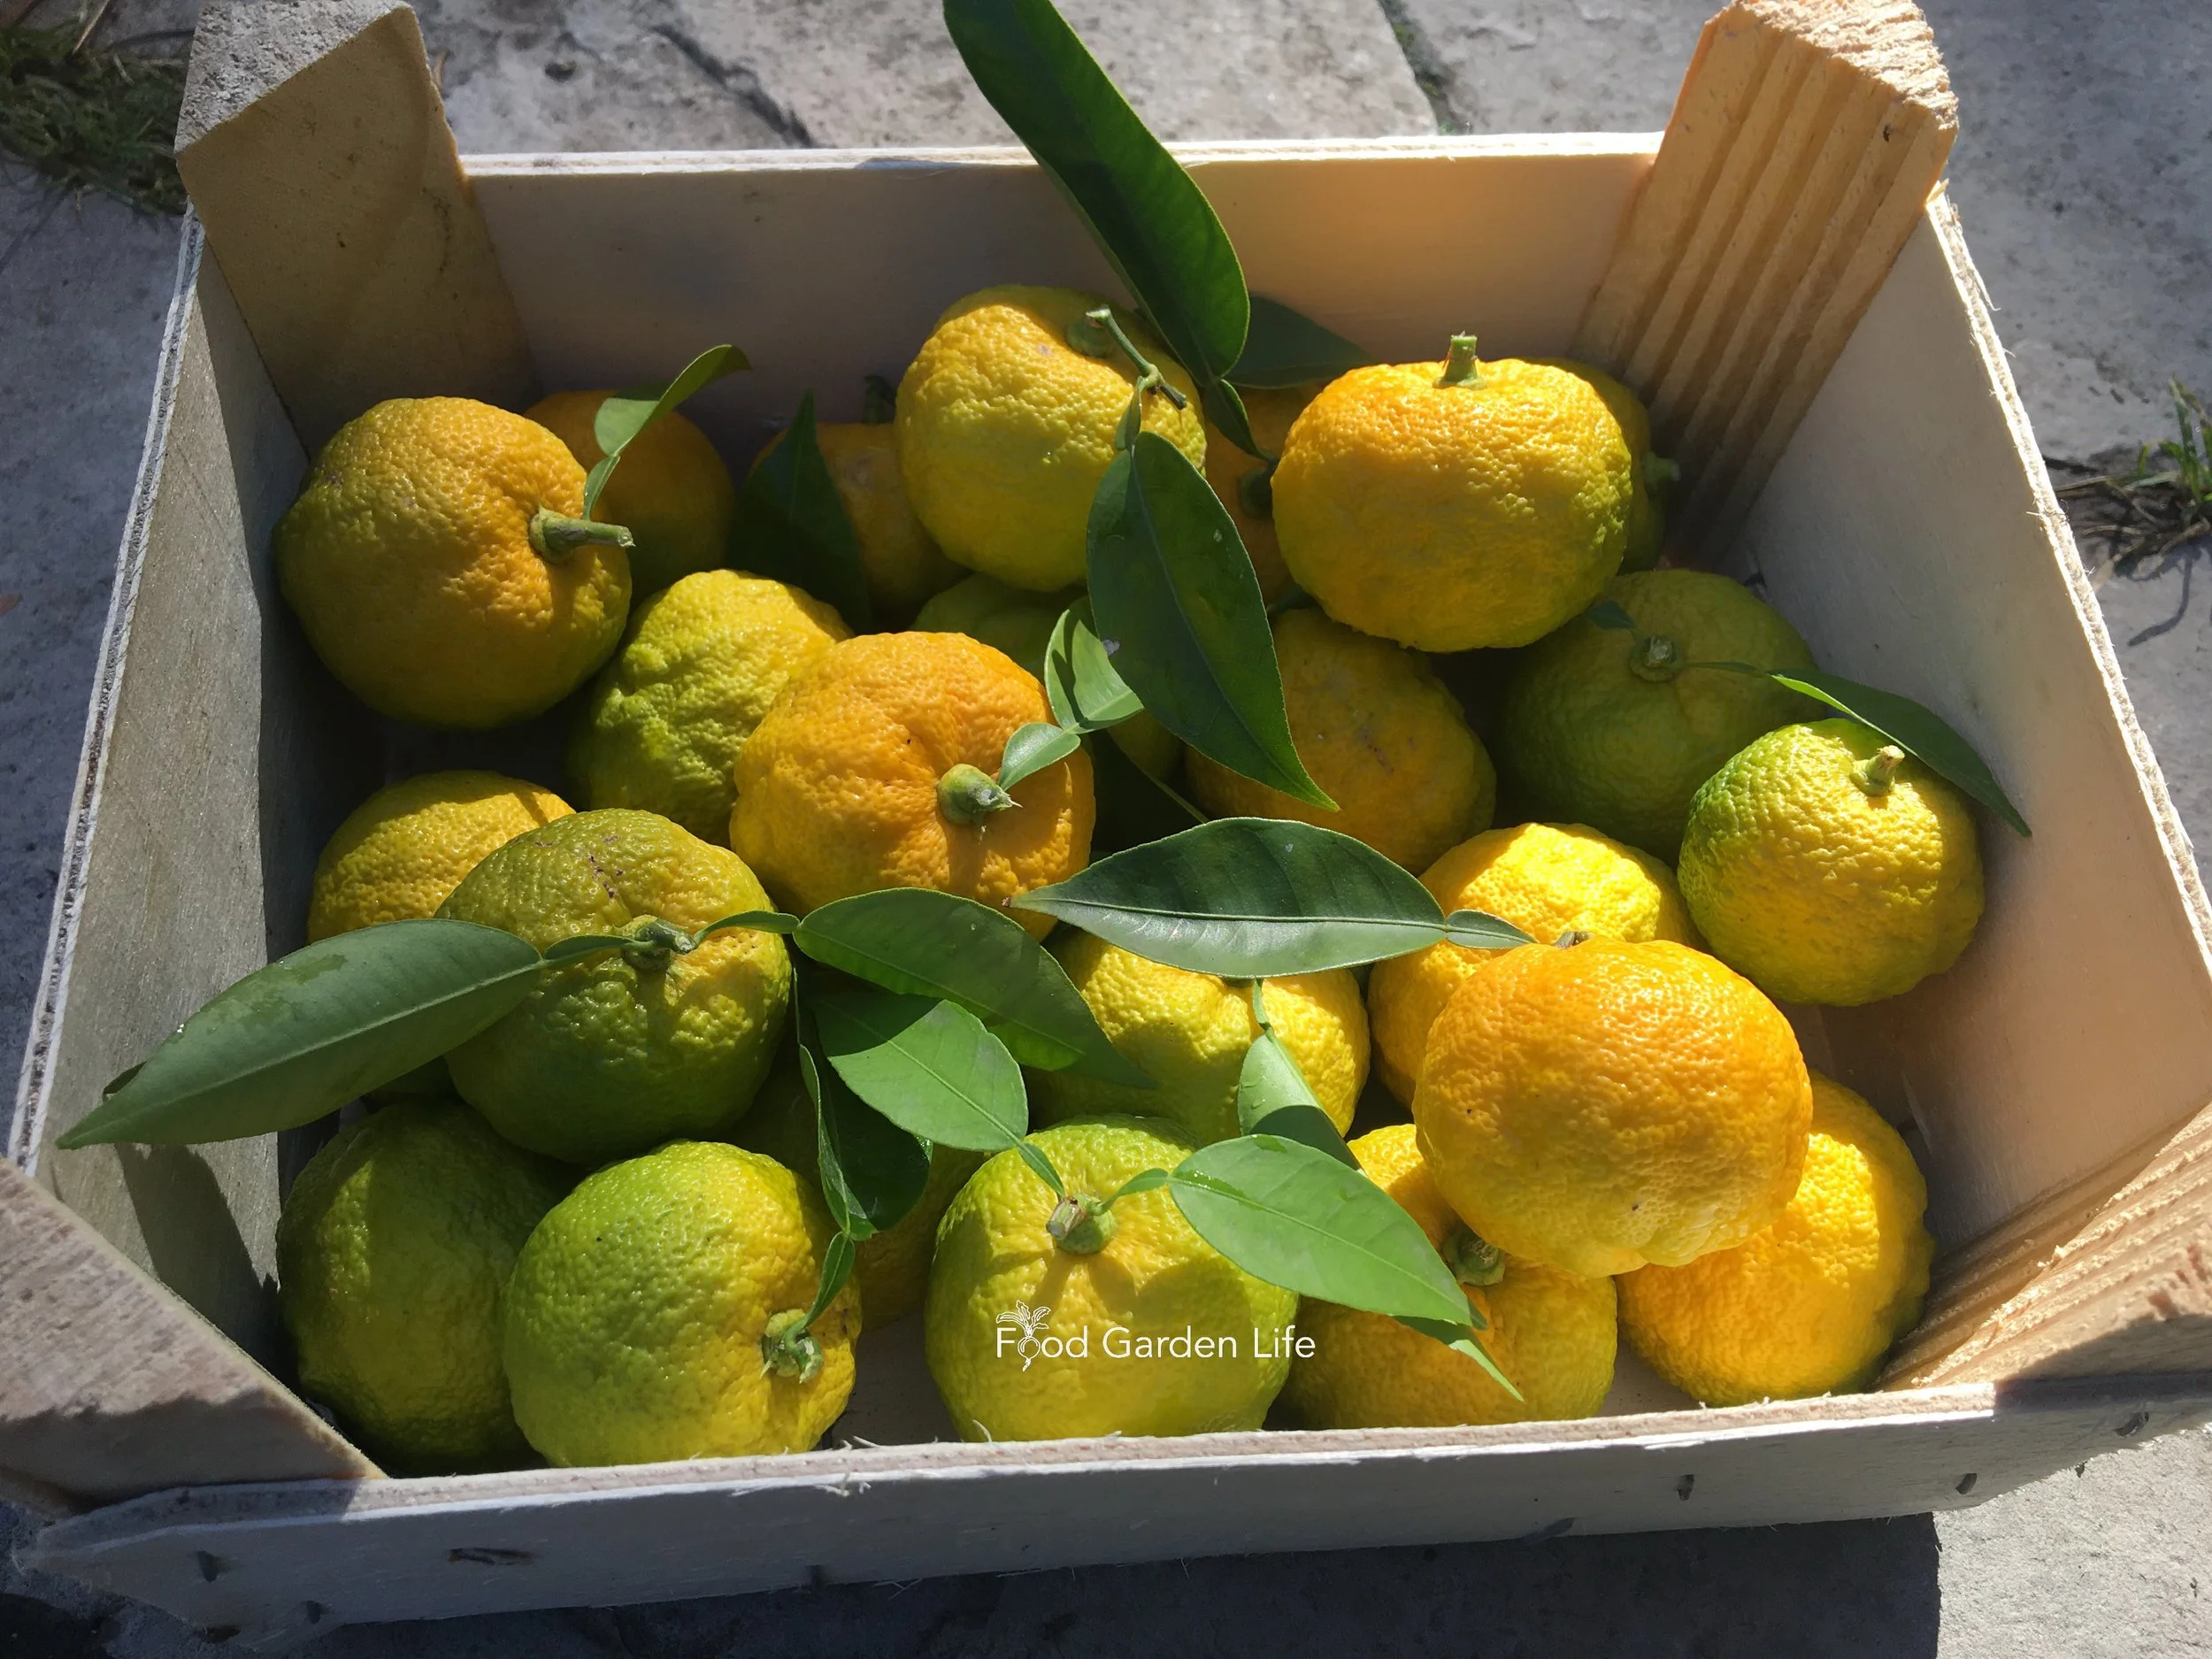
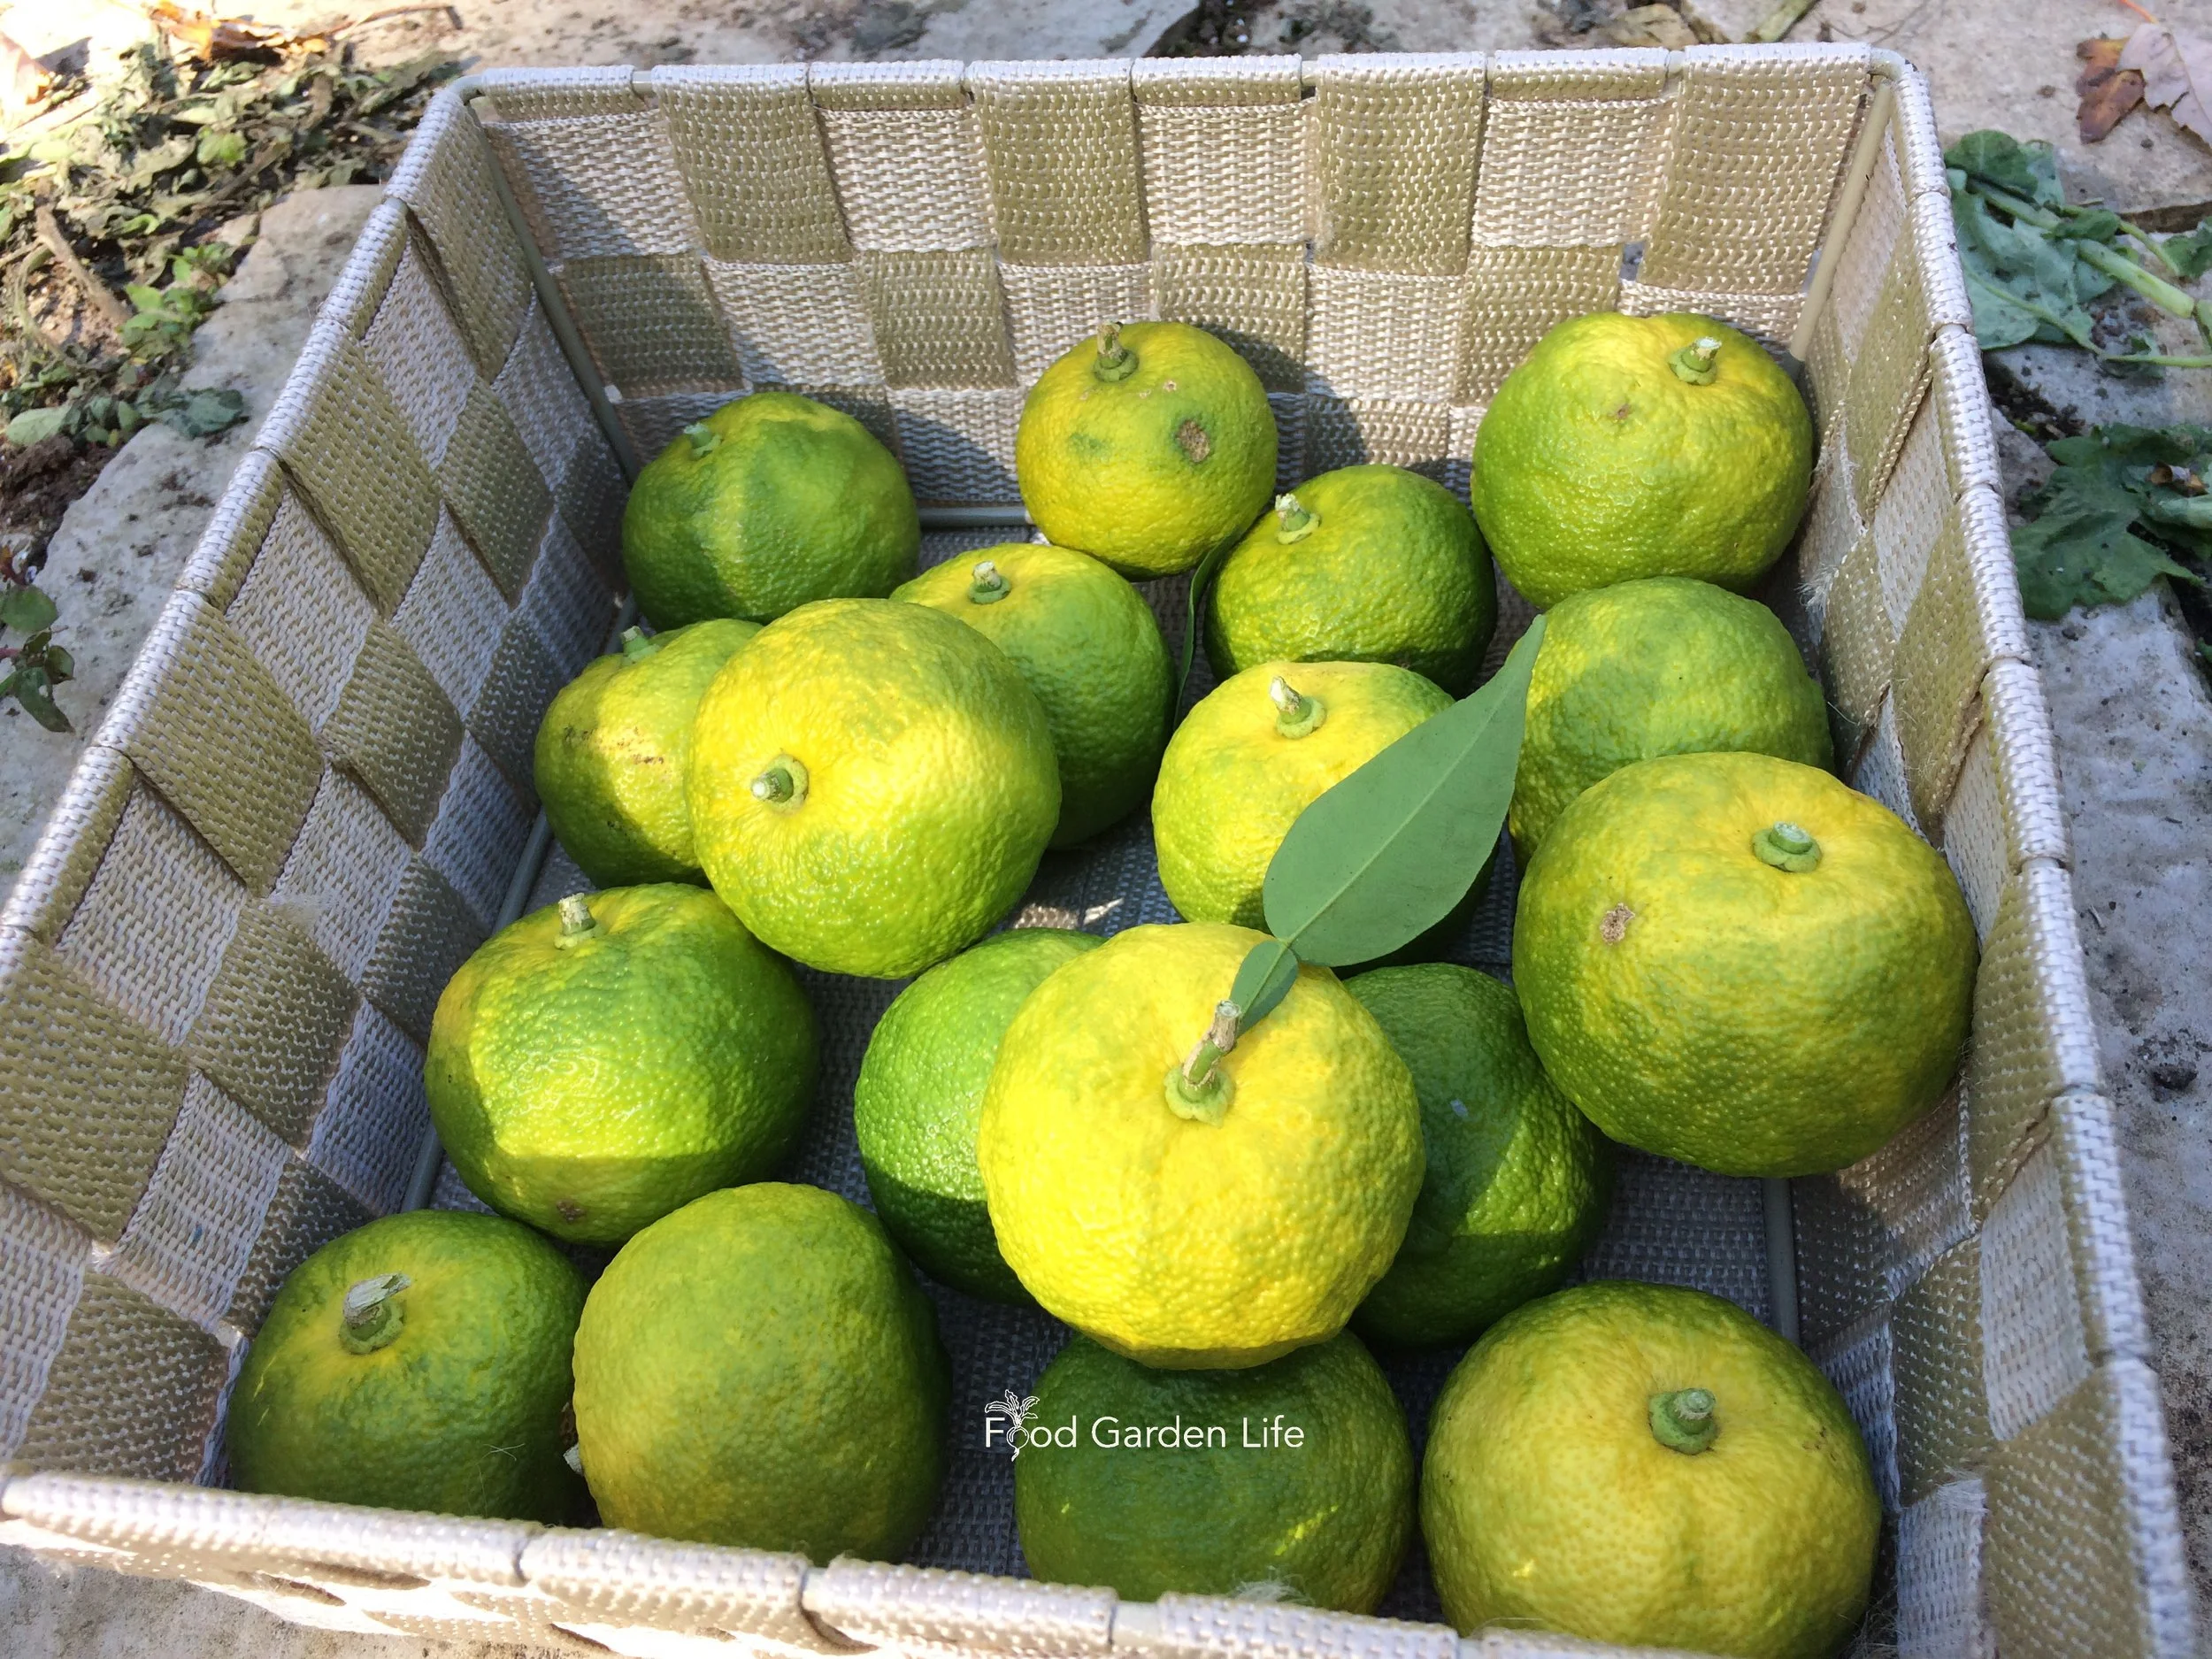
Yuzu is often picked green, or as it just begins to change colour.
Ripening time depends on where you are and how soon your plant starts growing in the spring. My yuzu ripen in the fall.
Commercially, yuzu is often harvested green. (If this sounds strange, it’s the same thing with limes; they are picked green, even though they eventually ripen to yellow.)
In a home garden setting, you can experiment by picking at different stages of ripeness and seeing how the flavour evolves. Try picking all the way from green through to orange. As it gets very ripe, it feels puffy when you squeeze it—and at this point, it’s harder to zest and the fruit is no longer very juicy.
Yuzu Pests
In cold-climate gardens, pest problems are minimal.
Pests are more of a problem indoors—as with most plants.
A common indoor pest is spider mites. Because I overwinter my yuzu somewhere cold, I have no spider mite problems through the winter. But if the plant were somewhere warmer I’d expect spider mites. Insecticidal soap and horticultural oil are both useful for controlling spider mites.
Yuzu Recipes
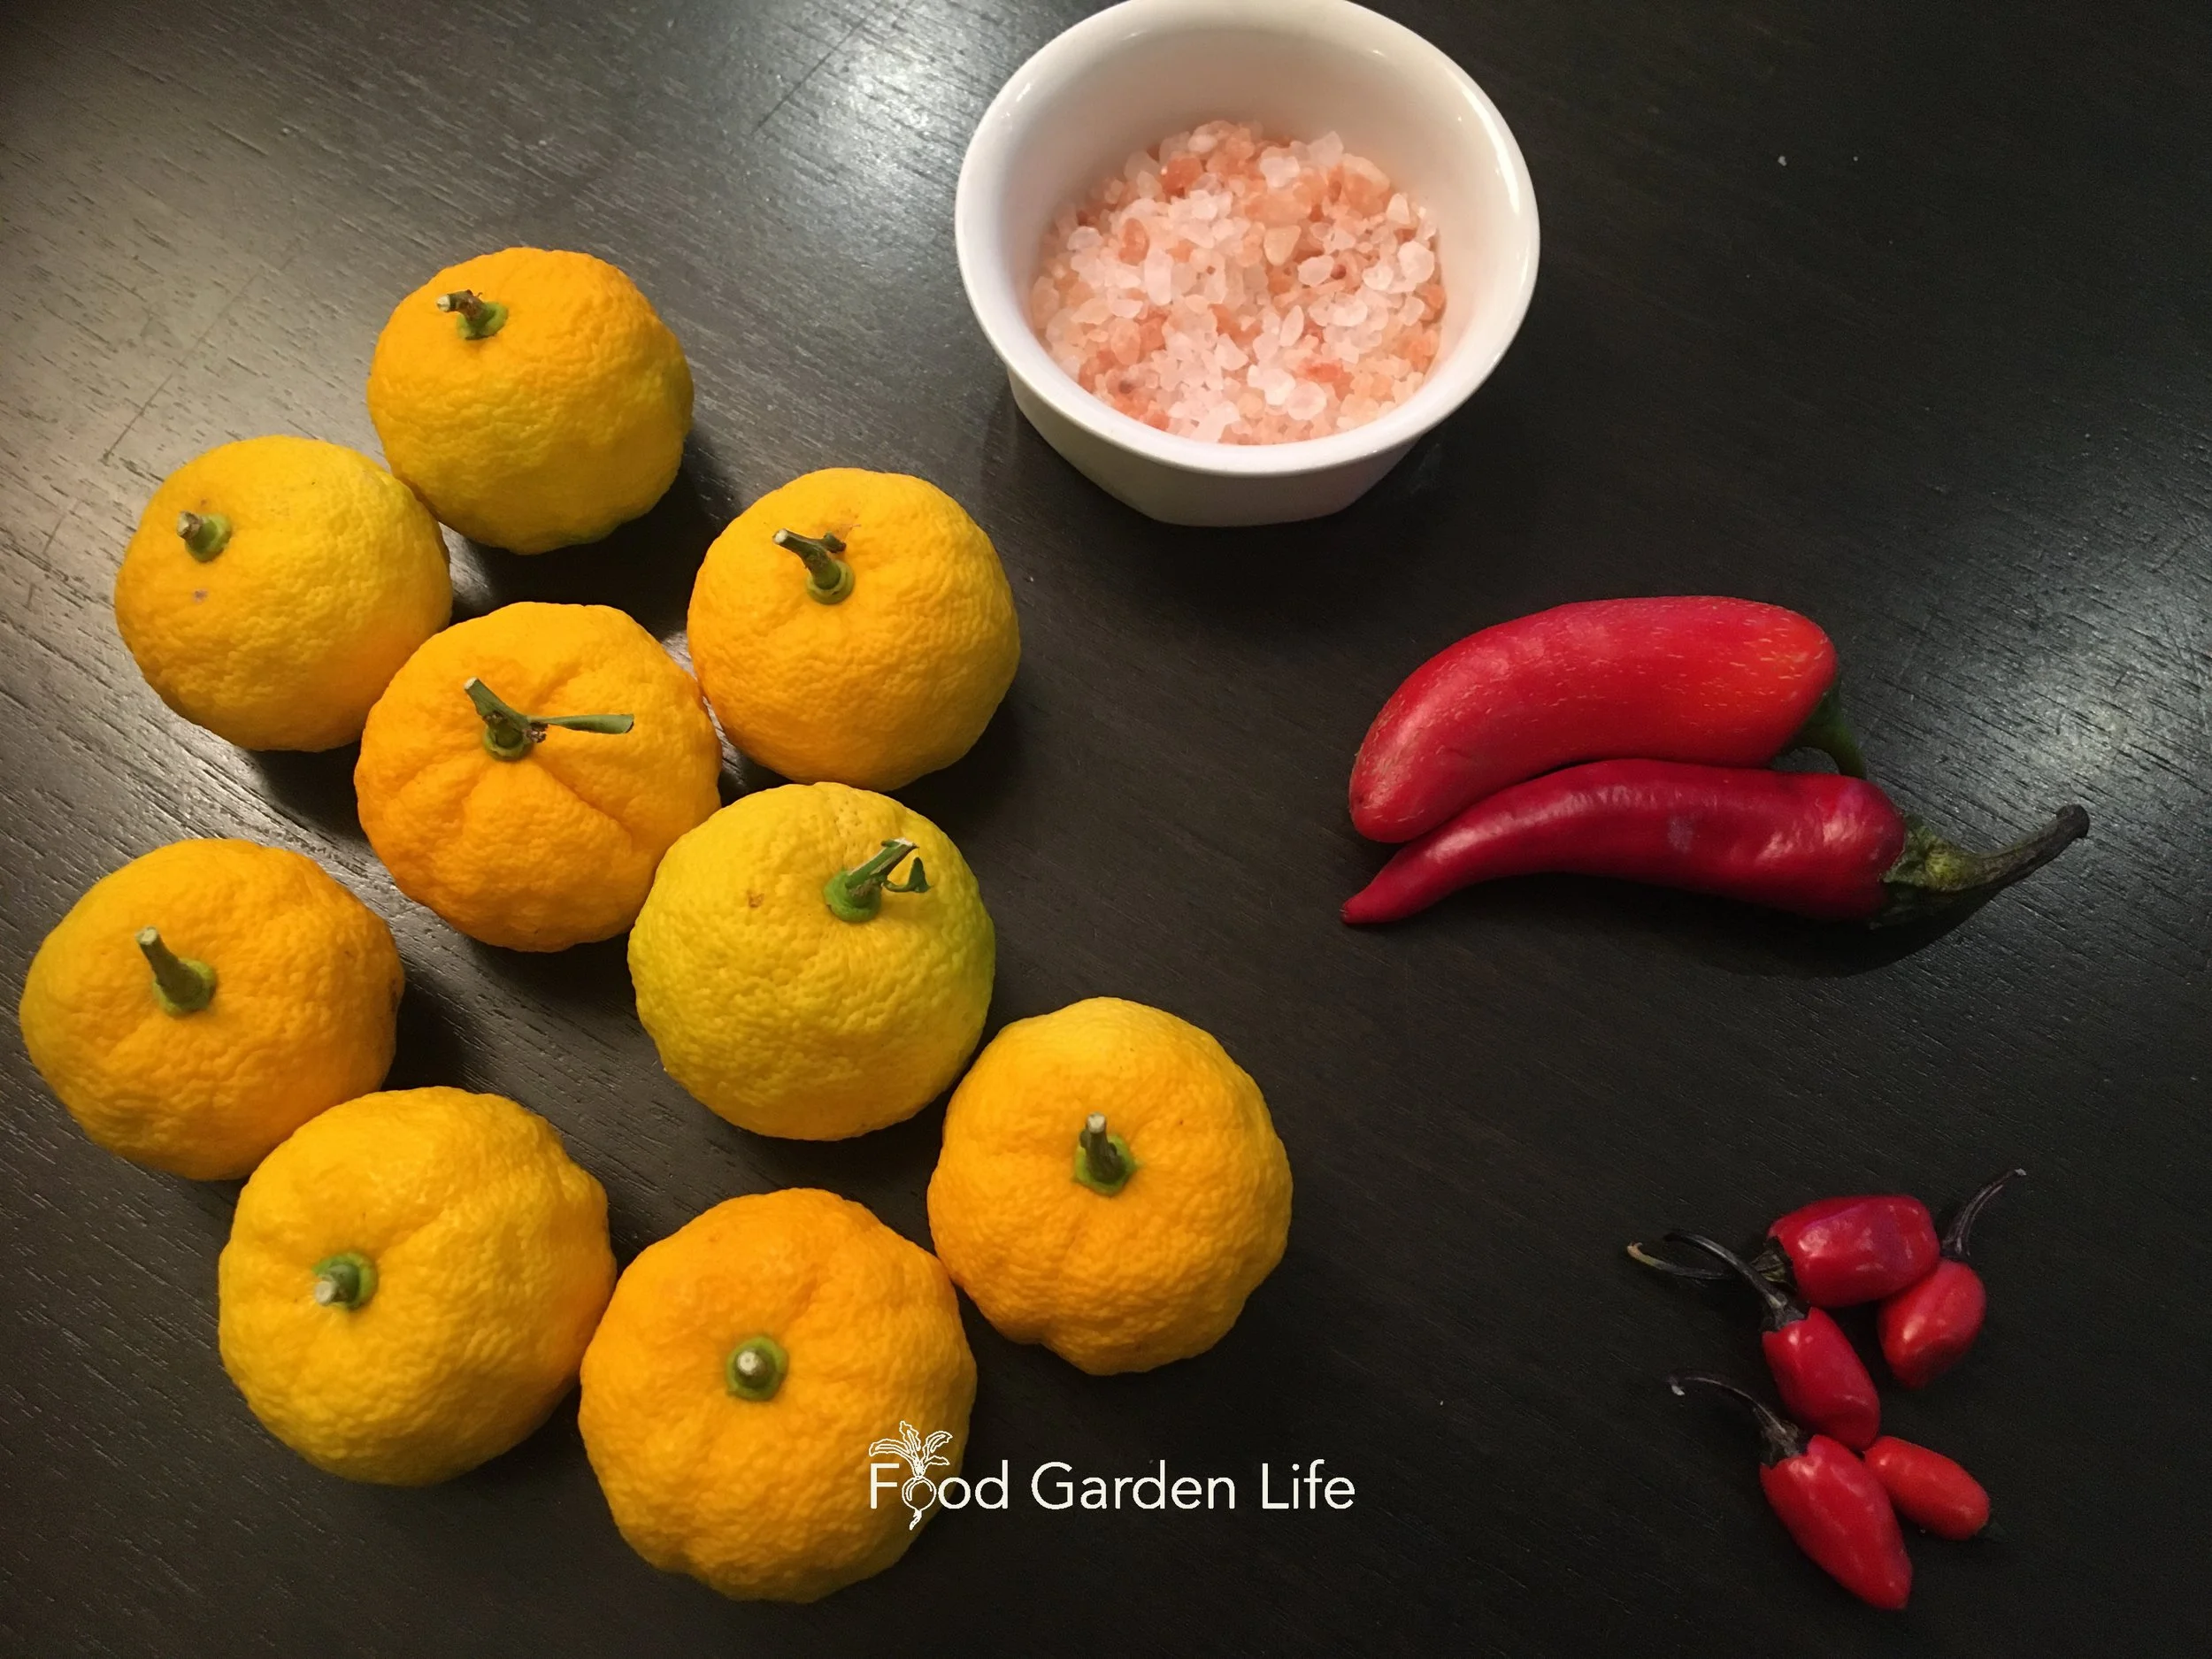
The ingredients to make yuzu kosho paste: yuzu fruit, salt, hot peppers.
The fruit is versatile. It works well in savoury dishes and desserts. Try it in cocktails, marinades, and desserts.
And like other citrus, it contains lots of pectin, so you can make yuzu marmalade.
The yuzu taste is distinct. I find it very floral. The yuzu juice is tart, and the yuzu peel is full of aromatic oils. Use both.
You can also use it where you might normally use other citrus fruits.
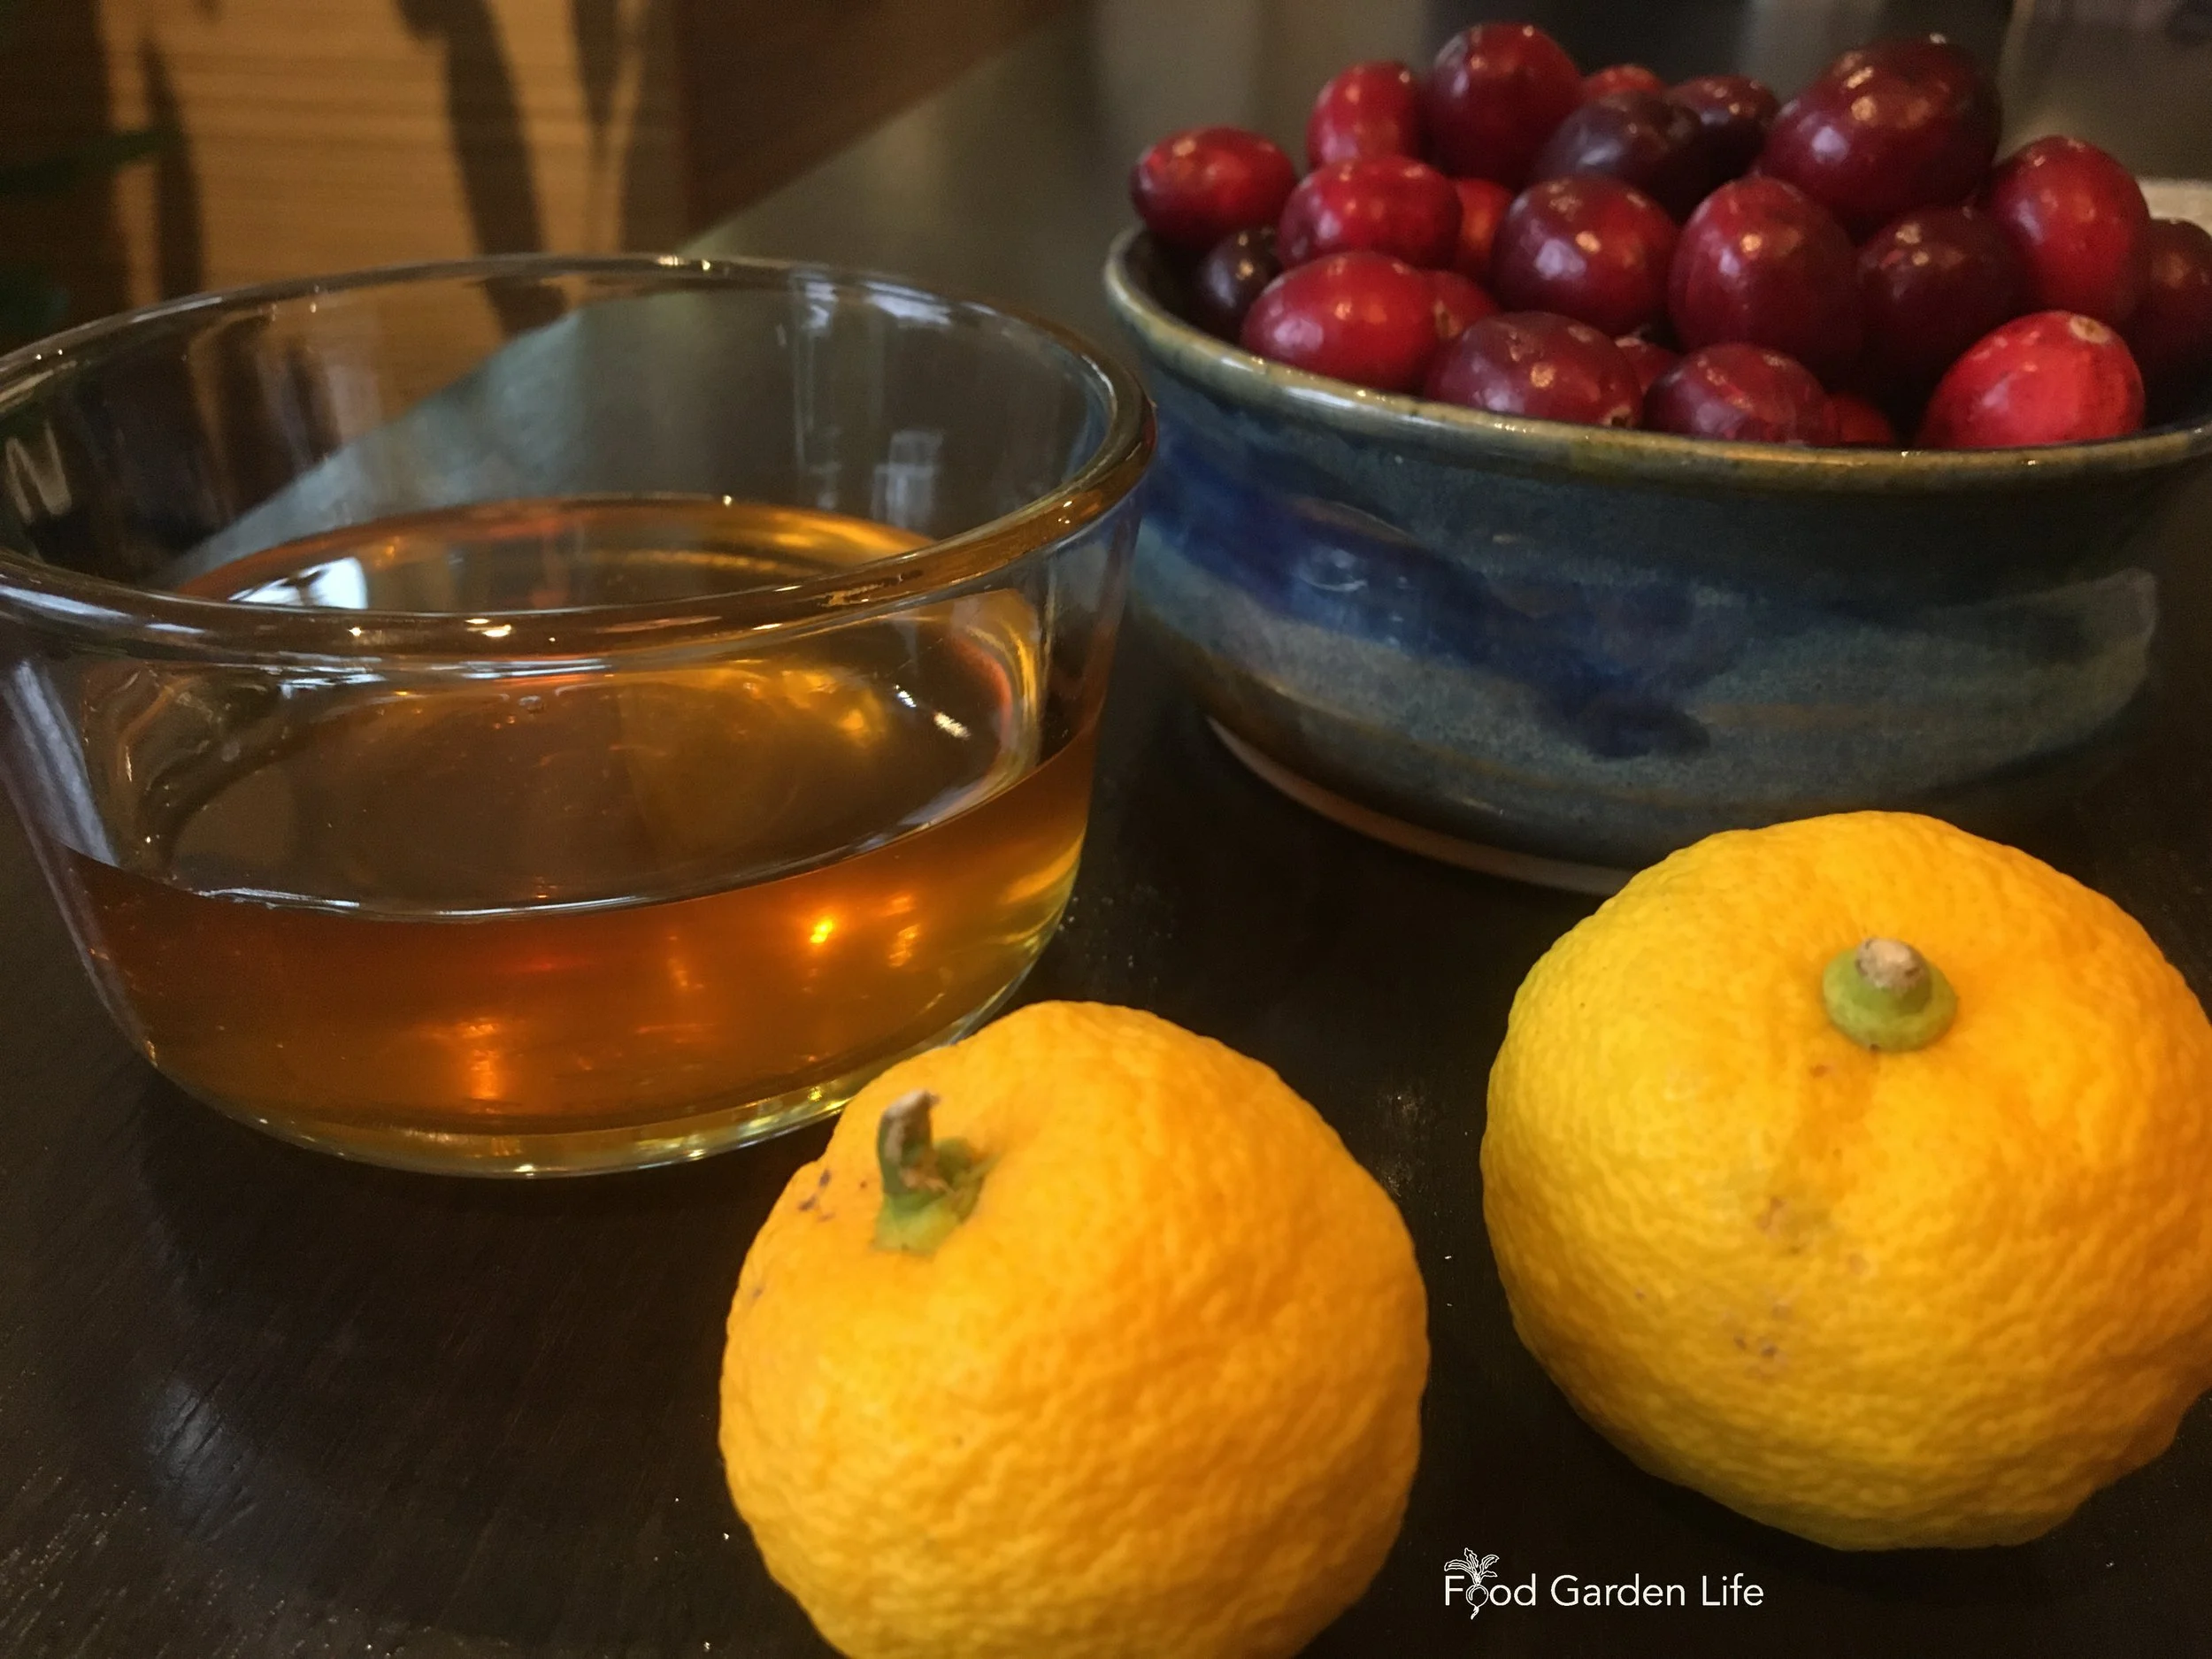
Yuzu, honey, and cranberries to make cranberry sauce.
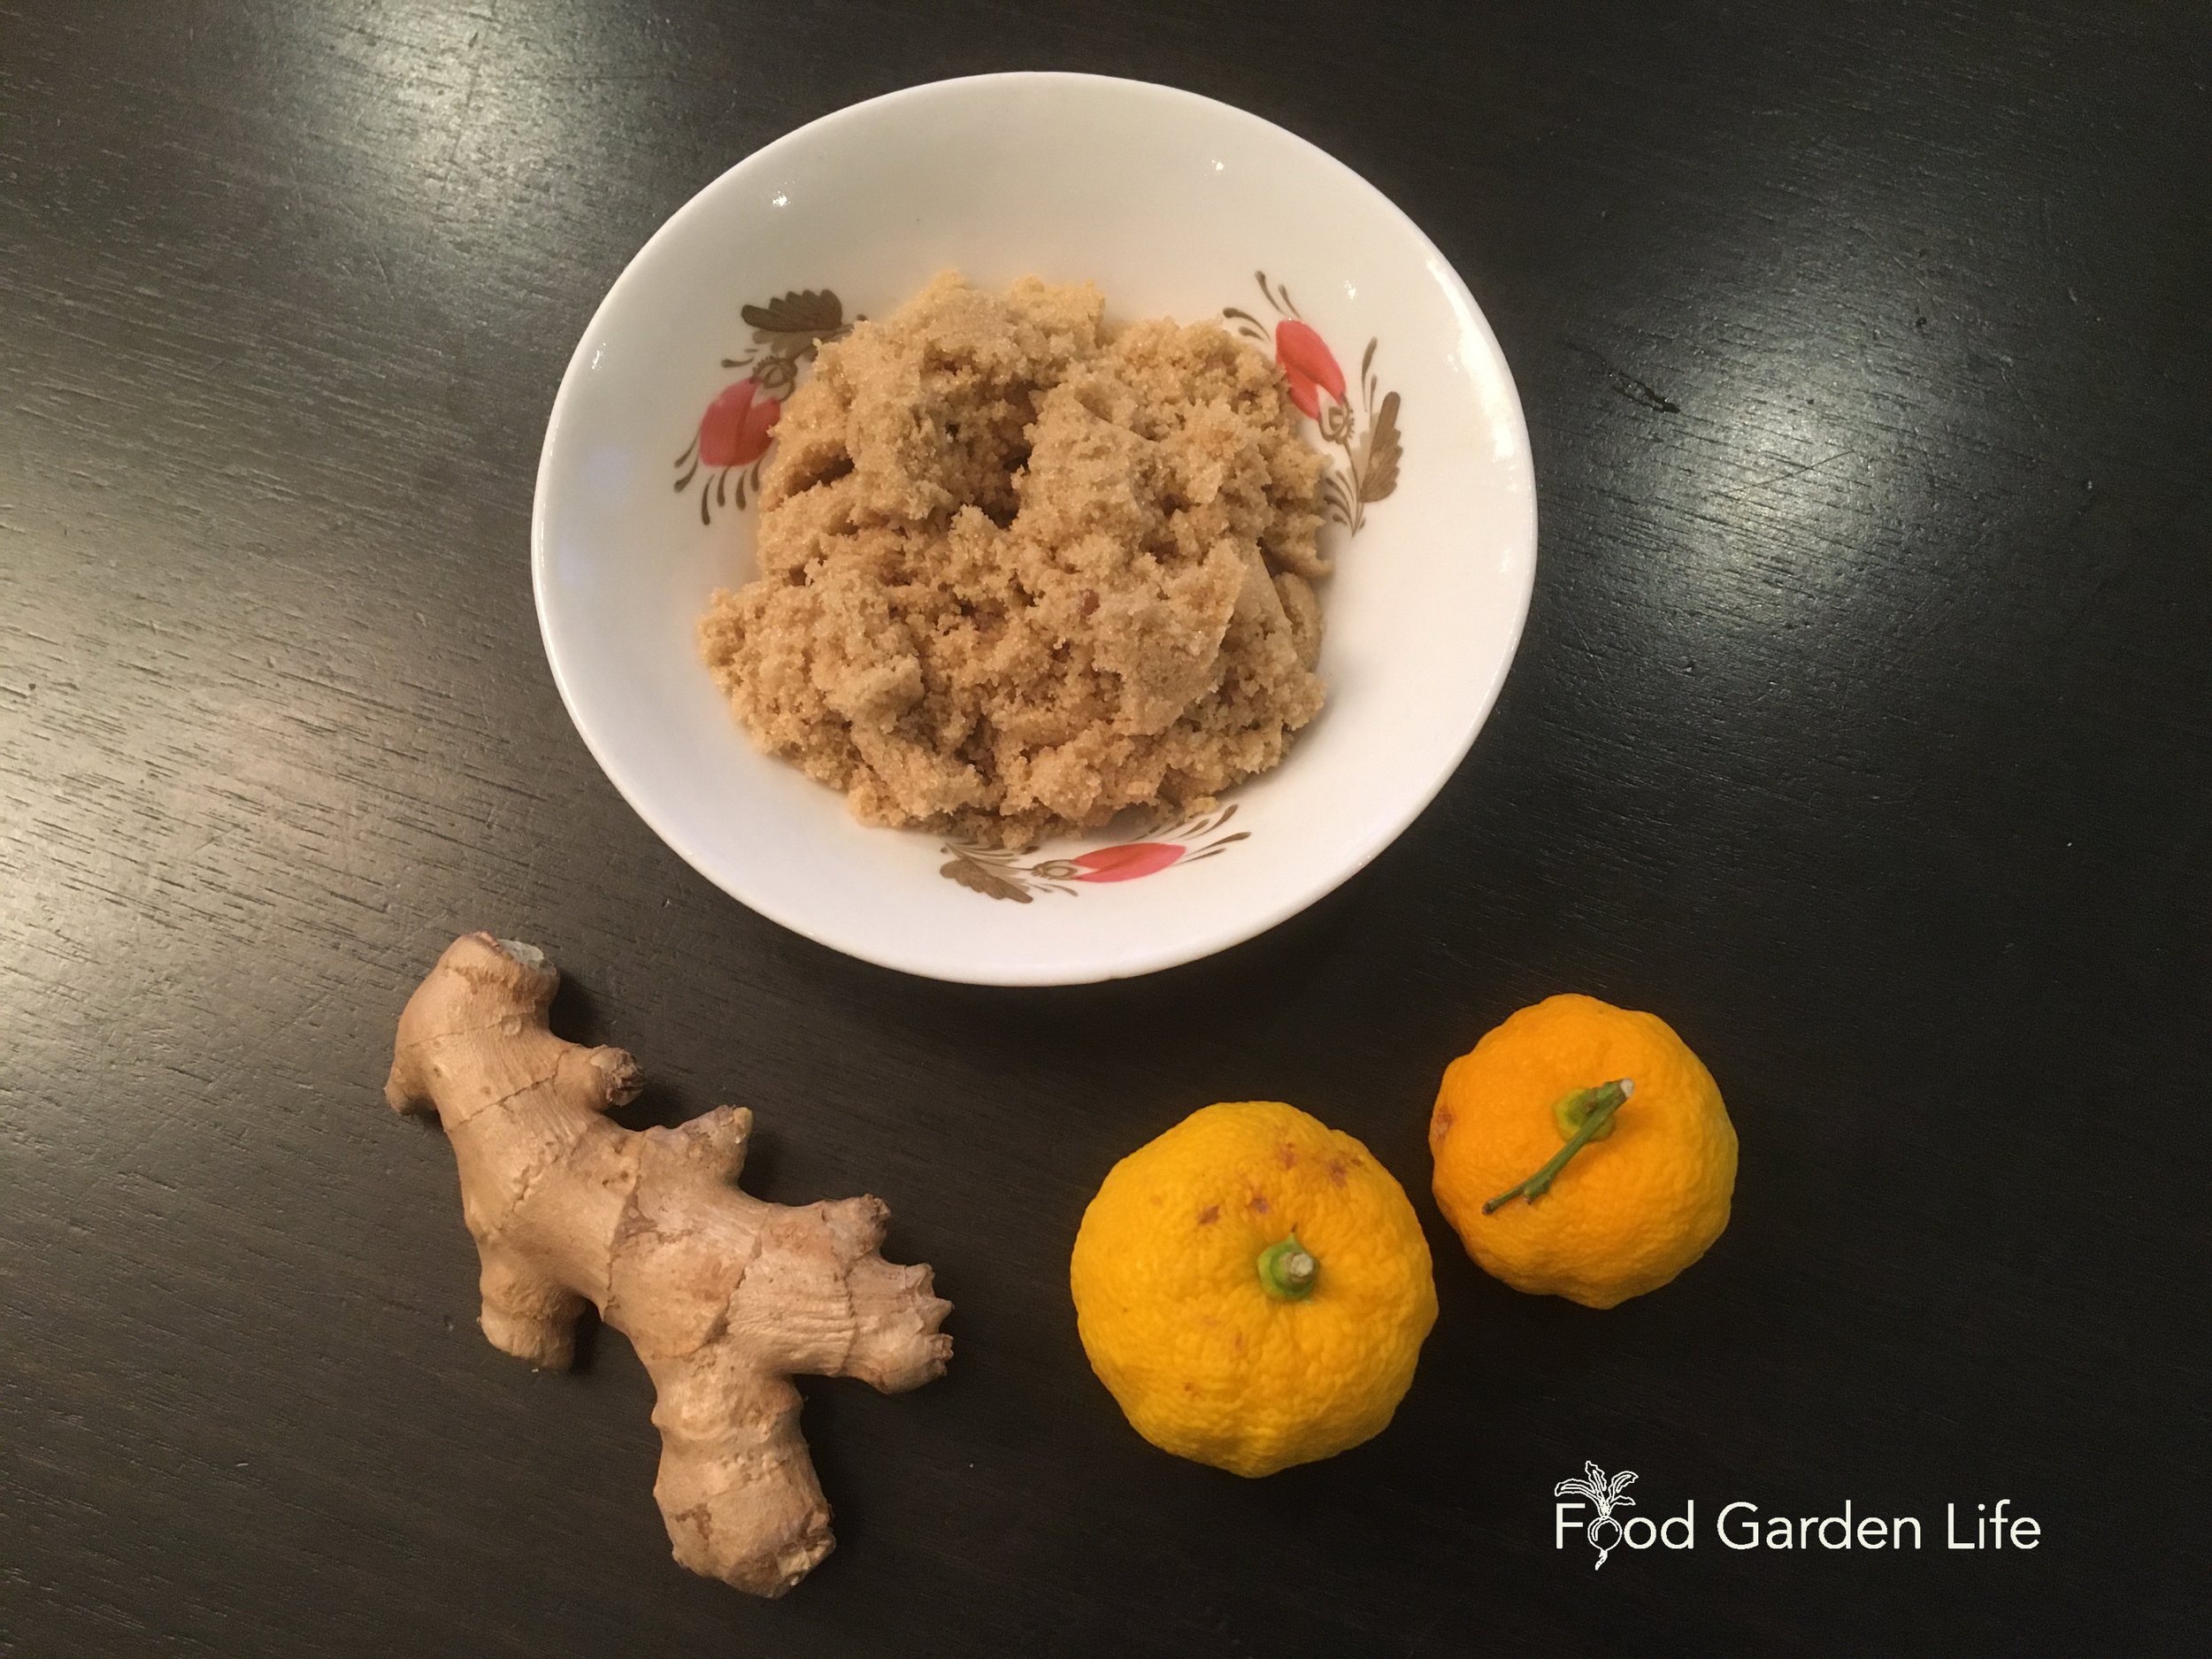
Here are a few ideas:
Yuzu kosho (citrus chili paste) – I love this in ramen
Salad dressings
Marinade
Instead of lemon in a spanakopita-style pastry
In cranberry sauce (instead of orange) – a big hit in my family
Marmalade
Yuzu tea
Top Tips for Growing Yuzu
Cool temperatures over winter is best
Don’t overwater in winter
Trim off thorns if it’s somewhere you walk past!
Yuzu FAQ
What is a yuzu lemon?
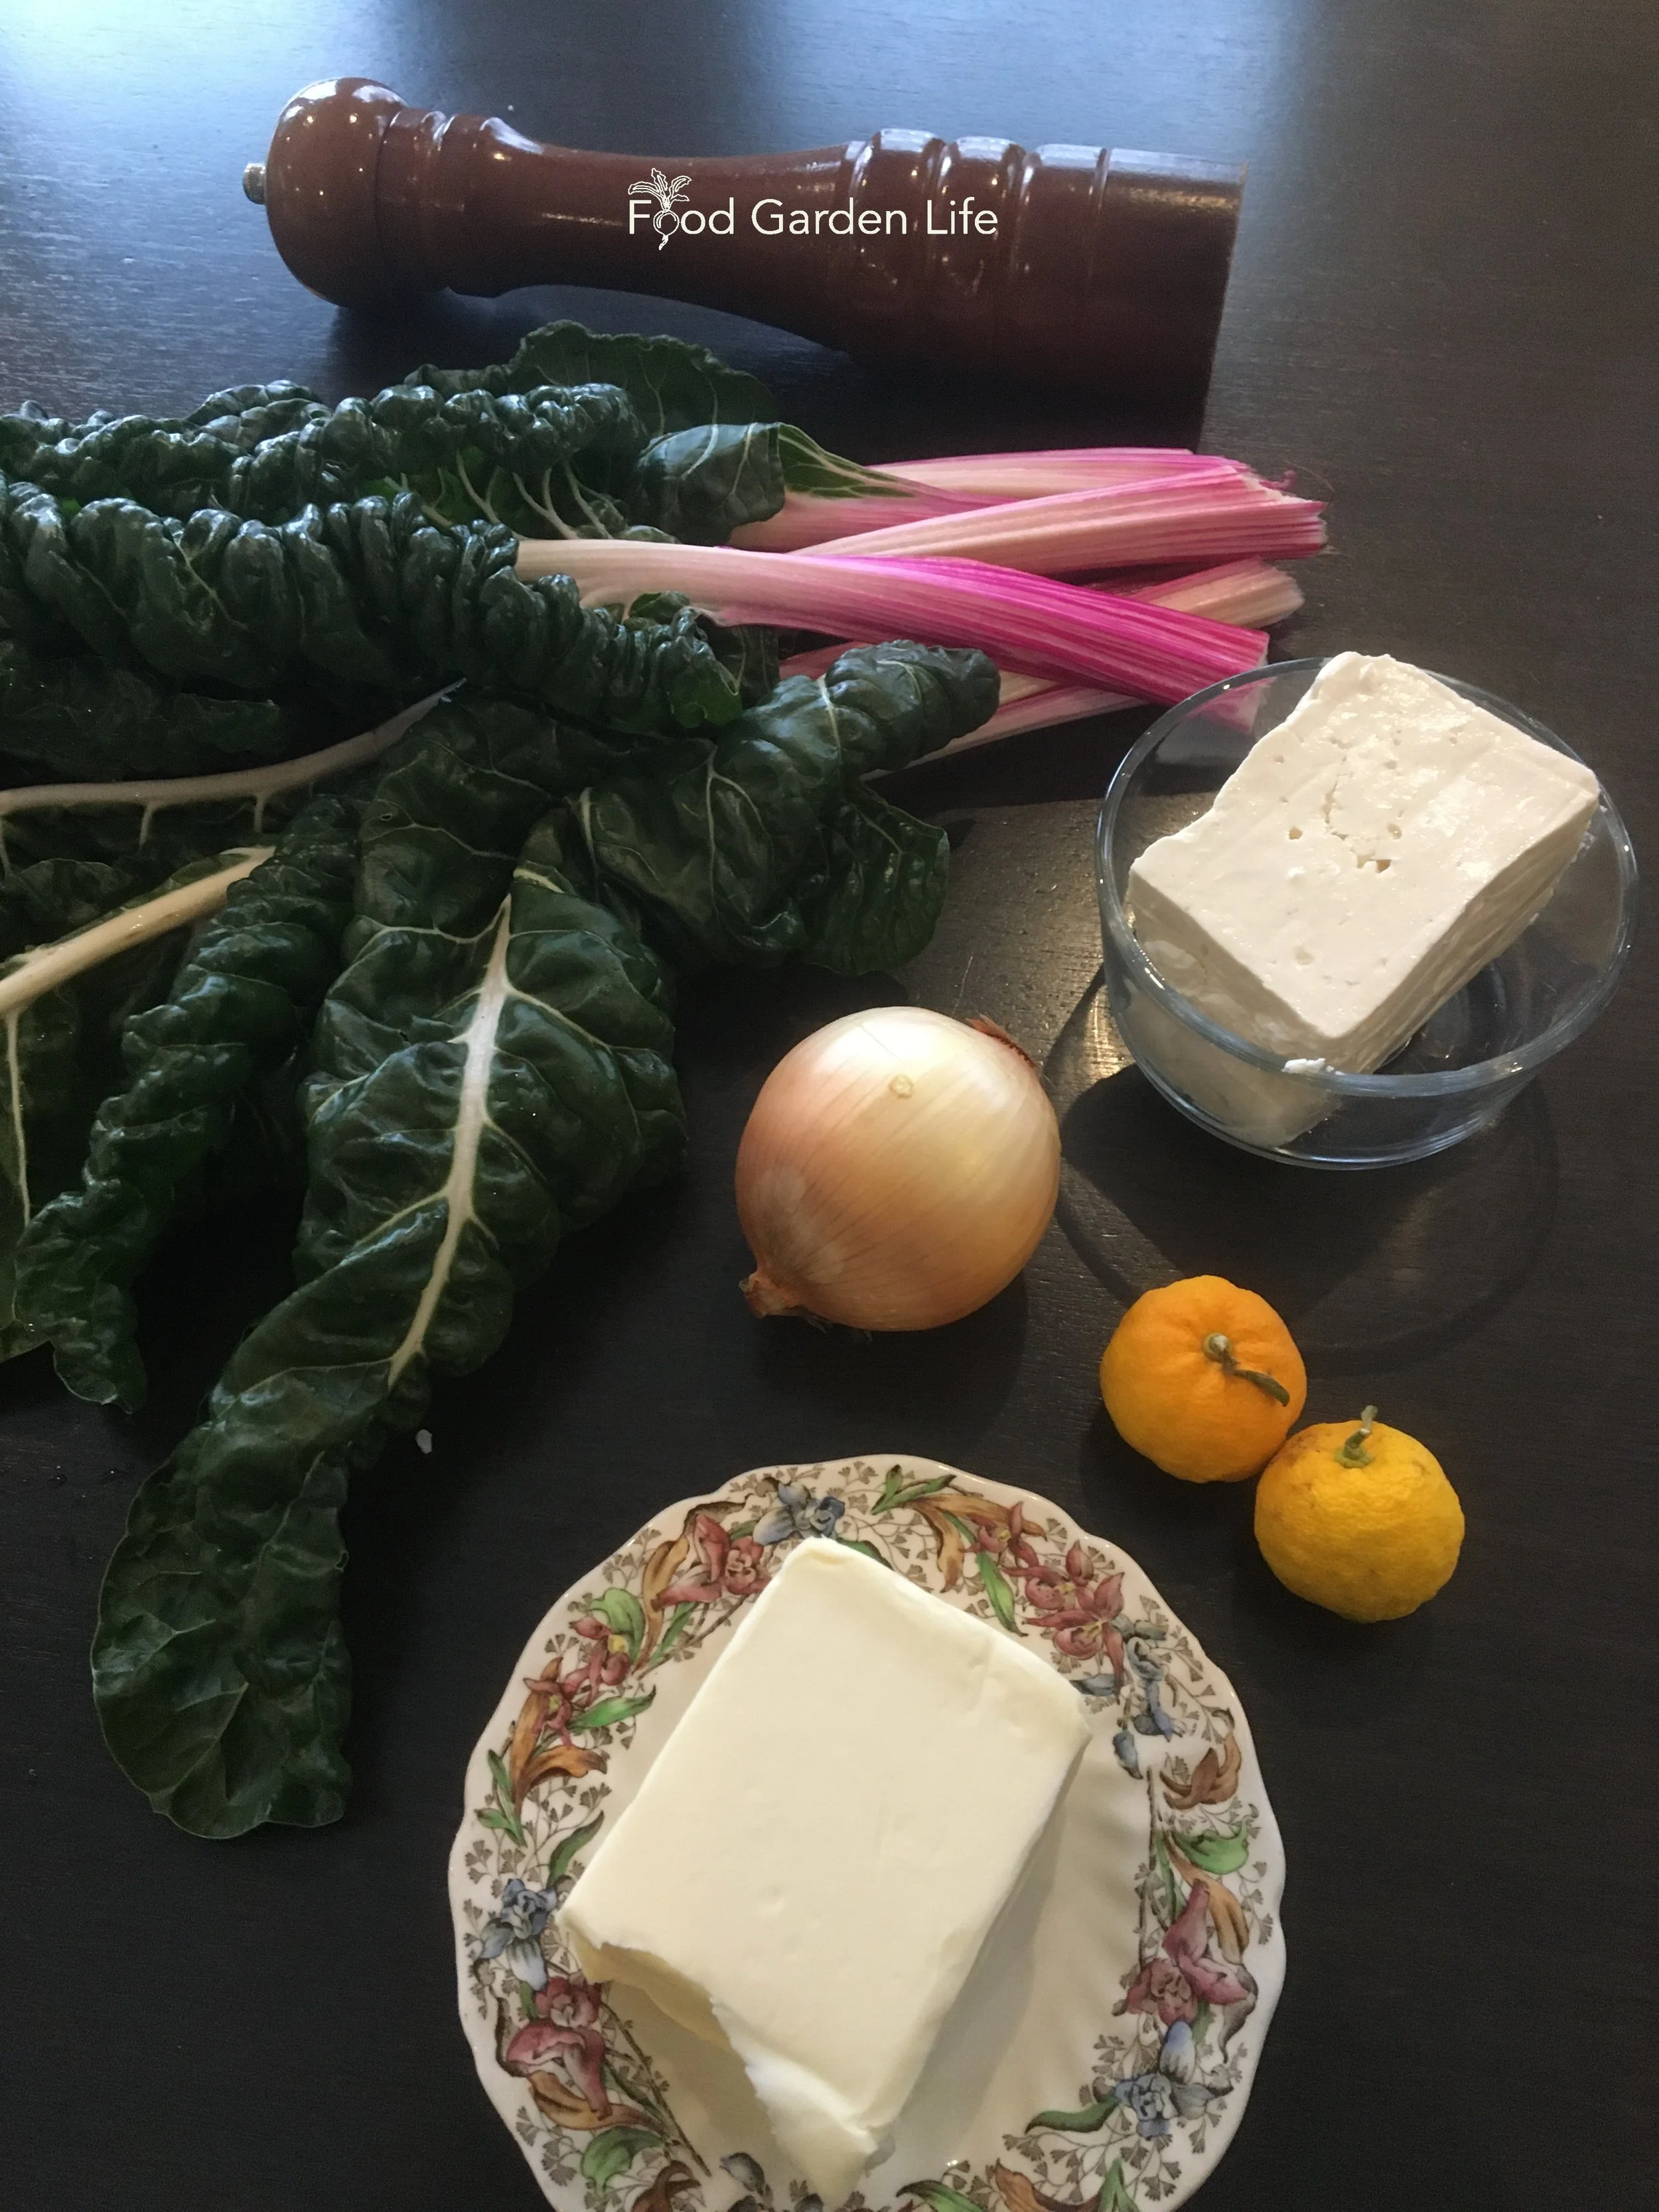
Savoury pastry: The ingredients to make a chard-and-yuzu spanakotpita-style pastry.
It’s another name for yuzu fruit. It’s also called yuzu citrus, Japanese citron, and Yuzu Ichandrin
Can yuzu grow in Canada?
You can grow it in the ground, unprotected in the mildest areas of Canada. In other areas, grow in the ground with protection—or as a container plant.
How long does it take to grow yuzu?
A grafted or budded tree (which is what trees at garden centres usually are) can produce fruit while still quite young.
Can yuzu be grown in pots?
Yes! For more insights into growing citrus in pots, read this article about how to grow a lemon tree in a pot.
Can yuzu be grown from seed?
Yuzu grows easily from seed. Don’t let the seeds dry out after removing them from the fruit. Place them in a pot with moist potting soil, and cover with some more potting soil—about the same thickness as the seed. Then keep it moist and be patient.
What is Sudachi?
Sudachi (Citrus sudachi) is another acid citrus with similar parentage to yuzu. Like yuzu, it is often harvested green. The fragrance is slightly different from yuzu. It is less seedy than yuzu.
Do people grow it commercially in cold climates.
Yes. There’a a greenhouse in Laval Quebec selling yuzu and sudachi. And here’s a story about yuzu in New Jersey. (I love the whole yuzu fruits filled with tasty treats!)
Find This Helpful?
If we’ve helped in your food-gardening journey, we’re always glad of support. You can high-five us below! Any amount welcome!
More Citrusy Ideas
Here’s a Guide to Growing Meyer Lemon Trees.
How To Grow a Lemon Tree in a Pot
Book: How to Grow Lemons in Cold Climates
Covering everything from lemon varieties, to location and watering, to pruning and shaping, to overwintering, dealing with pests, and more—and including insights from fellow citrus enthusiasts—this book will give you the confidence you need to grow and harvest fresh lemons in cold climates.
Online Course: Grow Lemons in Cold Climates
New to growing citrus in cold climates? Or bitten by the lemon bug and want to up your game?
Lemon Masterclass equips you with information and creative ideas so that you can make the most of your cold-climate garden for growing lemons and other citrus.
Grow Olives in Cold Climates
Want to grow olives but live in a cold climate? This article tells you how you can grow and harvest your own olives.
By Steven Biggs
Growing Olives in Canada
Olive trees don’t survive winter temperatures in most parts of Canada…but there are creative ways to grow them.
As Bob Duncan points to the south and west walls of his house he tells me, “Don’t waste them on rose bushes!”
Duncan is near Victoria, British Columbia. And against these south and west walls he grows olive trees (Olea europaea).
While olive trees don’t survive winter temperatures in most parts of Canada, in the balmier parts of British Columbia they do.
“The trees are absolutely fine at -10°C,” says Duncan, owner of Fruit Trees and More nursery.“
Last year that one was thick with olives, thousands of them,” he says, pointing to a 10-year-old tree.
It’s not surprising that olives do well here, says Duncan. He explains that they are grown extensively in the Mediterranean basin, where winters are similarly cooler than summers.
Growing Olives in Southern B.C.
Bob Duncan, serving home-grown olives in British Columbia, Canada
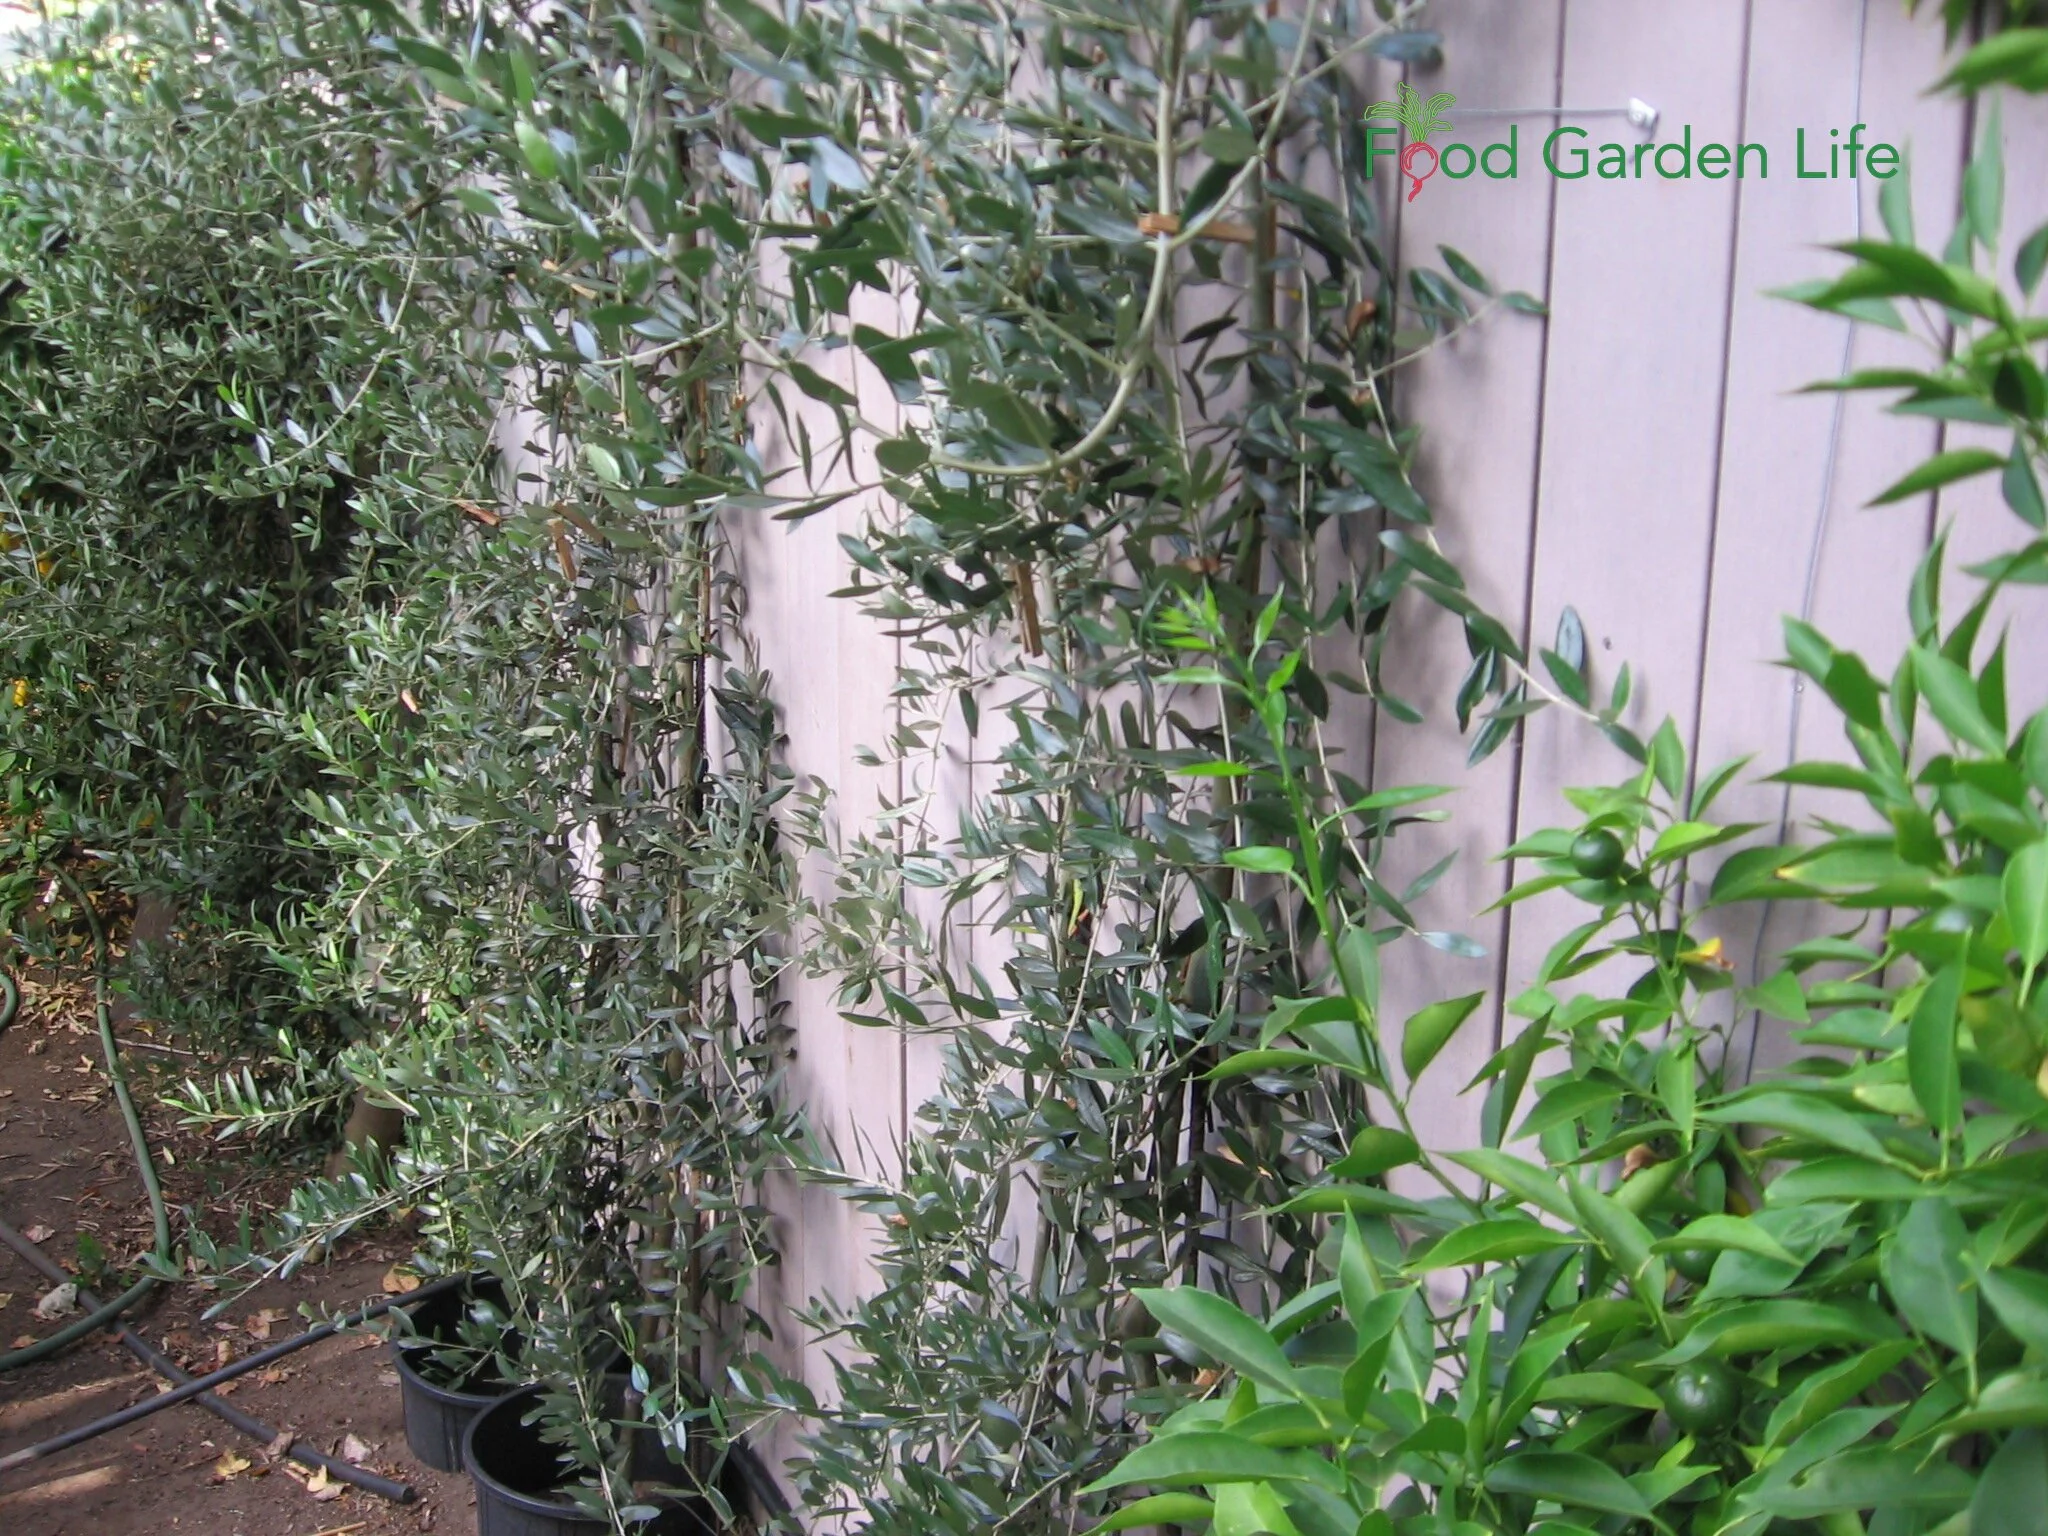
Duncan grows olive trees flat against his house on a series of horizontal wires. If temperatures drop below -10°C (14°F), he drapes the outward-facing side of the trees with a floating row cover (a breathable, lightweight, cloth-like material).
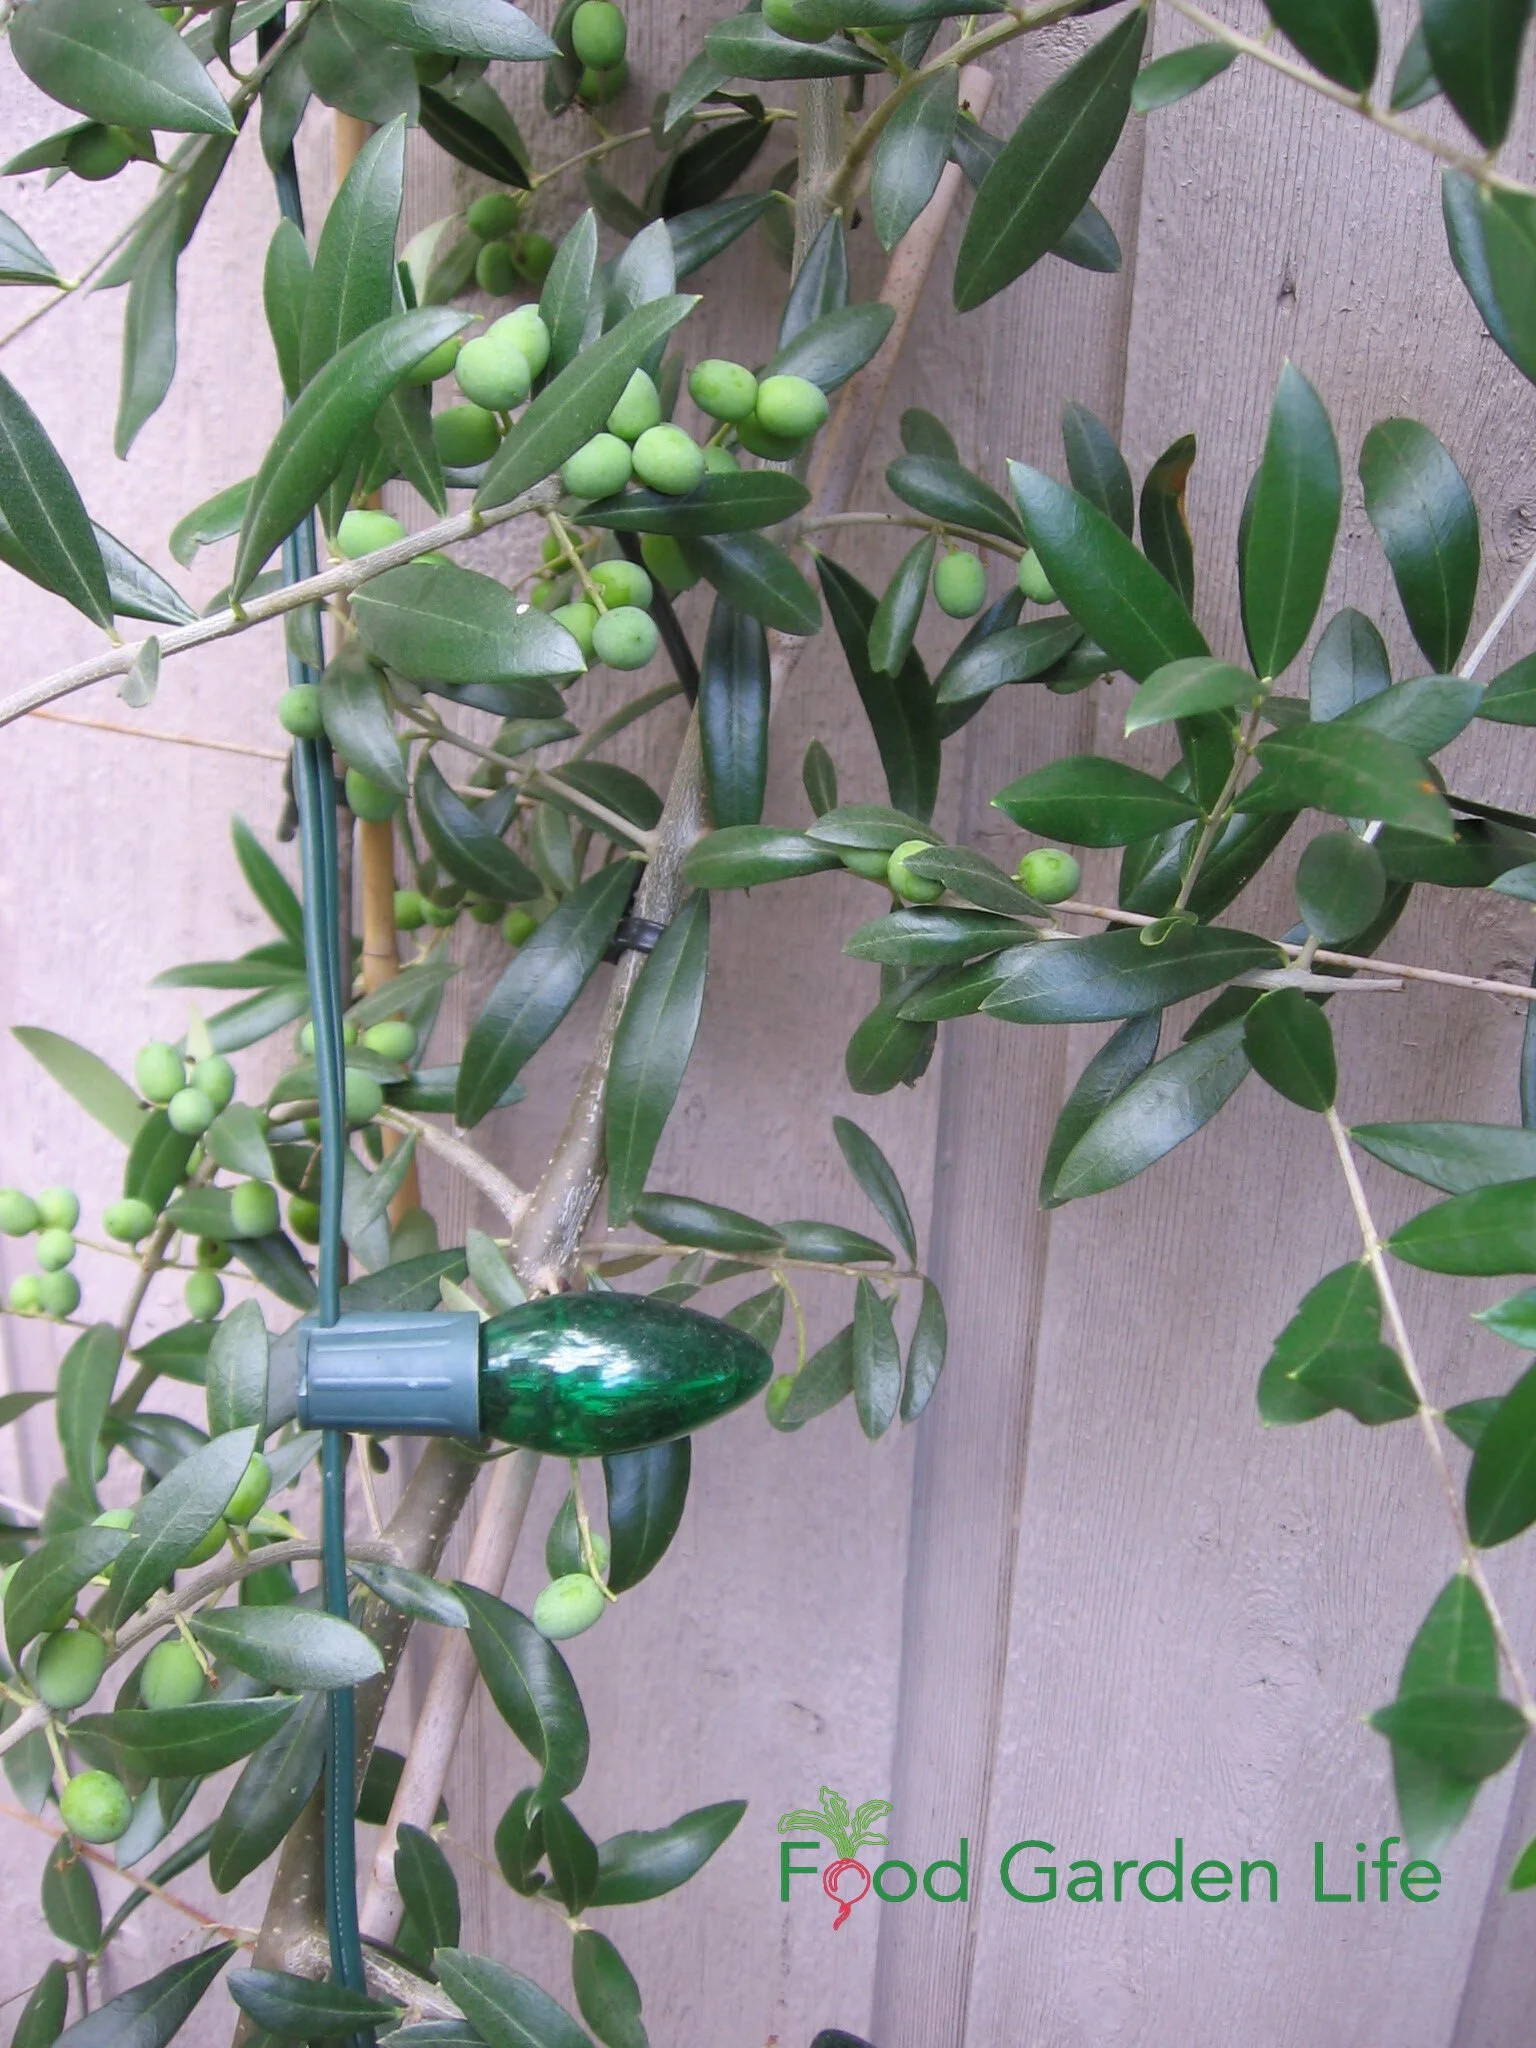
He also has one other trick to protect the trees during cold spells: Old-fashioned incandescent Christmas lights. When temperatures get low enough, he turns on the lights, which emit just enough heat to keep the temperature in a safe zone.
Elsewhere in B.C.
Michael Pierce grows olives in the ground out in the open at his home on Saturna Island, B.C. His nursery, Saturna Olive Consortium, specializes in olive plants.
He says that while the climate on some of the southern Gulf Islands and around Victoria makes it possible to grow in-ground olive trees, it’s borderline.
“They grow more slowly because the growing season is shorter and the conditions are cooler,” he explains.
Duncan tells local gardeners not to waste the south- and west-facing walls on their property on roses…save them for olives!
New Release for December 2024.
Now available for pre-order.
Even if you live somewhere too cold for olive trees to survive the winter, you can enjoy the exotic touch of an olive tree in your garden. This book gives you what you need to know to grow an olive tree in a pot. (And get olives!)
If temperatures drop low enough, Bob Duncan turns on the incandescent Christmas lights on his olive plants as a source of heat.
Growing Olives in Colder Canadian Climates
My own potted olive trees in Toronto survive winter in a cool sunroom, an insulated garage, and even in my dining room.
A friend overwinters hers by the south window in the house.
Find out more about how to grow an olive tree in a pot.
While they make attractive indoor plants, Duncan and Pierce both point out that without a cool spell, the flowering cycle of the tree can be disrupted. So if you overwinter them at room temperature, you might not get flowers and olives.
Don Moffat, who works as an ornamental gardener in Toronto, has helped clients overwinter olive trees. Smaller trees, he says, can be buried to protect them over the winter.
Duncan notes that while in-ground trees easily withstand -10°C (14°F), potted trees should be exposed to no more than a light freeze. “The roots are not as tough as the upstairs,” he says.
Getting Olives to Flower and Fruit in Canada
My original two olive trees—clones from the same plant—looked great but didn’t fruit for years. Duncan explained that they likely needed a cold spell. So I tweaked my overwintering technique to give them cold, bright conditions over the winter in a minimally heated greenhouse.
Duncan also explained that because my plants are both the same variety, and because olives are not usually self-fertile, I should get another variety.
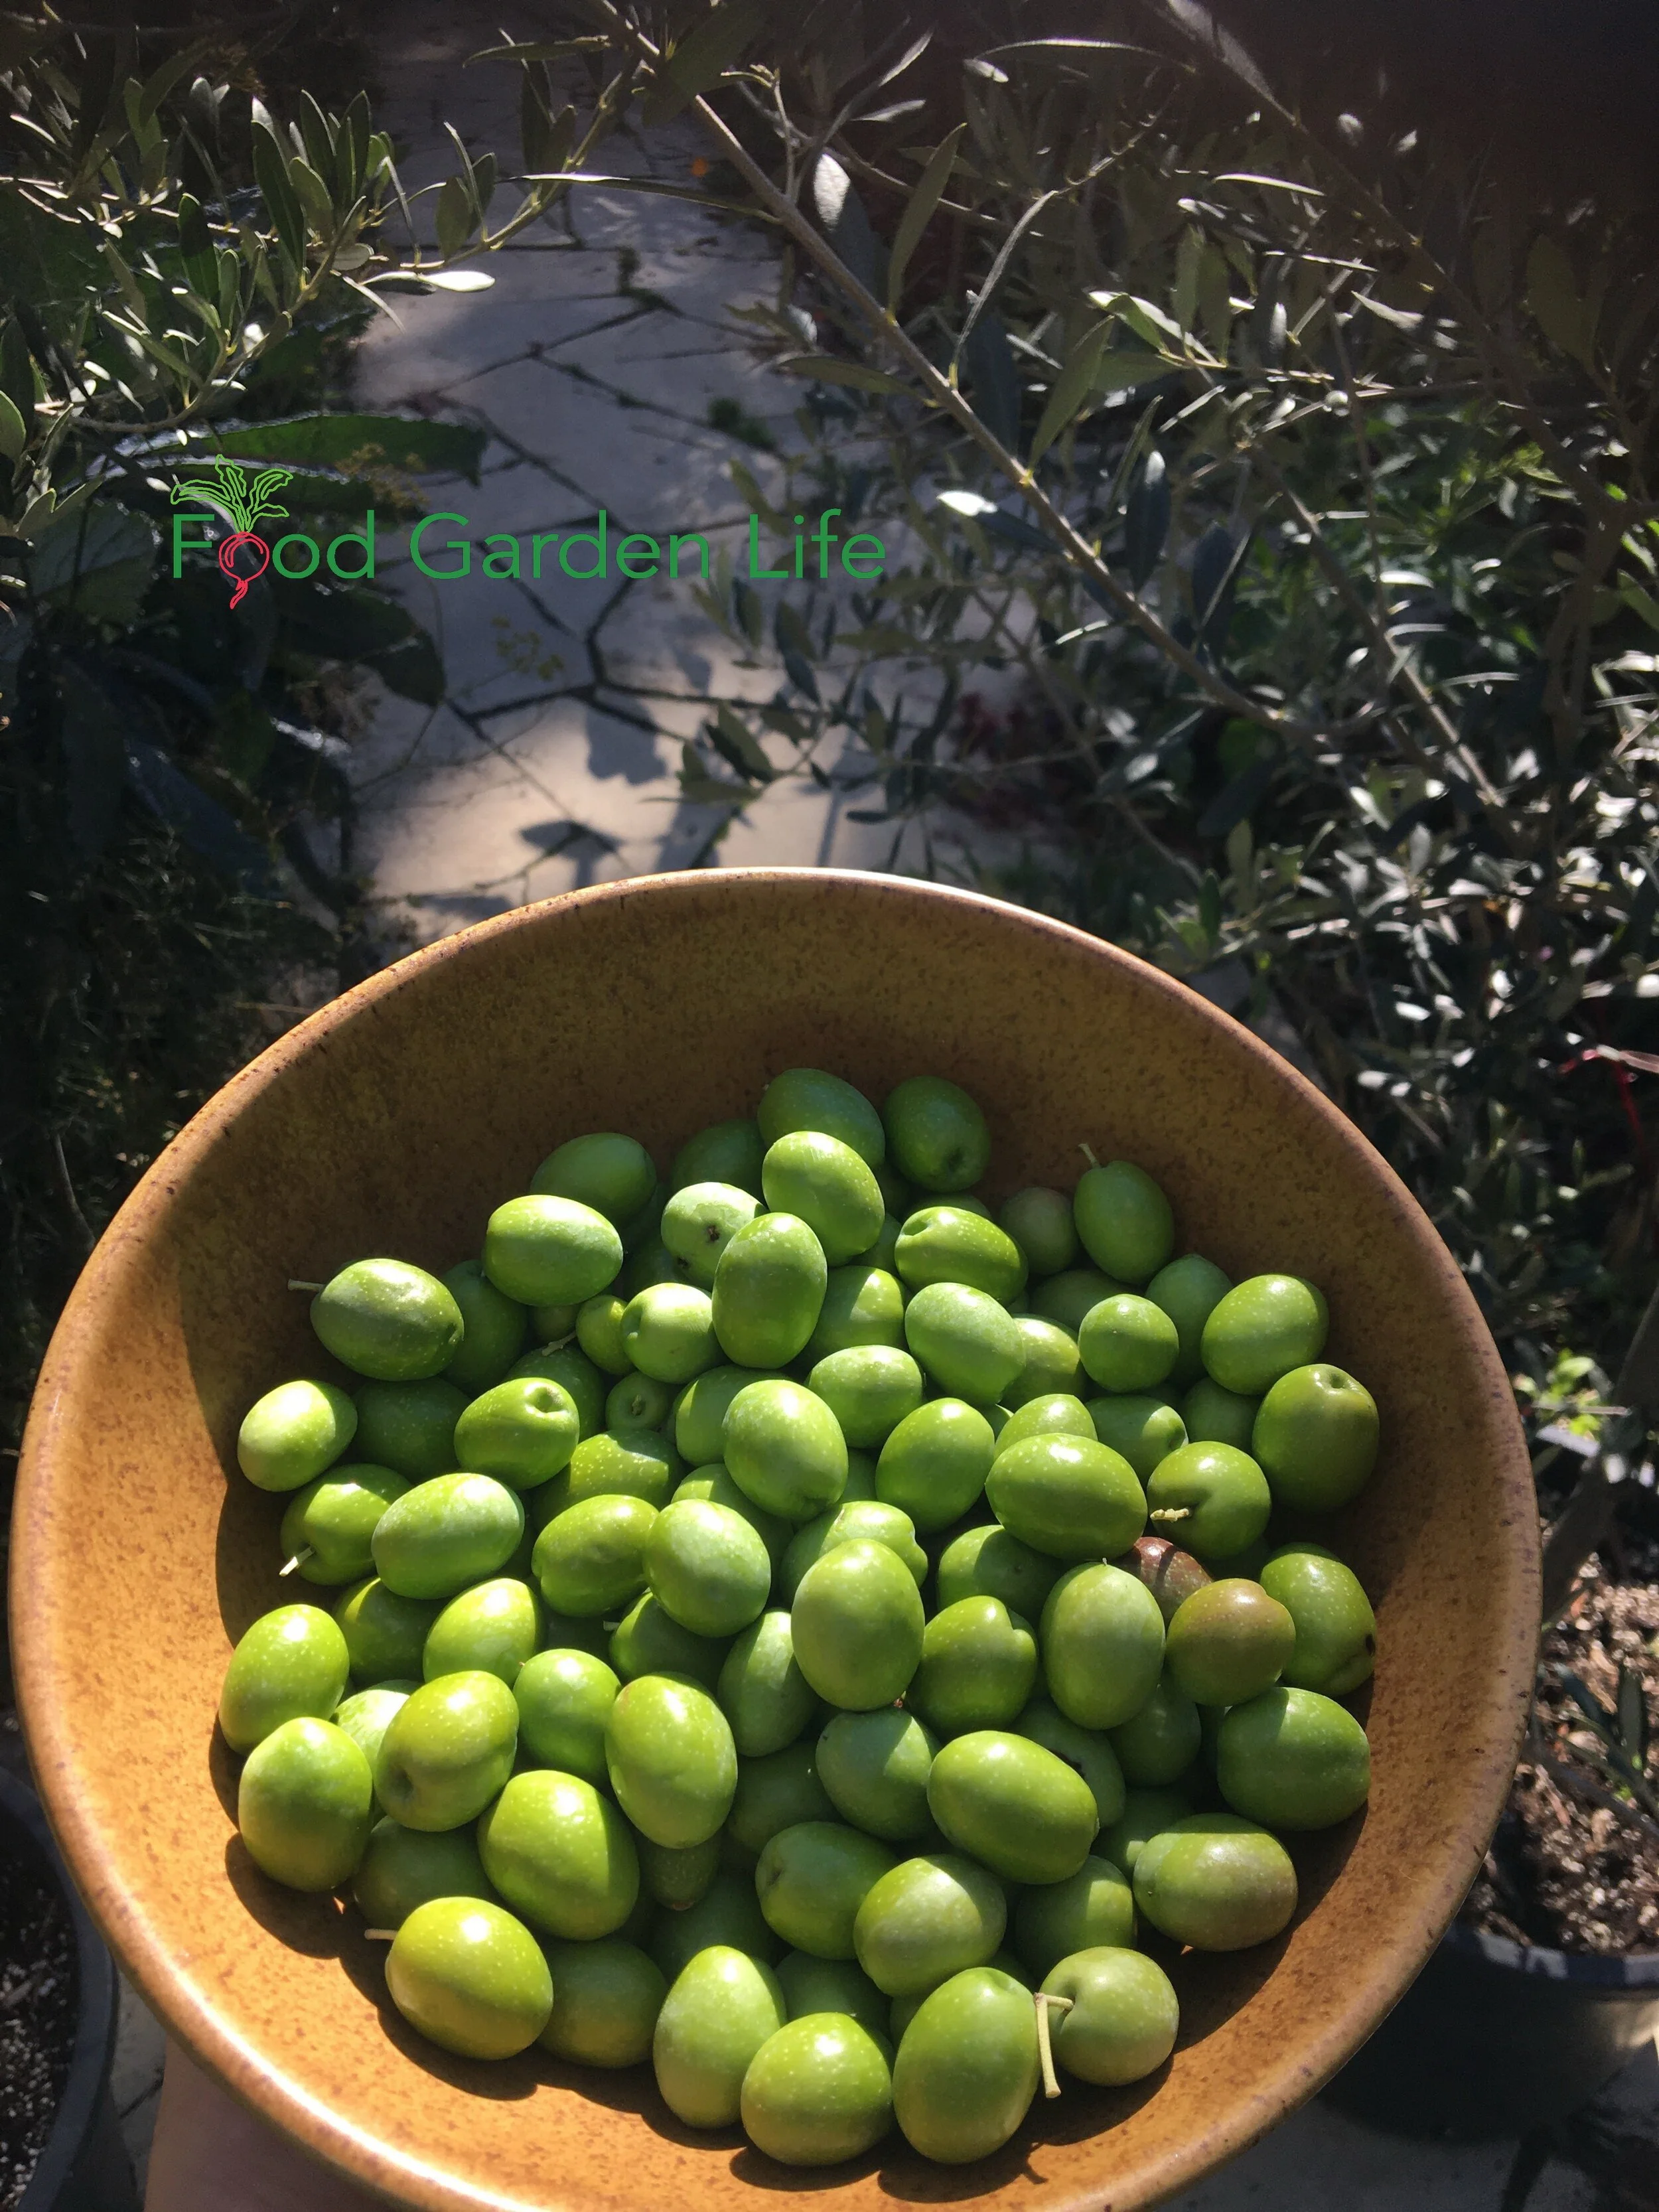
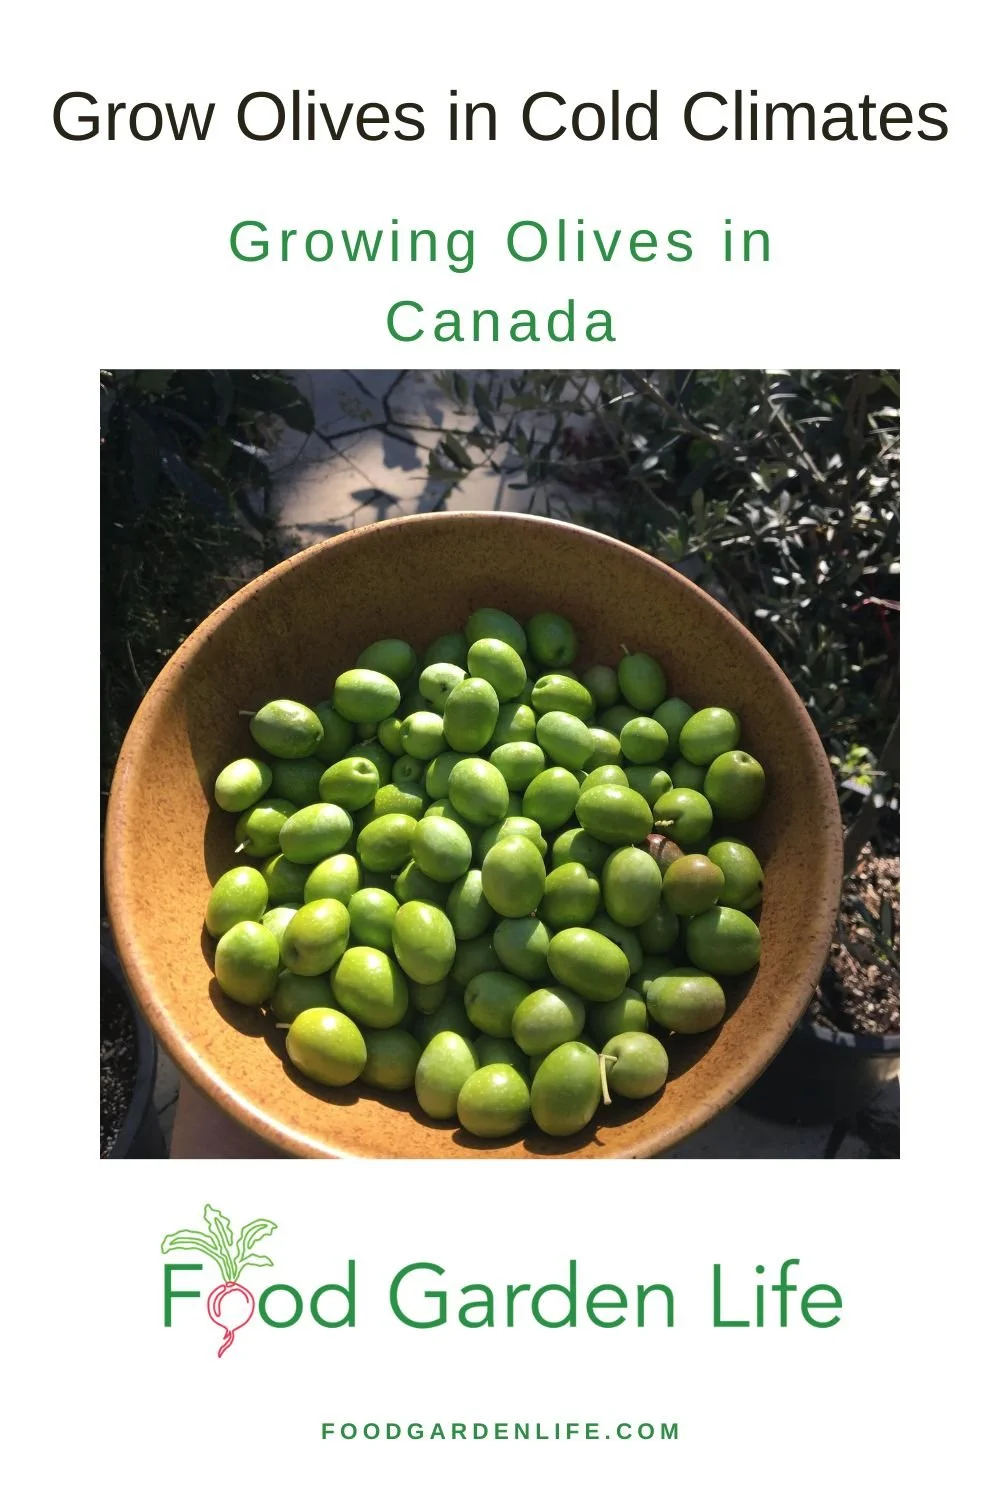
My Toronto olive harvest!
While Duncan has seen plants in isolation produce some olives, “It’s better to have two varieties,” he says.
So I got a third olive tree—another variety. And between having two varieties, and providing a cold, bright spell over winter, my olives began to flower and set fruit.
Olive Pollination
“There is pollen everywhere,” says Duncan, as he talks about knowing when to help pollinate his olive trees, which are wind-pollinated. He uses a feather duster, or a vacuum set on reverse to blow.
I let nature take its course, and don’t help with the pollination of my olive trees.
Olive Harvest
Pierce usually harvests olives in November. Harvest time depends on the growing season, the variety, and stage of ripeness.
Olives can be picked green, when they start to turn colour or when fully coloured. The fruit can’t withstand temperatures as cold as the tree.
Maintaining an Olive Tree
Pin this post!
Olive trees do best in full sun. When grown in a pot, use a well-drained potting mix and feed with a balanced fertilizer in spring and summer. Keep potted plants well watered, but not constantly wet: Duncan advises that they be kept on the “dry side of moist.”
A young tree might need support until its stem thickens. Prune in spring to obtain the desired size and shape, removing crossing branches. Olives grow into small trees. Duncan’s reach up to the eaves of his house.
The size of potted plants is determined by the gardener. My own olive trees are in 14” pots; I prune the plants to six feet in height so they are easily carried through a doorway.
Plants that are grown from cuttings (as are most commercially available plants) are “physiologically” mature and will fruit while still small. Pierce says, “I’ve seen little, twelve-inch trees start to flower and get fruit.”
Olive Varieties
There are many olive varieties, and some are more tolerant of cold than others, says Duncan. Pierce finds the cultivars Frantoio and Leccino have good cold hardiness.
But for gardeners growing olives in pots and providing a protected spot for the winter, this cold hardiness is not as important as it is for people growing olives in the ground in southern BC.
My original two olive trees are an unnamed variety with olives that are large, plump, and green when I pick them here in Toronto in October. My third olive tree, which came home in the suitcase from Bob Duncan’s nursery, is a Frantoio, and it’s smaller olives are just starting to colour up as I pick from my olive trees before stowing them away for the winter.
More on Growing Olives in Cold Climates
Find out how to grow an olive tree in a pot.
Find This Helpful?
If we’ve helped in your food-gardening journey, we’re always glad of support. You can high-five us below! Any amount welcome!
Here’s More Exotic Fruit You Can Grow
If you get a kick out of growing things where they don’t normally survive, find out about how to harvest figs and lemons in cold climates:
These Edible Perennials and Perennial Vegetables Make a Delicious Edible Landscape
Edible perennials are perfect for an edible landscape! Find out which ornamental perennials are edible, and get ideas for perennial herbs and vegetables.
By Steven Biggs
Grow a Grazing Garden with Edible Perennials and Perennial Vegetables
When I was a child my dad showed me how to take a leaf of stonecrop sedum, methodically press the whole surface of the leaf between my thumb and forefinger to soften it, and then gently push sideways to loosen the skin on the front and back.
Once the skin was loose, we’d blow into the sedum leaf to inflate it – like a little balloon!
It’s a fun trick for a kids. And I still have fun showing it to kids who visit my garden.
Multi-Purpose Plants
In a small-space garden, I like to include multipurpose plants, plants that are more than just ornamental. Edible perennials and perennial vegetables are great for small-space gardens.
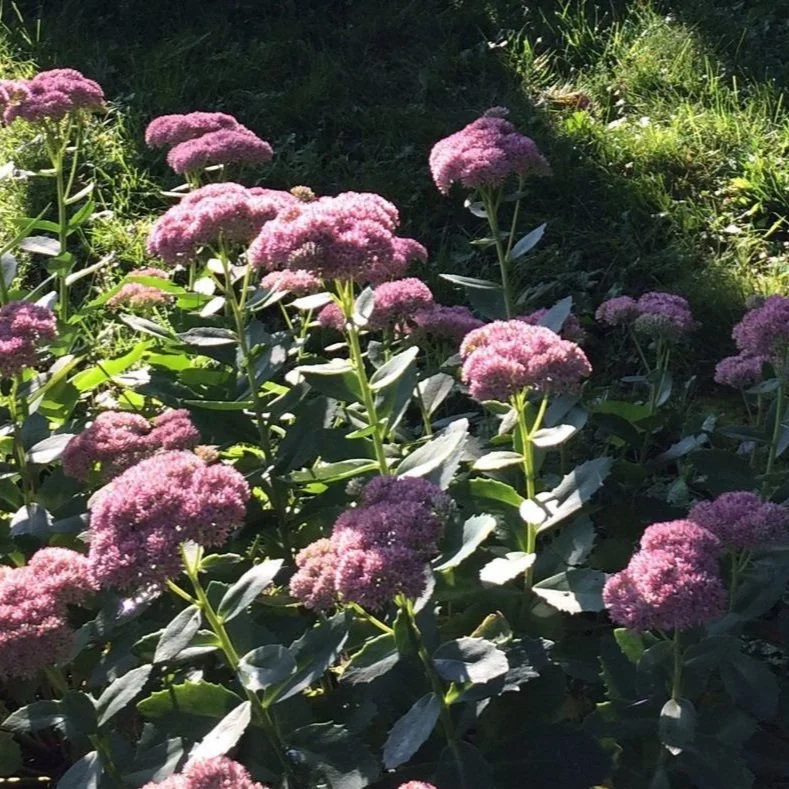
Stonecrop Sedum flowers late in the summer. And it’s edible!
Stonecrop sedum is very ornamental. It’s a reliable, easy-to-grow perennial that flowers in the late summer when most other perennials are done flowering.
It also adds winter interest to the garden. I leave the dry stalks and flower heads in the garden all winter. They add texture and catch the snow.
Beyond it’s ornamental appeal, chalk up two other things for stonecrop sedum (or, as Dad always calls it, frog’s belly.)
The balloon-like leaves are amusing for kids (and adults too!)
It’s edible. You can eat the leaves. They’re mild, slightly lemony.
Keep reading for some of my favourite edible perennials, including herbs, ornamental perennials, and vegetables.
Use Edible Perennials in the Landscape
Traditional vegetable gardening involves a lot of annual crops and annual preparation of the ground. It includes starting transplants indoors, sowing seeds directly into the garden, and preparing the garden soil to make a nice bed.
Even no-dig vegetable gardening systems usually include some sort of soil preparation, whether it’s solarizing the ground (by covering with tarps), scuffing the soil surface to kill small weed seedlings, or mulching.
With this traditional approach to food gardening, there’s often a focus on growing enough to preserve by canning, freezing, or drying.
Perennials for an Edible Landscape
What if you just want to be able to go out into your garden and pick something for the meal you’re about to cook? To see what looks good in the garden – and see what inspires you to be creative in the kitchen?
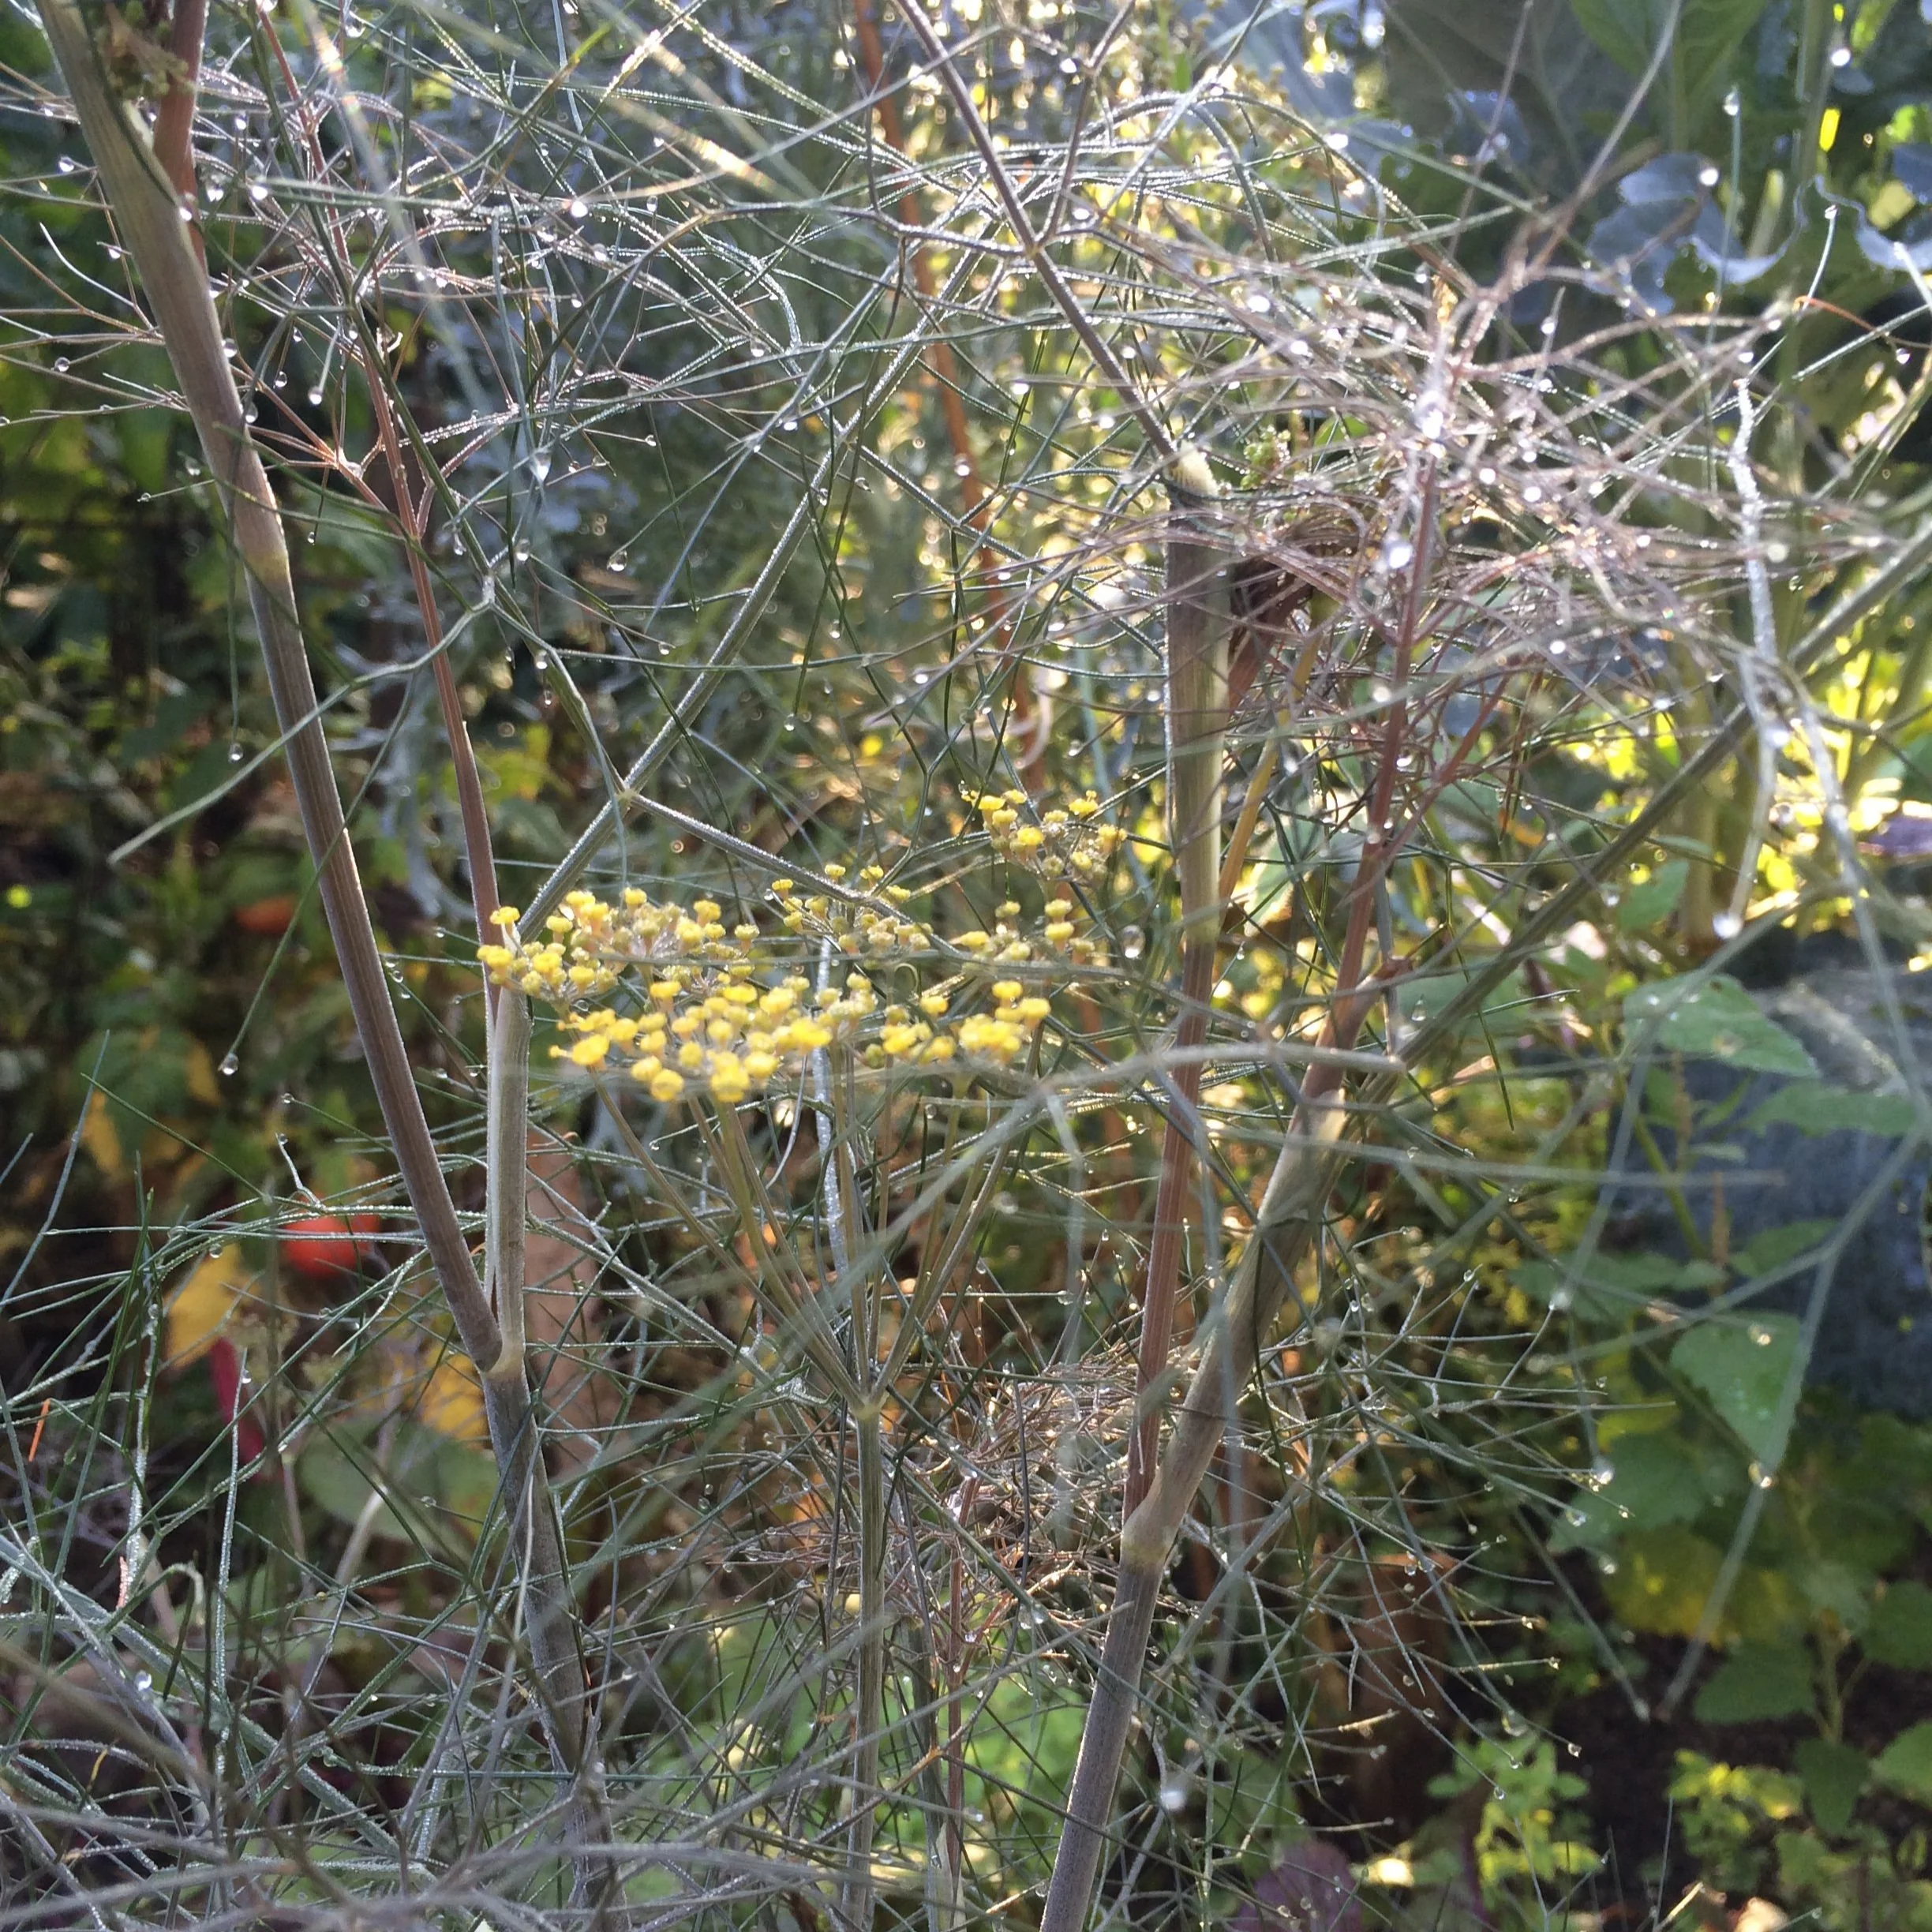
An attractive edible perennial: Airy yellow flowers and a bronze coloured leaf make bronze fennel a beautiful addition to a perennial garden. And leaves and flowers are edible too!
I call this “grazing.” It’s picking just enough for the meal at hand, and letting what you find in the garden inspire what you create in the kitchen.
If you’re a fan of the potager-style garden, which mixes up veggies with herbs, edible flowers, flowers for cutting, and fruit, you’ll get the idea. We’re talking about a grazing garden.
So let’s take this idea of a grazing garden and use it in our perennial flower beds, dotted the landscape with perennial plants that are edible and look nice. This approach to gardening is a great way to grow some of your own ingredients even if you don’t have the space or the time to undertake a more traditional vegetable garden.
Here are some of my favourite edible perennials for a grazing garden:
Perennial Vegetables and Herbs
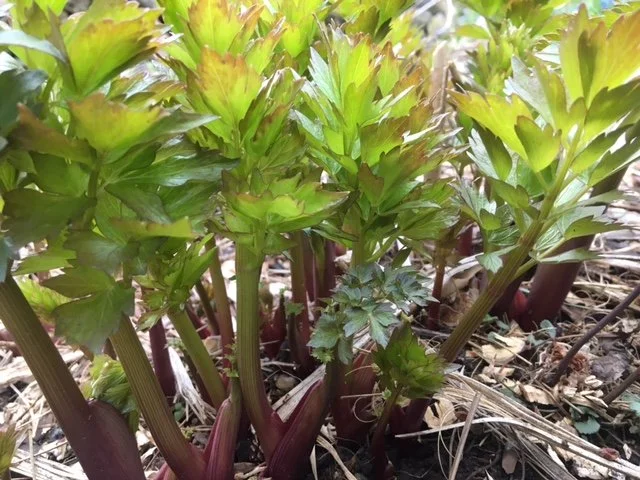
Lovage deserves a space in any ornamental perennial bed. The celery-like leaves are great in soups and salads.
Asparagus: After you’ve finished harvesting asparagus spears in the spring, this perennial grows into a tall, ferny plant that adds great texture and movement to a garden. Because it’s tall, put it at the back of the garden. Support it to prevent it flopping onto its neighbours.
Bronze Fennel: The feathery, bronze leaves are edible, as are the flowers. The pollen can be used to decorate a plate: Tap the flowers over a white plate to adorn it with the brightly coloured yellow pollen. I like to use the seeds when I make sausage.
Chives: Both leaves and flowers are edible. A tidy, well-behaved plant that looks great when used to edge a garden.
Horseradish: The root is grated to make the well-known condiment. Leaf pieces are sometimes added to pickles. This is a bomb-proof plant with a deep root system that’s hard to remove once established, so put some thought into where you would like it to be in the long term.
Jerusalem Artichoke: This one is in the Weed Guide of Ontario…so beware. But it’s a versatile plant, taking full sun to part shade. The tubers are plentiful.
Lemon Balm: Use young leaves in salads, and dry leaves for tea. This is not a timid plant; it spreads. But I love if for the fragrant foliage. Plant it somewhere where you’ll brush against it while in the garden and you’ll be glad you have it.
Lovage: My neighbour Dave says that this is the secret ingredient for an award-winning tomato soup. The leaves have a celery taste. It’s an imposing perennial that deserves a space in any ornamental perennial bed.
Mint: My daughter got 19 types of mint one year: chocolate mint, spearmint, pineapple mint… There are so many types. It’s excellent for teas, and we enjoy making mint ice cream. Mint can be invasive. So grow it in containers if you don’t want it to overrun your garden. But if you have a shady corner where not much grows, this might be a suitable place to plant your mint in the ground.
Oregano: A well-known herb that is hardy and an excellent ground cover too. When it’s in bloom watch to see what a bee magnet it is.
Rhubarb: My neighbour Chris planted it next to his pond because the big leaves are so beautiful. Easy to grow and productive. Recommended for sun, tolerates part sun very well. Find out how to force rhubarb indoors in the winter.
Sage: Along with the common grey-green leafed sage, there are varietgated and tri-colour varieties. If, like me, you’ve over-saged the thanksgiving turkey stuffing one too many times and don’t care if you ever cook with it again, some of these tricolour sages still make a beautiful addition to a herb garden.
Sorrel: My favourite. Easy to grow, rarely for sale at the supermarket. I use these tangy leaves mixed in with salad greens, to make soups, and when braising fish and poultry. Think of sorrel as a lemon substitute for northern gardeners. There’s wild sorrel, as well as large-leaved cultivated varieties.
Edible Ornamental Perennials
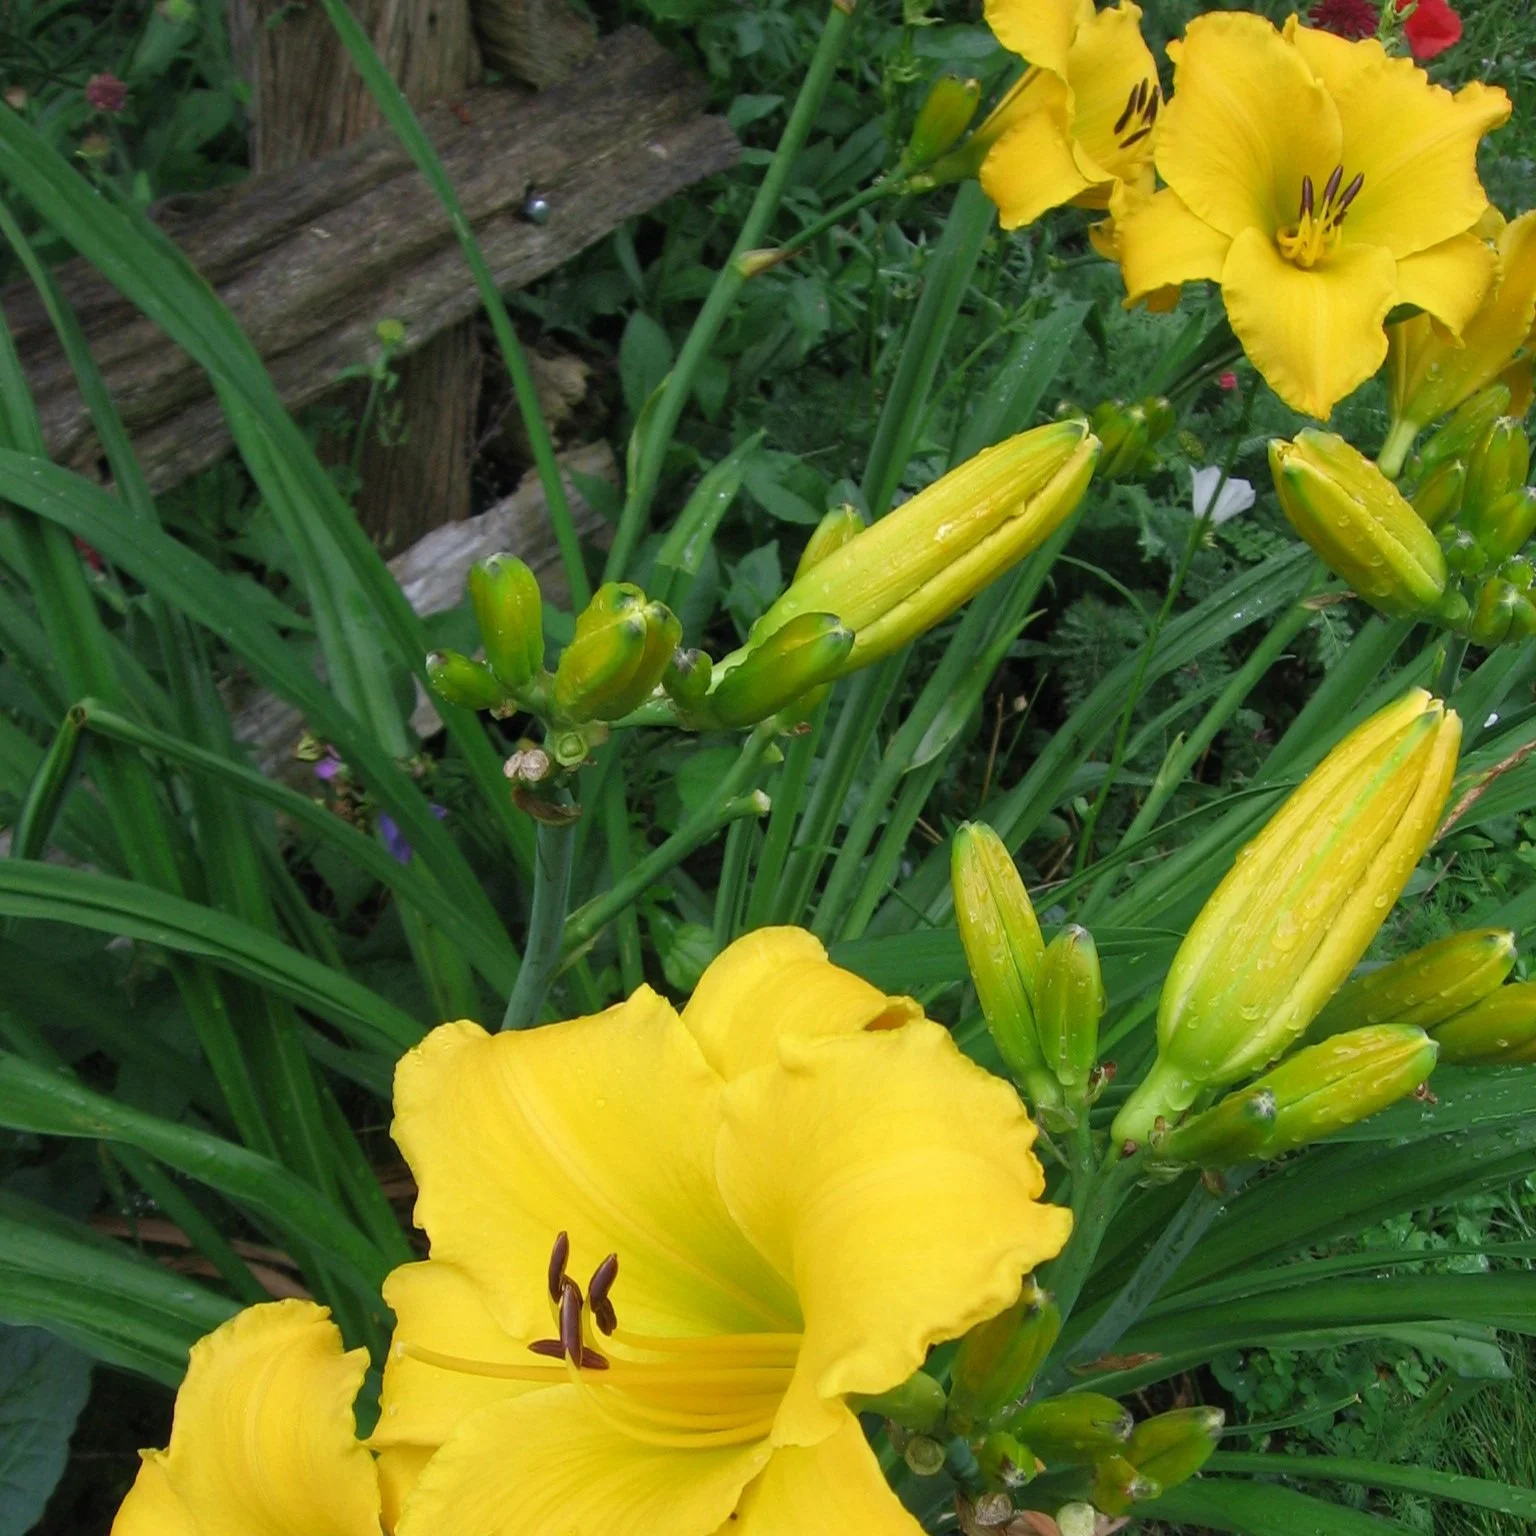
Daylily flowers and buds are edible.
Bergamot: Great for attracting pollinators, very ornamental – and edible. The leaves can be used to make tea. And the edible flowers are nice when tossed into a fruit salad.
Daylily: A perennial that has naturalized in some rural areas here in southern Ontario, it’s grown as a vegetable in other parts of the world. Unopened flower buds are a great addition to a stir-fry. And the flowers are an excellent garnish. Idea: How about a daylily flower instead of an ice cream cone?
Hosta: This ornamental perennial is a very widely used perennial. It does well in shade, makes a good ground cover – and the unfurled leaves in spring are nice steamed and buttered.
Stonecrop: Like hosta, a perennial garden workhorse, with flowers late in the summer when many other plants in the perennial garden are done blooming. But the leaves are edible and can be used in salads. And…there’s the fun of blowing up the leaves!
More Edible-Landscape Ideas
Plant ideas, techniques, and creative ideas to transform yards into fantastic edible landscapes.
Big Lemon Flavour Before Your Tree Grows Lemons (Hint: Lemon Leaf Uses)
Growing a potted lemon tree? Even before you get your first fruit, you can get lemony goodness in your recipes using the lemon leaves.
By Steven Biggs
Lemon Leaves are Packed with Citrusy Flavour
Here’s a delicious cooking idea that often flies under the radar: Add citrusy flavour to your cooking with lemon leaves.
Whether you have lemon trees outdoors, or are growing a potted lemon tree, even before you get fruit, you can pluck a lemon leaf to add a delicious lemon flavour to your cooking.
In the excerpt below from Grow Lemons Where You Think You Can’t, I share ideas for using lemon leaves, lemon zest, and lemon juice.
The Whole Bird…The Whole Lemon Plant
I’ve heard the term “the whole bird” used in nose-to-tail cooking classes that teach people how to minimize waste in the kitchen. When it comes to lemons, I encourage you to use “the whole plant”!
Leaves
Pin this post!
When you crush a lemon leaf in your hands you will understand why they are useful in the kitchen. They give off a scrumptiously citrusy fragrance. I’d say the smell is lemon-like but not quite the same as the rind of the fruit, maybe a bit more “green.”
I had grown lemons for years before I realized that you can use the leaves in cooking. My friends Ashok and Marlene came back from Italy raving about meat wrapped and grilled in lemon leaves. They described removing the charred leaf, which kept the meat inside succulent while imbuing it with fragrance and flavour.
It didn’t take me long to try lemon leaves in my kitchen! As I read more about cooking with lemon leaves I learned that there is a long tradition of using them, and not just in Italy when grilling meats.
For example, they are often used in South African bobotie meat pies or for roasting pork in Greek cuisine. I recently stumbled on a recipe for a lemon-leaf soda that I’m eager to try. If you’re creative in the kitchen, you’ll love lemon leaves.
You don’t eat the leaves — they are tough and bitter. Use them as you would bay leaves. They add a bright citrus flavour. Here are more ways you can use lemon leaves:
When I roast a chicken or turkey, I’ll often put a couple of lemon leaves in the cavity, along with other ingredients that provide flavour as the bird roasts, such as garlic cloves, bay leaves, and rosemary.
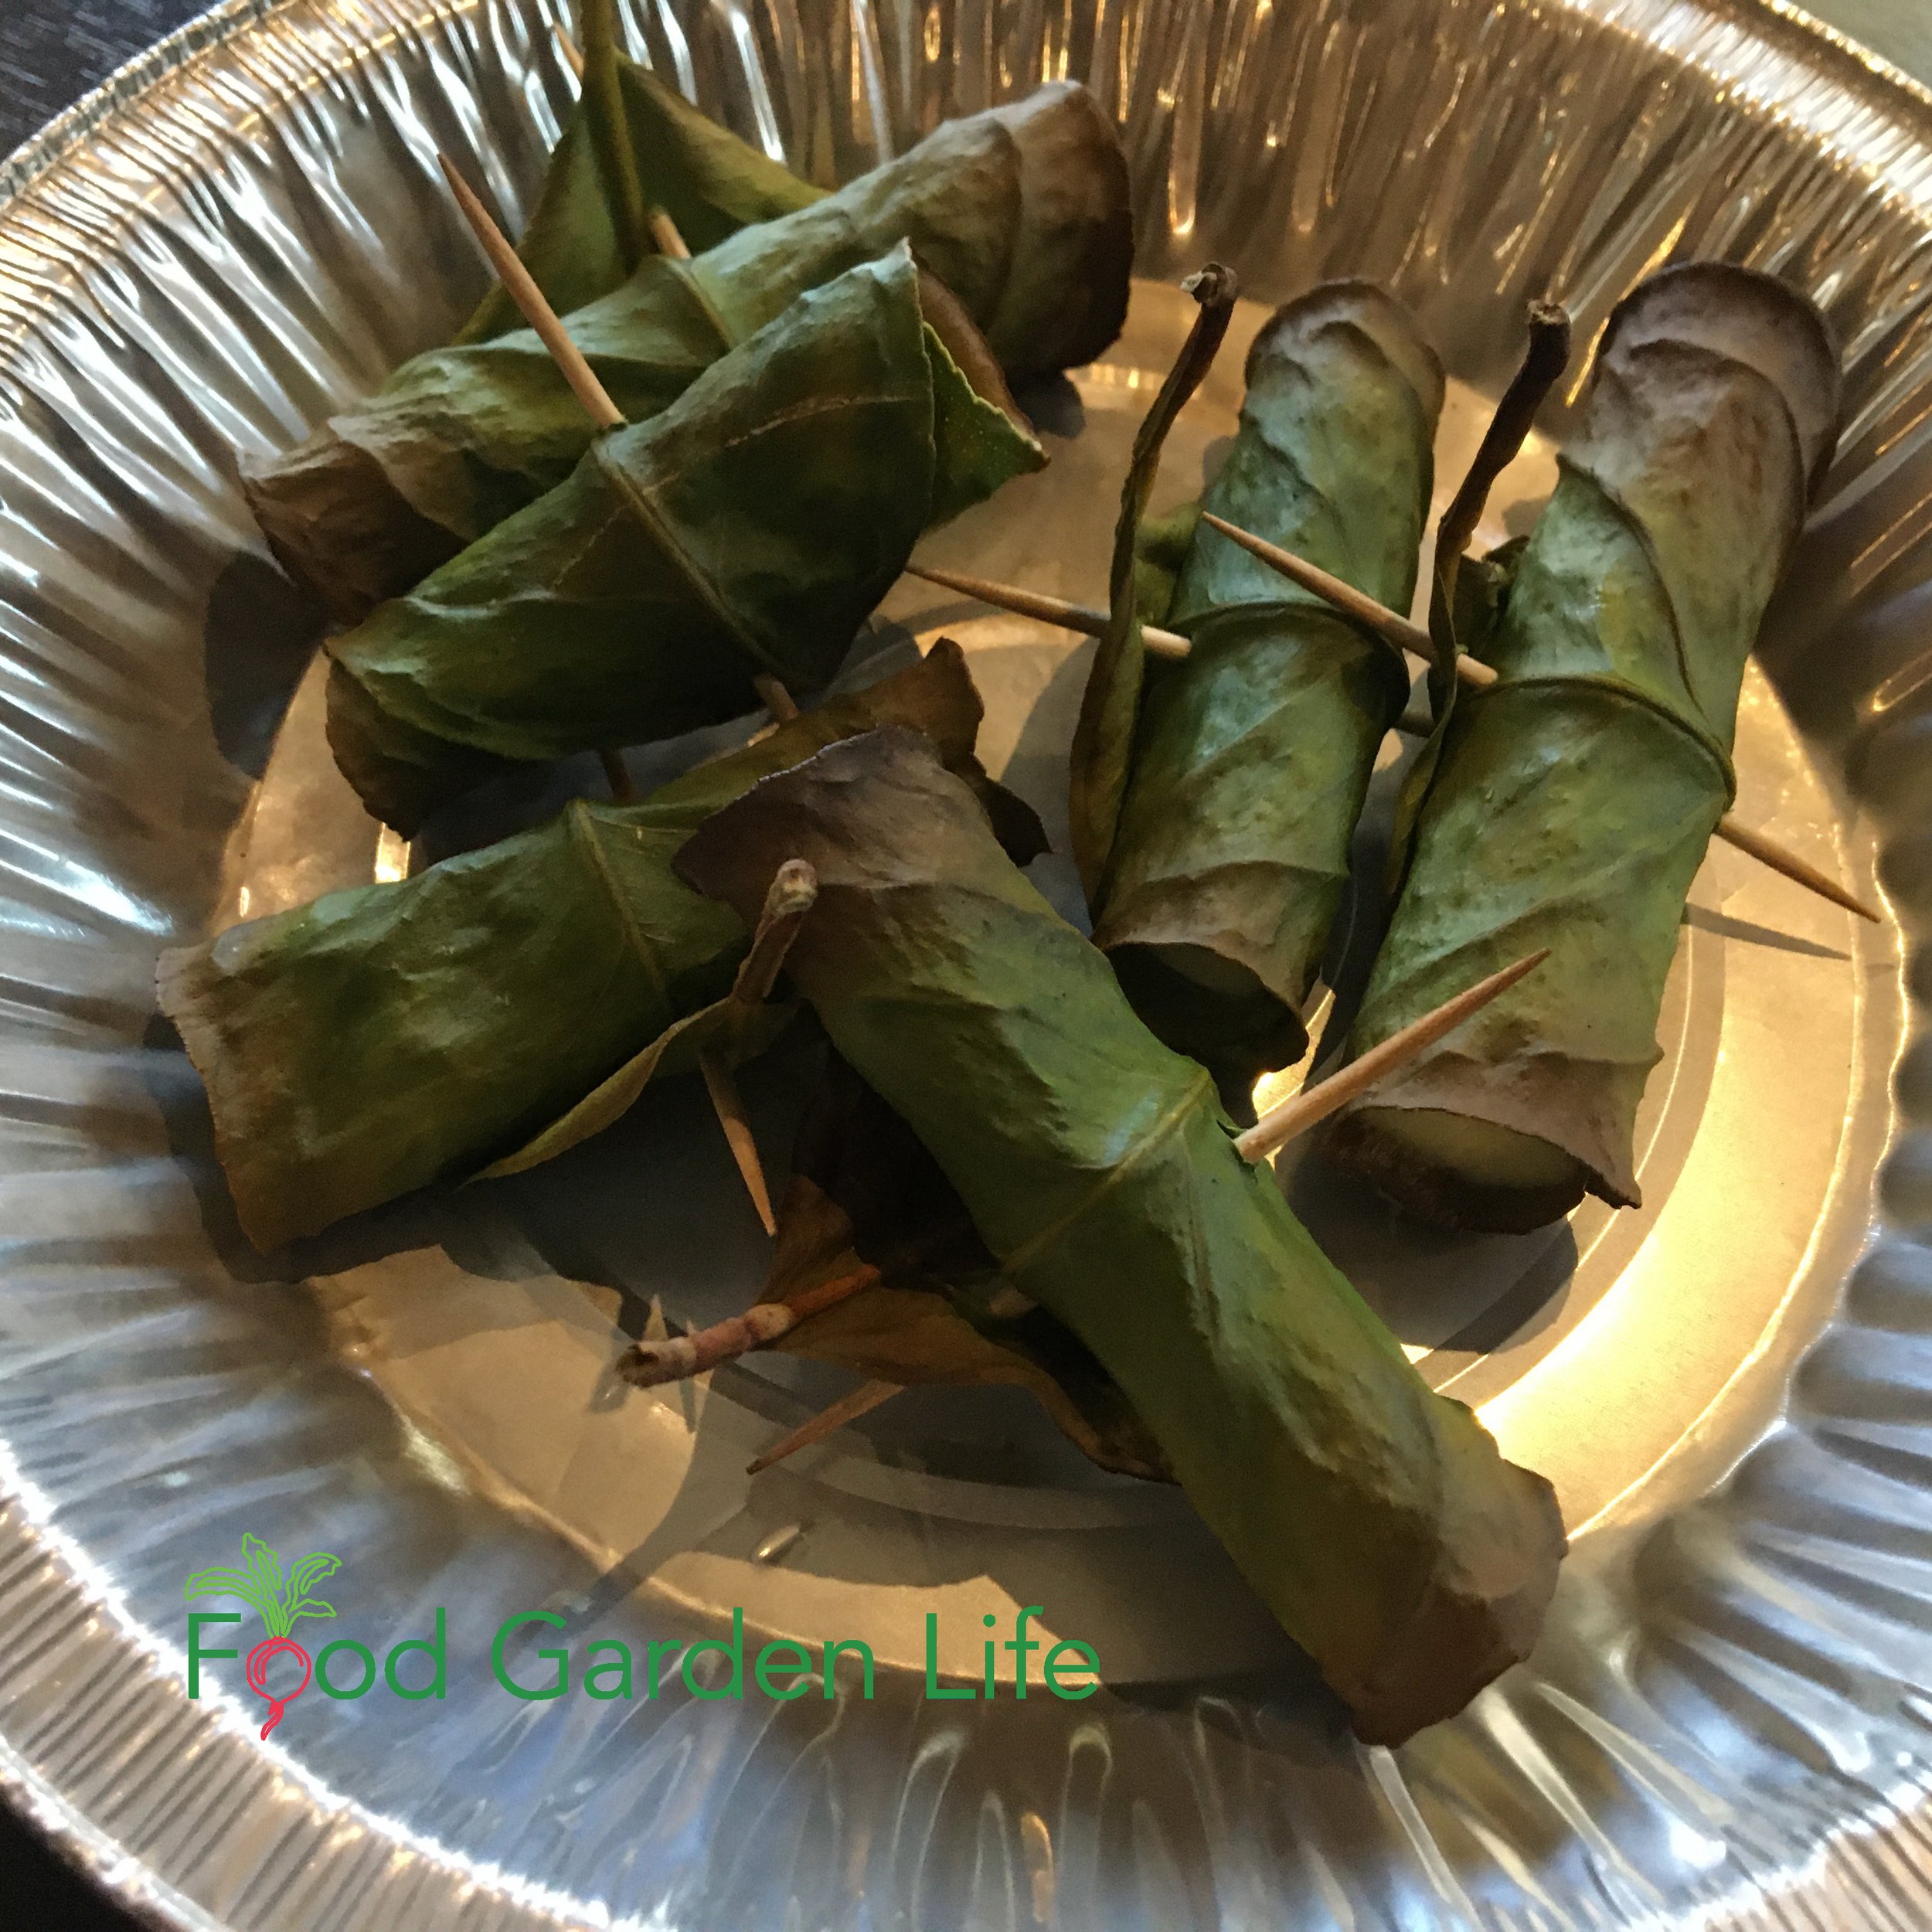
Try wrapping large leaves around a kebab before you grill it. The leaves hold in some moisture, while imparting a delicate lemon flavour.
If you have only small lemon leaves that are not big enough to wrap around a kebab but still want to use them to flavour the kebab, thread some on the skewer, in between the pieces of meat.
I often include a fresh bay leaf when I cook up a batch of custard. Substitute a lemon leaf for a delicious variation.
While writing this, I was braising beef in the slow cooker in ale, with a lemon leaf for added flavour.
Zest
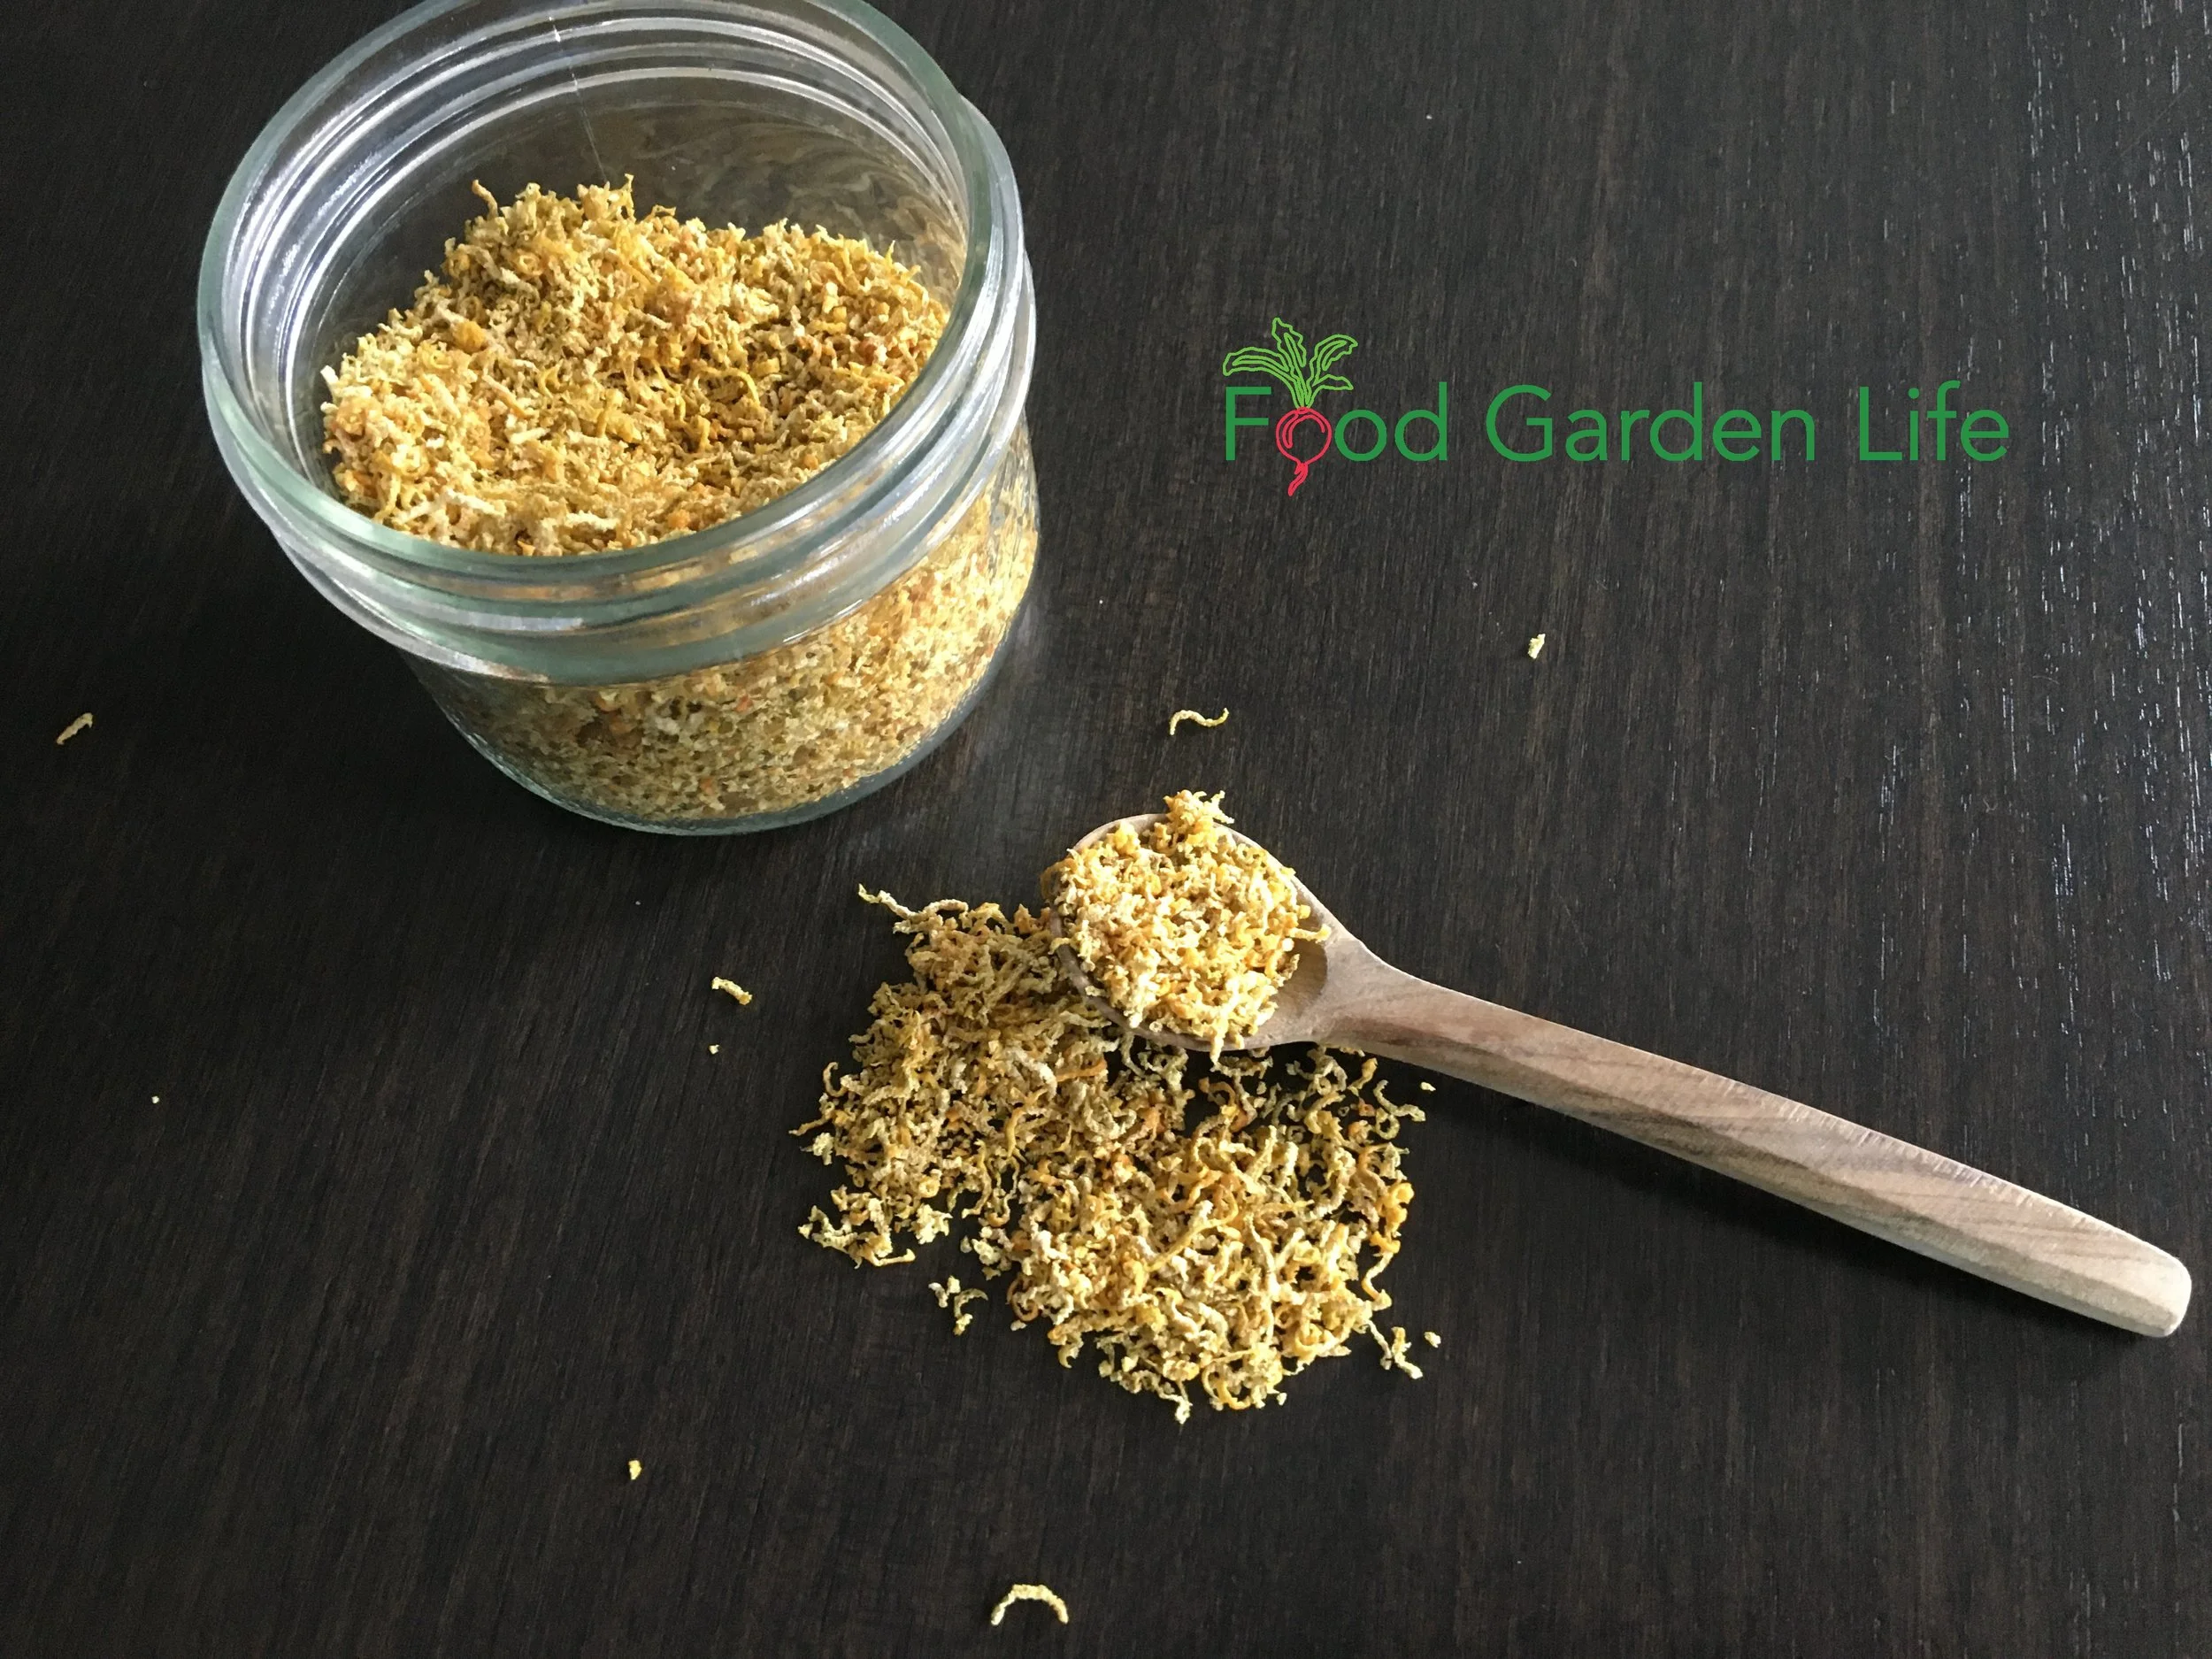
Dried lemon zest, so I can enjoy zest from my homegrown potted lemon trees year-round.
I think it’s a sin to use a lemon without first zesting it. The zest is the outer yellow part of the rind — and it’s the part with the most flavour. It adds a complexity to many dishes. Use lemon zest in marinades, add it to the butter that you rub on a chicken before roasting, fold it into plain cake batter — there are countless applications. Lemon zest works well in both sweet and savoury dishes.
To zest a lemon, use a fine-toothed grater or kitchen rasp (like a Microplane). I’ve also seen people peel the white pith, which can be bitter, off the inside of the rind, leaving just the rind, and then thinly slicing it.
The taste of the zest can vary greatly between citrus plants. One day I came home with sweet limes that I found at the grocer, and they were vastly different from any citrus zest I’d come across before. The Ponderosa zest and Meyer lemon zest are very distinct from the zest of more conventional lemons. I would describe Meyer lemon zest as milder, yet quite distinct, with some hints of orange. But it really is its own flavour. I find that Ponderosa lemon has some lime-like notes.
Juice
Use lemon juice to enliven fruit salads, when roasting and stewing meat, and to liven up bland food.
Most people use lemons for the juice, so it goes without saying that you shouldn’t waste it. I love to use lemon juice to enliven fruit salads, when roasting and stewing meat, and, in general, to liven up bland food (especially those nights when you can’t quite get the balance of the curry right).
Try combining lemon zest and juice with butter, and then pouring it over steamed broccoli or cauliflower. It’s quick and simple — and absolutely delicious.
Another great use for lemon juice is in homemade salad dressings. Substitute some (or all of) the vinegar with lemon juice — don’t forget to add some zest, too!
Seeds and Membrane
If you’re making lemon marmalade, don’t throw out the seeds…they’re full of pectin!
My wife Shelley and I once took a fantastic marmalade-making workshop with Elizabeth Baird, a well-known Canadian food writer. Elizabeth’s Seville orange marmalade recipe included a couple of lemons.
The surprise for me was that the marmalade includes the seeds in addition to the rind and juice. The seeds are not for eating: they are cooked (along with the inner membranes from the juiced fruits) in a cheesecloth pouch. They’re included because they contain a lot of pectin — the stuff that causes jams and jellies to thicken. When the cooking is done, the cheesecloth pouch with the seeds is removed and discarded.
Lemon Recipes
Grow Lemons Where You Think You Can’t is primarily a book about growing lemons, but I’d be remiss if I didn’t include some recipes for you to try with your crop of lemons — especially when some pretty wonderful Canadian cooks were kind enough to contribute some favourites. I’ve also included three of my family’s go-to lemon recipes.
Here are the delicious recipes included in the book:
Pat Crocker’s Citrus Salt
Tonia Wilson’s Lemon and Parmesan Roasted Chickpeas
Voula Halliday’s Chicken Ball Avgolemono
Steve’s Lemon Pepper Chicken Marinade
Biggs Kids’ Favourite Cranberry Lemon Muffins
Liz Pearson’s Wild Blueberry Lemon Muffins
Brad Long’s Lemon Malpua
Verna Duncan’s Lemon Bars
Danielle French’s Perfect Citrus Cake
Looking for More Lemon Ideas?
For more recipes and information about growing potted lemon trees in cold climates, go to the Lemon Home Page.
How to Grow a Potted Lemon Tree (That Actually Fruits!)
If you want to grow a potted lemon tree (that actually fruits) in a cold climate, below are a couple more resources to help you on your journey. I grow lemons and other citrus here, in Toronto, Canada. (My oldest potted lemon tree is from 1967!)
Book: How to Grow a Lemon Tree in a Cold Climate
Course: Grow a Lemon Tree in a Cold Climate
Meyer Lemon Tree: Planting, Care, and Growing Guide
Meyer Lemon Tree: Planting, Care, and Growing Guide
By Steven Biggs
This Little Lemon is Absolutely Prolific!
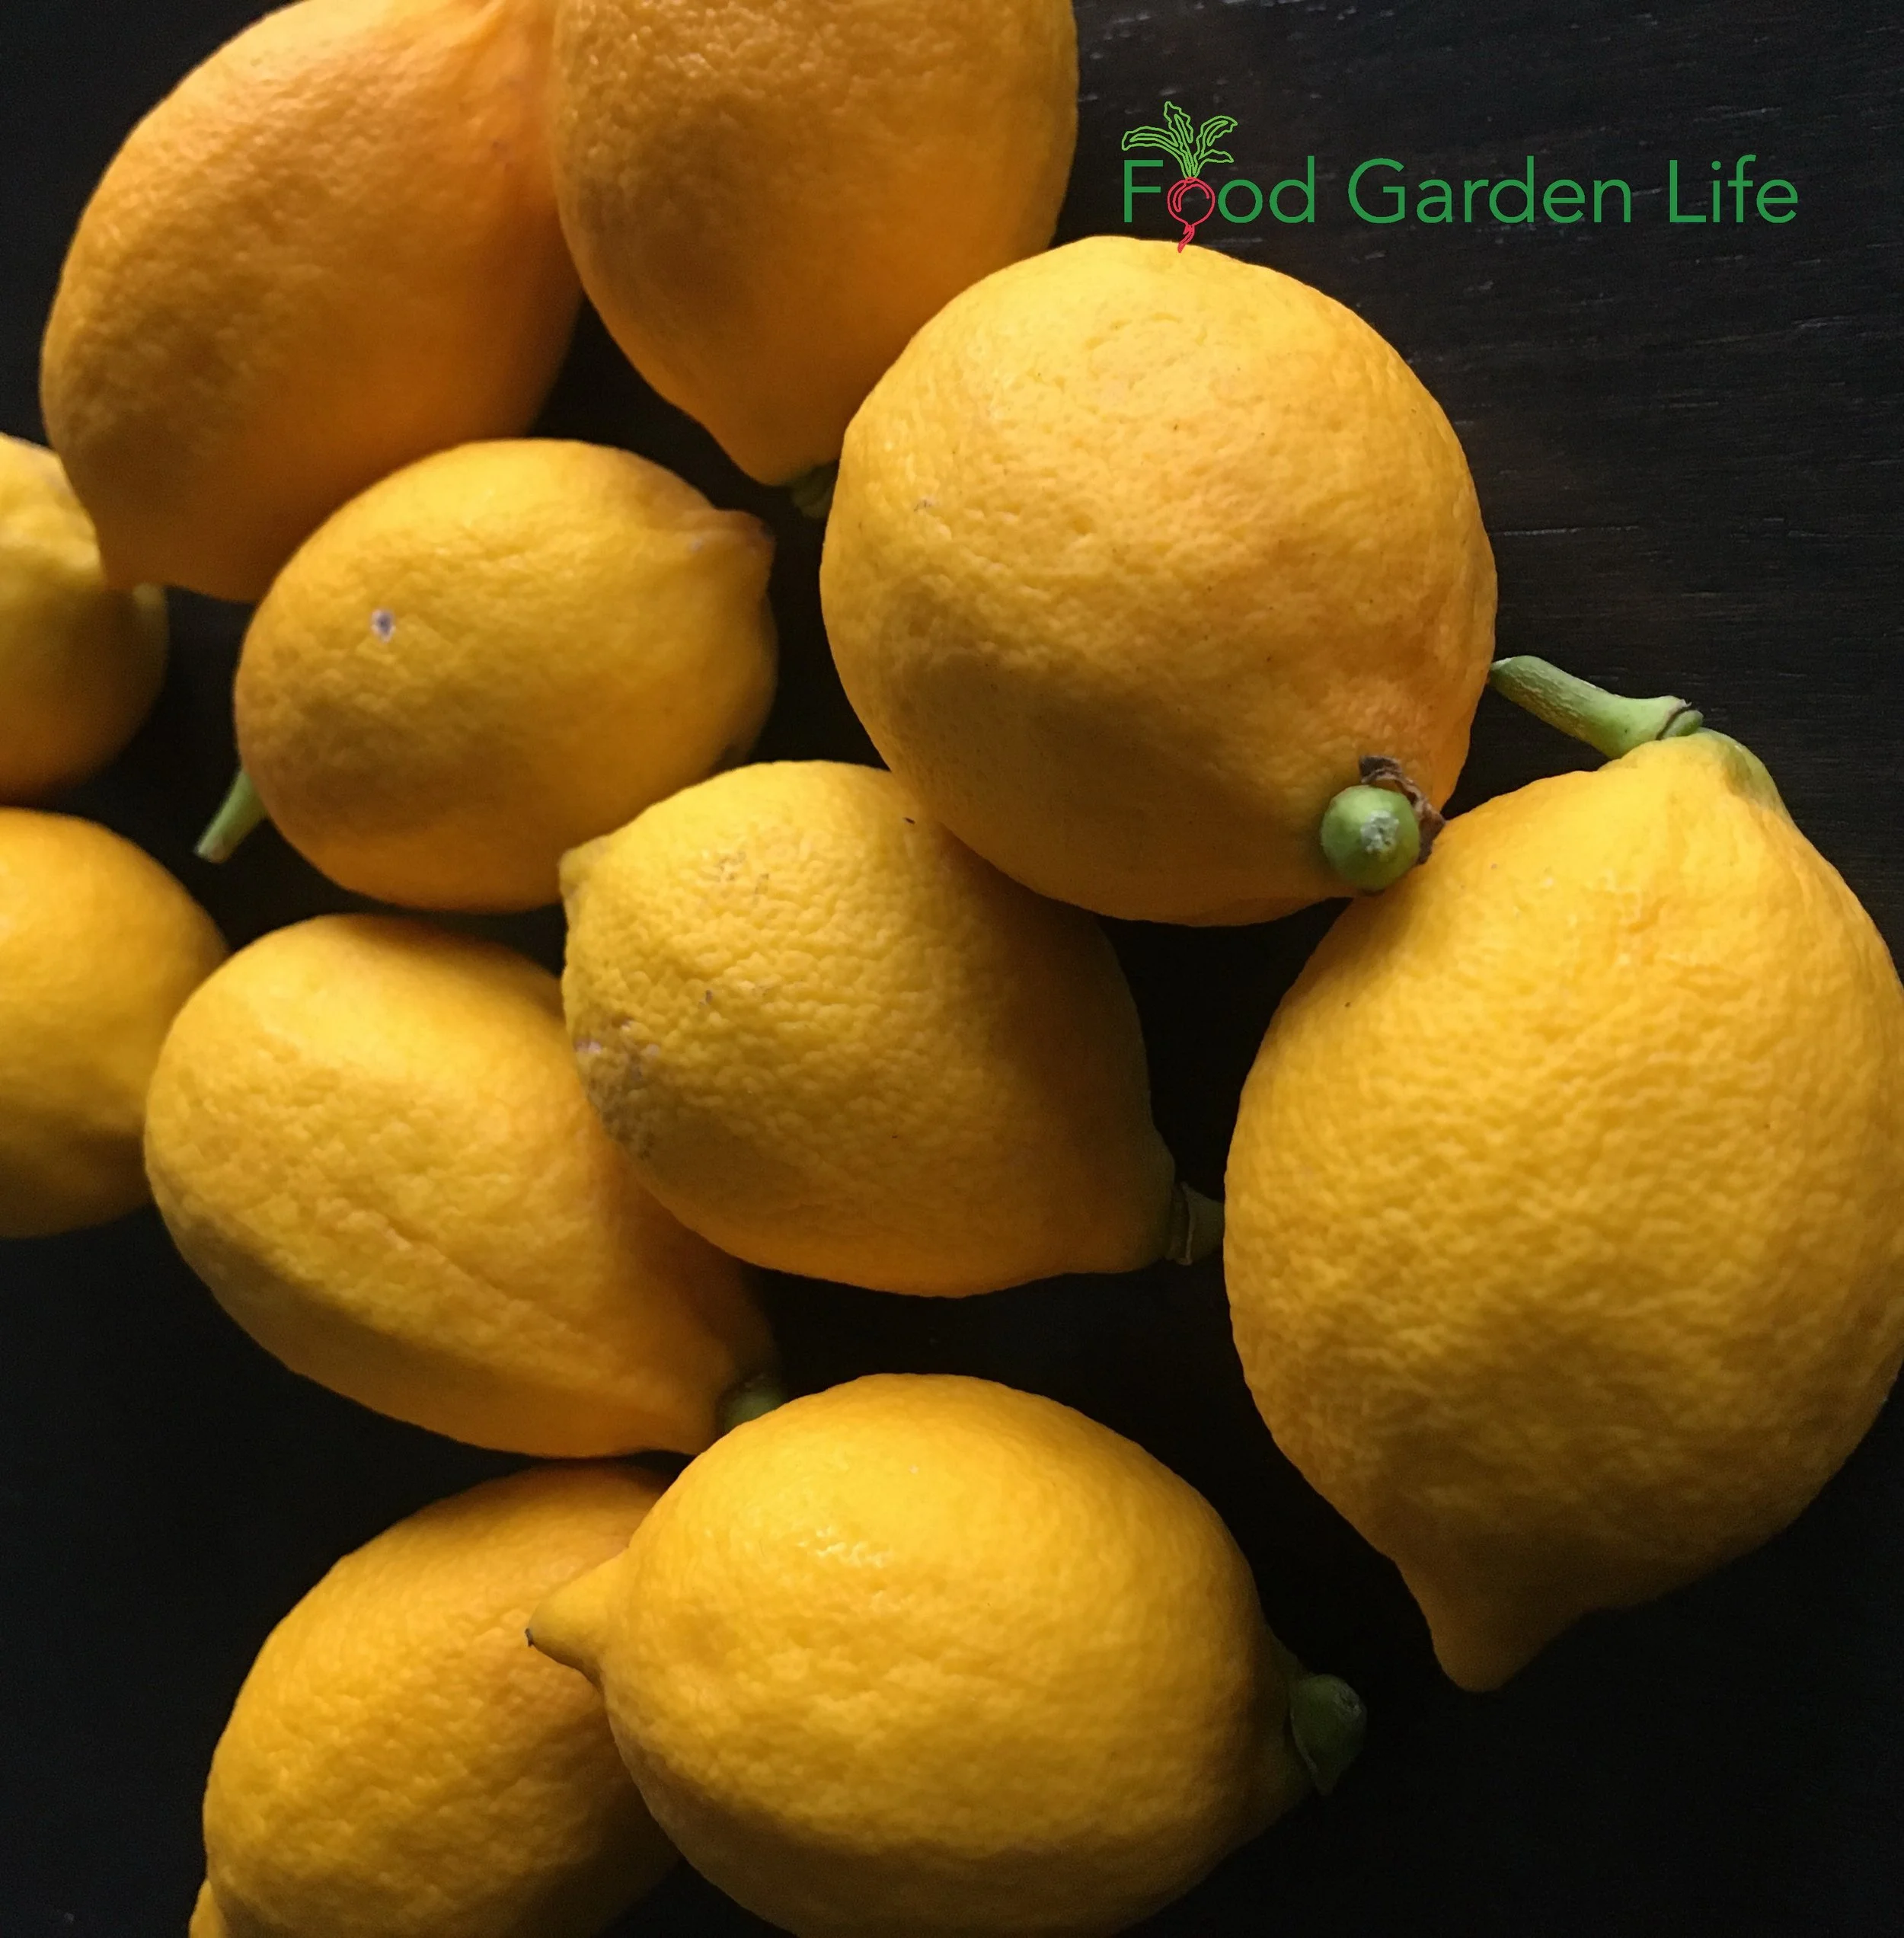
50 Meyer lemons on a knee-high bush.
The branches hung to the ground under the weight of the fruit. The bush was yellow with fruit. Not a single branch broke under the weight of the fruit. Meyer lemon trees are work horses. If you want to grow your own citrus, it's what I recommend starting with.
'Meyer' lemon (Citrus x meyeri) is the lemon that's not fully a lemon.
It's a hybrid between a lemon and an orange or mandarin orange. While the leaves of Meyer lemon trees look like true lemon leaves, the fruit are thin-skinned, taking on an orange tinge as they ripen.
I love the mild taste of the fruit and the distinctive smell of the rind. It makes an unbeatable sorbet.
Here's my Meyer lemon sorbet recipe.
Lemons and Meyer Lemons are the fruits I recommend for first-time home citrus growers. They're the gateway citrus trees. They're easy to grow, and have a better chance of ripening in the short summers we get in cold climates.
Here are more reasons that lemons are a good choice for gardeners in cold climates.
Learn How to Easily Grow Meyer Lemon Trees in Pots
Meyer lemon trees are a great choice for cold-climate gardeners who want an exotic crop. They have a compact, bushy form that makes them suitable for growing in a pot, and they're quite cold hardy—more cold hardy than true lemons. (See more about hardiness below.)
In northern gardens Meyer lemon is usually grown as a potted plant...but there are gardeners pushing the boundaries in warm zones.
Potted Meyer Lemon Size
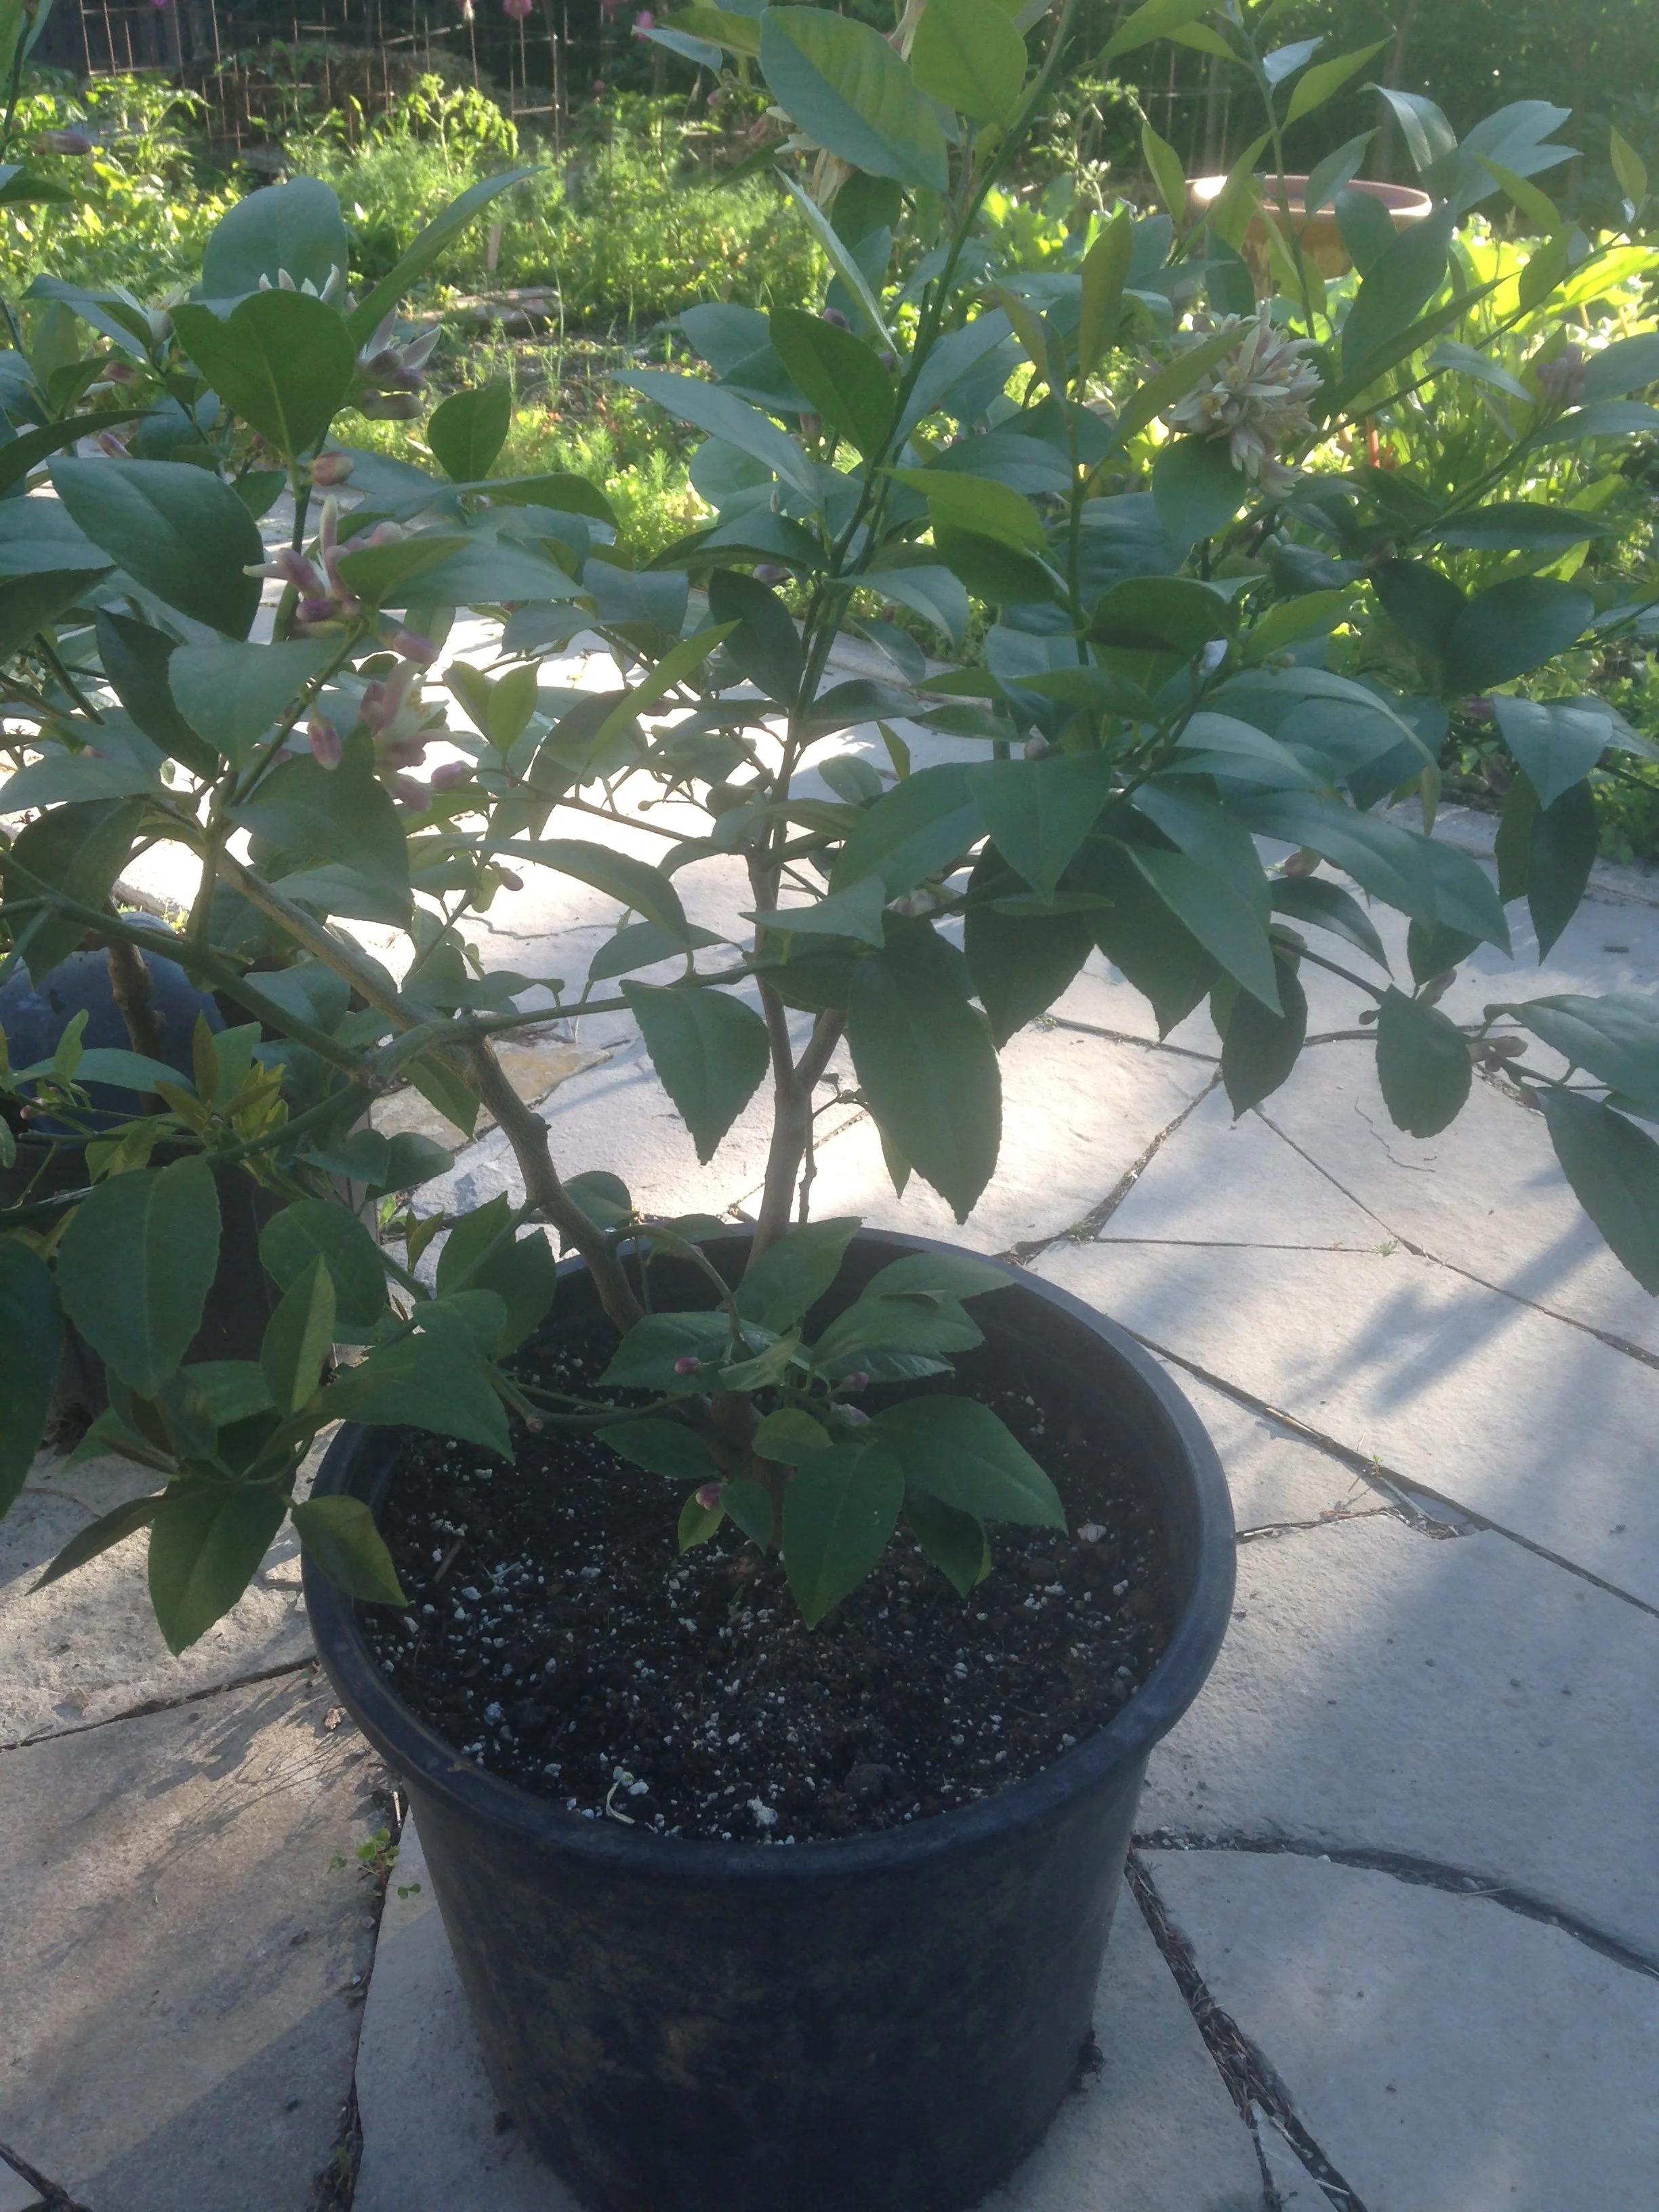
This potted Meyer lemon is pruned into a bush form to keep it compact.
When it comes to the size of the plant, you’re the boss. You control plant size with pot size and pruning. Think of bonsai, where a decades-old tree is only knee high.
The other thing that affects size is the rootstock; some types of rootstock are dwarfing and keep a tree smaller. Meyer lemon trees sold in garden centres are often on dwarfing rootstock.
Meyer Lemon Tree Care
While it's outdoors over the summer, keep your Meyer lemon tree in a sunny location.
As with any potted plant, your pillars of success are:
Suitable pot size
Good potting soil
Regular feeding
Proper watering
If you get these four things right, you'll keep your Meyer lemon tree happy.
Here's a full guide to growing a potted lemon tree year round and getting the conditions right.
Keep Your Lemon Tree Through the Winter
And enjoy fresh homegrown lemons!
Watering a Meyer Lemon Tree
When it comes to watering Meyer lemon trees, more is NOT better.
Meyer lemon trees hate wet feet. That's another way of saying that when the soil is constantly wet, the roots can die.
I aim to keep the soil of my potted Meyer lemon trees on "the dry side of moist." Keep the soil moist but not soggy.
If you're in doubt, wait another day before watering. Lift up small potted lemon trees and let the weight help you gauge how dry the soil is.
Find out more about how to water a lemon tree so that it thrives.
Feeding
Potted lemon plants must be fed! There's a small volume of soil feeding the whole plant.
Start feeding in the spring, when new growth begins. Cut back on feeding in late summer as cooler temperatures and less light cause plant growth to slow.
There are many fertilizing products on the market. And each lemon grower has a favourite formula.
Not sure where to start?
Look for “all-purpose” or “general-purpose” product. Make sure it has micronutrients
Decide what suits your style of gardening (do you want to mix solutions regularly – or apply slow-release fertilizer granules just once in the spring)
Find out more about feeding and micronutrients in this article.
Repotting Meyer Lemon Trees
Mature Meyer lemon trees don’t need to be repotted annually. Just replace the top few centimetres of soil every couple of years. Faster growing young Meyer lemon trees can be moved to a bigger pot each year if the roots have filled the current pot.
Soil structure breaks down over time, so you will eventually want to repot mature Meyer lemon trees in new potting soil.
Meyer Lemon Tree Pollination
Meyer lemon flowers have both male and female parts and are “self-fertile.” That means you don’t need pollen from a different lemon tree for a Meyer lemon tree to bear fruit.
If the plant is outdoors over the summer, insects and wind move the pollen. You don't have to help with pollination.
Pollinate flowers on lemon trees growing indoors using a small paintbrush.
Keep Your Lemon Tree Through the Winter
And enjoy fresh homegrown lemons!
Propagating Meyer Lemon Trees
Growing Meyer lemon trees from seed is easy...but be prepared to wait years for fruit. That's because seed-grown plants go through a juvenile stage before they begin to flower and fruit.
To get fruit more quickly, buy a plant, or root a cutting from a mature plant. (Meyer lemon trees grow well on their own roots, so it's not necessary to graft them.)
Meyer Lemon Challenges
Insect Pests
Outdoors, pest problems are usually minimal. It's when a potted Meyer lemon tree is indoors for the winter that you're more likely to encounter pests. Two common pests are scale and spider mite.
Watch for spider mites when overwintering lemon plants indoors at room temperature. That’s because spider mites do well in the dry air in centrally heated homes.
Find out more about controlling scale and spider mite on lemon trees.
Leaf Drop
Leaf drop is common when Meyer lemon trees are brought into warm, centrally heated homes
On more than one occasion, I’ve had a naked Meyer lemon in my kitchen over the winter. It reminded me of the Grinch's Christmas tree!
When Meyer lemons are brought into the house in the autumn, expect leaves to drop. It's normal. The warm, dry air in centrally heated homes is not ideal.
If you want less leaf drop, cool, bright overwintering locations are ideal. (See below for ideas.)
Fruit Drop
Some fruit drop is normal when the fruit are still pea-sized. If only a few little lemons drop, it's nothing to worry about.
If all the fruit drop off, that's not normal. Two common causes are poor pollination and not enough water.
Meyer Lemons Over the Winter
Meyer Lemon trees are evergreen and keep leaves through the winter. (As I note above, if your plant is unhappy in the house, it might drop quite a few leaves.)
Meyer lemon plants tolerate more cold than many people realize (see below). When they are in cold conditions, they also tolerate darkness, because the plant stops growing.
Cold Tolerance
Meyer lemon is hardy to about -6°C (21°F). Hardiness is never exact, so expect younger growth to be more tender and susceptible to cold.
But the important temperature to remember is the temperature at which the fruit is at risk of freezing, around -3°C (27°F)
Indoors
Consider moving Meyer lemon trees indoors earlier rather than later, so there is less of a drastic change in temperature and humidity. This helps to minimize leaf drop.
While the fragrance of the flowers makes it nice to have Meyer lemons in a bright kitchen or living room window, you might have other options:
What about a cool, bright attic window?
A cool sunroom with a temperature just above freezing
A cold, dark garage or shed
Find out more about how cold a lemon tree can get during the winter.
Indoors – Care over Winter
Keep soil on the dry side of moist
Too much water can rot the roots
Higher humidity helps minimize leaf drop and make conditions less suited to spider mites
Watch for scale and spider mites
Meyer Lemon FAQ
Why is my potted Meyer lemon tree turning yellow?
There are a few things that can cause this. It could be not enough nutrients in the soil. It could also be that the soil is too alkaline, so that plant can't take up the nutrients that are in the soil. But another common cause is overwatering—which kills the roots and sends the tree into a downward spiral.
What time of year do you repot Meyer lemon?
The best time to repot Meyer lemon is in the spring, just before new growth begins.
Can I grow a lemon tree indoors in Canada?
Yes! Here's what you need to know.
Should I mist my Meyer lemon tree?
If it's growing in a centrally heated home with dry air, misting is a simple way to raise humidity.
If I want to propagate my Meyer lemon tree myself, do I have to graft or can I root cuttings?
You can root Meyer lemon cuttings. Your rate of success is better if you use rooting hormone and apply bottom heat (e.g. with a heat mat.)
More Lemon Information
More than One Edible Part! These Plants are a Great Addition to an Edible Landscape
Plants with multiple edible parts that make a great fit for an edible landscape.
By Steven Biggs
Harvest More…Harvest Something Different
Whether you're creating a vegetable garden or an ornamental edible garden, plants with more than one edible part are a great way to harvest more from your garden.
They're also a fun addition when preparing meals. There's been growing interest in nose-to-tail cuisine. For vegetable gardeners, the equivalent is stem-to-root cuisine!
Keep reading for 12 plants with more than one edible part.
Radish
Radish is a vegetable garden staple because it's virtues are many:
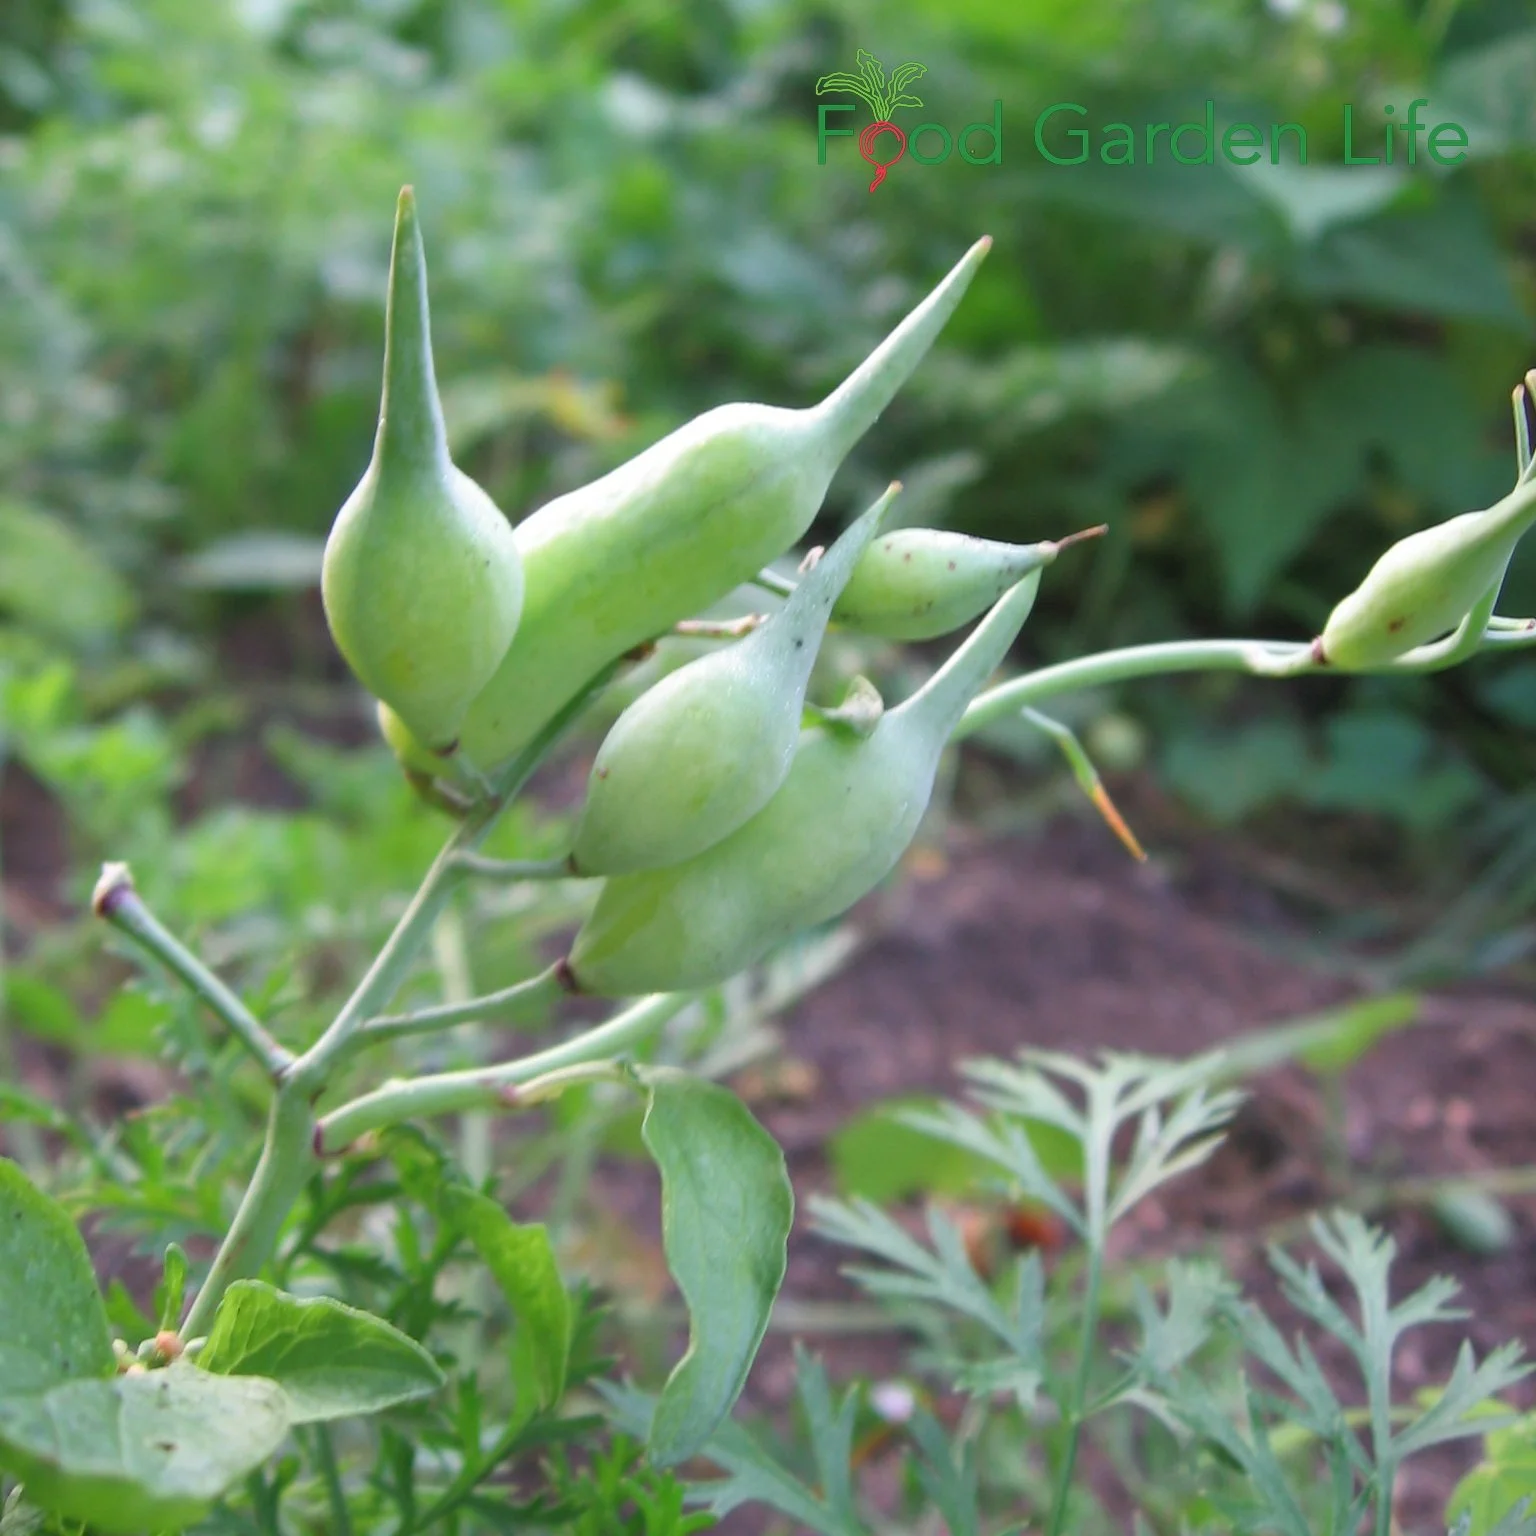
Radish seed pods are a tasty addition to an edible landscape!
Easy to grow.
Quick to mature.
Suited to in-ground beds, raised beds, and containers.
Can be inter-planted with slower-growing vegetables such as beets and carrots, and then harvested as those other crops need more space.
The radish root is what we most often eat. But there's more...
Radish: Other Edible Parts
The crunchy, mildly peppery seed pods are edible too.
The flowers are edible and make a nice garnish—or toss them into a salad
Some people use the leaves too. We've made radish-leaf pesto. Not my favourite—but taste is a personal thing.
Looking for crops for the shoulder seasons? Winter radish is a good winter storage crops. Find out about 25 storage crops to grow.
Rose
Rosehips and rose petals are both edible and a good fit for edible landscapes.
I swore off growing roses for years, having battled black spot on Mom's roses. But there are some fantastic disease-resistant roses out now. No-fuss for busy gardeners.
Roses are a must-have plant in an edible landscape. They add visual interest, they attract pollinators, they can be a focal point...and they have more than one edible part.
Most people think of rose hips (the fruit) when thinking of roses for edible landscaping. They're used for rosehip tea, rosehip jelly (and I've heard of rosehip vodka!)
Rose: Other Edible Part
You can use the rose flowers too! The petals are edible.
Use rose petals to make a rose petal jam, as a garnish, or add chopped rose petals to a bowl of cherries.
The inner, white portion of the petals can be bitter, and if it is, just remove this part.
Hear edible flower expert Denise Schreiber give her favourite edible-flower tips.
Arugula
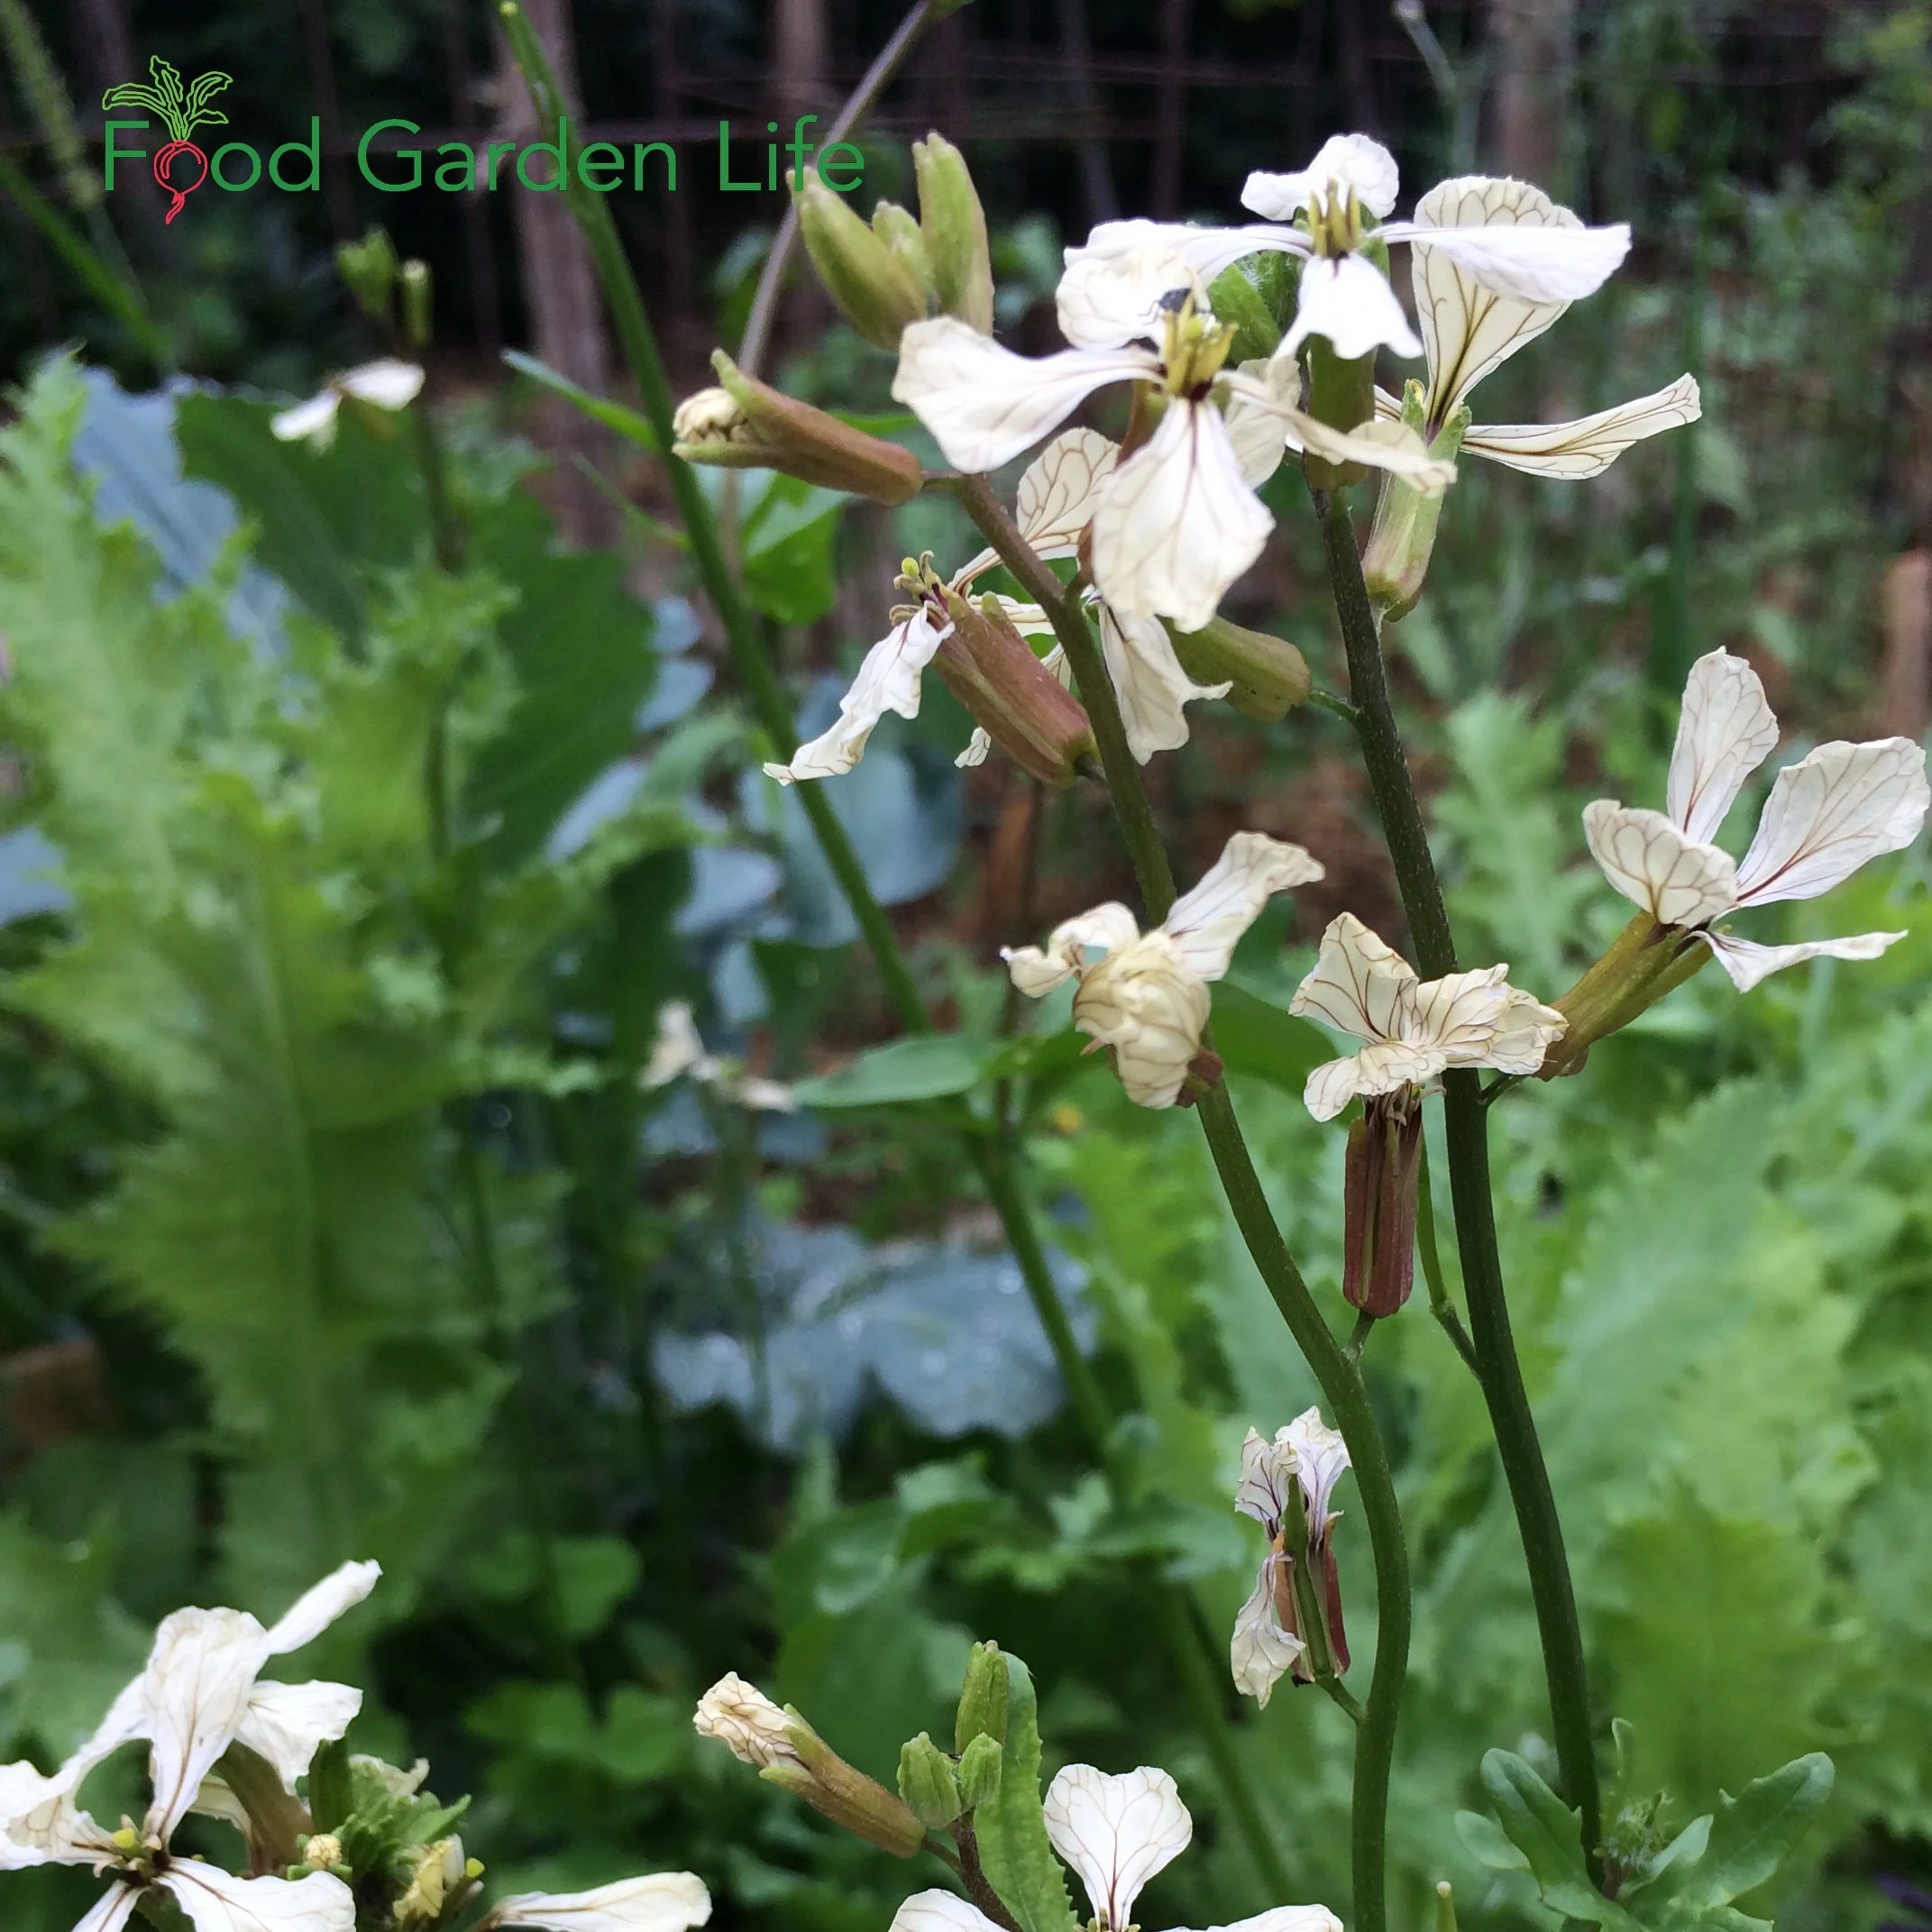
Edible arugula flowers belong in any vegetable garden.
Peppery arugula leaves are a favourite in our household, whether in a salad or wilted on a pizza that's just come out of the oven.
Arugula is a great crop for the early spring edible garden. It tolerates cool conditions, and it's fast growing.
Arugula: Other Edible Part
Along with the leaves, arugula flowers are edible too. Let some of your arugula plants bolt and flower.
We use arugula flowers on salads and as a garnish. Like the leaves, they are mildly peppery.
Grow a Container Vegetable Garden
And get an early harvest of crops that usually take too long!
Fig
Nothing beats a fresh fig! It's an exotic touch for edible gardens in cold climates.
(Remember, if you're in a cold climate, you can still grow figs as a potted plant, or as a plant that you tip over and protect for winter. Find out how here.)
Fig: Other Edible Parts
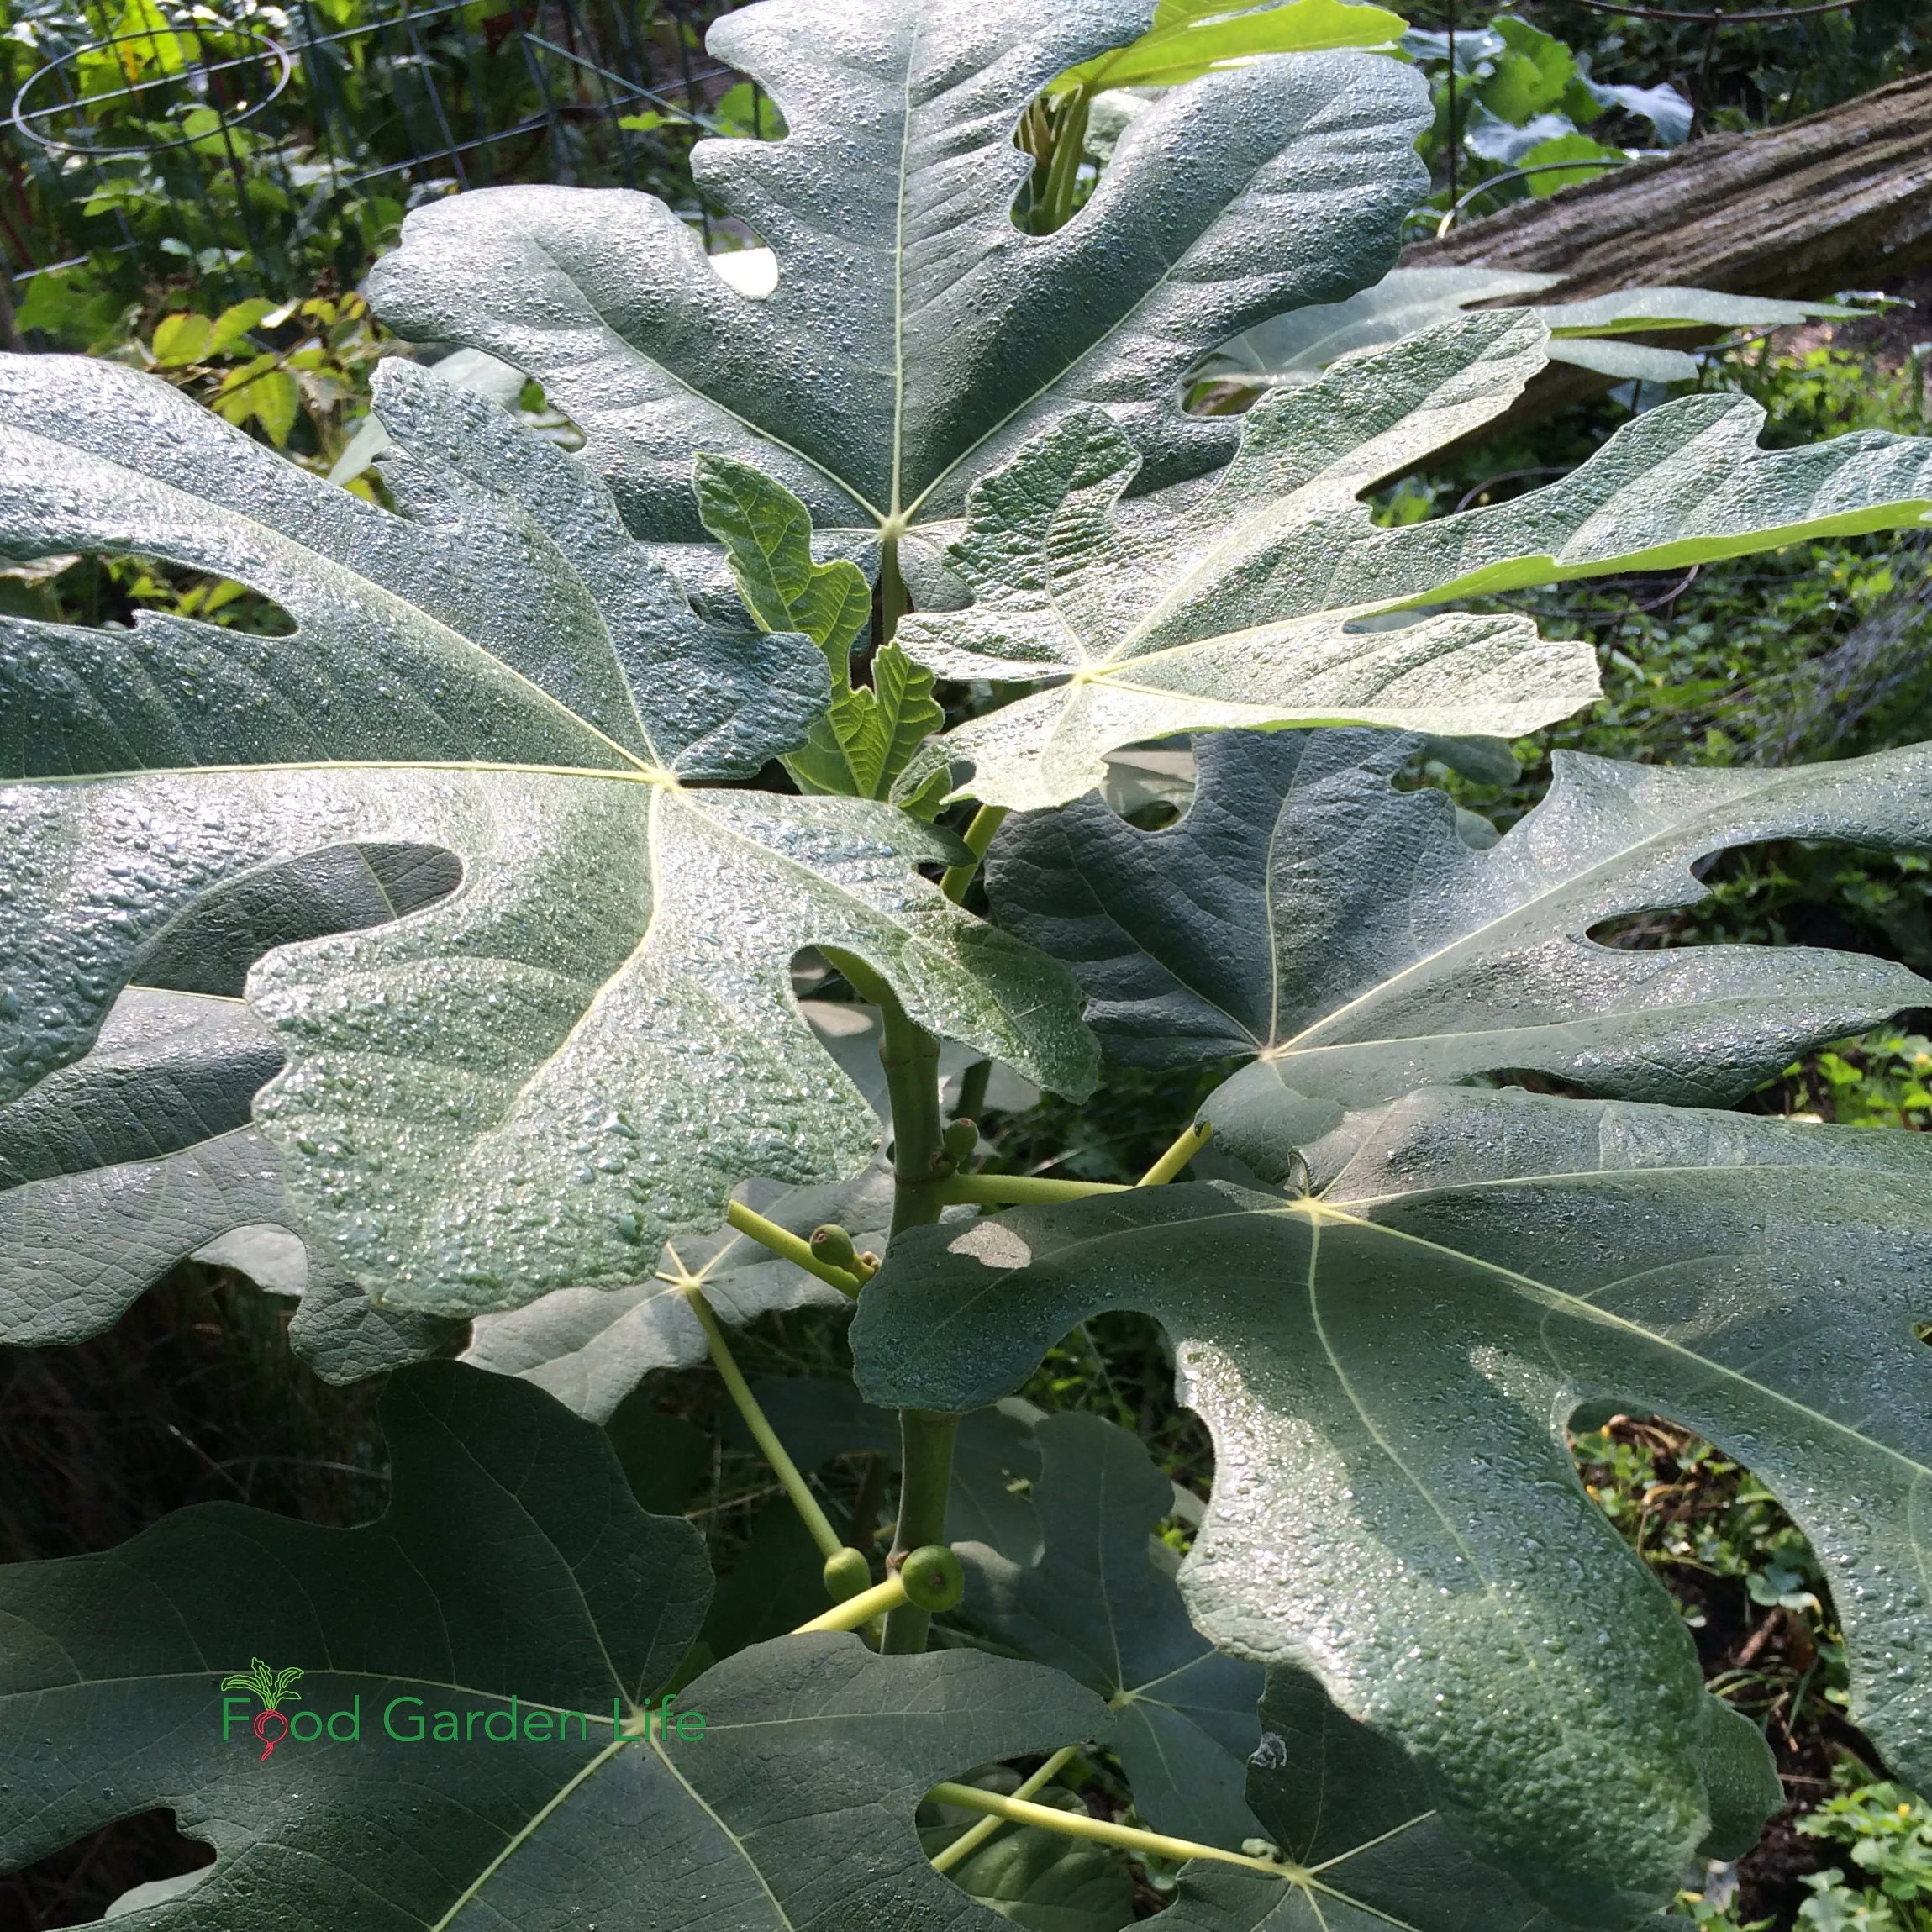
Use fig leaves in cooking for the unique taste.
There are a couple of other parts to the fig plant that make it a fun fit for an edible landscaping.
Fig leaves are packed with flavour. I describe the flavour as a mix of toasted almond and coconut. It's subtle. (You don't actually eat the leaf, but extract flavour from it.)
In our household, we like fig leaf panna cotta and fig leaf granita.
Before we finish with figs, here's one more idea for you:
Save the branches you prune from your fig tree for smoking meat. I like to smoke meat with apple or cherry...but fig smoke has a delicious taste of its own.
Cauliflower and Broccoli
Grown for their flower heads, these plants—along with kohlrabi, which we grow for its stout stem—have more edible parts!
See this recipe for cauliflower steaks!
Other Edible Parts
Use young leaves raw, in salads
Older leaves can be chopped and added to stir fries and soups
If you trim off the end of the stalk as you prepare cauliflower and broccoli heads to cook, keep those bits of stalk for stir fries. (I always add them to my beet borsch)
Create Your Own Unique Edible Landscape
That fits for your yard, and your style!
Lemon
Like figs, potted lemon trees make a fine addition to edible landscapes, even in temperate regions.
A potted lemon tree is an elegant touch in a garden design.
Lemons add a sensory element to the garden too. Along with the lemon fruit, there's fragrance of the white flowers. Nothing beats the smell of lemon blossoms on a patio!
Lemon: Other Edible Parts
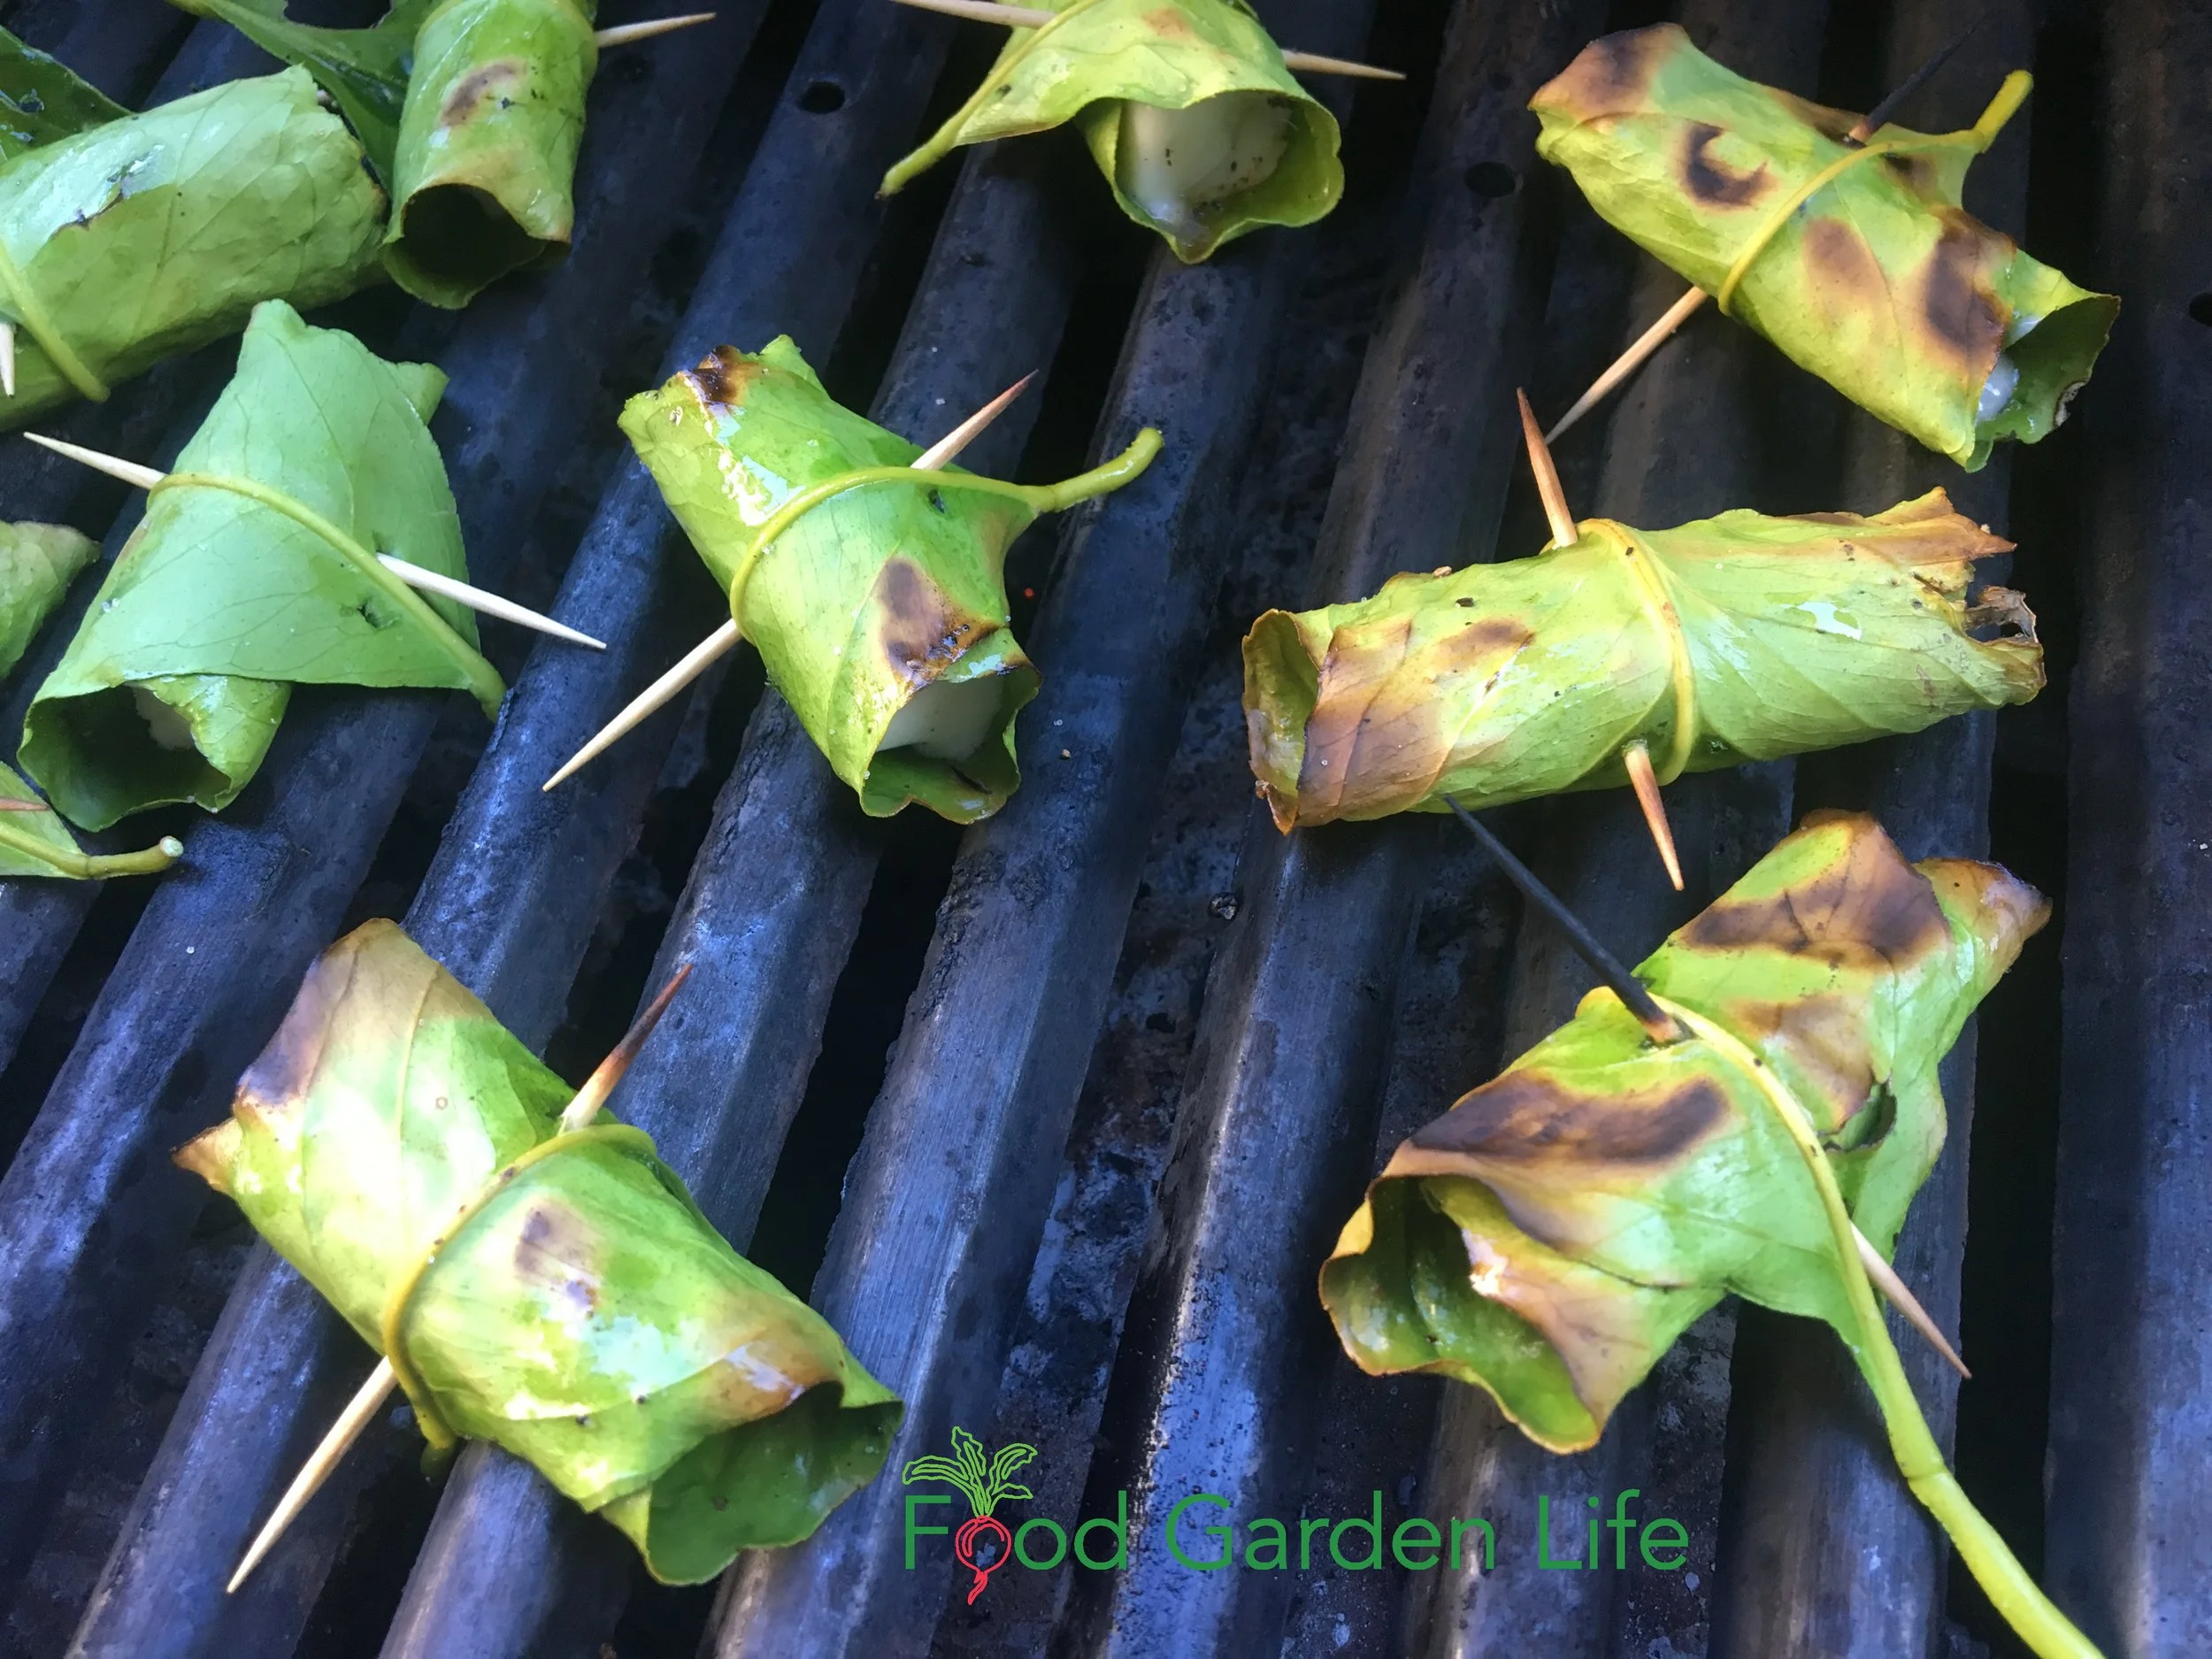
Lemon leaves impart a citrusy taste to food. These are wedges of halloumi cheese wrapped in lemon leaves, cooking on the grill.
Those fragrant lemon blossoms are edible too!
Don't stop there: Lemon leaves are packed with tasty goodness. They're tough—so don't eat the lemon leaves, but use them for their lemony flavour.
Use them like bay leaves.
Or wrap what you're cooking on the grill and it cooks the lemony flavour into the food. (Then just removed the charred leaves.)
A favourite in our household is wedges of halloumi cheese wrapped in lemon leaves and grilled. (Halloumi has a high melting point, so you can grill it without it oozing down into the BBQ.)
Find out more about cooking with lemon leaves.
Interested in growing a lemon tree in a pot? Here's more to help you grow a potted lemon tree. Lemons are a great plant to add season-long interest to your edible landscape.
Fennel
Florence fennel, a.k.a. "finocchio." Mom always included sliced fresh finocchio on a veggie platter.
I love to braise fennel bulbs in white wine.
Fennel: Other Edible Parts
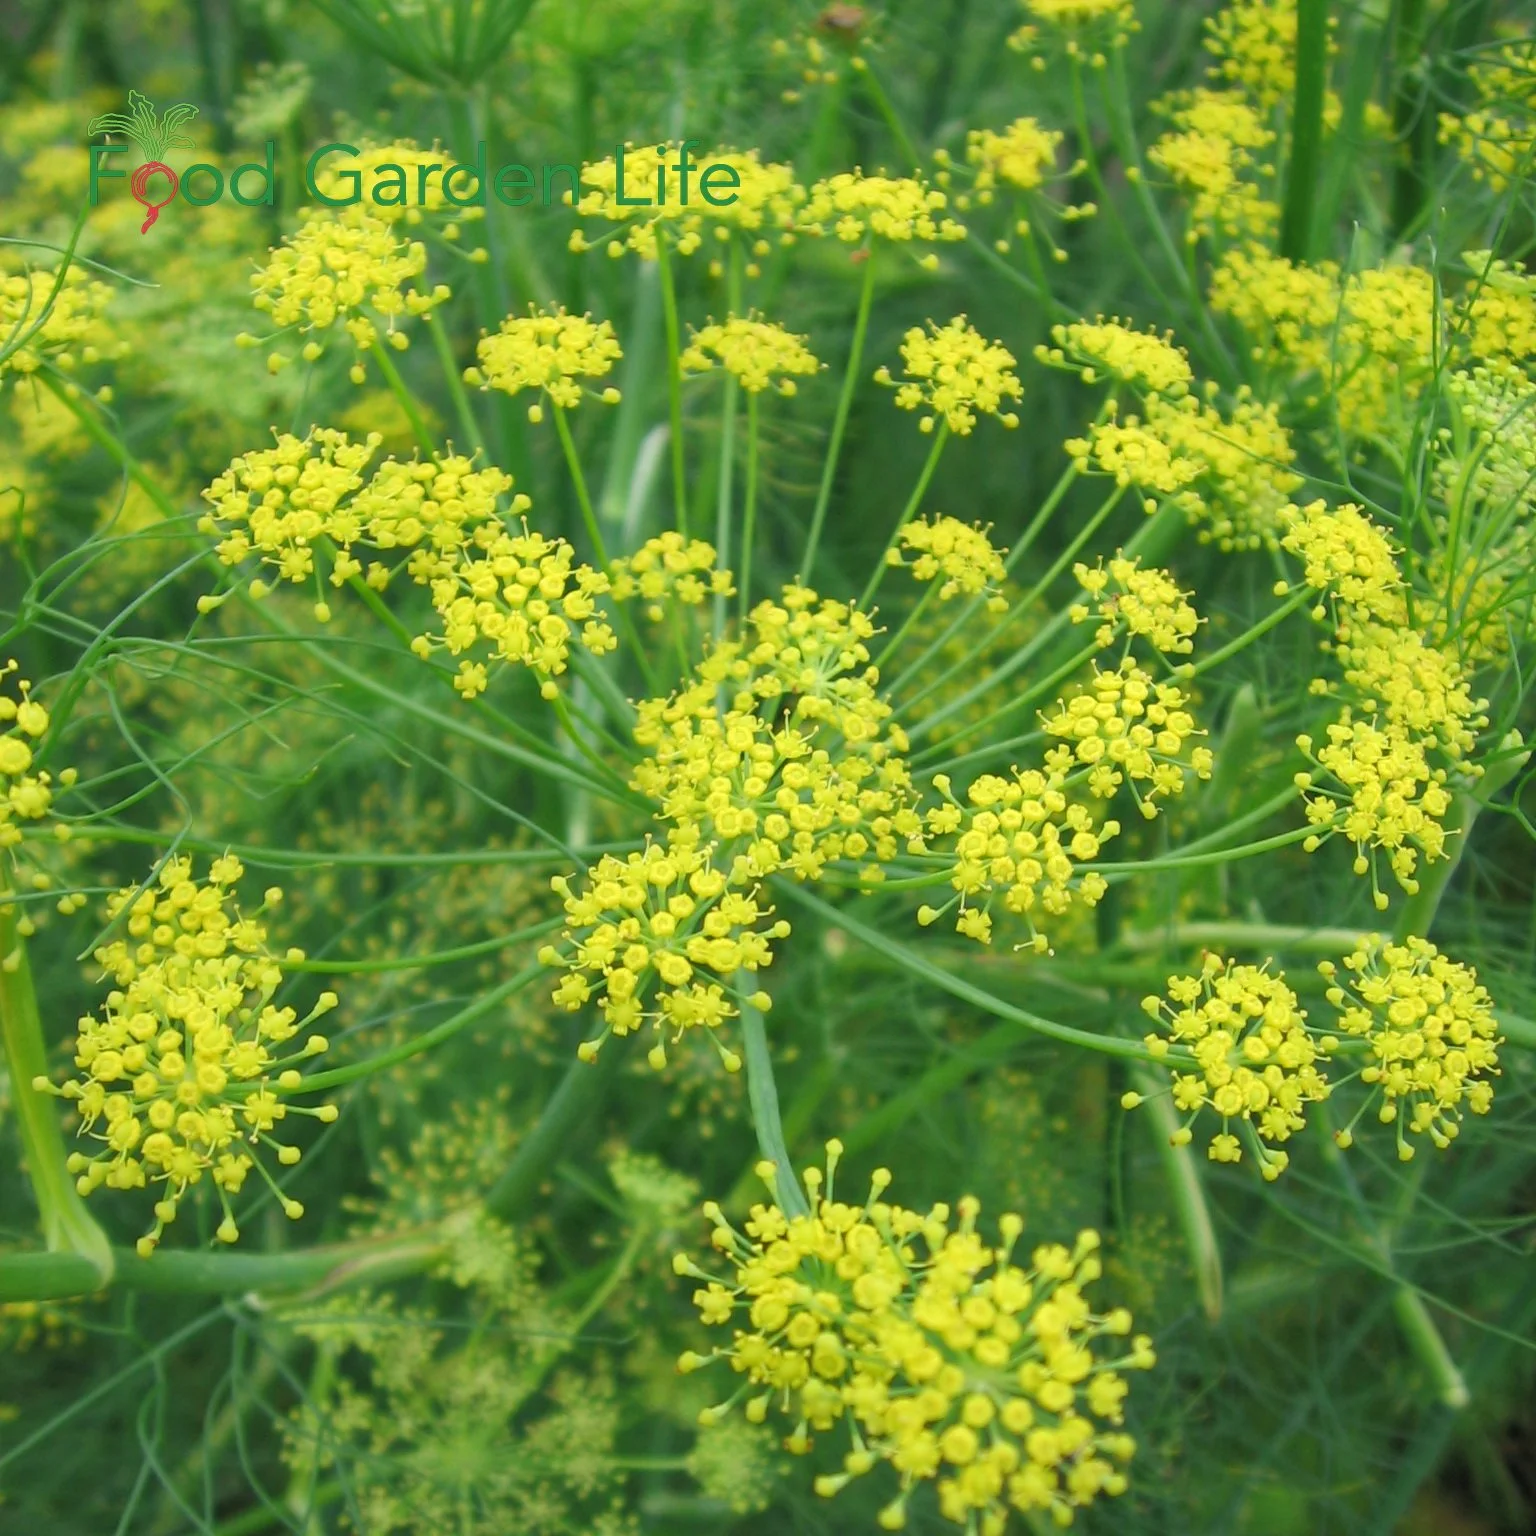
Fennel flowers are edible, and the pollen can be tapped onto plates as decoration.
Beyond the bulb, the fern-like fennel leaves make a fine garnish.
Fennel flowers are edible too. (Or, tap fennel flowers over a white plate to decorate it with the yellow pollen.)
Fennel seeds are edible. Sprinkle a few over a bowl of granola. I like to add them when I make sausage.
There's also a cousin to the bulb-producing Florence fennel: Bronze fennel.
Bronze fennel is a perennial with aptly named bronze-coloured leaves. They're beautiful—and tasty. There's no bulb; this is a perennial edible we grow for its leaves, and its edible flowers.
If you're gardening to attract beneficial insects (pollinators, parasites, predators), fennel is a musts-have plant in vegetable gardens and edible landscapes.
Beet
Beet root is a great root vegetable for winter storage.
Beet: Other Edible Part
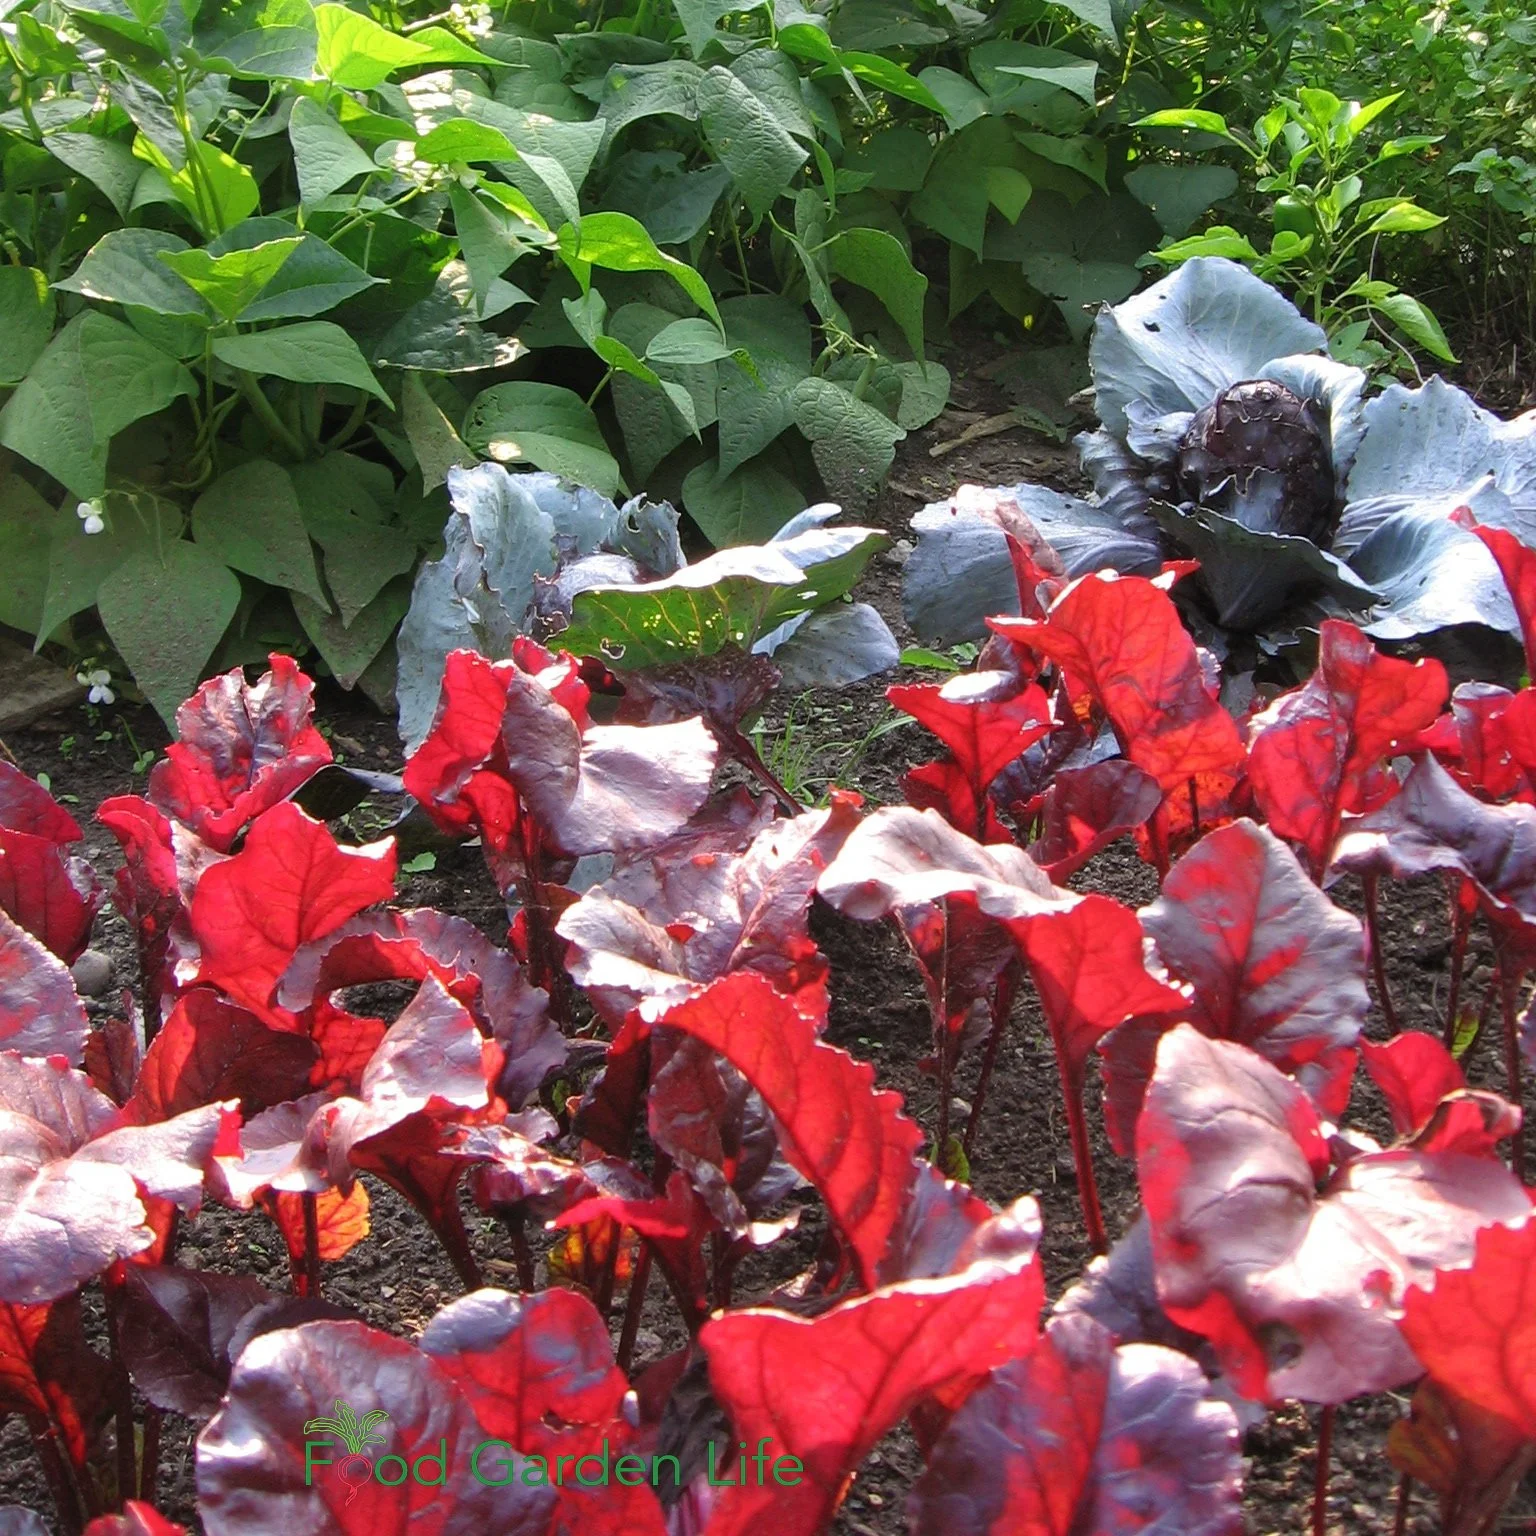
‘Bulls Blood’ beet leaves are a colourful addition to an edible garden.
Beet leaves are often overlooked.
Use small beet leaves fresh, as you would small chard leaves.
Larger leaves can be cooked. (An incomparable trio is beet leaves, sour cream and dill.)
Beet leaves are also nice chopped into a pot of borsch. (Here's how Mom made borsch.)
Most people don't think of beets when looking for visual appeal...but for colourful beet leaves—a vibrant red—check out 'Bull's Blood.'
Carrot
Baby carrots are a favourite summer treat at our house, and over the winter we enjoy carrots stored in our garage.
Carrot: Other Edible Part
Carrot leaves are edible, bringing their own unique flavour when added to sauteed greens or a frittata. Or, make them into a pesto.
Dill
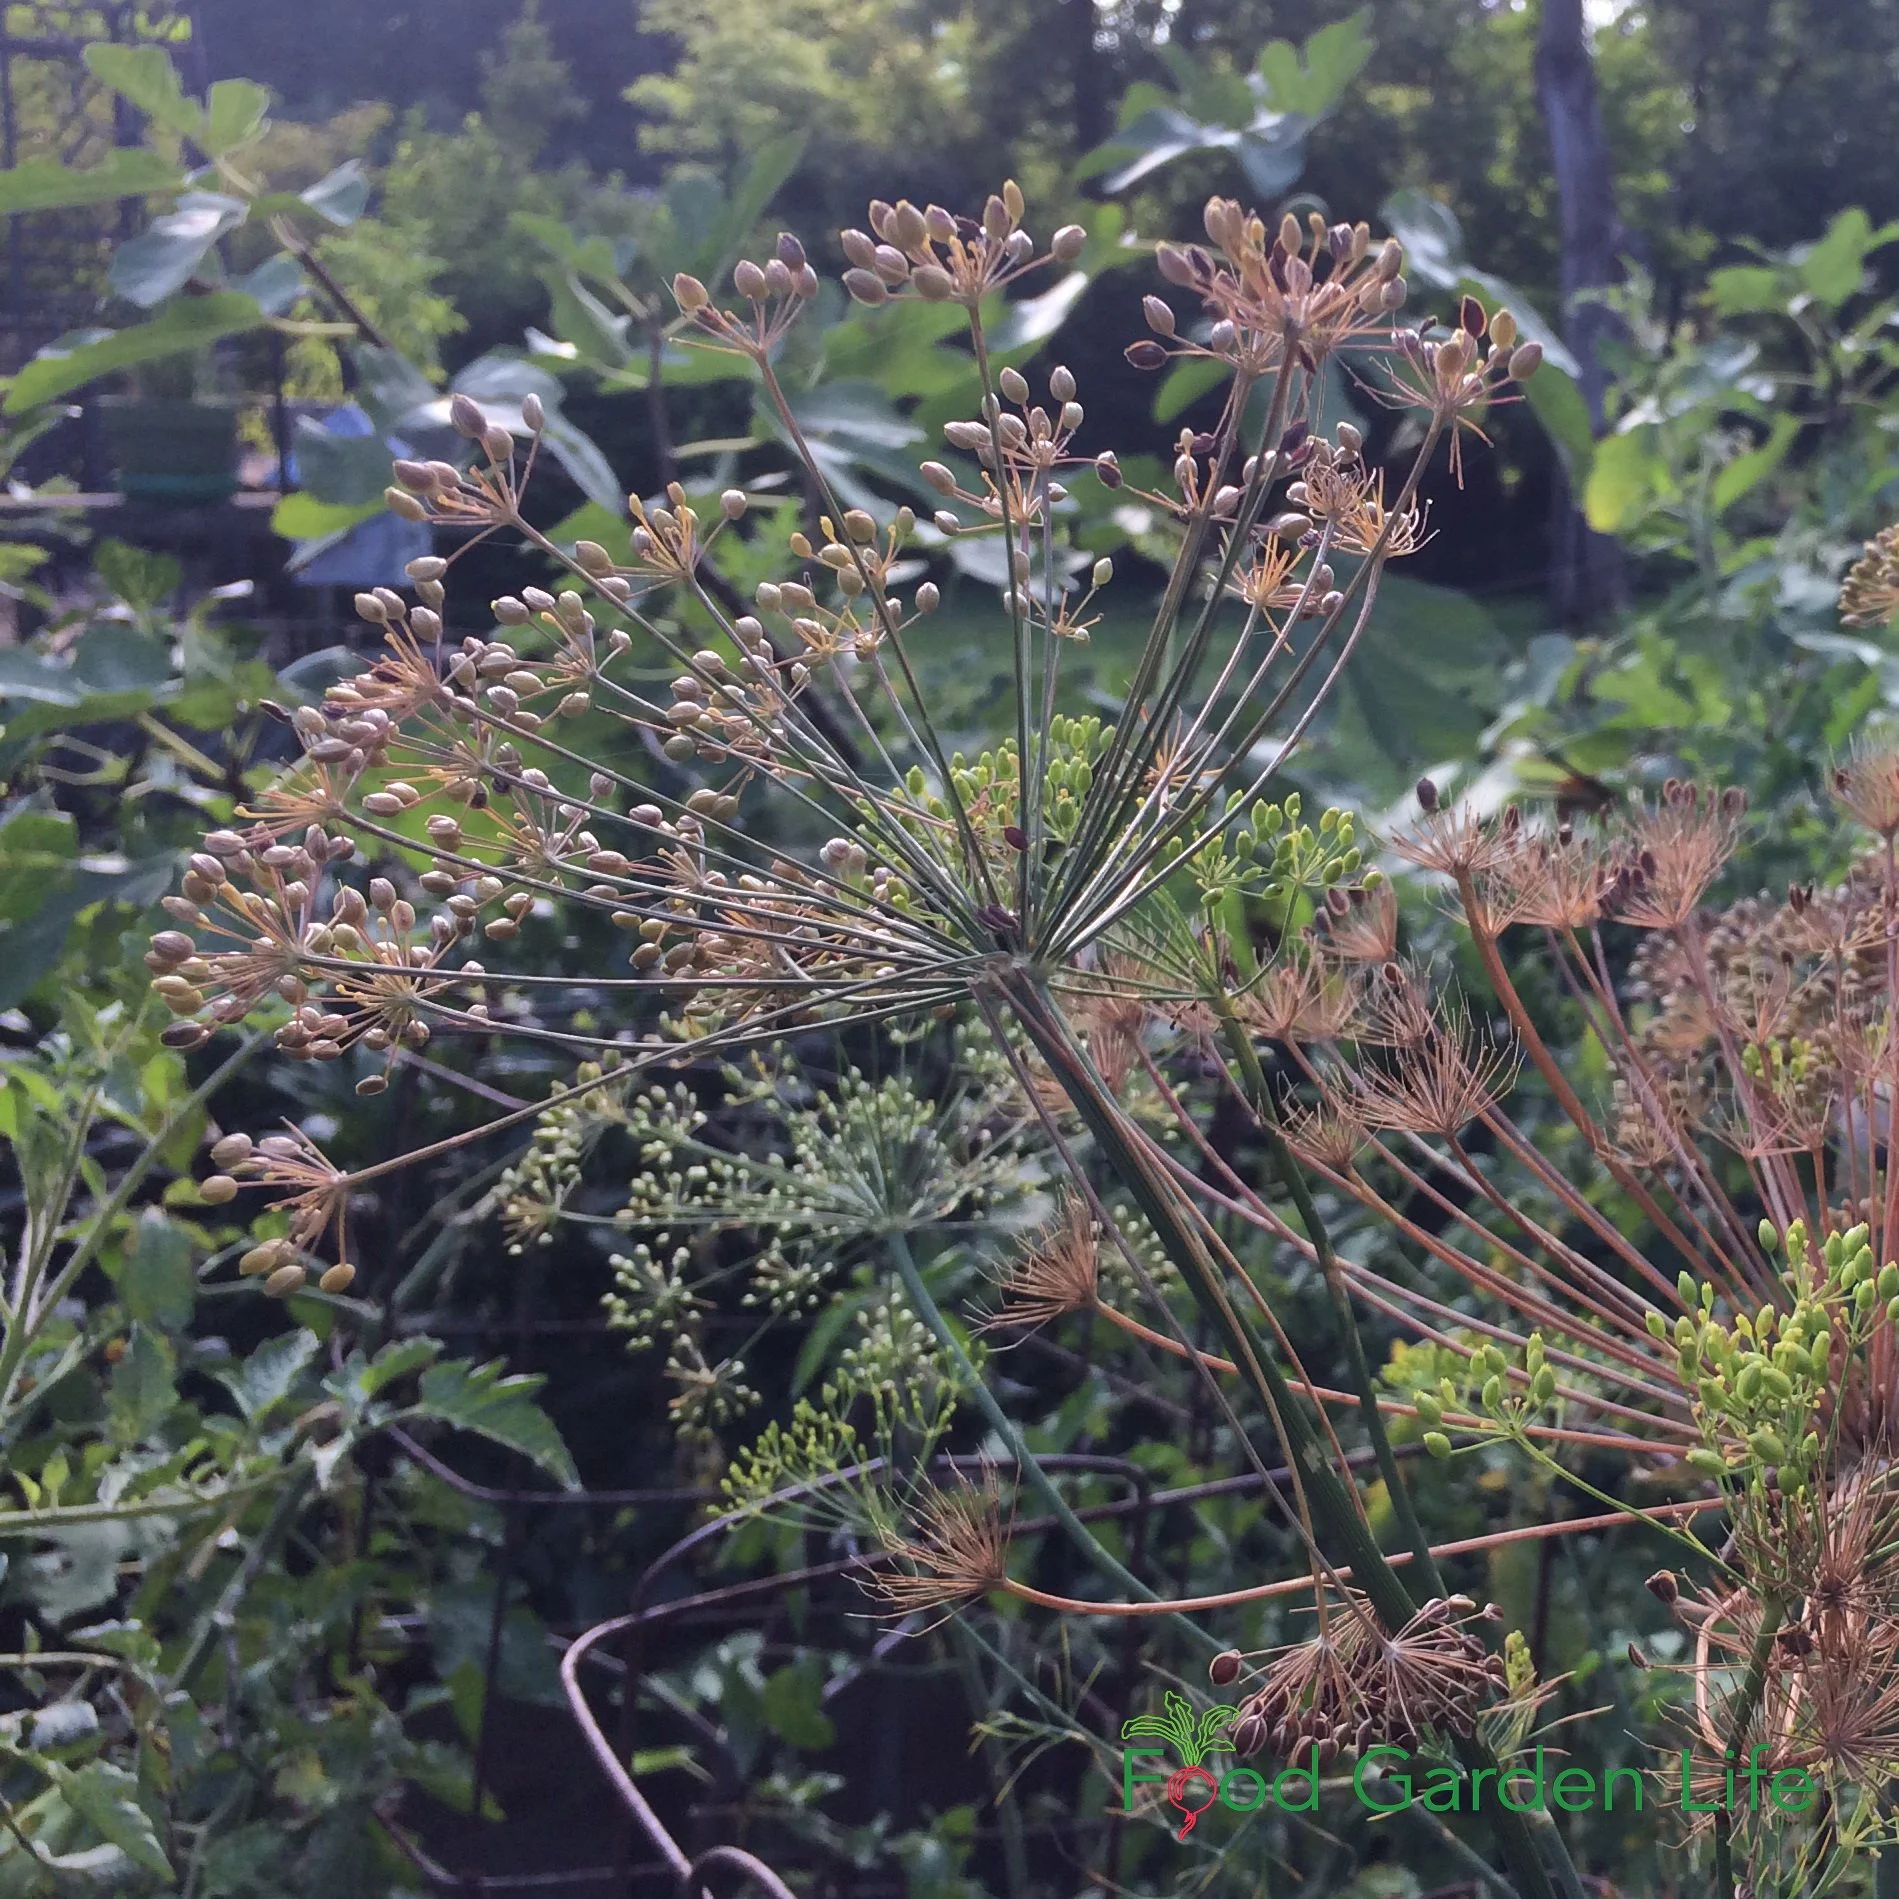
Dill seeds are a great way to enjoy the flavour of dill through the winter.
Dill is up there with fennel when it comes to bringing beneficial insects to your garden. The flowers are a magnet for beneficial insects.
I cook with lots of dill, so when I have a glut of dill in summer I chop and freeze lots for the winter.
Dill: Other Edible Parts
Use dill flowers as you would fennel flowers.
And...I use the seed. Dill seed into a beet-and-feta salad is a delight. Or a few dill seeds into a pot of borsch.
Garlic
Garlic is a great crop for a home garden because you can grow enough of it in a small space for an entire household for a whole year.
And it stores well in a cool basement, even without a proper root cellar.
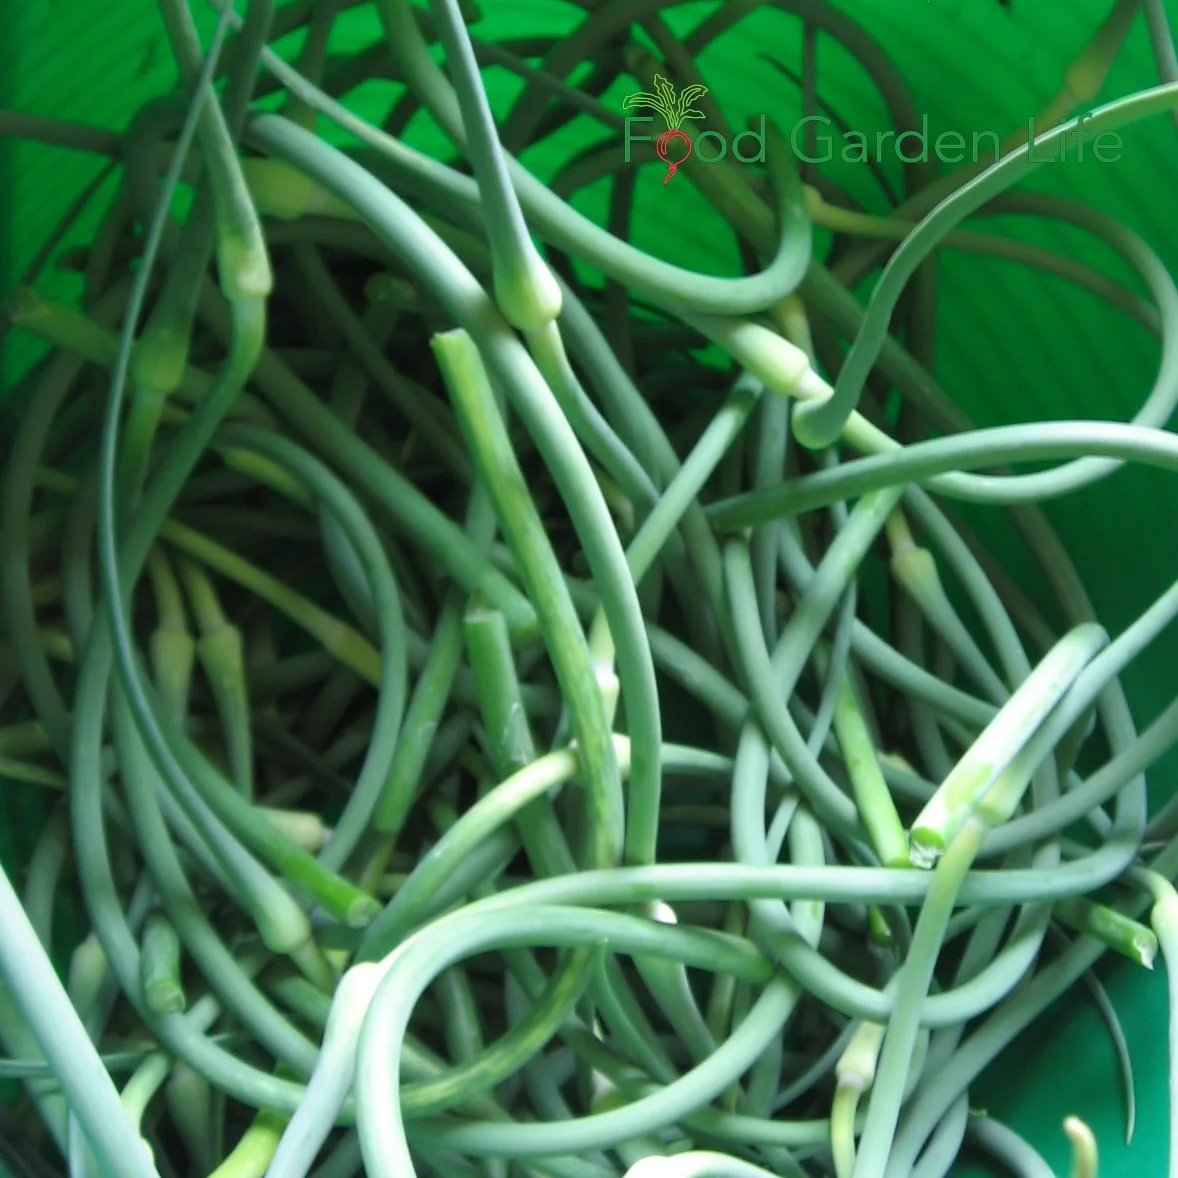
Garlic scapes
Garlic: Other Edible Part
Along with the bulbs, there are the garlic "scapes" that make a fine pesto.
And there's more...hear Doug Oster explain how he gets 5 harvests from his garlic.
Squash
Winter squash is a great storage crop.
Vining squash varieties are also a great addition to vertical gardens.
Squash: Other Edible Part
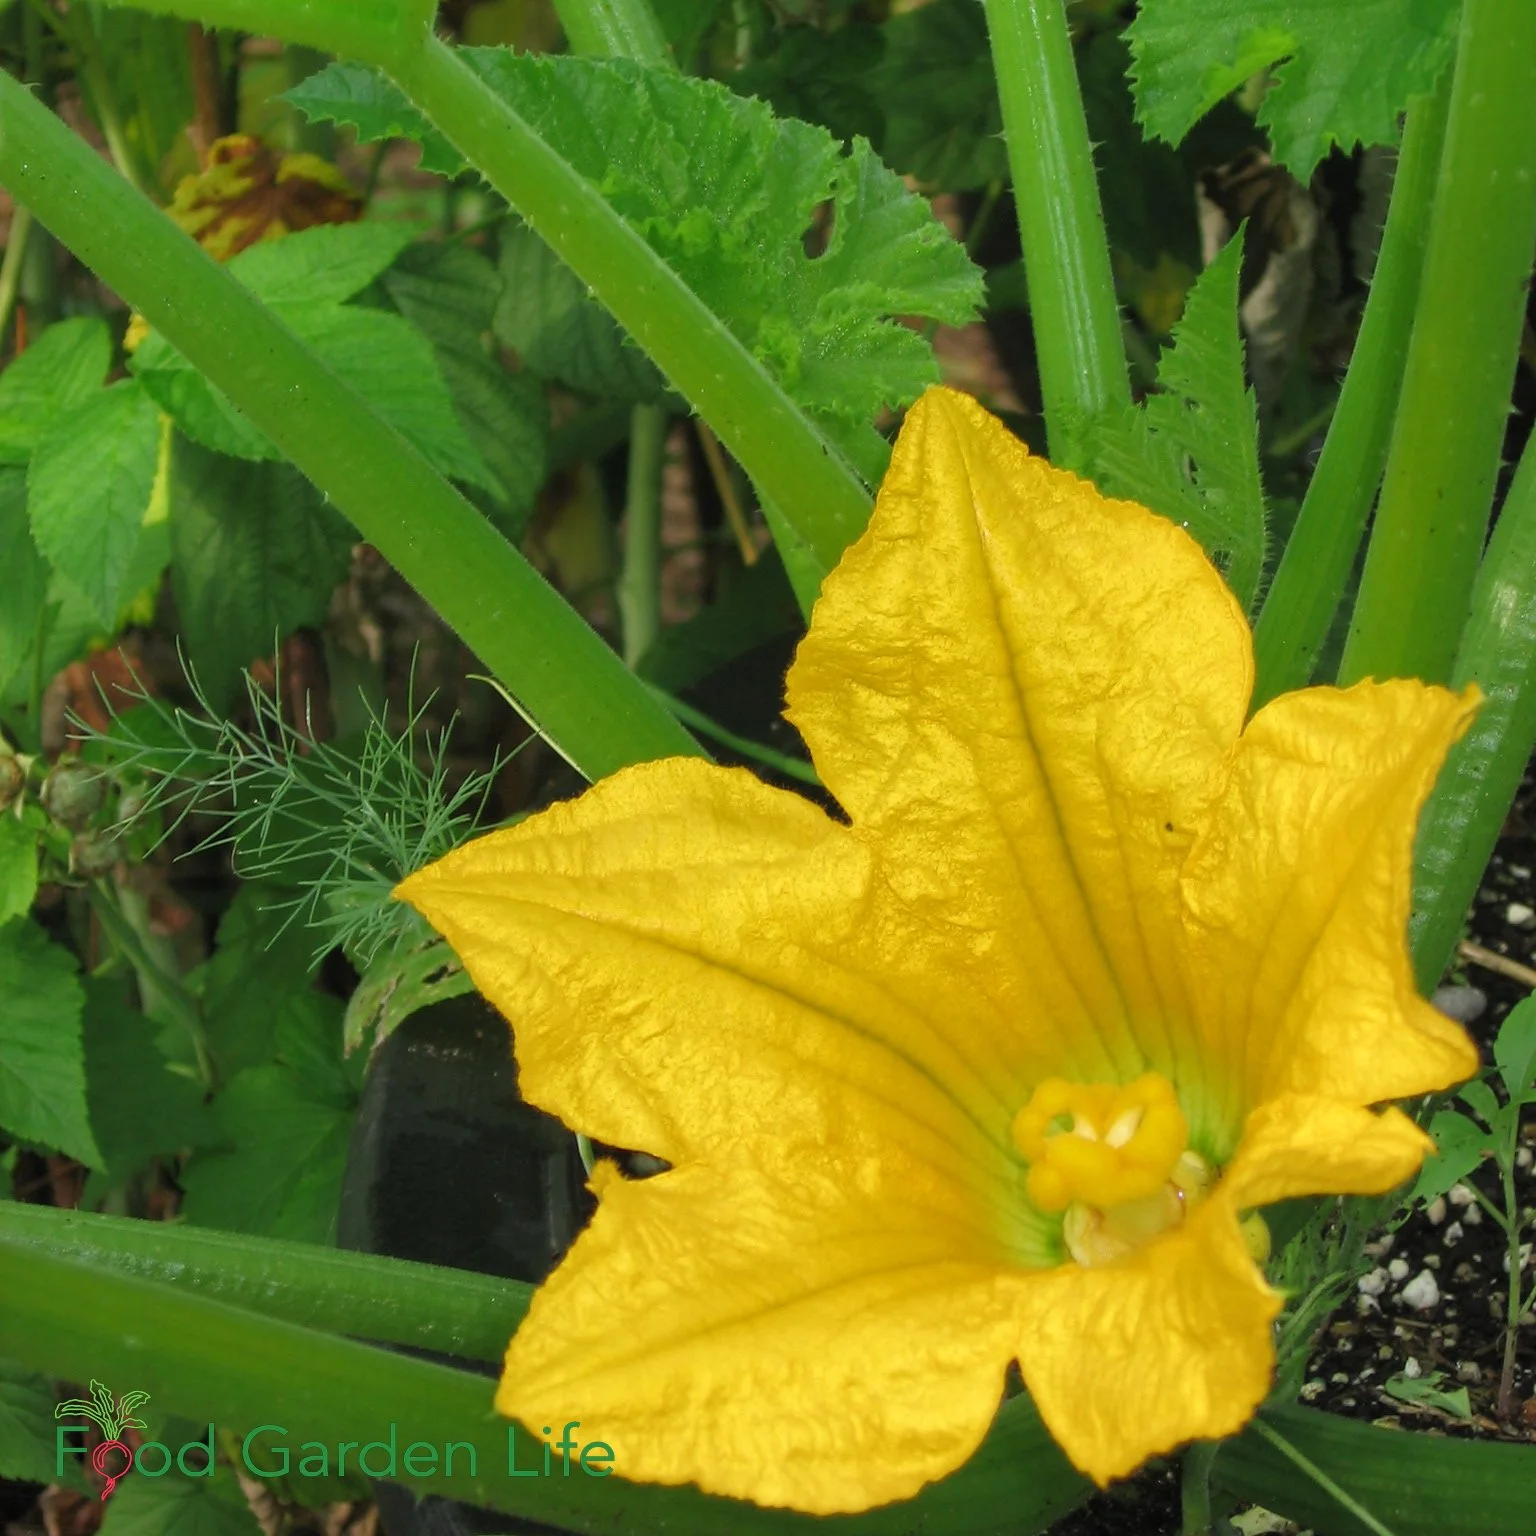
Eat some of your squash flowers. (Stuff them with a wedge of cheese, dip in batter, and deep fry, you won't regret it.)
Cook squash shoot tips. Hear chef Alan Borgo talk about squash shoot tips.
Squash flowers are edible. And don’t forget the edible shoot tips!
More Edible Landscaping Ideas
Articles: Edible Gardening
7 Vegetable Garden Layout Ideas To Grow More Food In Less Space
These Edible Perennials and Perennial Vegetables Make a Delicious Edible Landscape
Video: Edible Gardening
Edible Landscaping: See My Ornamental Edible Garden

