Mom's Rhubarb Pie Recipe
Mom’s rhubarb pie recipe. This is a very good rhubarb pie!
By Steven Biggs
Stalking Out the Best Rhubarb for Pie
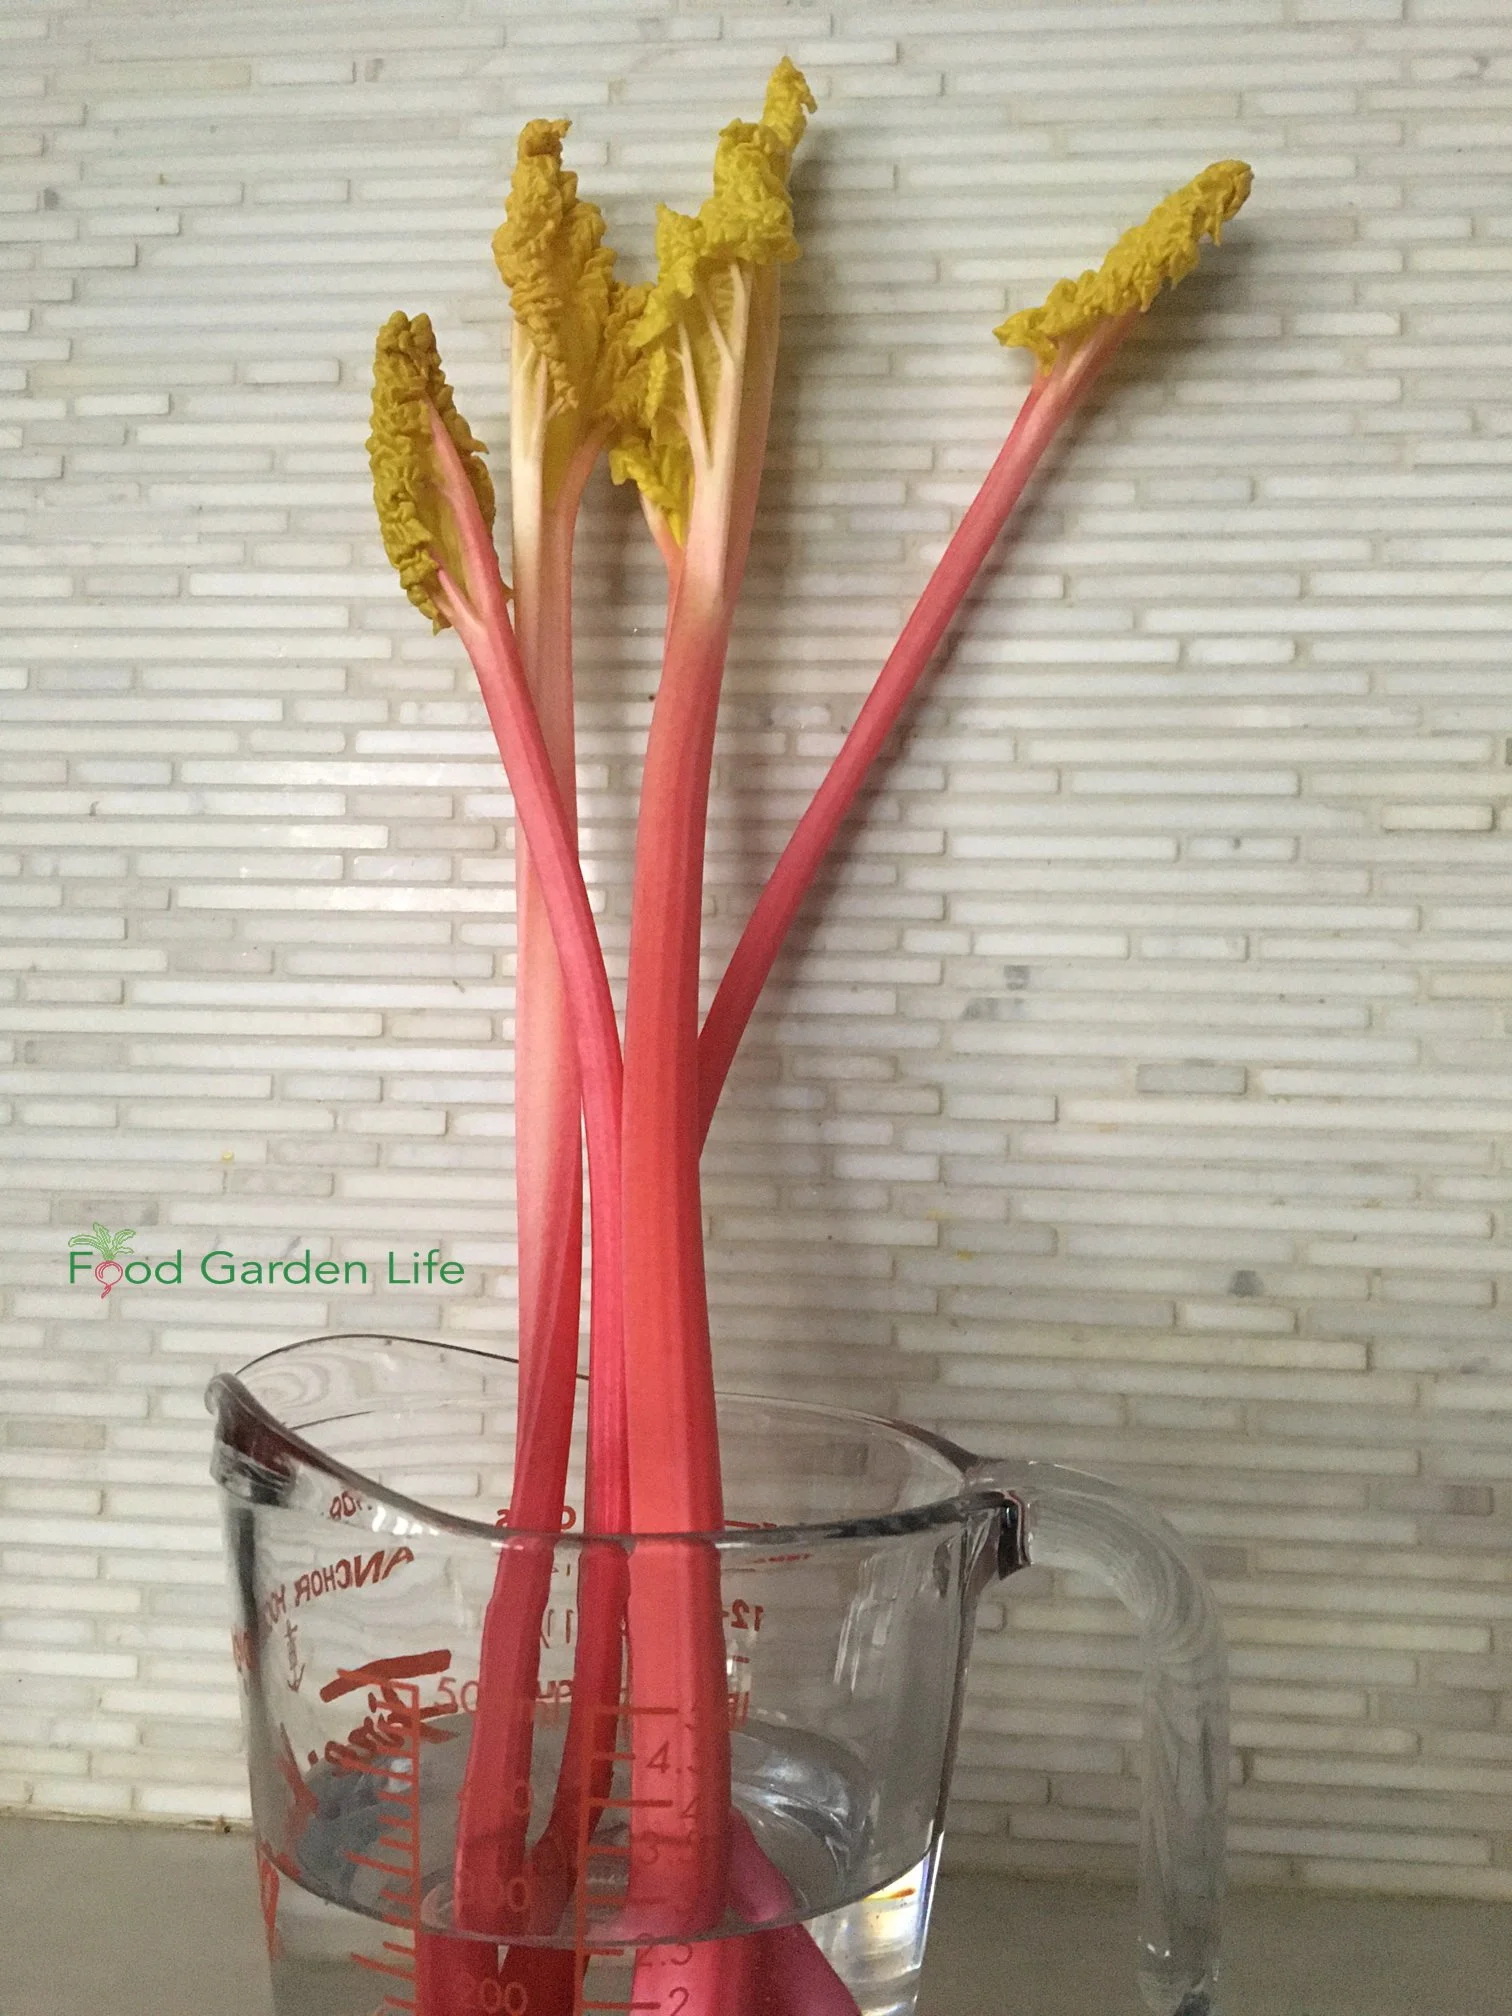
In spring, Mom put an upside-down bushel basket over a corner of her rhubarb patch. The dark, warmer conditions within coaxed longer, rosy-red stalks from the rhubarb roots below.
Those rosy-red stalks made great rhubarb pie.
Ingredient for an Extra Special Rhubarb Pie
Mom’s spring-forced rhubarb made great pie because when you force rhubarb—when you grow it in warmer, dark conditions—you get stalks with a bright red colour. It’s quite different from the stringier, greenish-red stalks you get from rhubarb exposed to sunlight.
Along with the colour, the other thing about forced rhubarb is that it’s more tender. Cooked into a pie, it’s melt-in-your-mouth tender.
So I recommend forced rhubarb if you want an extra special rhubarb pie.
If not, though, regular rhubarb still makes great rhubarb pie. I share Mom’s recipe below.
Where to get Forced Rhubarb
Rhubarb I forced in my basement.
Force it yourself: You can force it in the garden, like Mom did—or you can even force it indoors over the winter.
Find out how to force your own rhubarb indoors over the winter.
Depending where you are, you might also be able to buy forced rhubarb in the winter and early spring.
Another Special Ingredient for Rhubarb Pie
Mom always added orange zest to her rhubarb pie. It’s a pairing that I love. I think they’re made to go together. The orange zest doesn’t blunt the tanginess of the rhubarb or disguise the flavour.
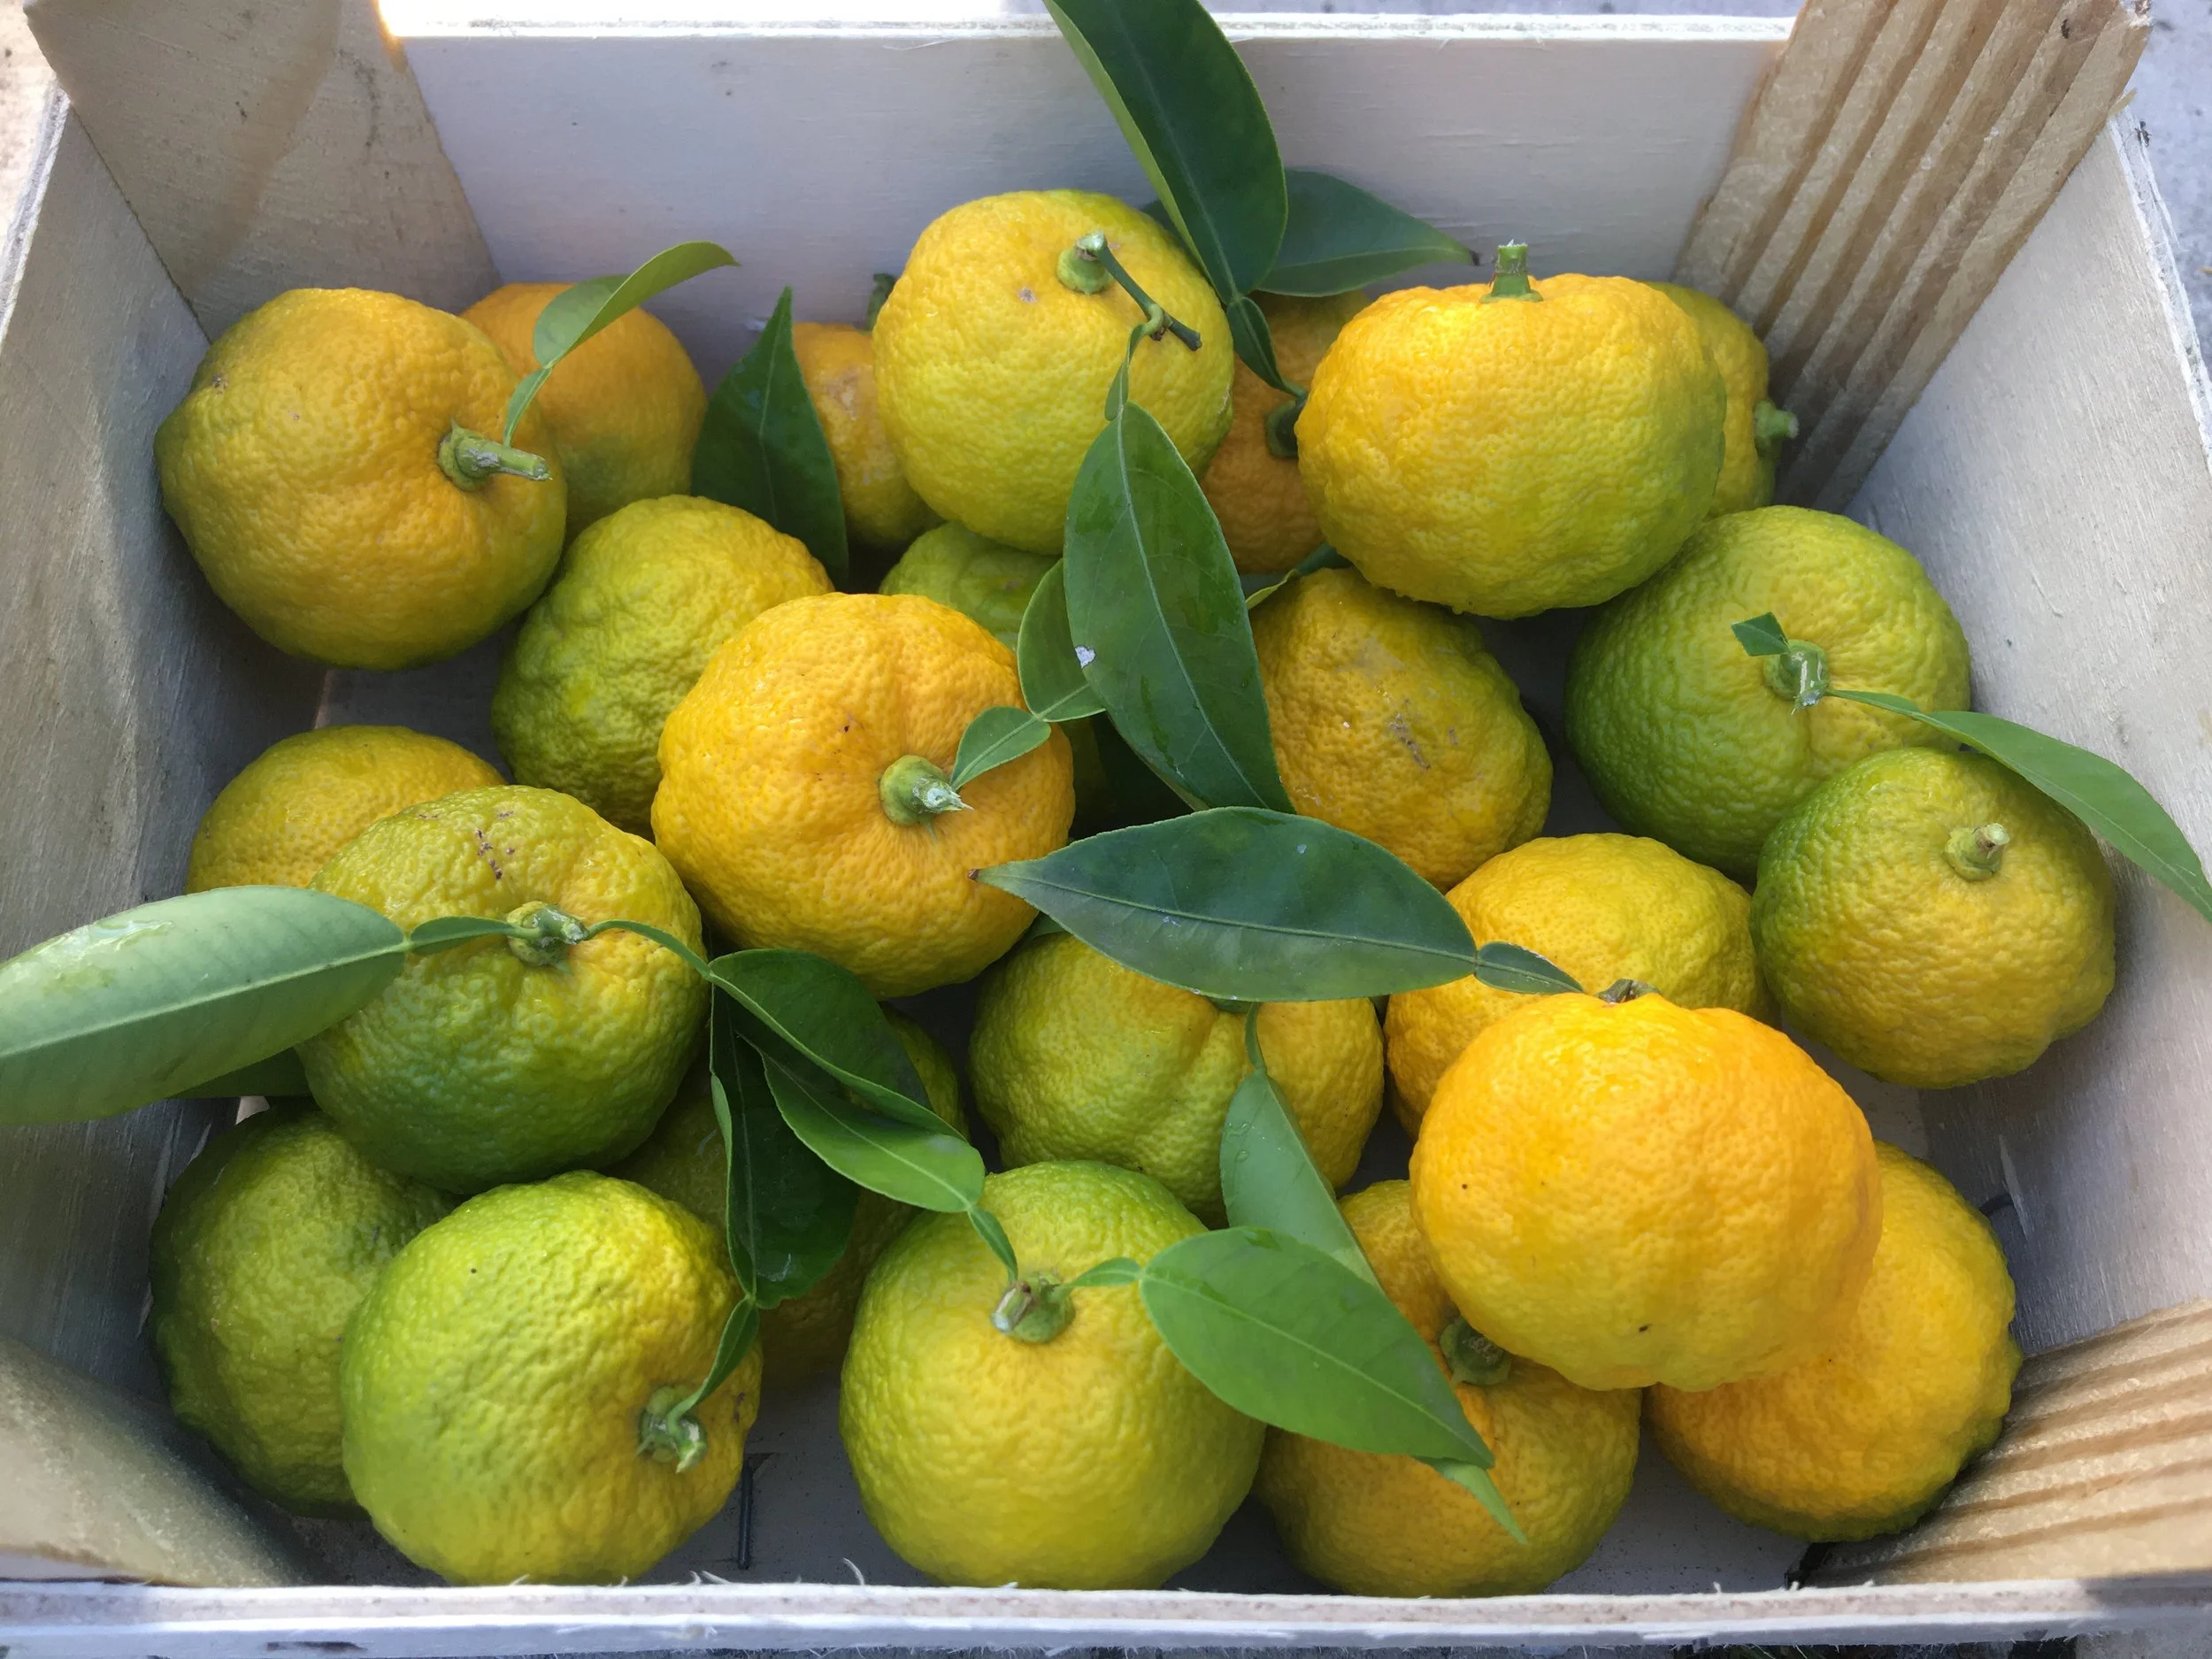
Because I grow potted citrus here in Toronto, I experiment with other types of citrus zest. Yuzu and Meyer lemon zest both work very nicely with rhubarb.
Hear about cold-hardy citrus such as yuzu.
Find out how to grow a potted Meyer lemon tree.
The Rhubarb Pie Crust
Mom used vegetable shortening. My wife, Shelley, swears by lard, like her grandmother taught her to use.
I’m not too sophisticated when it comes to pastry…but I appreciate a good one. If I’m in a rush, I just buy a pre-made pastry shell.
These days I have a rolling pin, but in my first kitchen, I rolled my pastry with a quart beer bottle. (Labatt 50 in case you’re wondering!)
Pastry-Related Tip
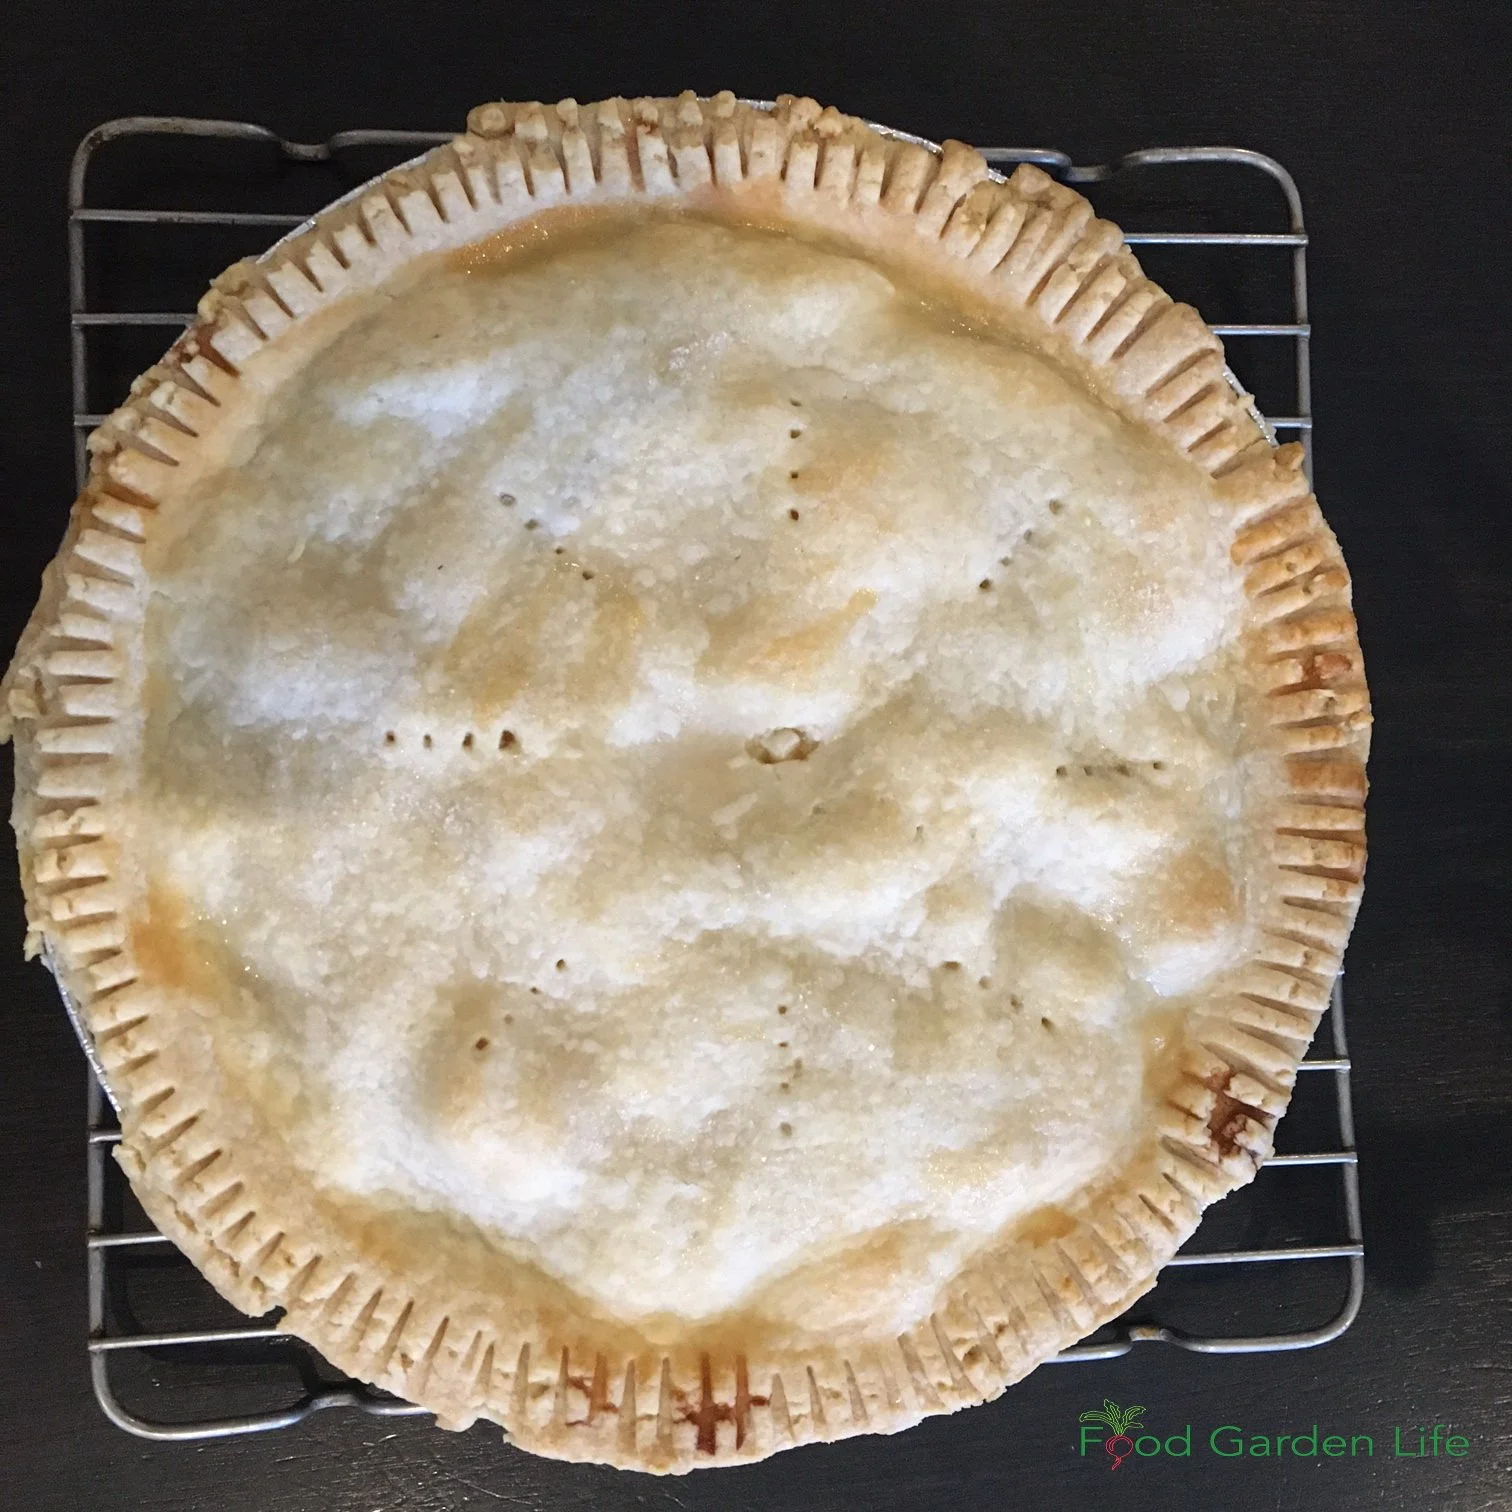
Something that I think works very nicely with rhubarb pie is sugar granules on the crust. It looks nice—and fits well with the sweet-and-sour in a rhubarb pie.
Here’s what to do:
Before you pop your pie into the oven, brush the top with milk, and then lightly sprinkle sugar over the top.
Serving Rhubarb Pie
Keep it simple.
Vanilla ice cream or whipped cream are all that I’d pair with rhubarb pie.
I was once served rhubarb pie with chocolate ice cream. Yuck! It hid the rhubarb flavour.
Soggy Bottom Crust and Rhubarb Pie
When I was learning to make pie, Mom explained why she liked to start off her rhubarb pie at a higher temperature. The higher temperature was to make sure the bottom crust isn’t soggy.
Because there’s a lot of moisture in rhubarb, it’s common to get a soggy lower crust. A blast of higher heat when you first start baking helps prevent that.
Rhubarb Pie Recipe
Ingredients
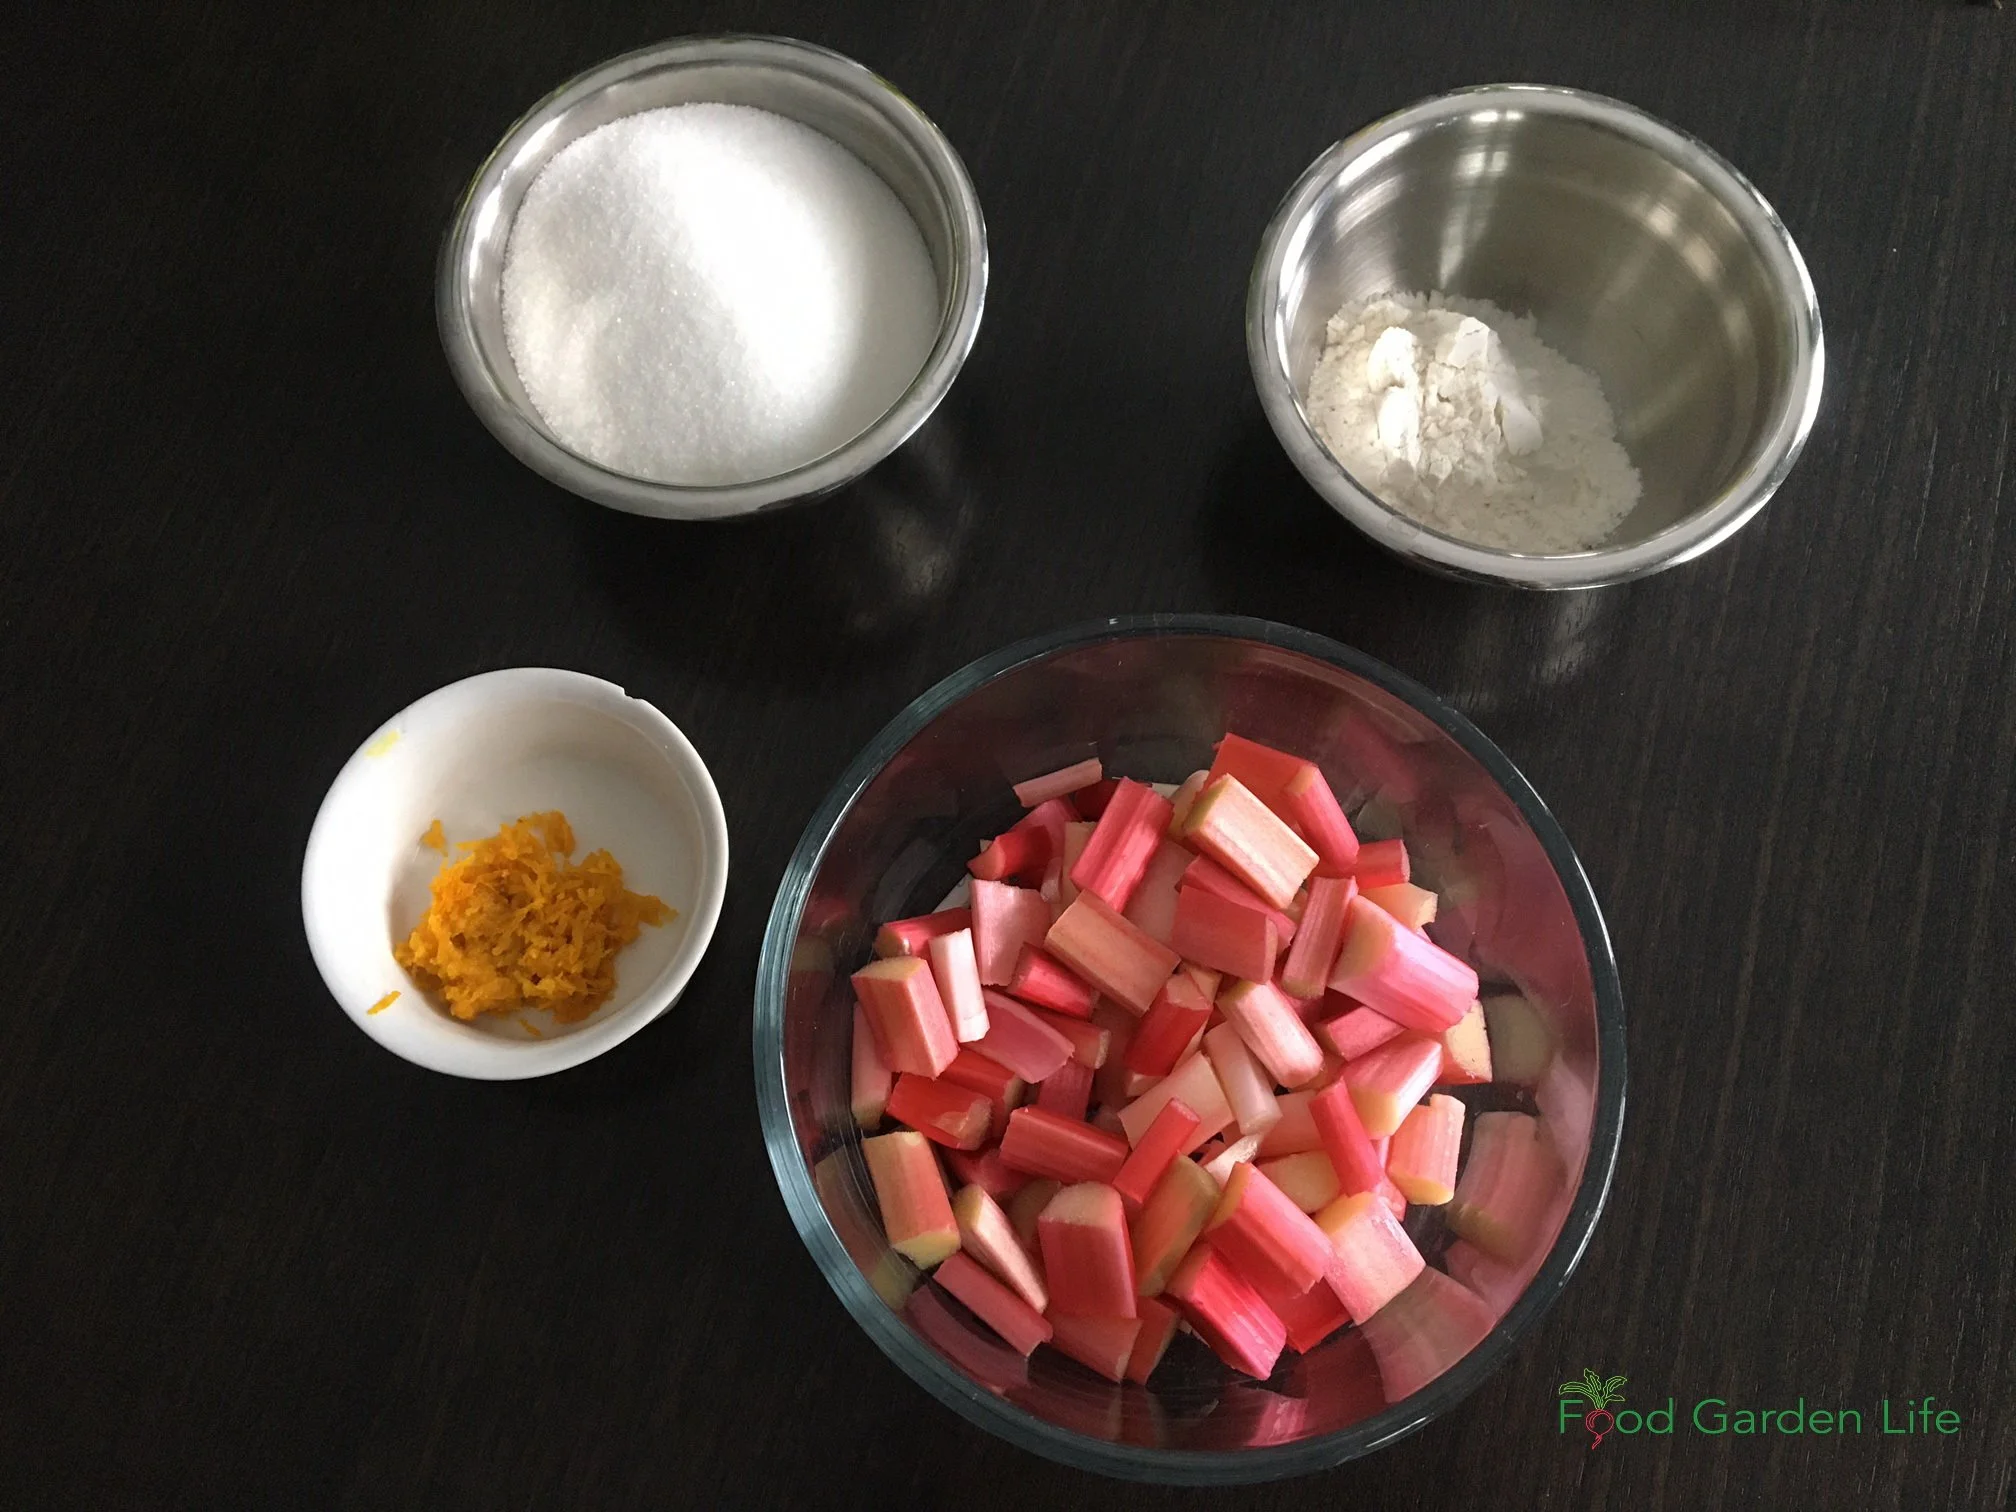
Only 4 ingredients in this easy-to-make rhubarb pie recipe.
4 cups chopped rhubarb
1 cup sugar (I actually prefer pie with ¾ cups of sugar, but Mom used a cup)
¼ cup flour
Zest of half an orange
Directions
Chop rhubarb into 2 cm (3/4”) pieces
Mix together ingredients
Place in a pie shell
Put on the upper crust (crimp well with a fork because this is a juicy pie, and you don’t want that precious juice coming out the side!)
Use a fork to poke some vent holes in the upper crush
Bake at 450°F for 10 minutes
Turn down the temperate to 350°F and bake 30 more minutes
More on Rhubarb
Hear farmer Brian French explain how he forces rhubarb.
Find out how to force your own rhubarb.
Did You Know?
Rhubarb looks great in an edible garden. My neighbour Chris planted it next to his pond because of the large tropical-looking leaves and the charming flowers.
If the idea of a garden that has edible plants woven into it, you might be interested in my Edible Garden Makeover masterclass.
More Food Gardening Resources
Course
Create your own edible oasis…including a patch of rhubarb. Edible Garden Makeover guides you through creating an edible garden you love.
Guide: How to Grow Sorrel (& How to Use it!)
Find out how to grow sorrel, and get ideas for creative sorrel recipes.
By Steven Biggs
Planting Sorrel: An Easy-to-Grow Perennial Vegetable
Sorrel is one of my favourite crops because it checks off a number of important things for me:
It’s easy to grow (it’s a perennial that comes back year after year)
It’s difficult to find fresh sorrel leaves in stores (and if you find them, they’re expensive)
It is versatile in the kitchen (soups, meat, salads, and more)
(And I've cooked with sorrel on TV!)
Sorrel also has a rich herbal history, with a variety of uses.
I’m no herbalist, so in this post I’ll tell you how to grow sorrel and give you lots of ideas for using it in the kitchen.
Haven’t Seen a Sorrel Plant? You’re Not Alone!
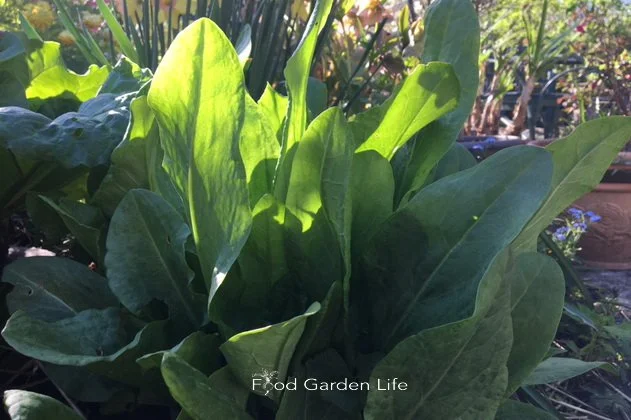
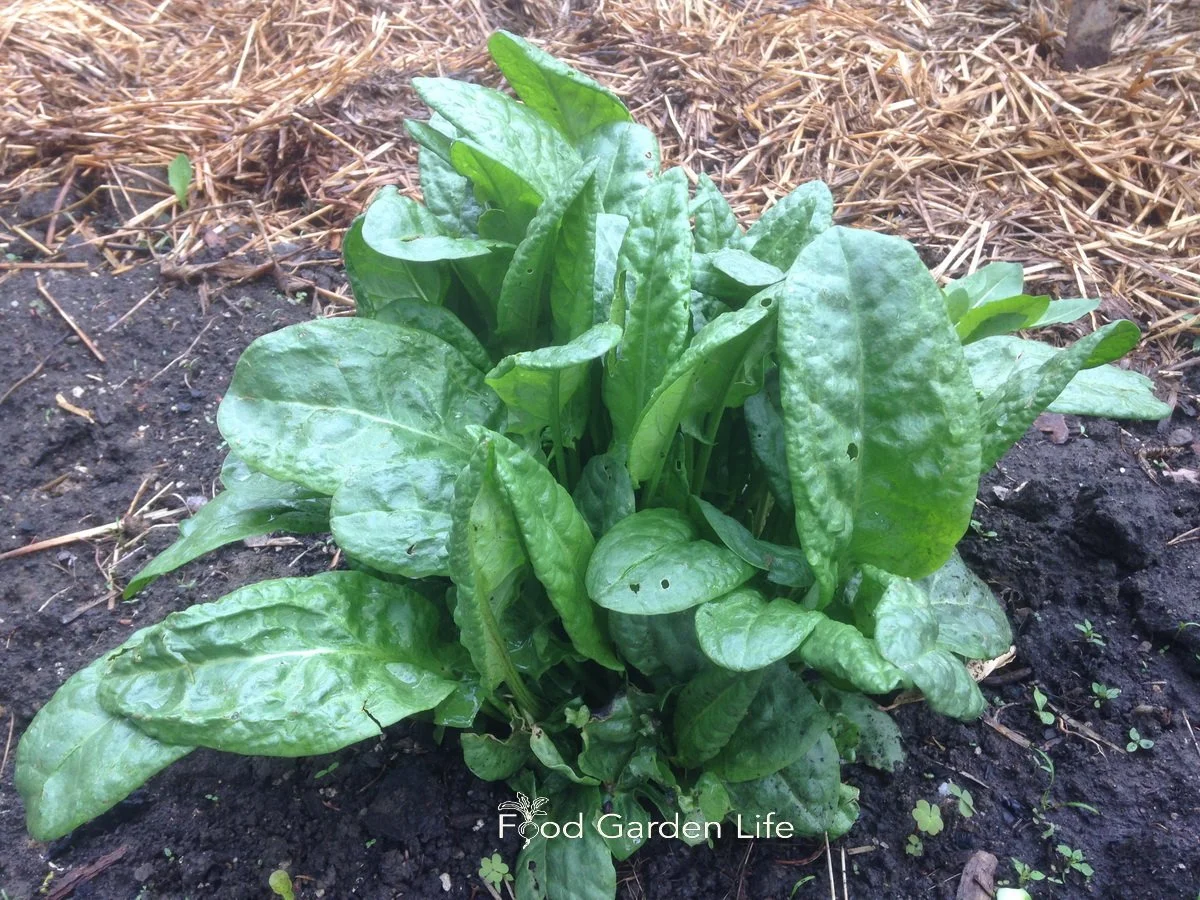
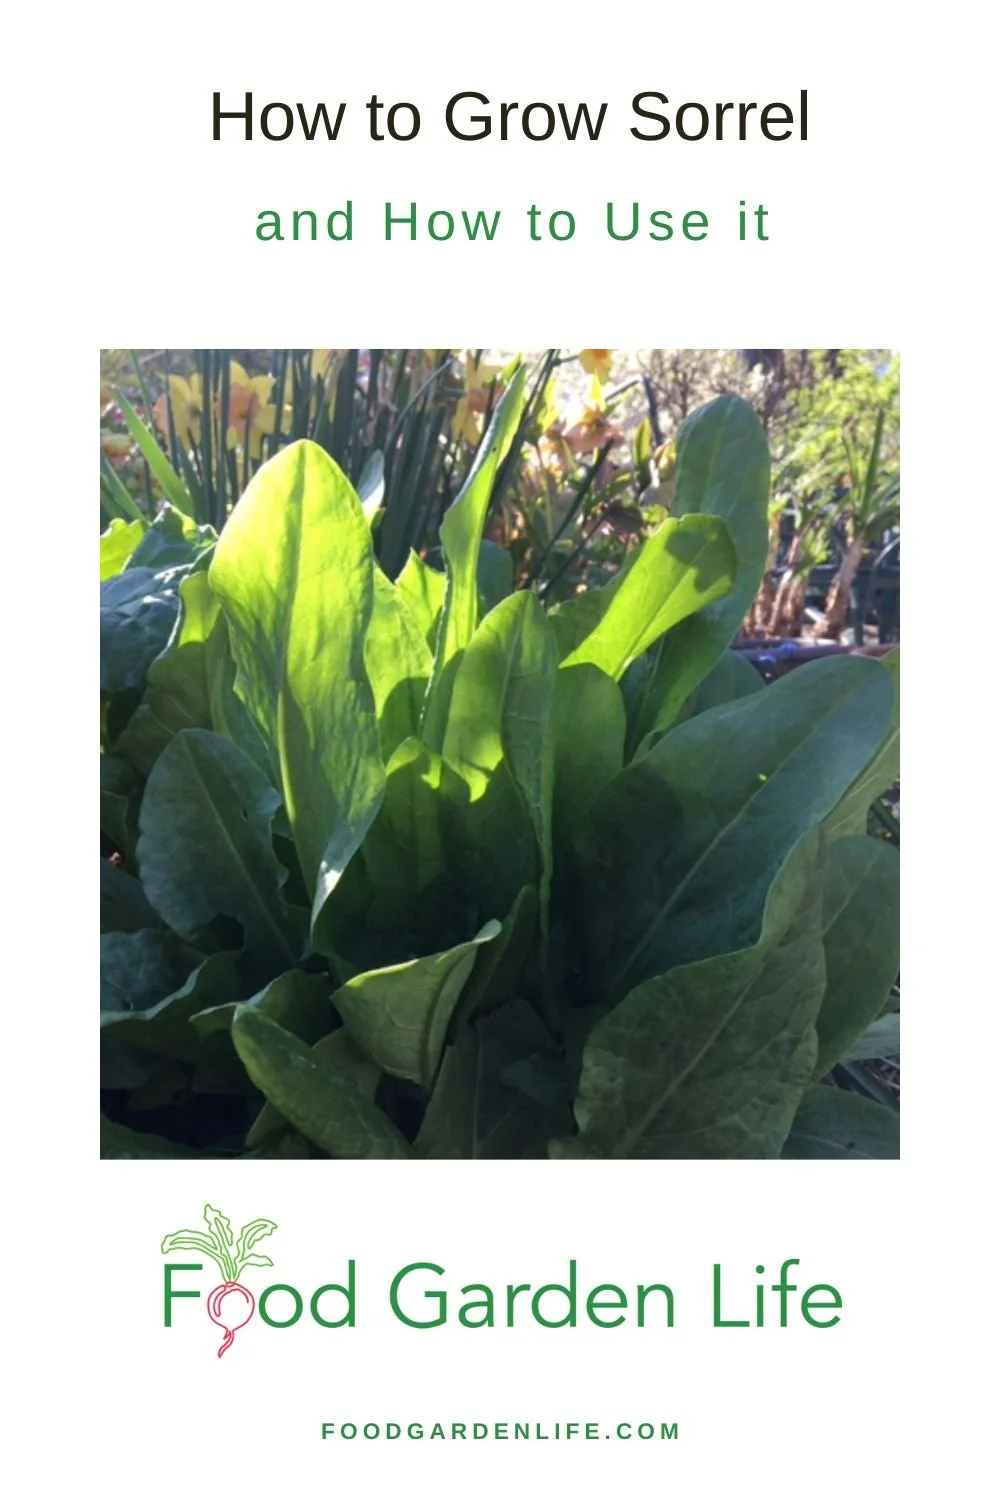
Garden sorrel is a hardy perennial.
Sorrel is a familiar ingredient in European cuisine. That’s how it came to North America—with European settlers.
The “wild” sorrel sought after by foragers is simply sorrel that’s escaped cultivation.
Yet many people in North America don’t know to sorrel.
If you’re new to sorrel, it’s grown for its leaves. It’s sour leaves. I think of it as a lemon substitute for northern gardeners.
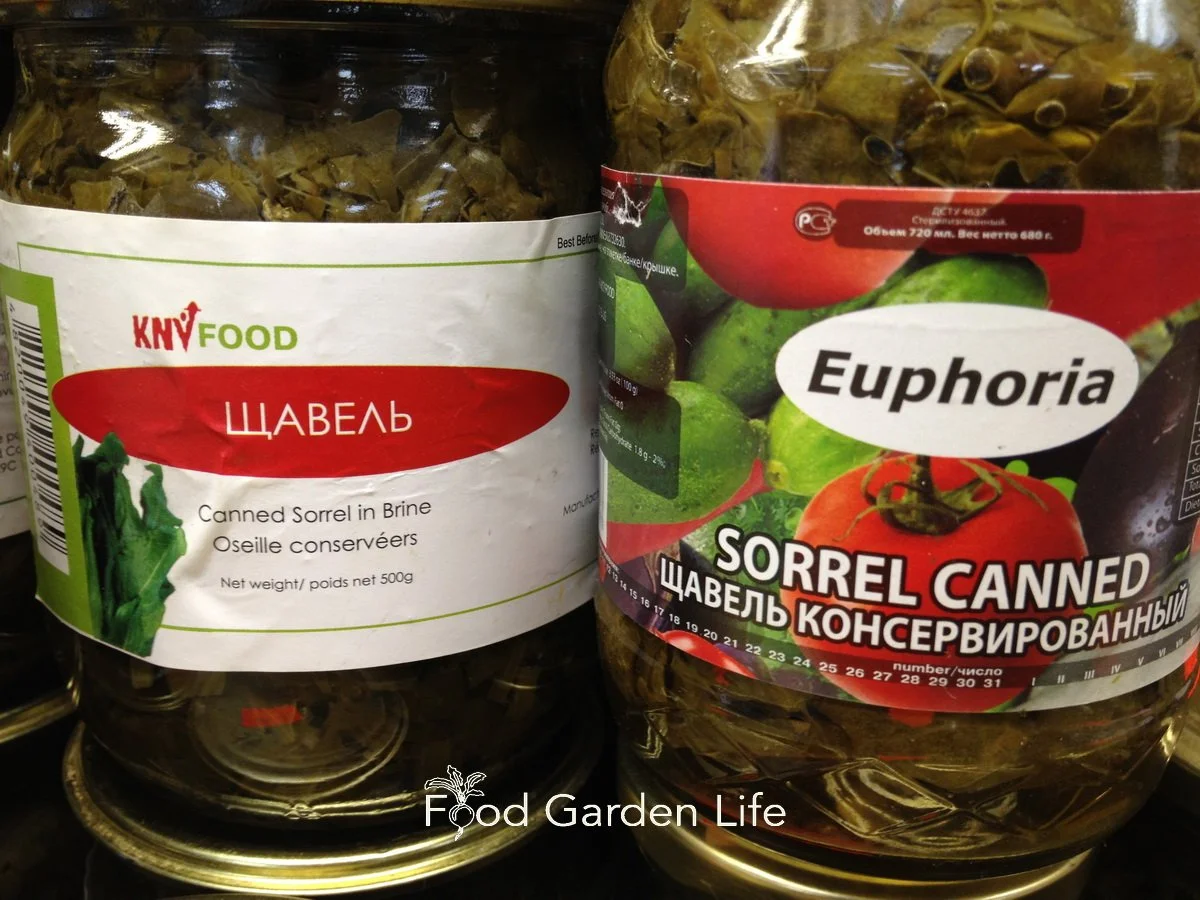
When I shop at eastern European shops, I see jarred sorrel…horrid sludge. I don’t recommend it. Grow yourself fresh sorrel!
Grow your own sorrel, and skip the brined sorrel!
But it was an eastern European connection that go me growing sorrel. As a teen, I took Ukrainian lessons (hoping to learn my mom’s first language—which she never taught us.) I never did pick up the language—but the teacher, who knew I was a gardener, couldn’t believe I’d never heard of sorrel. And brought me a clump of this plant that she said was an essential ingredient in the old country.
What is Sorrel?
Sorrel is a hardy perennial plant that grows in a clump. It’s tough as nails, hardy into Canadian zone 4.
The long, narrow leaves are ready to pick early in the season, making it one of the first greens to harvest.
You can use the leaves fresh—or cook with them. (See How to Use Sorrel, below.)
Types of Sorrel
There’s more than one type of sorrel. Here are three common ones:
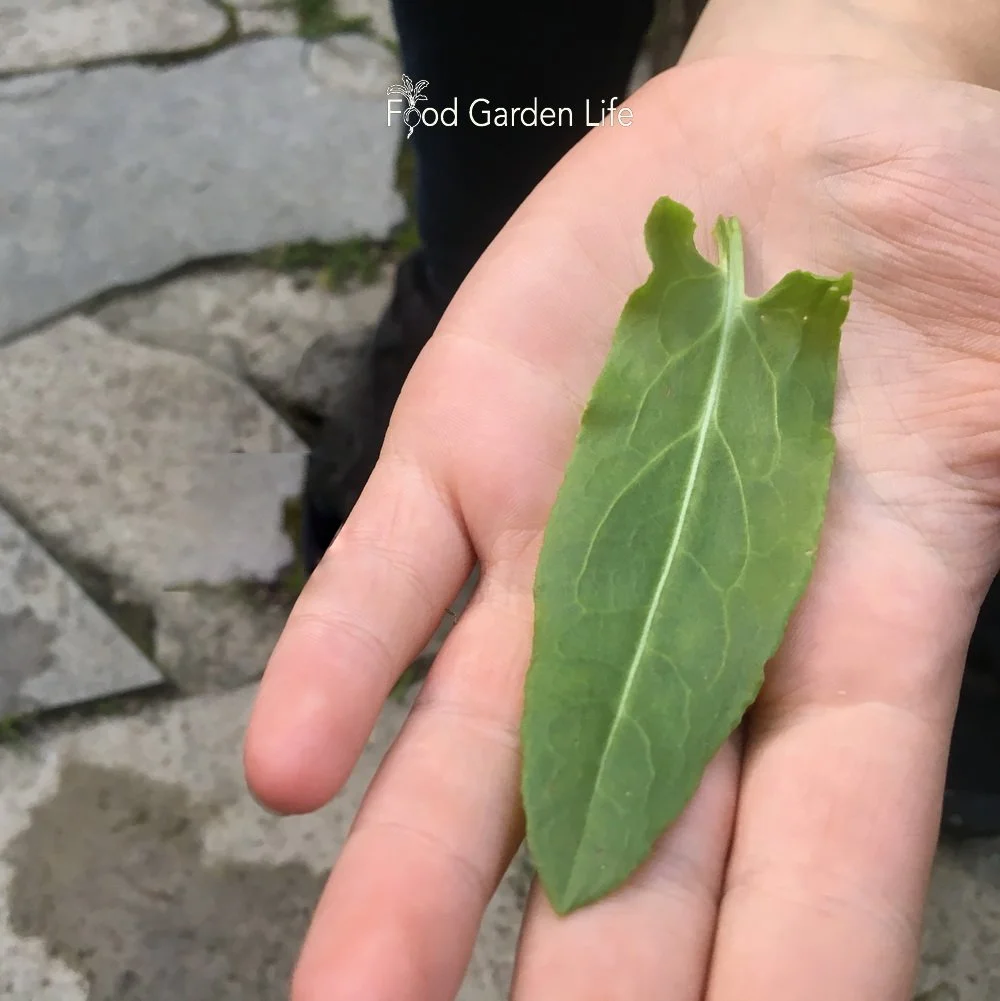
Garden sorrel leaves can be over 30 cm long when plants are in moist, rich soil.
Garden Sorrel (Rumex acetosa). Garden sorrel was brought to north America by European settlers. It's grown in gardens, but is also an escapee that can be found growing wild. Leaves reach 30-60 cm (12-24 inches) long, depending on the growing conditions.
Sheep Sorrel (R. acetosella). Sheep sorrel is another escapee. Sometimes called sourgrass. You might find it filling in exposed spots like vacant lots and roadsides. Seed stalks take on a reddish colour. Spreads by seed and running roots. This is the less-loved cousin to garden sorrel, with smaller, narrower leaves that have a distinct lobe at the base, a bit like an arrowhead. I wouldn’t plant this fast-spreading plant in the garden, but it’s an excellent edible, and popular with foragers.
French Sorrel (R. scutatus). French sorrel is also called round-leaved sorrel. The leaves are shield shaped. Plants are shorter than garden and sheep sorrel.
Grow a Container Vegetable Garden
And get an early harvest of crops that usually take too long!
How Sorrel Grows
Sorrel grows best in rich, moist soil, in full sun or partial shade. Though that doesn’t mean it won’t grow elsewhere…as evidenced by the behaviour of sheep sorrel in vacant lots!
But in a garden setting, give it water if it’s in a dry location. If it’s in partial shade, you won’t need to water as much.
Flower stalks turn into red-tinged seed spikes. Remove stalks to encourage young leaves—unless you want to collect sorrel seed. If you’ve been diligently removing flower stalks, you’ll be able to continue harvesting for the whole growing season, until the plant shuts down for winter—when the top dies back with fall frosts.
Where to Grow Sorrel Plants
Because sorrel is ready to harvest early, I like to have mine close to the kitchen.
Growing Sorrel in Perennial Borders
As a perennial plant, sorrel is at home in the perennial border. Stick it at the front so it’s easy to reach.
Sorrel in the Vegetable Patch
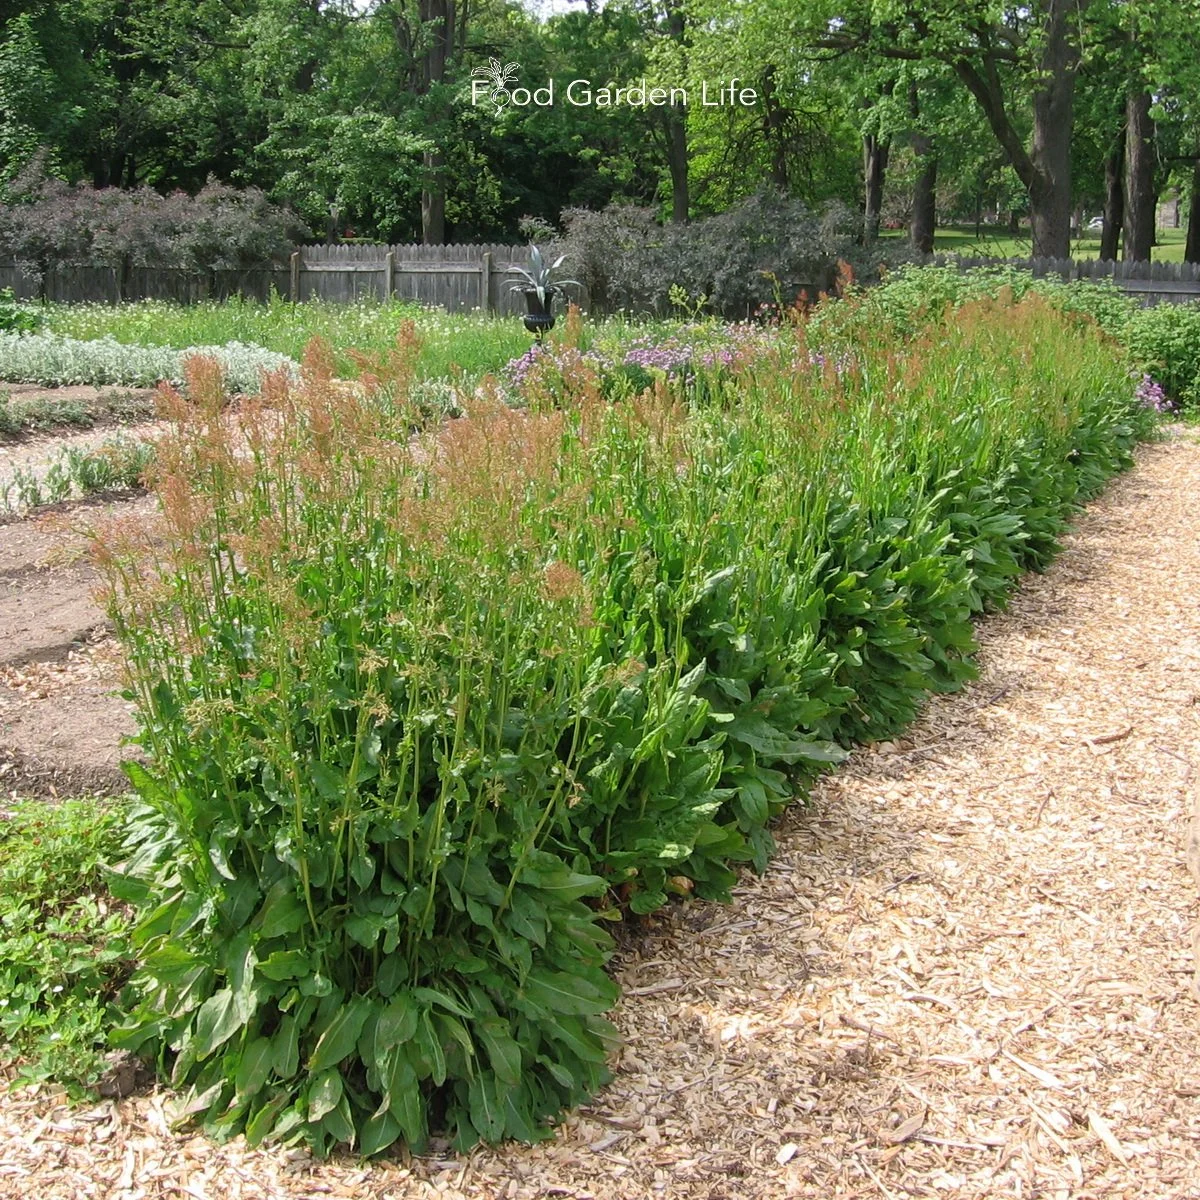
A row of garden sorrel with seed heads. See the red tinge?
I don’t plant sorrel in my main veggie patch, where I move around crops from year to year. Because it is a perennial plant, I grow sorrel around the periphery, with the rhubarb and asparagus—other perennial vegetables.
I’ve seen an entire row of sorrel plants used as a border in a formal edible garden.
Find out more about perennial vegetables.
Sorrel in the Herb Garden
Garden sorrel and French sorrel are well behaved plants that make a nice addition to a herb garden.
Looking for vegetable garden planning ideas? Here are articles to help you plan and design your vegetable garden.
How to Harvest Sorrel
Young sorrel leaves in the spring are the most tender.
You’ll get the best flavour and texture in spring, from young leaves.
But you can harvest sorrel until fall frosts shut the plant down for winter.
How to Propagate Sorrel
There are two ways to propagate sorrel plants.
Division. When a clump is big enough, divide it in the spring.
Seed. Sow sorrel seeds indoors in early spring. Move to the garden after the risk of frost has passed. Space plants about 30 cm (1 foot) apart in the garden.
FAQ: Sorrel Plants
Will Sorrel Grow in Shade?
Sorrel grows in full sun and partial shade. Because it produces larger, more tender leaves in moist soil, semi-shaded conditions are a good option where conditions are hot.
Are sorrel and hibiscus the same?
An unrelated plant, Hibiscus sabdariffa, also goes by the name sorrel. It’s tangy flowers are used in Caribbean cuisine.
Can I forage for sorrel?
In North America, both garden sorrel and sheep sorrel grow wild.
If you’re interested in foraging, listen to our chat with foraging expert Robert Henderson.
What are oxalates?
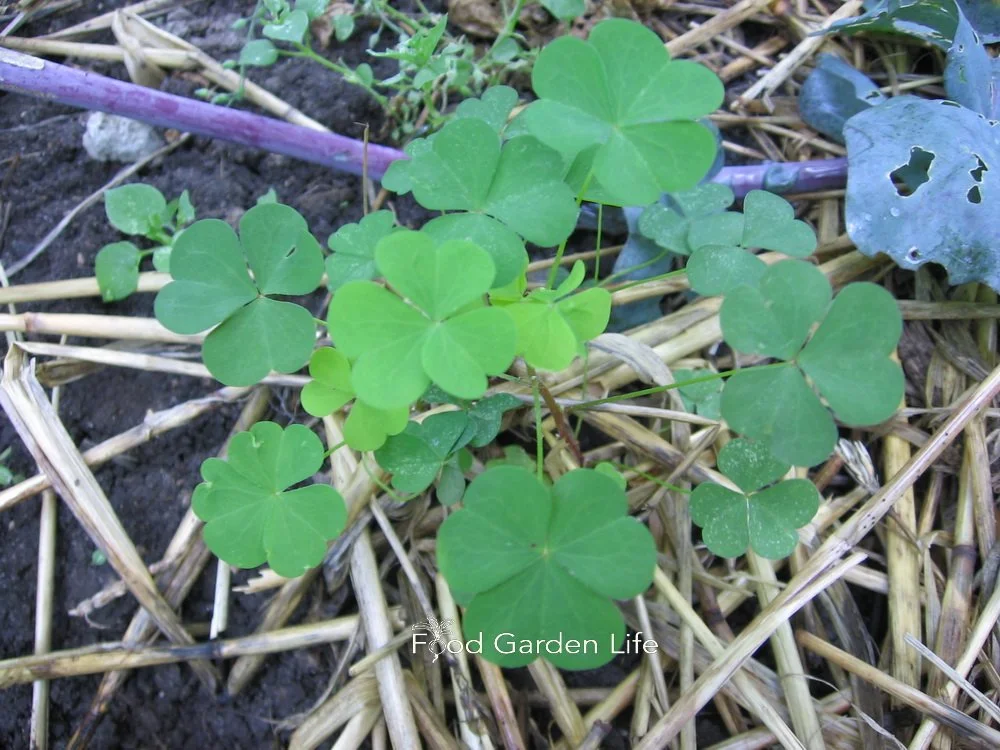
Wood sorrel is of no relation to garden sorrel, but it, too, has a sour tasting leaf.
Sorrel contains oxalic acid, a compound also found in spinach and rhubarb. If you go overboard and eat too much, it can cause tummy upset. That means don’t be a pig. You wouldn’t eat a whole bowl of lemons, would you? Consume it with other foods. It’s for flavour—not the main course.
One other thing about oxalic acid is that it can provoke existing joint and kidney problems. So if you have a history of kidney stones, skip the sorrel
What about wood sorrel?
Related in name only, wood sorrels (Oxalis sp.) can be grazed too.
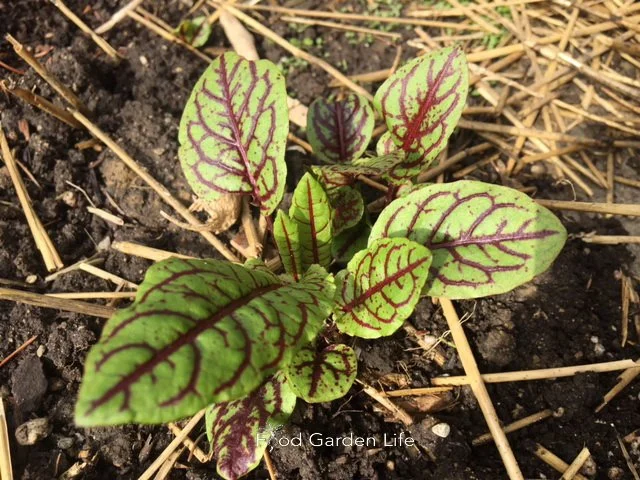
Bloody dock is also known as red-veined sorrel.
Is bloody dock a sorrel?
Bloody dock, R. Sanguineus, is also known as red-veined sorrel. It’s related to sheep, garden, and French sorrel.
But don’t waste a second on it. Unless it’s as an ornamental. (It's quite beautiful.) You’ll find shoe leather that’s more tender than bloody dock leaves.
How to Use Sorrel
Before we get to using sorrel in the kitchen, enjoy sorrel while you’re in the garden. You can graze as you garden. The tangy leaves are refreshing.
Because sorrel is tangy, it pairs well with rich food.
Here are ways to use sorrel:
Use sorrel leaves in salads (I find a sorrel-only salad a bit too tangy, so I mix it with other greens)
Sorrel leaves in sandwiches
Sorrel soup (see recipes below)
In recipes that call for greens such as spinach or lambs quarters, substitute part or all of the greens with sorrel (I add it to my Swiss-chard-and-leek spanakopita)
Add it to sauces for a lemony flavour (I throw in pieces of sorrel leaf when braising meat)
Add sorrel leaf bits to an omelette or frittata
Chop and freeze for use through the winter
I’ve seen a recipe for devilled eggs that includes bacon and sorrel…sounds divine
Gourmet butter: Finely chop sorrel leaves and mix in with soft butter
Making a ranch-style sour-cream or yogurt dip? Add chopped sorrel
Make ordinary pesto shine by adding a bit of sorrel (oh yeah, pairs nicely with blue cheese!)
Sorrel Recipes
Sorrel Soup
Pin this post!
Here’s an easy-to-make sorrel soup recipe.
Ingredients
3 tbsp. butter
1 onion, chopped
3 potatoes, cubed
3 cups sorrel leaves, stem removed
8 cups broth
½ cup sour cream
Salt and pepper to taste
Directions
Fry onion in butter until golden
Add potato, sorrel, broth and simmer (covered) for about 15 minutes, until potatoes are soft
Puree (I use a hand immersion blender)
Whisk in sour cream
Heat to serve (don’t boil)
Sorrel Vichyssoise Soup
If you want to take sorrel soup to the next level—and use some of your homegrown leeks—this take on the creamy potato-leek classic is delicious.
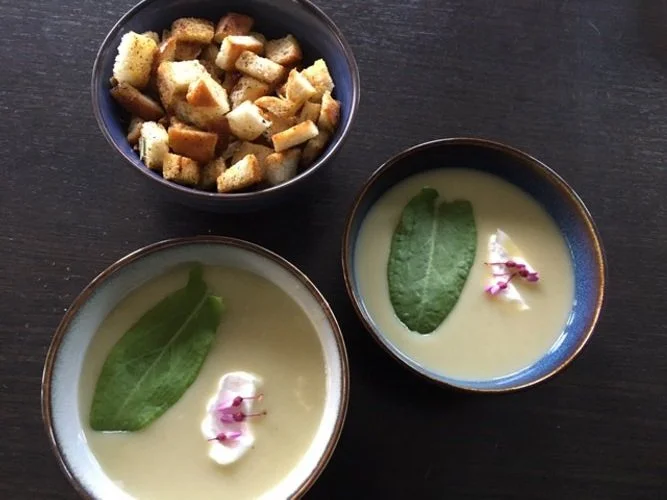
Sorrel vichyssoise soup, topped with a sorrel leaf, a dollop of sour cream, and edible redbud flowers.
Ingredients
2 tbsp. butter
3 cups of sorrel leaves, stem removed
1 large leek, chopped (use both white and pale green parts)
1 onion, chopped
3-4 potatoes, cubed
4 cups water or broth
2 tbsp. salt
4 cups whole milk (use cream if you want something more decadent)
Directions
Fry leek and onion in butter until onion is golden
Add potato, salt, water/broth, sorrel and bring to a boil
Simmer until potatoes are tender
Stir in milk, and then puree
Serve chilled
When serving, I like to float a dollop of sour cream on top, alongside a raft of croutons.
Sorrel Paste and Sorrel Soup
Hear this interview with forager Robert Henderson, who talks about how to make sorrel paste and sorrel soup.
Find This Helpful?
If we’ve helped in your edible-gardening journey, we’re always glad of support. You can high-five us below! Any amount welcome!
Courses
Edible Garden Makeover. Here’s a course that guides you through creating an edible garden you love. It’s my ode to edible gardening. You’ll find out how to think outside the box and create a special space. Get the information you need about a wide range of edible plants.
Container Vegetable Gardening Masterclass. Here’s a course that gives you everything you need to know for container vegetable gardening success.
Fig Leaf Panna Cotta Recipe
Looking for an easy-to-make, unusual dessert? This is a fig-leaf panna cotta recipe that will have your guests asking for seconds!
By Steven Biggs
An Easy-to-Make Fig-Leaf Recipe
My guests nodded without hesitation when I offered seconds. “Refreshing!” they declared.
Cool, creamy, refreshing fig-leaf panna cotta is a nice way to finish a meal.
(And leftovers are pretty nice for breakfast!)
Cooking with Fig Leaves?
I first learned about cooking with fig leaves when Toronto Chef David Salt got in touch asking for fig leaves. It was October. “Sure,” I said, “Take as many as you’d like, they’ll soon drop.”
Later that fall, David invited me to his restaurant to sample fig-leaf grappa, fig-leaf ice cream, and fig-leaf cheese. (Click here to read about those tasty creations.)
The idea when using fig leaves in cooking is to extract the flavour of the leaves, and then remove them. They’re pretty fibrous, fine to eat if you’re a goat. If you’ve been around figs trees on a warm day and basked in the sweet smell, that’s the flavour we’re pulling from the leaves.
To me the flavour of fig leaves is somewhere between coconut and toasted almond, but with a note of green.
To me the flavour of fig leaves is somewhere between coconut and toasted almond, but with a note of green.
In her book Dandelion & Quince: Exploring the Wide World of Unusual Vegetables, Fruits, and Herbs, author Michelle McKenzie describes flavours of coconut, pear, and vanilla. (She has other fig-leaf recipes too.)
So is a fig leaf a herb? A veg? I’ll leave you to mull that over.
What’s Panna Cotta?
Let’s back up in case panna cotta is new to you. It was to me.
My family culinary tradition includes custard, where sweetened cream is thickened with egg.
In a panna cotta, sweetened cream is thickened using gelatine.
Panna cotta means cooked cream in Italian—so think of it as a custard set with gelatine instead of eggs.
And here’s something interesting: Fig sap causes milk to coagulate, so in this recipe there are two things at play to give you a thick dessert: The effect of the fig sap, and the gelatine.
Where to Get Fig Leaves
If you grow figs, you’re set. If you don’t grow figs, don’t bother to look at the supermarket—you won’t find them. Instead, find a fig grower in your area.
There are more home fig growers around than you might expect, even in cold places. (If you’re looking for fig growers, here’s a fun chat with Toronto Joe on the ourfigs.com about the online fig community, which could be a good way to find fig growers.)
Getting Flavour from Fig Leaves
When freezing fig leaves, I put them in a stack and then slide that into a resealable freezer bag.
Time is the key to pulling out flavour from the fig leaves. That usually means soaking leaves for a day or two in cream (fat soaks up the flavour).
But if you want to get out the flavour more quickly, use frozen fig leaves. I discovered this when I froze fig leaves for use over the winter. Freezing breaks down the leaf, so the flavour releases much more quickly.
When freezing fig leaves, I put them in a stack and then slide that into a resealable freezer bag. This way it’s easy to remove a few at a time.
Serving ideas for Panna Cotta
Ramekins are a common way to serve puddings, custards, and panna cotta.
I’ve also served fig-leaf panna cotta in mason jars. And one time I used some of the tea cups that my wife Shelley treasures, tea cups that were her grandmother’s. We don’t serve high tea…so it’s nice to be able to use them for something.
This is an easy-to-make fig-leaf panna cotta recipe.
Ramekins are a common way to serve puddings, custards, and panna cotta. I’ve also served fig-leaf panna cotta in mason jars.
Top Tip for Panna Cotta
Give yourself at least 6 hours for the gelatine to set. If you’re serving panna cotta for supper, make it first thing in the day – or, even better, the day before.
Once it’s made, cover and refrigerate until you serve it.
FAQ Fig-Leaf Recipes
Can you make fig-leaf panna cotta without sugar?
I like the sweetness…so I’m not sure why you’d do that. But if you’re on a low-sugar diet, consider a sugar substitute for sweetness. I once had guests on reduced-sugar diets, so I used no-sugar, low-calorie monk-fruit sweetener and it turned out fine.
What about fig leaf custard?
Yes, you can make custard with a fig-leaf flavour too. Just steep the fig leaves in the milk or cream for a day or two as you would with fig leaf panna cotta.
Fig Leaf Panna Cotta Recipe
I use frozen fig leaves for this recipe because it’s faster. That way I don’t have a big bowl of cream with fig leaves cluttering up my fridge for a couple of days.
Ingredients
8 fig leaves, frozen beforehand
6 cups of heavy cream or whipping cream
2 cups whole milk
2/3 cup granulated sugar
¼ tsp. salt
2 tbsp. unflavoured gelatine powder
Directions
Soak frozen fig leaves in cream for 2-3 hours (or, if using fresh fig leaves, for 1-2 days – refrigerated)
Remove fig leaves and discard (they’re for the flavour…you don’t eat them)
In a small bowl or cup, sprinkle gelatine over 1 cup of milk and stir to dissolve the gelatine
Put cream, salt, sugar, and the other cup of milk into a saucepan
Heat the saucepan on low until steaming (I never rush heating milk or cream because I’ve burnt them too many times…)
Remove saucepan from heat and stir in the milk-gelatine mixture
Pour into ramekins and refrigerate, covered, until set (usually 4-6 hours)
Hear Chef David Salt Talk About Fig Leaves
Looking for More Garden-to-Table Cooking Ideas?
More on How to Grow Figs
More Fig Articles
Head back to the fig home page to search for fig articles by topic.
Fig Books
Fig Course
Fig Masterclass
The self-paced online fig masterclass gives you everything you need to know to grow and harvest your own figs in a cold climate!
(We also run it live once a year. If you’re interested in knowing when we next run the live online fig “camp” I’ll announce it in my newsletter. Hop on the newsletter list here.)
How to Make Crème Brûlée for Gardeners
Learn how to make creme brulee with a perfect, thin crust of caramelized sugar.
Crème Brûlée Recipe for Garden-to-Table Living
It’s like a thin coating of ice on a pond. You can’t quite see what’s below…but you know what’s there. The thin, amber-hued sheet of caramelized sugar over top of this dessert is as important as what’s underneath.
An assertive tap with a spoon, and you’re through—and into the creamy custard.
I’ve never had a kitchen blowtorch. Using the broiler, I could never get the sugar to melt into that perfect, thin, brittle sheet of caramel.
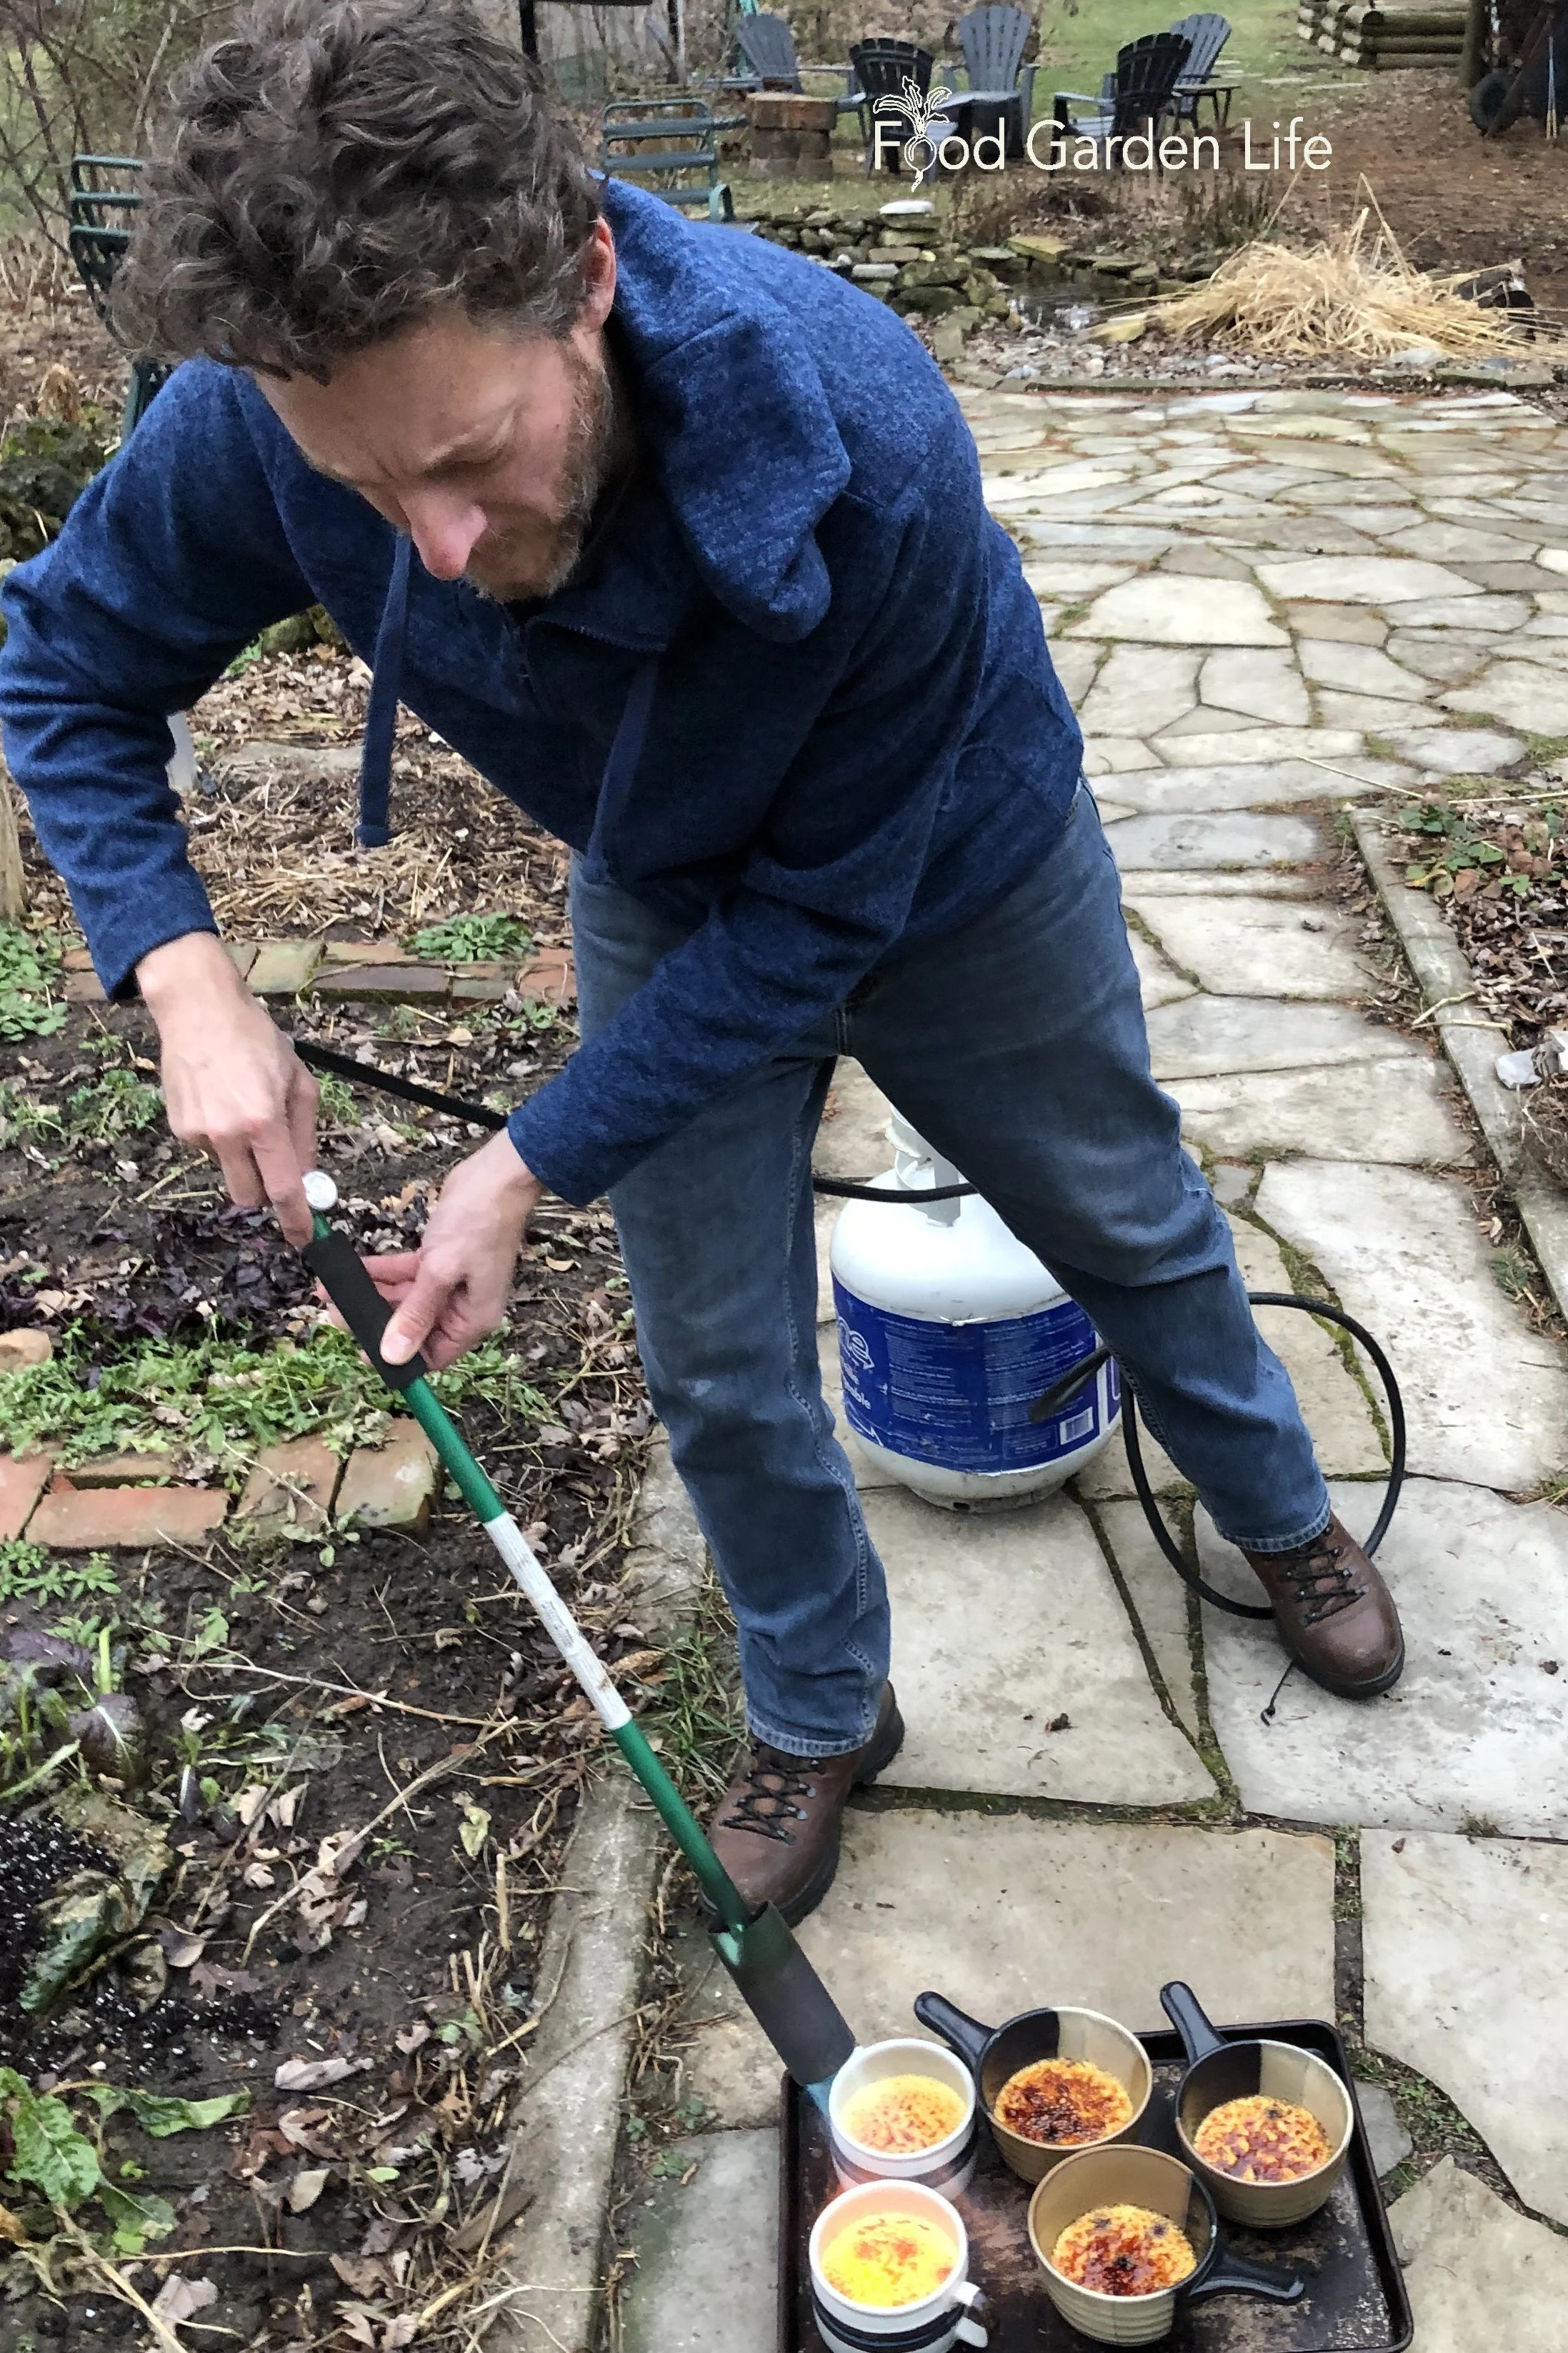
When I got a weed torch to flame-weed my flagstone walkways, I had a vision. And it had nothing to do with gardening.
My family thought I was nuts as I carried the tray of custard to the garden.
But they smiled as their spoons clinked through the brittle topping.
I’m pleased to say that a weed torch is versatile for garden-to-table living (though I don’t recommend using it in the house!)
Ingredients
3 cups whipping cream (35% cream)
1 tsp vanilla extract
6 egg yolks
1/4 cup granulated (white) sugar for the custard
¼ tsp. salt
Granulated sugar for the top (Just use granulated sugar…no need for darker “raw” sugars. Plus, with granulated sugar you see darkening as the caramelization happens, and it’s easier to know when you’ve torched it enough.)
Crème brûlée with blueberries. You can get the perfect, brittle topping with granulated (white) sugar, no need for fancy raw sugars.
Directions
Make the custard early in the day if you want this ready for an evening meal.
Keep the torch moving to prevent burning the sugar.
Preheat oven to 325°F
Heat cream in a saucepan until it’s steaming, but not boiling
Whisk together egg yolks, salt, and sugar
Slowly add hot cream to yolk mixture as you continue whisking it (do this slowly…you don’t want to make scrambled eggs)
Sieve the cream-yolk mixture to remove any stringy bits from the egg yolks
Whisk in vanilla
Divide up into ramekins or other heat-proof dishes
Time for the water bath: Put the ramekins into a deep pan (I use a roasting pan) and add boiling water up to about half the height of the ramekins
Bake 30 minutes
Remove from roasting pan to cool
Refrigerate uncovered for 4 hours
The last step is just before serving: sprinkle sugar evenly over the top, so that all the custard is covered, and then flame it with your weed torch
The goal is a dark, golden-brown layer, and the trick is to keep the torch moving so it doesn’t rest in any one place and burn the sugar…brown is good, black is not
After you’ve torched them, give them 5 minutes to cool before you serve your guests
Wait for the accolades
Pin this post!
Variations
Add Fruit
I love putting blueberries or raspberries in the custard, after it’s cooled, and before I pop it into the fridge to set. The tanginess plays well with the richness of the custard.
Bigger Bowls
Why limit yourself to small ramekins?
I like to use the larger, oven-proof bowls we use to make French onion soup!
Like Creamy Desserts?
Another one of my favourites is panna cotta, an egg-free custard that’s set with a bit of gelatine.
Like crème brûlée, it goes nicely with berries.
But we do something different. We make it with fig leaves. You don’t eat the leaves—but steep them in the cream to pull out the fig-leaf flavour. I’d describe the flavour as somewhere between toasted almond and coconut.
Here’s my recipe for fig-leaf panna cotta.
More Garden-to-Table Cooking Ideas
Mom’s Creamy Carrot Soup Recipe
Try this velvety Cream of Carrot soup recipe.
By Steven Biggs
An Impulse Buy and Lots of Carrot Soup with Cream
A velvety carrot soup with cream.
It was an impulse buy. Pure and simple.
But a bushel of carrots for $10? I couldn’t help it.
“They’ll keep nicely in the basement,” I thought to myself.
They didn’t. My basement is too warm…even my unheated storage room.
I needed to do something with the carrots quickly,before they spoiled.
So into the stockpot they went. That fall, my family ate a lot of smooth, velvety, cream of carrot soup.
(A bushel of carrots makes a lot of this pureed carrot soup!)
Luckily, this cream of carrot soup freezes well. So make up a big pot of this carrot cream in the fall, and enjoy it through the winter.
Finding Carrots in Bulk
Look for seconds…those imperfect carrots that don’t make the grade so they get sold in large quantities for very little.
I often see seconds at farm markets in the fall.
Grow Your Own Carrots
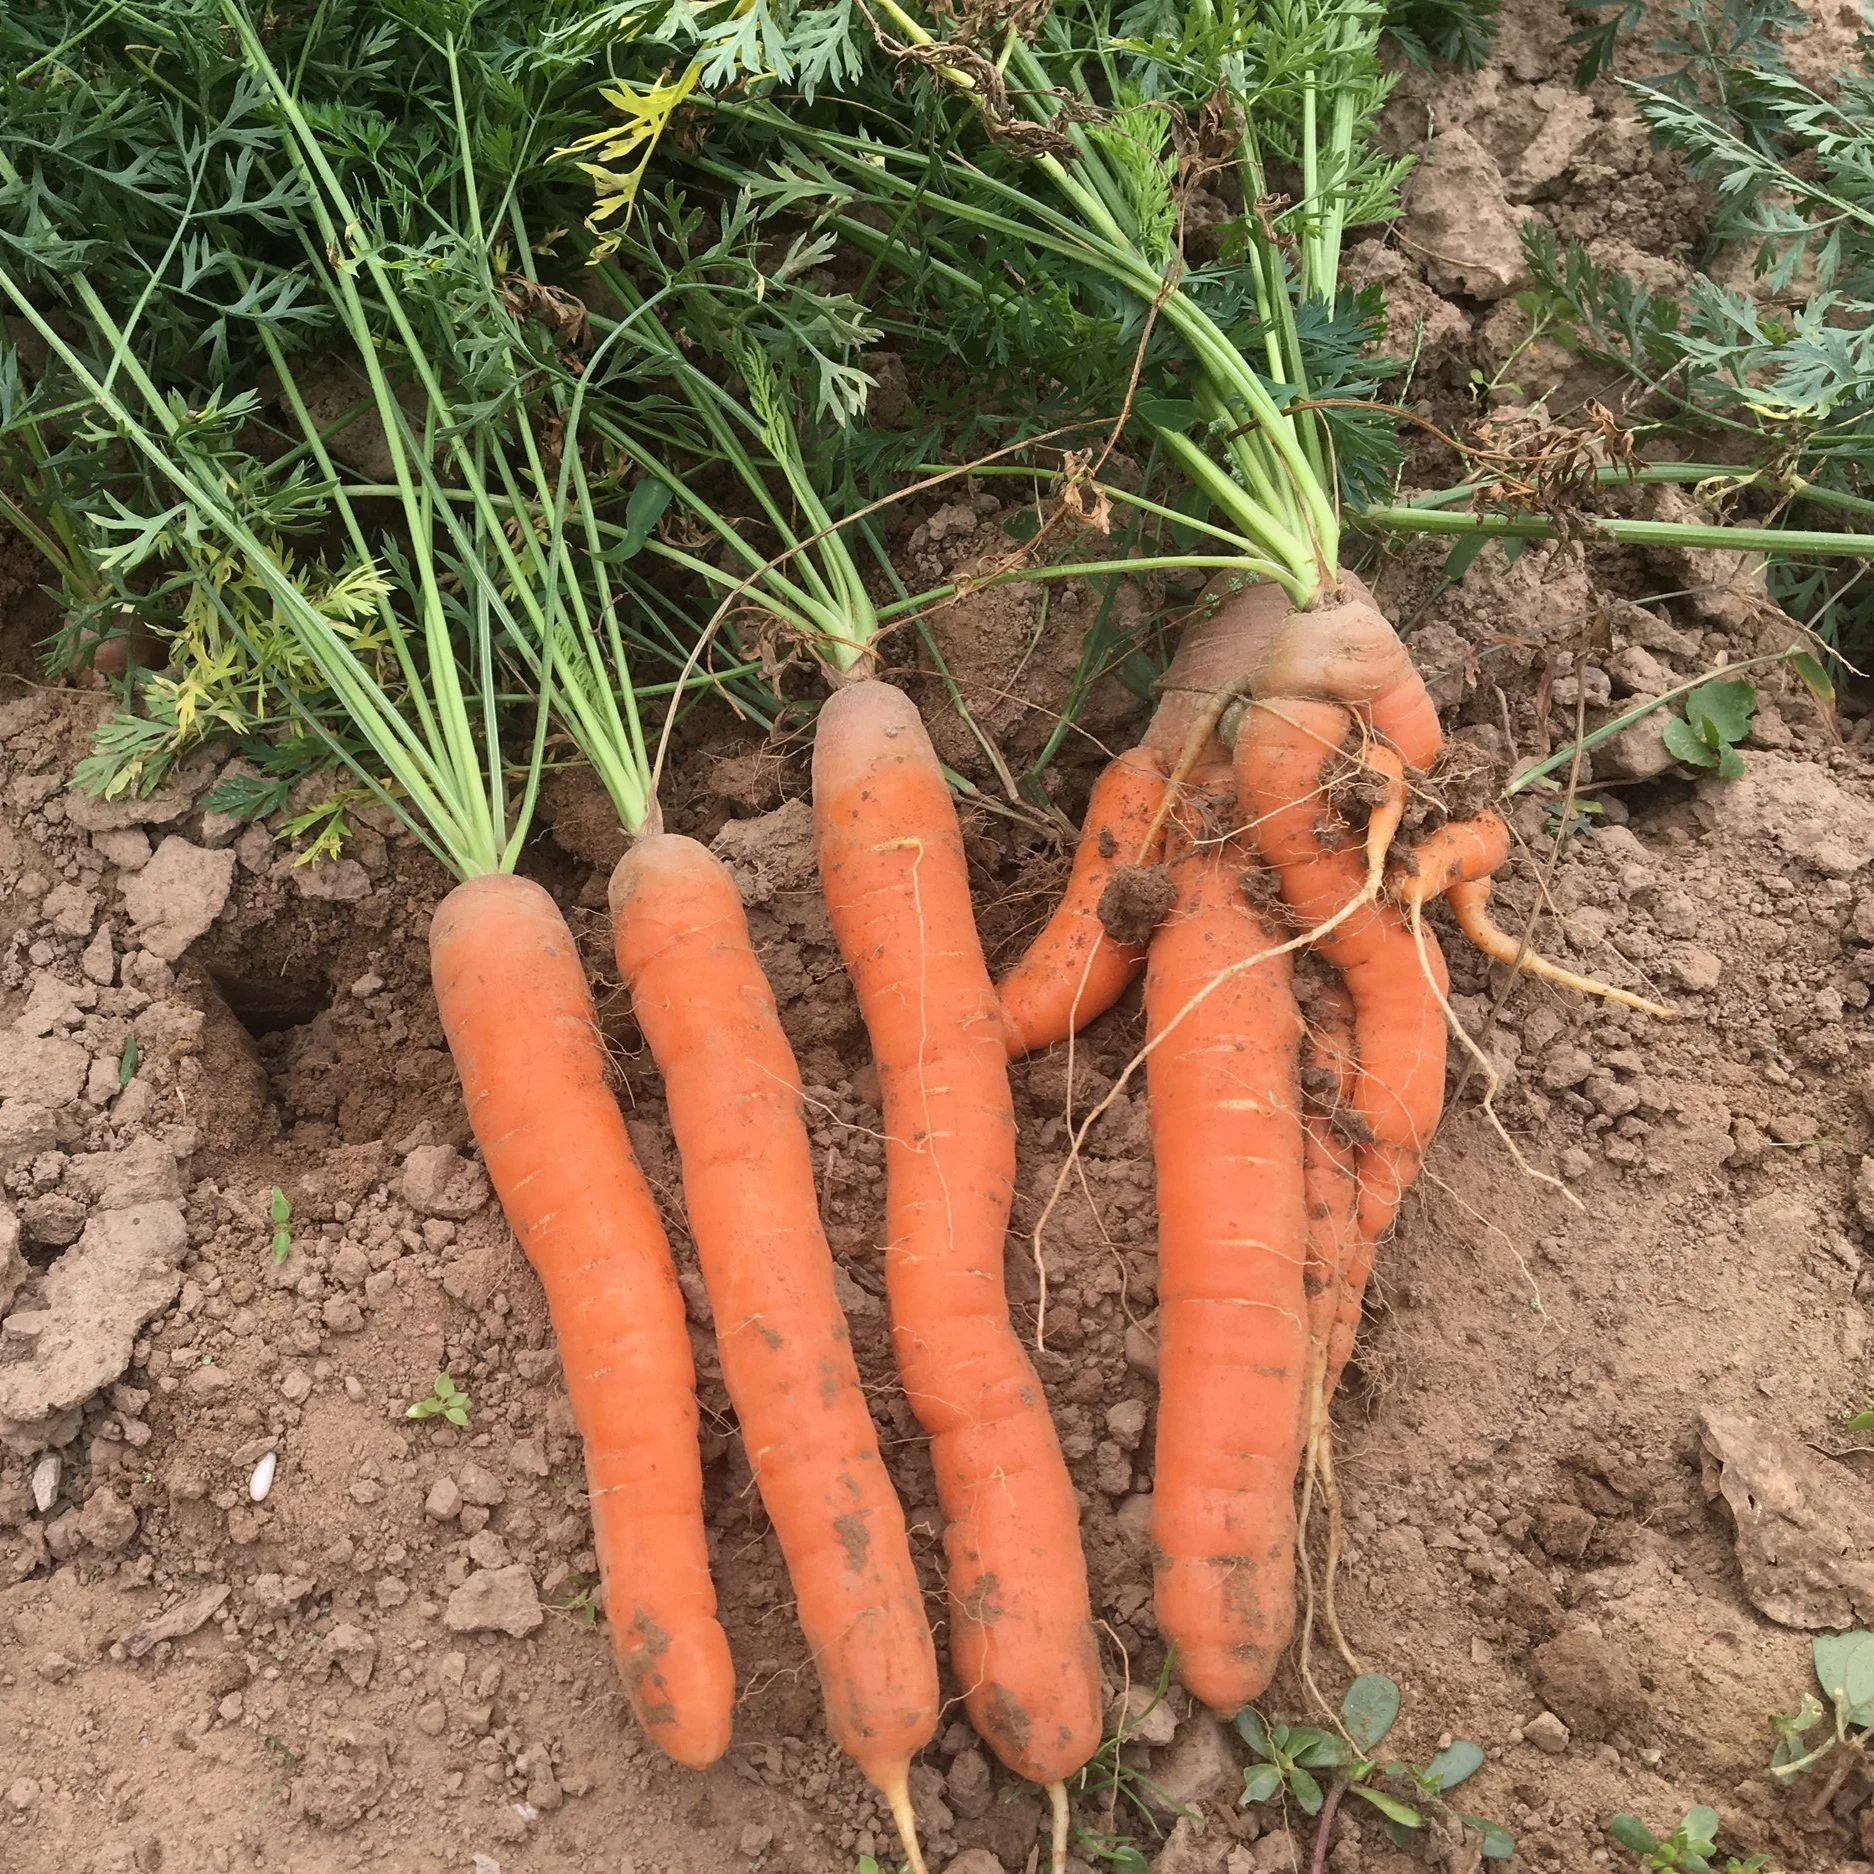
Cream of carrot soup is a great way to enjoy homegrown carrots.
Carrots are a great home garden crop. I start planting them in spring, and continue planting until August—and then harvest right into the winter. (Cover carrots with a straw bale to extend the harvest window as the ground freezes.)
Carrots are also an excellent succession crop to follow other crops. Find out more about succession crops.
For gardeners who are interested in a year-round harvest, carrots and onions are great storage crops—even if you don’t have a root cellar. Find out how to store them—and find out 25 storage crops you can grow in your garden.
Serving Ideas - Cream of Carrot Soup
Serve with homemade garlicky croutons sprinkled on top.
(Don’t add the croutons too soon…only at the last minute, so they don’t get soggy.)
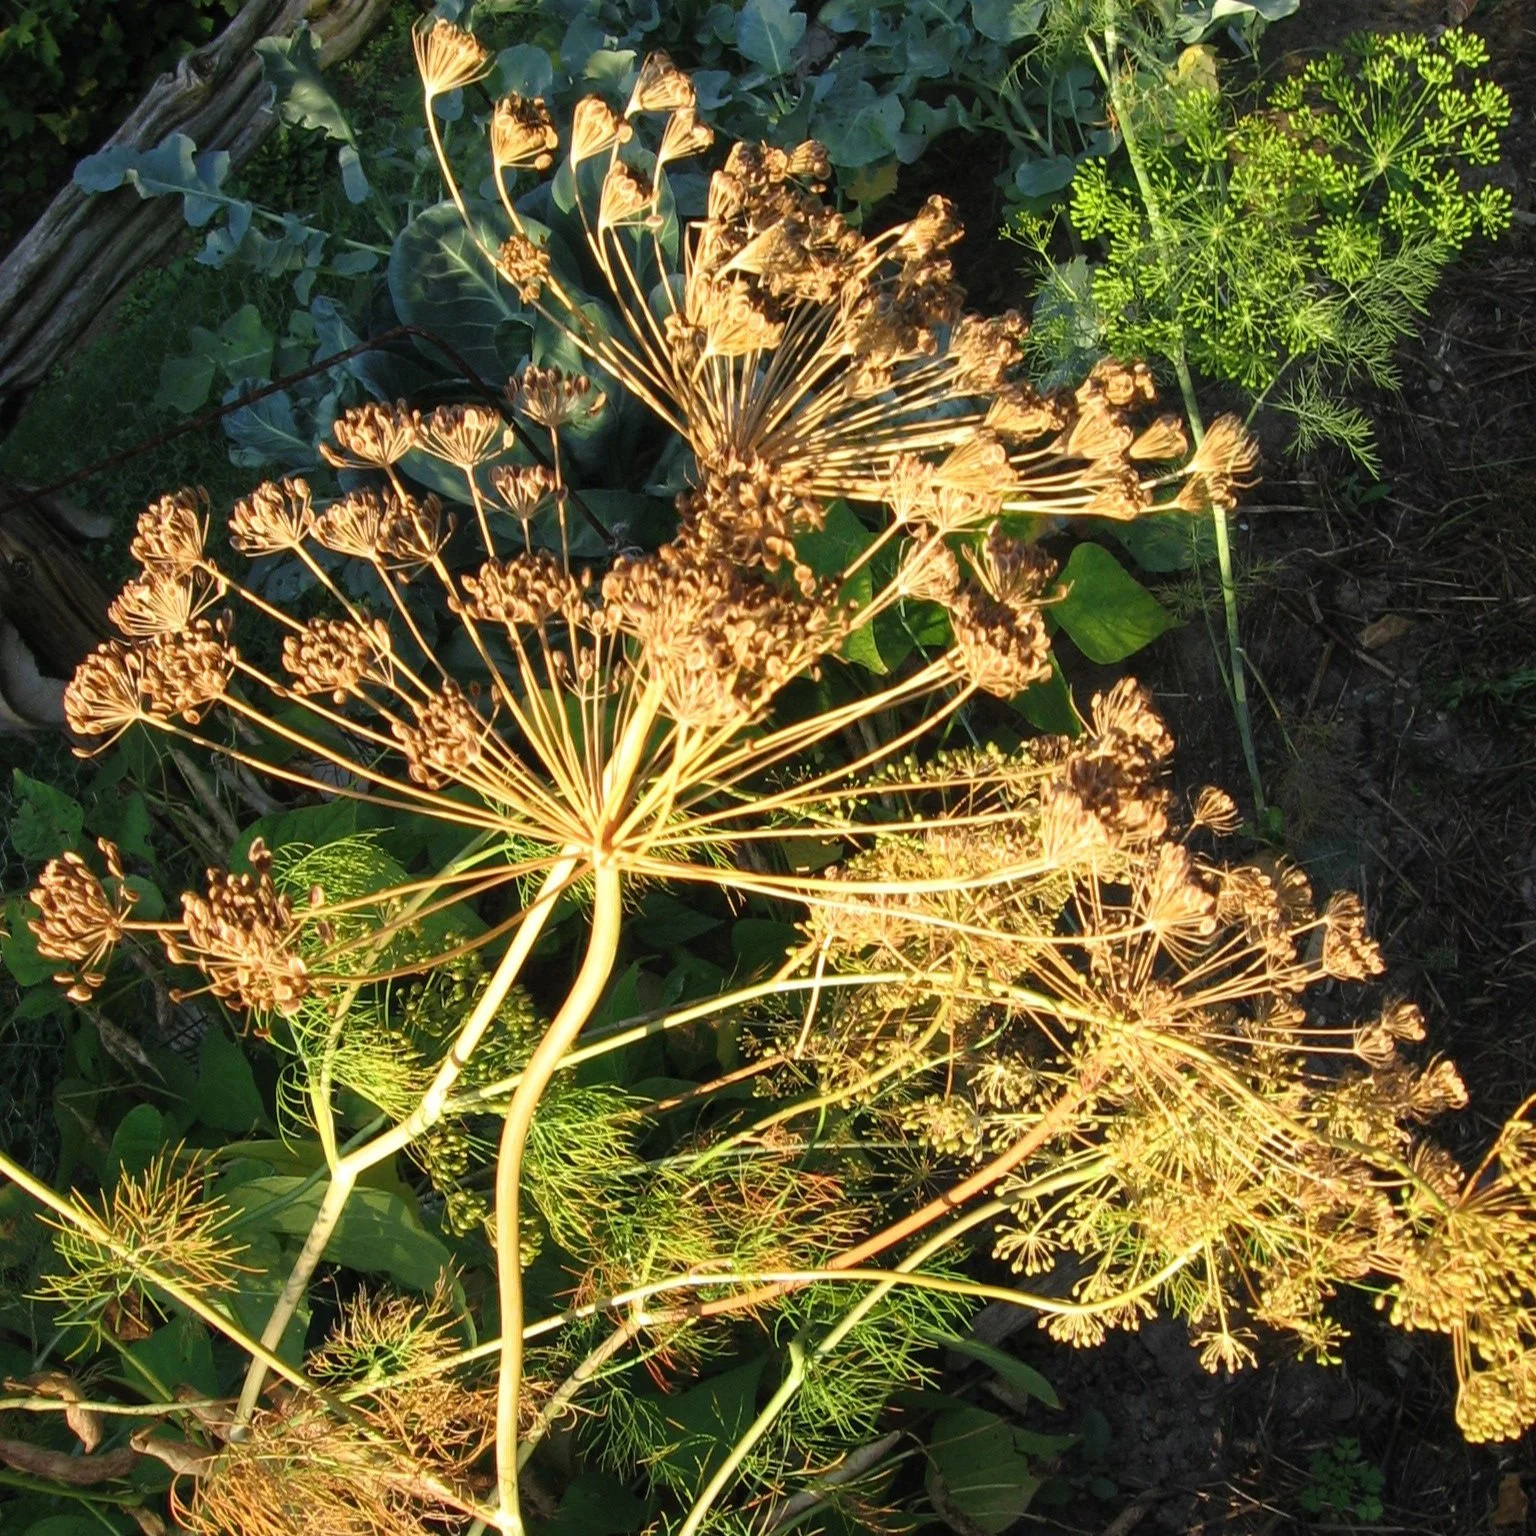
Dill seed in the garden.
Secret Ingredient – Dill Seed
Dill seed is like little nuggets of dill flavour. It’s easy to grow your own dill seed; just let a couple of dill plants flower and go to seed, and then harvest the dill seed once it’s dry.
I also use dill seed in my homemade beet borsch. Here’s Mom’s borsch recipe…it’s fantastic!
If you don’t have dill seed, chopped dill works well instead. Add it at the end, when you add the cream.
Recipe for Mom’s Cream of Carrot Soup
Mom made this soup every fall…but not using bushels of carrots, as I did in my cream-of-carrot misadventure.
Ingredients
Pin this post.
Onion, coarsely chopped (I use 2 onions, adjust to your preference)
1 tsp curry powder
1 tsp. dill seed
5 cups chicken stock
2 lbs. coarsely chopped carrots
1 cup cream
I often use my homemade turkey stock in this recipe instead of chicken stock. I make turkey stock from my BBQ-roasted turkey. Find out how I roast turkey on my charcoal barbecue.
Directions
Brown onions in butter in the stock pot (don’t rush this step…if they’re not browned, they’re not as sweet and flavourful)
When onions are browned, add the rest of the ingredients
Cook for about half an hour, until the carrots are soft
Blend (mom always did this in her blender, but I find a hand-immersion blender is easier)
Add cream
More Cooking Ideas
More on Growing Your Own Vegetables
Articles and Interviews
Courses
Host an Apple Tasting
Host an apple tasting and find the best-tasting local apple variety. This guide tells you how.
By Steven Biggs
It Tastes Like What?
We had a couple of pleasant surprises during our apple tasting!
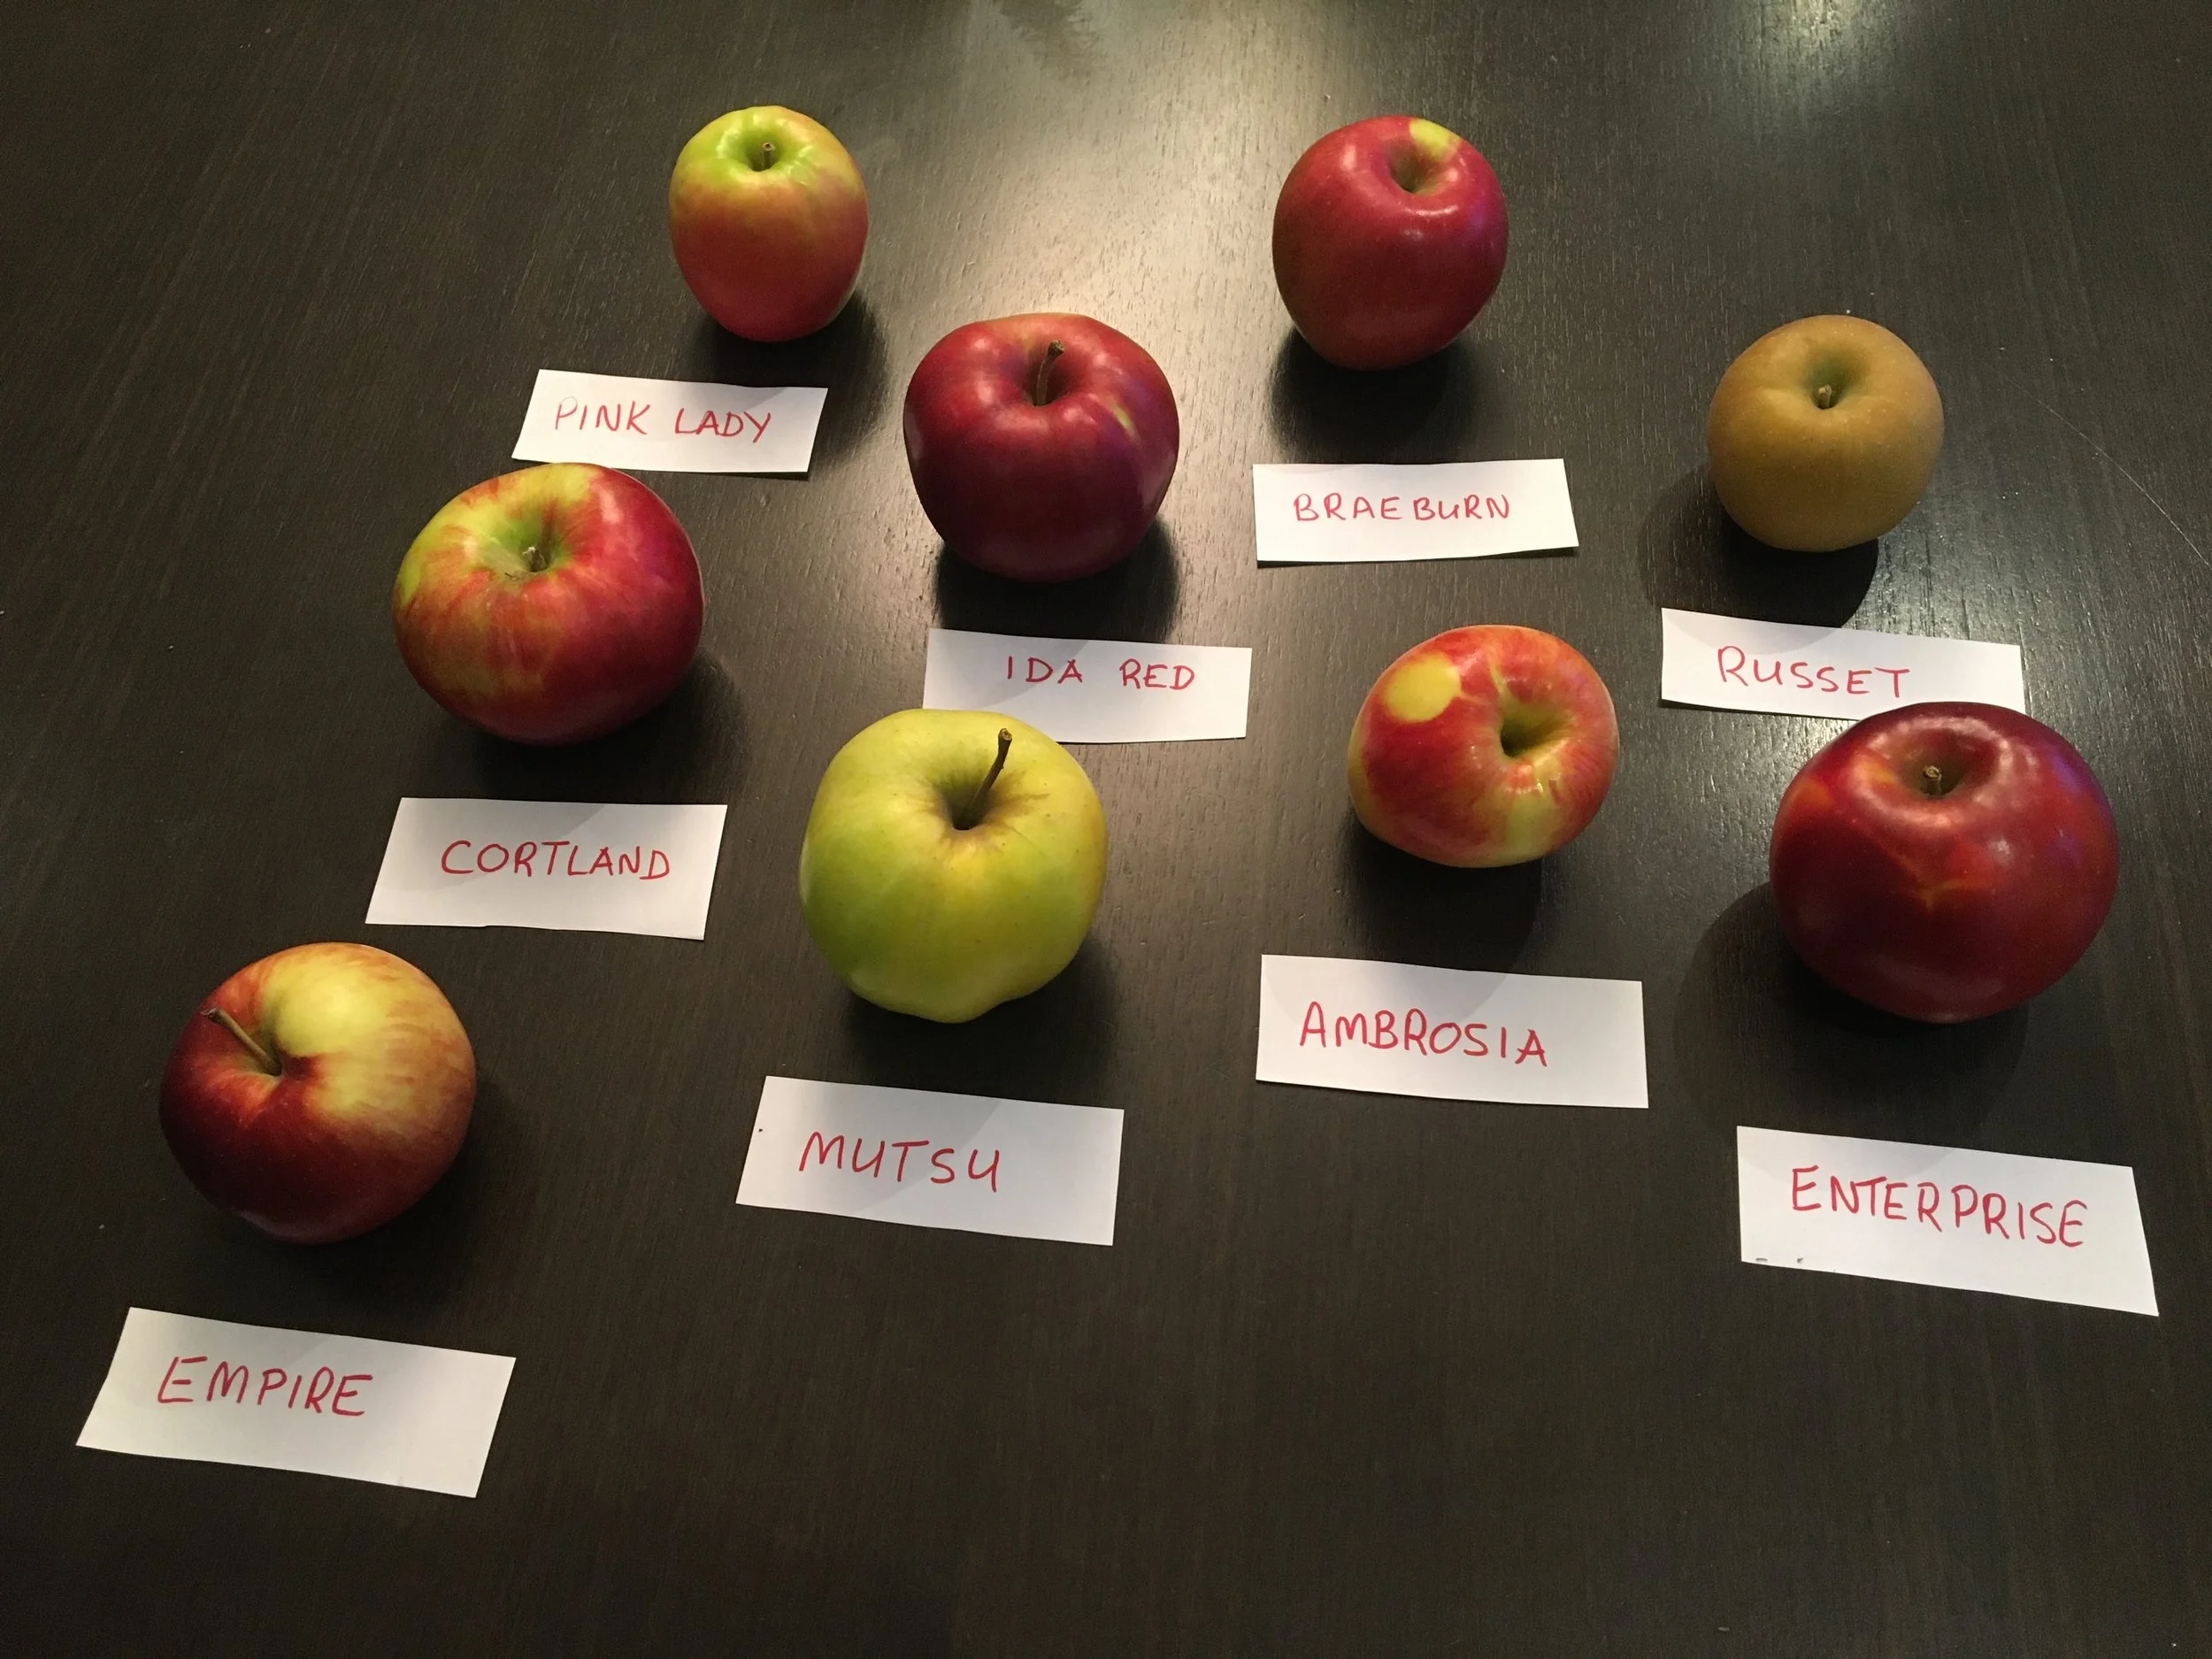
The kids nodded when I asked if they like Pink Lady. “Really good,” declared Emma.
“It is like candy!” said Keaton with a grin. And he was right: It was fruity and tangy like the sour candy he loves.
When we got to a ripe-yet-crisp Mutsu, we were all stumped. We were picking up an unusual but pleasing taste…something familiar. But we couldn’t find a word to describe it. My wife, Shelley, pointed out that it was a bit honey-like.
Then Emma nailed it: “It tastes like the pawpaw fruit we ate this fall!”
That was a surprise!
Describing an Apple
Other things that the family shouted out as we tasted our way around a cutting board with sliced apples were:
Tart
Juicy
Fragrant
“Smells like flowers”
Pineapple
Tropical
Crisp
An Unplanned Apple Tasting
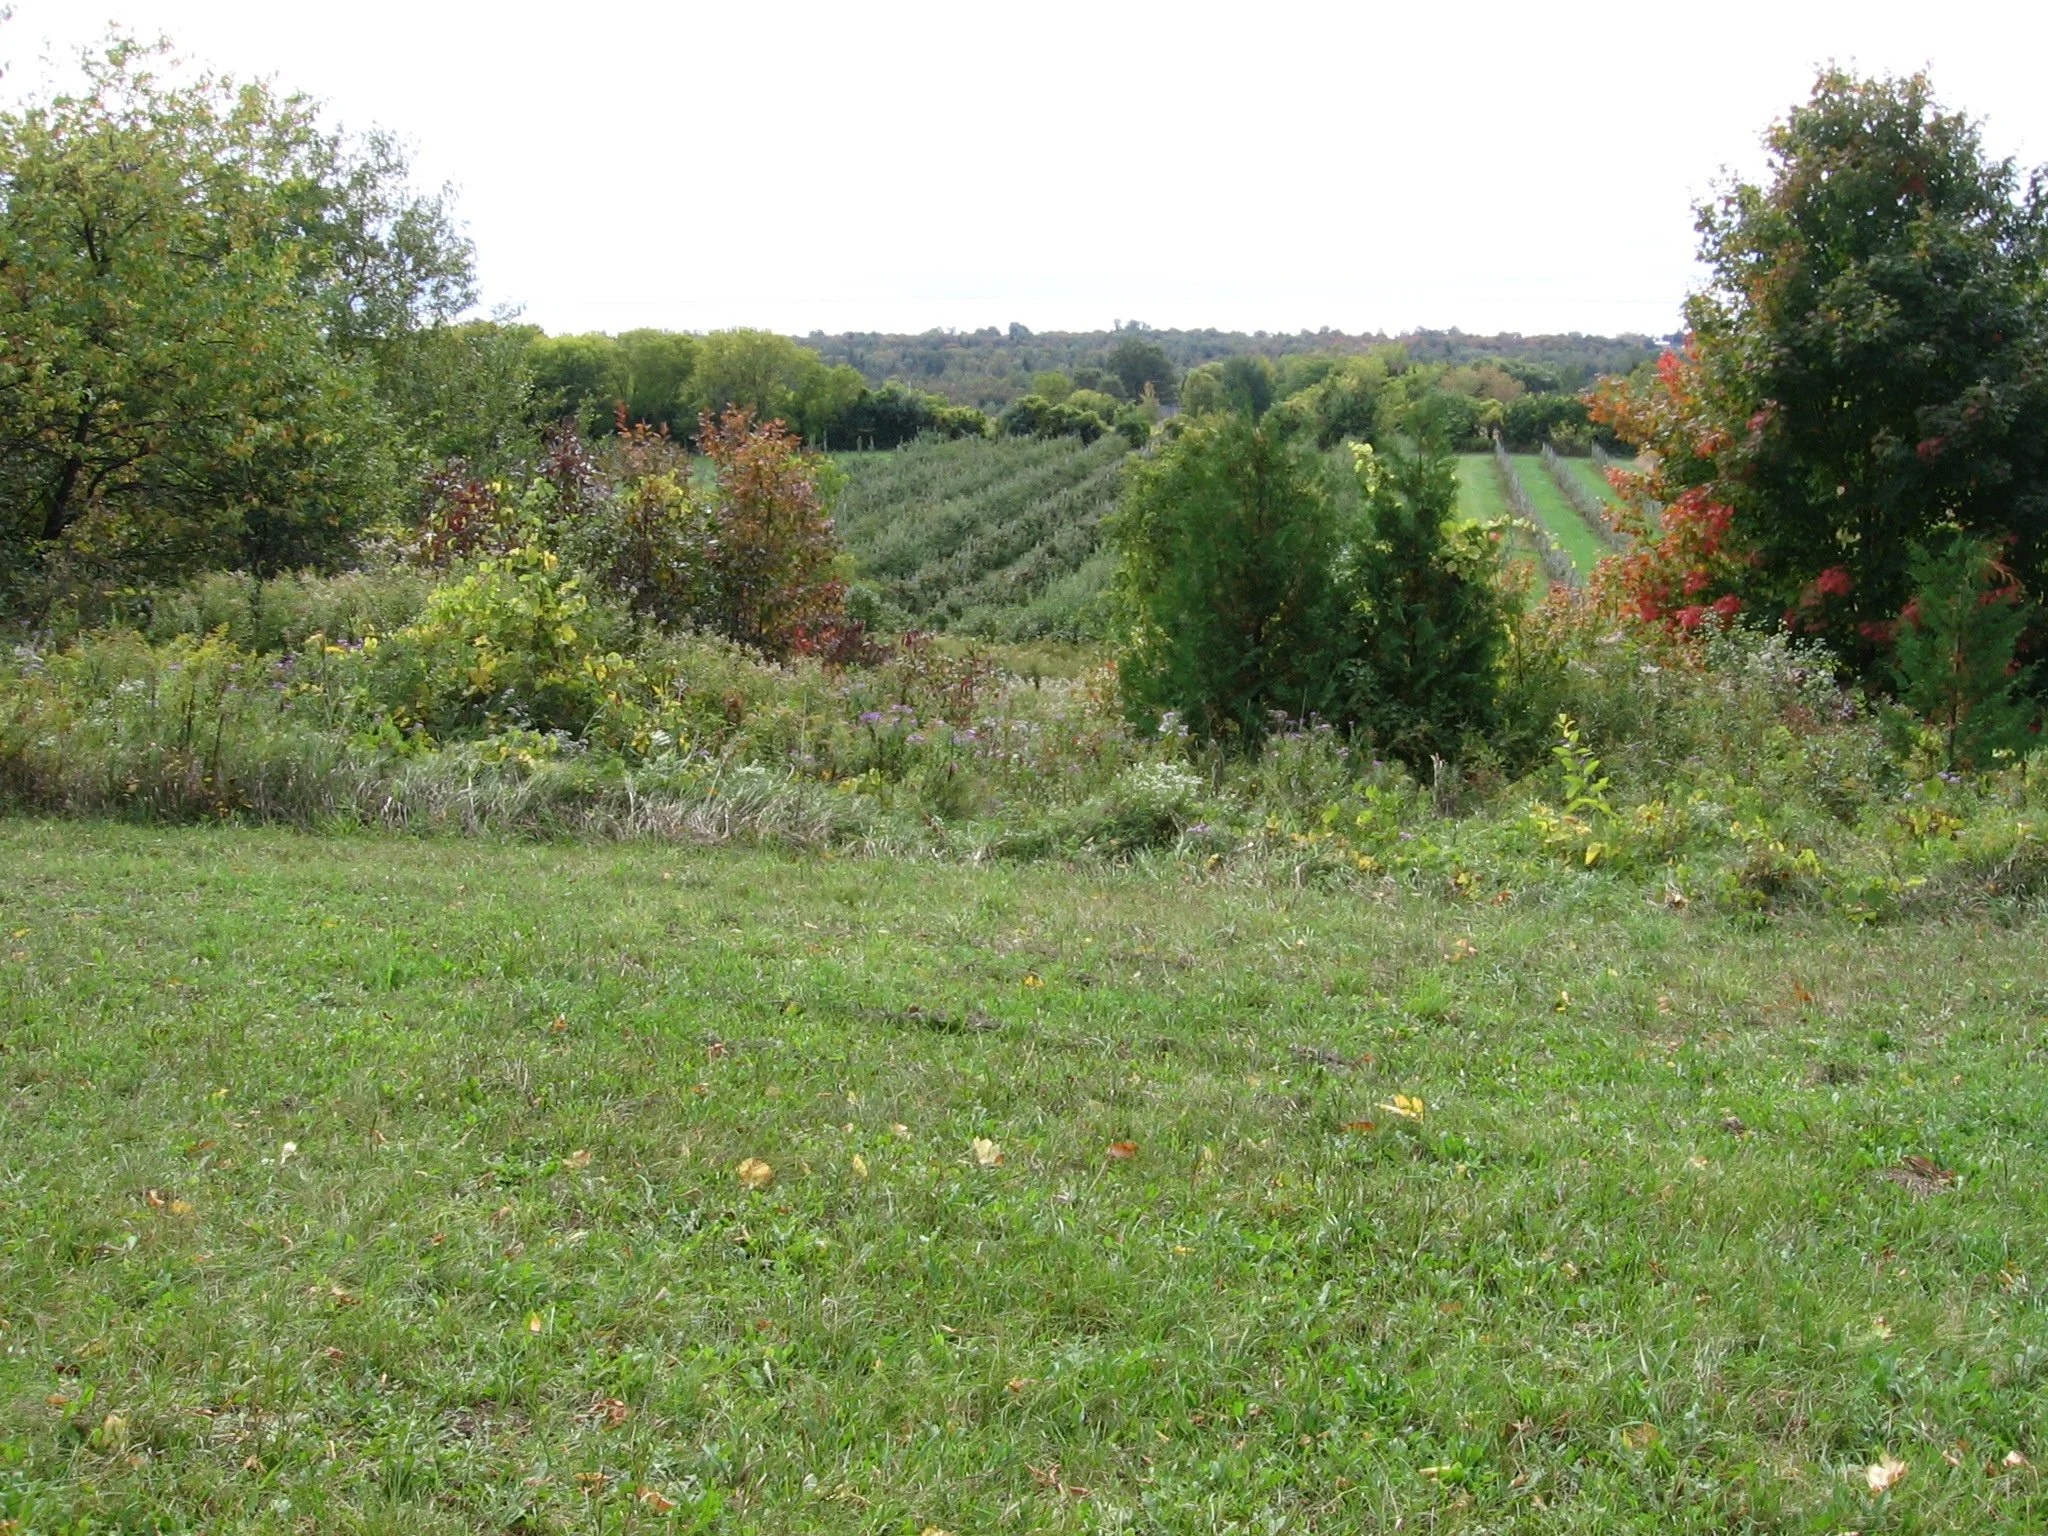
Pieter's Appleyard. This is a great spot, with a scenic lookout.
Our family apple tasting started when I pulled over at an orchard to grab a bushel of my favourite apple variety, Idared.
It was early December. We were near Colborne, Ontario, an apple-growing region. (We were actually getting a Christmas tree…but I had apples on my mind too.)
December is well past the pick-your-own window here in Ontario, but it’s a time of year when well-stored apples are still fantastic. (Actually, well-stored apples can be fantastic much later than that.)
I was hankering for Idared apples. I haven’t seen them lately at my local grocers. (I’m no fan of a lot of the newer sweet-but-bland apple varieties: I like a tangy and fruity apple.)
So we pulled into Pieter's Appleyard. We’ve stopped there before to pick our own. (Note: This is a great spot, with a scenic lookout—I highly recommend it.)
The shop was closed and I was about to turn around and drive away when Shelley, said, “There’s someone in the field.” The guy in the field stopped his tractor, made a quick phone call, and in a moment the owner came out to greet me.
“I’d like a bushel of Idared,” I said.
He motioned for me to follow him.
When we were in the cold storage, he said, “If you like Idared, you might like Enterprise. Take this one home with you.” And then he handed me a Pink Lady. And a Golden Russet. And a Braeburn.
Apple Jackpot
To a horticultural nerd like me, this assortment of apples was a jackpot.
As I thought about how the family could enjoy the apple jackpot together, I was though of what Susan Poizner from Orchard People does: An apple tasting event.
Read about Susan Poizner’s apple-tasting event here.
Fun Holiday Activity
An apple tasting is a fun addition to Thanksgiving, winter solstice, or Christmas festivities.
That’s because late fall is a great time to find locally grown apples at their prime. Stop by roadside stands, orchards, and farmer’s markets. You’ll find a broader selection than at most supermarkets.
Apple-Tasting Checklist
If you’re getting your apples ahead of time, store them properly so they stay crisp. Cool and humid—like the crisper in a fridge—is best.
Try a few varieties of apples (the more the better, I think, but at least 3)
2 of each variety is a good idea if you want guests to see what an uncut apple looks like while they taste slices of it
A cutting board
A knife to core and slice the apples
Labels or cards
A pen and paper to jot down comments and favourites
At wine tasting events there’s often water and bread or crackers to cleanse the palate. We skipped this step, but it might be a nice touch.
Preparing for an Apple Tasting
Make up a label for each apple variety.
You can get set up for an apple-tasting event fairly quickly.
Make up a label for each apple variety
Slice apples right before you begin, as some varieties brown quickly
Don’t forget to shine the apples so they look their best!
Guide Your Apple Tasting
Guide your guests through the varieties (e.g. you could do a quick online search for a history of the variety)
Before everyone tastes a variety, get them to look at the colour of the flesh and the skin
Then get everyone to smell the apple slice and describe the aromas they’re picking up
As they taste each slice, ask about the texture and juiciness
Then get feedback on the flavour (Is it like another fruit? Or floral? Maybe honey – or even herbaceous)
Then debate the merits of the variety!
Apple Varieties
Here are the varieties we included in our family apple tasting. The varieties you’re able to get will depend on where you are and whether the store or orchard you visit has mainly commercial varieties, or some lesser-known, specialty varieties.
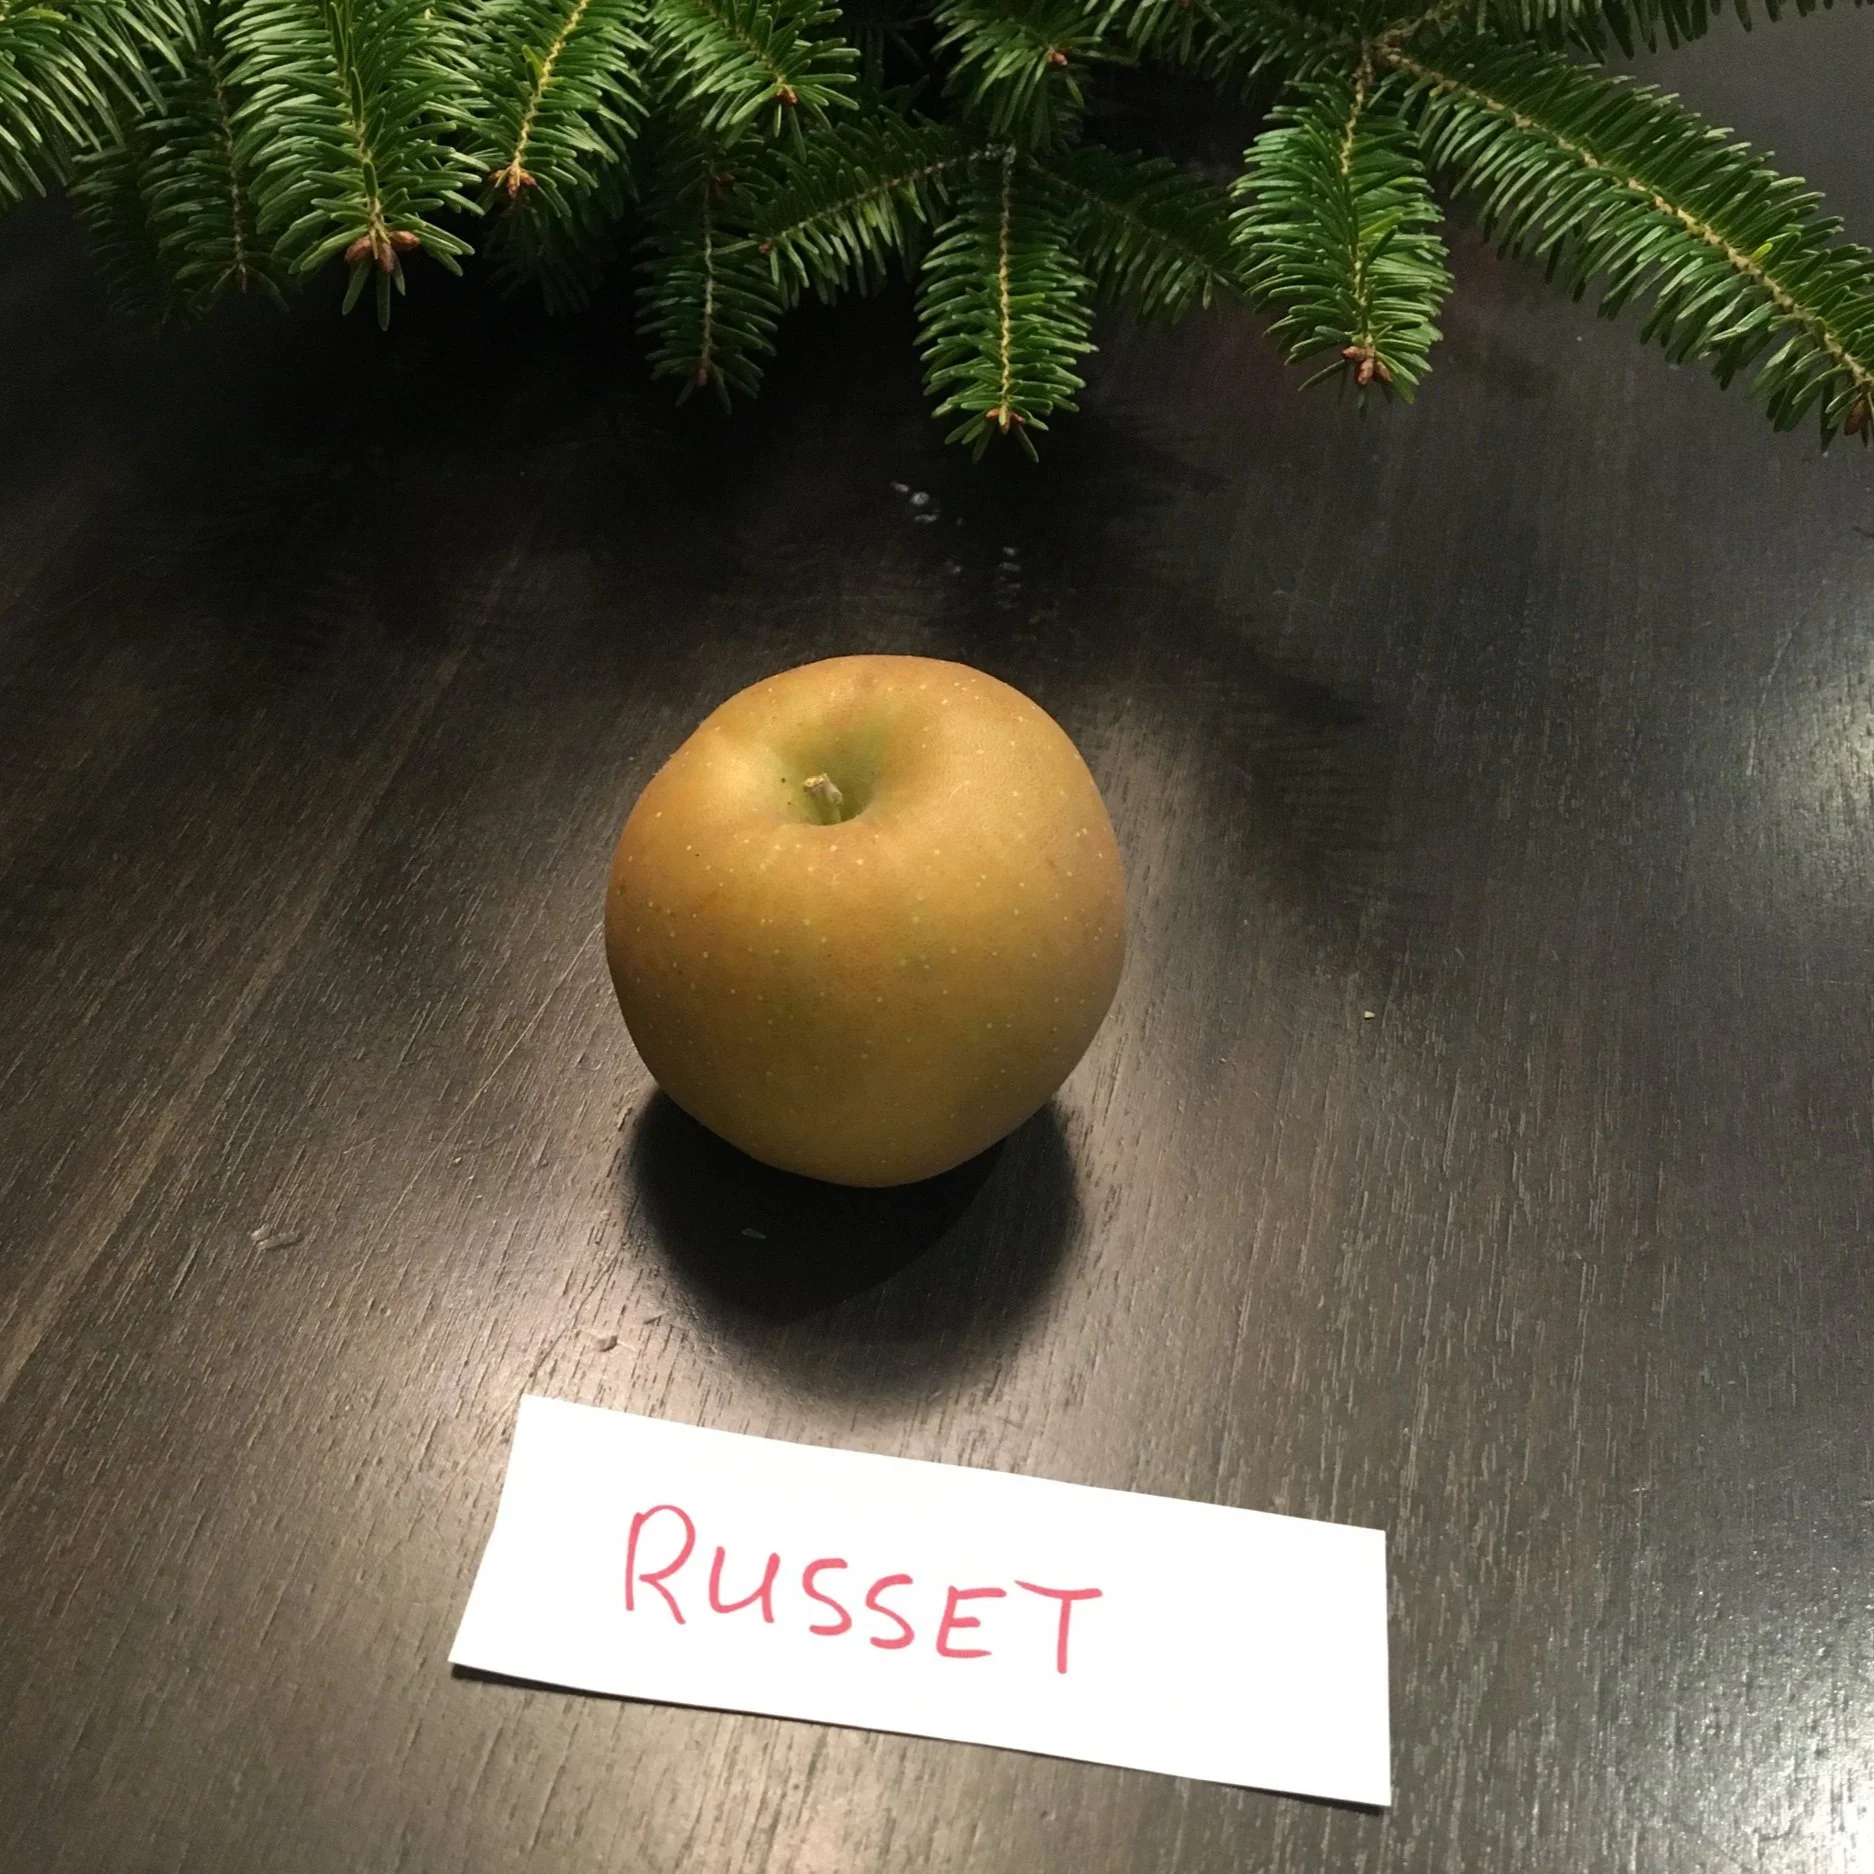
Ambrosia
On our tasting notes I scribbled down that it was the most fragrant, had a honey taste, and floral smell. It was crisp and juicy.
It’s a variety I often find at my local grocer, and my kids love it. The skin is red with yellow. The flesh is creamy white. And it’s sweet, crisp, aromatic—and not too acidic. (Not tart enough for me!)
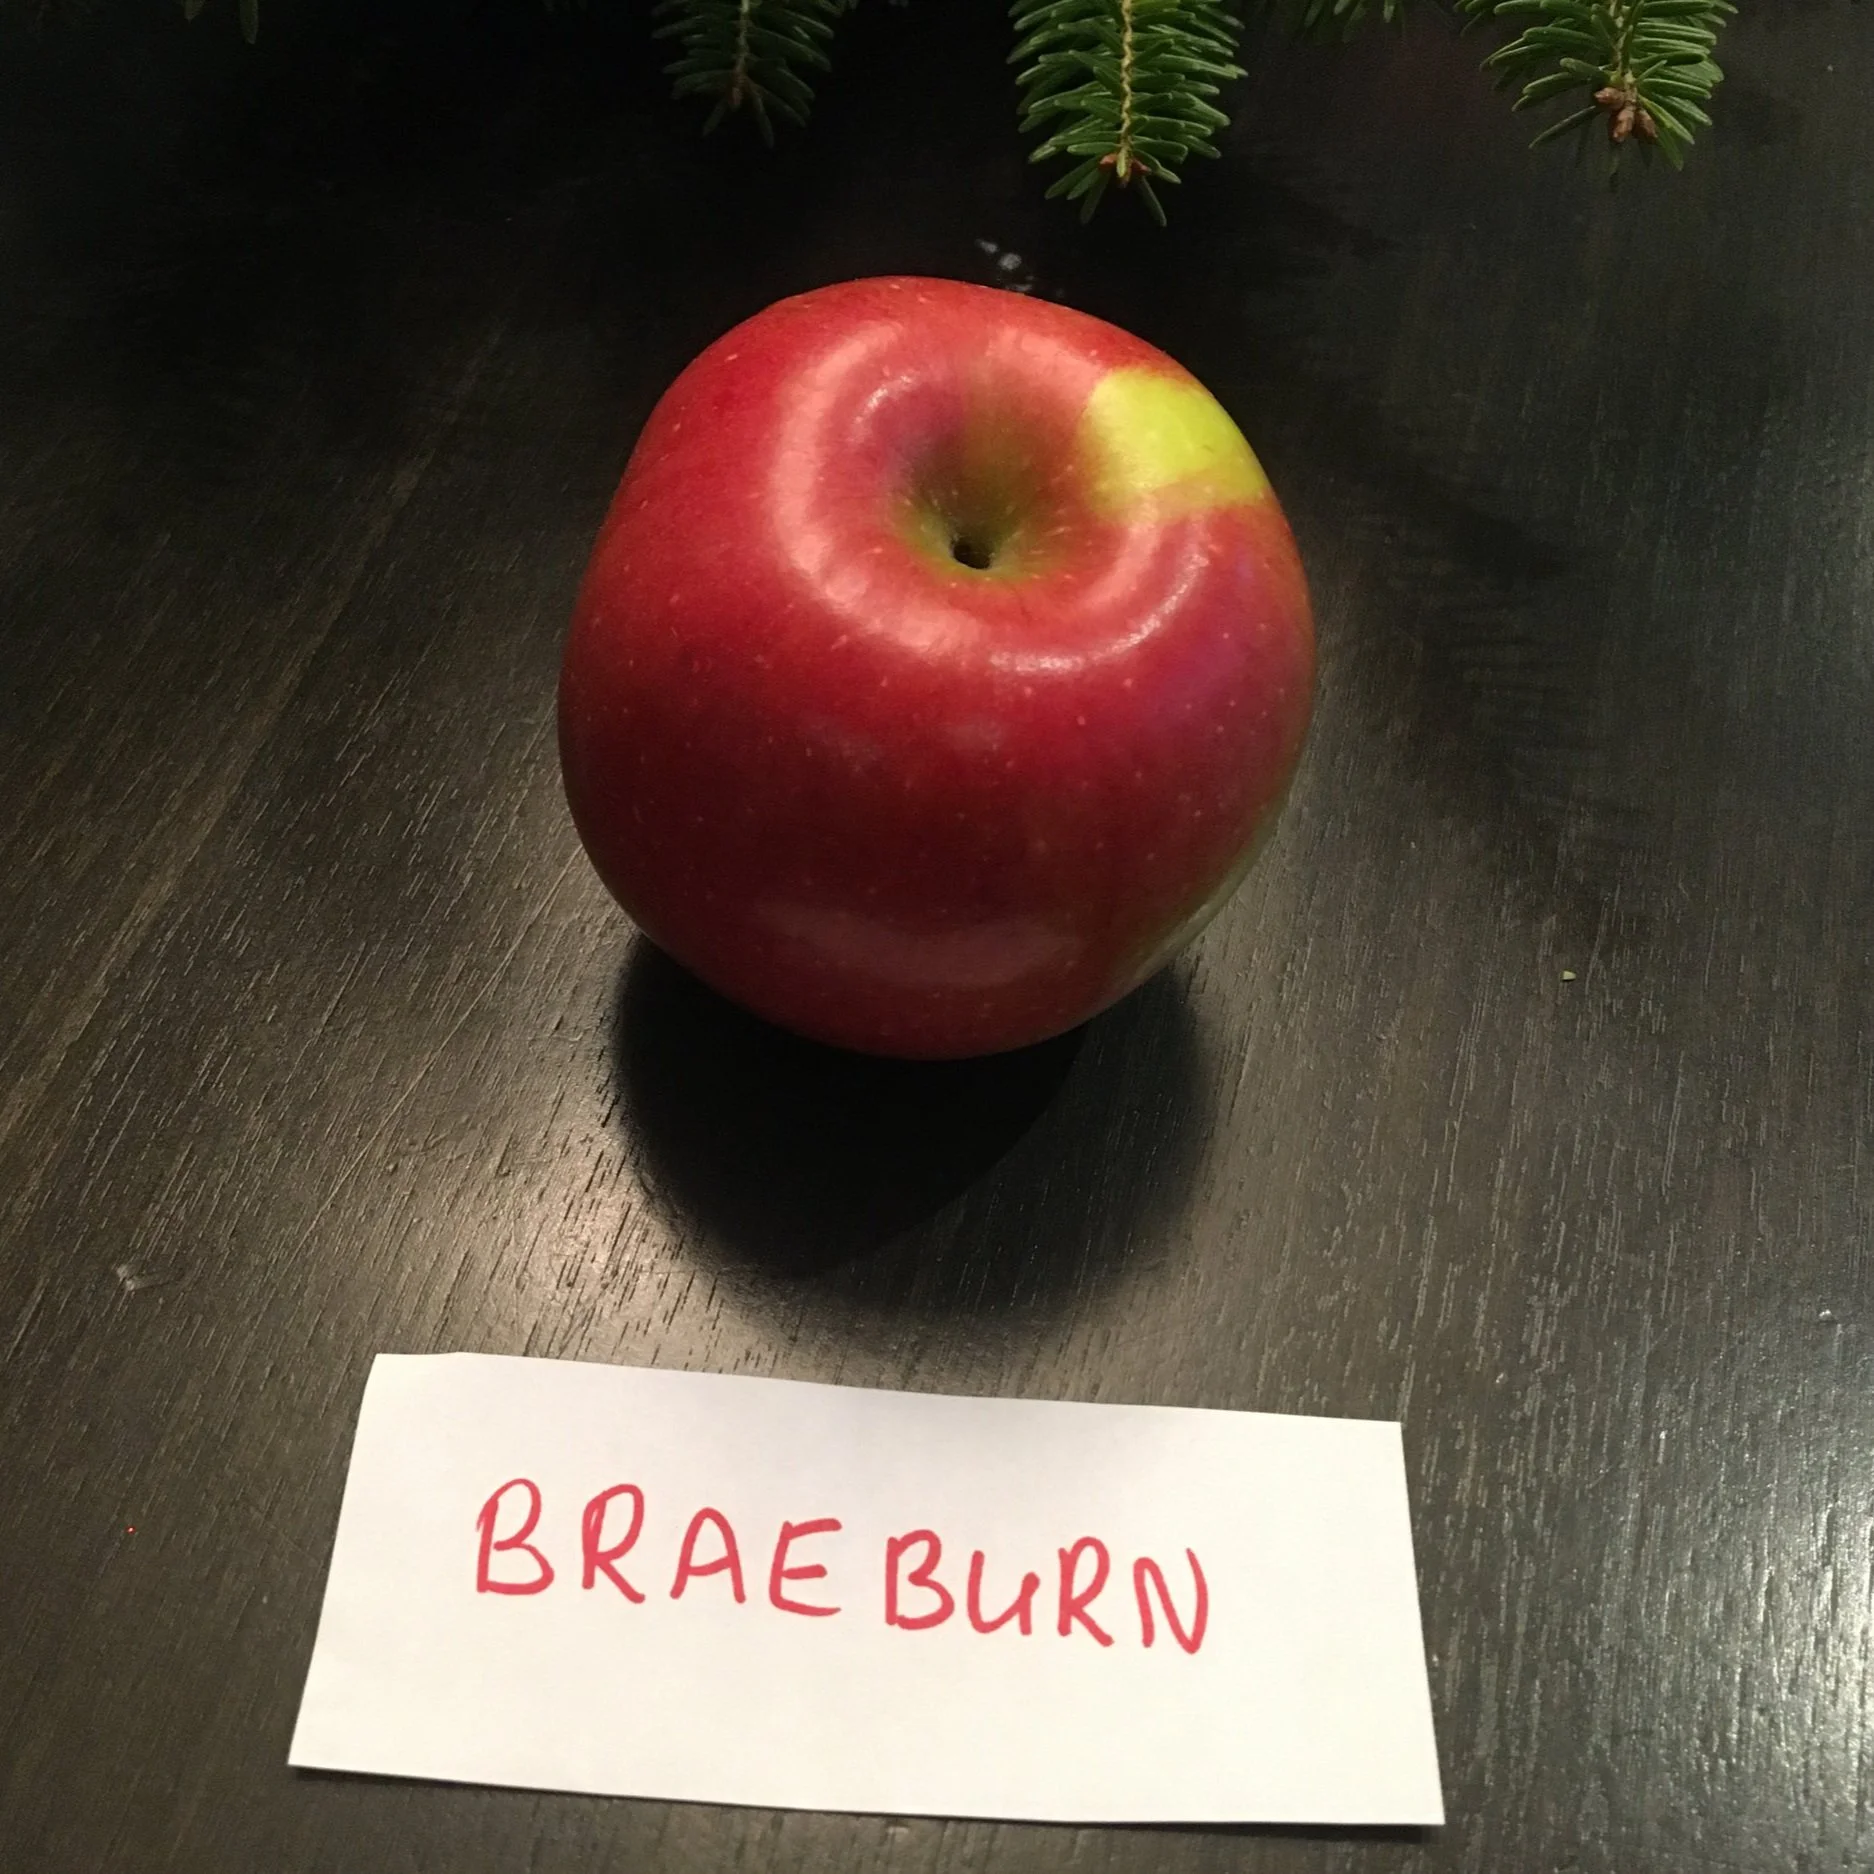
Braeburn
I hadn’t tasted Braeburn until our tasting. It turned out to be my favourite apple! We agreed that it’s firm, tart, crisp, and juicy.
The Pieter's Appleyard website notes that this variety is good for cooking because it keeps its shape.
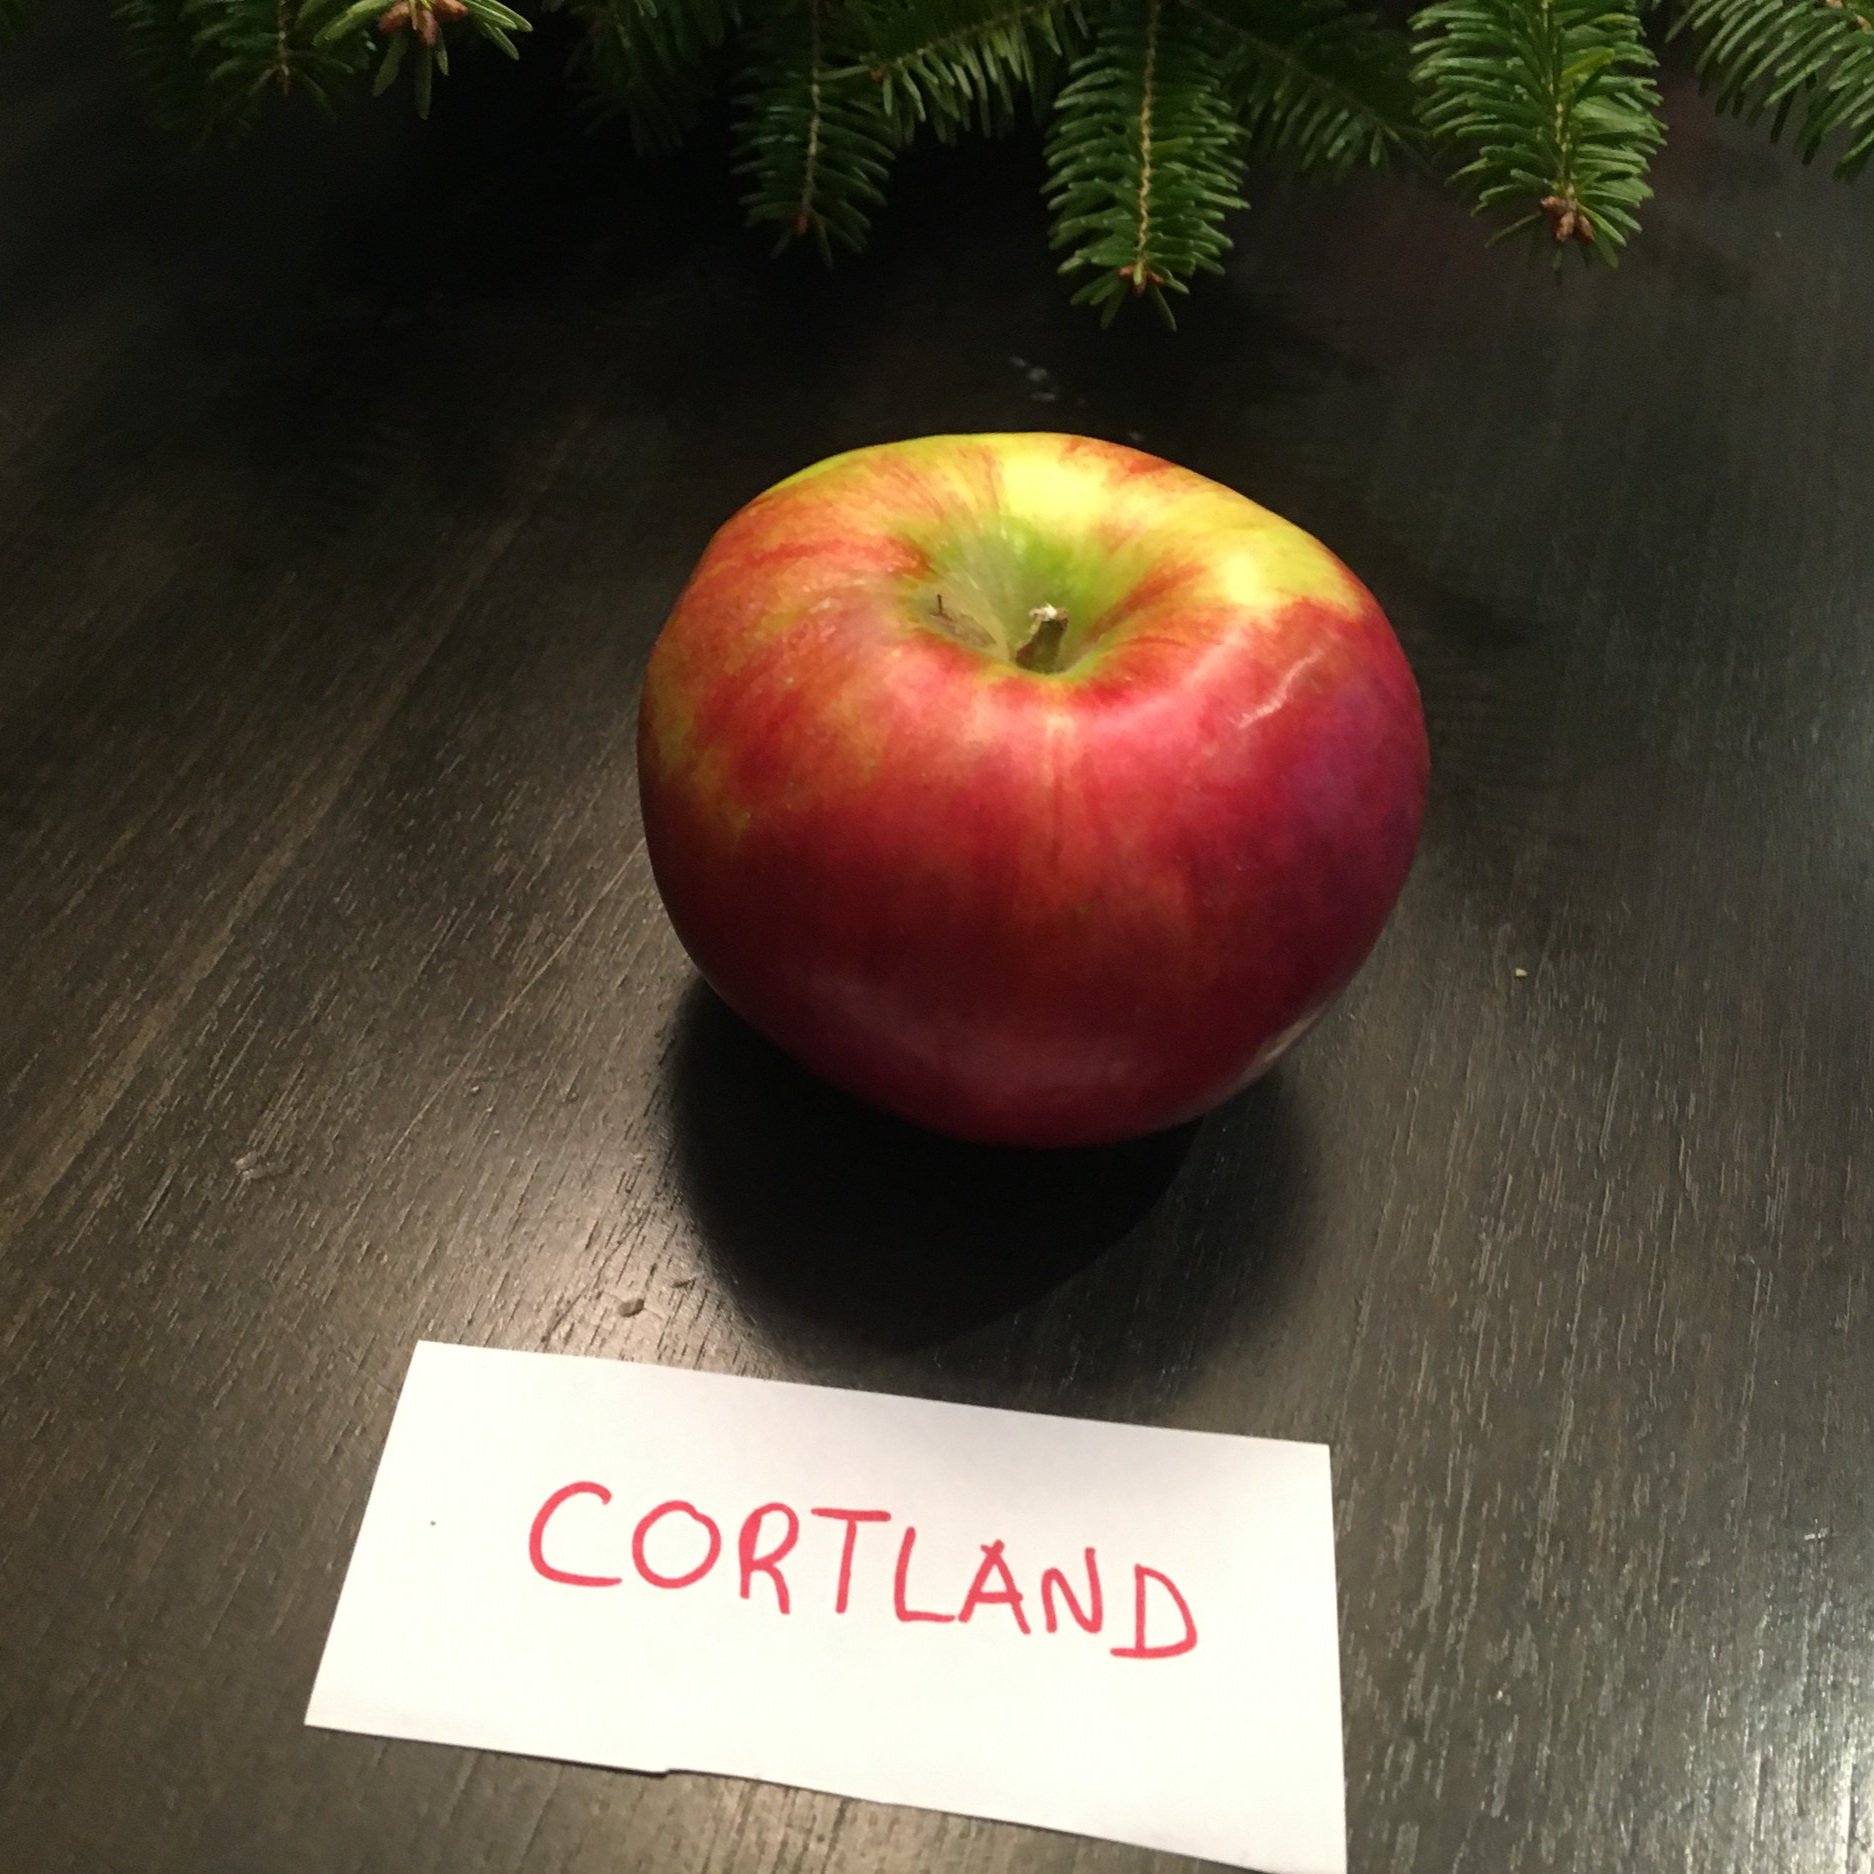
Cortland
This was Mom’s favourite for apple pie because it’s large and holds its shape when you bake it. I often buy it to make sauce.
It didn’t rank too well for our family tasting—probably because the ones I got from the grocery store weren’t stored in optimal conditions. We noted its soft flesh, mild taste, white colour, and thick skin.
Empire
I often get empire when I make apple cider in the fall because, like its parent the Mcintosh apple, its very juicy. There’s some acidity.
We noted that it’s tangy, fruity, and the skin was on the thick side. Like the Cortland apples I had on hand, our Empire apples hadn’t been optimally stored, so it lost points for being soft.
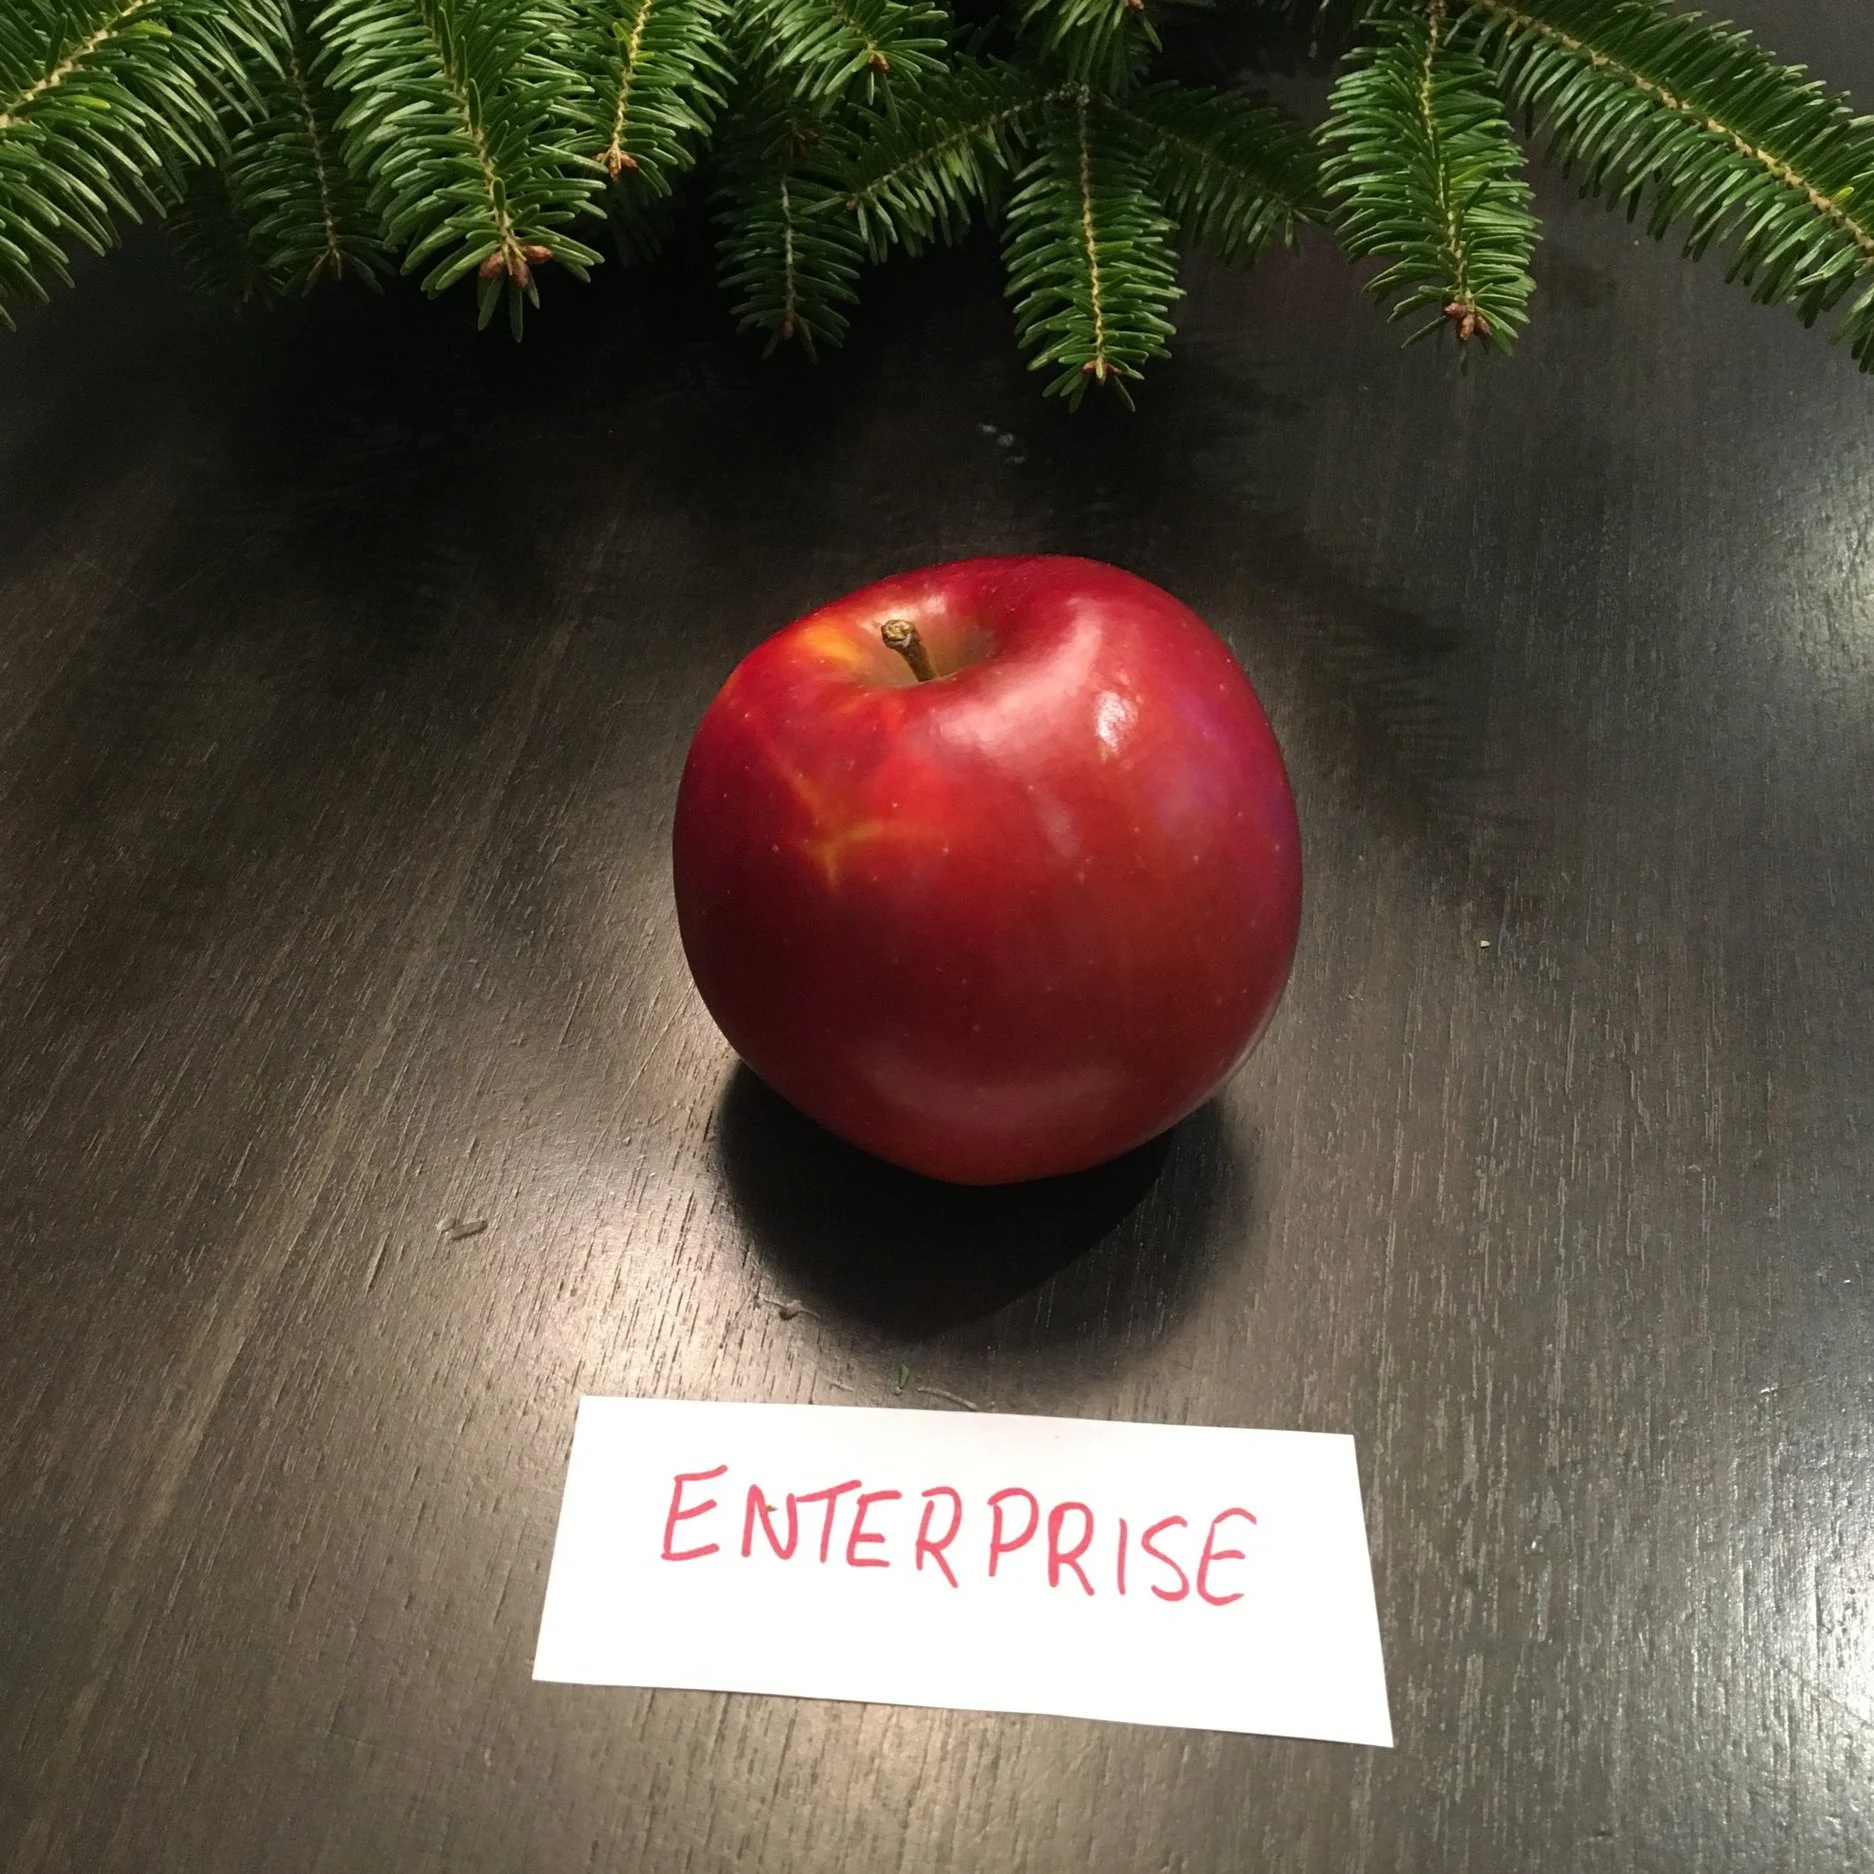
Enterprise
Enterprise was new for me. It surprised us with a banana-like smell, a tropical taste that Keaton described as pineapple. It was tart and crisp.
This is a newer, late-ripening variety with intense red-coloured skin. The fruit is large.
Golden Russet
This has always been a staple in our fruit bowl in the fall. I love the intense sweetness and acidity. The kids are less excited about it because of the mealy texture.
It’s an old variety, and often recommended for use when making cider. The skin is russeted, giving it a distinct appearance from the other apples in our family apple tasting.
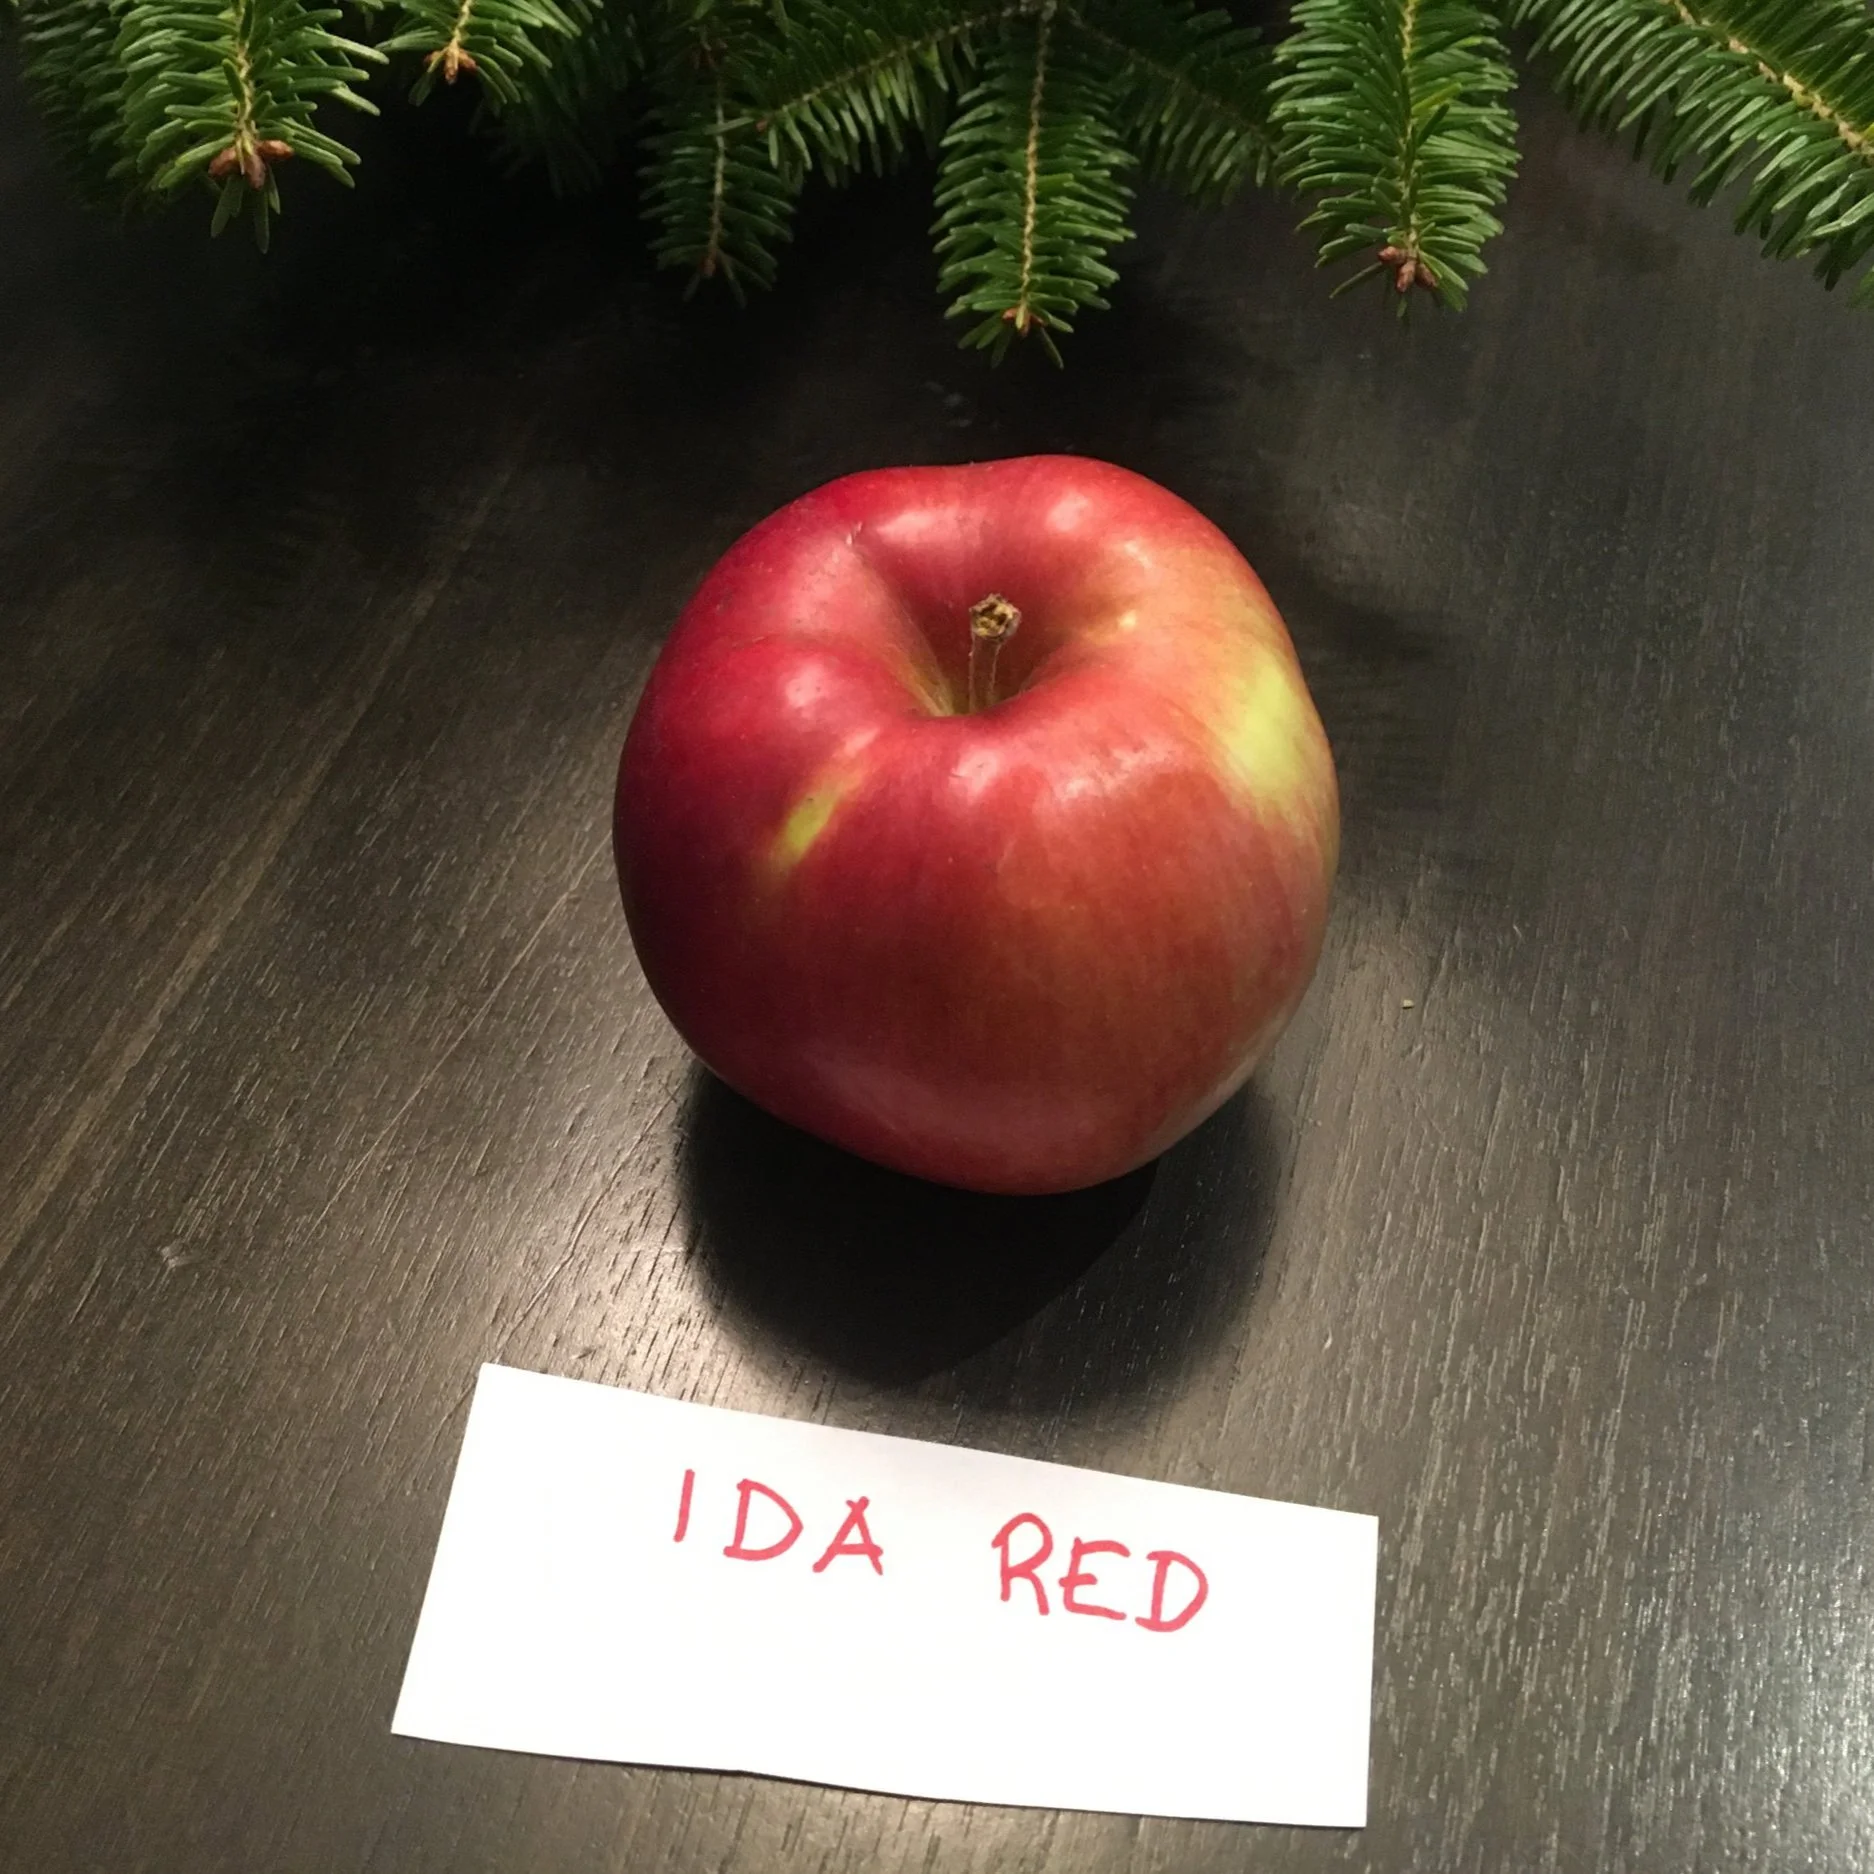
Idared
Sorry Idared, you started out as my favourite, but by the end of the apple tasting you came up as #2—after Braeburn.
Nonetheless, it’s still a great apple, with firm, white, tart flesh, aromatic notes (I’d say a mix of herbaceous and tropical). It’s a good keeper—and has a beautiful colour.
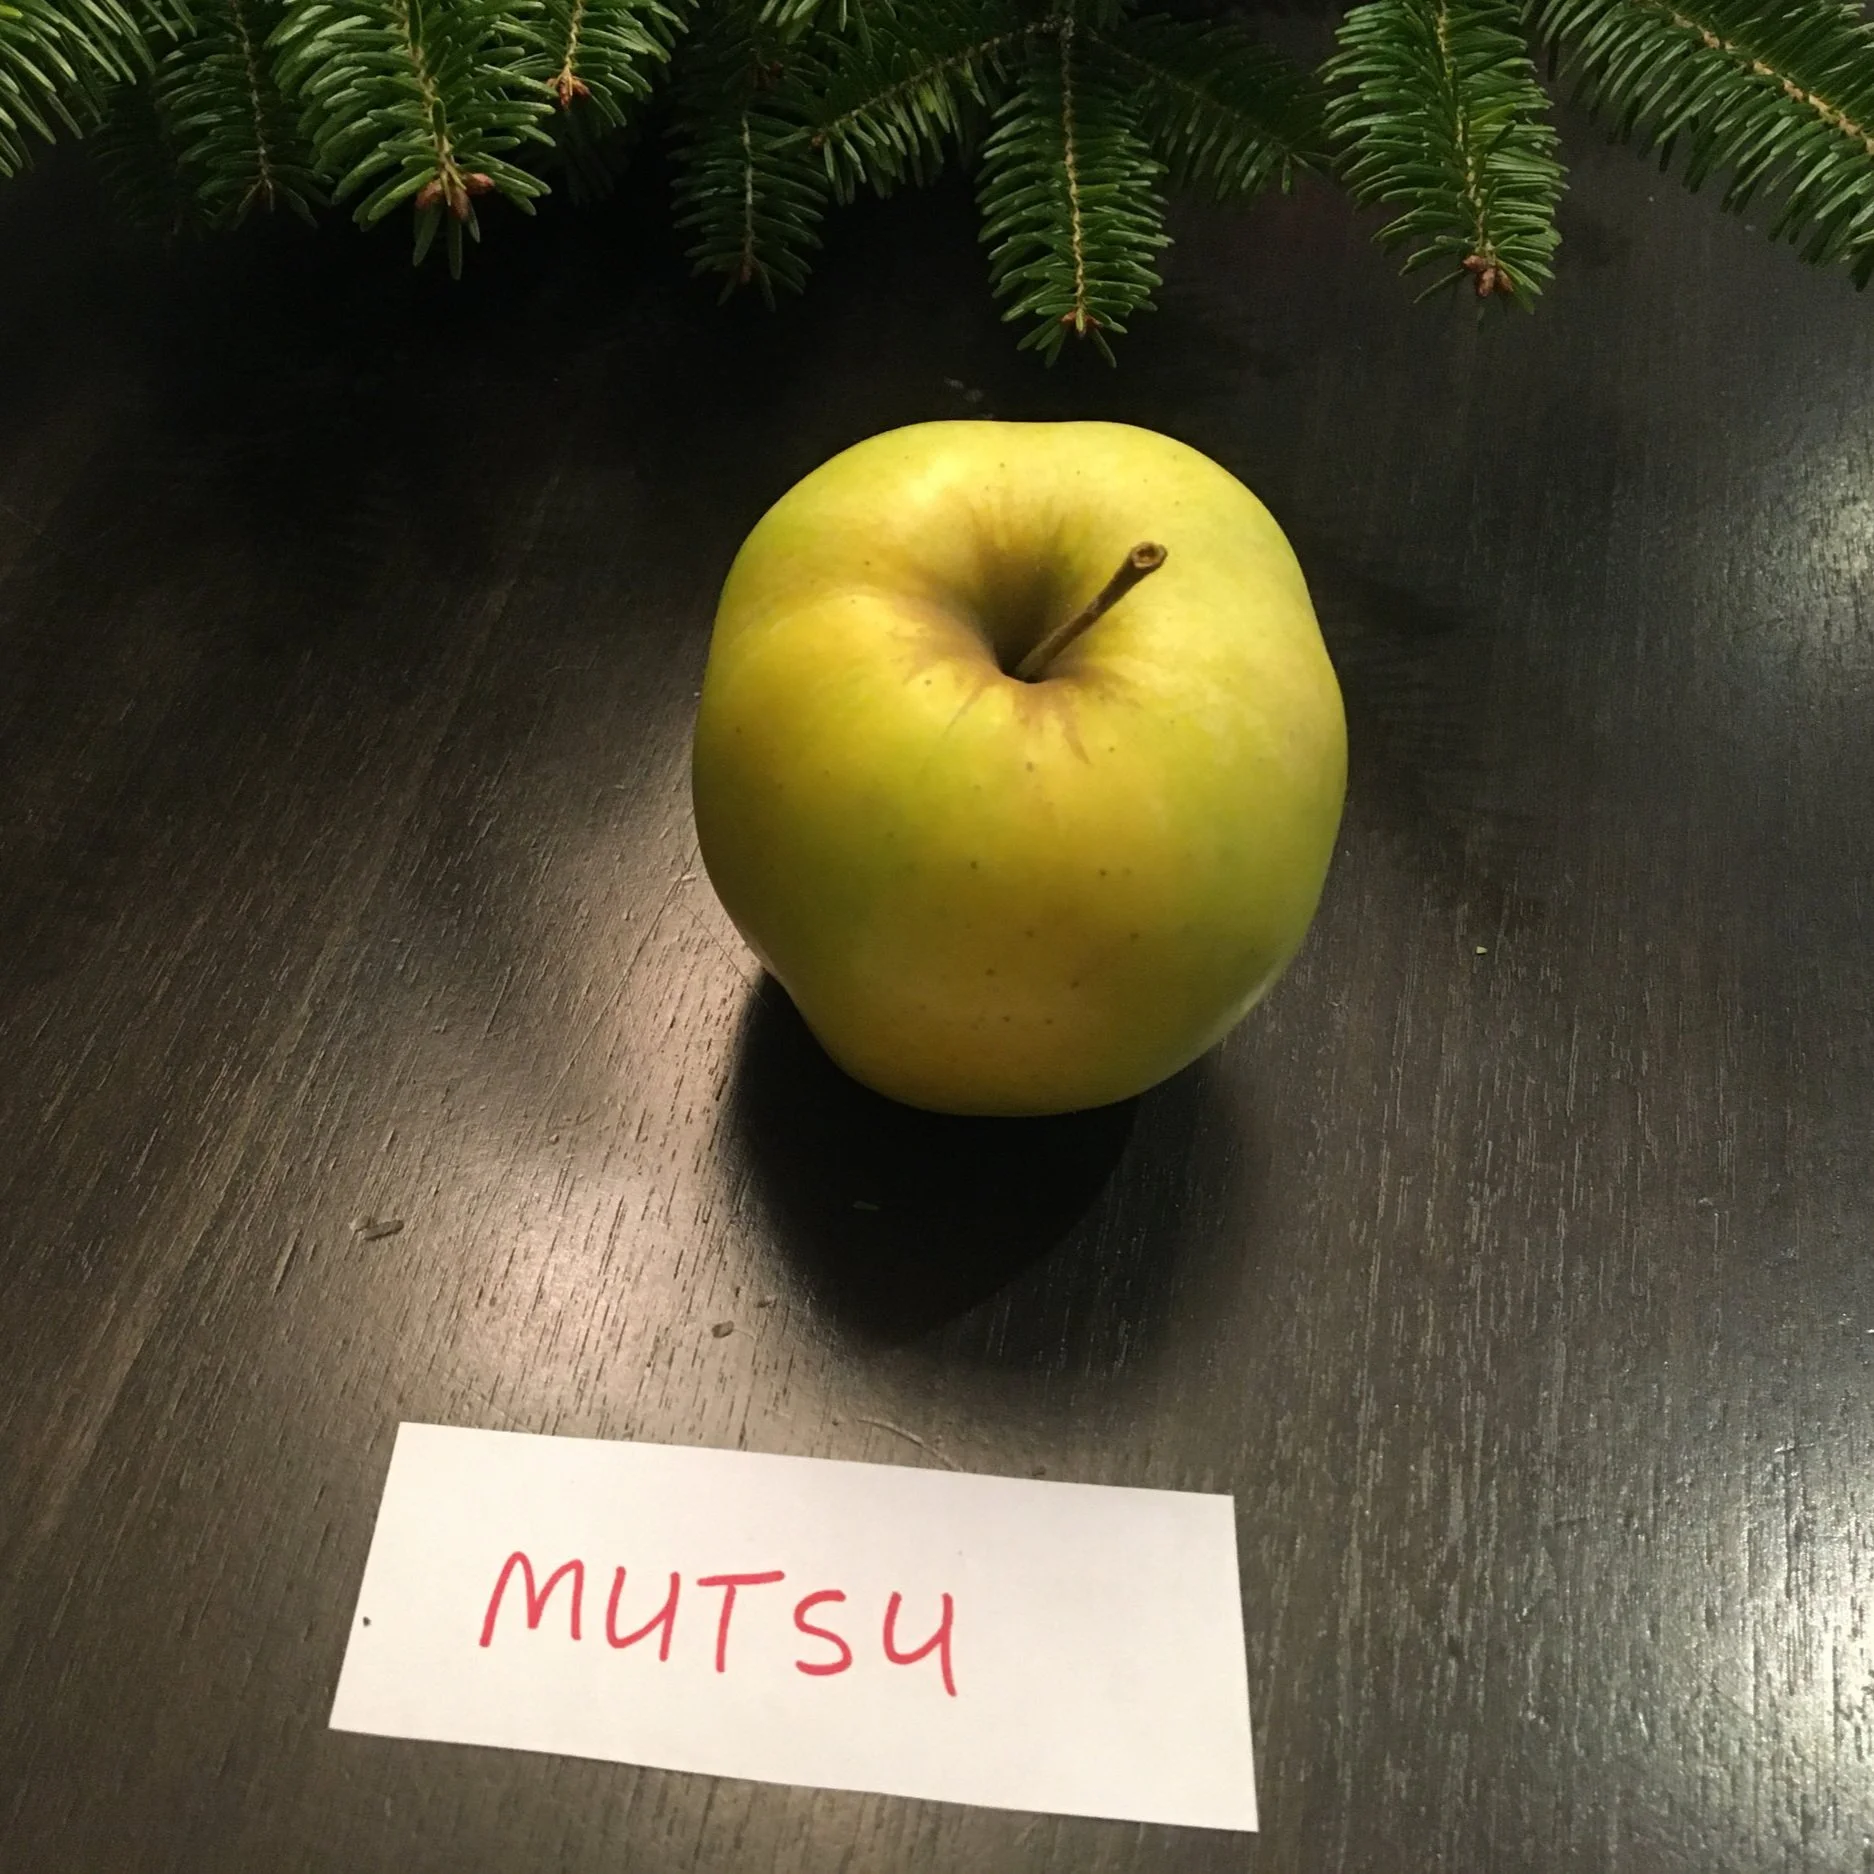
Mutsu (a.k.a. Crispen)
We have a big old Mutsu tree in our yard, and tend to pick them on the green side…before the squirrels pick them.
The Mutsu we got at the orchard was riper—and had changed from the more common light-green colour to yellow. But it was still firm. As I said above, Emma described one of the flavours we picked up as pawpaw-like. We also noted that it had a “green and floral smell,” was crisp, and had a honey flavour. I put a star beside this one on the tasting notes because the kids ranked it as a favourite, with Pink Lady.
Pink Lady
Firm, dense, fruity and tangy. We all loved this apple. It also had very nice colouring on the skin, with a red-pink on a green background.
Along with the Mutsu, it got a star rating from my kids.
Looking for More Apple Ideas?
Hear Susan’s Poizner’s tips on holding an apple tasting — and see an apple flavour wheel!
More Gardening Posts
Online Gardening Masterclasses
To Taste This Fruit, You'll Need to Grow it! (Meet the Medlar)
How to grow medlars in cold climates…and how to make medlar jelly.
By Steven Biggs
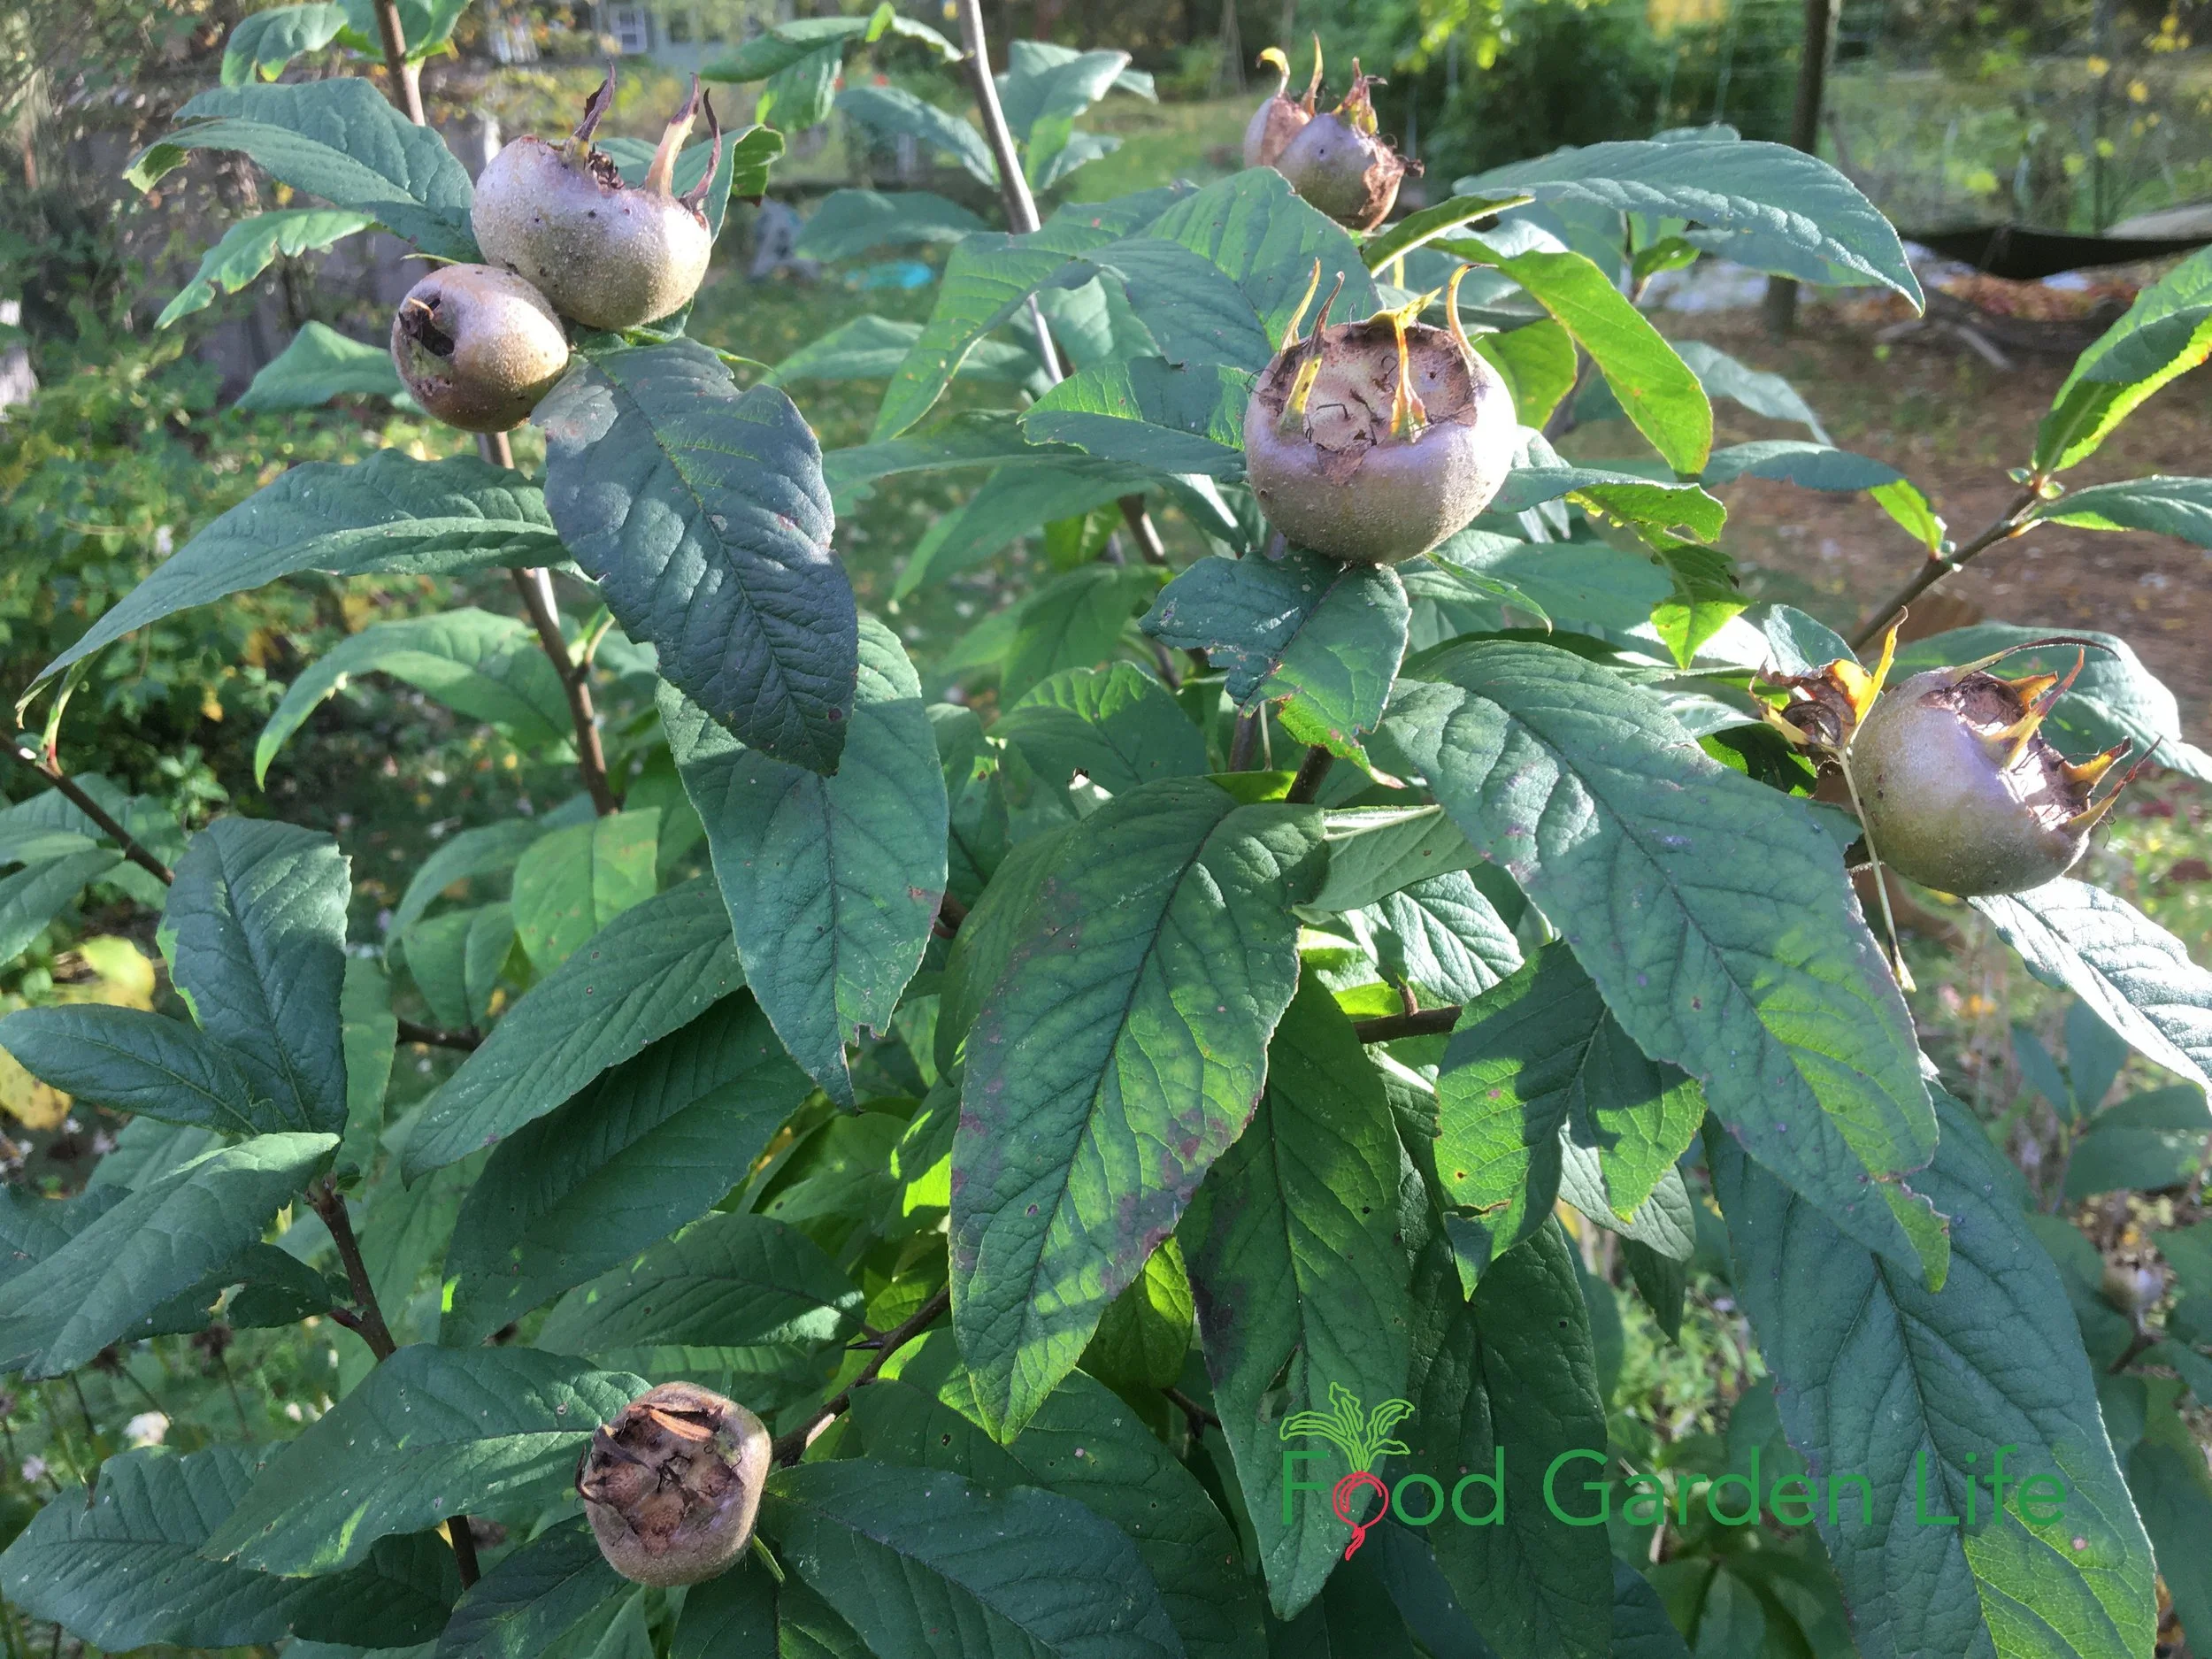
Medlar (Mespilus germanica): A little-known fruit that’s easy to grow and a great fit for a home garden.
The Guide to Medlar
Medlar Stumps Museum Staff
“Anyone know what this is?” read the online post.
The post, by a local historical museum, showed a photo of a fruit carving on an old piece of furniture. The curators couldn’t identify the fruit.
“It’s medlar,” I replied.
This obscure fruit, popular in past centuries, was unknown even to historical interpreters.
And that obscurity means that if you want to taste medlar, you’ll probably have to grow it yourself (or share this post with someone who will grow it for you!)
Grow Medlar at Home
Even though the fruit is little known, the plant deserves of a spot in more home gardens. Here’s what I like about medlar:
Low maintenance. It needs minimal pruning.
Ornamental. It has flowers, fall colour, and winter interest.
Hardy. It’s winter hardy, and resistant to diseases and pest.
Suited to cold climates. The late bloom means fruit production isn’t affected by a late spring frost.
And there’s one other intriguing thing about medlar: For gardeners who love the idea of enjoying homegrown food throughout the year, medlar adds to the winter fruit larder.
Medlars are Ornamental
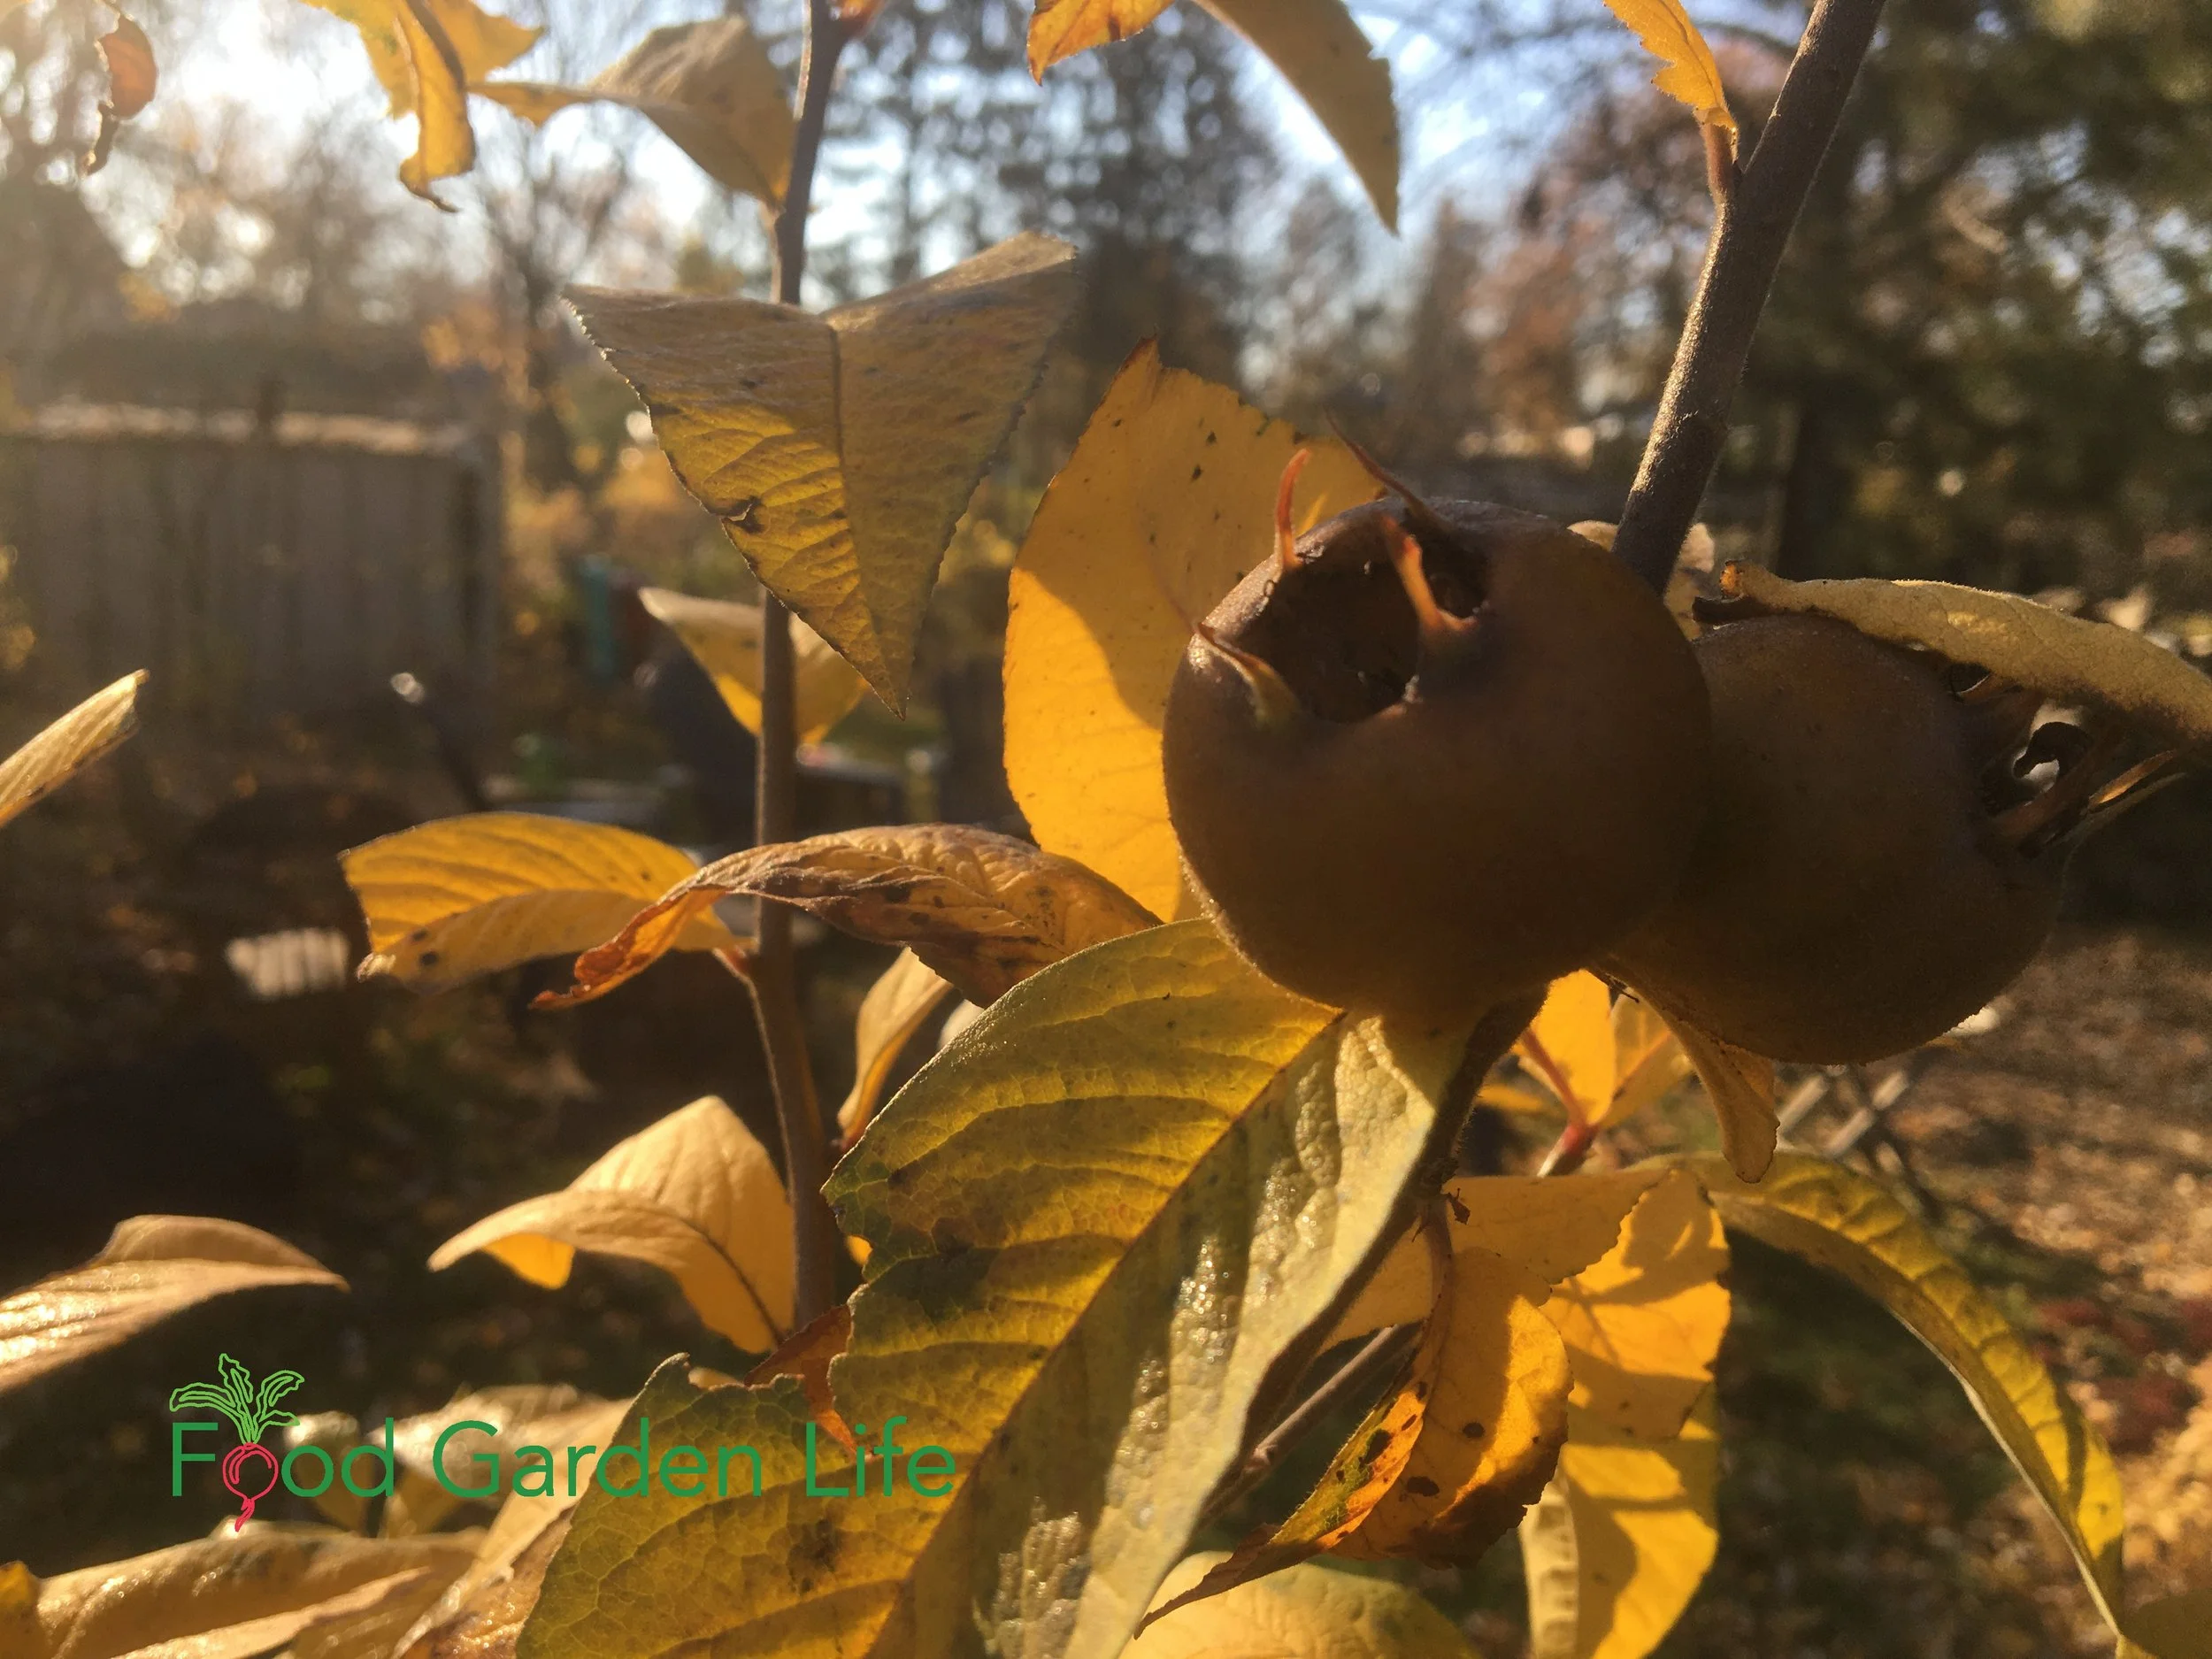
Medlar plants have nice leaf colour in the fall. Depending on the year, the leaves can turn a vibrant gold, taking on hues of orange and copper.
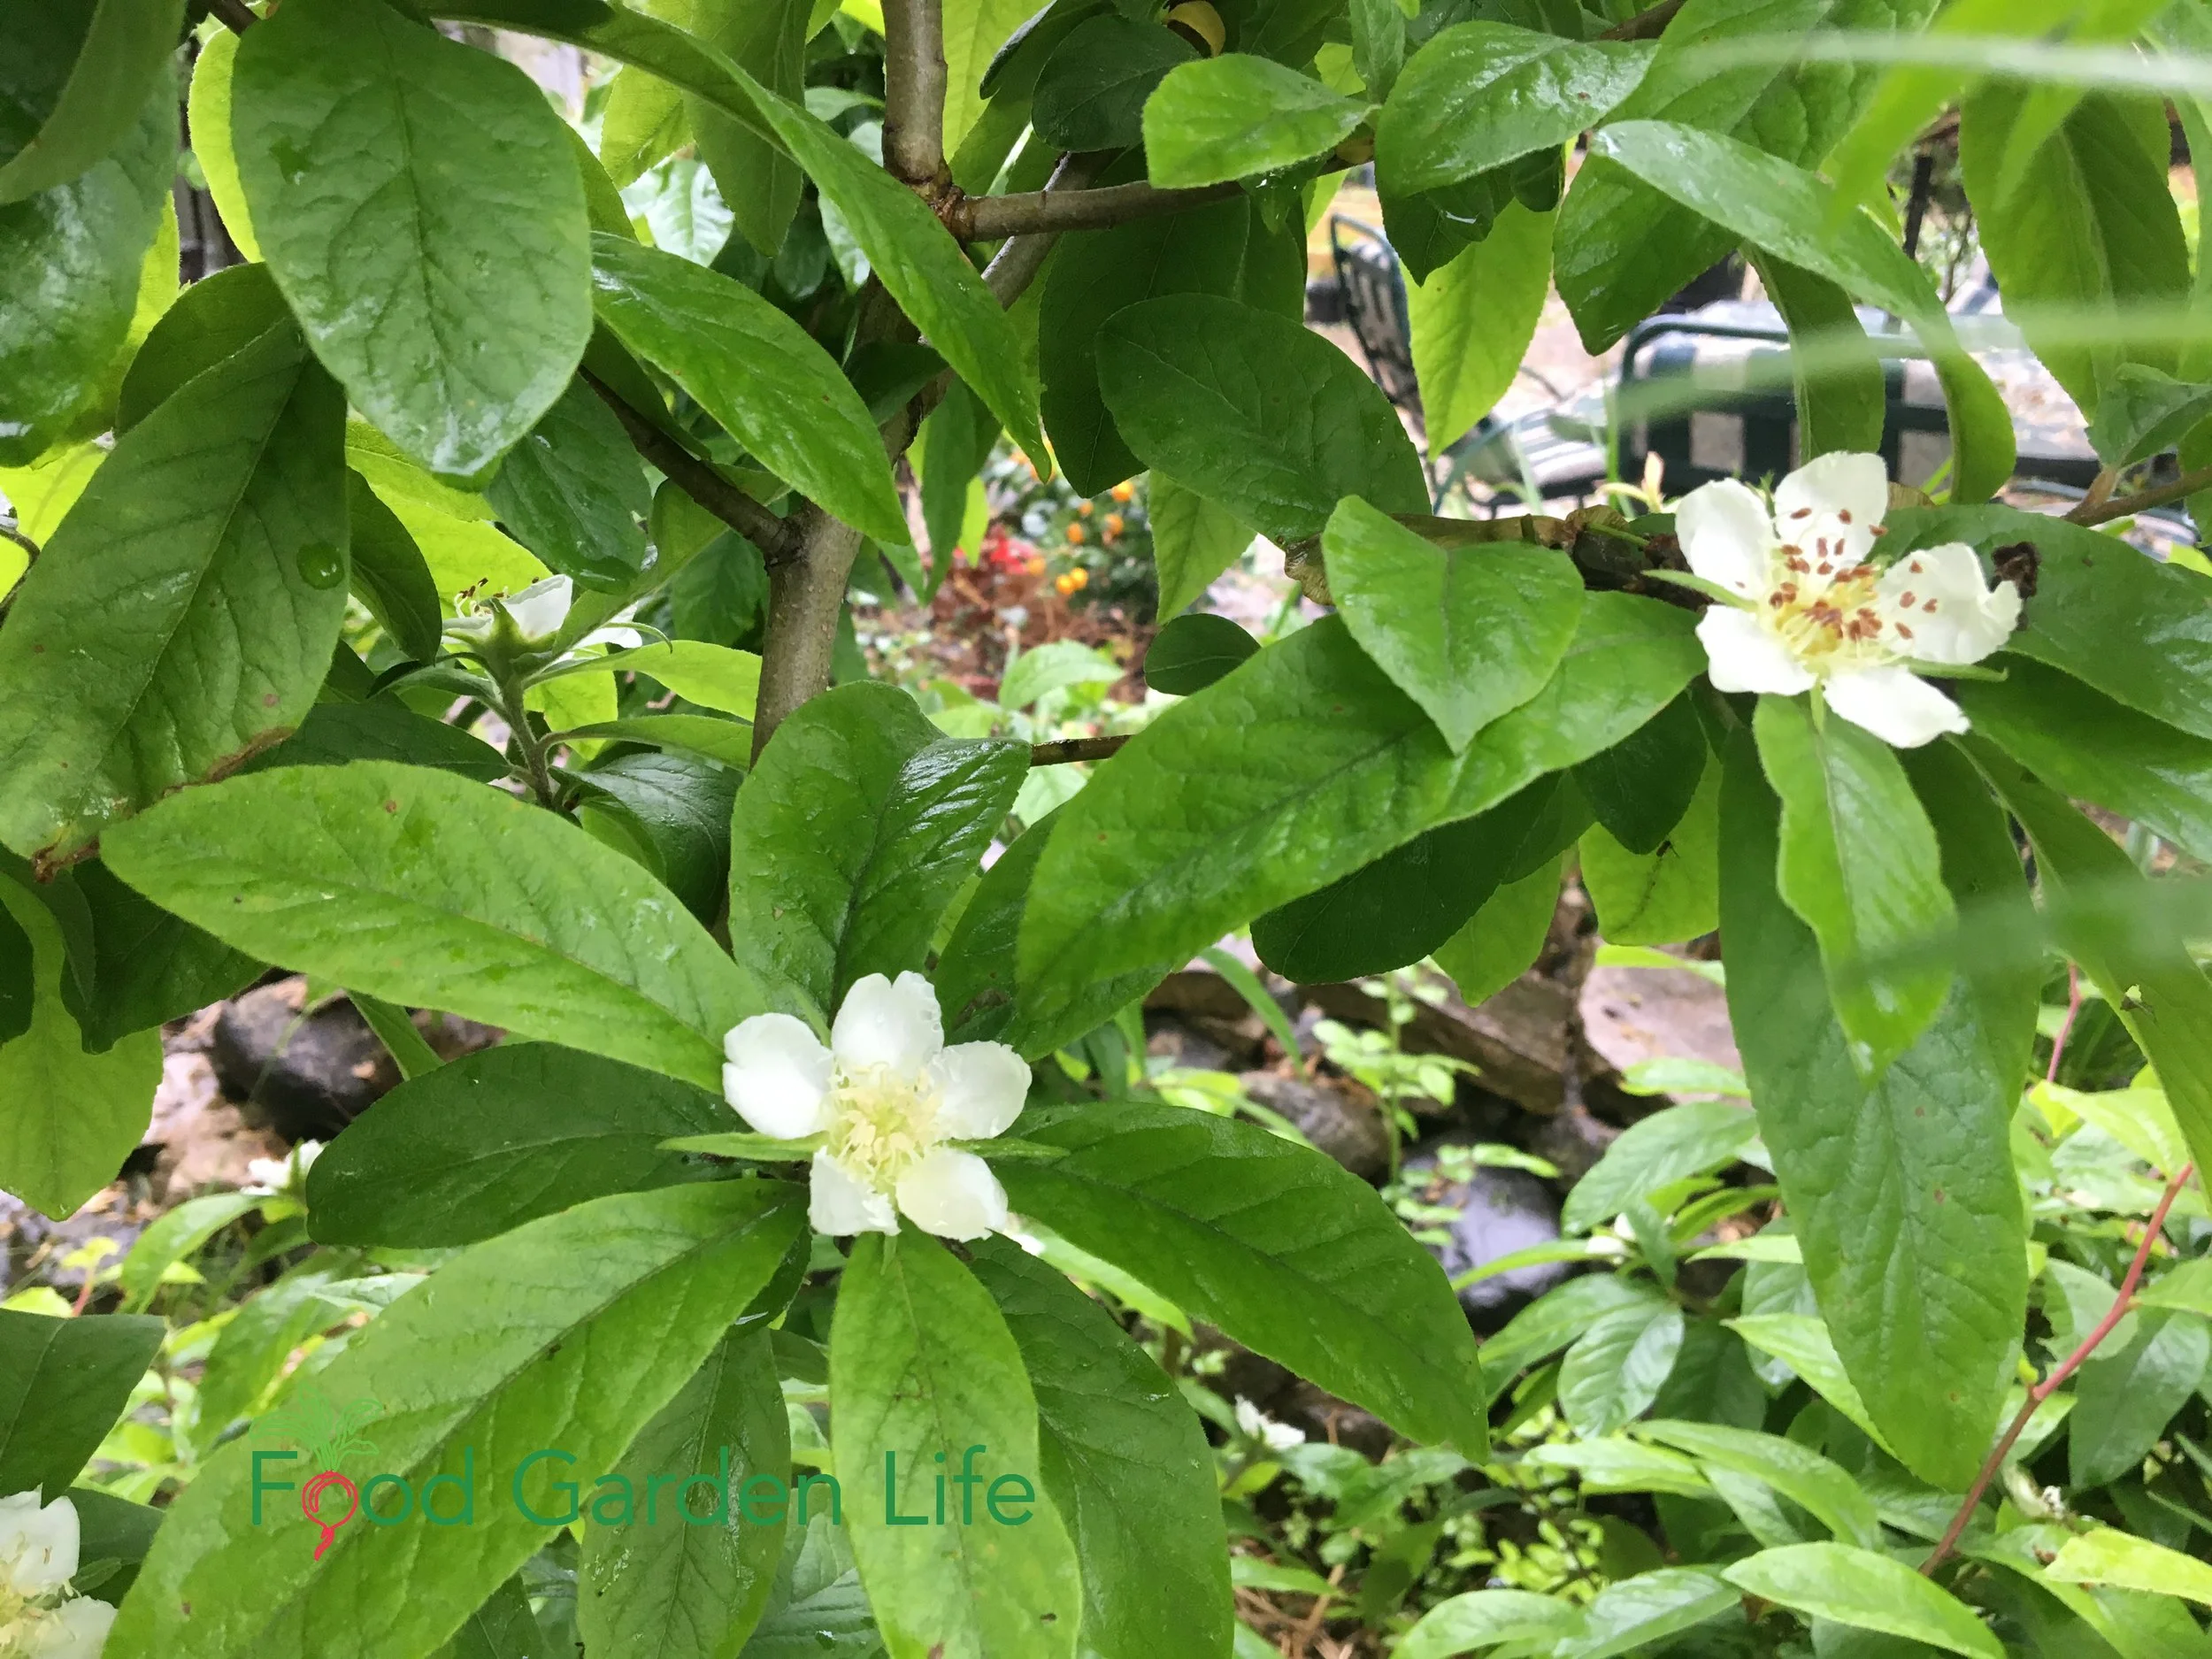
Medlar plants have large star-shaped white blossoms in spring, and nice leaf colour in the fall. Depending on the year, the dark-green, leathery, oblong leaves can turn a vibrant gold, taking on hues of orange and copper. If you’ve ever admired the fall leaf colour of cherries, medlar are just as good.
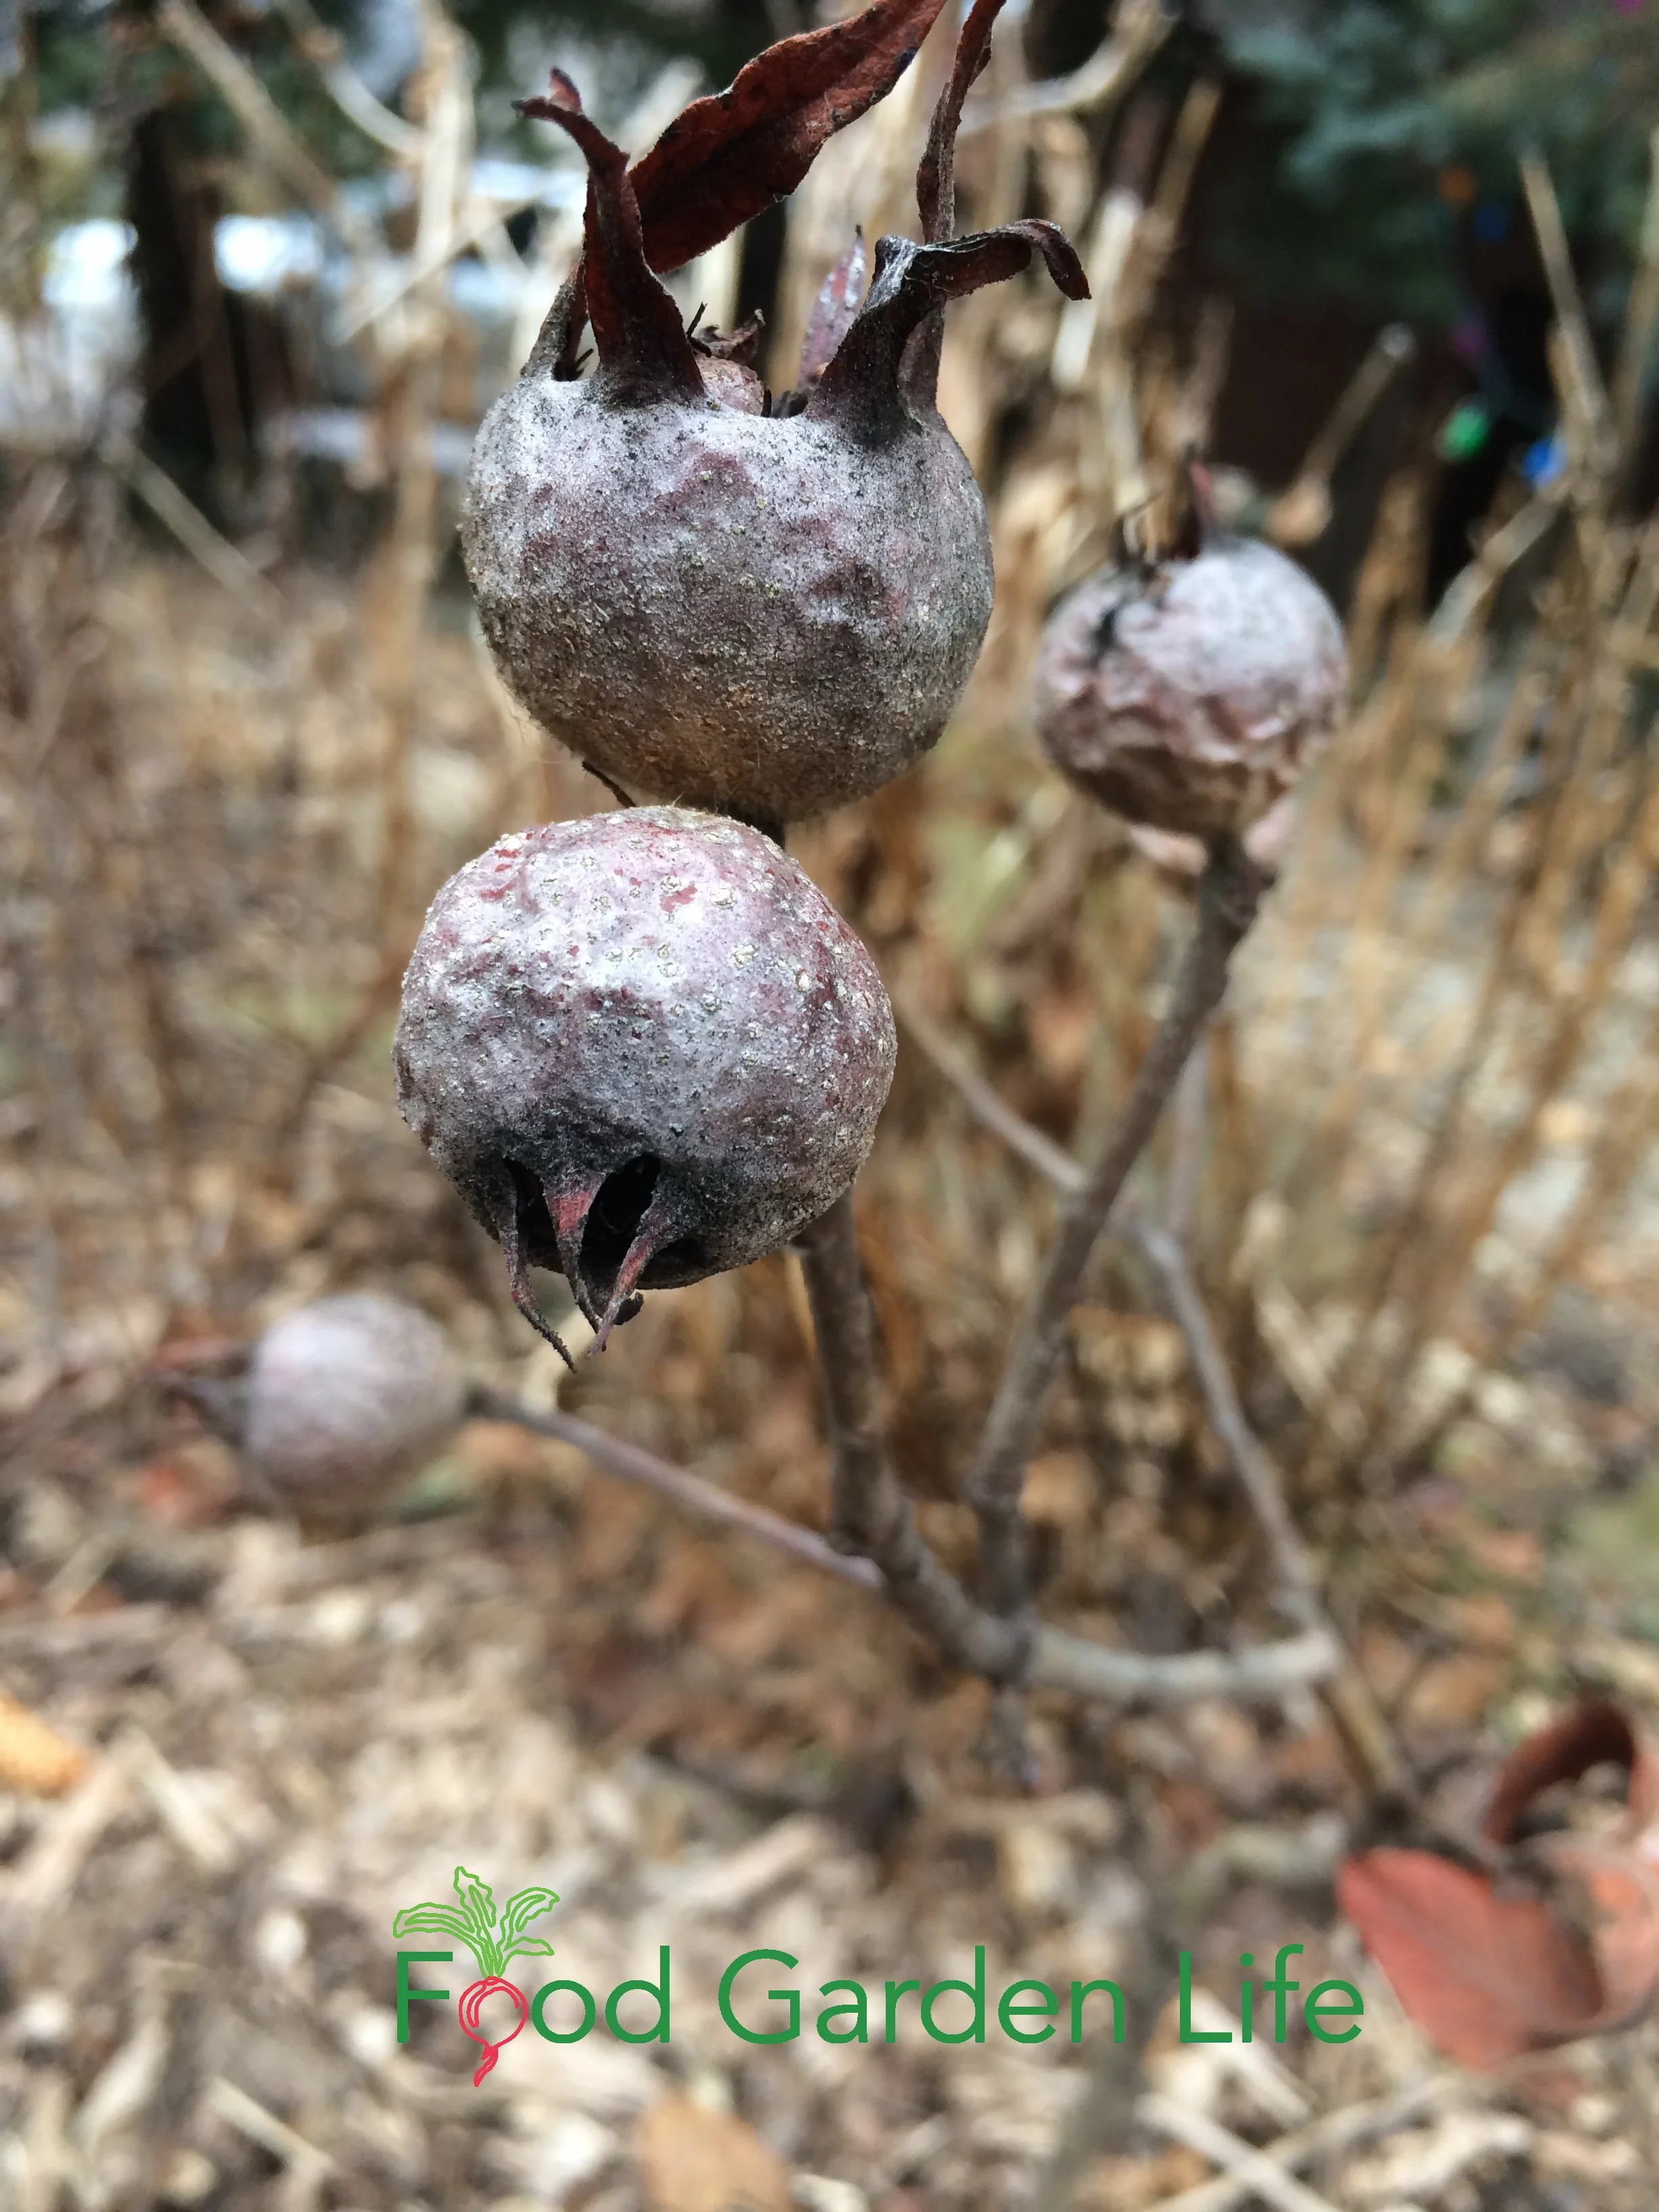
The fruit is decorative too. I pick my medlar fruit in mid- to late-November, once the leaves have dropped. And in years that I harvest late, those fruit are still there, adding winter interest to my garden. They really dress up the naked medlar bush.
How Medlar Plants Grow
If you don’t harvest all of your medlar, they add winter interest to the garden.
Medlar is fairly slow growing. But as it fills in, it takes on a fascinating gnarled look thanks to the ways the branches grow into a nest of twisted shoots.
My medlar is a bush. No taller than me. But it can be either a large shrub or a small tree. Like apples, you determine shape and size with pruning – and like apples, it can be grown on a rootstock that dwarfs it. A medlar tree on its own roots can get bigger, 4-6 metres (13-20’) high.
Ultimately, the size depends on the rootstock, the growing conditions, and how you prune it.
Best Site for a Medlar
Medlar grows best in full sun, but does respectably well in partial shade. Mine is underneath a towering silver maple, where it gets 4-6 hours of sun a day.
It’s not fussy about soil. The important thing is that the soil is well drained.
Landscape with Fruit
That’s easy to grow in a home garden!
Does Medlar need a Mate?
Medlar is self-fertile.
That means that if you have just one plant, you’ll still get fruit.
How to Prune Medlar
Medlar plants have large star-shaped white blossoms in spring.
Nursery-grown medlar bushes and trees are often pruned to have a length of bare trunk before side shoots are allowed to grow. This is so that when the branches are bent from the weight of fruit, they are high enough above the ground that they don’t touch it.
I prune my medlar once a year, in late winter, while it’s dormant. There’s an art to pruning many fruit trees, but pruning medlar is simple. Like most fruit trees and bushes, we want an open framework of branches that gives good air circulation and lets in some light.
Here are tips for pruning your medlar:
Remove dead, damaged, spindly, diseased, and crossing branches
Shorten long branches that might touch the ground when bearing a heavy crop of fruit (fruit forms on spurs on branches, so when you remove the tip of a branch, you’ll still get fruit)
Remove any suckers that grow from the base
Prune your medlar while it’s dormant, in late winter.
(And if you don’t get around to pruning for a year or two? Sometimes life gets busy for home gardeners. Your medlar will keep growing, and you can prune it the following year.)
Medlar in the Landscape
A medlar bush is a great addition to a forest garden and an edible landscape.
I hope that with the increasing interest in edible landscapes and forest gardens, more people will try to grow medlar.
Forest Gardens
In forest gardens and polycultures, a medlar bush can be part of the lower canopy; or a medlar tree as part of the canopy.
Edible Landscapes
In edible landscapes, where aesthetics matter too, the addition of a medlar bush brings spring flowers, fall colour, winter interest.
Food Gardens
For hard-core food gardeners, you can use a more intensive approach to maximize your medlar production. I’ve seen medlar in a demonstration orchard being trained in a high-density system, tightly spaced, and trained along horizontal wires.
Harvest Medlar Fruit
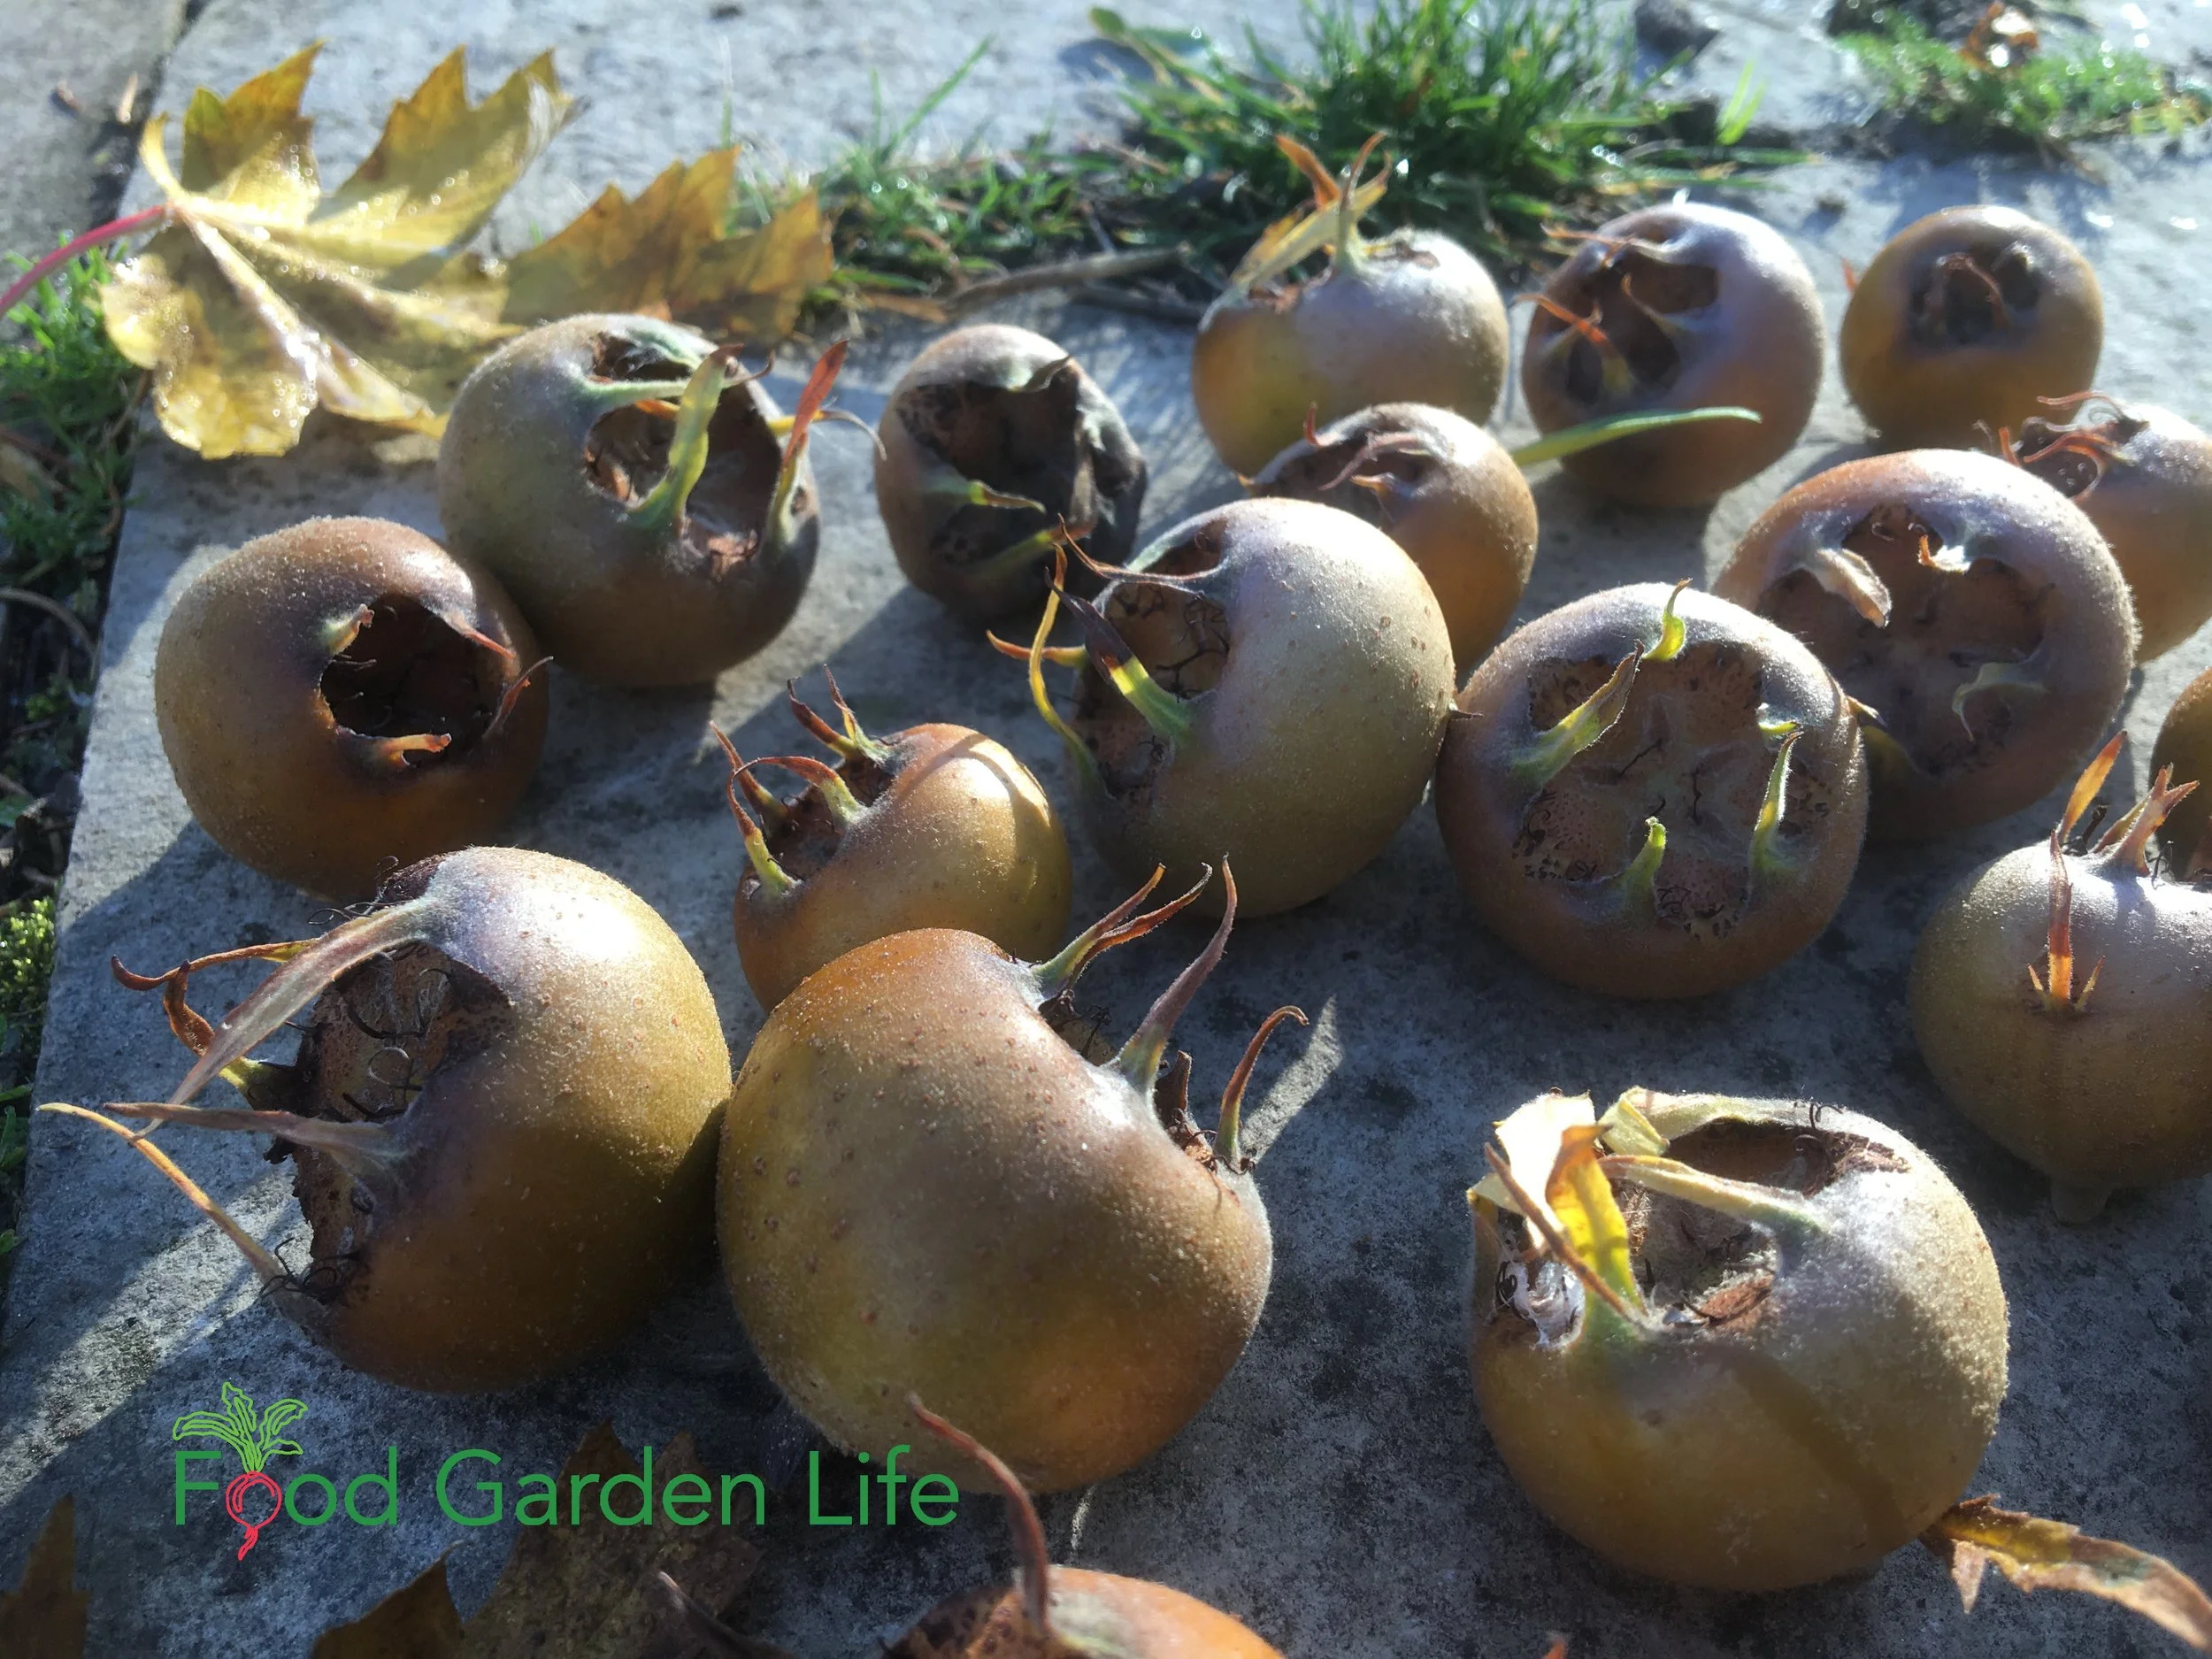
Medlar harvest, after the leaves have fallen
The fruit size depends on the variety and growing conditions, but they’re often 3 - 6 cm (1 ¼ - 2 ½”) across. They’re a bit fuzzy when small, and as they grow the skin starts to look like a russet apple. You’ll find 5 large seeds inside.
Pick medlar fruit in the fall, once the fruit has fully sized up. It will be greenish-brown. Don’t rush to pick it, though, as it is fine with some light frost. This is a fruit that takes a long time to mature, so you want to give it as much time on the plant as you can. And besides, it’s a winter treat, so don’t rush to pick it while there are still apples and other fall fruit to eat.
I pick my medlars here in southern Ontario in mid-November, after the leaves on my medlar bush start to fall. You’ll know it’s time when the fruit detaches from the branch fairly easily.
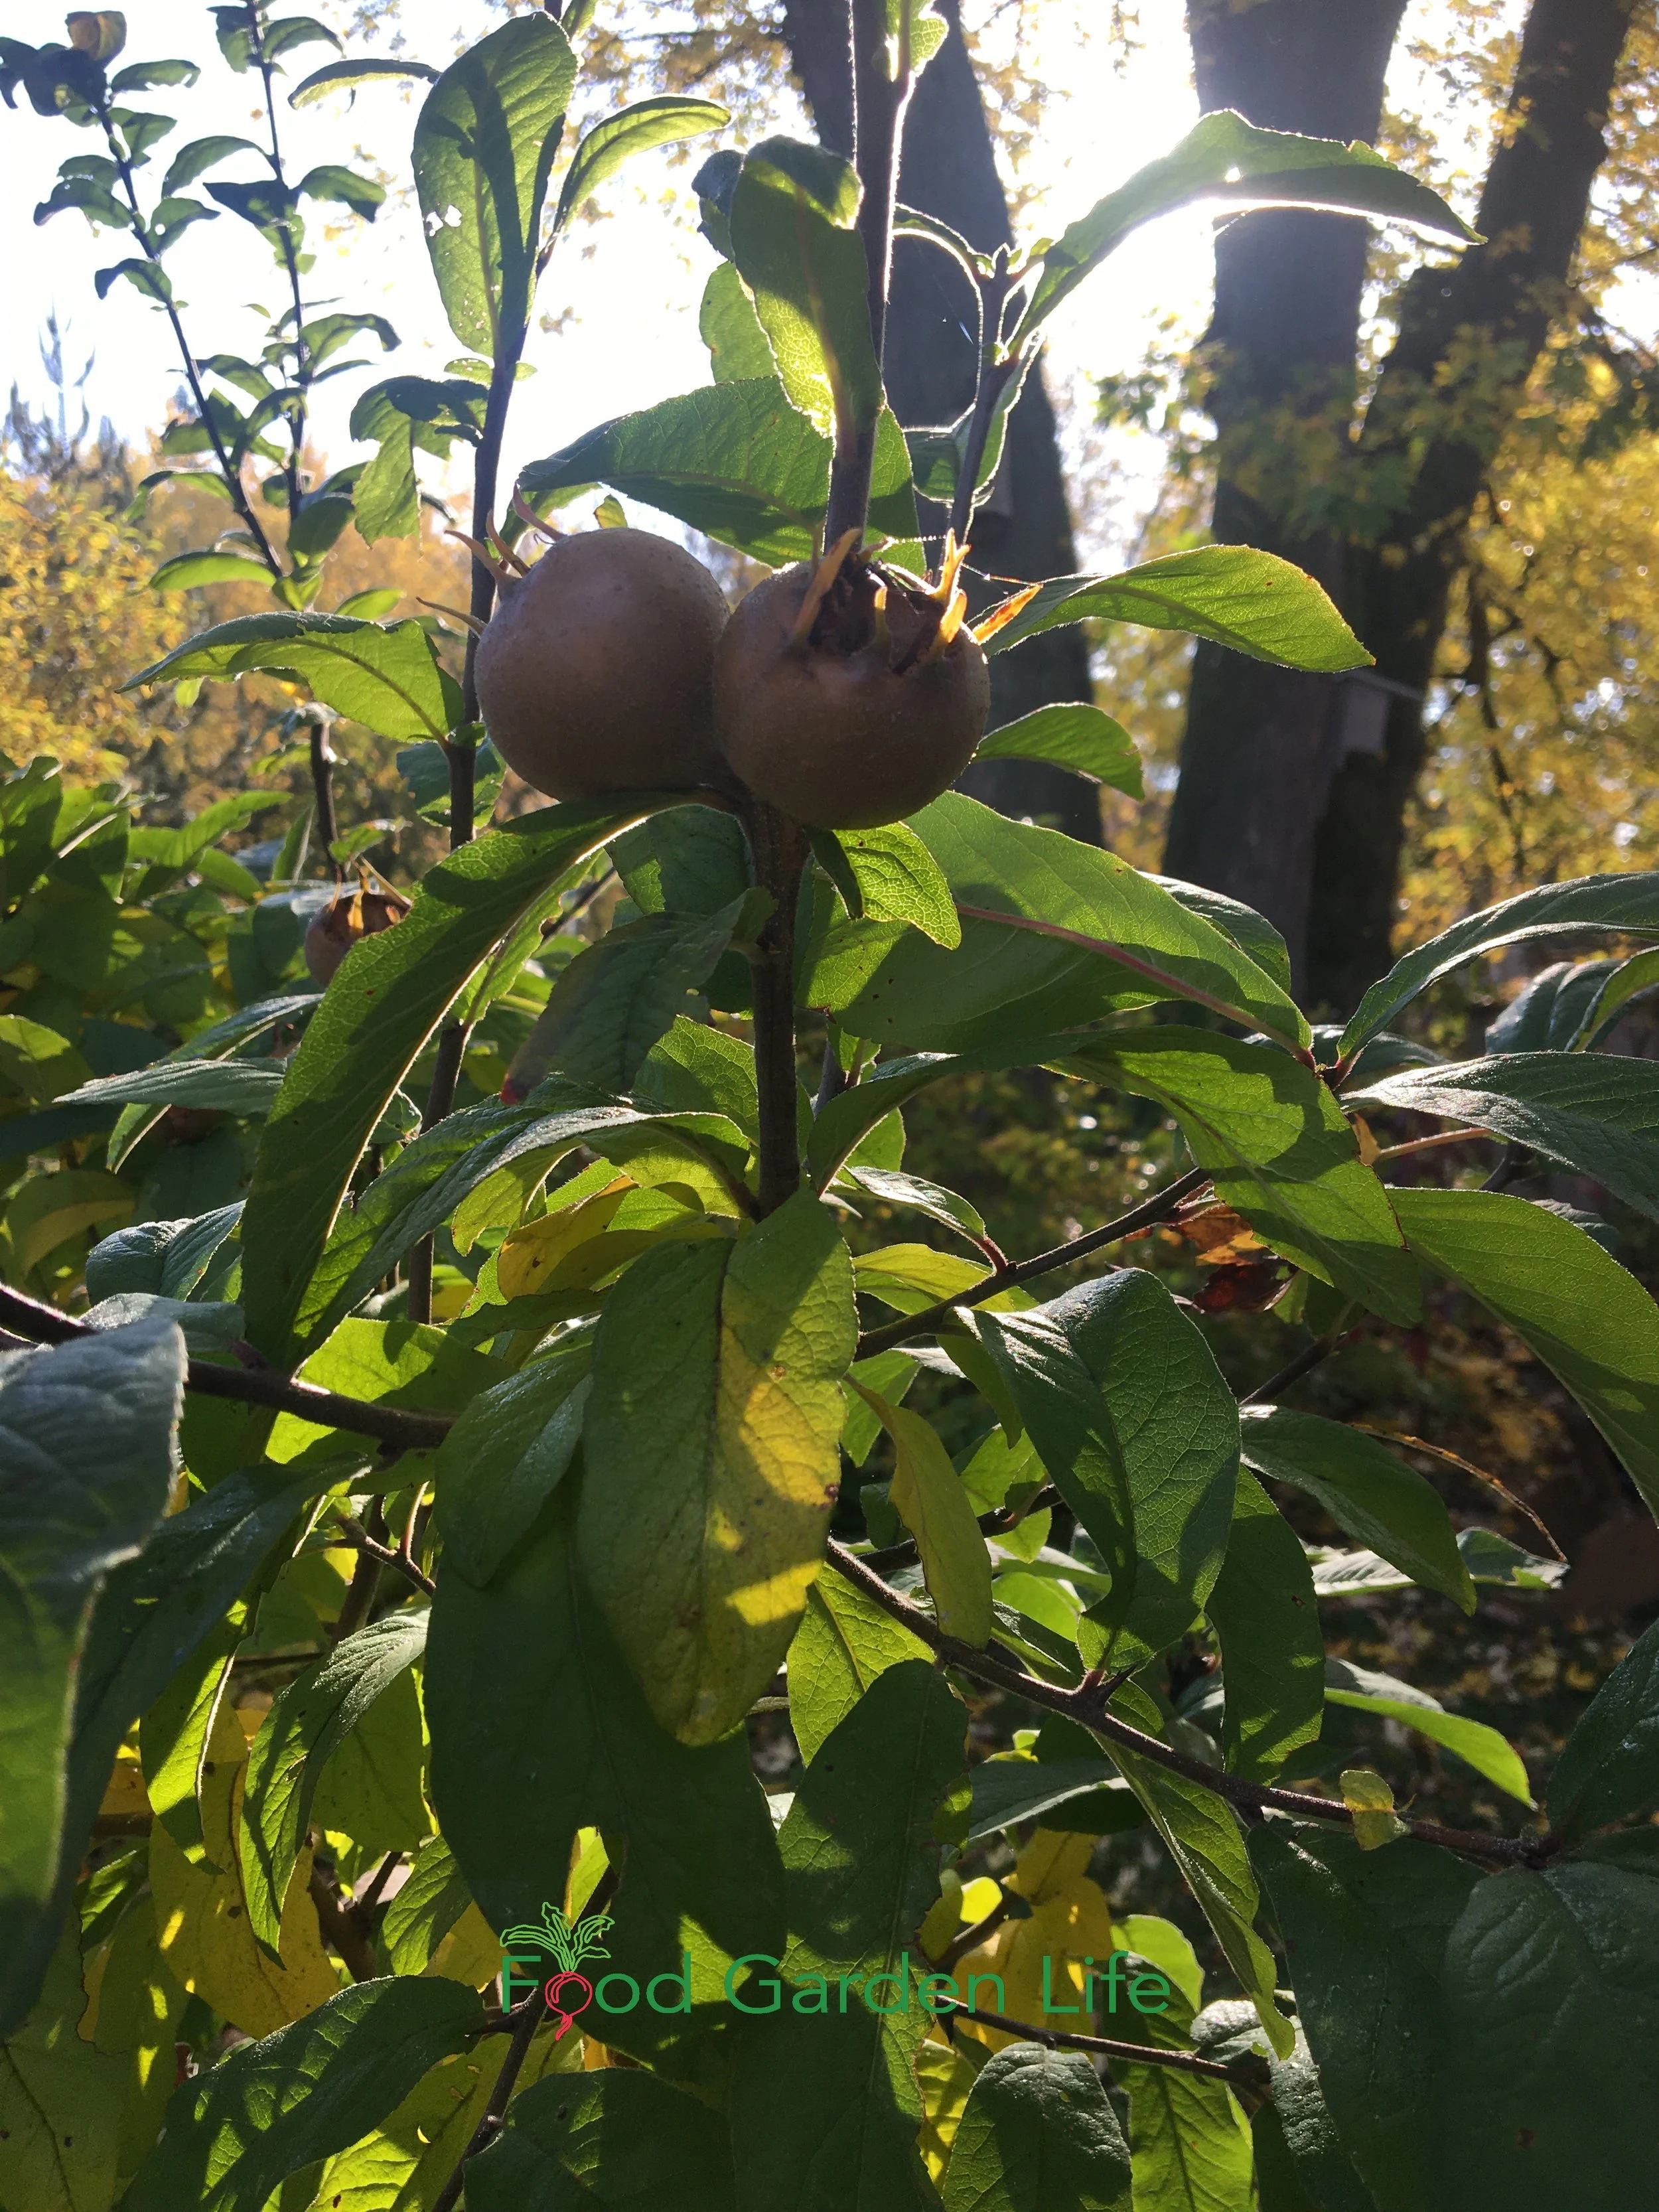
Don’t pick medlars too early. Even though the trees in the background are changing colour, these medlar fruit can stay on the bush until it drops its leaves.
(You can harvest earlier, if the fruit are fully sized up…but without the frost, it takes longer for them to be ready to eat, after a treatment called “bletting.”)
Bletting Medlar
There’s a special word we use with medlar, the verb “to blet.” It means to give the fruit time to ripen and soften. I’ve seen some sources liken this to “decay” though I think that’s a bit harsh. We give wine time to reach its best, so why not medlars!
Don’t skip the bletting process. You won’t try to eat an unbletted medlar more than once because of the pucker power! Just like an unripe persimmon.
But when bletted, the white, acrid flesh becomes a brown apple-like puree with a sweet taste. To me it tastes a bit like very sweet fig with a touch of citrus.
Here’s more on bletting:
To make them last longer, blet your medlars in a cool spot
If you want them sooner, blet them on a plate in the kitchen
Either way, the timeframe measures in weeks
Face the eye (called the calyx) downwards
Some people place them in sawdust or a bed of straw, although I’ve never done this
As bletting progresses, the skin turns a darker brown and begins to wrinkle.
If you’re picking medlar from your garden in late fall or early winter and it’s already soft, it might not need further bletting. A taste test will tell you.
Landscape with Fruit
That’s easy to grow in a home garden!
Medlar in the Kitchen
The first thing to do if you haven’t tasted medlar before it to take a well-bletted medlar and just scoop out some of the insides—a bit like baked apple—with a spoon. Then taste it as is.
Other uses are to make jam or jelly – or to make a “cheese,” where the pulp is retained, cooked down, then put into a mould to set. (It sets nicely because medlar fruit has lots of pectin.) Fruit cheeses are a nice addition to a cheese platter.
More medlar ideas:
Medlar fruit leather
Medlar compote
Medlar Pedigree
Medlar is in the same family as apples, rose, quince, hawthorn, and pear. But you won’t confuse it with any of these relatives because of its long strap-like leaves.
Because they’re in the same family, medlar is often grafted onto quince and hawthorn rootstock.
Where to Find it
Pity it’s not more easy to find medlar at garden centres. You’ll probably have to find a specialist nursery if you want to buy a medlar plant. Or, if you’re lucky, a fruit-growing enthusiast who can share a plant with you.
I’ve never found feral medlar trees here in southern Ontario. But in some places you might. In Cultivated Fruits of Britain, author F.A. Roach talks about medlar growing in hedges of southern Europe and being used as a hedging material in Florida.
Propagate Medlar
Medlar is usually propagated by grafting onto hawthorn or quince rootstock.
Just like apples, seeds don’t grow to be like the parent plants. They don’t “come true” from seed.
I’ve never tried growing medlar from seed, but it’s said to be tricky because the hard seed coat causes erratic germination. Seeds need a cold treatment (called stratification). This cold treatment can be from leaving potted seeds somewhere protected from rodents (a shed or garage) or in the fridge.
Get Your Fig Trees Through Winter
And eat fresh homegrown figs!
Medlar FAQ
What are the growing zones for medlar?
Hardiness is never an exact science, and different sources report different levels of hardiness. Many sources suggest USDA hardiness zones 5-8…but I’ve also seen USDA zone 4. A microclimate can help push zone boundaries. You might also be able to track down cold-adapted varieties..I’ve seen medlar near Montreal.
Are there named Medlar varieties?
Yes. But not many. Unlike apples, with countless varieties, there are very few improved varieties of medlar. ‘Nottingham’ and ‘Breda Giant’ are two varieties that I’ve come across here in Canada. But your choice will probably be dictated by what your local specially fruit nursery carries.
Is there another name for medlar?
Yup. The large eyes (calyx) on the bottom of the fruit inspired a number of bawdy references in the past. There are lots of aliases for medlar. A common one is “open-arse.” I’ll leave you to research the rest.
Is it true that the Romans at medlar?
Apparently. I’m no historian, but here’s a very fun article that tells you about the history of medlar.
What is the botanical name?
Mespilus germanica
Medlar Jam Recipe
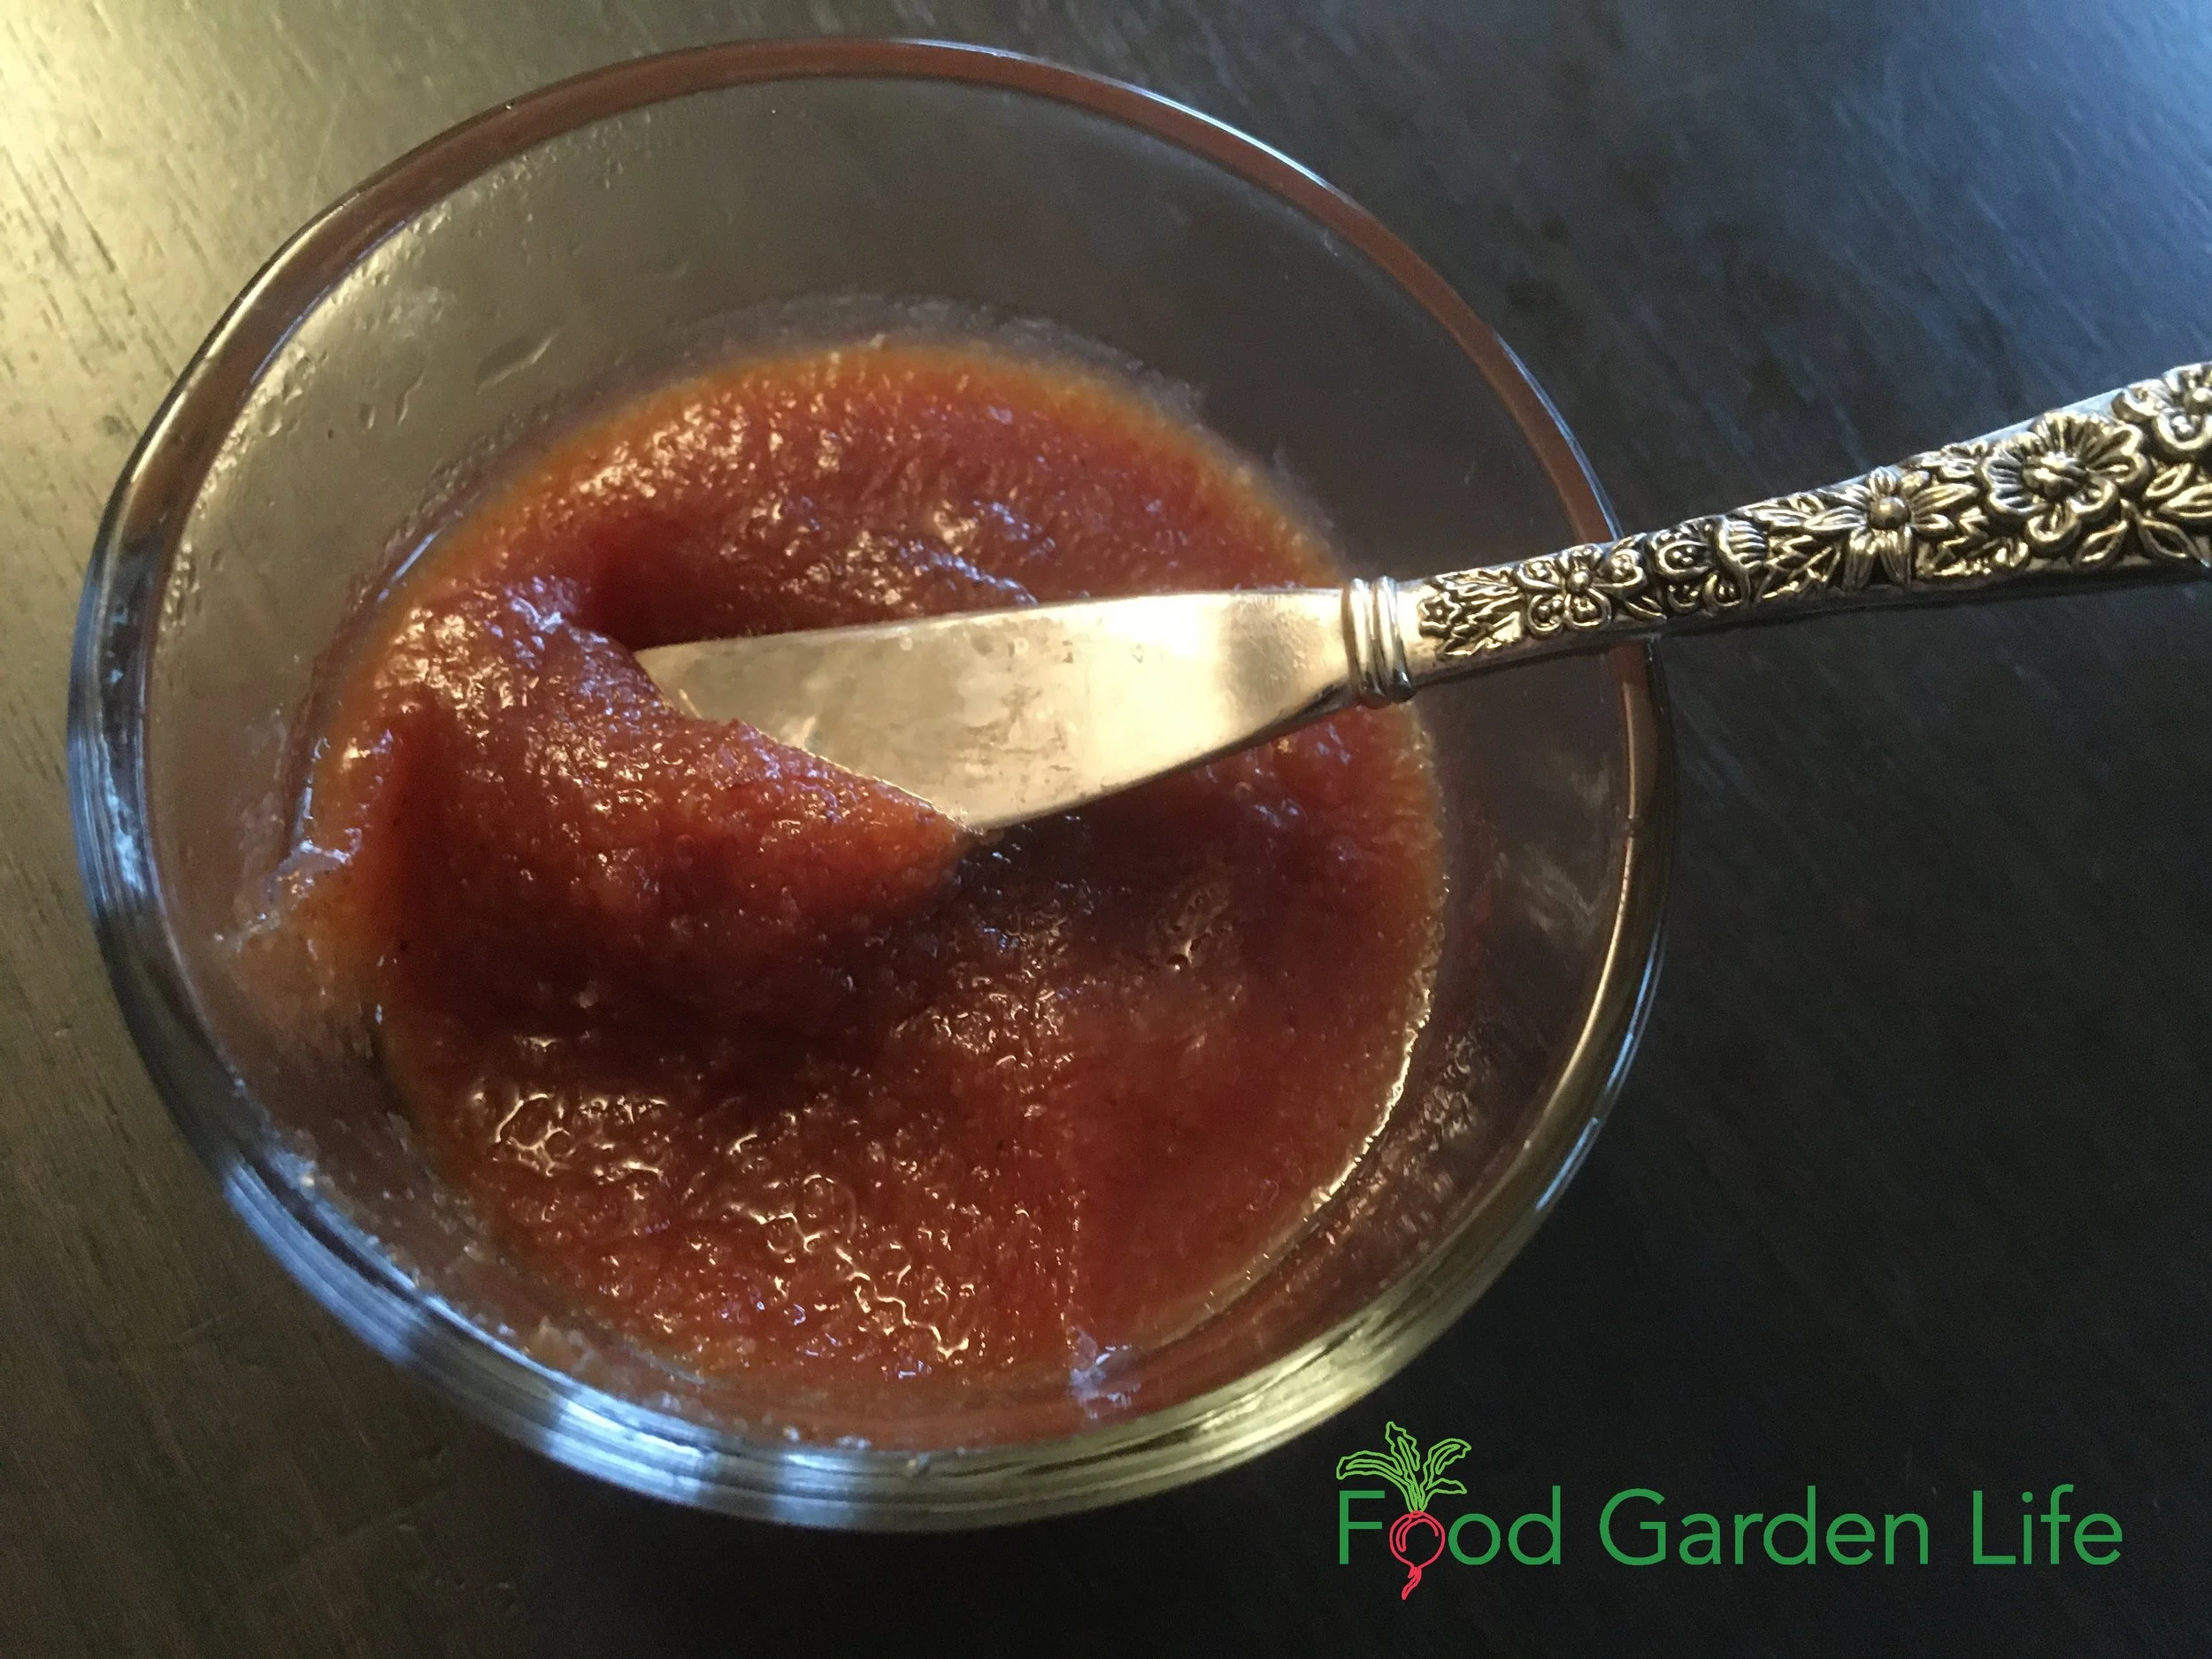
Medlar jam
Ingredients
Medlar fruit, well bletted
Lemon
Sugar
Water
Directions
Cut up medlars and put in a pan (if you are saving seeds to grow, remove them now, before cooking)
Add enough water to cover the fruit
Simmer until you have a brown pulp
Strain (some people use cheese cloth or a jelly bag to make a very clear jelly…but I just use a coarse sieve…which lets through some pulp, giving me jam)
Measure the liquid you’ve just strained out – and for each pint of liquid, add 1 ½ cups of granulated sugar, and the juice of ½ a lemon
Boil until you get to the setting point
A note on setting point. I’m no expert at making preserves, but here’s what I do:
I put a saucer into the freezer for a few minutes before I need to test for the setting point. Then, when I’m ready to test, I put a spoonful of the jelly on the plate. If I press into it and get wrinkles, I figure I’m done.
More About Growing Fruit
Find out How to Harvest More in These Masterclasses
Articles and Interviews
Mom's Cranberry Sauce Recipe
How to make homemade cranberry sauce. This cranberry sauce recipe includes orange (or other citrus).
By Steven Biggs
How to Make Cranberry Sauce
Mom and Dad loved entertaining for Thanksgiving.
They’d cook a turkey on the BBQ, and Mom always had homemade cranberry sauce ready.
Find out how to cook a turkey on a charcoal BBQ.
Secret Ingredient for Cranberry Sauce
Mom’s cranberry sauce always included orange:
orange juice
and orange zest
She’d explain to our Thanksgiving guests how well orange pairs with cranberry—and how easy is is to make your own cranberry sauce.
I recommend that you make your cranberry sauce in the morning (or a day ahead) so that there is time for it to set.
Cranberry Sauce Recipe
Ingredients
4 cups of cranberries (the bags of cranberries available at supermarkets here contain 4 cups)
1 1/2 cups of sugar (or less, if, like me, you prefer a tangy sauce)
Juice and zest of an orange
Water
Directions
Zest the orange
Juice the orange
Add enough water to the orange juice so that you have 1 1/2 cups of liquid
Put cranberries, liquid, zest, and sugar into a pot
Bring to a boil (the berries should start to pop after about 5 minutes)
Once the berries have popped, keep simmering for a few minutes until the sauce thickens
Allow to cool, pour into whatever dish you’ll be serving it in, and then refrigerate
As the sauce cools, it will set
Cranberry Sauce Recipe Variations
Because I grow my own citrus plants, I sometimes change the recipe to use whatever citrus I have on hand.
Ponderosa lemon zest, which has a unique flavour, is a nice addition to cranberry sauce
Yuzu zest and juice make a wonderful cranberry sauce (I like it sweetened with honey)
Add the floral taste of yuzu fruit to your cranberry sauce! I like to make a cranberry sauce using yuzu and honey.
Charcoal BBQ Rotisserie Turkey
How we cook a whole turkey on a charcoal barbecue using a rotisserie spit.
By Steven Biggs
BBQ a Turkey
Our kitchen is a busy place around Thanksgiving and Christmas holidays. There’s family, guests, and lots of food prep underway.
But we cook our turkey outdoors, roasting it on our charcoal BBQ.
We barbecue a whole turkey outdoors for our Thanksgiving and Christmas meals. It frees up space in the oven. It’s also a social thing – Dad and me outside, tending the BBQ. And, most importantly, it makes for a very delicious turkey.
If you’re new to roasting a whole turkey – or new to charcoal cooking, it might seem daunting. But it’s not difficult.
I show you the steps of our outdoor turkey-roasting process below.
Rinse the Turkey?
Mom taught me to put the turkey in the sink and rinse it, both inside and out. This is a step some people swear by – while others recommend skipping it.
The rationale for not rinsing is that rinsing can spread around microbes from the raw poultry – increasing the chance of contaminating other food. (That’s also what the Turkey Farmers of Canada recommends.)
So I skip rinsing. Sorry Mom!
Prepare the Cavity
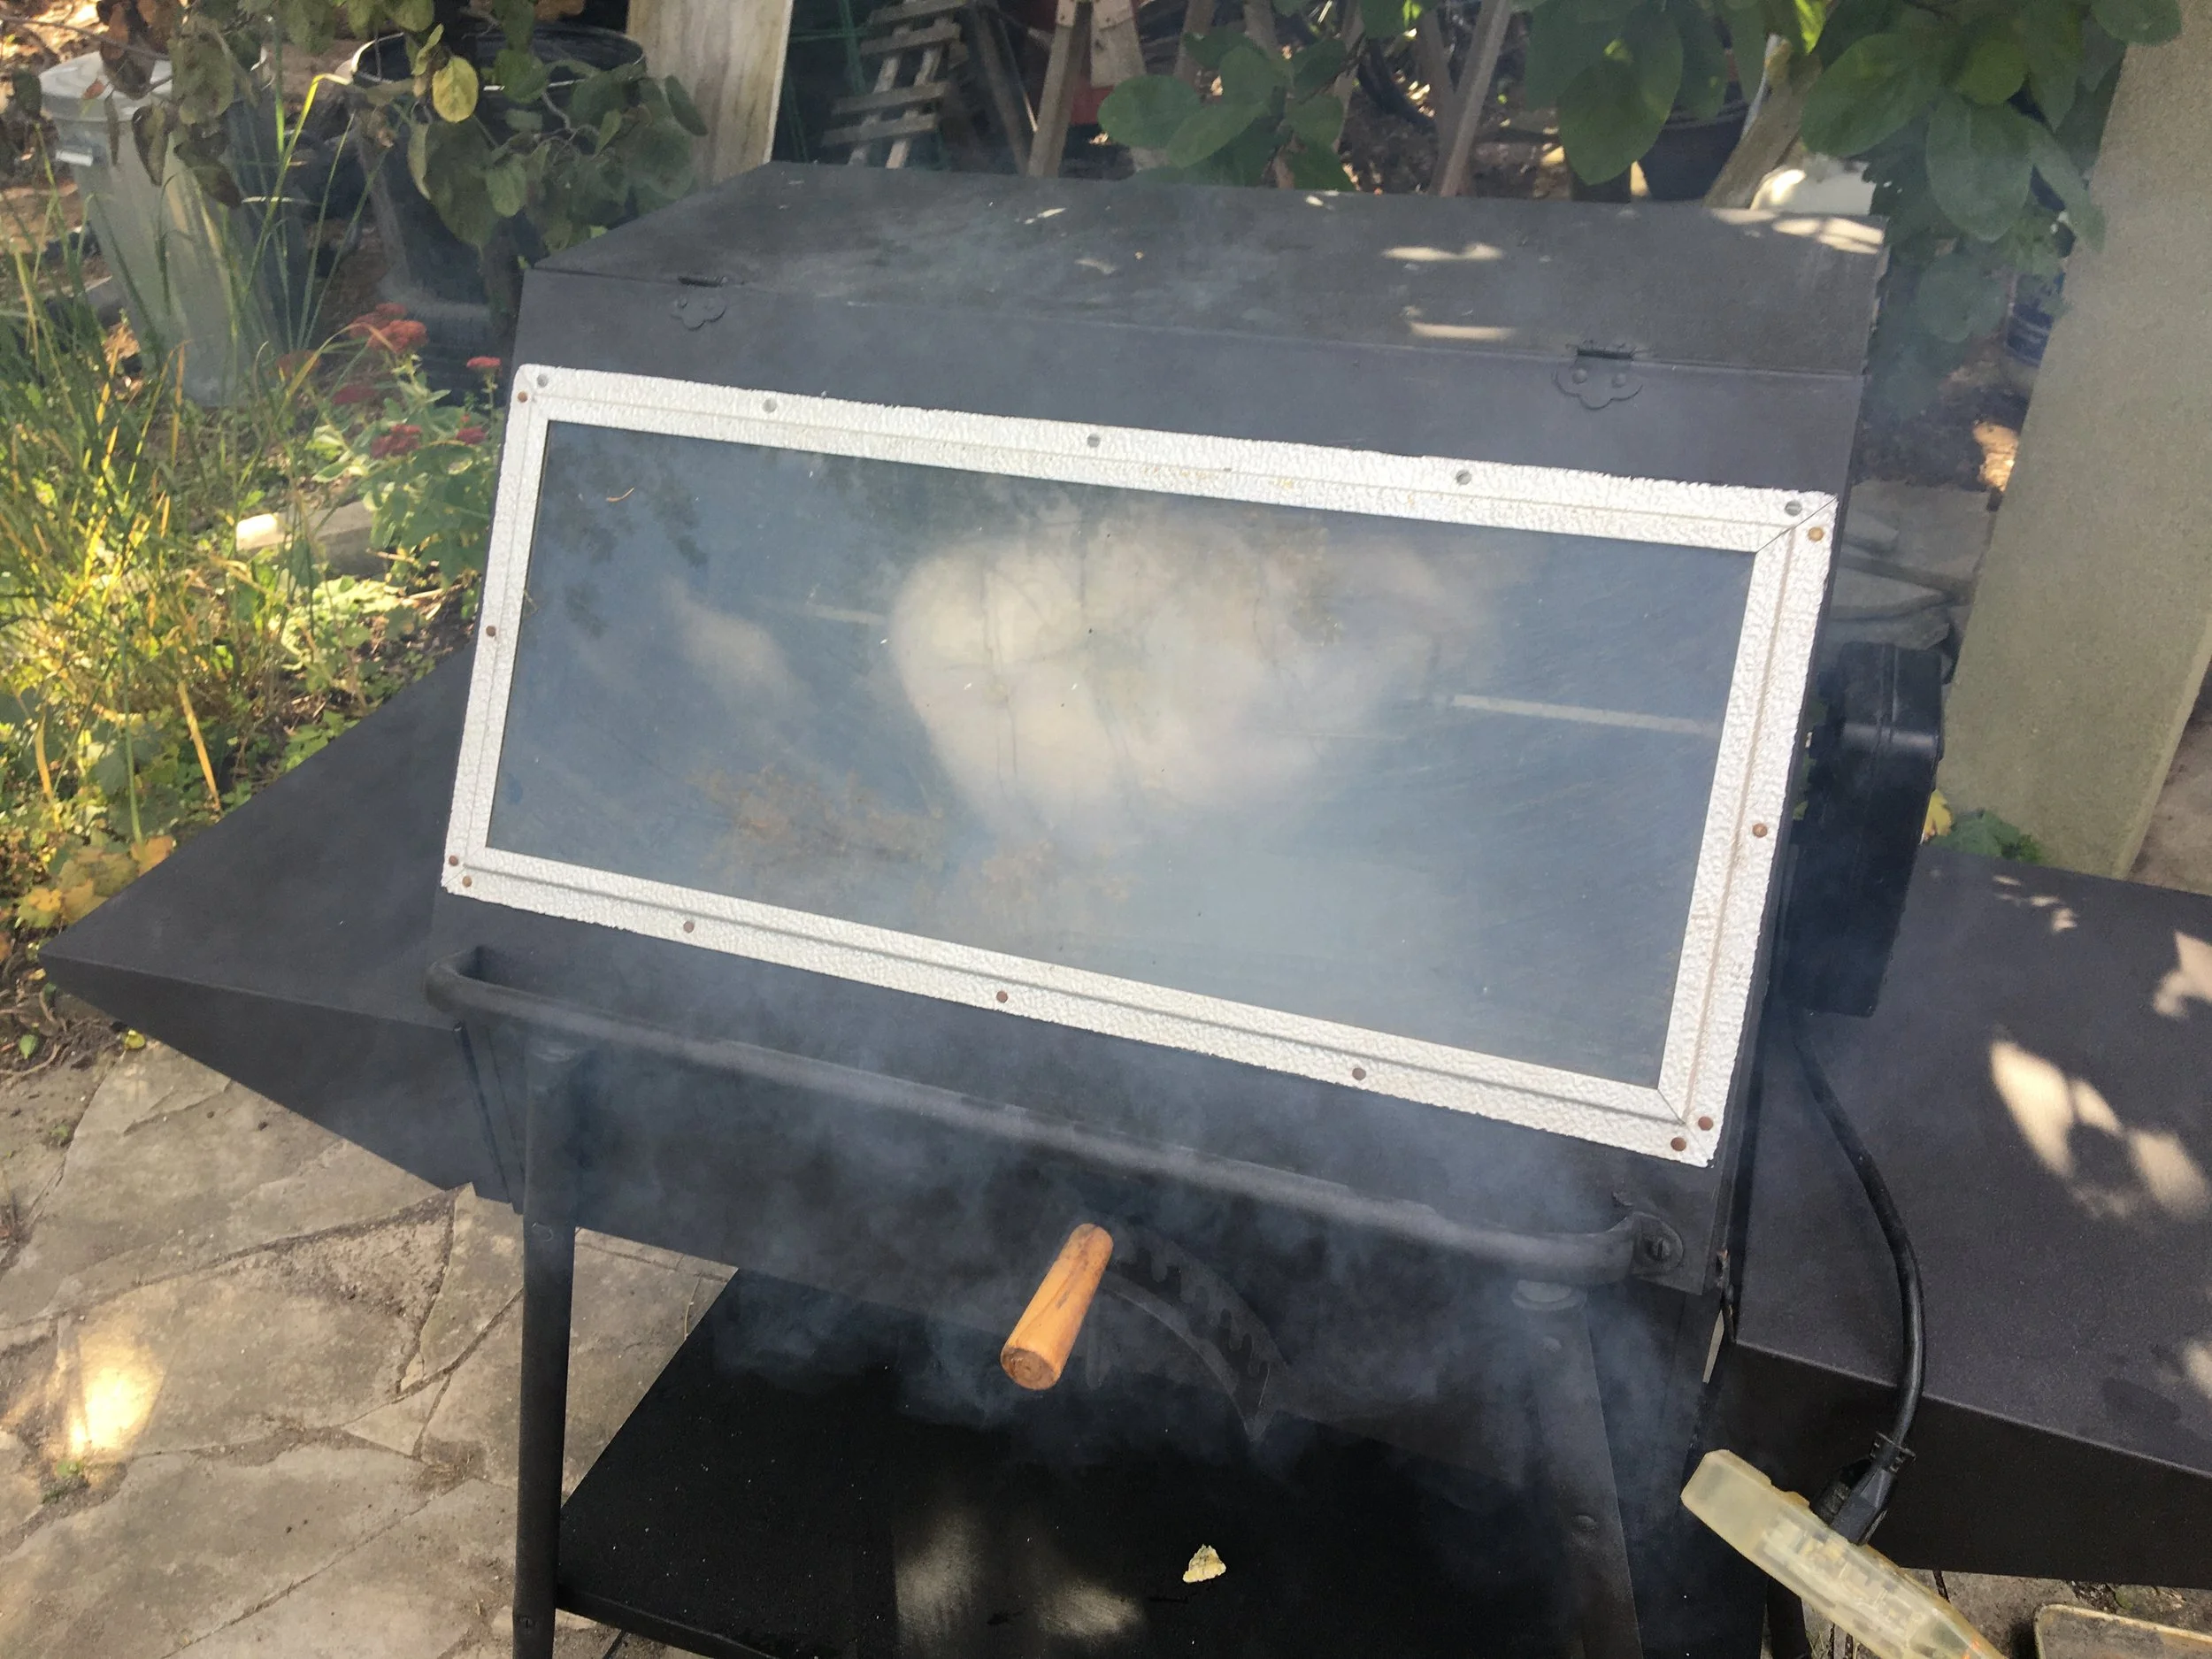
We cook our Thanksgiving turkey outdoors, roasting it on a charcoal BBQ.
Some turkeys come with the giblets placed inside the cavity. (Giblets are the liver, heart, gizzard, and neck.)
Put your hand in and feel around for the giblets. Sometimes they’re wrapped in plastic…and you definitely don’t want that roasting away inside your turkey. I’ve sometimes found the neck in the cavity, and the liver under the flap of skin where the neck used to be…so check both these places.
After I’ve retrieved the giblets, I rub salt around the inside of the cavity.
Make a Rich Gravy with the Giblets
My father-in-law loves fried giblets. It’s a treat for him while the turkey is cooking. Nobody in my house likes to eat the giblets – but that doesn’t mean I let them go to waste. I put the giblets into a saucepan with water, and simmer them to make a flavourful stock. I usually simmer the giblets with bay leaves, an onion, garlic, celery, and parsley. After it’s reduced by about half, I discard the giblets, and use the stock to make gravy.
Whether to Stuff Your Charcoal BBQ Rotisserie Turkey
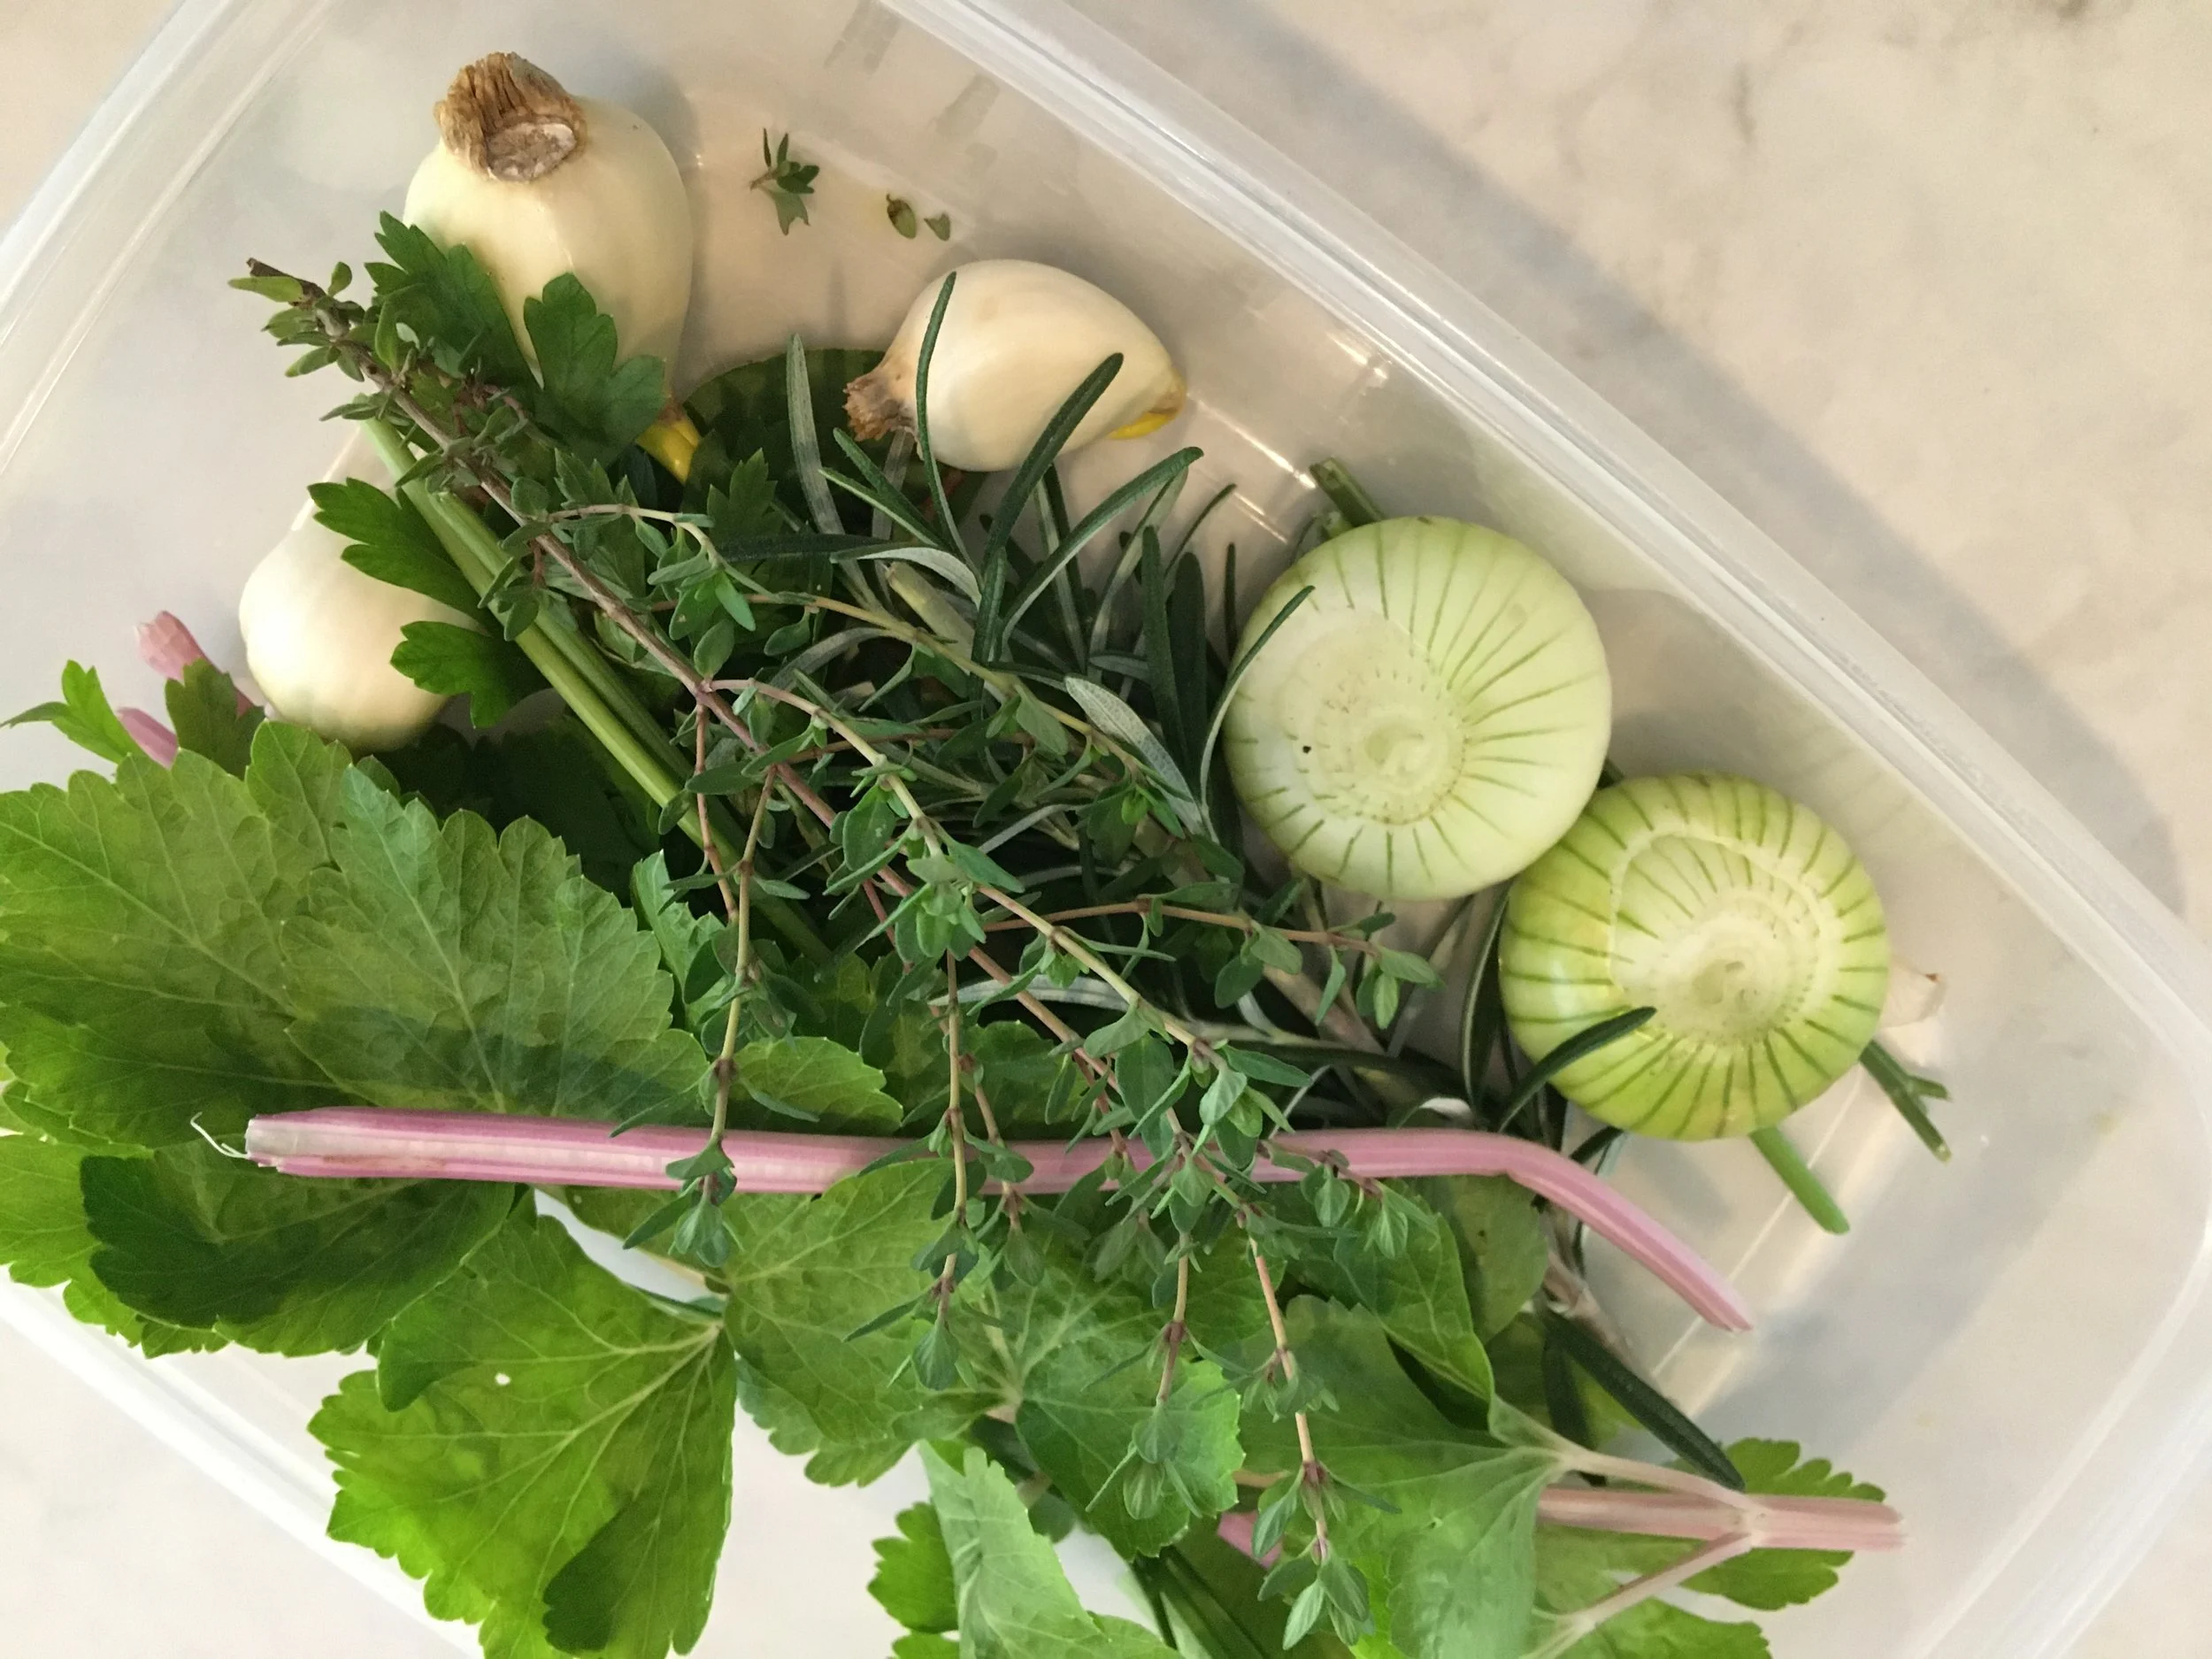
I put bay leaves, rosemary, parsley, thyme, an onion, garlic cloves, and celery into the cavity.
I don’t stuff rotisserie turkey. It’s easier to cook stuffing separately, in the oven. I’ve had too many episodes of escaping stuffing.
While I don’t cook my bread stuffing in the bird, I do put things inside the turkey to give a nice flavour as it cooks. Here are things that I put in the cavity while it cooks:
Bay leaves (or, lemon leaves)
The squeezed out lemon halves (from the lemon I use for basting, see below)
Parsley
Sprig of thyme
Sprig of rosemary
Onion, halved
Garlic cloves
Stalk of celery
Flavour the Skin
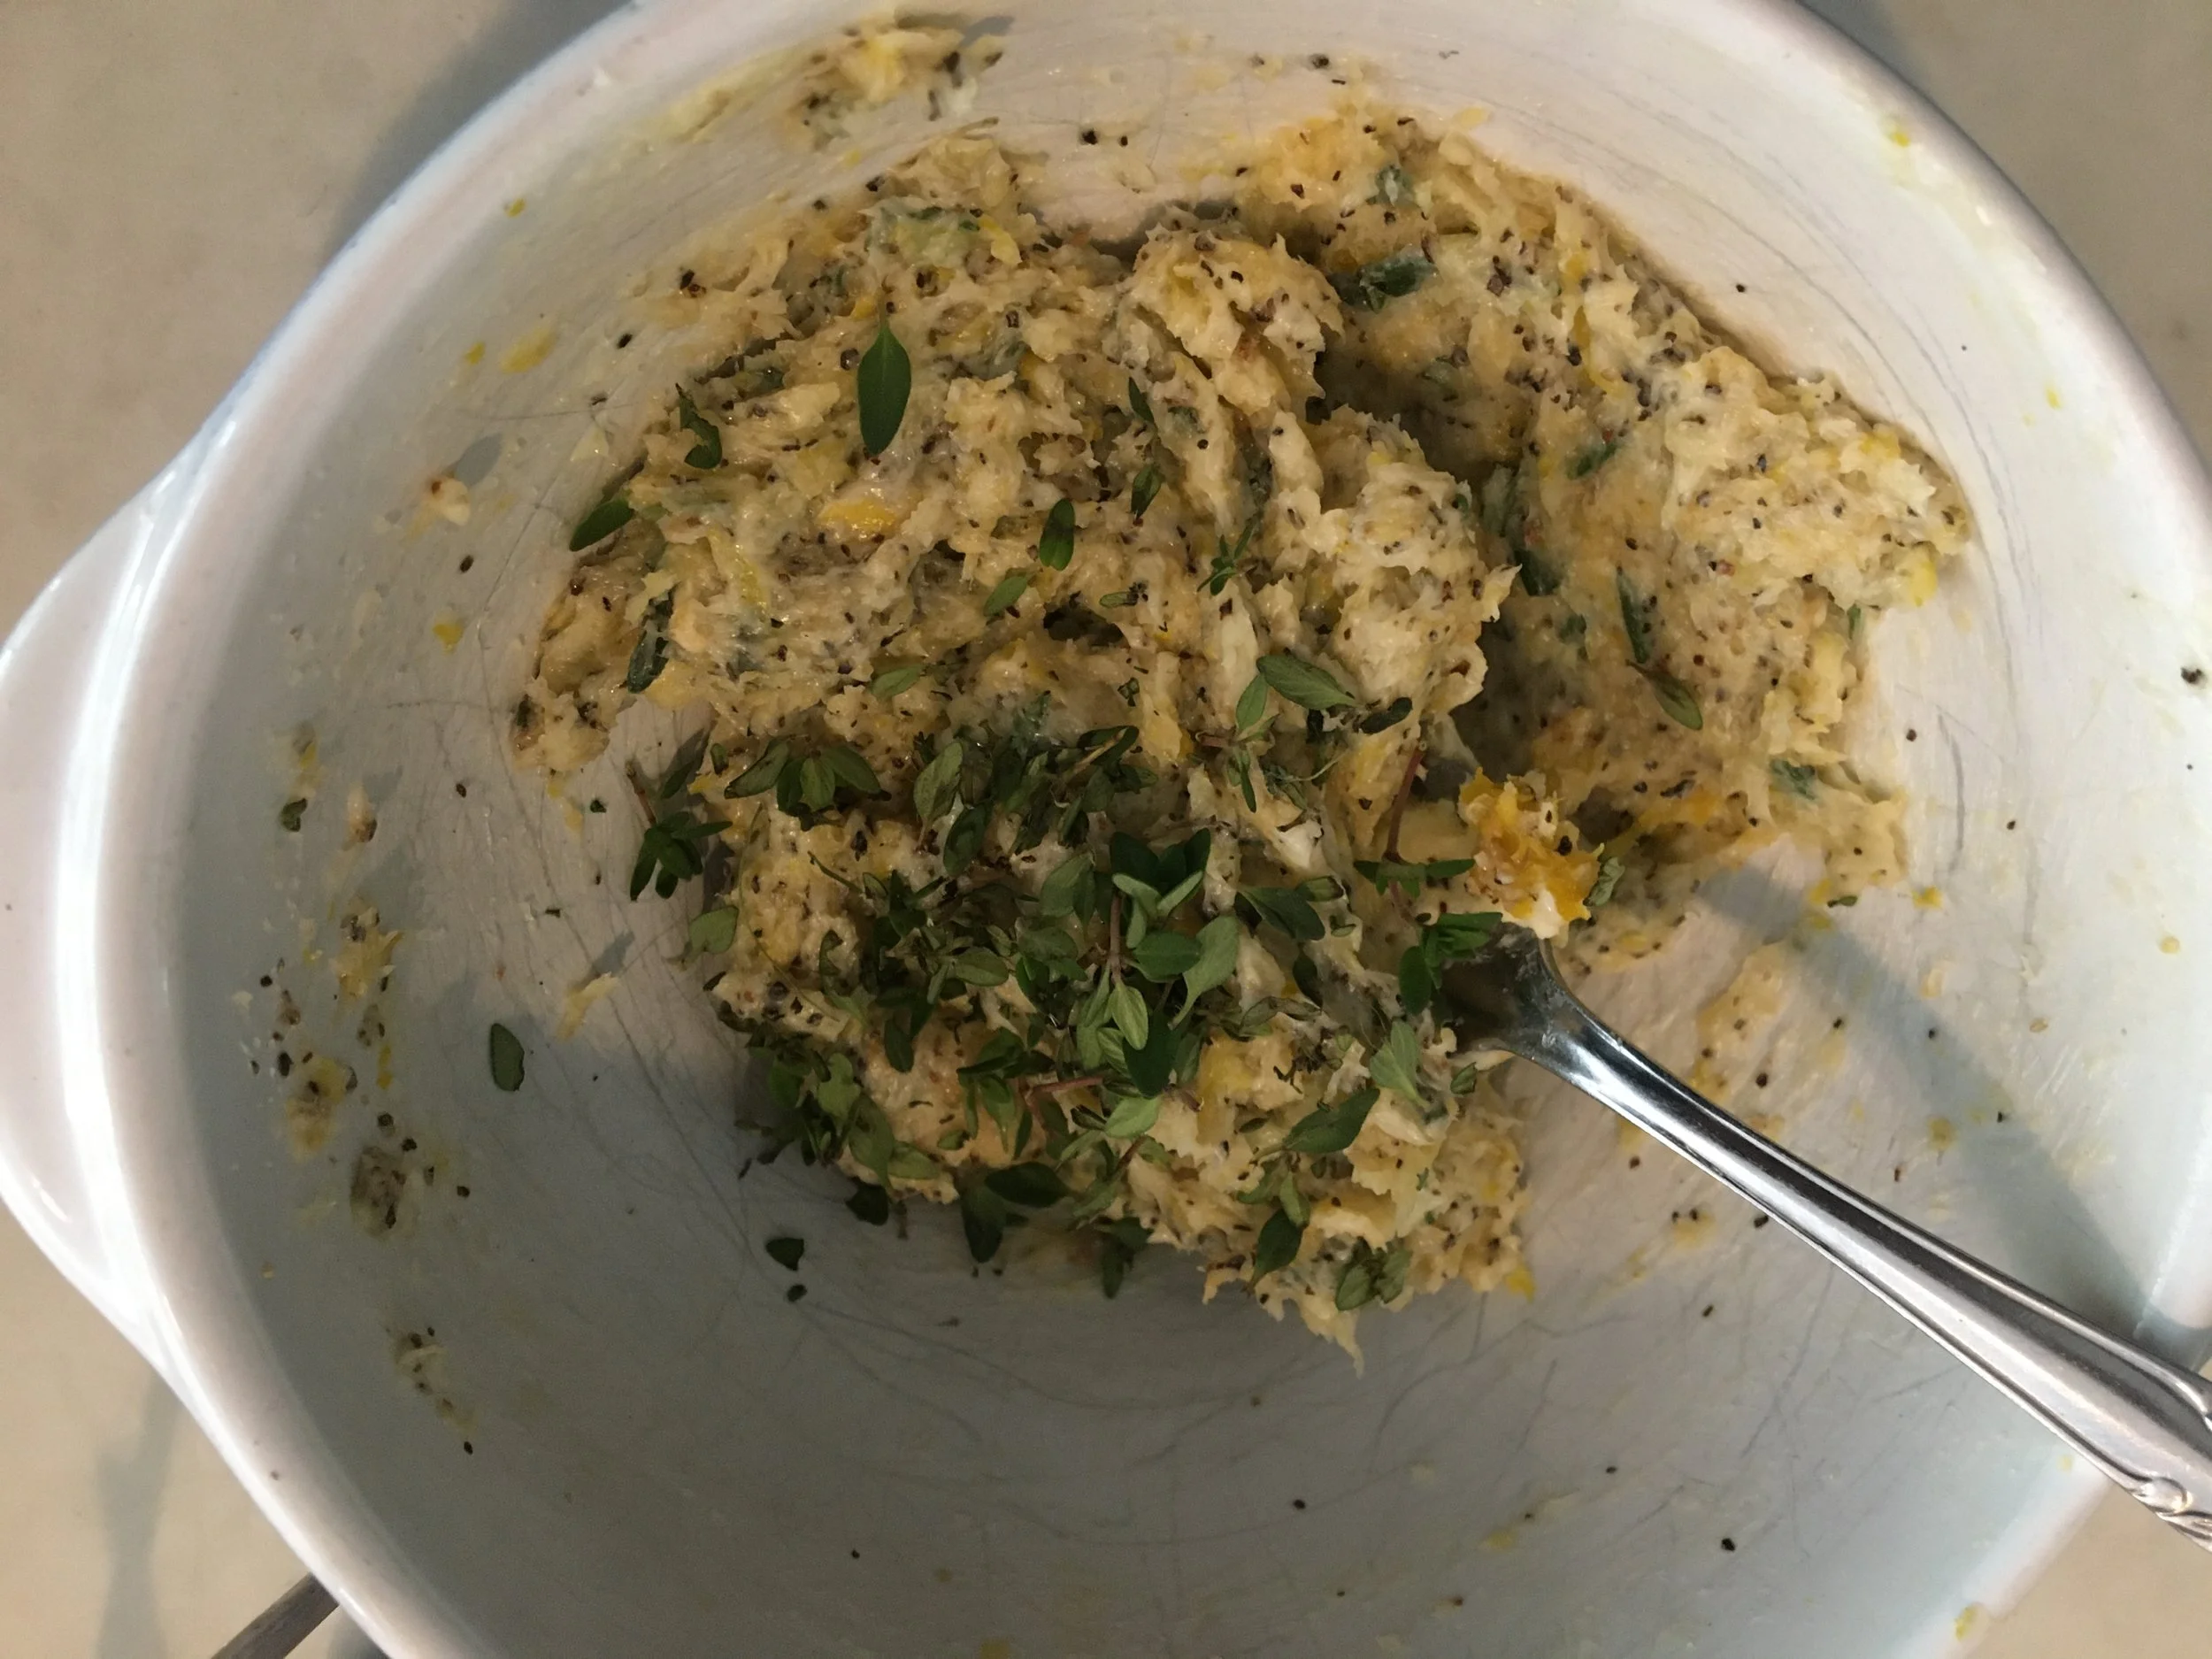
I make up a rub that I put on the skin before cooking. As the bird turns, it bastes itself.
I make up a rub that I put on the skin before cooking. As the bird turns, it bastes itself.
I mix together:
Lemon zest
Soft butter
Generous amount of salt
Copious amount of crushed garlic
Black pepper
Thyme
I know a lot of people like sage. I have overdone it with the sage too many times – and it’s a strong flavour. I skip the sage.
Mount the Turkey on the Spit
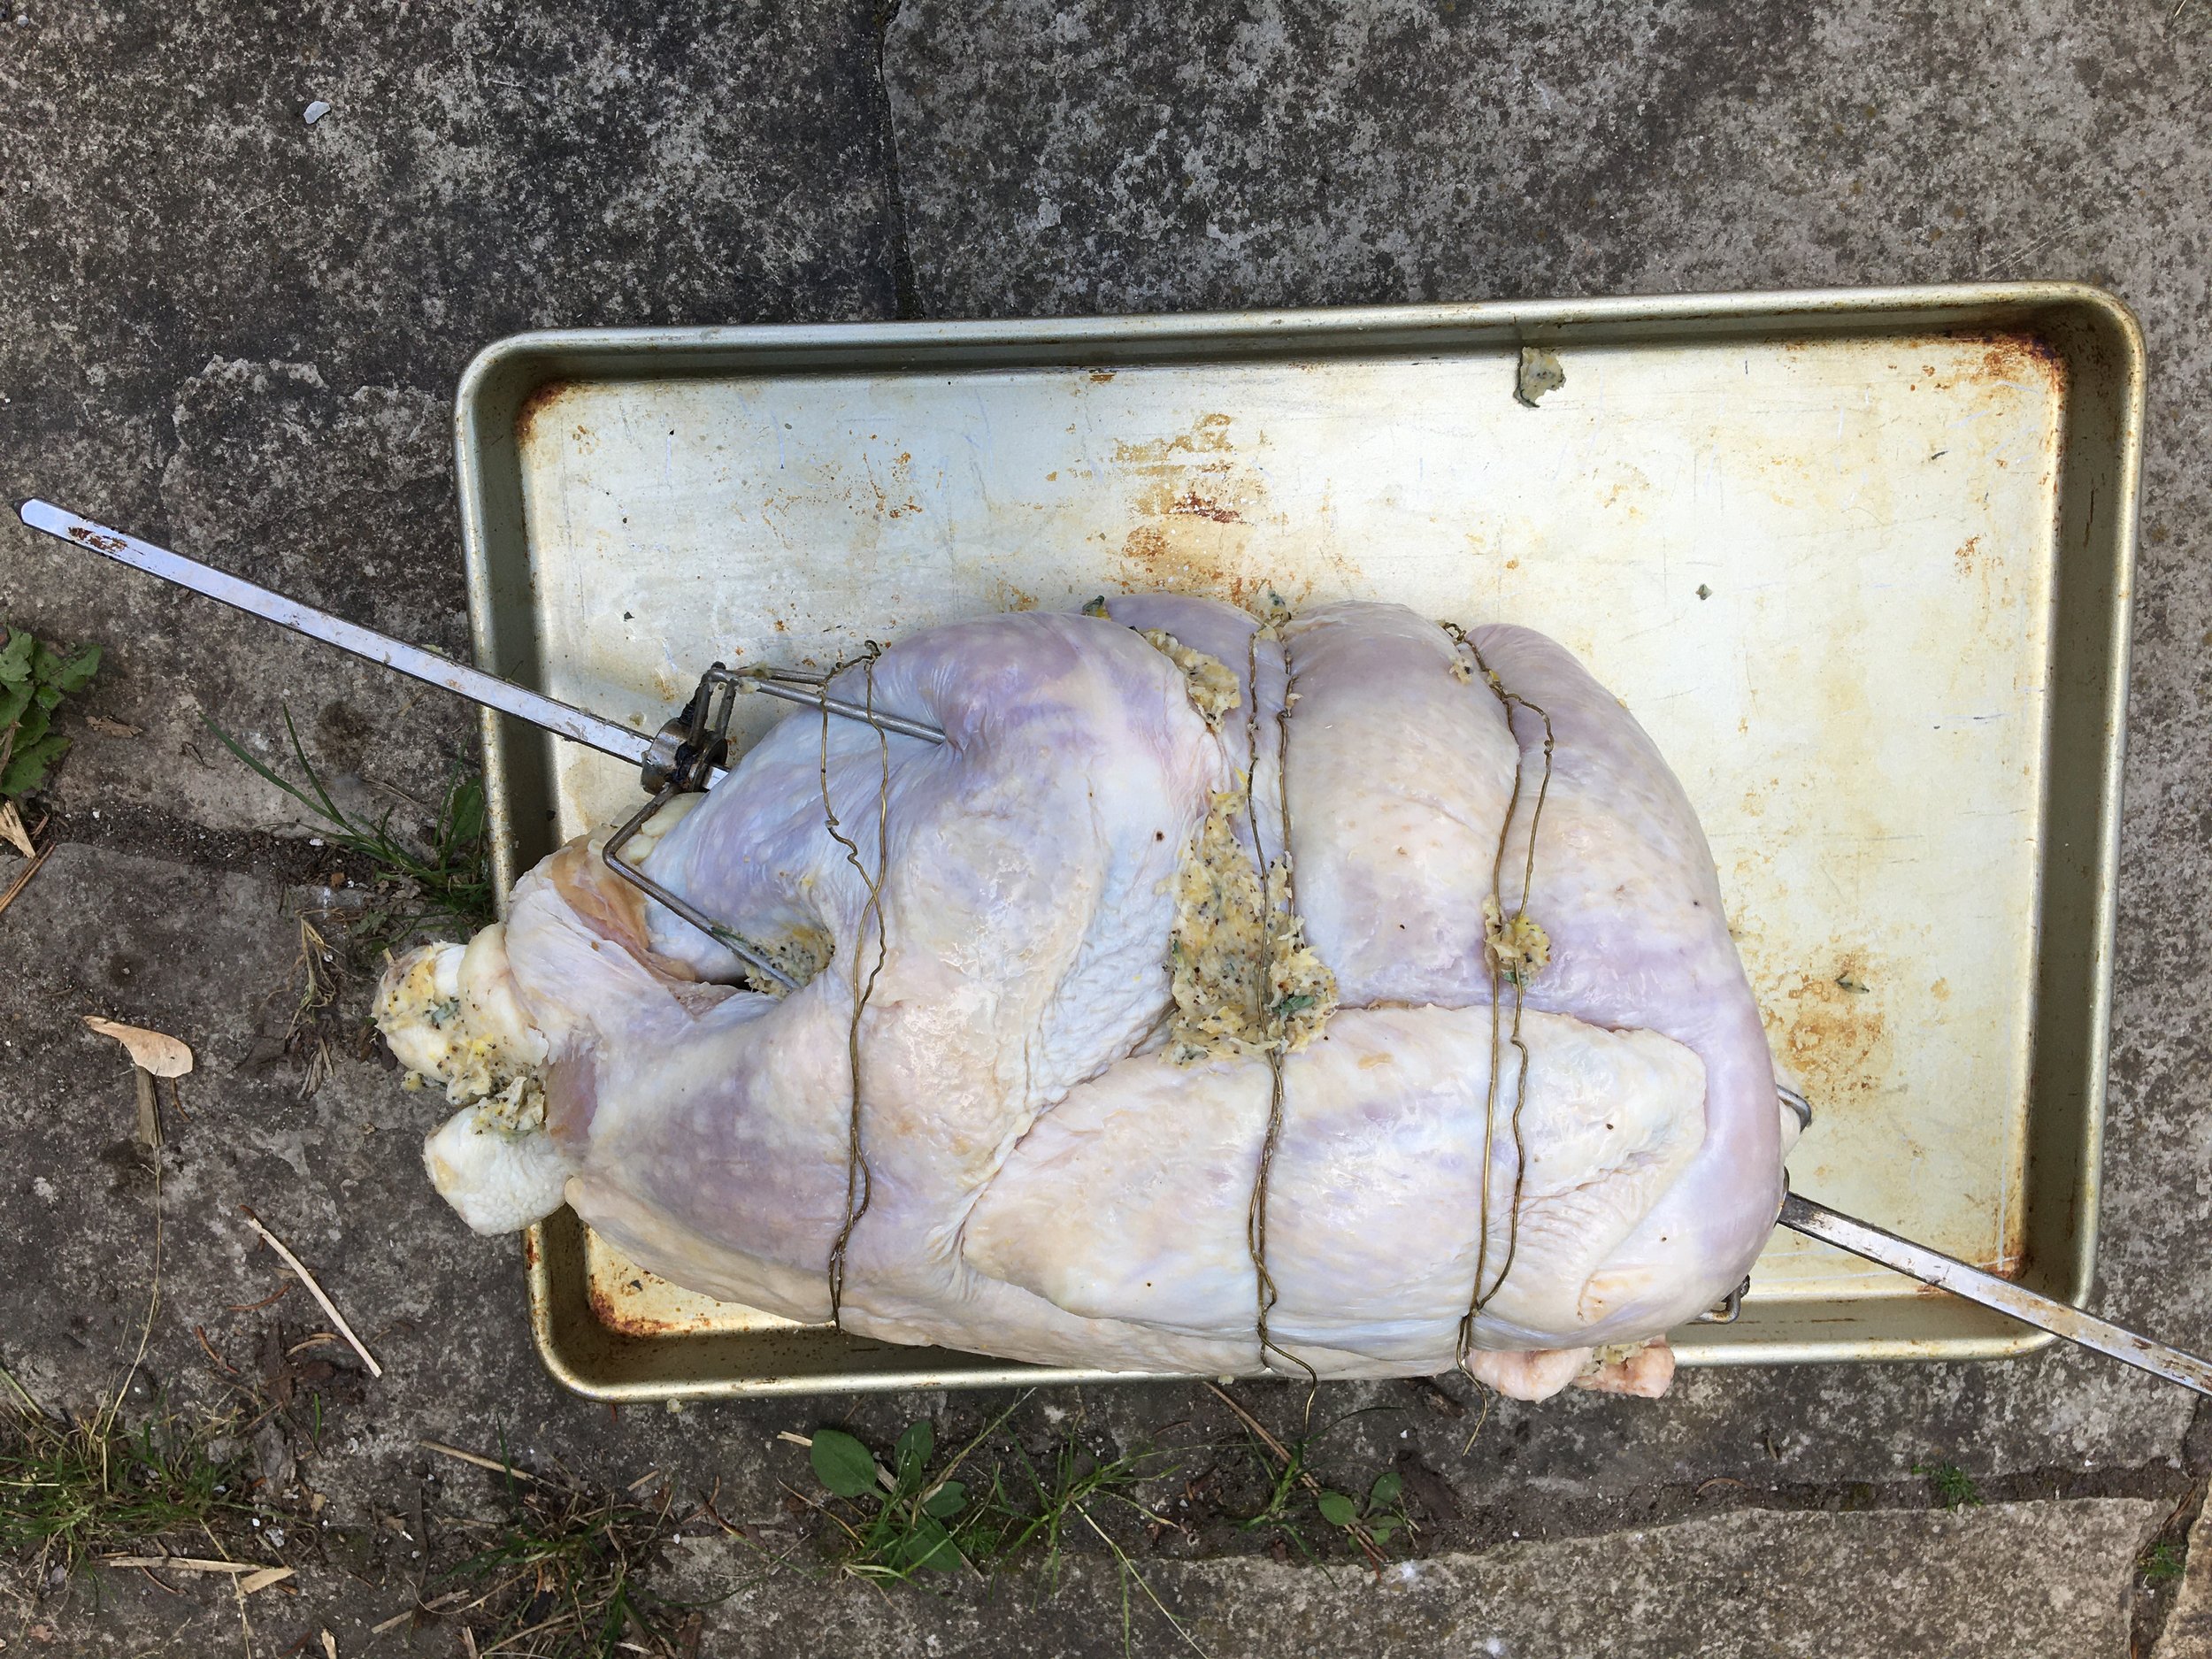
Mount the turkey on the spit so that the weight is balanced. Try turning the spit with your hands; it should rotate a couple of times, not just flop down because one side is more heavy than the other.
It doesn’t have to be perfect – but balanced enough so that the motor isn’t strained from turning a lopsided roast. You don’t want that motor to burn out while you’re cooking!
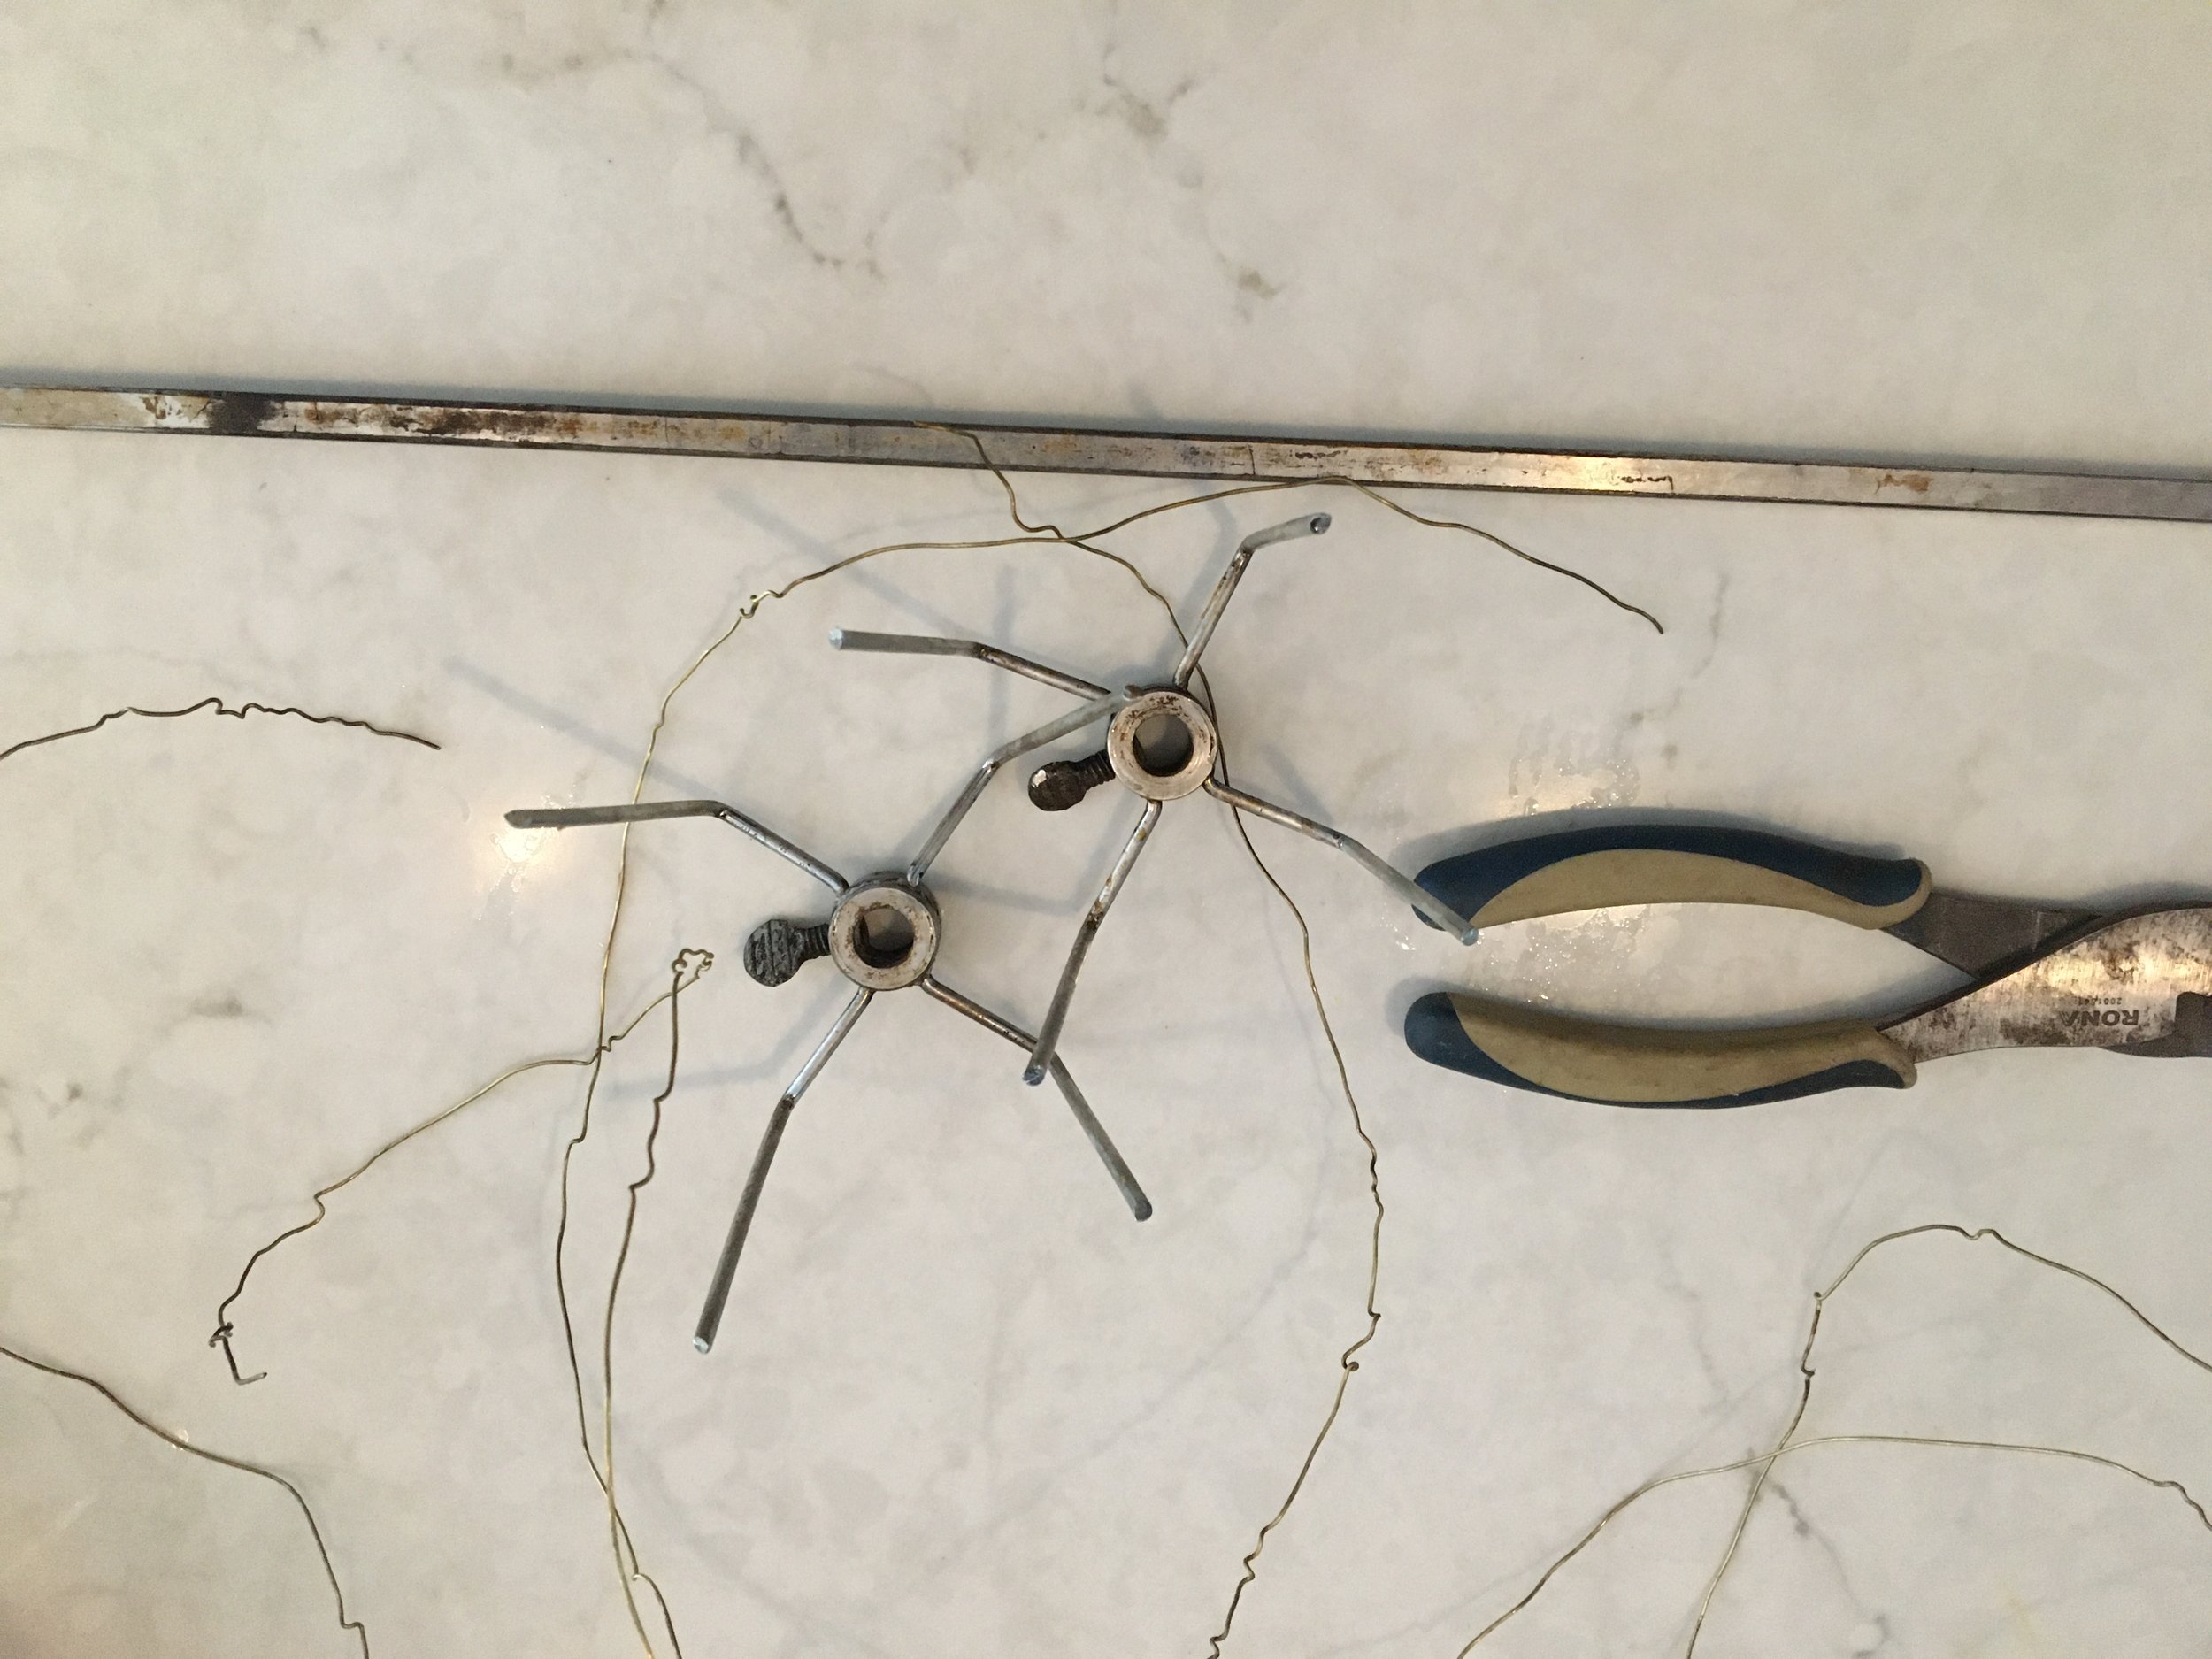
Truss the bird. Tie in the wings tightly. Sometimes there’s a strong flap of skin you can tuck the legs under to hold them in place. If not, tie the legs too. You don’t want your roast flapping its wings as it goes around. I truss with wire – no worries about it breaking in the heat as butcher twine sometimes does.
There are “spit forks” that slide over the spit, and press against and into the turkey. Get these nice and snug so that the turkey doesn’t move around as it turns on the spit.
Preparing the Charcoal BBQ
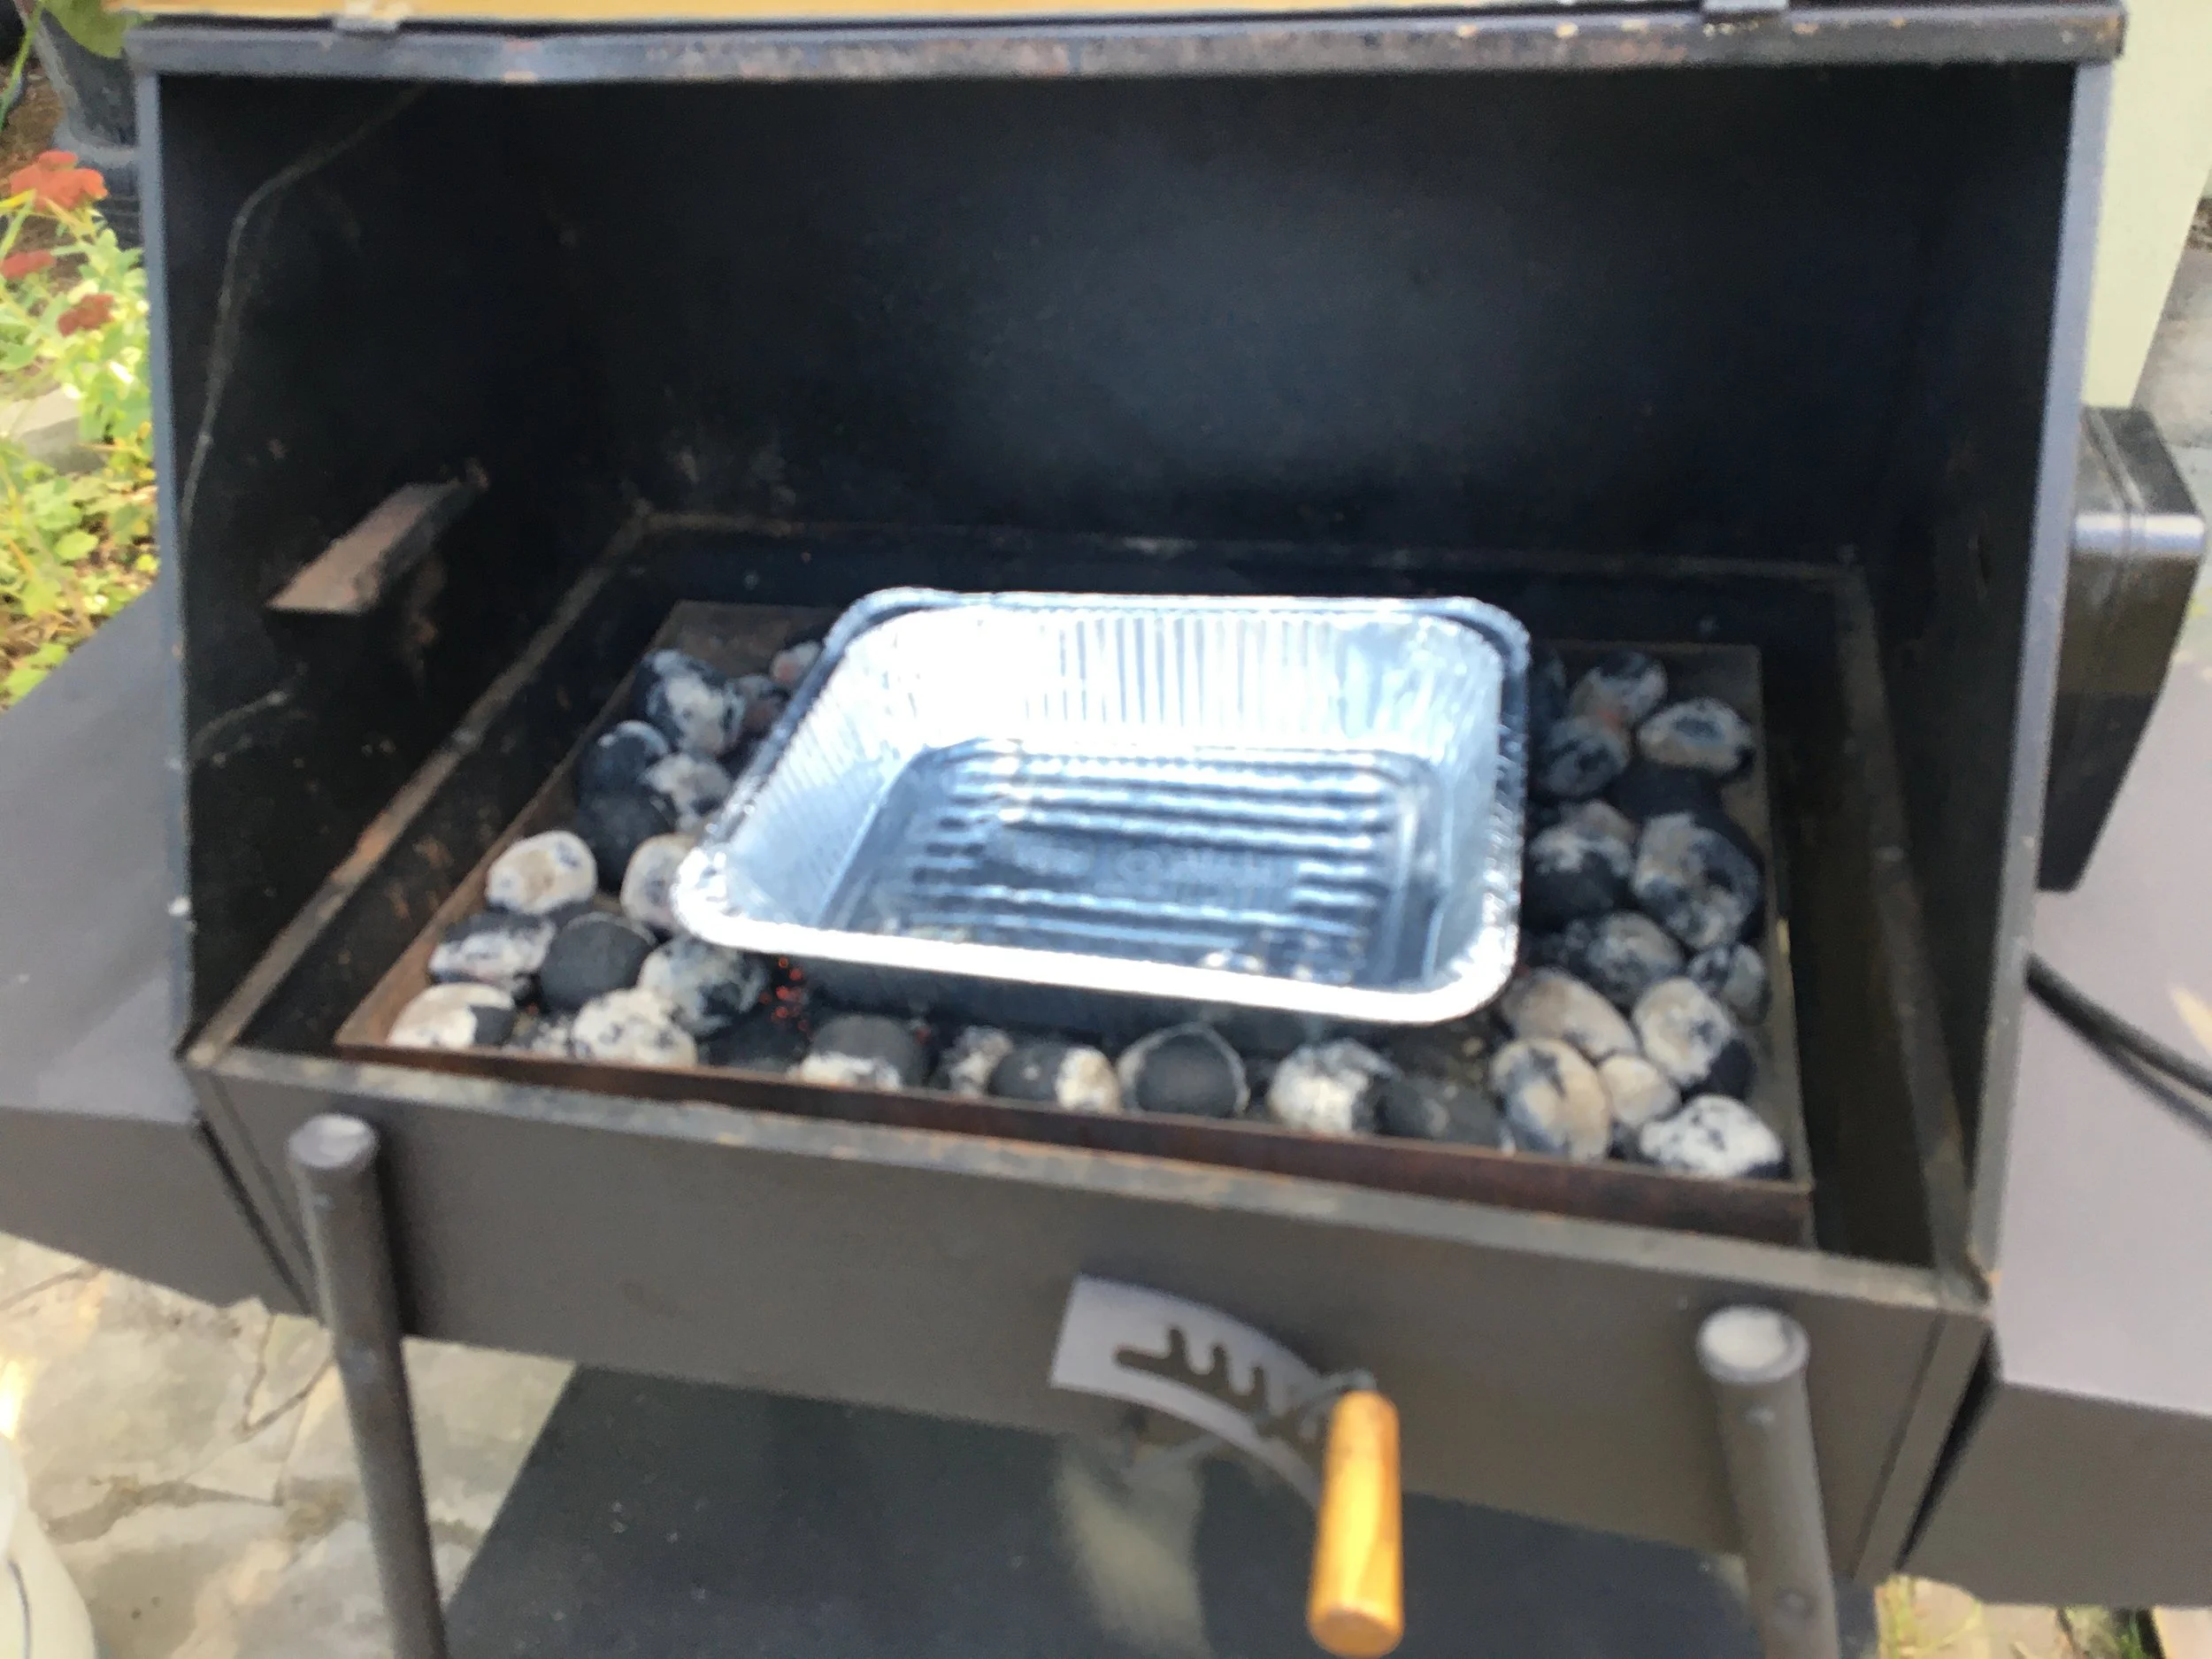
Briquette charcoal placed around a drip tray in the centre of the BBQ.
I use briquette charcoal, which lasts for a long time. I pile the charcoal over an electric starter on an old cookie sheet. Then I place the charcoal around the drip tray, which is in the centre of the BBQ.
The drip tray is important. It catches fat to prevent flare ups. (And some of that fat goes into the gravy.)
Basting Your Rotisserie Turkey
The great thing about cooking on a rotisserie is that the roast bastes itself as it turns.
But I baste it even more as it cooks. The reason is that turkey tends to be a dry meat. Barbecued turkey skin can be leathery, but if you baste it as cooks, you get crispy, golden, flavourful skin.
Here’s what I baste with:
The pot with liquid for basting staying warm on top of the BBQ. It’s a mix of lemon juice, butter, thyme, and salt.
Juice of a lemon
Butter
Thyme
Salt (don’t be stingy)
Enhancing the Smoke Flavour
By cooking your turkey on a charcoal barbecue you already have a smoky flavour. But you can make a nicer smoky flavour with wood from fruit trees. Fruit woods such as apple, cherry, pear, and plum improve smoke flavour.
The trick is to add a bit of fruit wood to the charcoal, without causing a flare-up. To avoid flare-ups, I cut up branches into small pieces, and soak them in water. Then, as the roast cooks, I add a few now and then.
(In my opinion cherry wood gives a delicious flavour, and I save branches I prune from my Nanking cherry bush for when I cook turkey. Find out more about Nanking cherry, a perfect cherry bush for home gardens.)
Check Your Turkey as it Roasts
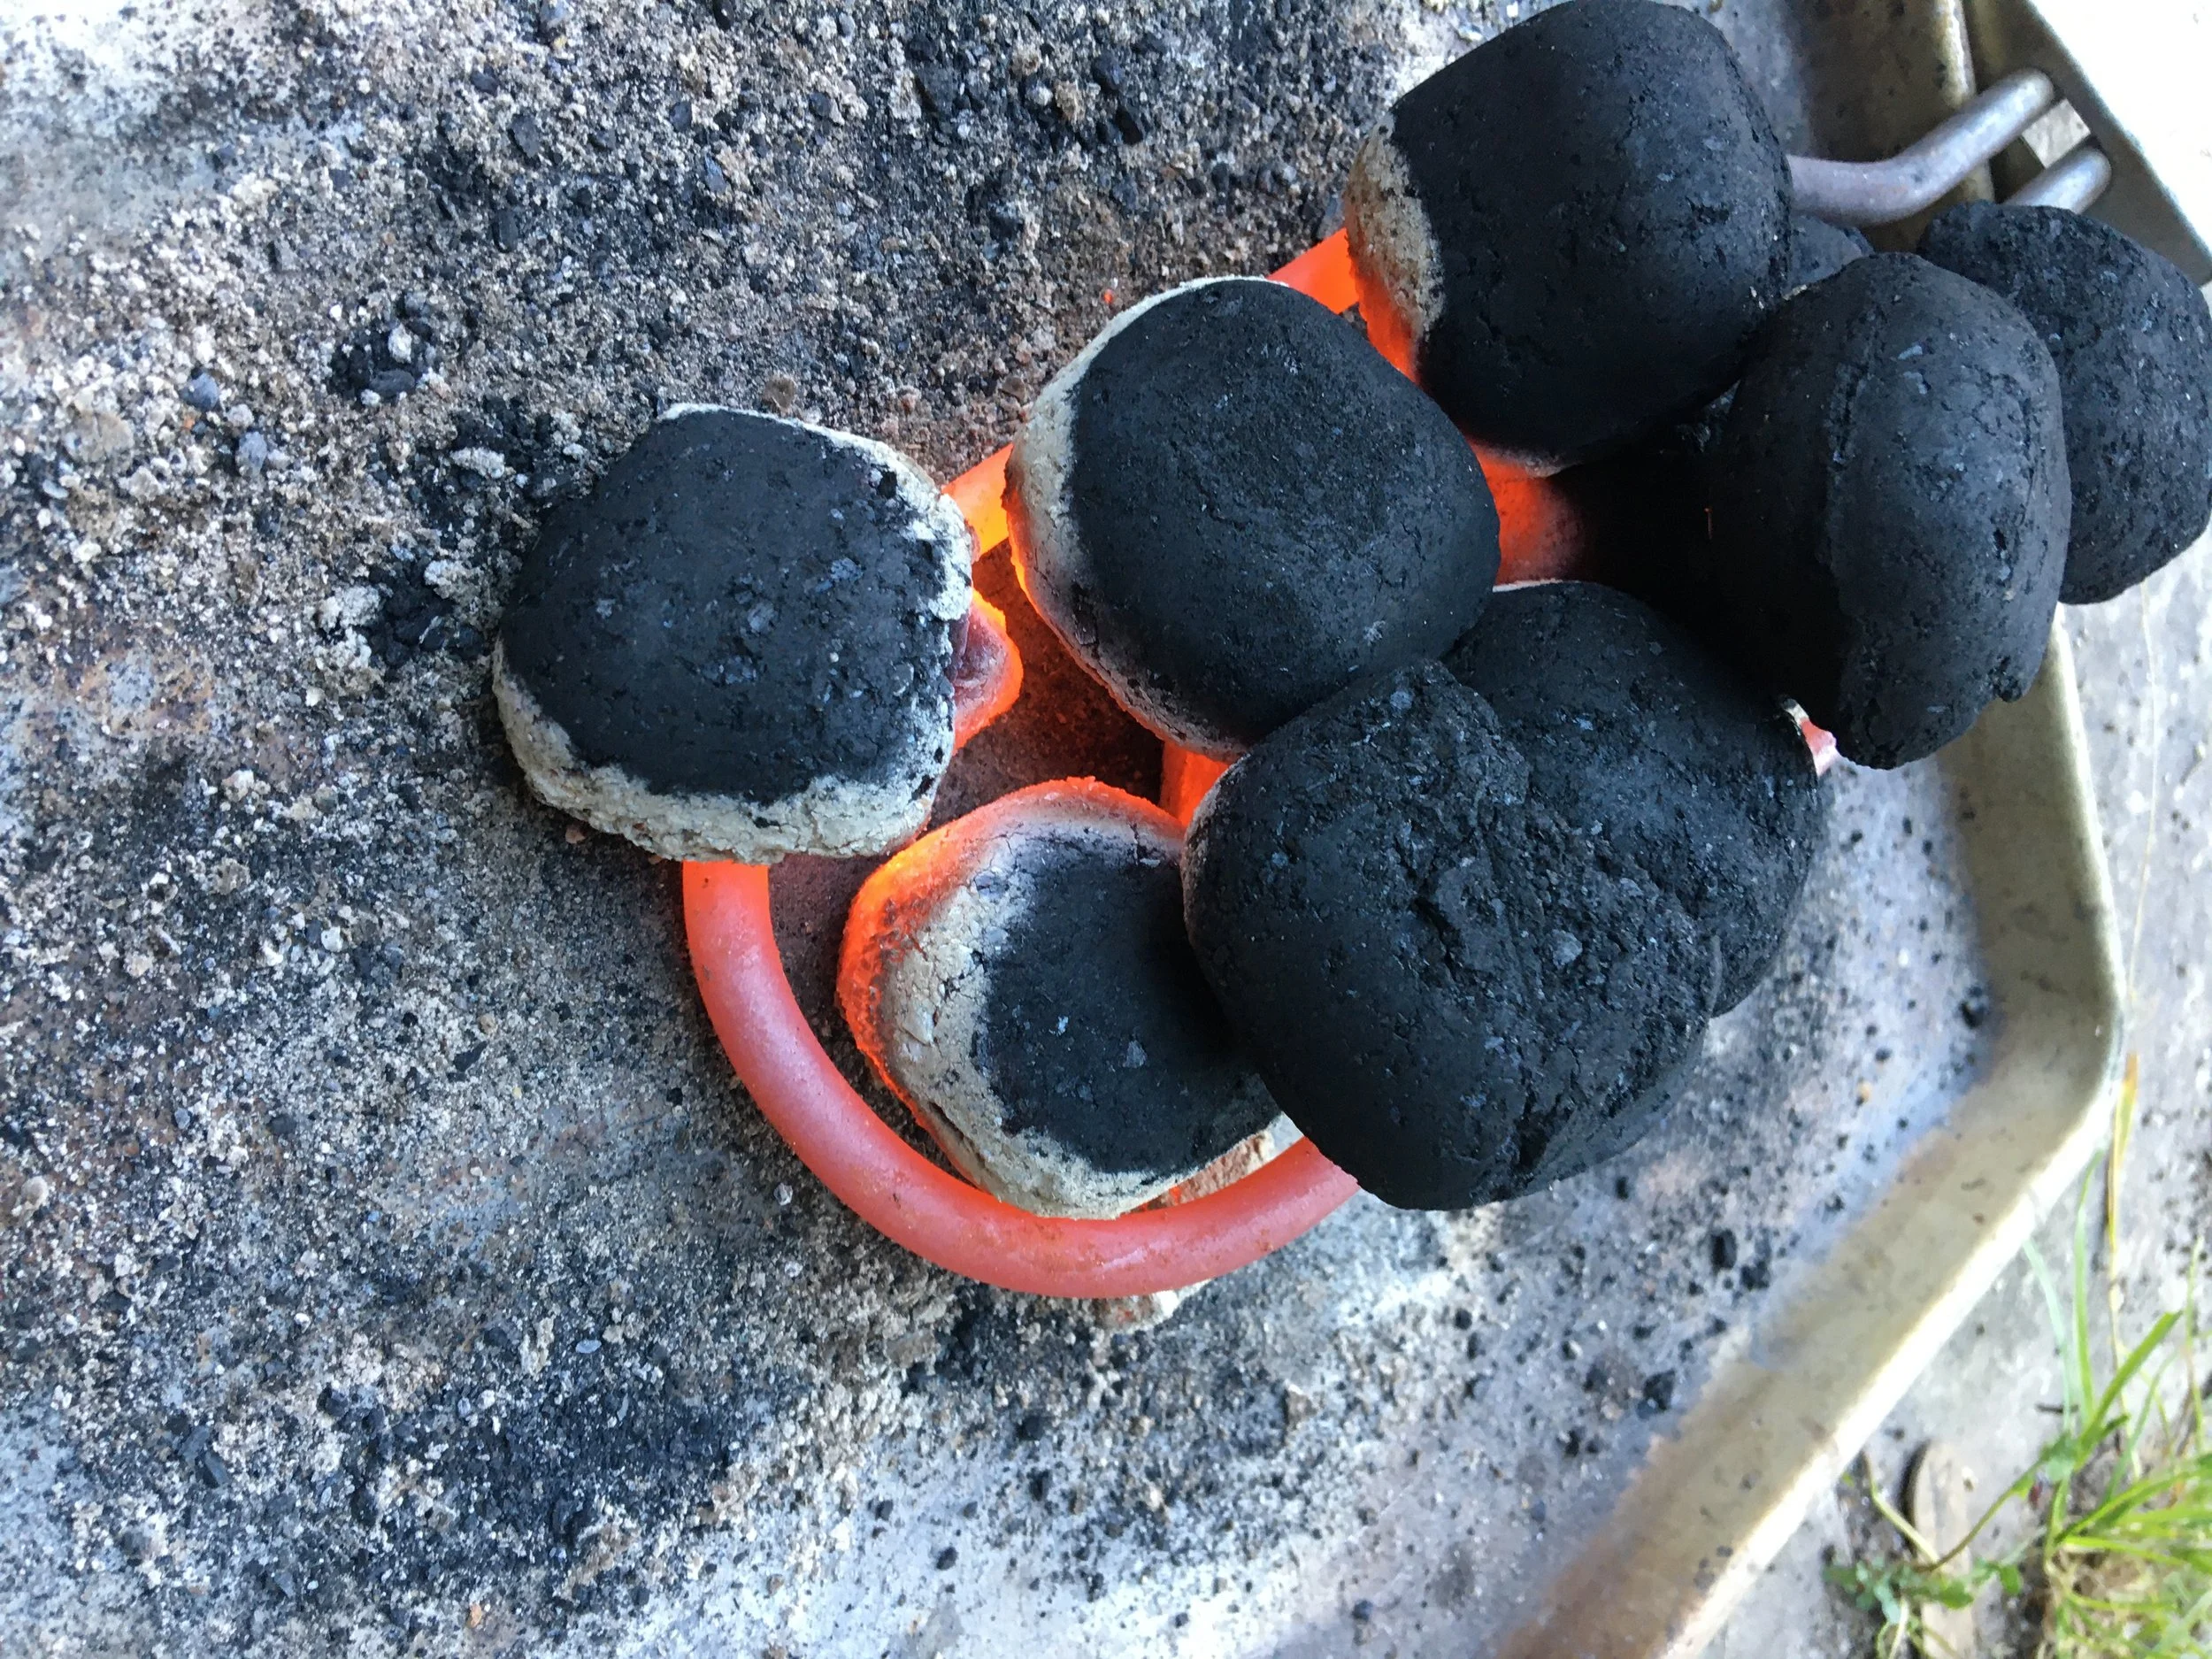
Starting briquette charcoal with an electric lighter on an old cookie sheet. When it’s ready, I use tongs to place it around the drip tray.
Sometimes I re-balance the turkey and tighten the forks if I see the turkey is wiggling a bit as it turns.
Along with making sure that roast is balanced, make sure there is still enough heat from the charcoal. I replenish the charcoal at least once while roasting a turkey. I start a new batch on the cookie sheet and transfer the briquettes (using tongs) around the drip pan.
My BBQ doesn’t not have a temperature gauge. So I touch it to see if it’s hot enough.
If I touch the top of my barbecue and it’s too hot to hold my hand there, I’m happy with the heat.
If I can hold my hand there for a moment, it’s time for more charcoal. It’s not an exact science.
One year, Dad and a friend were responsible for the Thanksgiving turkey. They got distracted (wine tasting, maybe!) and forgot to add more charcoal. That year we had our roast at about 10 p.m.!
Knowing when Your Charcoal Rotisserie Turkey is Ready
At risk of offending food safety experts, I go with what Mom taught me. She didn’t use a meat thermometer. She explained to me that when you pull back a leg and poke a fork into that area where the let attaches to the bird, you want the juice that comes out to be clear. If the juice is still reddish, cook more. That’s my rule of thumb.
If you new to roasting, you might feel more comfortable with a meat thermometer. That’s probably a good idea. And while you don’t want to undercook turkey, you don’t want to overcook it because turkey is dry to begin with.
Once your roast is fully cooked, let it sit, tented with foil, for a few minutes. And during this time you can work on your gravy.
What Kind of Charcoal BBQ?
Our “new” charcoal BBQ that we use to roast turkey.
For years Dad used an old charcoal barbecue given to him by a friend. It was pretty wobbly by the time he moved from his house, but I brought the BBQ here and rehabilitated it a bit – a prosthetic leg to replace the once that had completely rotted out, a new tray inside, and a paint job.
That old barbecue did the trick for another decade. I’m sure it was 50+ years old when it finally rusted right through.
I couldn’t’ find anything like it for sale – something with a flip-open door. I like a flip-open door design as it holds in more heat when you’re checking the roast. Many new models have a lid that lifts off completely.
But when an old house down the street from me sold, somebody put the exact same barbecue to the curb on garbage day. It looked unused – so it must have sat in a garage for decades.
With this “new” barbecue, I’m set to keep our family tradition going – and hope that one of my kids will take over this barbecue in time.
Gas Barbecue
I’ve never done my roast turkey on a gas barbecue, but I’ve seen posts about people doing it. It’s the same idea, with a drip pan below your rotisserie turkey to catch the drippings.
A Very Important Note
Don’t get a turkey that’s too big for your BBQ. Dad and I know from experience that the biggest turkey we can cook on the spit in our BBQ is 12 pounds. Any bigger than that and it will rub against the door on every turn.
Looking for More Food and Cooking Ideas?
Green Tomato Mincemeat Recipe
Don’t let the frost nip your green tomatoes! Find out how to make delicious mincemeat using green tomatoes that you pick at the end of the season.
By Steven Biggs
Great Recipe for the Fall Glut of Green Tomatoes
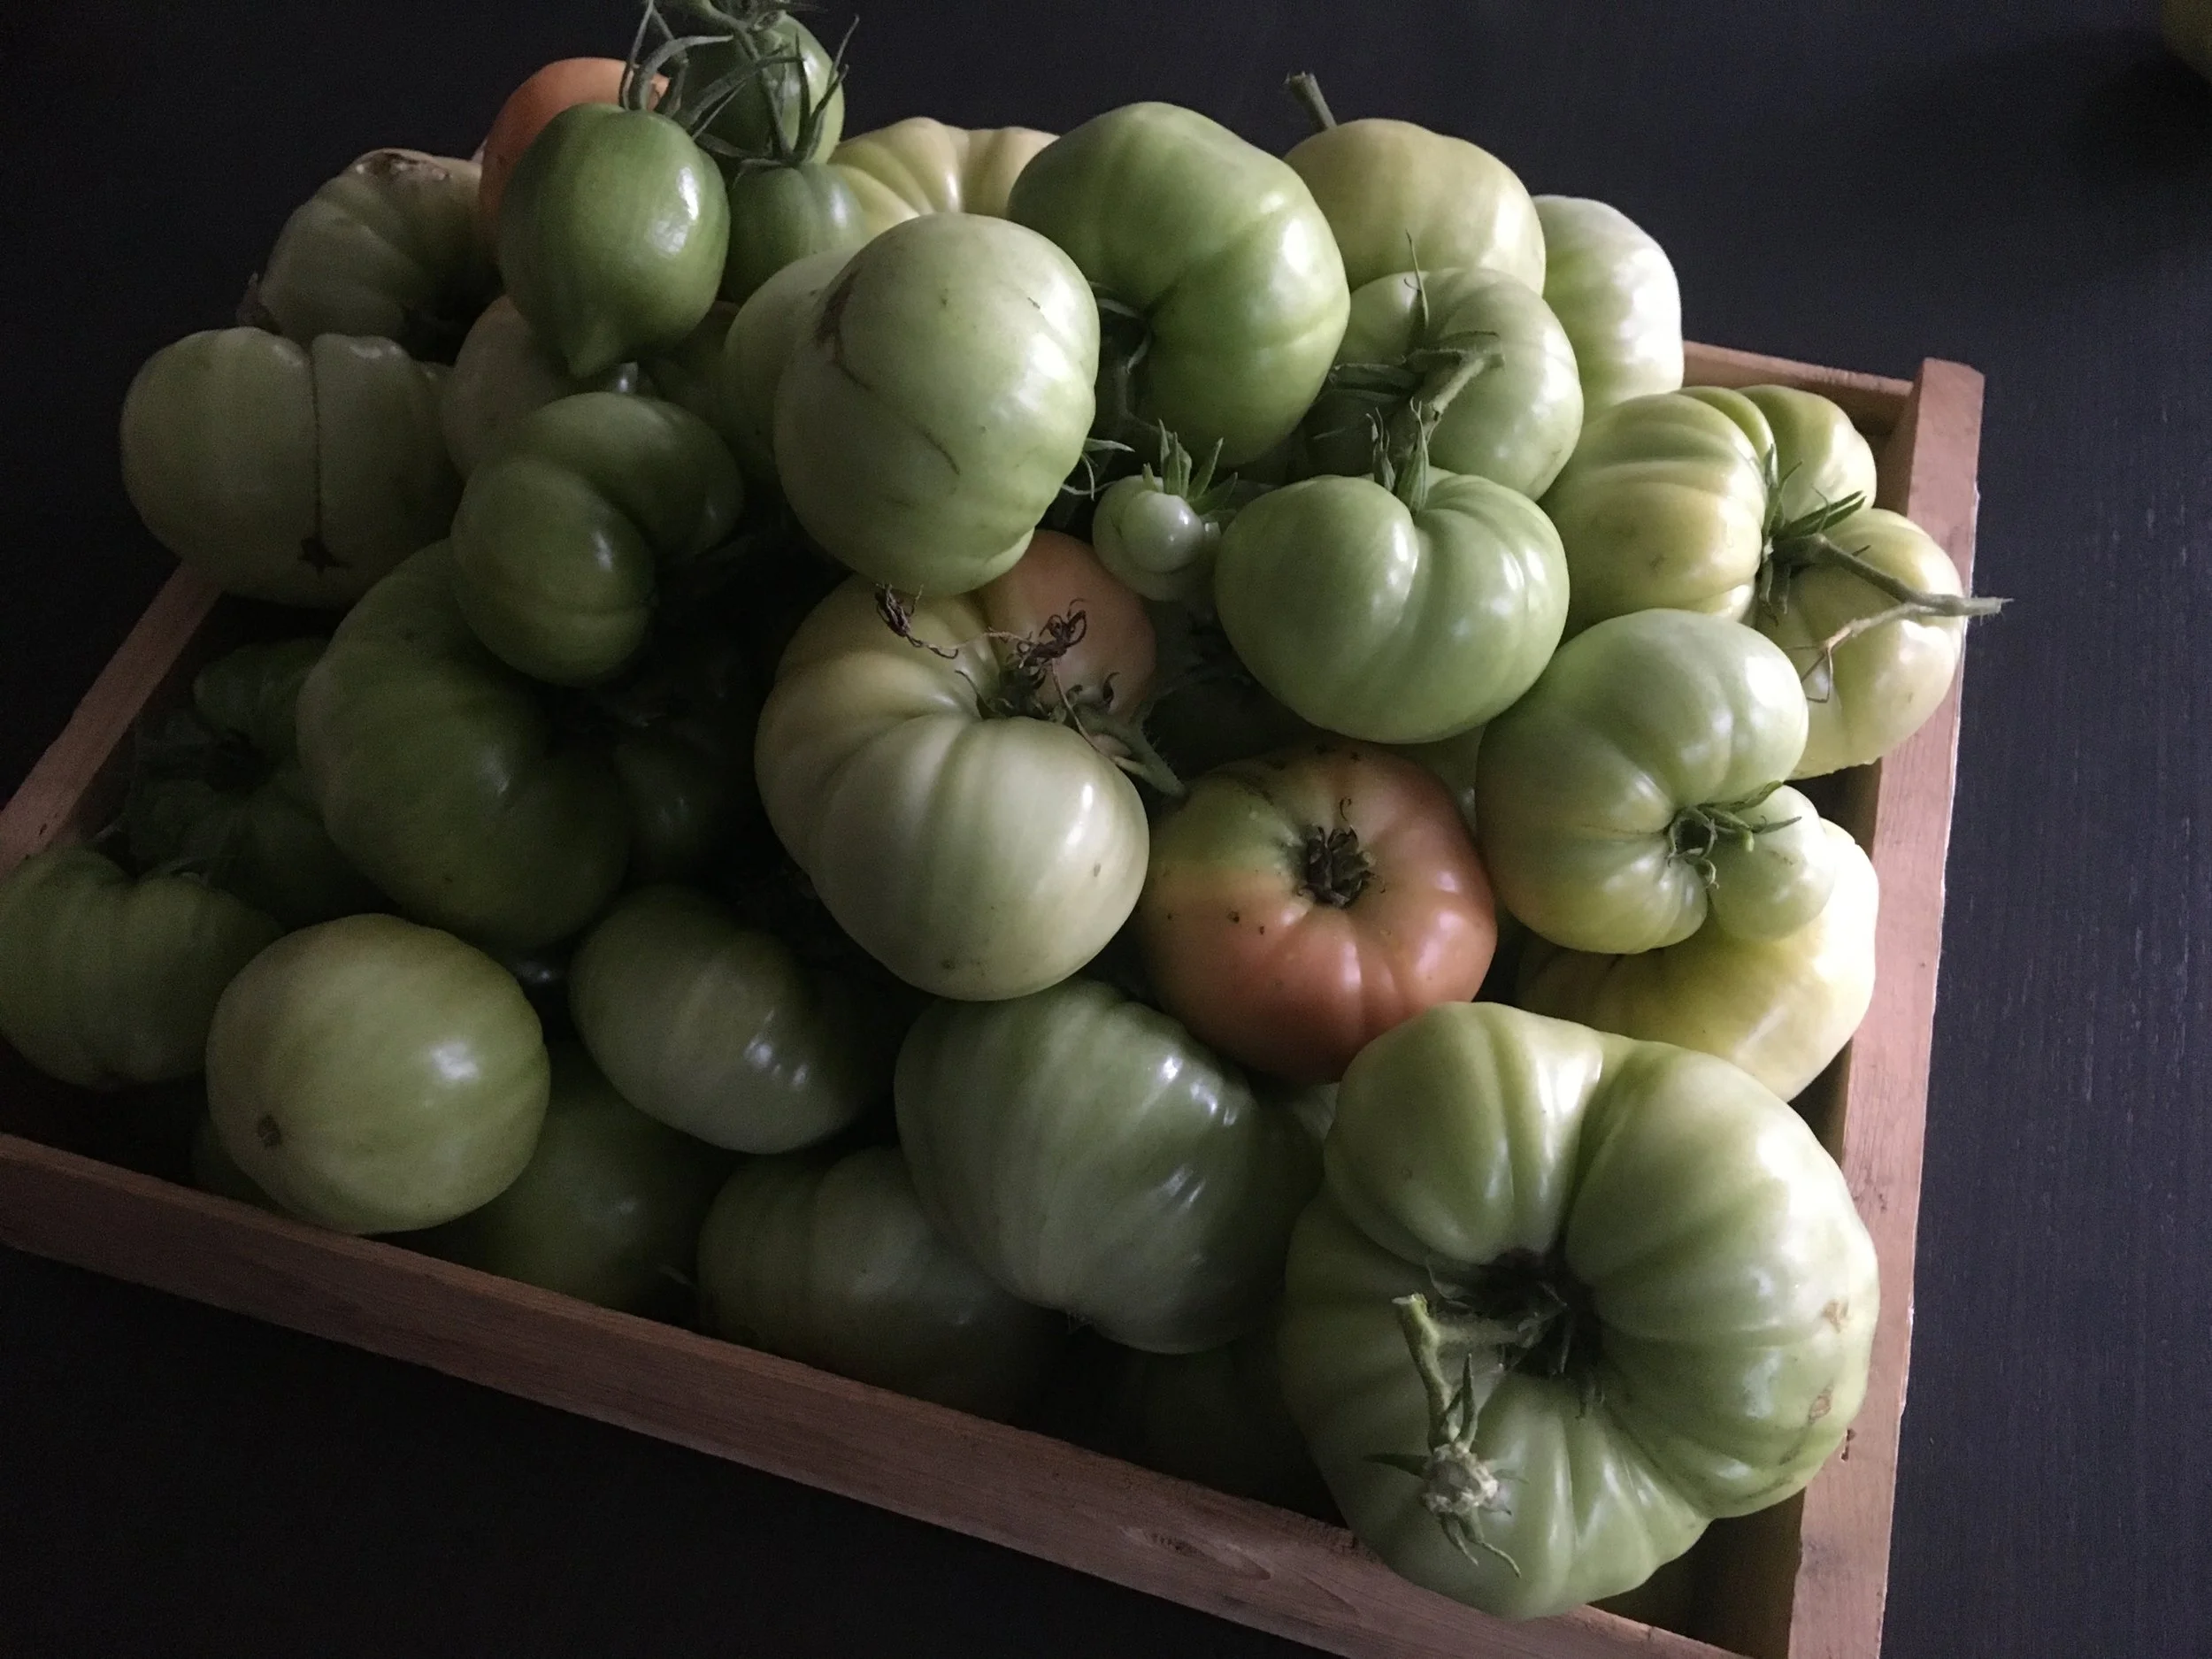
Before the first fall frost, I pick ALL of the green tomatoes in our garden.
Then I sort them:
Those that are mostly sized up and will ripen well indoors (find out more about ripening green tomatoes indoors)
Those that are damaged and need to be watched closely as I ripen them…in case they begin to spoil
Those that are nowhere near the final size, and don’t have good prospects for ripening
It’s those last ones, that are small and likely won’t ripen into anything worth eating, that are great candidates for making into green tomato mincemeat.
The annual glut of green tomatoes, ready to be sorted. Those that are quite undersized are great candidates for green tomato mincemeat.
Green Tomato Mincemeat
Our family friend Cathy gave me this green tomato mincemeat recipe. It’s a great way to use up undersized green tomatoes that likely won’t ripen. The green tomato is the filler in this recipe.
Ingredients
11-quart basket of green tomatoes, finely ground
20 apples, finely chopped
1 ½ lbs. raisins
2 lbs. dried currants (dried currants—not red or black currants, which are different)
1 lb. mixed peel
5 lbs. white sugar
1 cup suet, finely ground
2 tsp. ground cinnamon
2 tsp. ground clove
2 tsp. ground nutmeg
2 tsp. salt
Making the Mincemeat
Cover the ground green tomato with boiling water, and leave for 10 minutes.
Pour off water and repeat.
Drain.
Add the rest of the ingredients.
Boil slowly for a couple of hours.
More Tomato Articles
Tomato Interviews
More on Growing Vegetables
Articles: Grow Vegetables
Courses: Grow Vegetables
Make Apple Cider at Home
Making apple cider at home is a fun fall tradition.
By Steven Biggs
Home Cider-Making
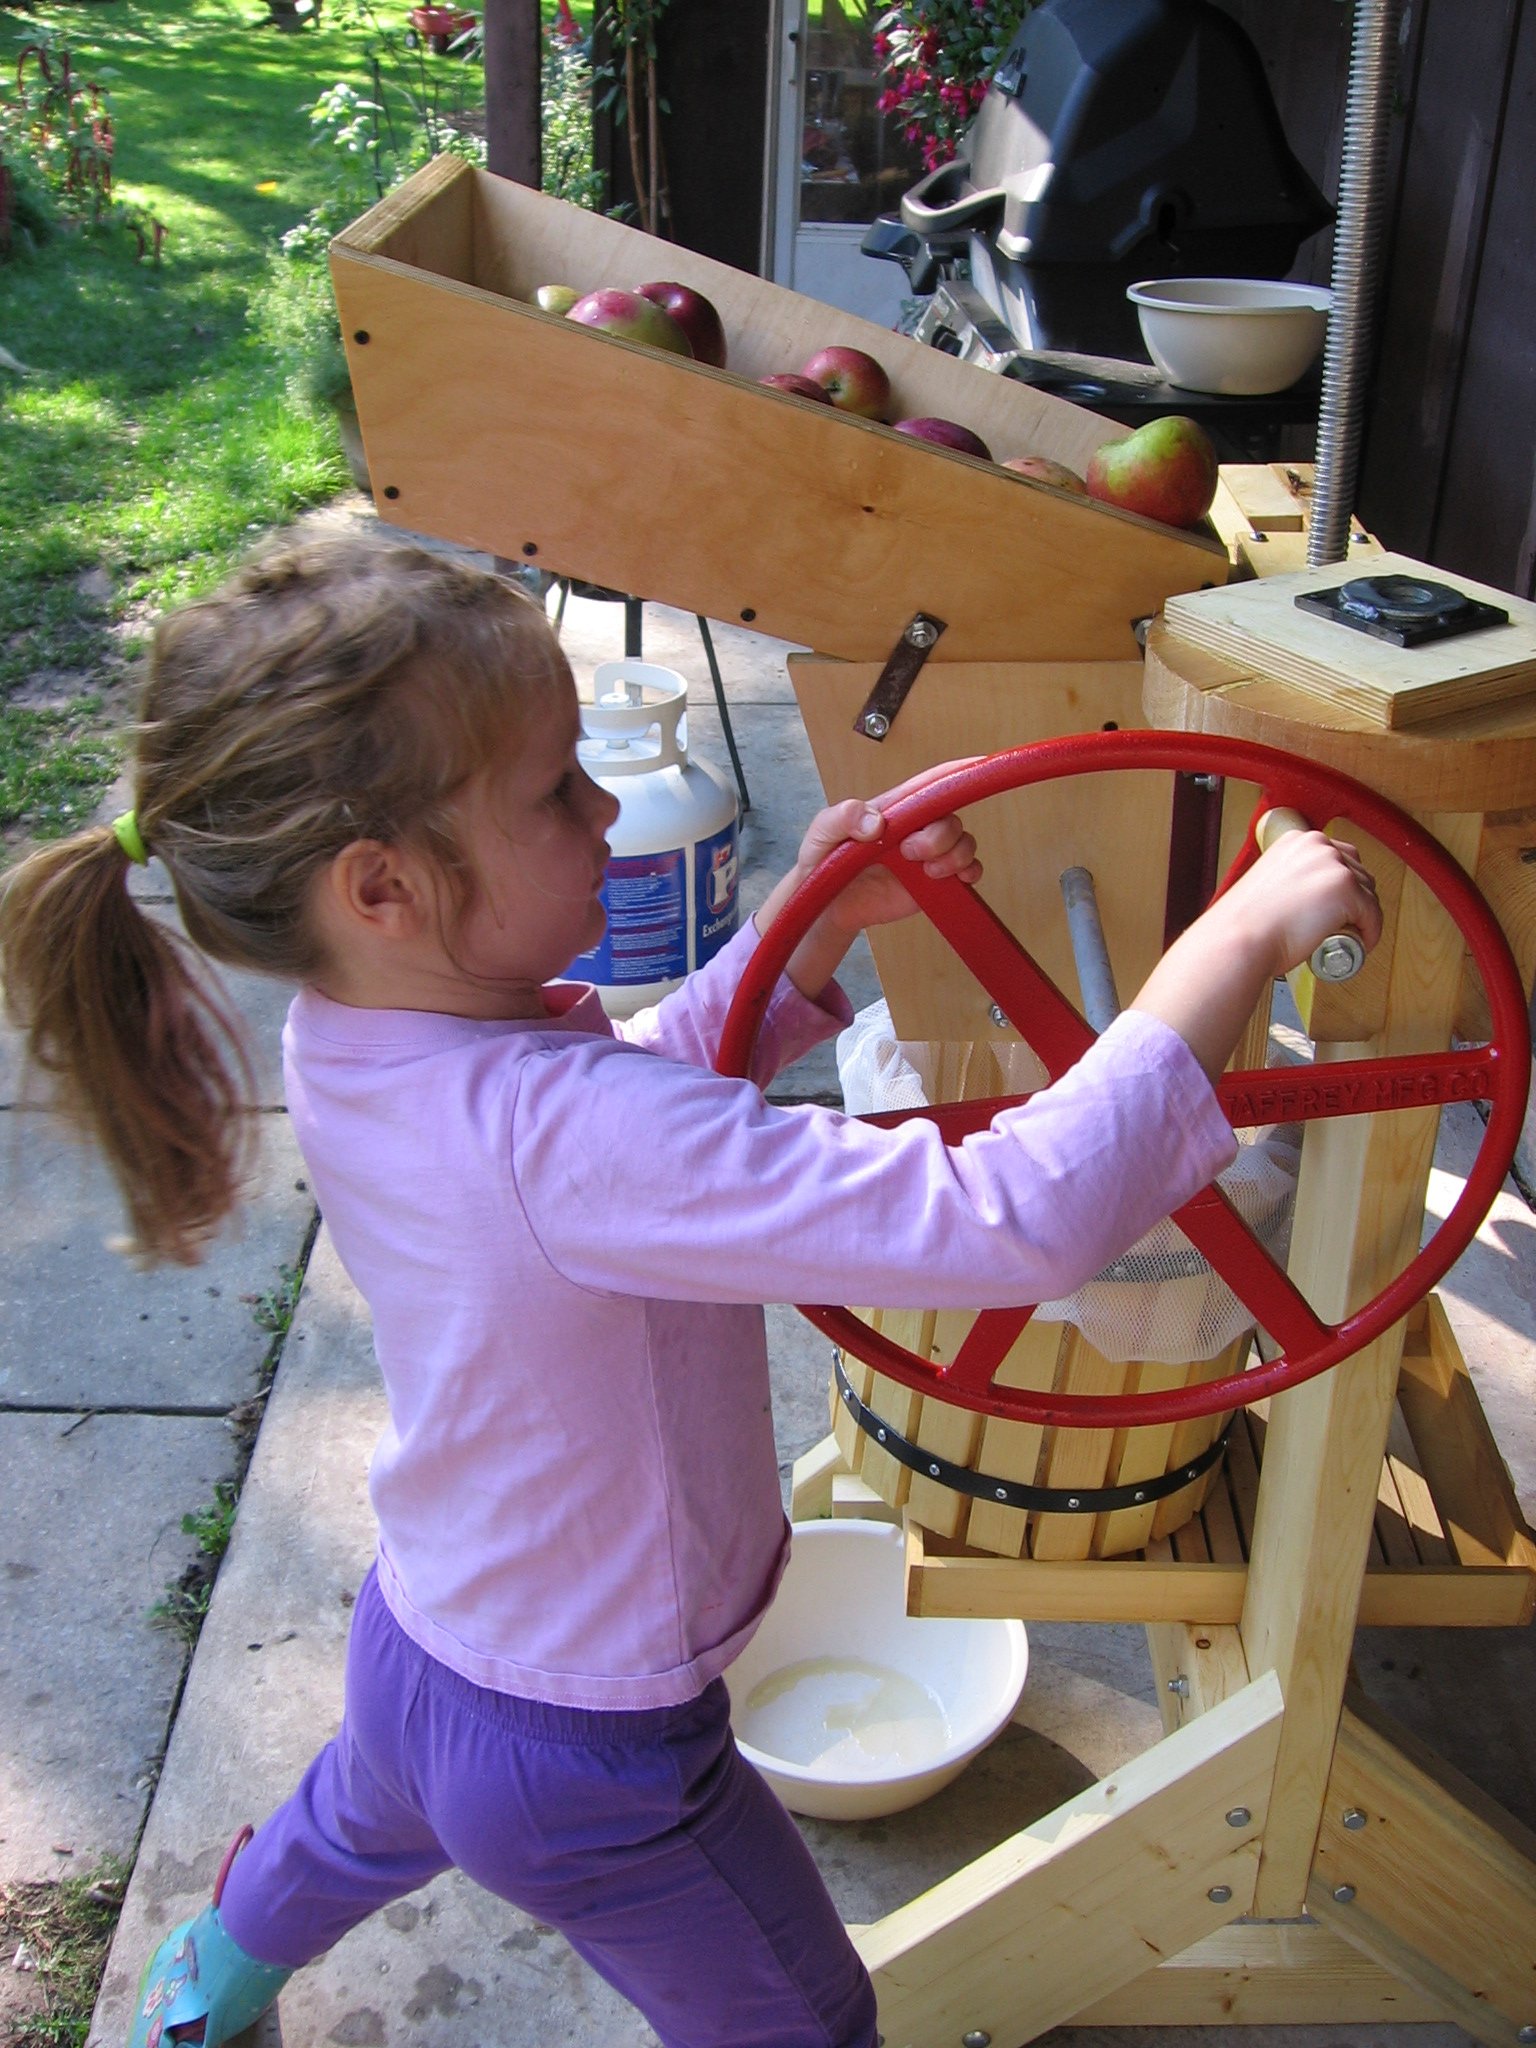
My kids helping make apple cider.
Fresh apple cider has been part of our fall family get-togethers ever since I was a kid. Auntie Annie, Uncle Bill, and my cousins made apple cider every year, a few blocks from us in Willowdale. They “bottled” it in old milk cartons or, sometimes, unlabelled red-and-white cartons that Uncle Bill had bought somewhere. Then they’d drop by for a visit with a couple of cartons. It was delicious.
It was a family tradition that I didn’t think anything of at the time.
One Thanksgiving, after I had grown up, we got together with my aunt, uncle and cousins and made cider while the turkey was roasting in the oven. It was then that I started to appreciate what a good opportunity cider making was to hang out together.
If you’re interested in making your own apple cider, keep reading to find out how I do it—and for my cider-making tips.
Apple Season
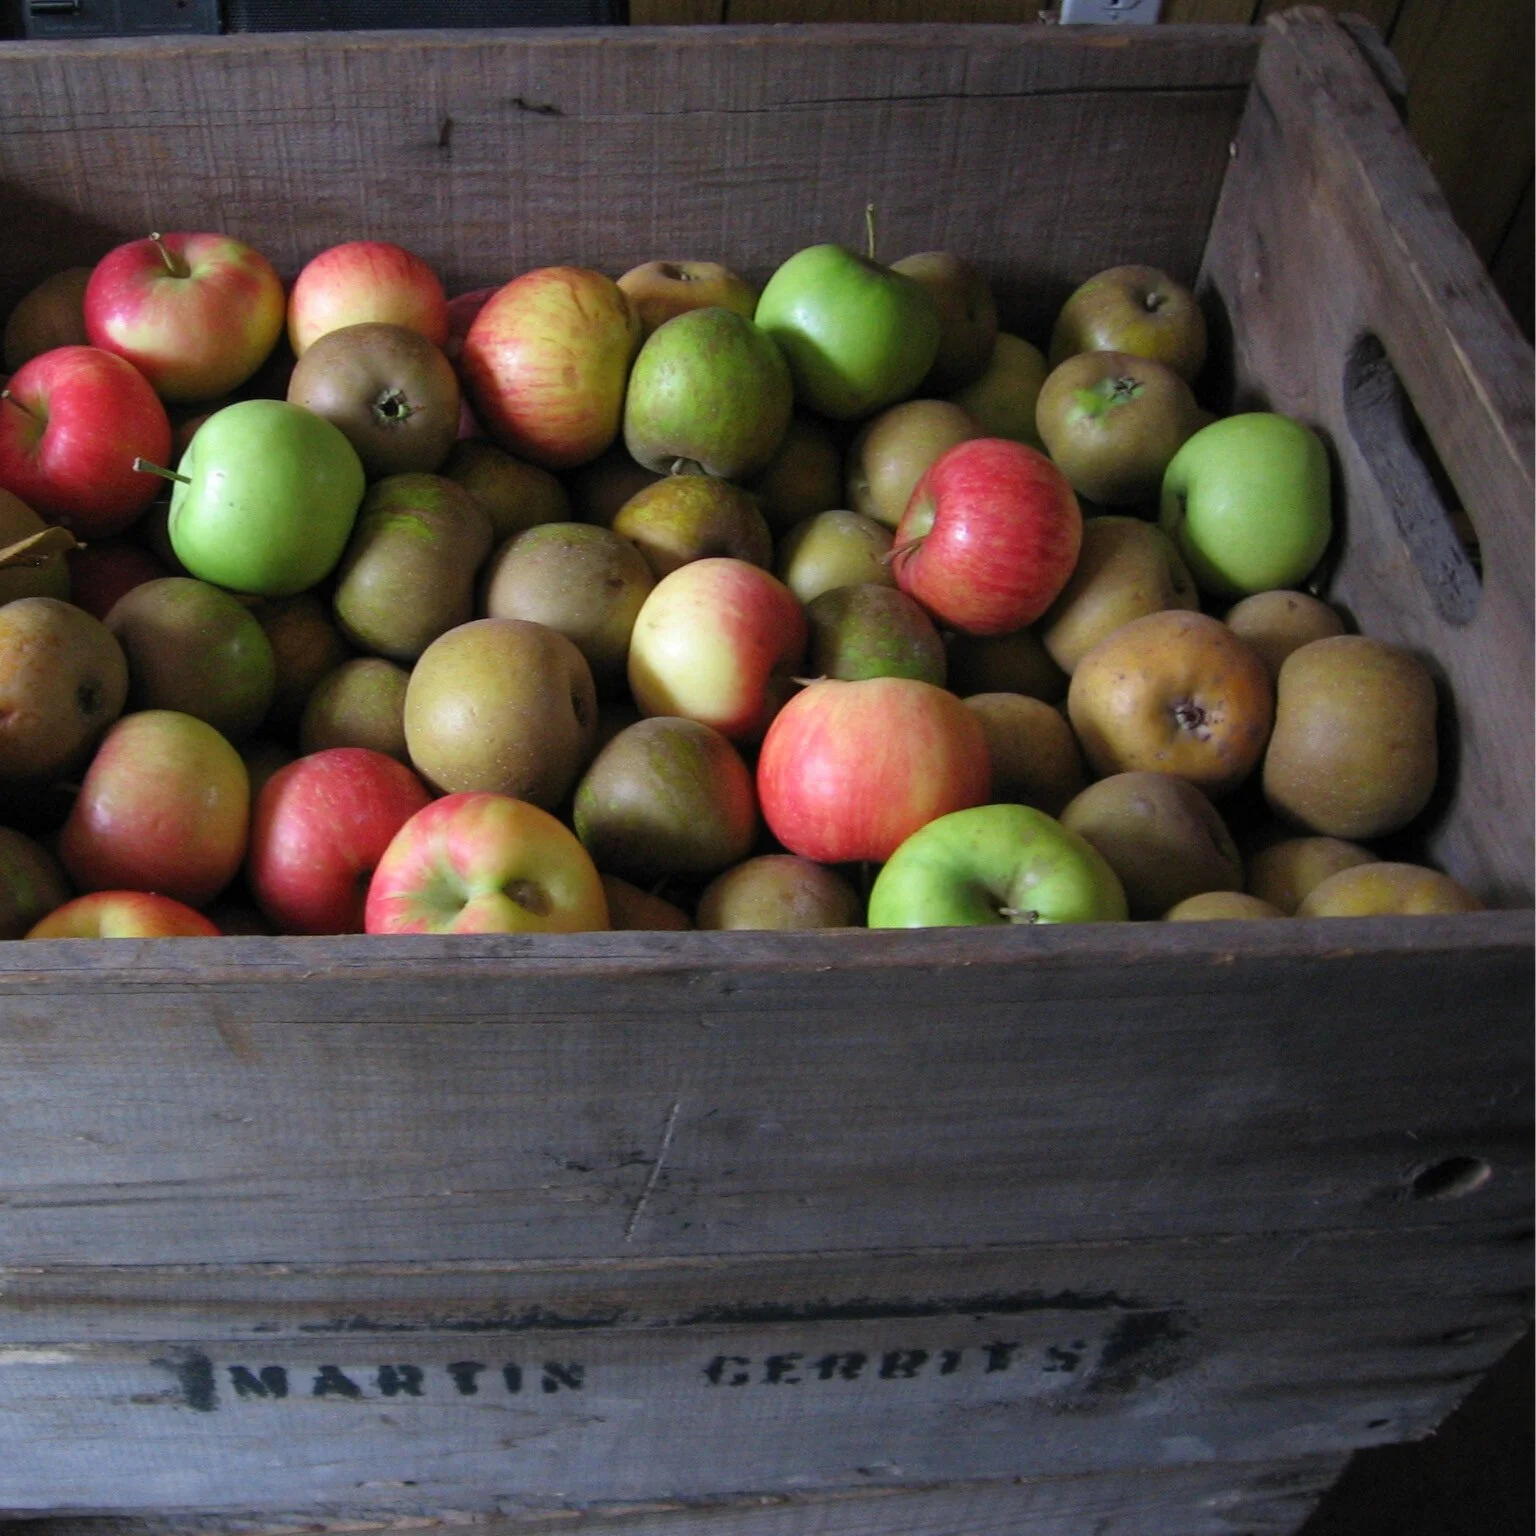
I enjoy fall trips to apple orchards. There is nothing quite like polishing a freshly picked apple on my shirt and then taking a bite. The smell reminds me of childhood walks with my dad past an old apple tree in Willowdale that had very sour apples: We’d kick fallen apples, hoping that we could make one last for the two-block walk home. I enjoy apple shopping, too—bins full of apples at roadside stands smell divine. And when I find an orchard selling something different from the grocery store—maybe a spicy ‘Tolman Sweet’ or the white-fleshed ‘Snow’—I feel as though I’ve struck gold.
Making Cider
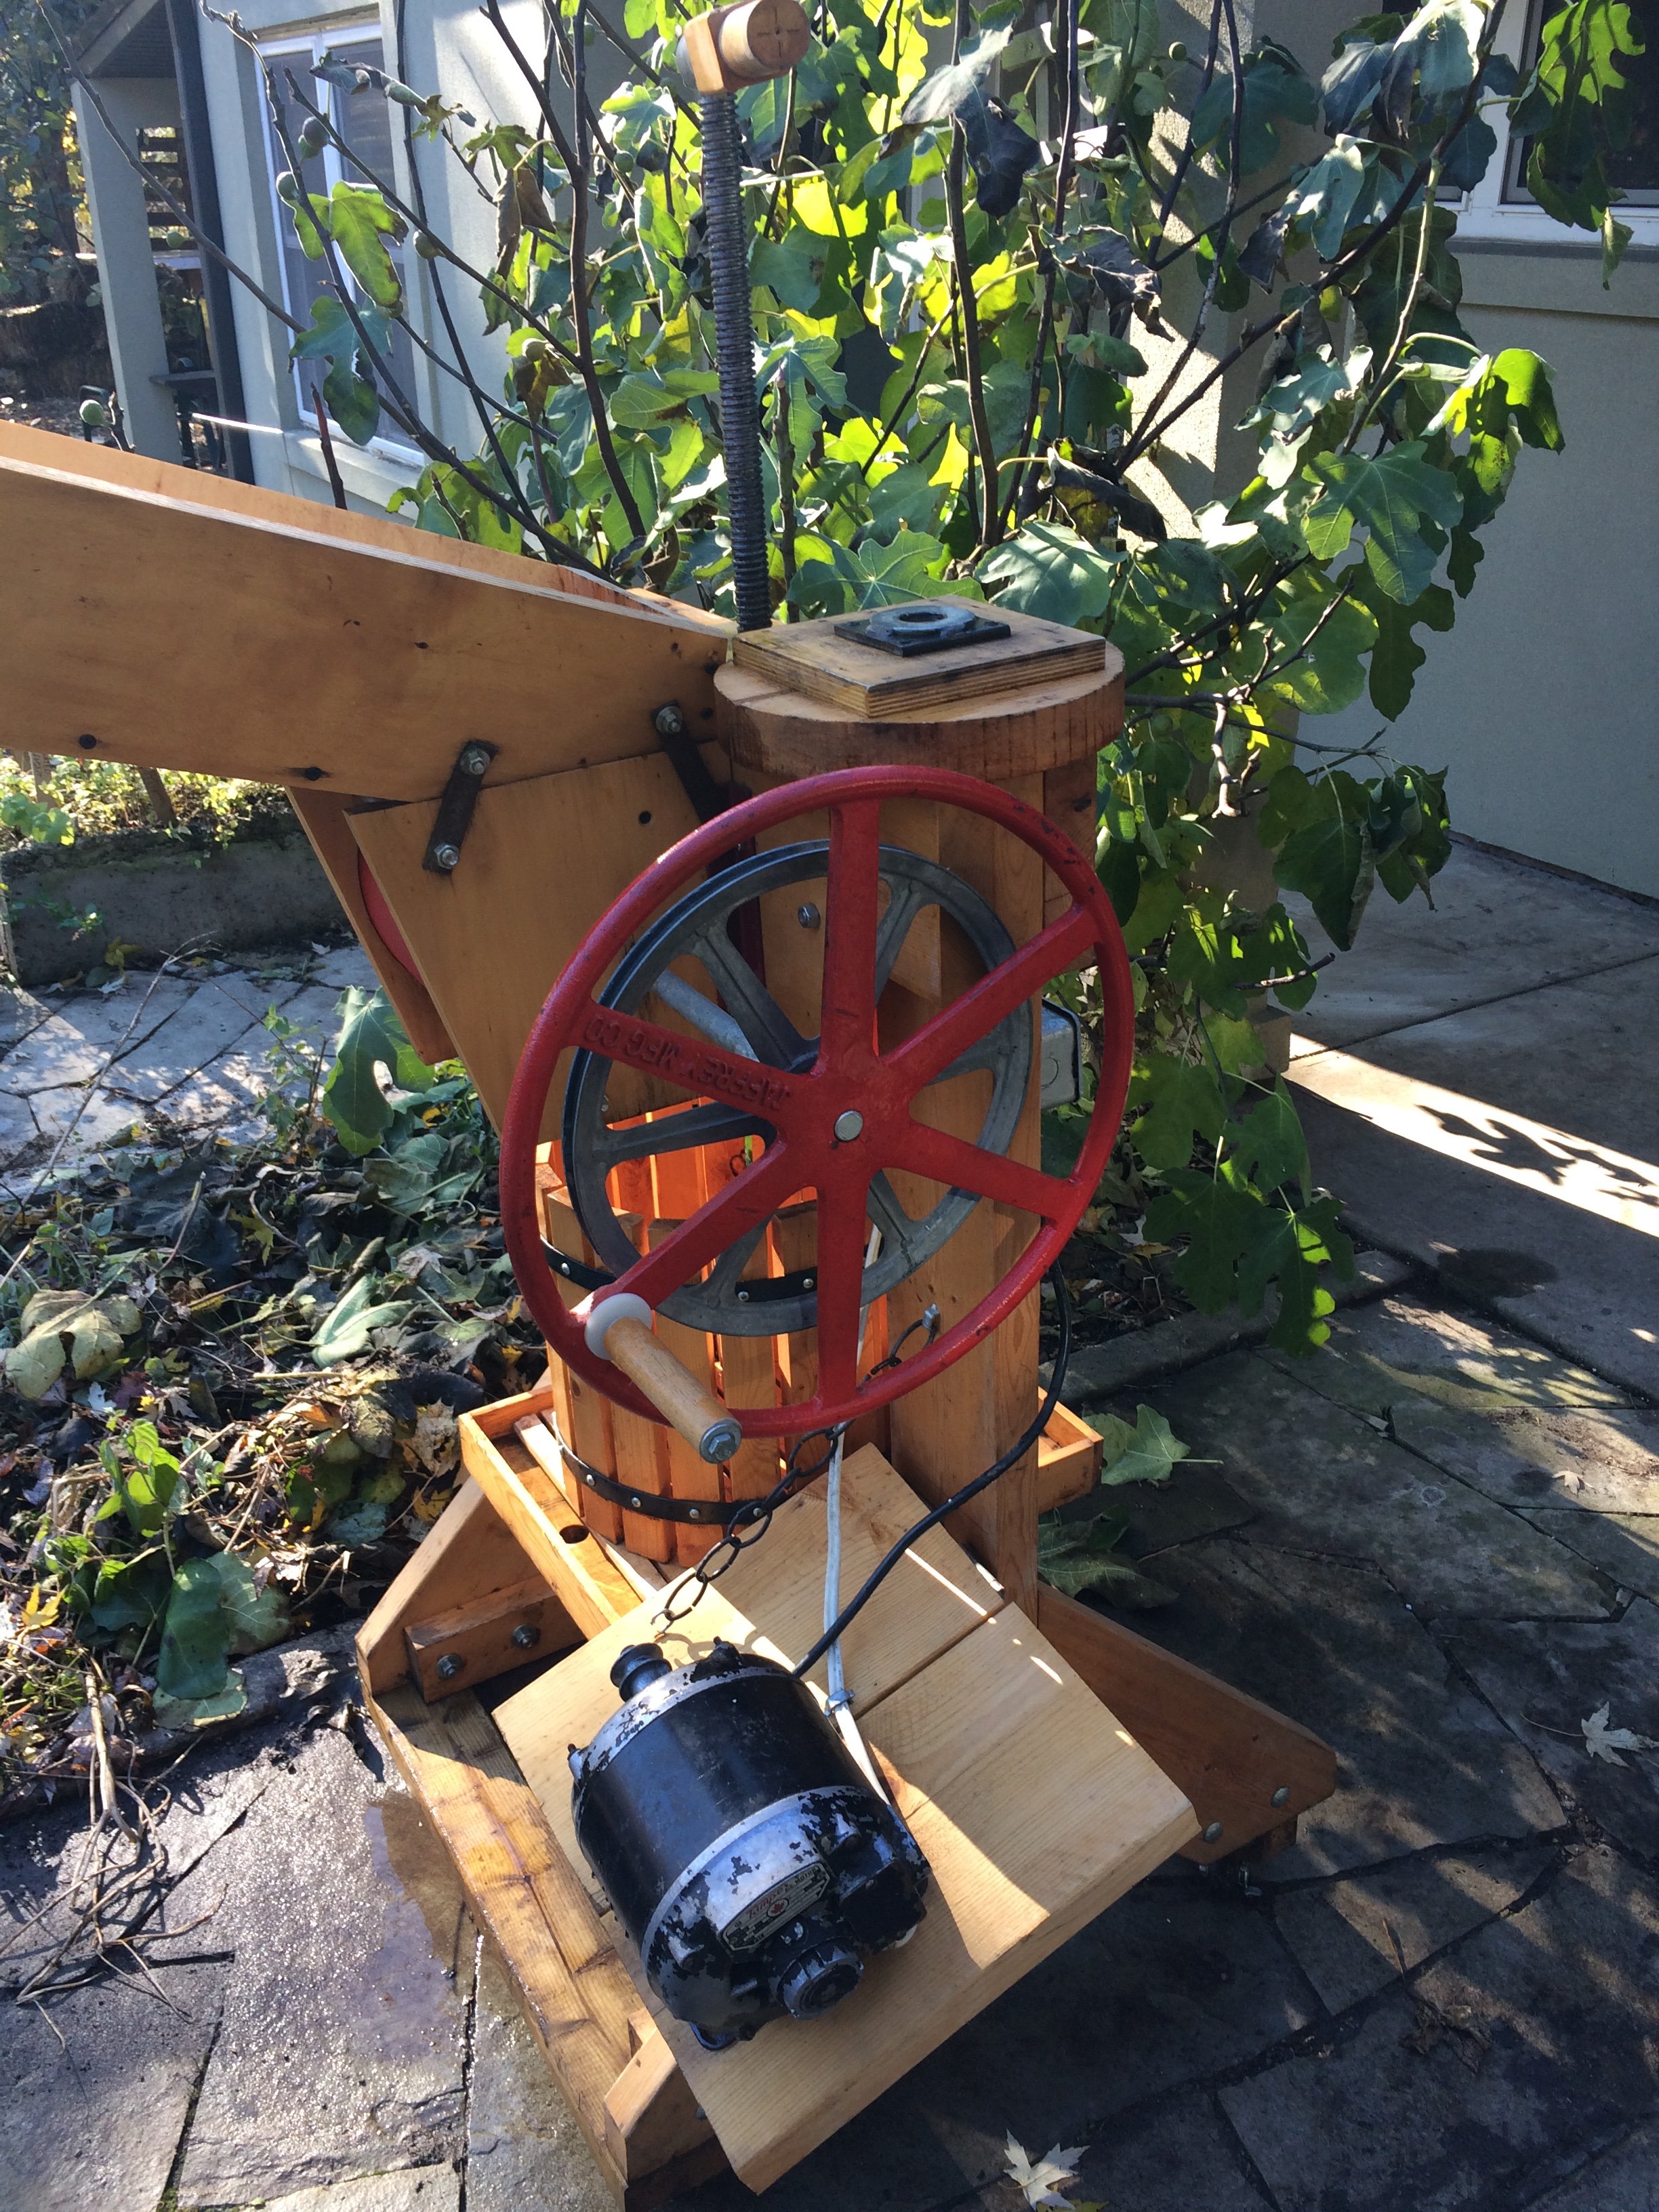
My apple cider press is fairly simple. A metal-studded wooden cylinder grinds the apples, then the apple bits fall into a slatted tub where I use a hand-operated screw press to press them.
Apple juice runs down the tub into a tray and pours out of a hole into our cups. We guzzle the first few glasses. Then we fill jugs for immediate use, and freezer-safe containers to store cider for later in the year.
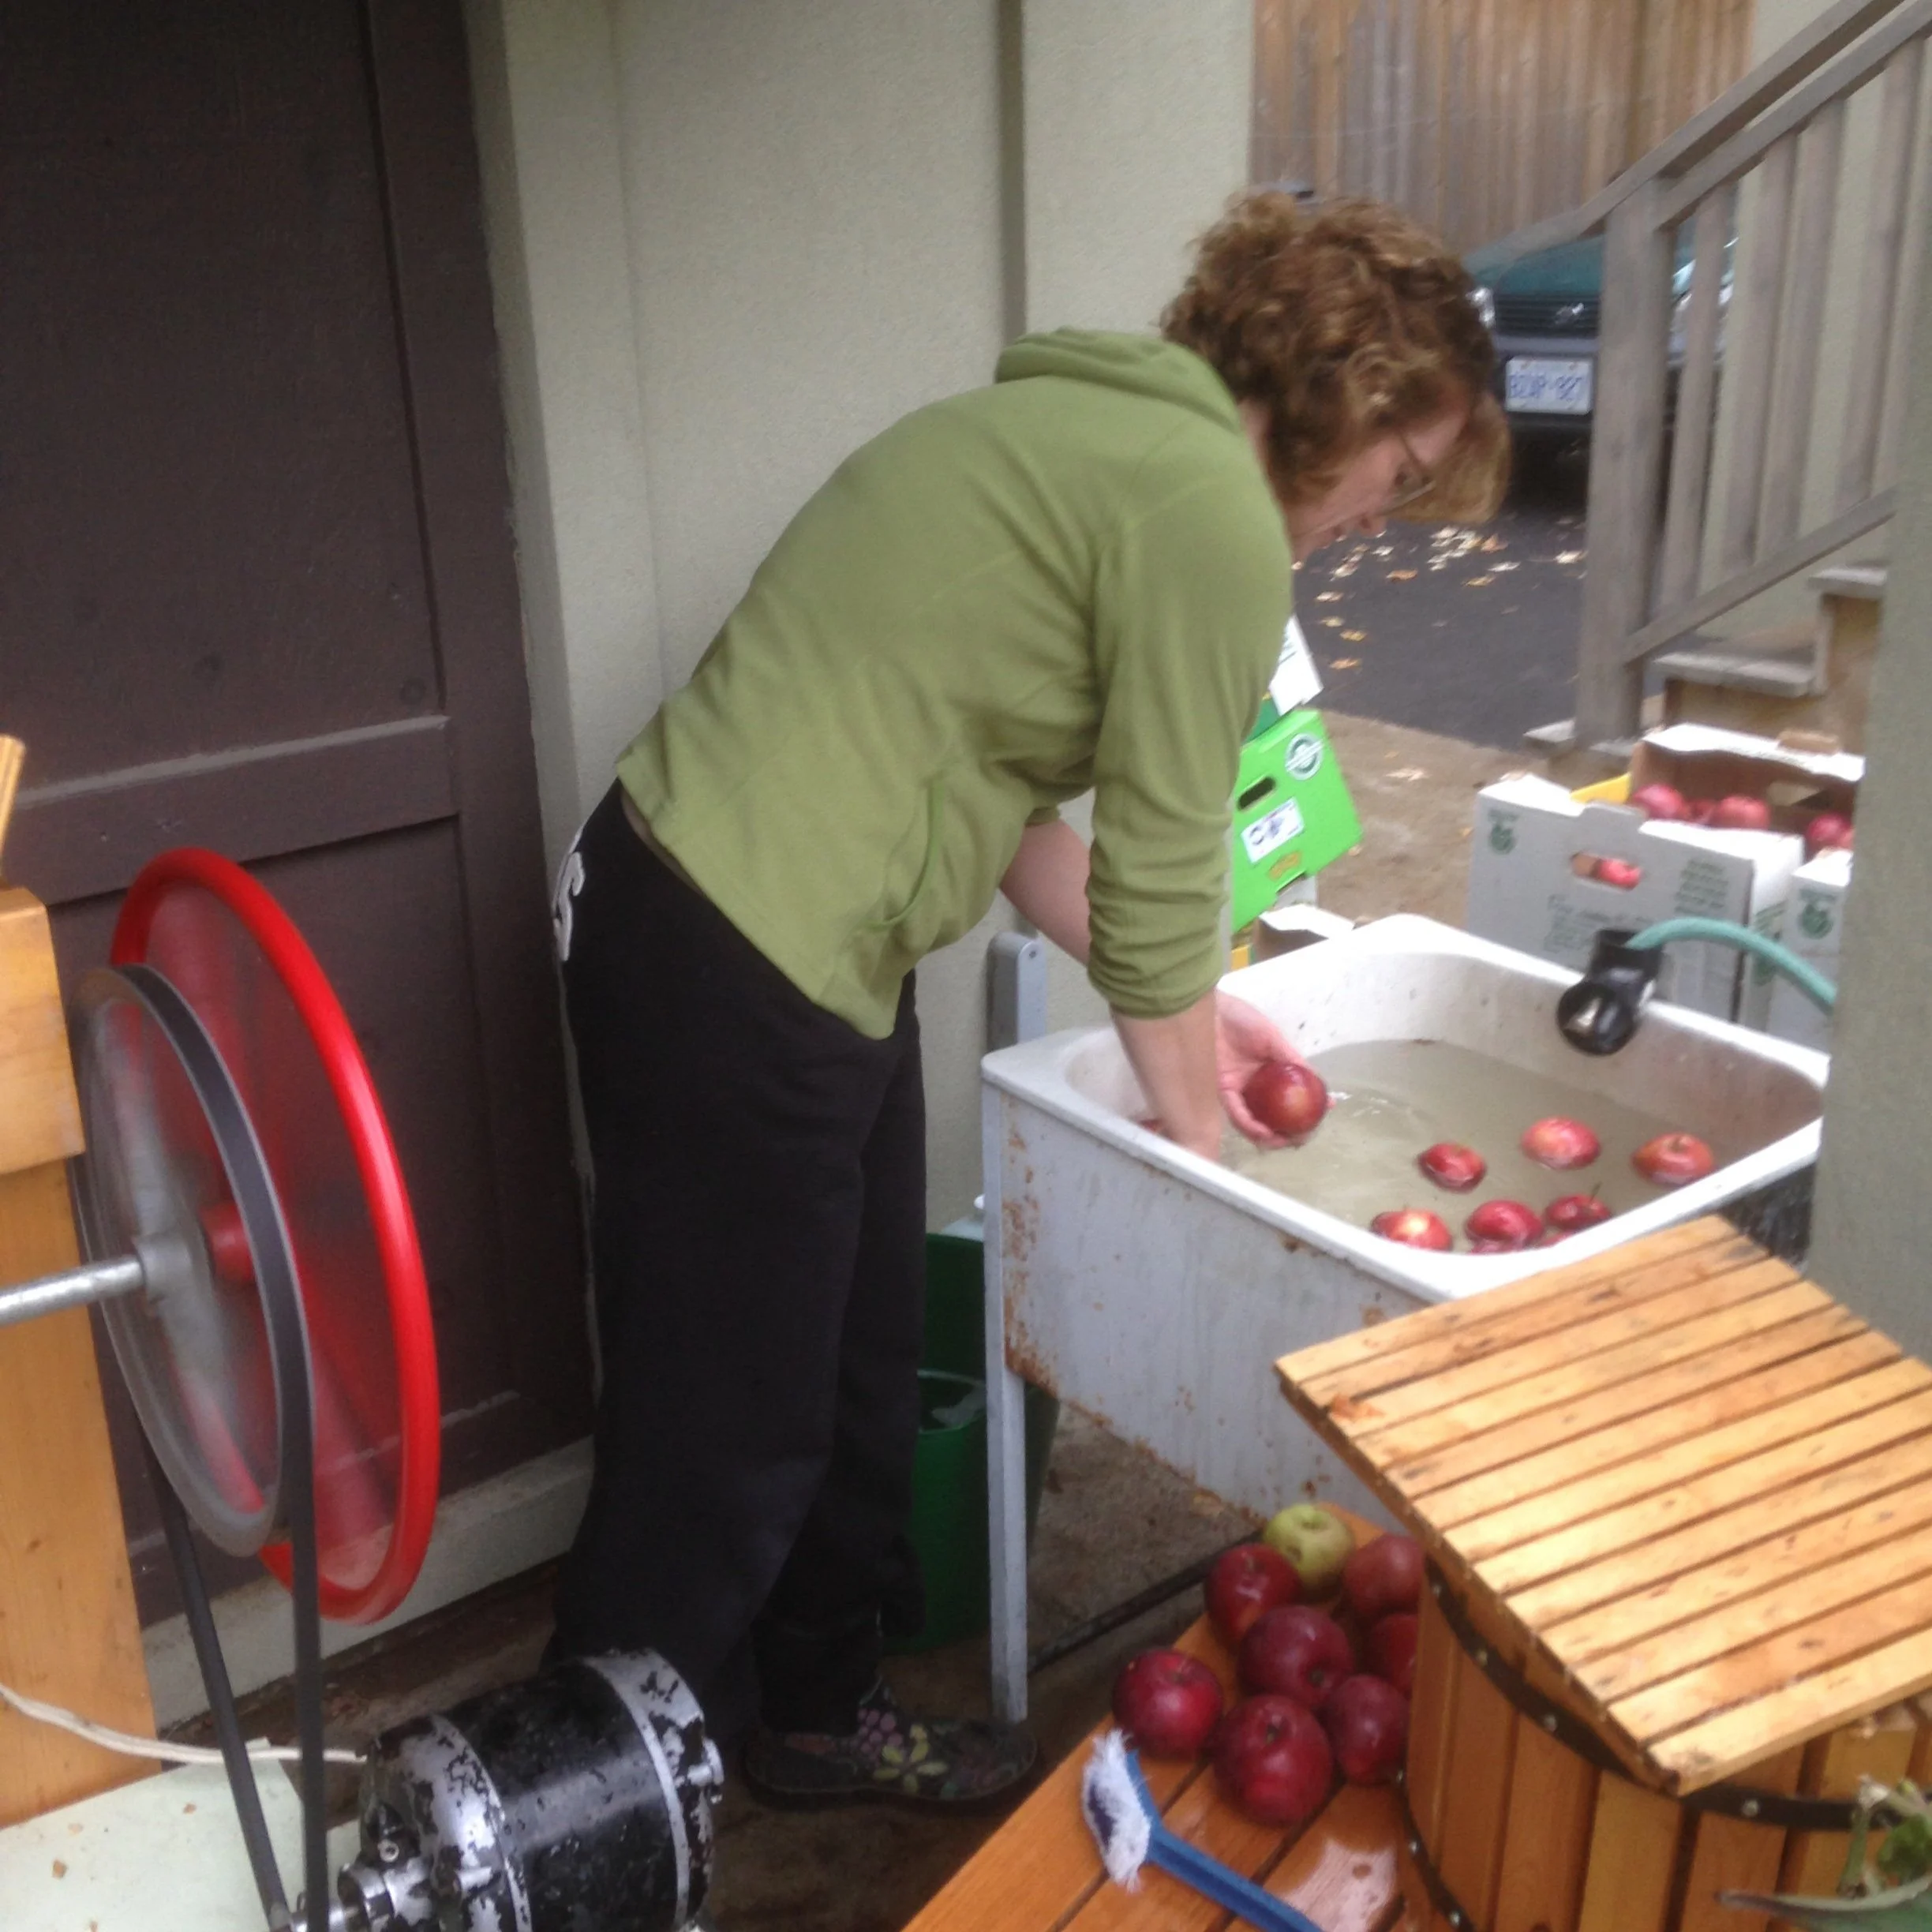
My wife Shelley rinsing apples for pressing into cider.
Some years October presents summer-like weather, and the drowsy yellowjackets hang out with us, intoxicated by the smell of the apples; other years, there are flurries, so we dress warmly.
Cidering 2.0
Hand-grinding apples is fun at first, but less so after a dozen bushels! My mechanical aptitude is marginal, but I knew it was possible to install a small electric motor on the grinder. Lucky for me, my friend Dave took one look at the press and knew what to do.
Some presses, like my Uncle Bill’s, have two tubs. But my press has only one tub to both catch apple from the grinder and press it. That means I can’t press and grind simultaneously.
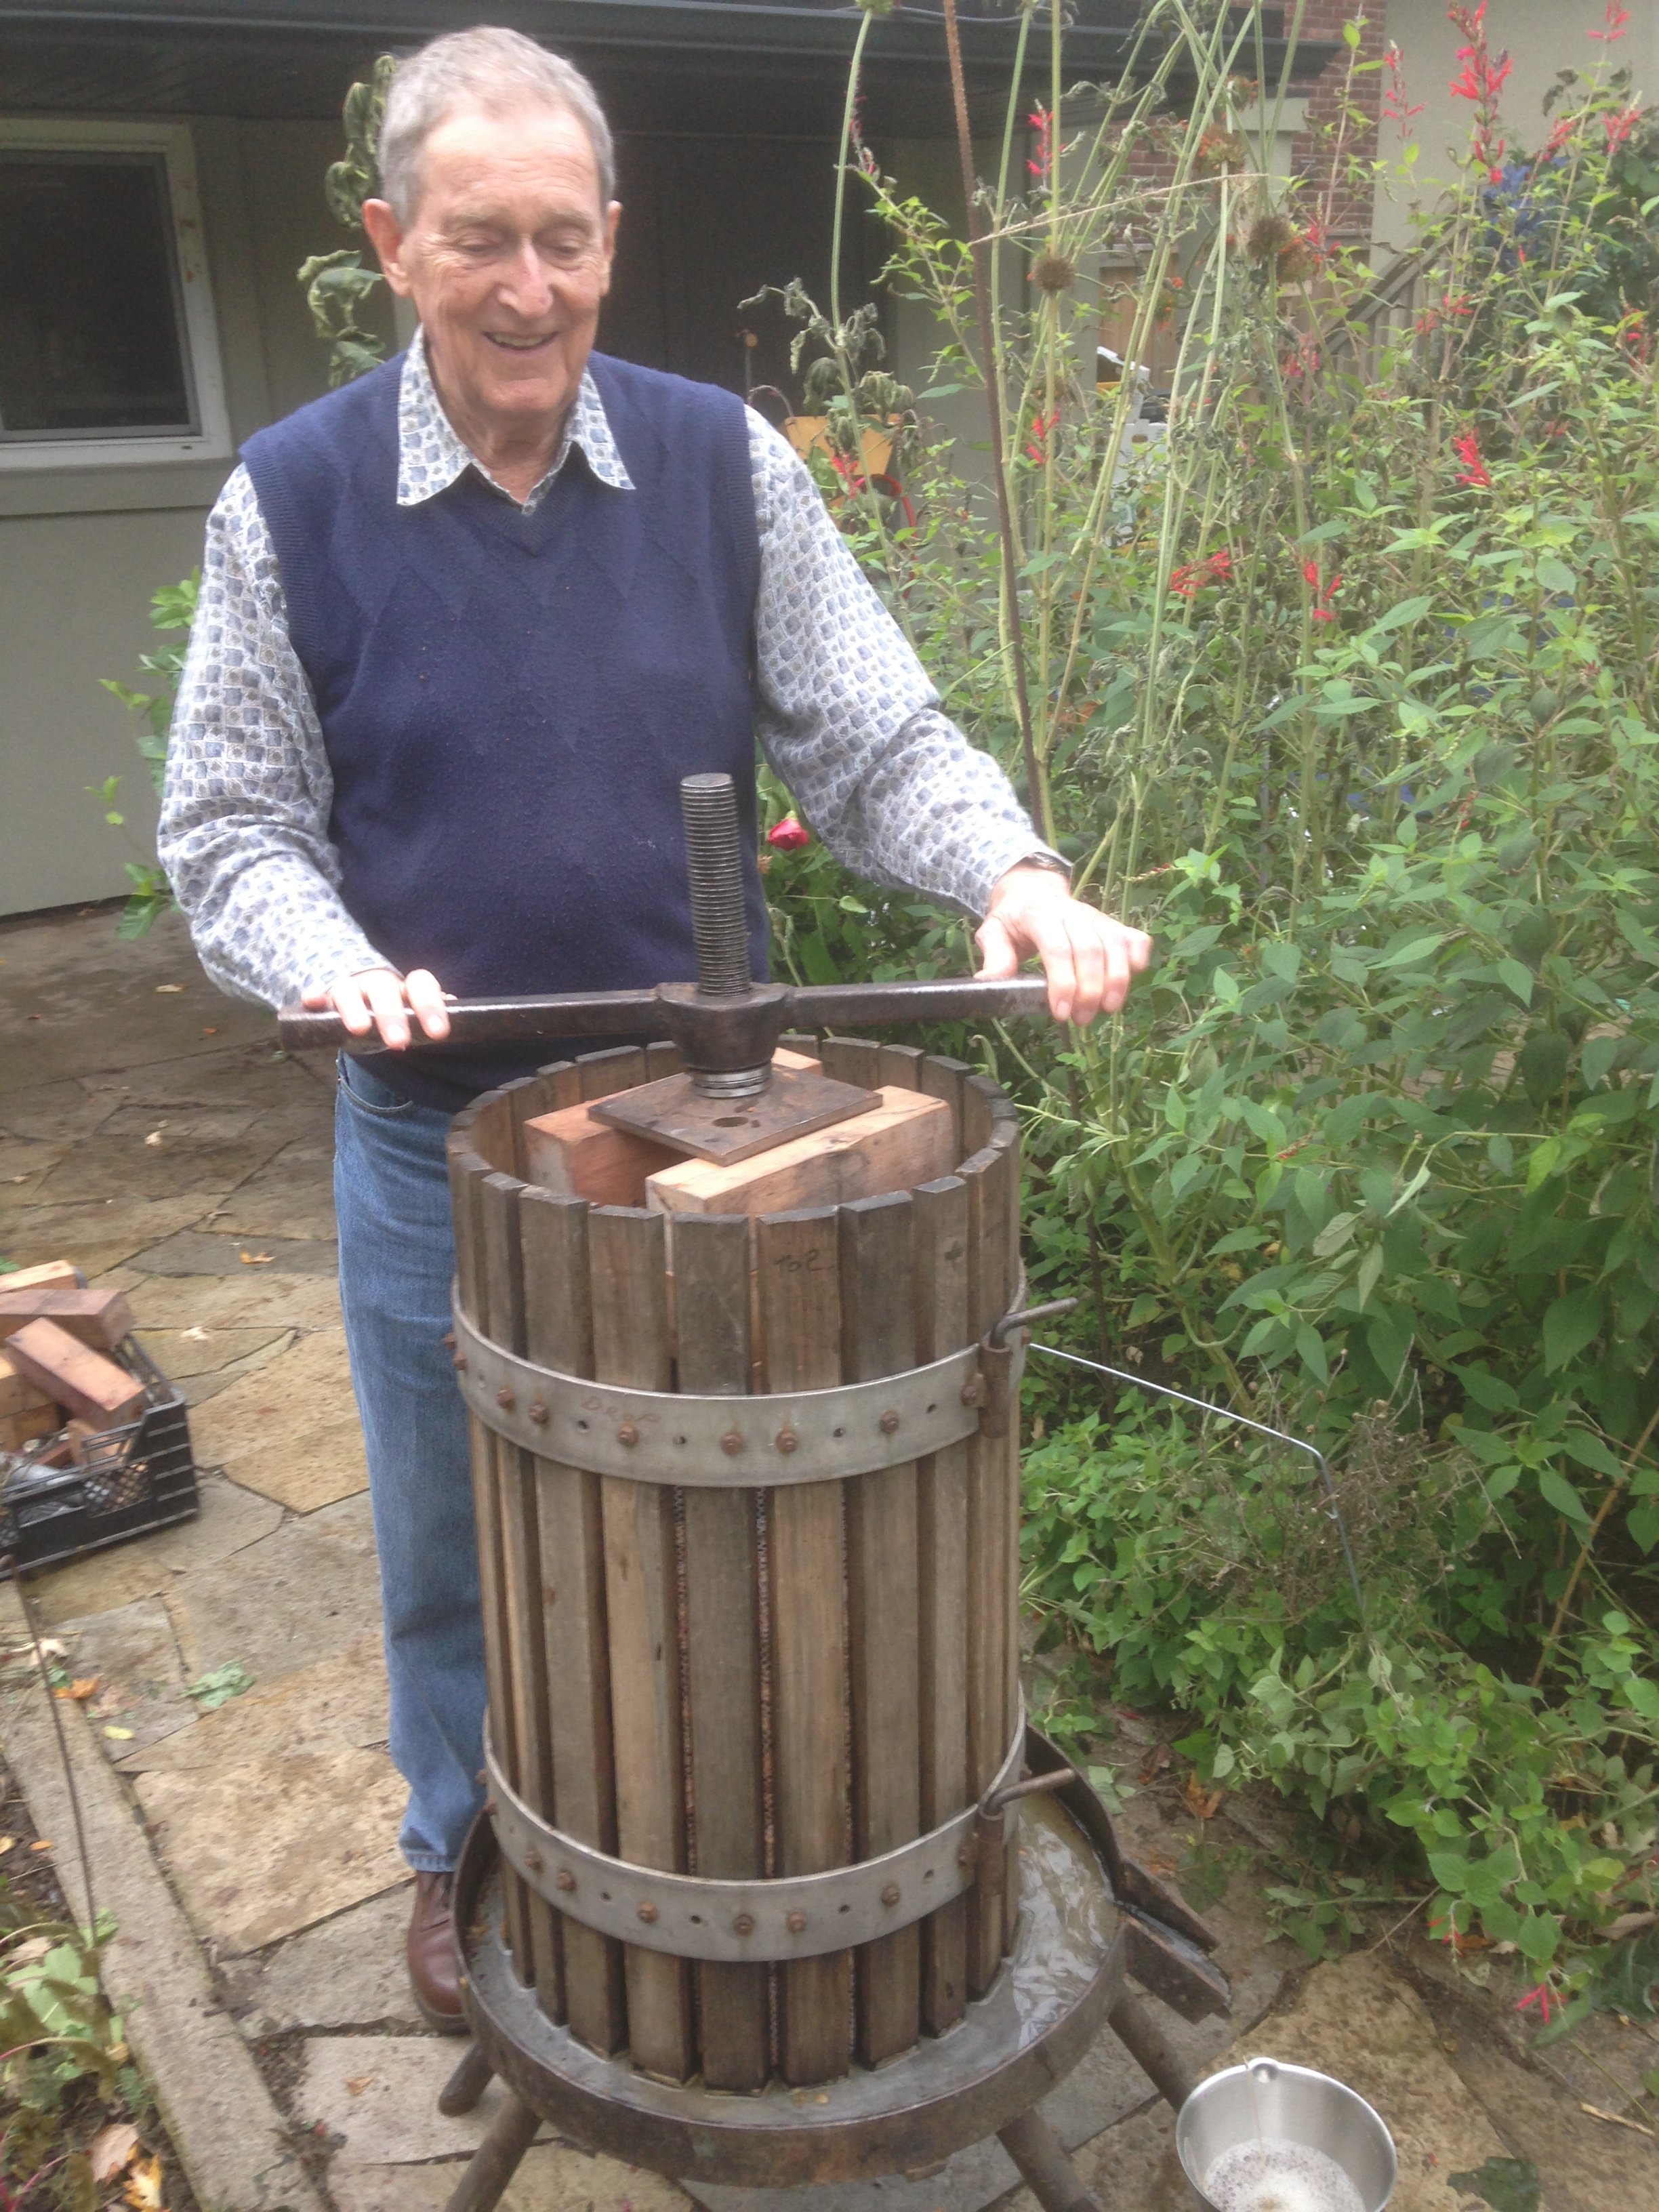
Luckily, my friend Tony gave me an old grape press which solved the bottleneck. Now I can grind the apples on my original unit while I press cider on Tony’s grape press. Not only is the tub on his press much bigger than mine, but the screw press has better compression, so I can squeeze out more cider.
Cider vs. Cider
The word “cider” confuses: It makes some people think of sweet, fresh-pressed juice (sweet cider), while others think of its more potent fermented cousin (hard cider).
Making hard cider is another reason for a get-together. My friends Dave and Rob have collaborated with me for a few batches.
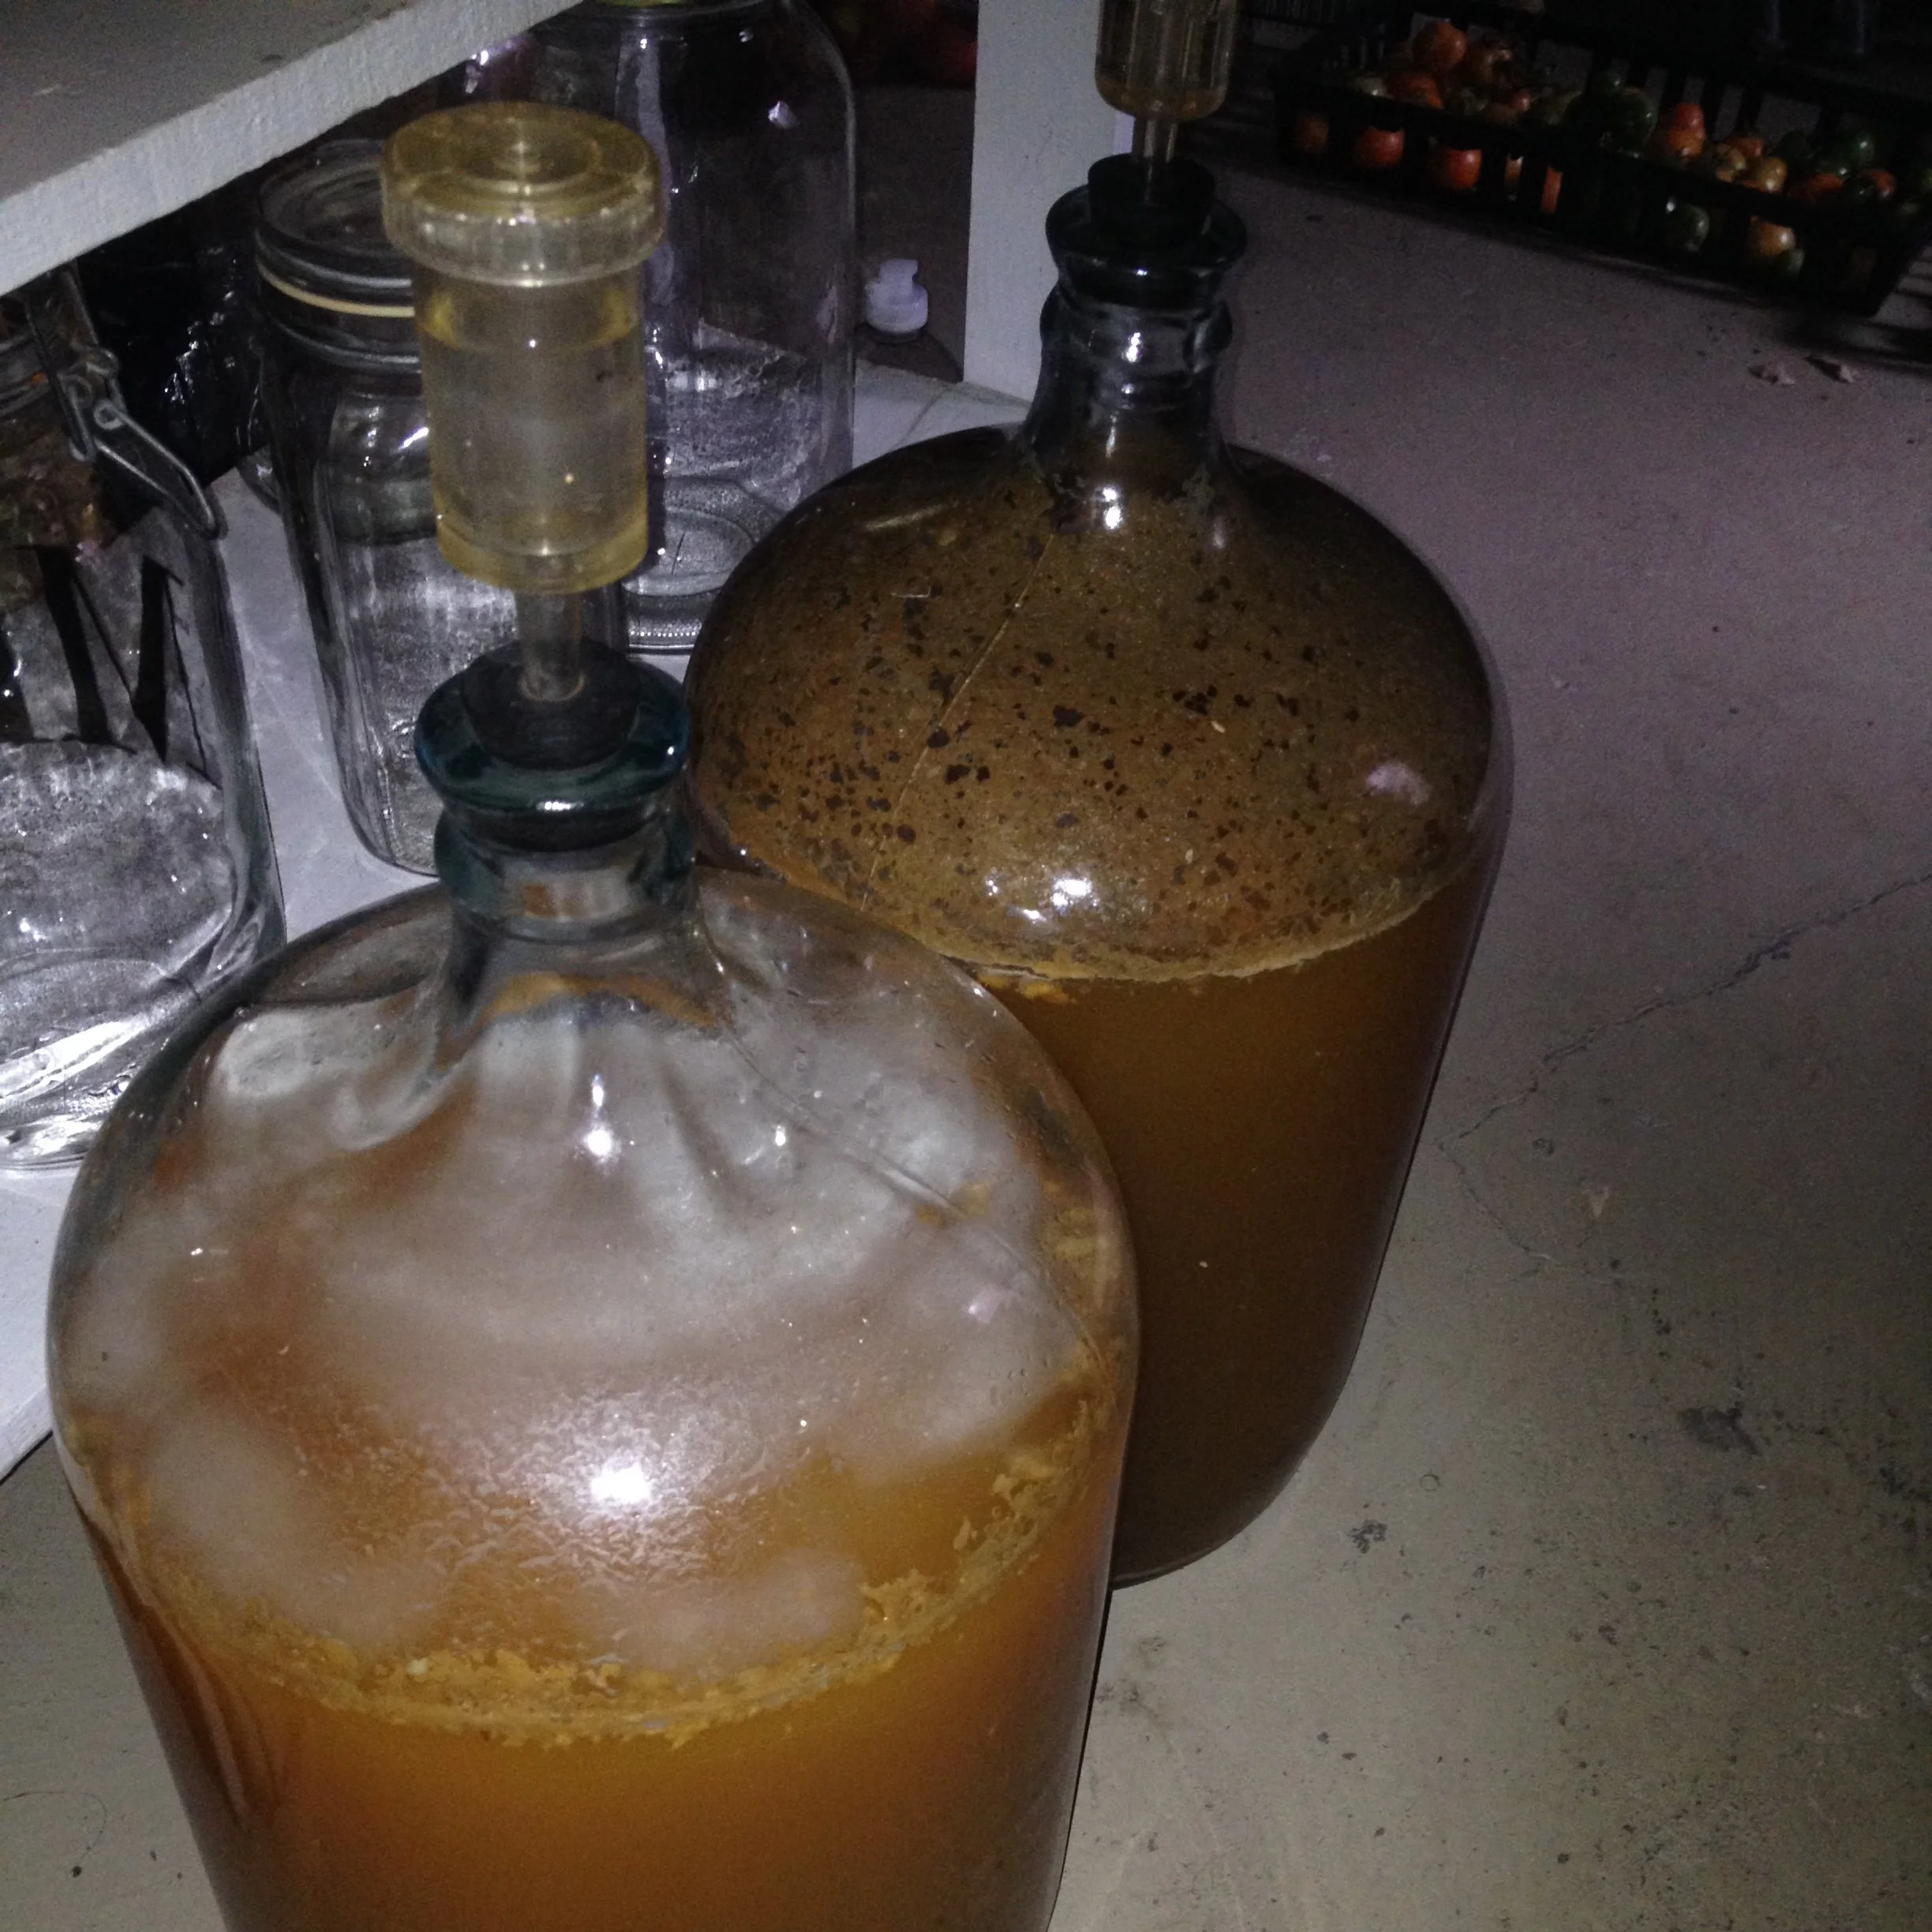
Fermenting carboys of cider fill the basement with a delicious smell. We’ve tried the all-natural approach, letting naturally occurring yeasts on the apples drive the fermentation. The result tasted a bit like … socks. Champagne yeast gives us better results. Batches not fit for drinking are useful in the kitchen (see my Cider-Making Tips below).
Cider-Making Tips
APPLE PRESS. I’ve never seen them for sale in stores, but you can find both new and used presses online. Be warned: they are not cheap. But I’d say they offer better long-term value than a new large-screen TV.
APPLE SHOPPING. There’s no need for blemish-free apples. Go to roadside stands or orchards and look for “C” (sometimes called “cee”) grade apples, which are misshapen, blemished, or smaller or larger than retailers want. Some varieties are juicier than others: ‘Macintosh,’ for example, is quite juicy, while ‘Russets’ are more dry and mealy (but they can be very sweet!). Some varieties are sweet, some are tart, some are aromatic—and some are astringent. For a more complex flavour, especially if you’re fermenting it, try to use a blend. One year I saw a couple of pecks of crabapples for sale so added them to the apples I was grinding for a carboy of hard cider. Crabapples often have more tannins, which can be a nice addition. Another year, my friend Dave picked the crabapples growing in the schoolyard.
STORING CIDER. Refrigerate fresh cider. It will last 1 to 2 weeks in the fridge before it begins to ferment. For freezing, milk cartons and plastic juice bottles work well. Don’t fill containers to the top because cider expands as it freezes, and you’ll end up with a bunch of little cider volcanoes in your freezer.
CIDER FOR COOKING. I use lots of cider in my cooking. My approach to French onion soup combines consommé, red wine, and apple cider that have simmered all day. Apple-cider baked beans are a big hit with my kids. And I use cider in marinades and glazes.
GROWING APPLES. Growing apples in an urban garden is hit and miss. Some years the old ‘Mutsu’ apple tree in my yard is laden; other years start off well until the squirrels make off with nearly all of the fruit. Without thinning, apples tend to bear fruit in alternate years. I grew espaliered apple trees with some unusual cider apple varieties: some died because of a nearby black walnut tree; and the others, which were coming along nicely, have just been gnawed back to the trunk by a squirrel that used the branches to make a nest. Maybe next year…
Want to Store More of Your Own Food?
25 Storage Crops
Growing crops that store well is one way to store more of your own homegrown food. Here are 25 storage crops for your garden.
Interested in Growing Fruit?
Find out how to grow fruit at home with these articles.
Or take the Fruit Masterclass to find out about easy-to-grow fruit and landscaping with fruit.
Landscape with Fruit
That’s easy to grow in a home garden!
Guide to Making the Best Borsch
Recipe for the best borsch, just like Mom made! Here are my 2 must-have ingredients, and tips on making a great stock for your homemade borsch.
By Steven Biggs
How to Make the Best Borsch
When Mom served her homemade borsch we’d empty the pot. It was rich, filling, tangy – and always topped with a dollop of sour cream or “smetana.”
Her borsch was different every time, because she used what she had in the kitchen, and in the garden or cold cupboard.
But it always had beets.
Garden-to-Table Cooking…in Winter
I think about borsch as I plan my vegetable garden because it’s full of vegetables that store well.
Beets, carrots, onions, and garlic all keep well in a cold room or root cellar.
(Mom sometimes used dried lima beans, another food that stores well.)
Borsch Backstory
There are many variations on borsch.
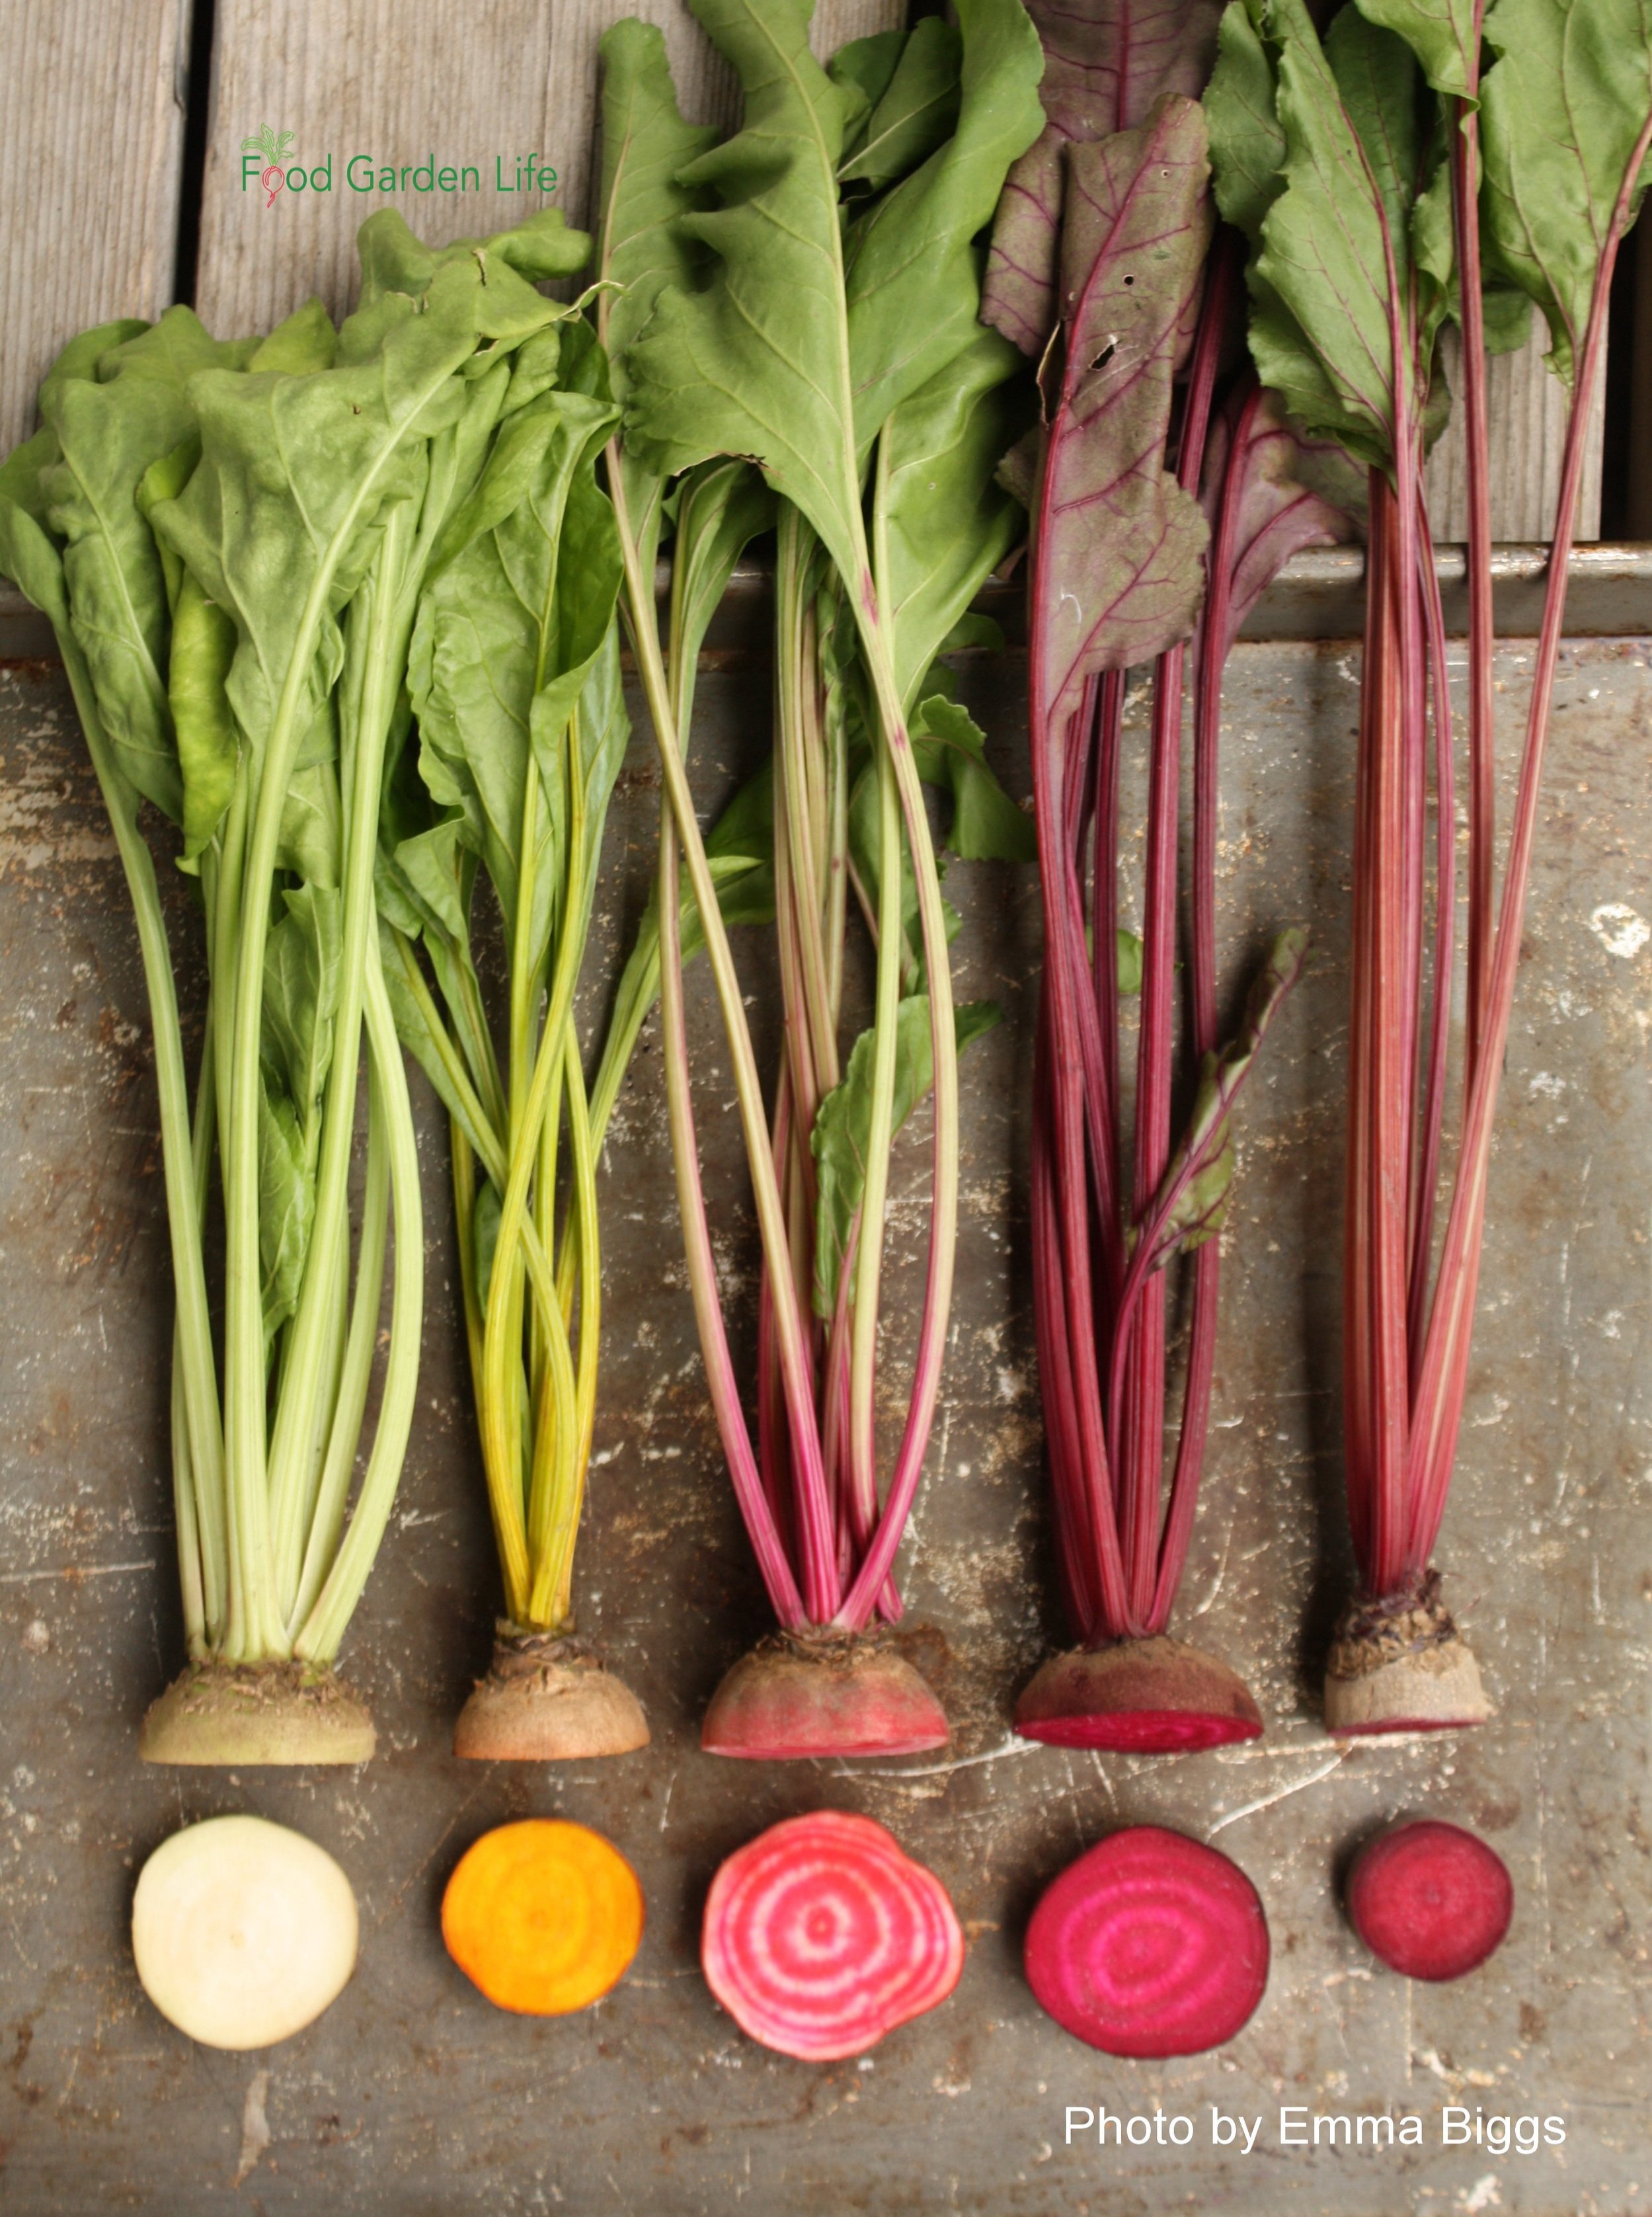
Make the best borsch! Most recipes use red beets, but if you’re growing yellow or white beets, you can use these too (but the final colour of your borsch will be different.
Some are thicker and stew-like; some more soup-like. Some are tarter; some are sweeter.
It’s eaten hot or cold.
There are summer and winter styles, depending on what’s in the garden.
It’s not just the ingredients and cooking styles that vary: So does the spelling of the name. You might come across borscht, borsch, bortsch, borstch, borshtch, borsh, or borshch.
That’s because it’s a staple in many Eastern European cultures.
What most variations share is lots of chopped veggies—especially beets. And there’s usually a combination of tangy and sweet.
Depending on the recipe, the tanginess might come from vinegar, sour cream, sauerkraut, kvass (a drink made from fermented grains), or lemon juice.
The Stock for Making Borsch
Mom’s borsch was decidedly full of meat. The stock depended on what she had on hand.
I simmer a ham bone or smoked pork hock for the better part of a day to get a rich stock.
You can also make a great borsch using vegetable stock. (See the recipe below.)
Essential Ingredients
Here are two ingredients that I love in borsch:
Dill
Sour cream
When there’s fresh dill available, I always use it. Through the winter, I use chopped, frozen dill saved during the summer.
Sometimes I also add dill seed—which is like little nuggets of dill flavour. Use dry dill seed in the winter, and in the summer, try fresh dill seed.
Sometimes a dollop of sour cream is served atop a bowl of borsch. I like that…but I also like to mix a bit into the borsch when I’m almost done cooking to give a tangy, creamy finish.
Create Your Own Unique Edible Landscape
That fits for your yard, and your style!
Top Borsch-Making Tip
During cooking, you lose colour contrast as the ingredients in your pot of borsch all take on the red colour of the beets.
So create contrast in texture by chopping the different vegetables into different sizes and shapes. (I like long, thin strips of cabbage!)
Then, when it’s serving time, the dollop of sour cream on top is like a white island in the sea of red. If you top this combination with fresh chopped dill, you’ve added two more colours to your ruby-coloured soup.
Serving Ideas
Toasted, buttered rye bread is all that you need with a bowl of borsch. I love a caraway rye bread (which has caraway seeds in it.)
Storage
I make soup by the pot. I keep enough in the fridge for the week, and then freeze some to use at a later time.
Beet Borsch Recipe
Ingredients:
The Veggies
Remember, chop the different veggies in different ways to create texture. The quantities below are approximate. Vary it up depending on what you have on hand, what you like, and the size of the veggies.
6 medium beets, peeled and chopped
¼ - ½ head of cabbage, shredded
2 onions, chopped
2 large carrots, chopped
1 stalk celery, chopped
1 leek, chopped
1 potato, peeled and chopped
3 cloves garlic, crushed
Liquid
4 cups water
1 tbsp. vinegar
2 cups stock (I make mine from a ham bone or smoked pork hock, but you can use chicken or vegetable stock, depending on your preference)
Herbs and Spices
3 tbsp. chopped dill
½ tsp. caraway seeds
Salt and pepper to taste
Thickener
½ cup sour cream or kefir
1 tbsp. flour
Optional
½ cup dry lima beans
Or, if you have shelling beans in the garden, substitute these for the lima beans
I like to chop up and add the beet leaves and stems to the soup too
Directions
Soak lima beans in water overnight
Combine chopped vegetables and liquids in a large pot
Cook over medium heat
Add vinegar as soup begins to boil
Simmer for a couple of hours, until the vegetables are soft
Add dill, caraway seeds, pepper, and salt
Simmer for a few more minutes
Final but important step: The flour thickens the borsch just a little bit. Mix flour into the sour cream or kefir, and then stir this mixture into the soup and simmer for a couple of minutes. (Don’t add the flour straight to the boiling soup or you might get little dumplings!)
Gardening Courses
More Food and Recipe Ideas
Cauliflower Steak with Yuzu Marinade
Here’s my recipe for a cauliflower steak with a yuzu marinade.
By Steven Biggs
Cauliflower Steak?
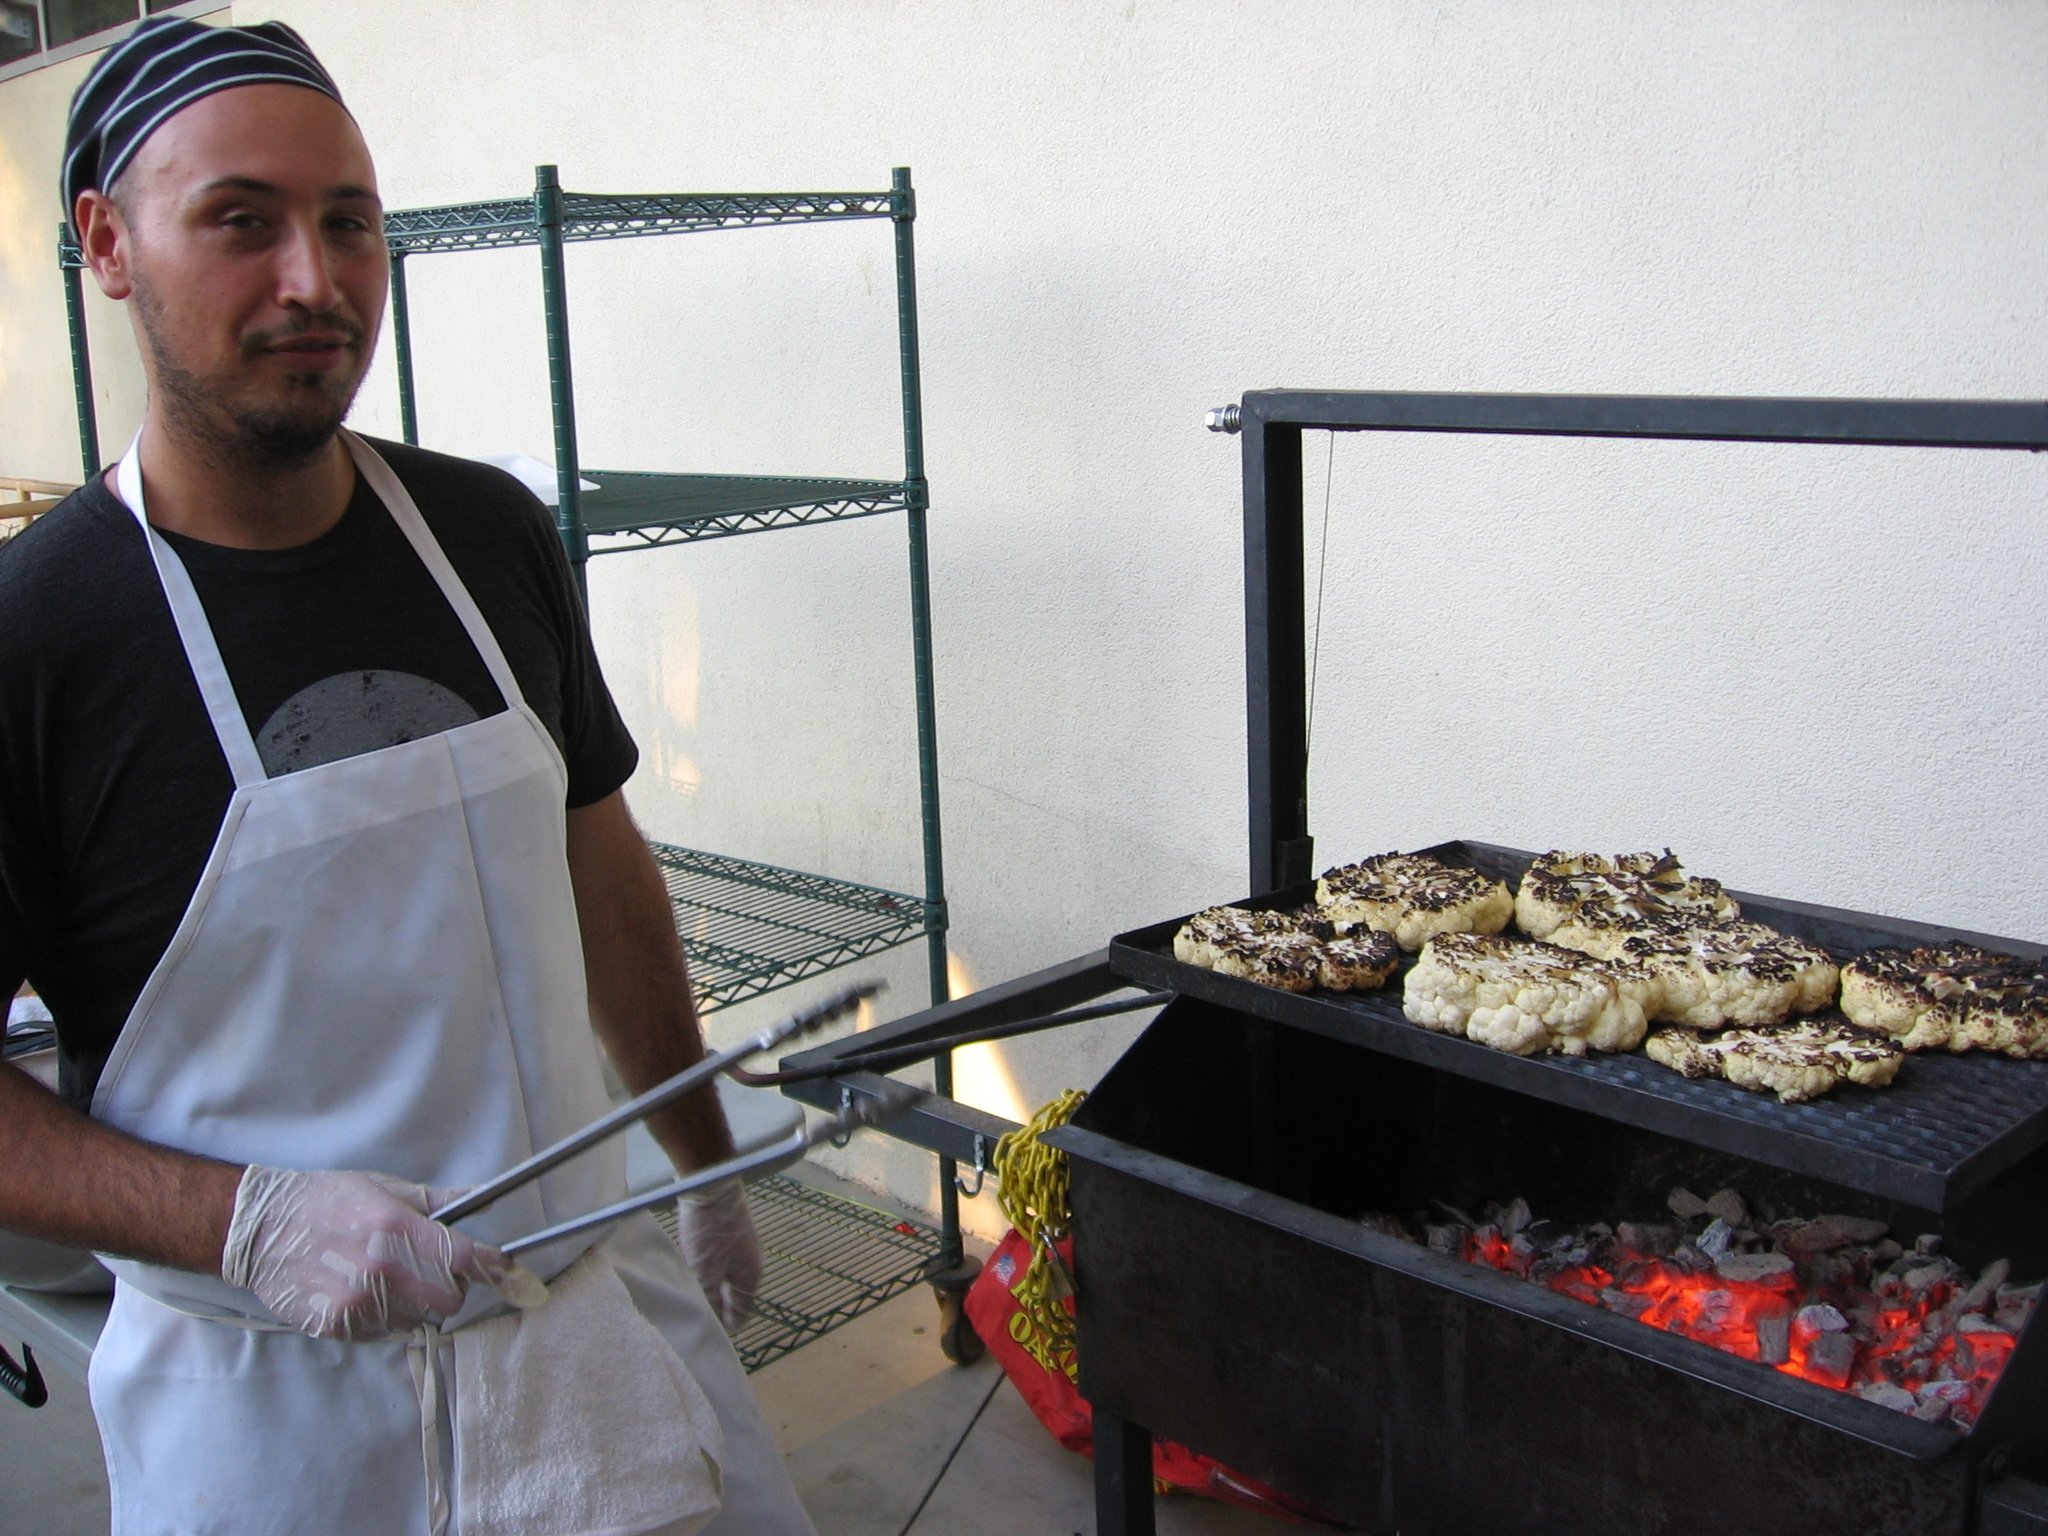
As the chef addressed our group of garden writers, he told us that he’d used a Korean-style marinade on the cauliflower steaks.
Cauliflower steaks? Yup. And not cauliflower crumbs glued together with insipid, sticky filler.
I walked over to the grill to have a peek. There were big, sizzling, round slabs of cauliflower, sliced so the central stem held everything together.
High-School Farm-to-Table Meal
We were at Muir Ranch, an urban teaching farm and teen-jobs program on a 3-acre field behind John Muir High School in Pasadena, California.
They’d set up a long table beside the field to feed us. Students were ferrying around food.
Feeding a Diverse Crowd
That farm-to-table meal was in 2015, and I hadn’t had cauliflower steak since.
Cauliflower steak is a fun way to use locally-grown cauliflower when it’s in season. Here are some Ontario-grown beauties.
But recently I had an entertaining dilemma.
I was feeding a group of friends with diverse diets. I needed an entree that was:
Vegetarian
Low-carb
Gluten-free
Keto-friendly
Farewell soy sauce…see you, sugar…bye-bye bread crumbs!
So I went hunting for my photo of the cauliflower steaks, to see if I could remember how it was done.
I set out to recreate the cauliflower steaks I’d enjoyed at a very fun farm-to-table meal.
A Perfect Fall Meal
A cauliflower steak is a great dish for feeding friends on diverse diet regimes. (Unless you’re ardently anti-vegetable, like my late Uncle Bill.)
This is also a great recipe if you’re looking for new ways to serve up locally-grown produce. For long stretches of the year here in Southern Ontario, grocers stock puny shrink-wrapped cauliflower shipped in from across the continent.
But it’s November as I write this, and there are fantastic Ontario-grown cauliflower.
Large and snow-white.
Perfect for carving into steaks.
Add in Yuzu
I had one other thought in mind as I planned dinner: Feed my guests some of the yuzu fruit I’ve grown.
If yuzu is new to you (excuse the rhyme!), it’s a citrus fruit, and the rind has a floral smell and taste.
For northern gardeners looking for a fun, exotic crop to grow in a pot, yuzu is a cold-tolerant citrus.
Grown in the ground, yuzu can go to about -10°C (14°F). In a pot it can’t get quite as cold…but I stow mine in a cold garage or greenhouse that I keep just above freezing for the winter. (Grow it just like you would a lemon tree in a cold climate.
Some of my harvest of Toronto-grown yuzu fruit
The cauliflower steaks were a hit with my guests.
How to Make Cauliflower Steaks
The cauliflower steaks were a hit. If you like the sound of them, my recipe is below.
Carve Cauliflower into “Steaks”
I cut 2 steaks from each cauliflower head. Cut it from bottom to top, along the centre of the stem so that the outlying sections are held in place. After you’ve halved it, make a second cut to shave off the rounded side, leaving you with a flat steak.
(The rounded part that you shaved off will include lots of small bits. I set them aside to make a cream of cauliflower soup later in the week.)
Make a Marinade
Because the chef who made those steaks at Muir Ranch mentioned a Korean marinade, I thought I’d combine ingredients for a Korean-inspired marinade, and then add in my yuzu fruit. I made a fairly big batch – enough for the 3 heads of cauliflower. You might not need this much if you’re doing just one head of cauliflower.
Cut cauliflower from bottom to top, along the centre of the stem so that the outlying sections are held in place.
4 large cloves of garlic (hardneck ‘Red Russian’ garlic from my garden)
Grated ginger root, about 2” of it (I use a microplane, but a fine grater is OK too)
5 tbsp. tamari sauce (soy works well too…but I used gluten-free tamari for my gluten-free guest)
3 tbsp. rice vinegar
6 tbsp. sesame oil
5 tbsp. of a brown-sugar like zero-calorie sugar replacement (OK, I’ll be honest here – just use brown sugar unless you’re on a special diet.)
1 tbsp. sambal oelek hot pepper sauce (I’ve seen a lot of Korean recipes calling for gochujang hot sauce…but we keep sambal oelek in our kitchen…and you can use whatever hot sauce suits your taste)
Zest and juice of 2 yuzu fruit (Substitute lemon juice and rind if you don’t have yuzu)
I spread the marinade on the cauliflower steaks a couple of hours ahead of cooking them. Put it on both sizes, and around the outer edge.
Grilling the Cauliflower Steak
I flipped the steaks part way through, and used a fork to test the softness.
I decided to go for high heat, with the lid of the BBQ down. That’s because I like cauliflower when slightly charred or browned, which gives it a slightly nutty flavour.
I flipped the steaks part way through, and used a fork to test the softness. I like cauliflower on the firm side.
Serving Cauliflower Steak
These were whopping big steaks…nearly as big as our dinner plates, and probably more cauliflower than even the most ardent health-food nut eats in a week.
So I sliced the steaks in half, down the middle, before putting them on a serving platter.
And one other thought: Put steak knives out with your table setting. The main rib can be hard to cut if your cauliflower is on the firm side.
Cauliflower Steak FAQ
What if I don’t have a sugar substitute?
Unless you’re on a special diet, just use brown sugar. That’s what I usually use in my Korean-style marinades.
Can I use purple cauliflower?
I’ve never tried that, but I think it’s an awesome idea. Try the yellow cauliflower too.
Can I cook cauliflower steak in the oven?
Why not? I love to dry-cook cauliflower in the oven at a high temperature so that it browns and develops a nutty flavour. Just do the same thing with a steak. Put it on a baking sheet, at a high temperature, around 425°F (220°C)
More Ideas
Here are more cooking ideas, and more information on growing your yuzu in a cold climate. Grow a potted yuzu tree the same way you would a lemon tree.
Simple Home Preserving
Simple ways you can preserve your garden harvest without canning.
By Steven Biggs
Simple Preserving Techniques
Preserving often brings to mind piping hot mason jars, bags of sugar, the stinging aroma of boiled vinegar, and a hot, steamy kitchen—all hallmarks of canning.
But there are many other preserving strategies that are simpler and less energy-intensive.
Sauerkraut is a great example of a simple method of preserving. All it takes is cabbage, salt, and time.
Preventing Spoilage
We preserve food by preventing the growth of spoilage organisms:
These organisms include fungi (e.g. moulds) and bacteria (e.g. botulism), and insects
We prevent their growth with conditions that don’t suit them: acidic, cold, lacking in oxygen, or dry
Sauerkraut
Enjoy your garden harvest year-round by using a few simple preserving methods. Simple is the key word: the simpler it is, the more likely it is to get done.
I was pretty excited the first time I made sauerkraut. No more insipid, store-bought kraut: I wanted the good stuff. With fennel seeds, juniper berries. Maybe even some apple slices. My great aunt Anna later taught me to put a whole head of cabbage near the bottom of the crock, so I could have whole sour cabbage leaves for making cabbage rolls.
You can’t get more tactile in food prep than making sauerkraut. It takes repeated punches to the salted, shredded cabbage until a film of liquid starts to show. The arm motion I find works best is a bit of a punch with a twist.
Once the cabbage is softened and there’s liquid, I added a bit of brine so I have enough liquid to pin down all the shredded cabbage under a weighted plate and have it submerged.
Then it’s time to let it ferment.
The first time I made it I kept the crock in the house. It didn’t win me any favours with my wife, Shelley.
It stank. I remember her saying to a technician at the door, I’m sorry about the smell, it’s my husband, he’s making sauerkraut.”
Now I make sauerkraut in the garage.
Bugs Too
A stint in the oven at low heat, or storing dry beans in the refrigerator is a simple way to deal with bean weevils.
Insects are spoilage organisms too. One year I found lots of scampering weevils drilling holes into my dried beans.
After making sure our stored food is insect-free, the next thing to do is have food in a sealed container — where insects can’t get to it.
Make sure that there are no hidden travellers or eggs: Even though my dried beans were in a closed jar, they included weevil eggs. If I had used a heat treatment to kill the eggs, I wouldn’t have had a jar full of weevils.
Fermentation
Lactic-acid-fermented dilly garlic cucamelons.
Lactic-acid fermentation is what makes sauerkraut sour. It’s a naturally occurring process during which lactic-acid forming bacteria multiply rapidly, giving off enough lactic acid to preserve the cabbage.
Despite the sour flavour, sauerkraut is made without vinegar.
This same fermentation process can be used for other vegetables too. Brined (fermented) dill pickles taste different from pickles made with vinegar—it’s the lactic acid that makes these pickles tangy.
Like sauerkraut, brined cucumbers undergo a fermentation process that produces acidity. This acidity then prevents the growth of spoilage organisms. Other vegetables such as cucamelons, beets, carrots, beans, and onions can also be fermented.
Other Preserving Techniques
Drying herbs. TIP: If drying herbs in the sunlight, cover them with a paper bag to get dry herbs that aren’t bleached by the sun.
DRYING is a simple preserving technique that works because most spoilage organisms need moisture to grow. While the drying of fleshier produce with a high moisture content might be best done in the oven or a food dryer, other crops dry very easily.
Herbs are one of the easiest things to dry. They hang in bundles from my garage ceiling, while linden flowers and elderberries are spread out on metal pie plates or cookie sheets. The dry bean plants hang by the roots to dry until the fall, when the beans are removed from the shell and stored in jars.
A dedicated drying room or shed isn’t necessary. Try drying herbs in the kitchen window. We’ve had good luck with strings of hot peppers or the wild mushrooms that we dry in the kitchen—we’ve even used the hot dashboard of a car to dry plates of elderberries.
FREEZING doesn’t kill all spoilage organisms, but it puts growth on hold.
My favourite freezing method is a simple technique for herbs. I love dill—and lots of it. In late spring there’s so much in the garden that I have to weed it out from the other crops. Instead of drying it in the sunny shed, where the sunlight causes it to fade to grey, I simply chop it then freeze it in a plastic tub or jar. I have ready-chopped dill all season long. The same technique works well for parsley too.
The Easiest Preserving Technique
What’s the easiest preserving technique? Leave the crop in the garden as long as possible.
Parsley can be retrieved from under the snow
In winter, the few leeks that remain in the garden make a nice stew during a mid-winter melt
Carrots and parsnips can be kept in the garden well after the first frost—in fact, they sweeten up with the cold weather as starches are converted to sugars
Ripe lemons can remain on the tree for months
Here are 25 storage crops you can grow in your garden to store for the winter.
I’ve had fun over the years getting my kids to help punch down the shredded cabbage to make sauerkraut!


