Prevent Leggy Seedlings and Grow Vegetable Transplants Like an Expert
The best way to solve the problem of spindly seedlings is to prevent them from getting that way in the first place. Find out how.
By Steven Biggs
Your Seedlings are Leggy? Keep Reading!
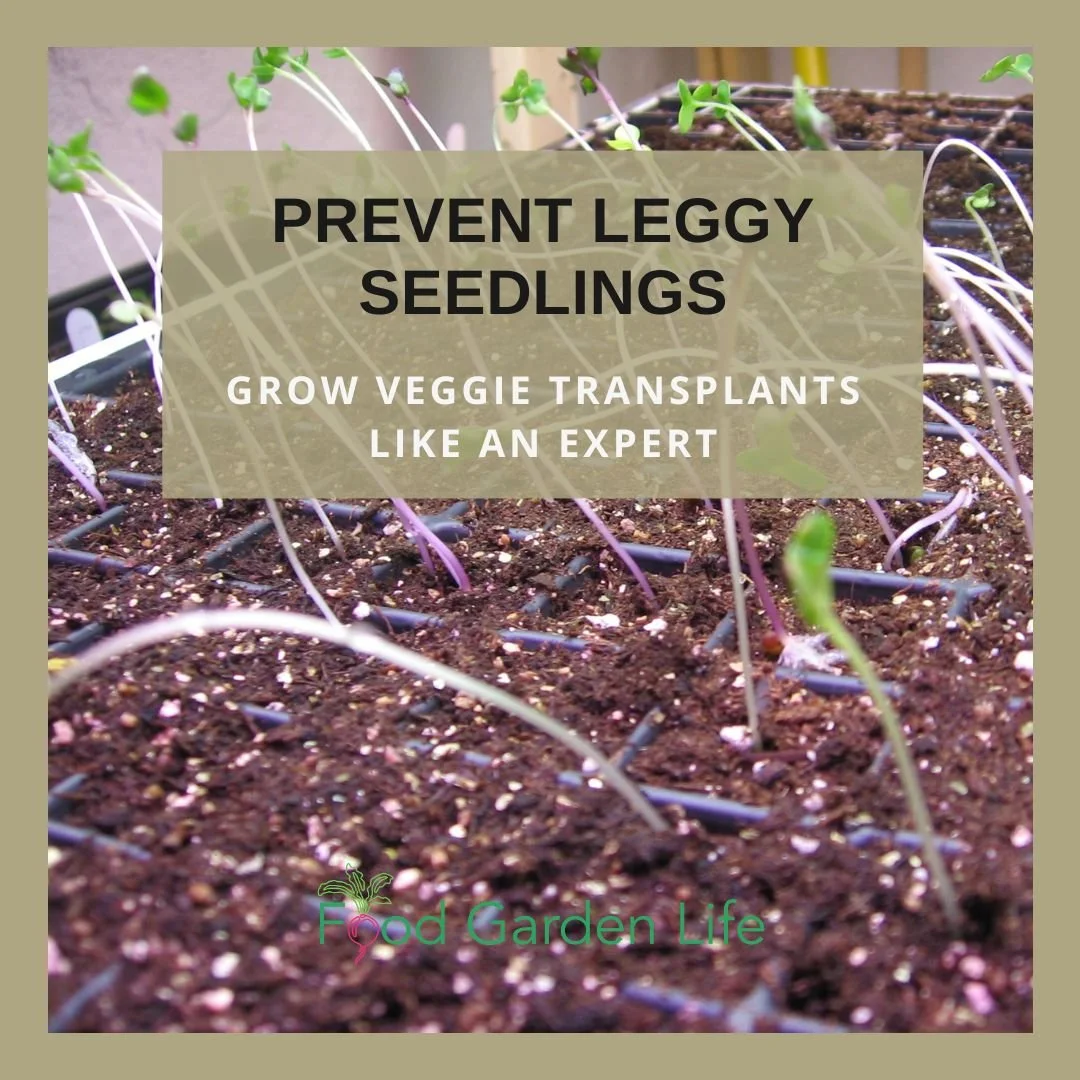
If your seedlings are doing the downward dog, this post is for you.
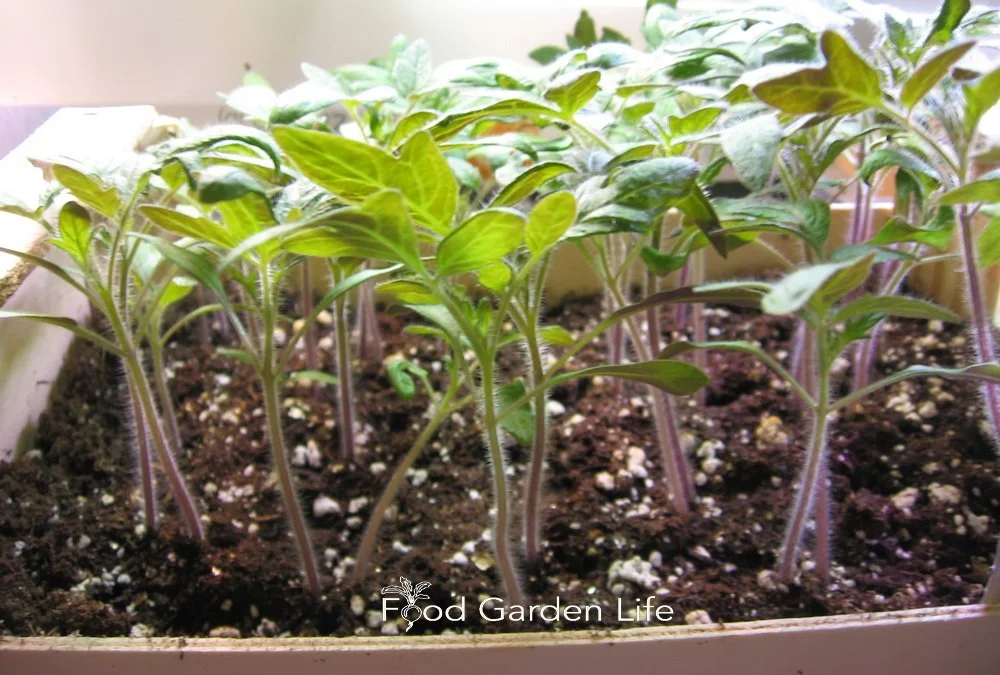
When young seedlings are so fragile that they fold into two, they don’t stand a good chance of success once you transplant them into the garden.
Yet leggy seedlings is a common problem for home gardeners starting seeds indoors. That’s because in a home setting, conditions are often less than ideal.
But there’s good news.
Even if you don’t have perfect conditions—even if you don’t have a greenhouse—you can grow healthy seedlings that will thrive. It’s just a matter of setting up your seed-starting area so you can give small seedlings:
An appropriate temperature
Enough light
A suitable potting soil
Combine these with a suitable container, and you’re away to the races. You can grow strong and healthy plants.
This article tells you how much light you need, what you need to know about temperature, what to look for (and avoid!) in a potting soil, and how to choose a suitable container. Get these four things right, and you’ll prevent leggy seedlings.
Heat to Sow Seeds Indoors
Warmer than room temperature to germinate, cooler than room temperature after germination.
If you see different seed-starting temperature recommendations for different crops, don’t sweat it. You’re probably starting all of your different crops in the same indoor space anyway.
Here’s the big picture, a simple way to think about temperature:
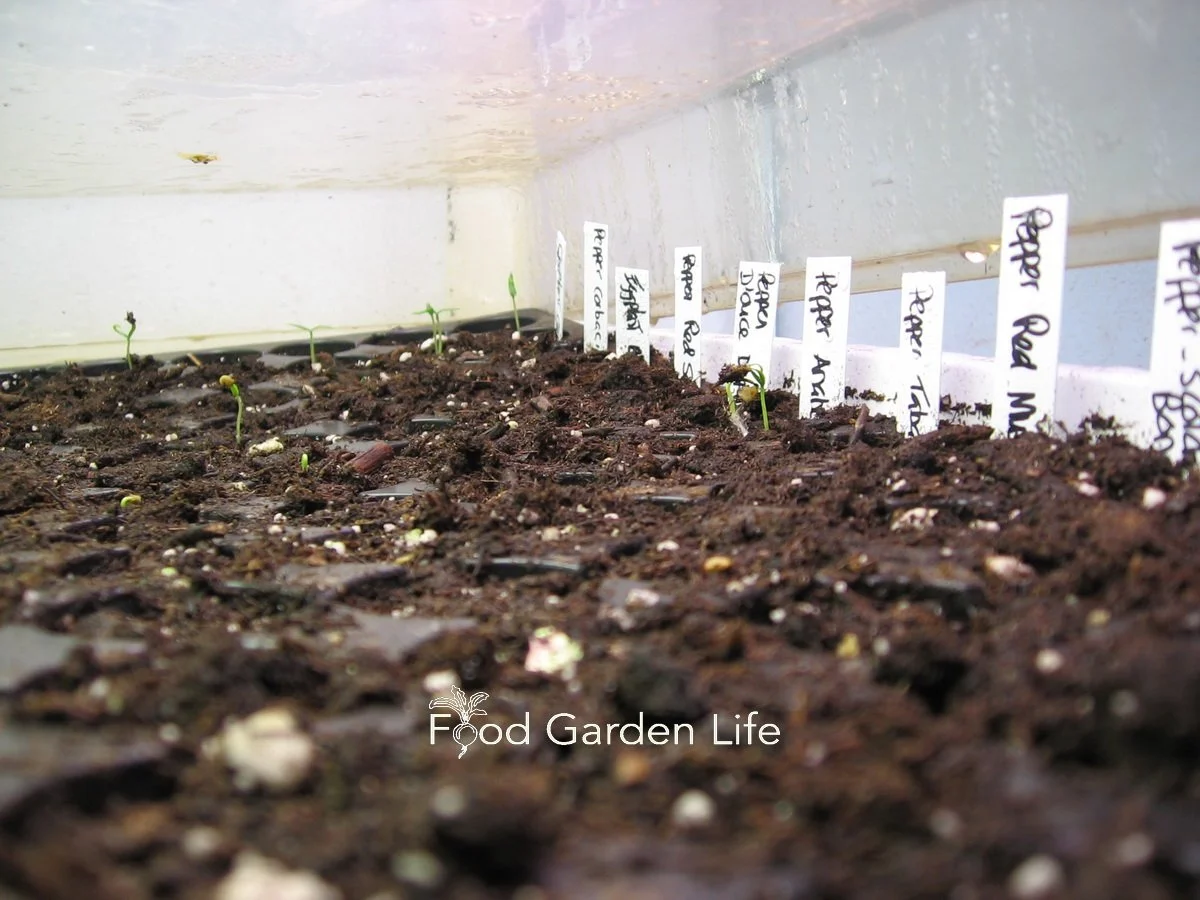
When you start seeds indoors, a temperature a bit above room temperature is helpful for faster, uniform germination
Once your seeds germinate, a temperature slightly cooler than room temperature helps to keep your seedlings more compact
Higher Temperature for Germination
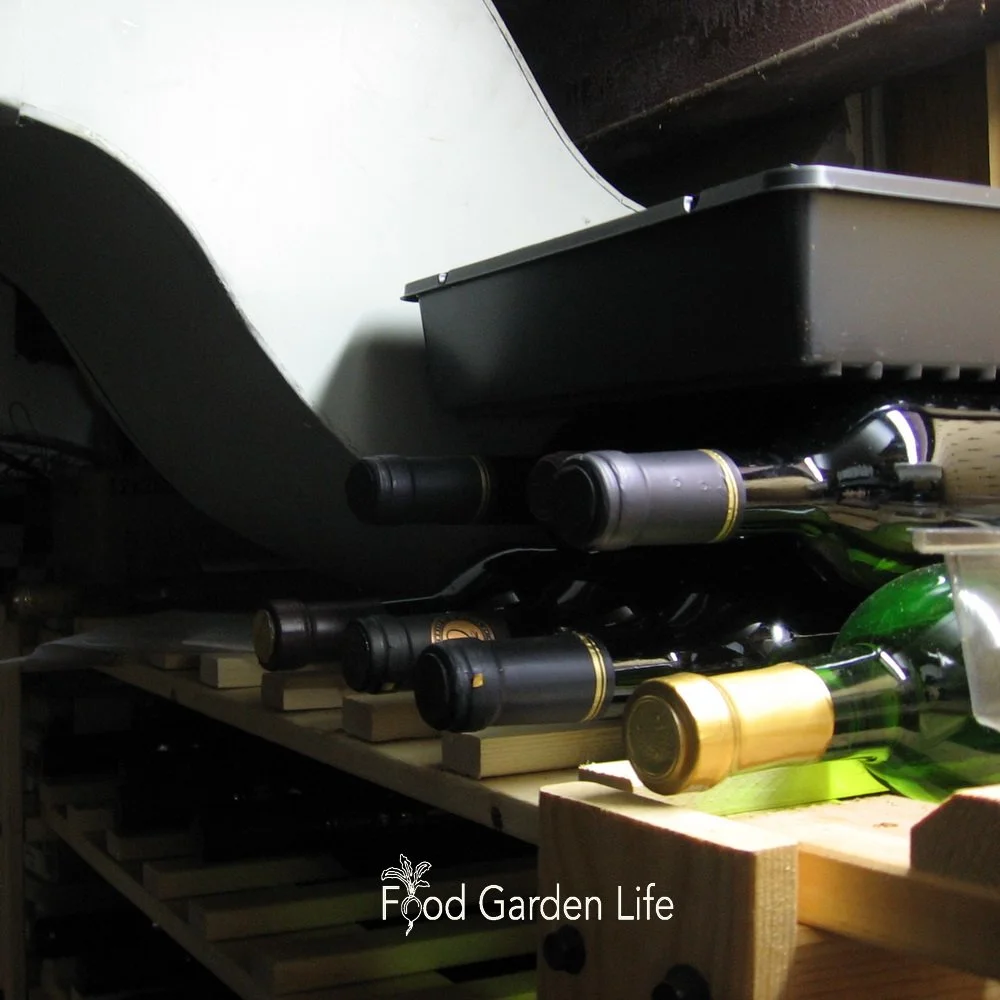
Speed up germination with more heat. Seed tray beside a heat duct to speed up germination.
You can raise the soil temperature without turning your house into a tropical conservatory. Just use what’s called “bottom heat.”
Bottom heat refers to heating the soil from below. There are purpose-made heat mats, like heating pads for plants, that go underneath pots and trays. With a heat mat, you’re only heating a small area.
Here are other ways you might be able to give your seeds bottom heat:
Heated floor
Hot-water radiator
An appliance that gives off heat (my former beer fridge was always warm on top)
In a previous house, I put seed trays beside basement heat ducts (over top of my wine rack!) to get seeds to germinate quickly. They sprouted seedlings faster than the trays in a cooler location.
Hold in Heat
Along with heat from the bottom, hold in heat and keep the humidity higher during the germination period. There are commercially available humidity domes for trays, or you can use clear plastic bags or cling wrap.
Cooler Temperature for Growing
Once seeds have germinated, a cooler temperature helps to develop sturdy stems. So remove the heat mat if you’re using one, and if you’re using a cover, set it ajar to let out some heat and humidity.
I grow seeds in a basement room with the heat ducts closed. It’s slightly cooler than the rest of the house and the temperature works well for raising seedlings.
Sufficient Light
Insufficient light is one of the things that will cause lanky seedlings.
There's a wide variety of grow lights available for home gardeners. But if you’re growing vegetable transplants indoors, you don’t need fancy grow lights. That’s because you’re not trying to grow the crop indoors for its entire life cycle.
All you’re trying to do is to get a healthy seedling to transplant into the garden. And once it’s in the garden, it gets full sunlight.
Grow Lights
Adequate light is important; but there’s no need for perfect light because seedlings get full sunlight when moved to the garden.
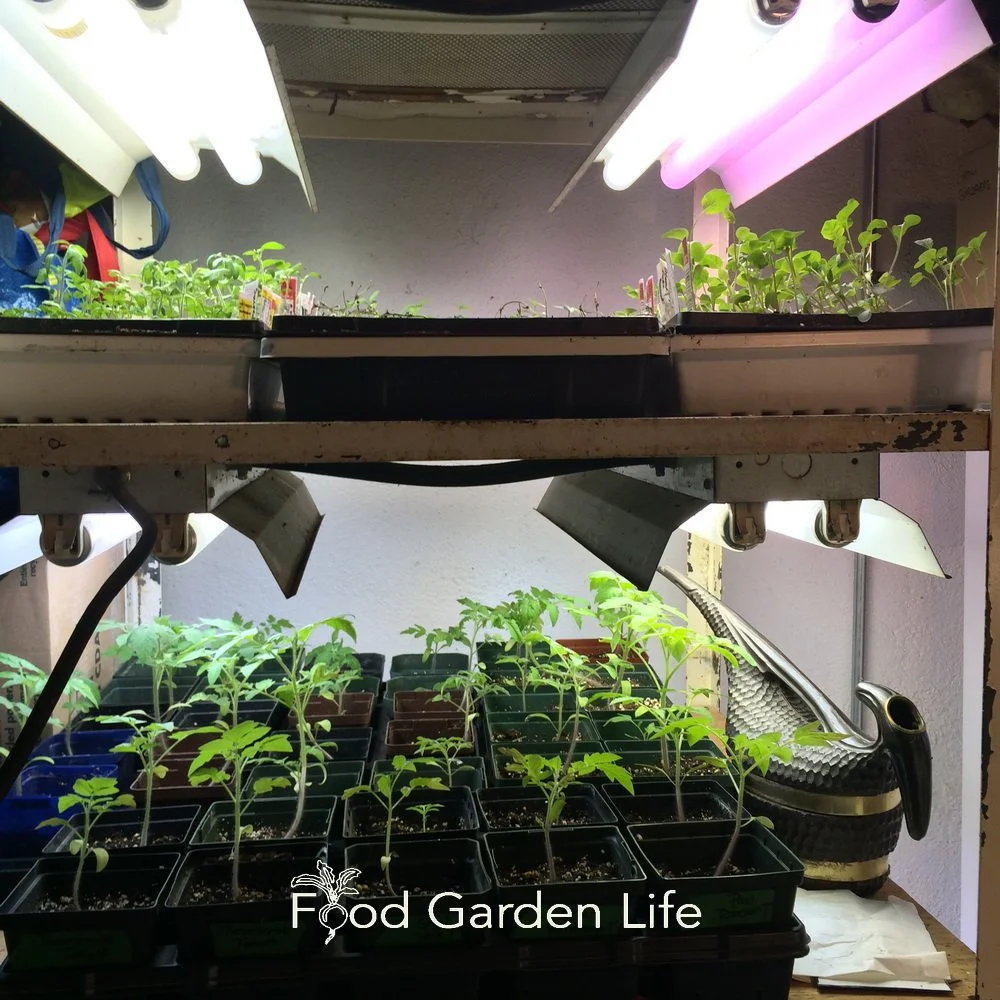
I still use fluorescent lights because that's what I have and I'm on a limited budget. You can buy fancy schmancy lights; there’s no need.
If you’re using artificial light, consider the distance of the seedling from the grow light. Some grow lights have adjustable lights that can be moved close to seedlings, and then moved up as seedlings get taller.
If, like me, you don't have that option, place something under the seedlings to raise them up, closer to the light source. (Mandarin orange crates work well in my setup!) As the plants get bigger, lower them so they’re not touching the lights.
Natural Light
If you’re using natural light, the brightest windows are usually south-facing. One challenge is that south-facing windows can be hot. Warmer temperatures can cause leggy seedlings. A simple solution to this is to place a fan in the area to disperse the heat.
Soil
Even with good light and a suitable temperature, if you have poor-quality soil, your seedlings might flop!
When it comes to soil, the top two things to think about are:
Use a light soil with lots of air space to allow excess water to drain and small roots to grow
Choose soil that’s free from pests and diseases
Create Your Own Unique Edible Landscape
That fits for your yard, and your style!
Disease in Potting Soil
Little seedlings are delicate and they're vulnerable to attack by disease. In a seed-starting environment, the most common disease is what’s called “damping off” disease. This fungal disease can come with the soil—so one of the easiest ways to prevent the disease is to use soil free from damping off.
Here’s how to lessen the chance of damping off:
Don’t reuse potting soil for starting seeds (unless you’re planning to heat sterilize it)
Don’t use garden compost for seed starting; it has more microbial activity—which is great in the garden—just not ideal for indoor seed-starting
Potting Soil Shopping Tips
Big bales. It’s buyer beware with potting soil. Some potting soils are great…some suck. The large compressed bags (a.k.a. bales) that are sold to commercial growers tend to have consistently better quality because commercial growers are more discerning. Big bales are also much better value. They’re compressed, and often quite dry—so also less likely to have eggs of pesky fungus gnats.
Finely-ground potting soils. There are seed-starting potting soils that are more finely ground, the idea being that big particles can get in the way of small seeds. This makes sense in a commercial setting where uniform, perfect germination is a must. It’s absolutely unnecessary in a home-garden setting. Don’t waste your money.
Skip the meal deal. Seeds germinate and start to grow using energy stored in the seed. Don’t buys soil with added fertilizer; it can actually burn tender seedling roots.
And…If you see soil on special at a big box store for a couple of bucks, remember that a bargain isn’t always a bargain.
Grow a Container Vegetable Garden
And get an early harvest of crops that usually take too long!
Containers
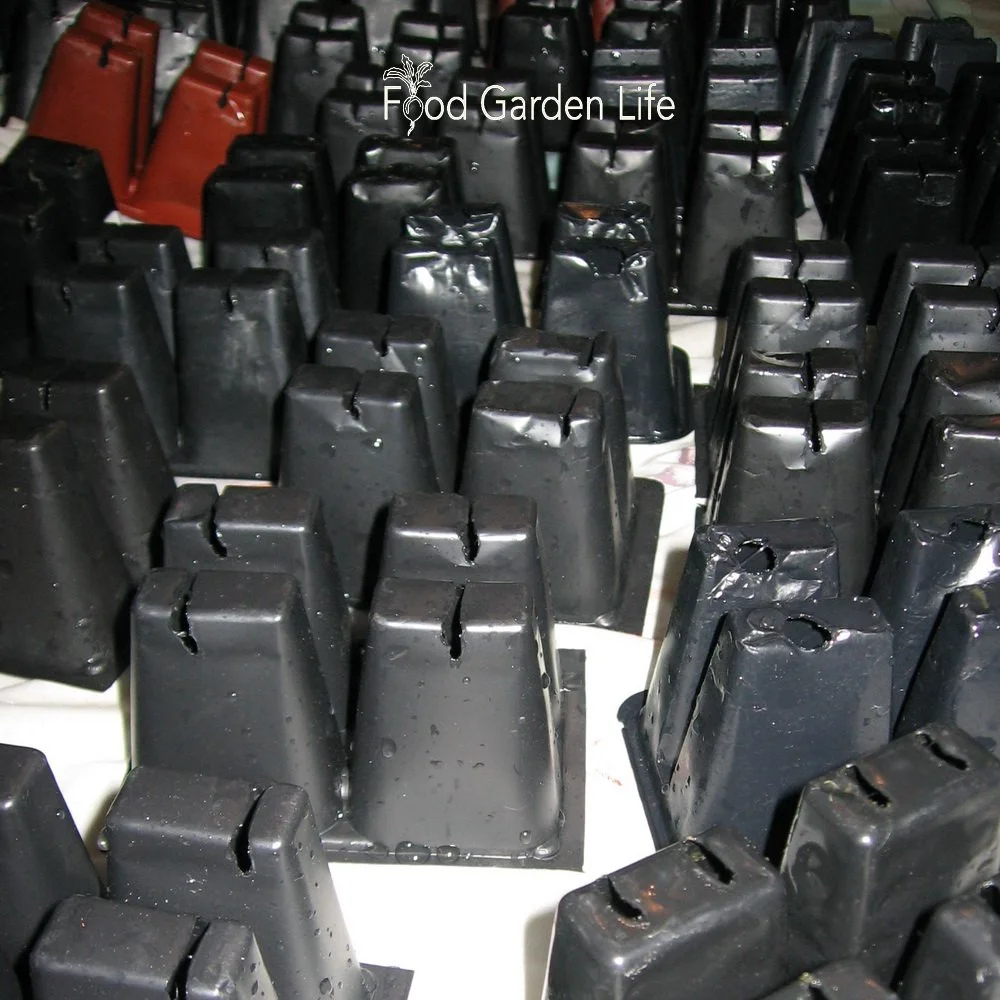
When I worked in the horticultural supply industry we sold various seedling trays, pots, the “cell packs” used in commercial seedling production.
Many of these are available to home gardeners, though not necessary.
The key things to think about with containers:
Drainage holes to allow excess water to drain
Not contaminated with damping off disease (see Reusing Pots and Trays, below)
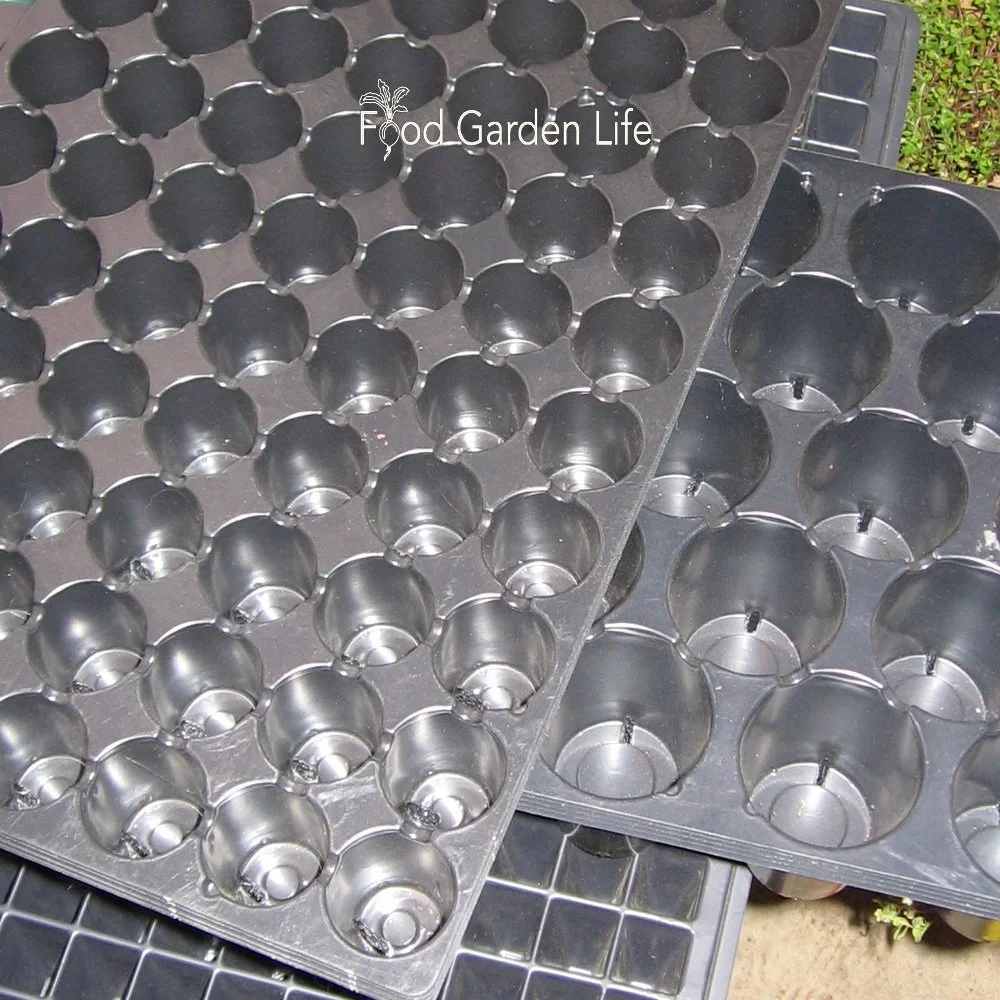
Plug trays for starting seeds indoors. Not necessary, but useful when you grow lots of the same thing.
Container Type and Size
If you’re growing a lot of one type of seed, you might like to have containers that are the same size because it simplifies watering. When my daughter raised hundreds of tomato seedlings, I got her what’s called “plug trays” so she could grow lots of small plants in our small space. They all had the same amount of soil, and dried out at the same speed.
I don’t use the expanding peat pellets. I think they’re gimmicky.
Use What’s in Your Recycling Bin
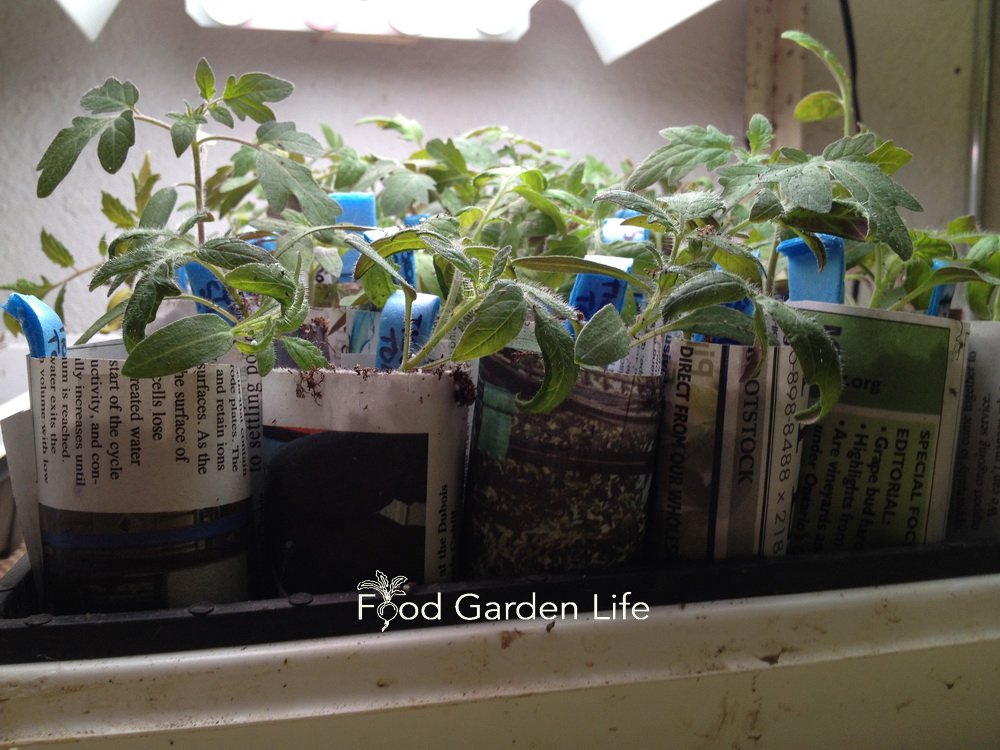
I am a big fan of scouring the recycling bin for seedling pots. For example:
Yogurt containers
Mandarin orange crates (my favourite for lettuce seedlings)
Tubs for mushrooms
Using a mandarin orange crate to grow tomato seedlings.
Tips when using recycled containers:
The volume of soil in different containers will vary—so water accordingly
Put holes in the container for drainage
Reusing Pots and Trays
If you're reusing pots and trays, it’s a good idea to first sterilize them to prevent damping off disease. That’s because any soil crusted on the container from the previous year can harbour the disease. If you haven’t had damping off disease in the past you might be OK…but personally, I don’t risk it. So I sterilize them.
When damping off disease attacks seedlings, it can wipe out a whole tray in just a day or two. It can be quite devastating.
Cell packs drying after washing and sterilizing to prevent damping off disease on seedlings.
Here’s what I do to sterilize containers:
Soak containers in water
Scrub off any crusted soil
Place them in a solution of 10 parts water with one part bleach
Let them air dry
What About Fibre Pots?
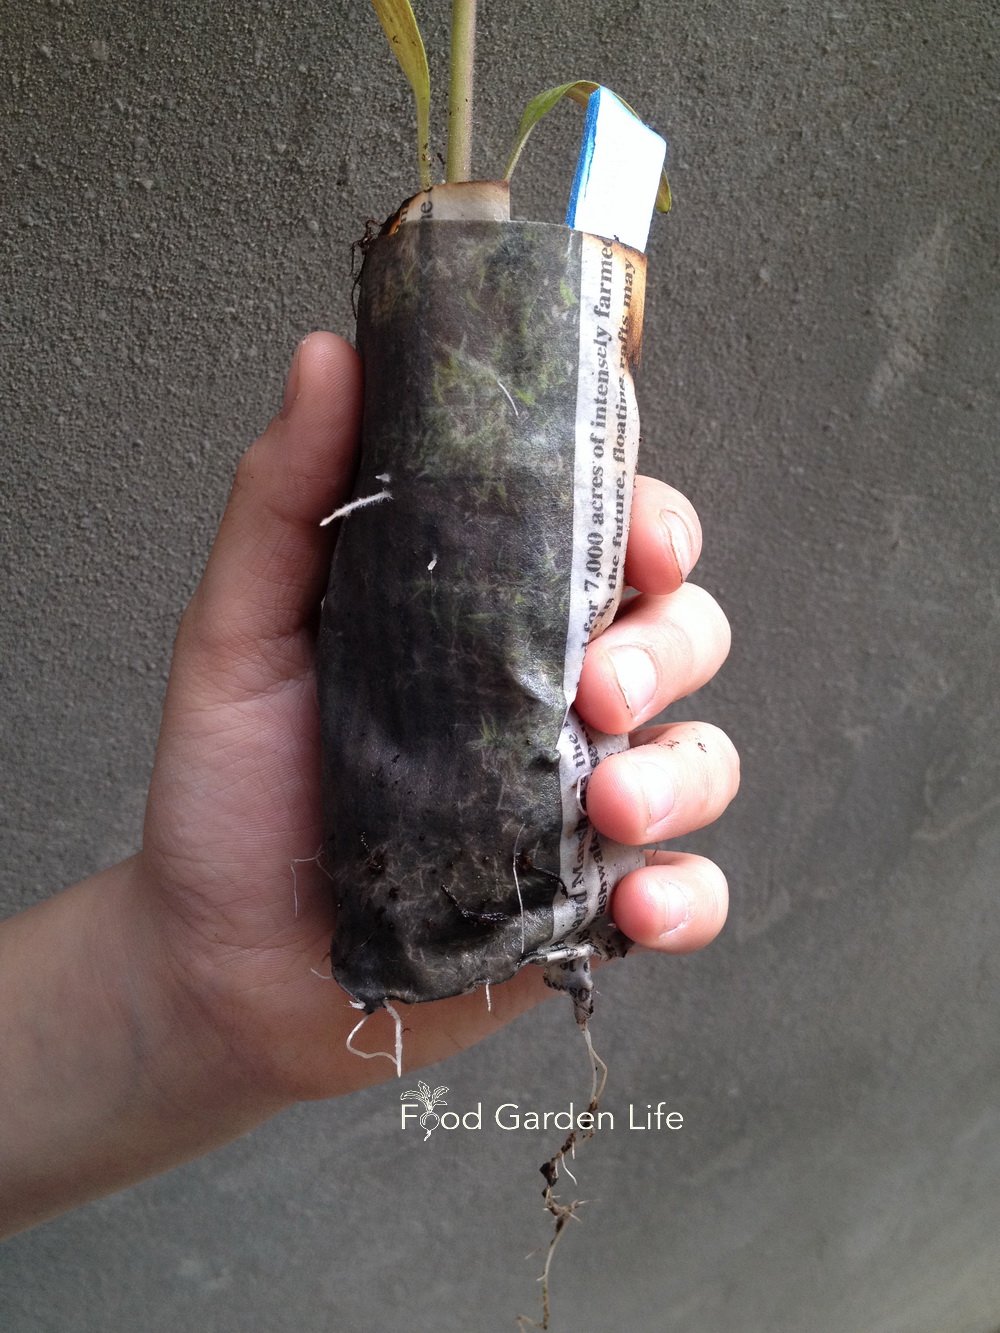
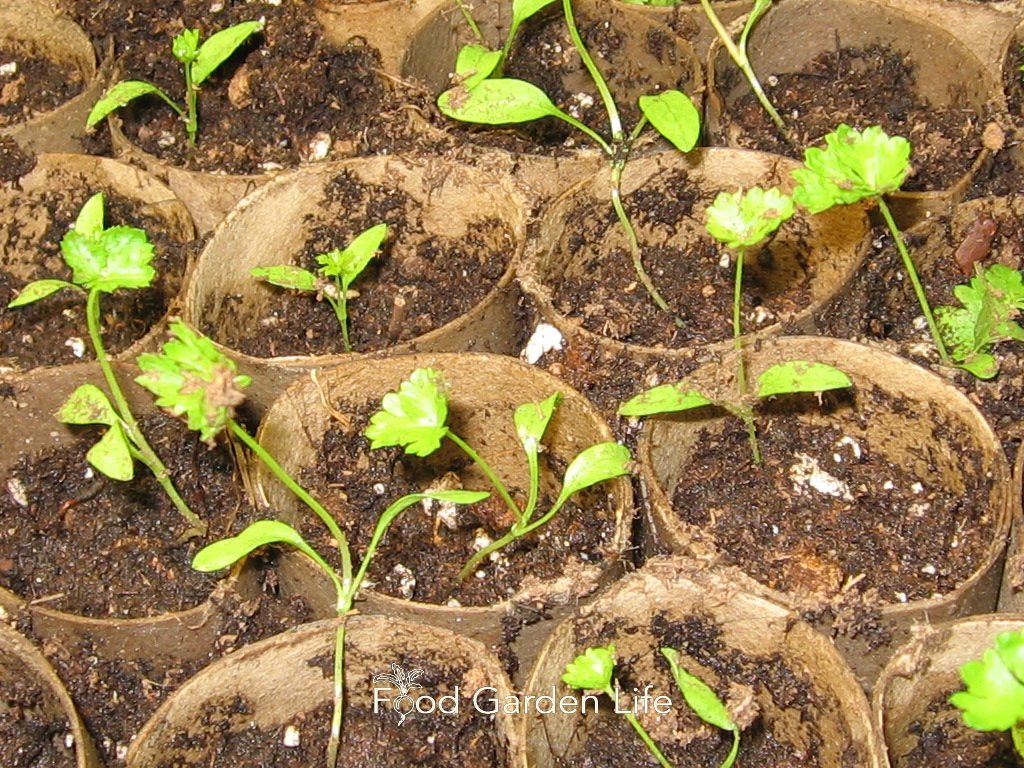
There are a few types of fibre-based biodegradable pots. Recently I saw some made from cow dung! Some people make newspaper pots, or reuse toilet paper rolls for seed starting. In principle, you can plant these pots straight into the ground, but there are a couple of caveats.
The pots wick out moisture, away from plant roots…and they can dry out quickly. So watch the soil moisture to make sure that it doesn't get too dry for your seedlings.
Later, when you transplant seedlings in the garden, if the lip of the pot is above the soil level, it'll wick the water away from around the roots, so the soil around the roots can be drier than the garden soil. So tear off the top of the pot—or bury it. That solves the wicking problem.
FAQ – Leggy Seedlings
Can you fix leggy seedlings? Can leggy seedlings recover? Can you fix stretched seedlings?
You can’t correct leggy seedlings...but if the seedlings aren’t too far gone, you can change the growing conditions so that the seedlings grow thicker stems.
Why are my seedlings flopping over? Why is my plant growing tall and skinny?
It can be too little light, too much heat, excess moisture—or a combination of these.
Can I bury leggy seedlings deeper? Can I fix leggy tomato seedlings?
In many cases, no. First of all, very thin stems can easily be crushed. And most seedlings don’t do well when planted deeper than the level they’re been growing at. Leggy tomato seedlings can be an exception—they do well when planted deeper—but it will depend how long, skinny, and delicate the spindly seedling is. Better to avoid the leggy seedlings in the first place!
Find Out About About Seed Starting in this Podcast
Find This Helpful?
If we’ve helped in your food-gardening journey, we’re always glad of support. You can high-five us below! Any amount welcome!
More on Vegetable Seeds
More on Growing Vegetables
Vegetable Gardening Articles and Interviews
For more posts about how to grow vegetables and kitchen garden design, head over to the vegetable gardening home page.
Vegetable Gardening Courses
Want more ideas to make a great kitchen garden? We have great online classes that you can work through at your own pace.
Grow Microgreens at Home for Easy-to-Grow Salad Greens all Year
How to grow microgreens indoors. The setup is simple. The materials are easy to get. There’s no need for fancy lights or equipment.
By Steven Biggs
Growing Microgreens at Home is Easy
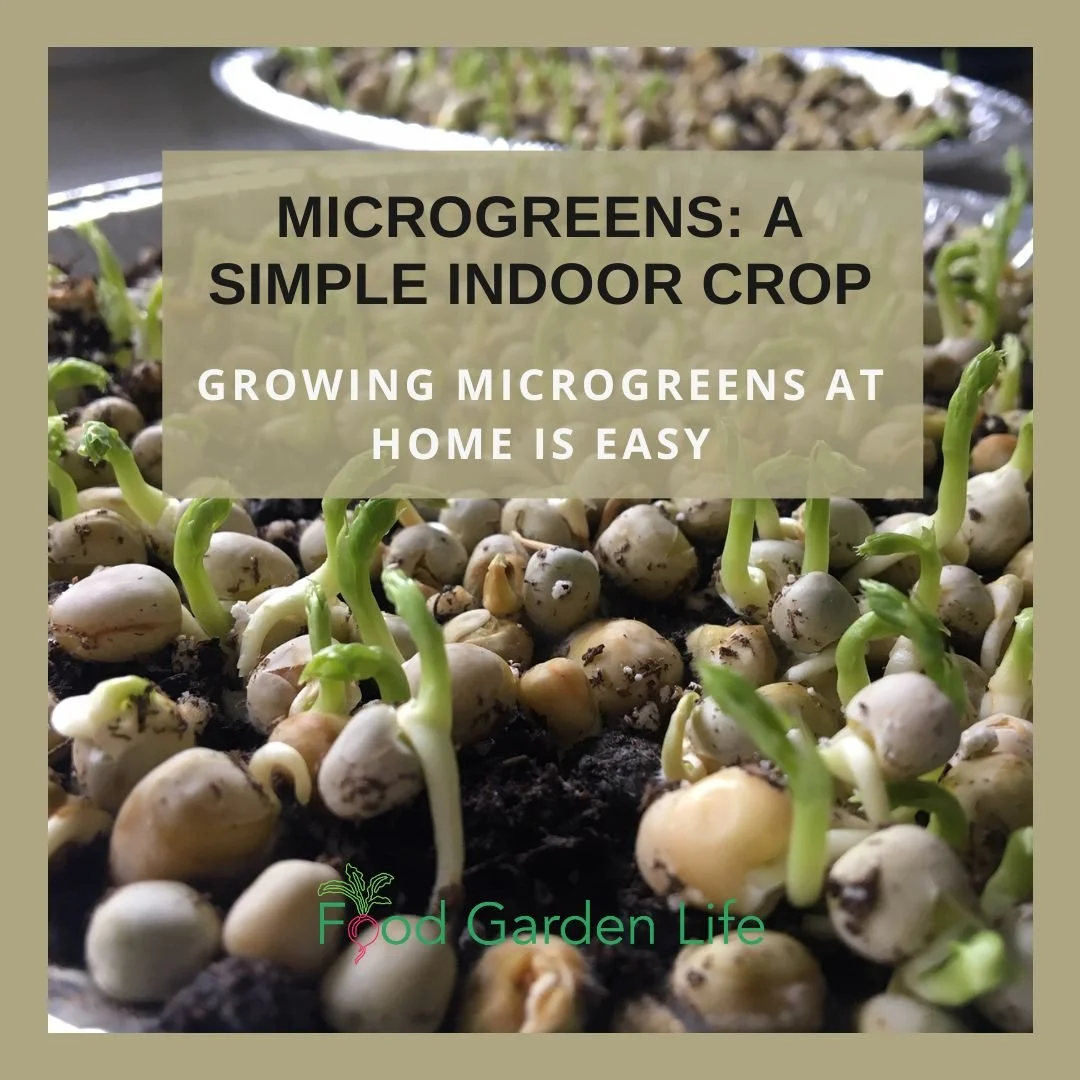
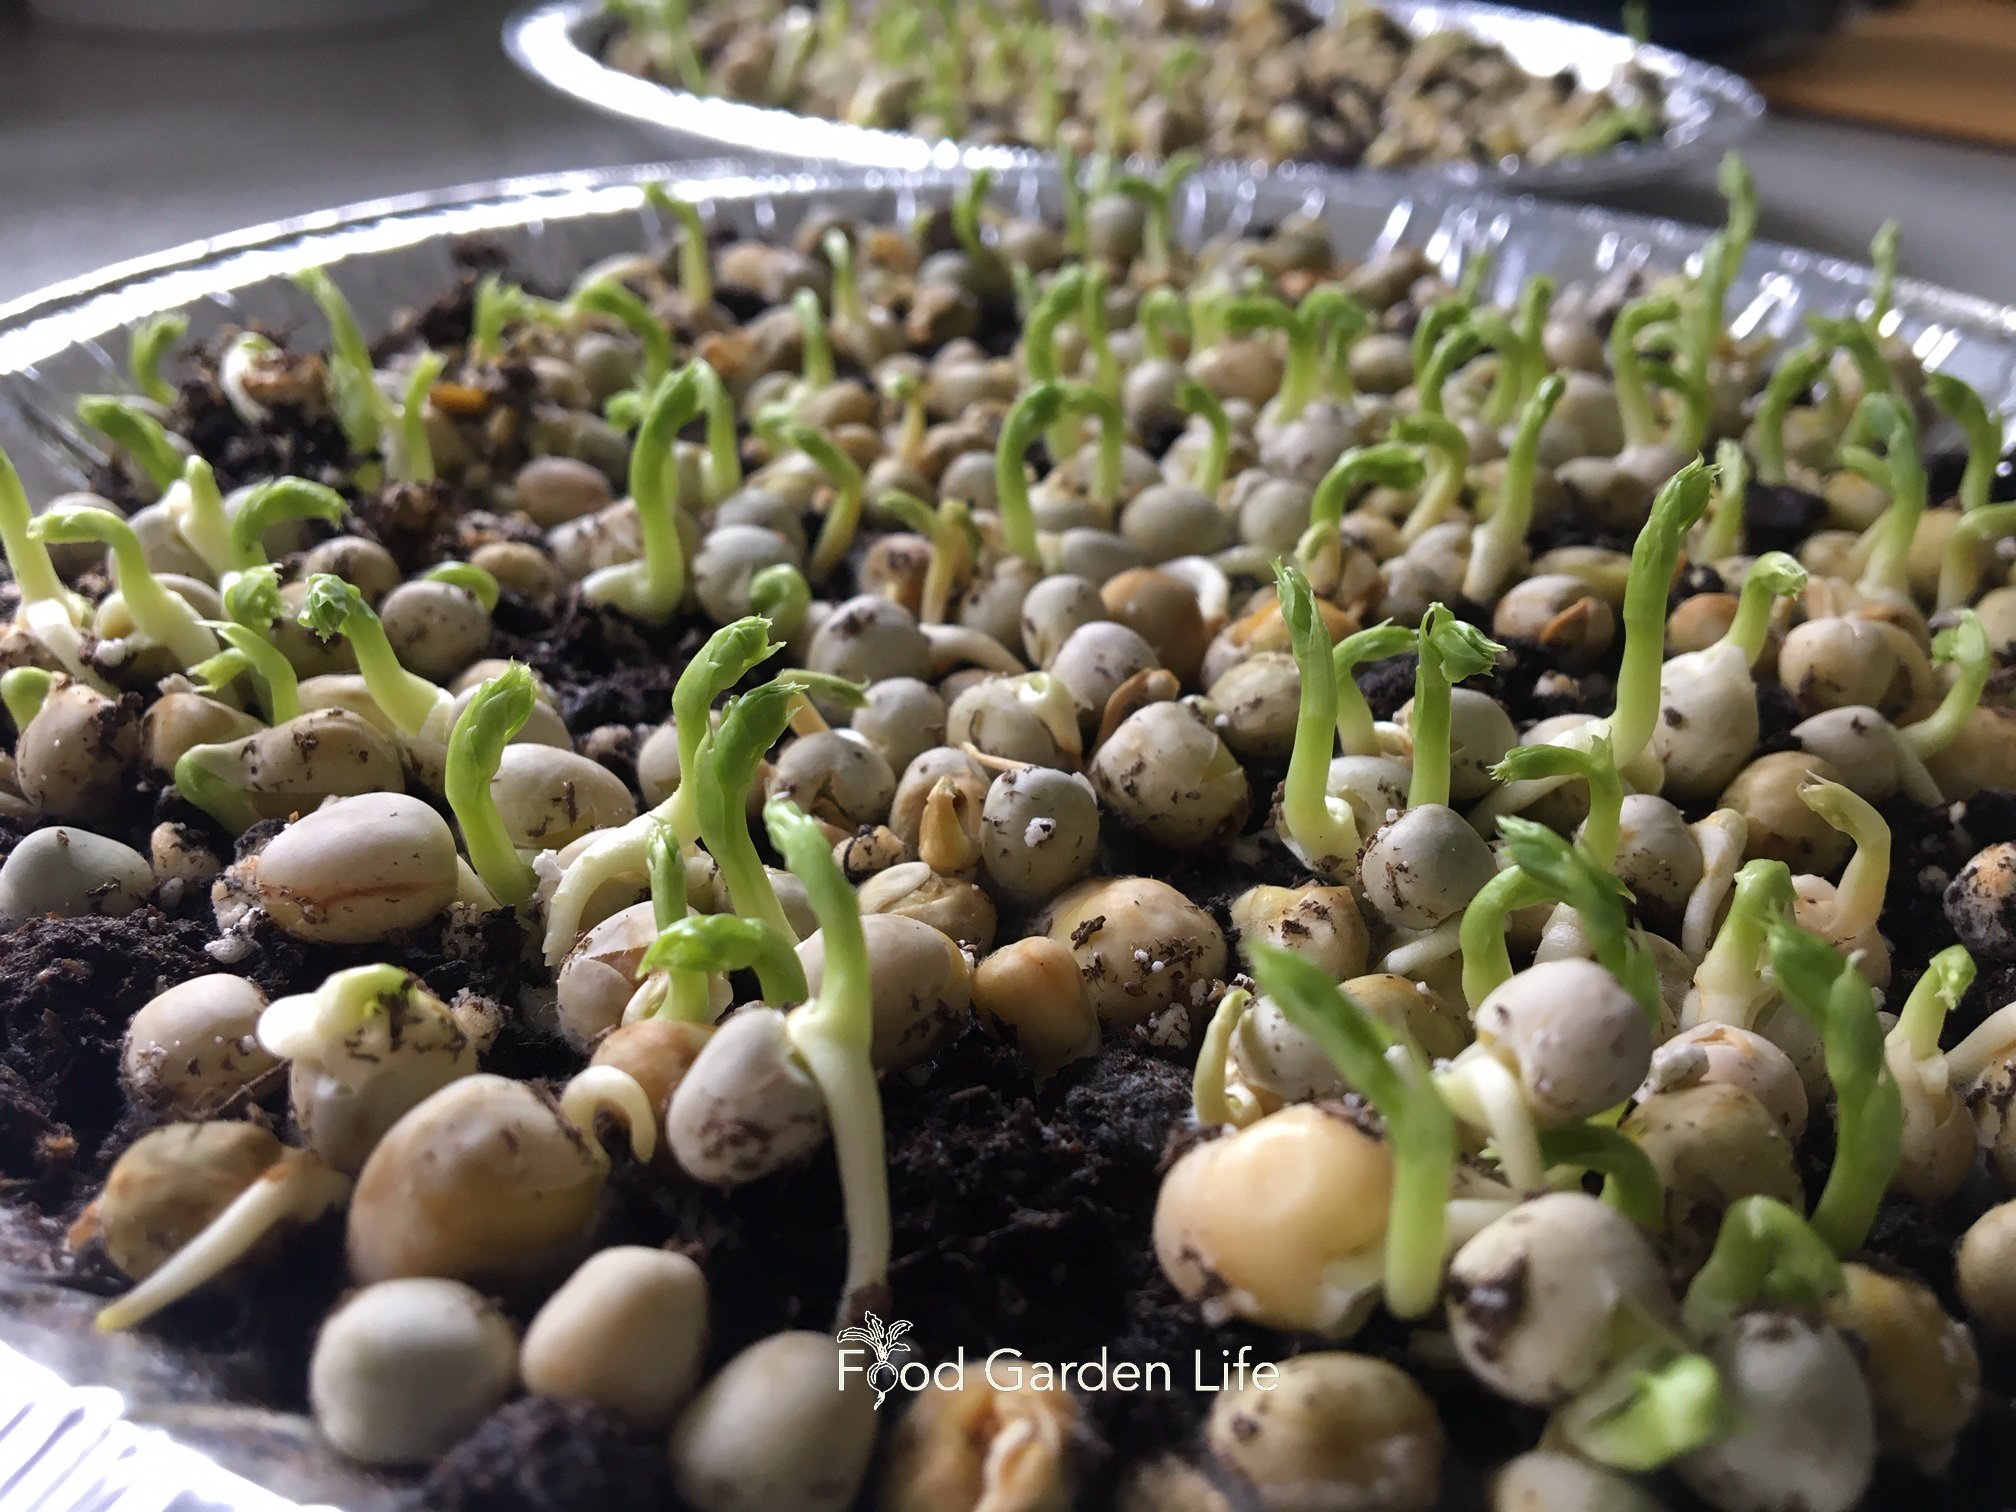
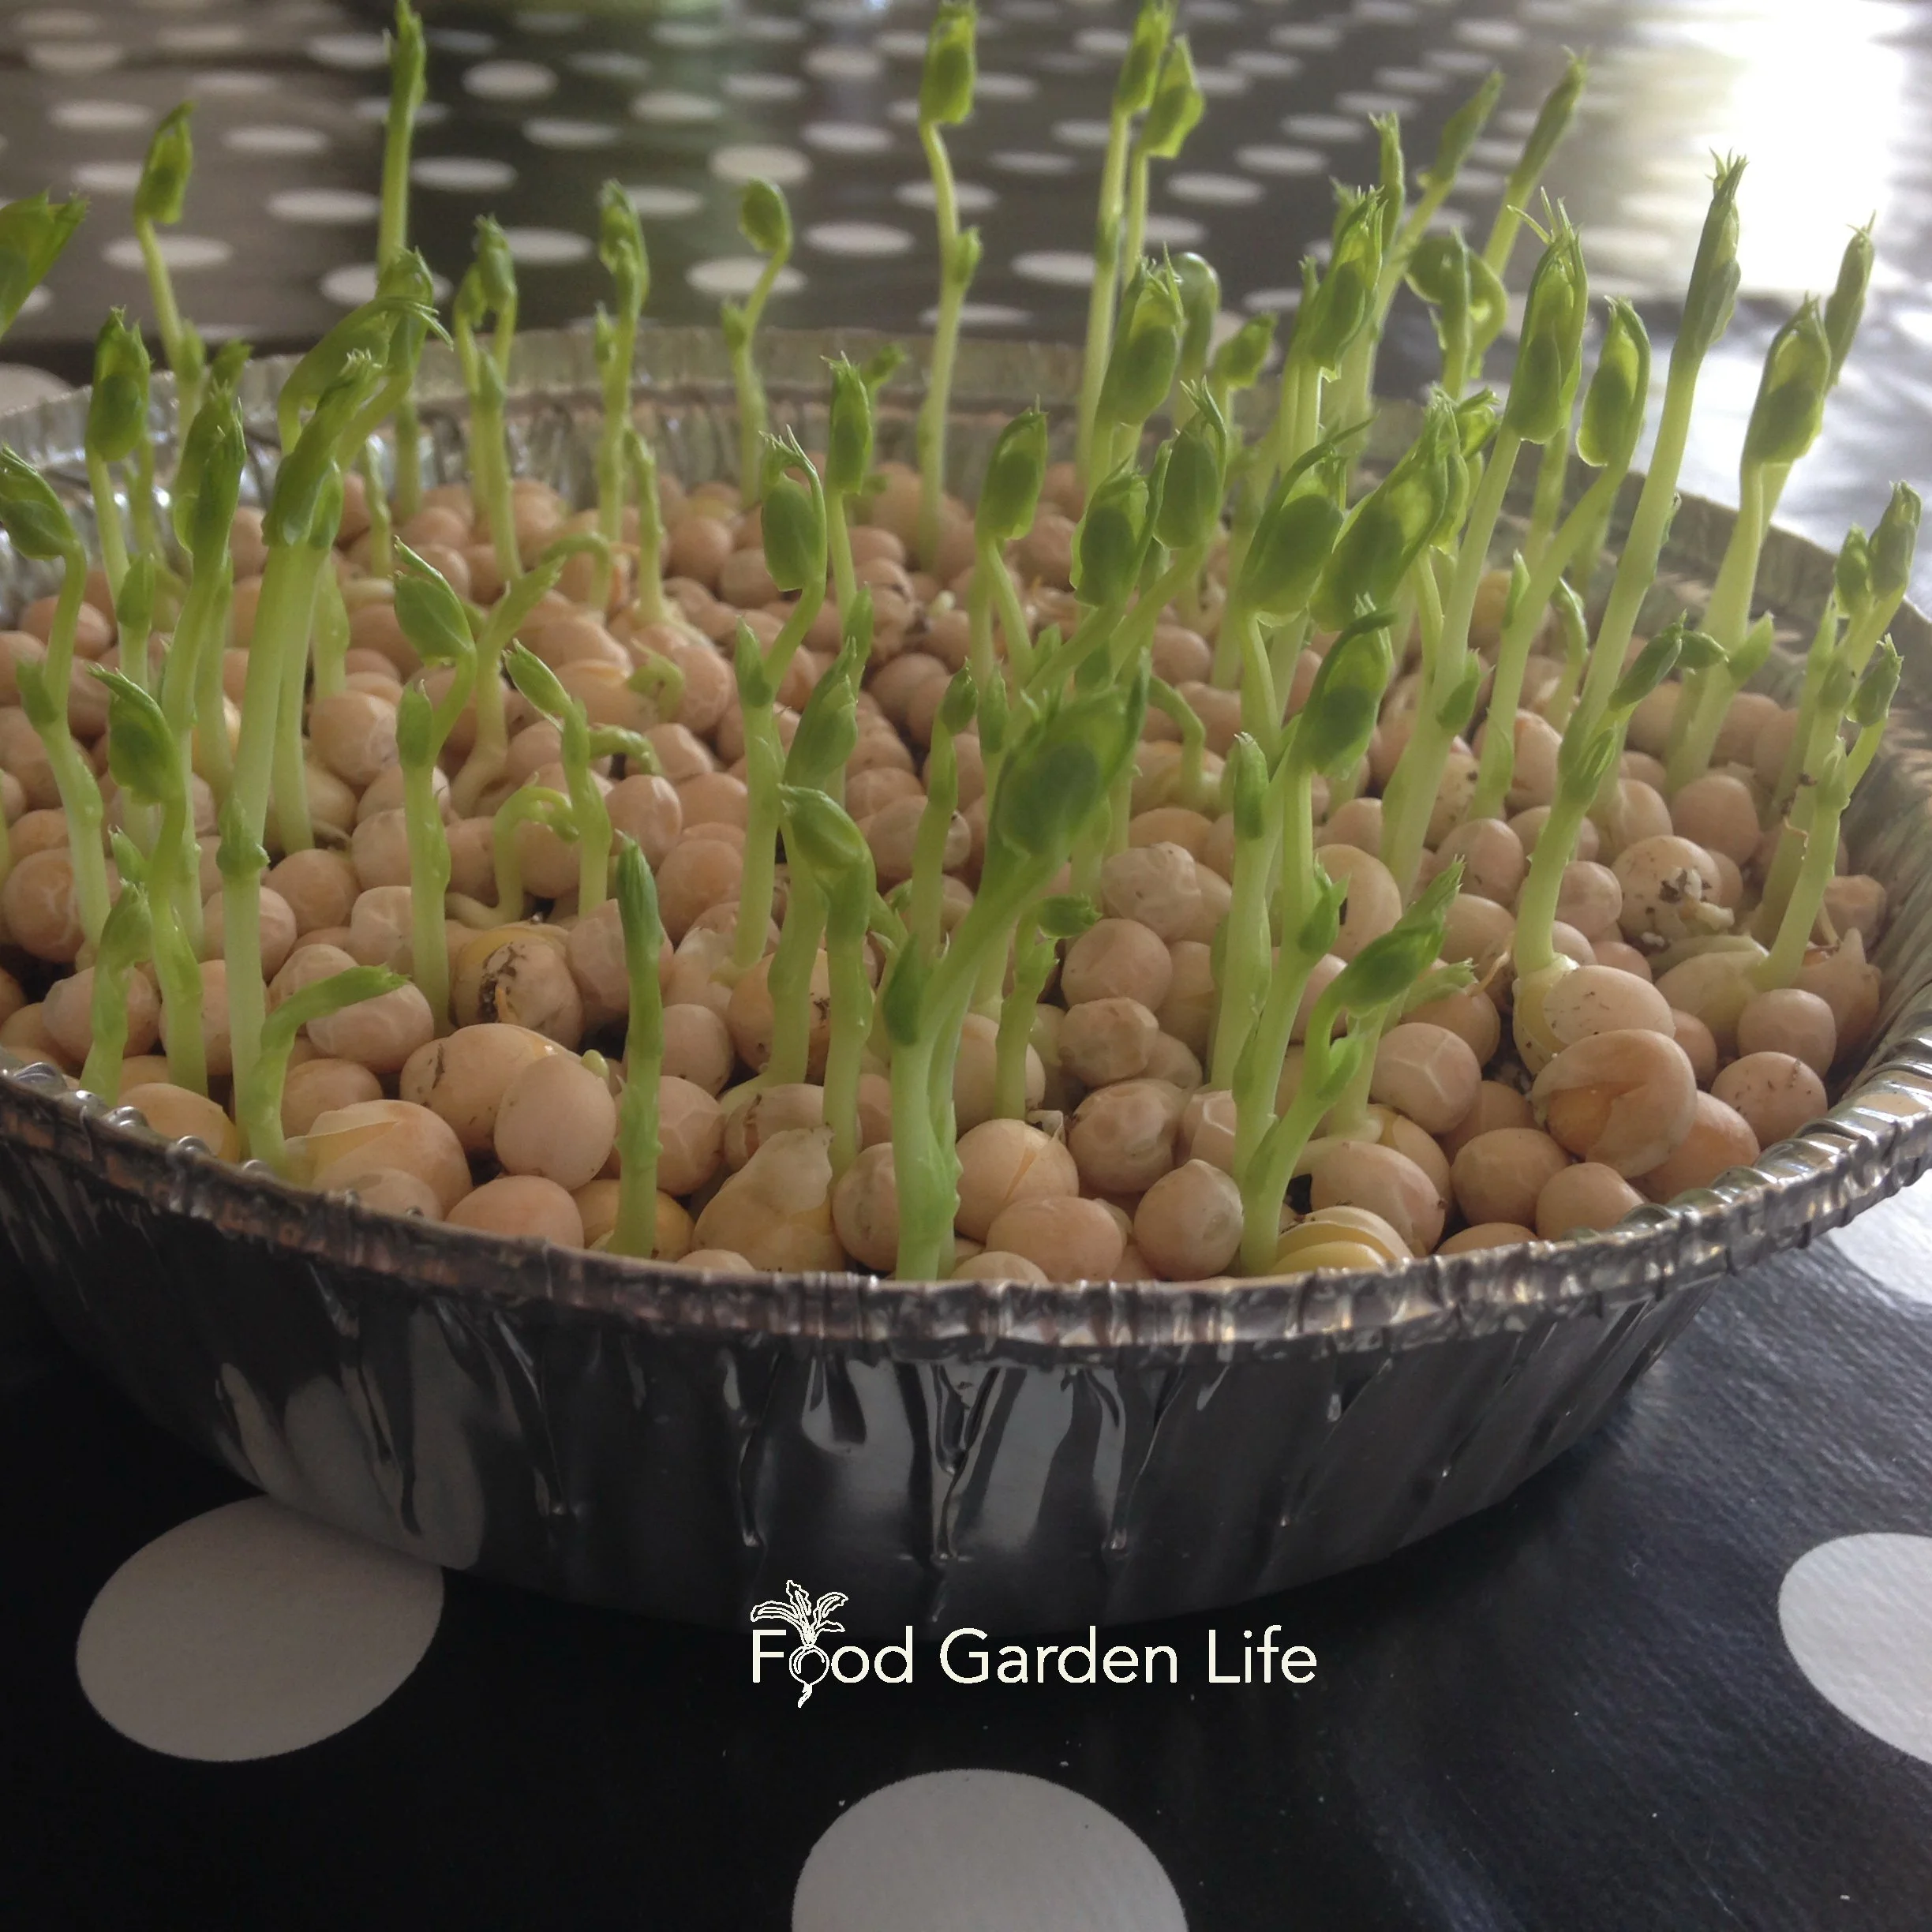
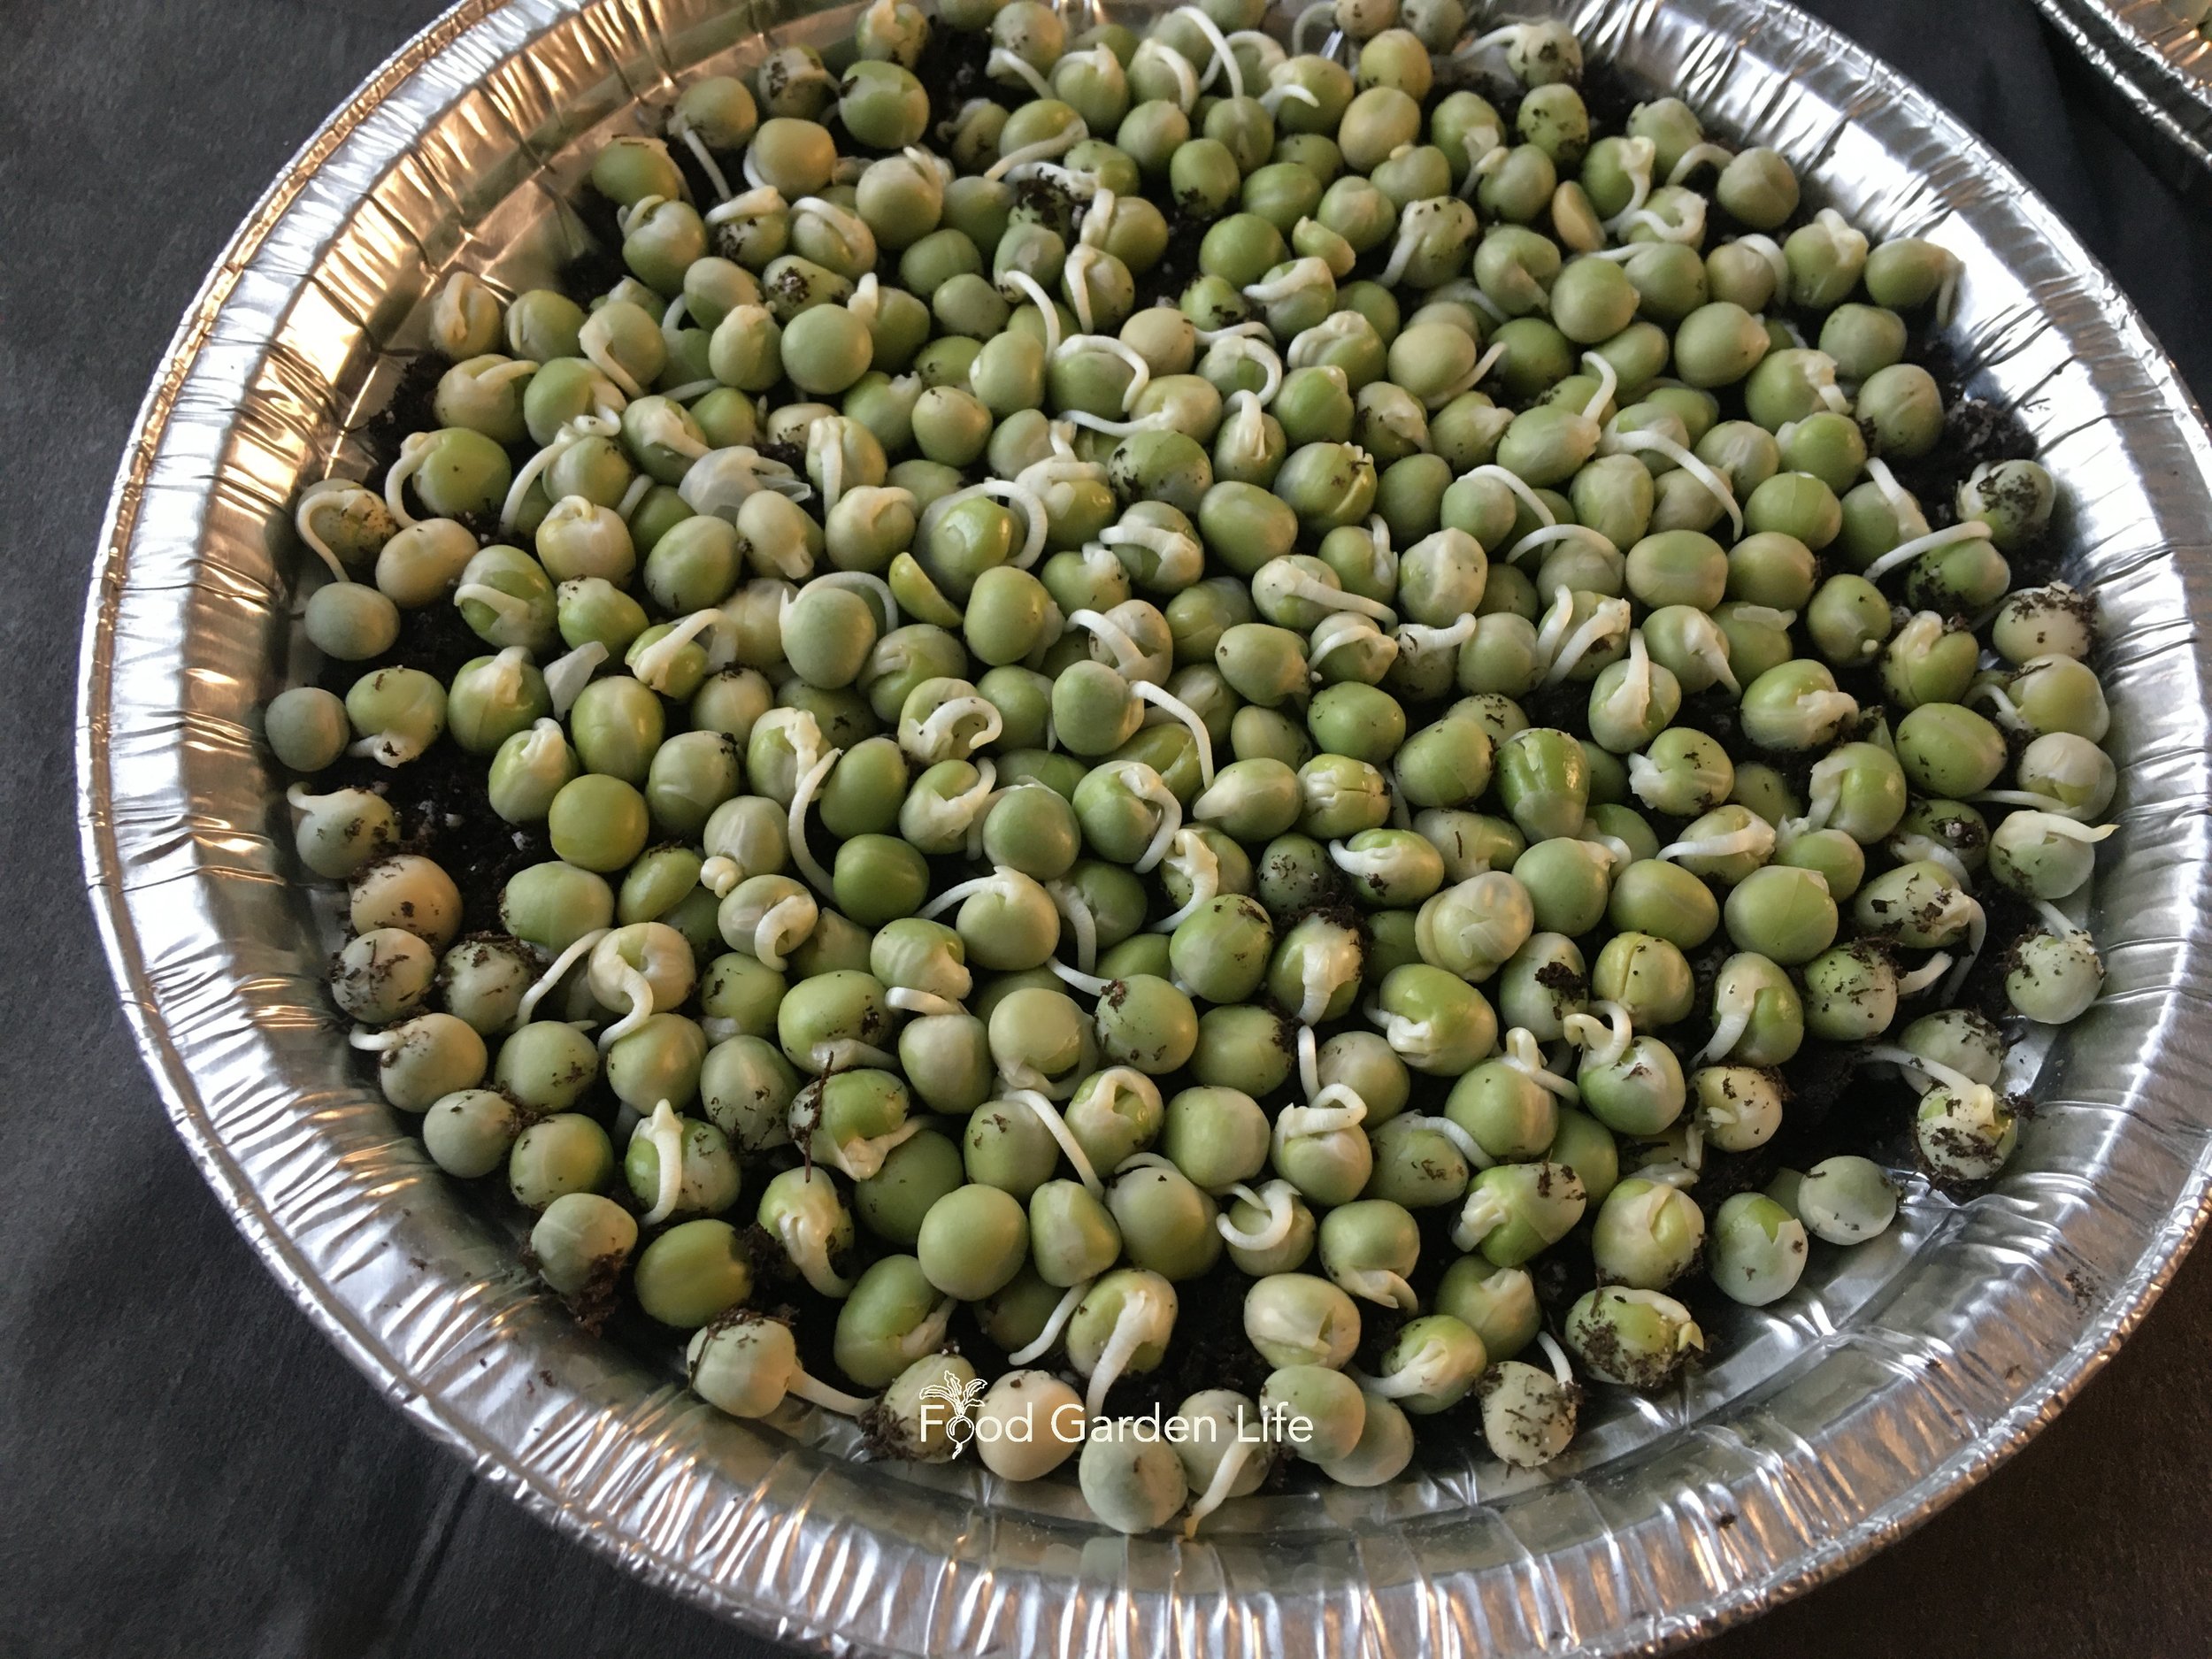
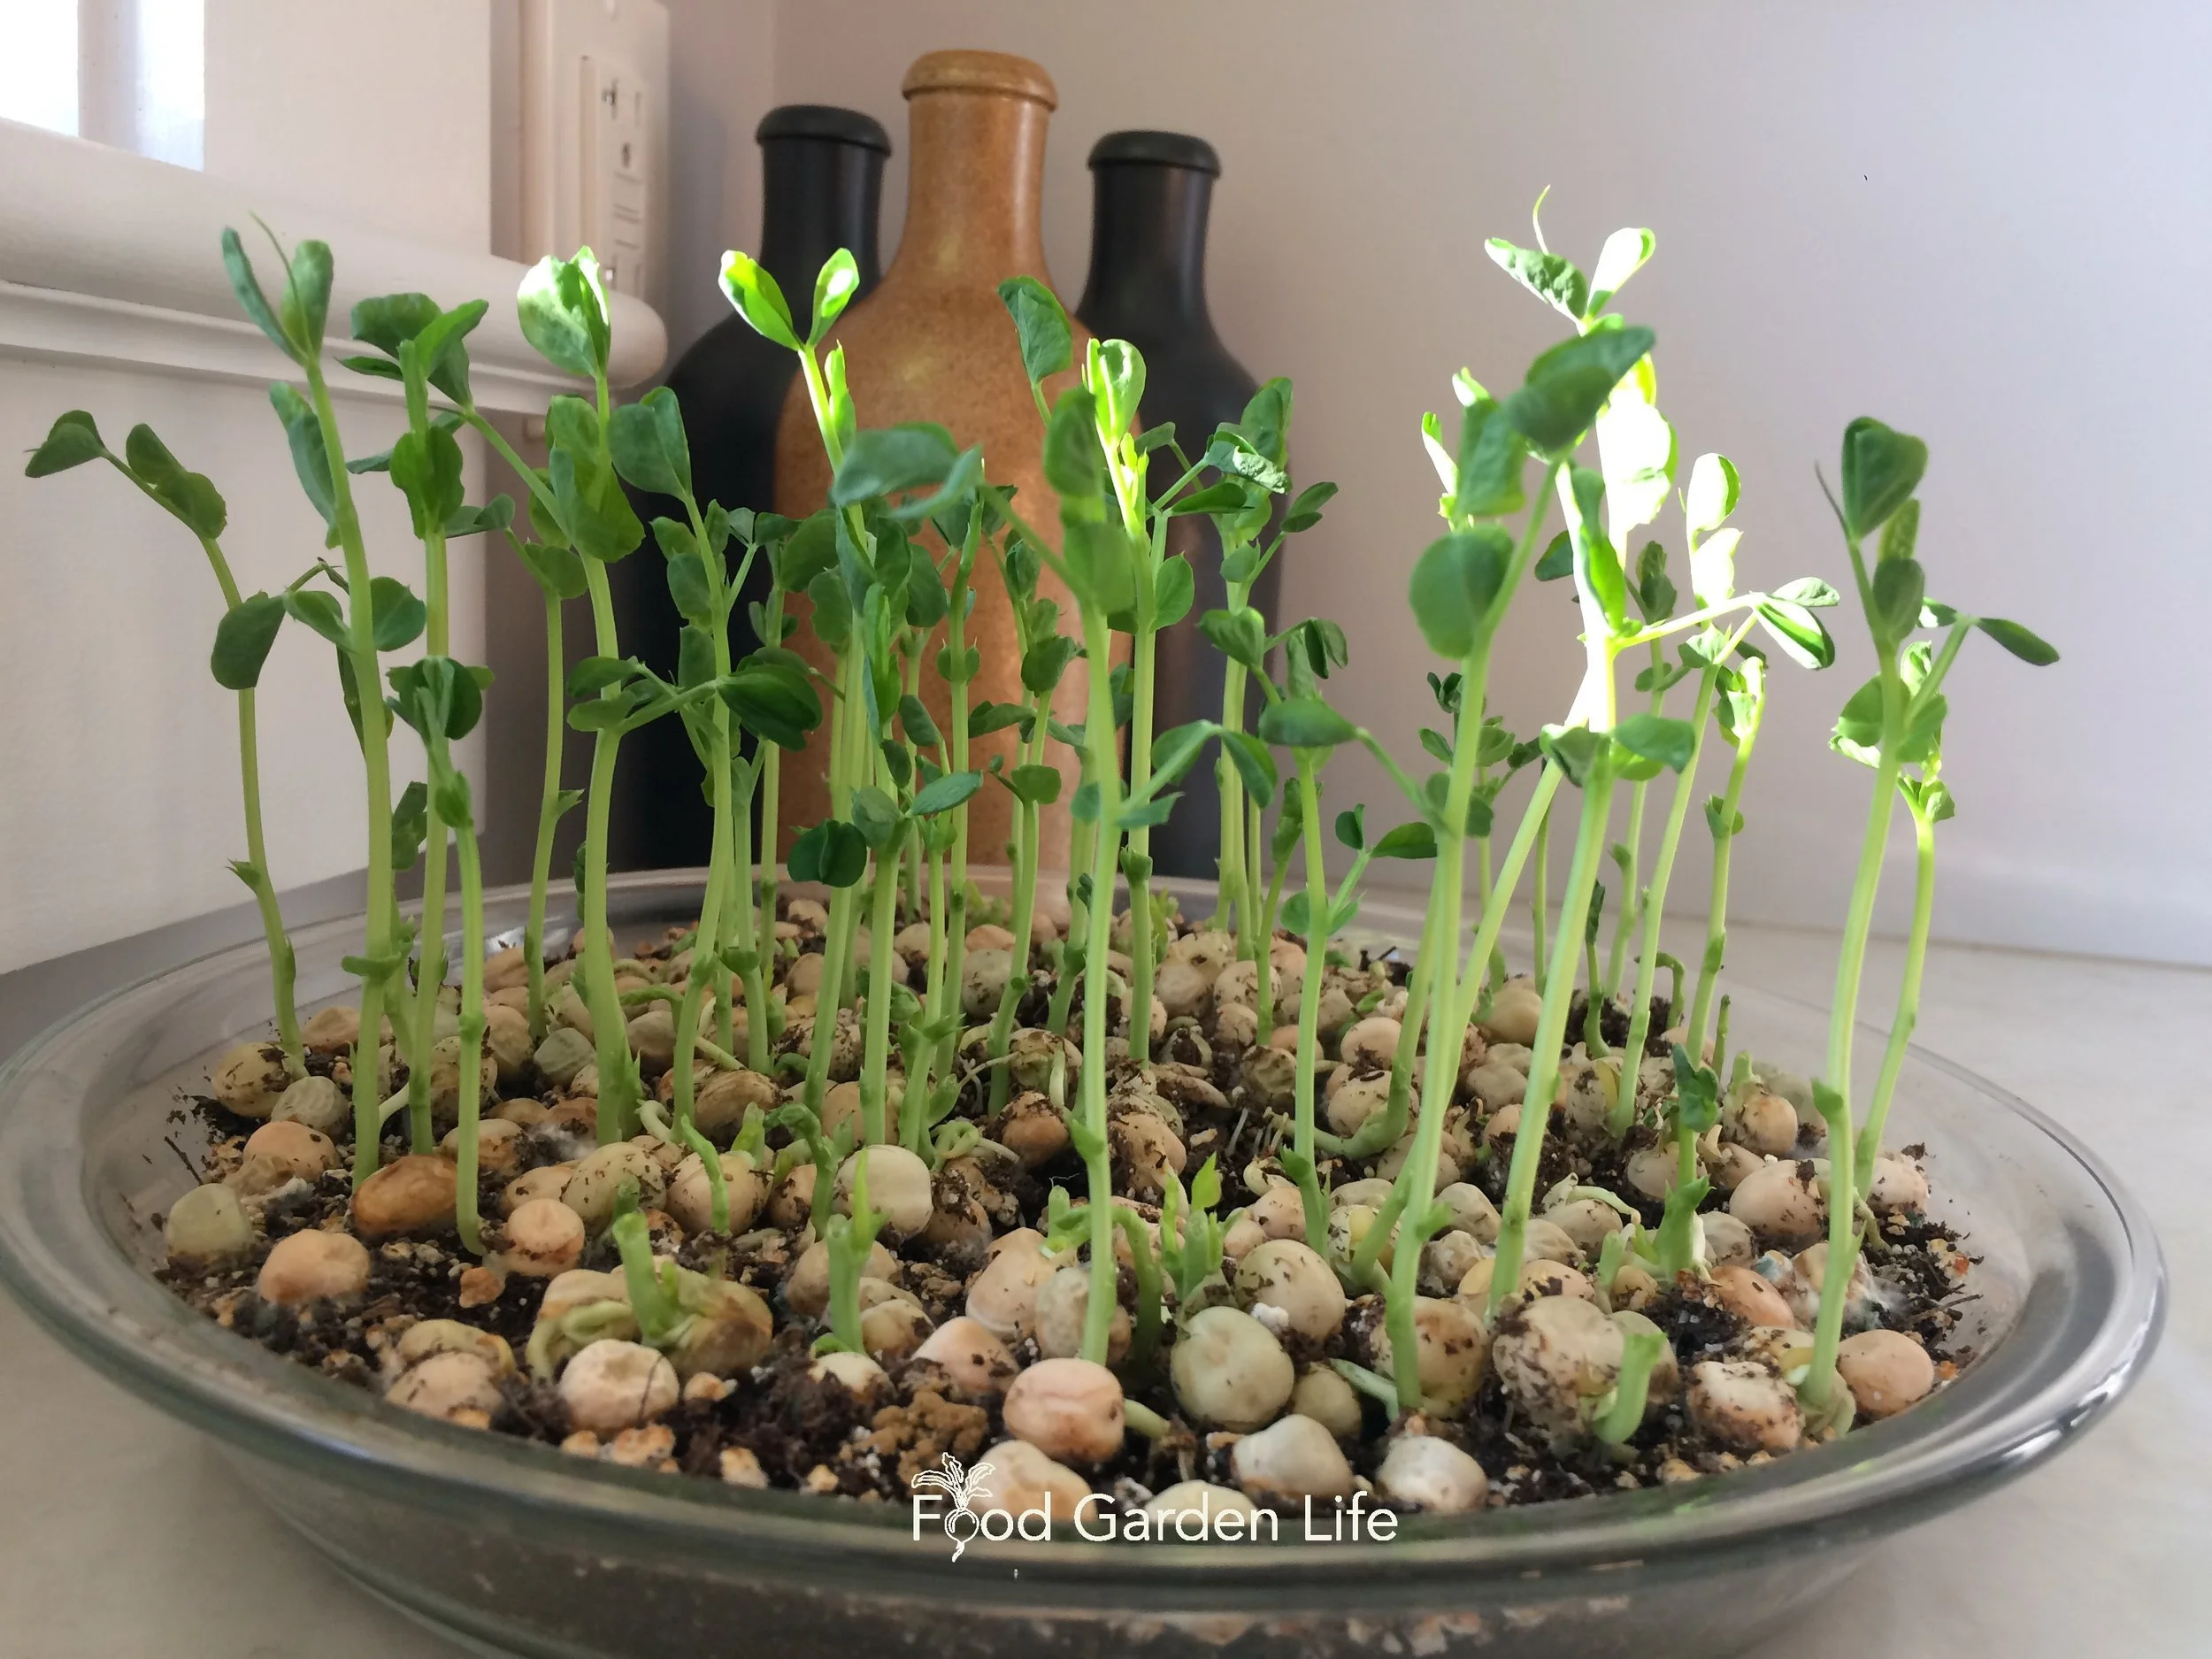
Pea shoots grown at home: All you need is a handful of dried peas, a pie plate, potting soil, and a windowsill.
On a recent trip to the grocery store I noticed small containers of pea microgreens. Gulp…a whopping $4.99.
The same amount of pea microgreens grown at home takes only a handful of dried peas, a pie plate, potting soil, and a windowsill.
Growing microgreens costs pennies—and it’s easy.
The setup is very simple. The materials are easy to get. There’s no need for fancy lights or equipment. And you can grow microgreens indoors any time of year.
Keep reading and I’ll tell you how to grow your own microgreens.
What are Microgreens?
Microgreens are immature plants. They’re often vegetable or herb plants. There are a few other fun ones, like sunflower and corn (deliciously sweet!)
They’re harvested while the plants are small and the stems still tender. Harvesting means cutting off the tops. Seems brutal, but it’s a short-term crop.
Why Grow Microgreens?
They’re easy to grow, quick to mature, and inexpensive: A perfect indoor crop for home gardeners.
I have a big garden, with lots to harvest into the fall and early winter. But microgreens are my go-to green crop for winter. When I want a green salad mid-winter, instead of lettuce or other leafy greens, I chop up microgreens.
If you’re already a microgreen connoisseur, another reason to grow microgreens at home is that you can grow microgreen crops you won’t find at the grocery store.
Grow microgreens with different tastes:
Spicy (e.g. radish)
Sweet (e.g. pea)
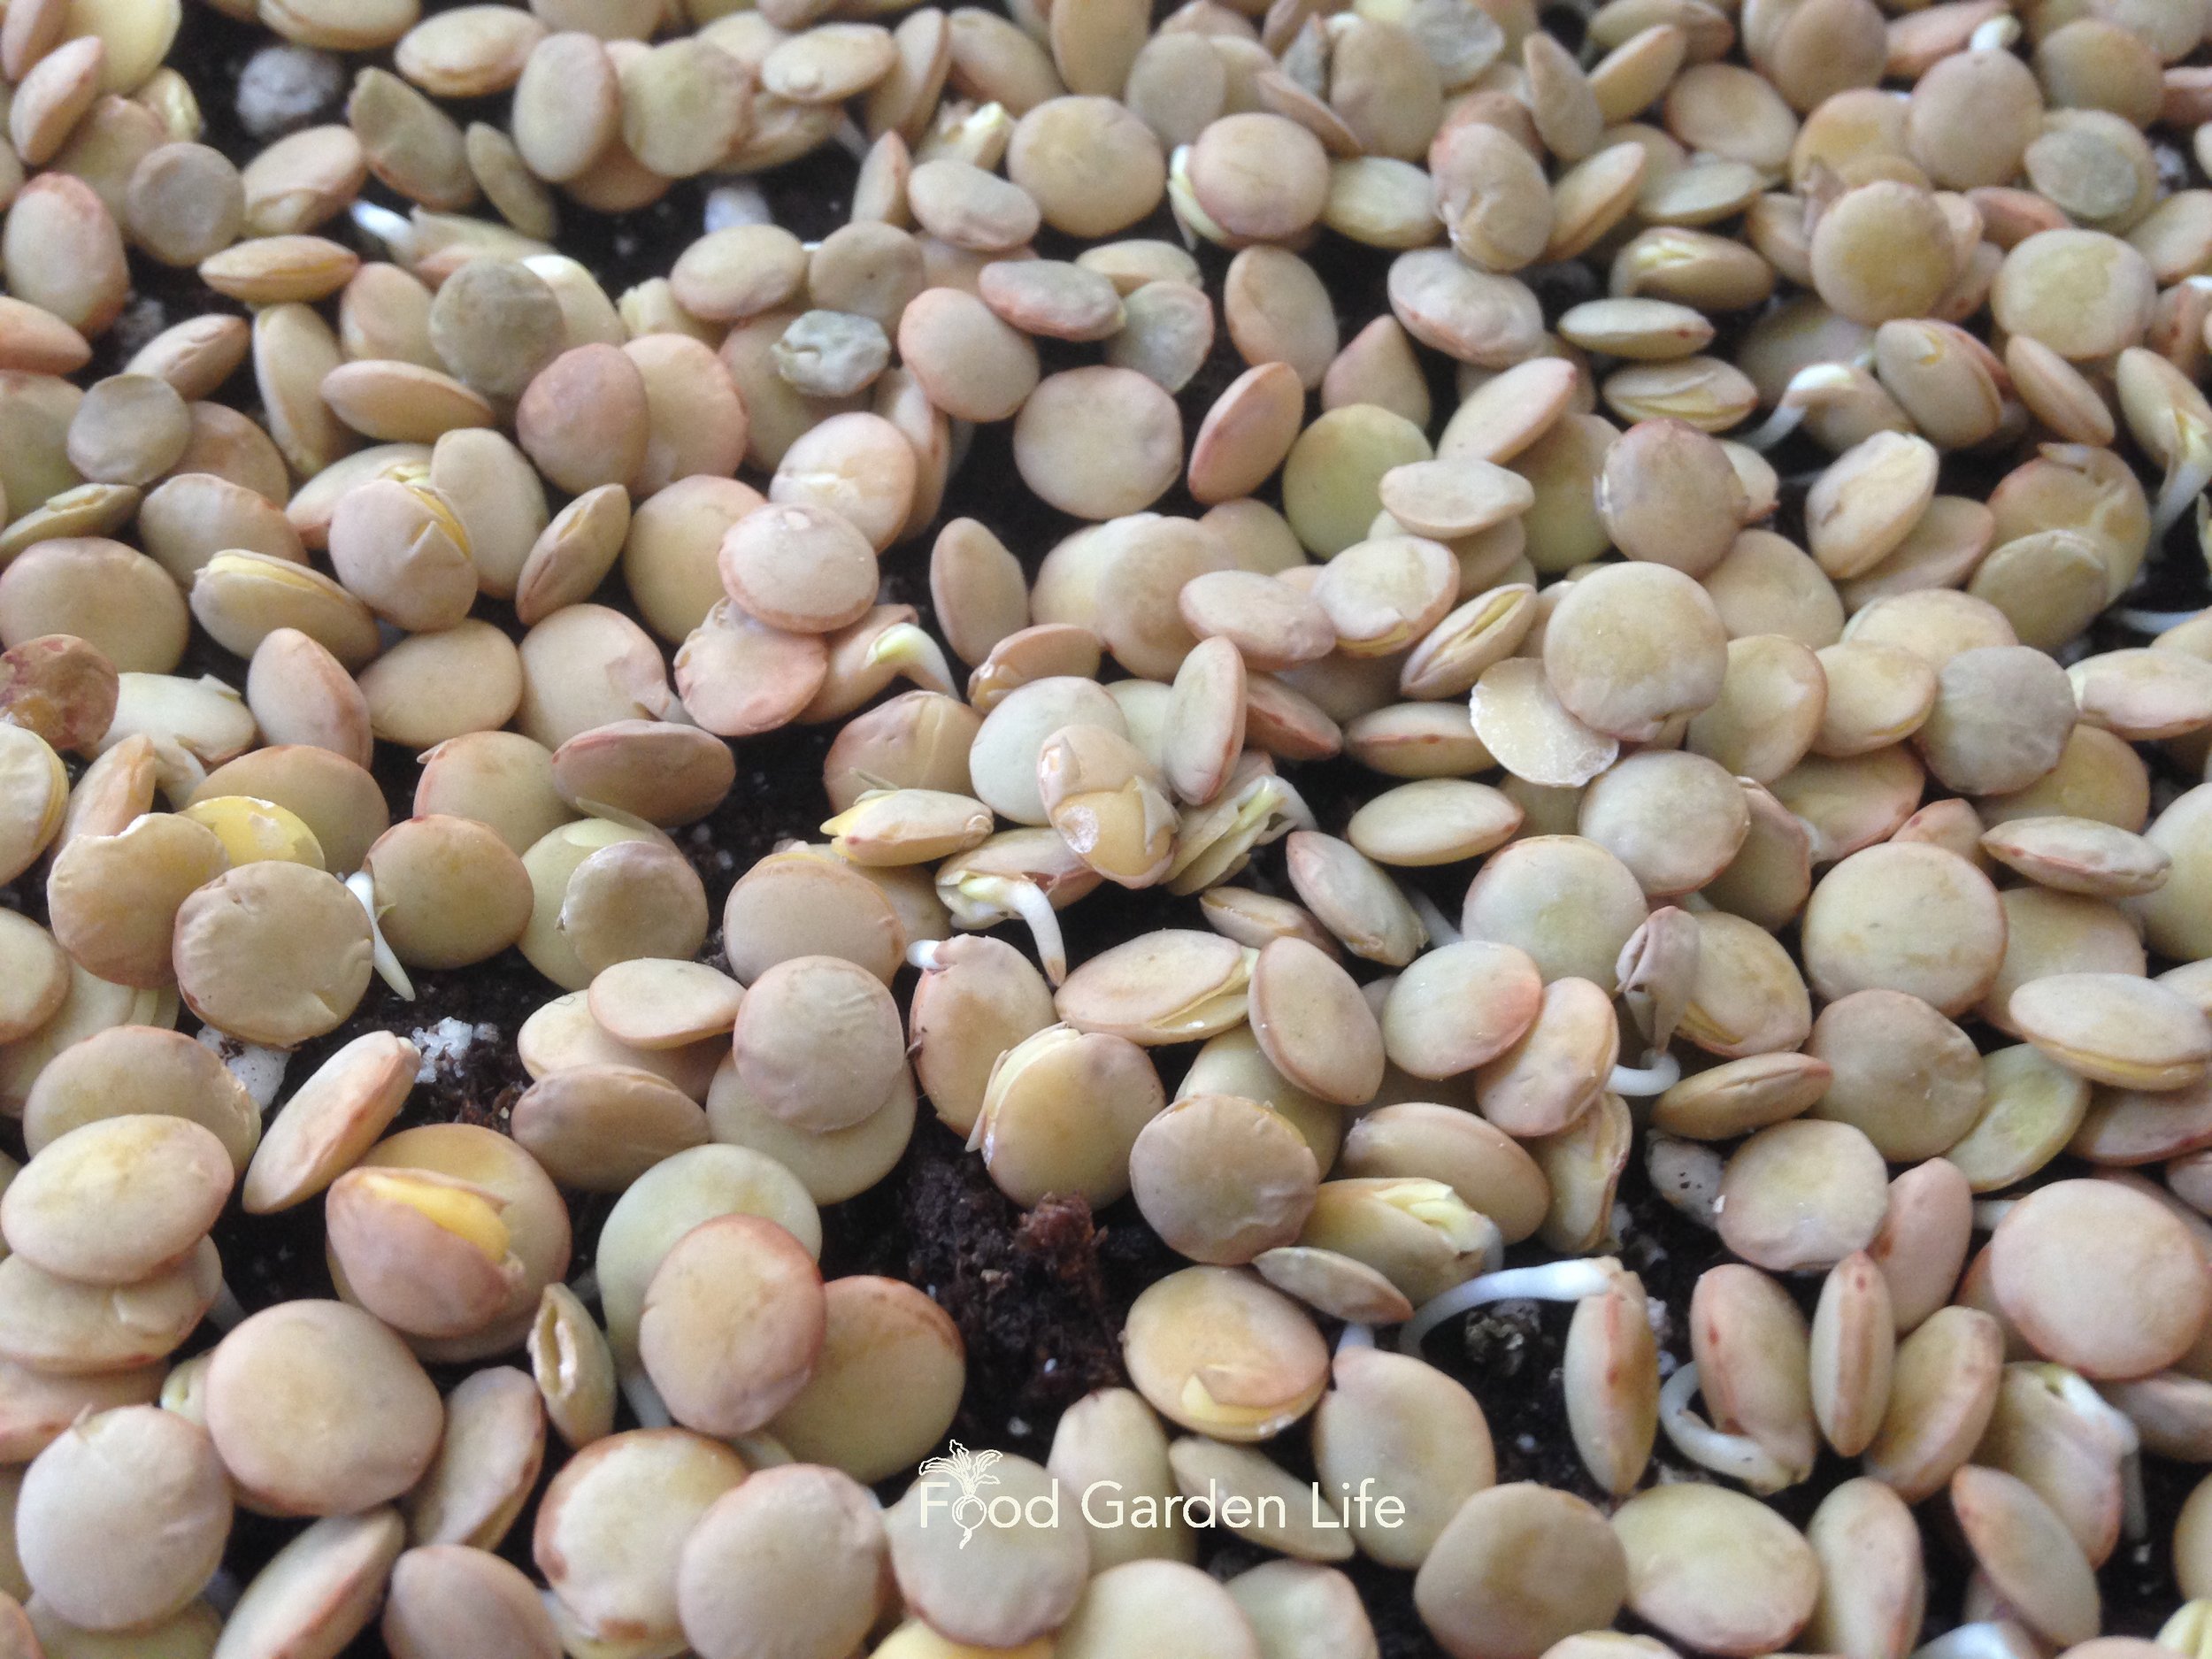
Bitter (e.g. lentil)
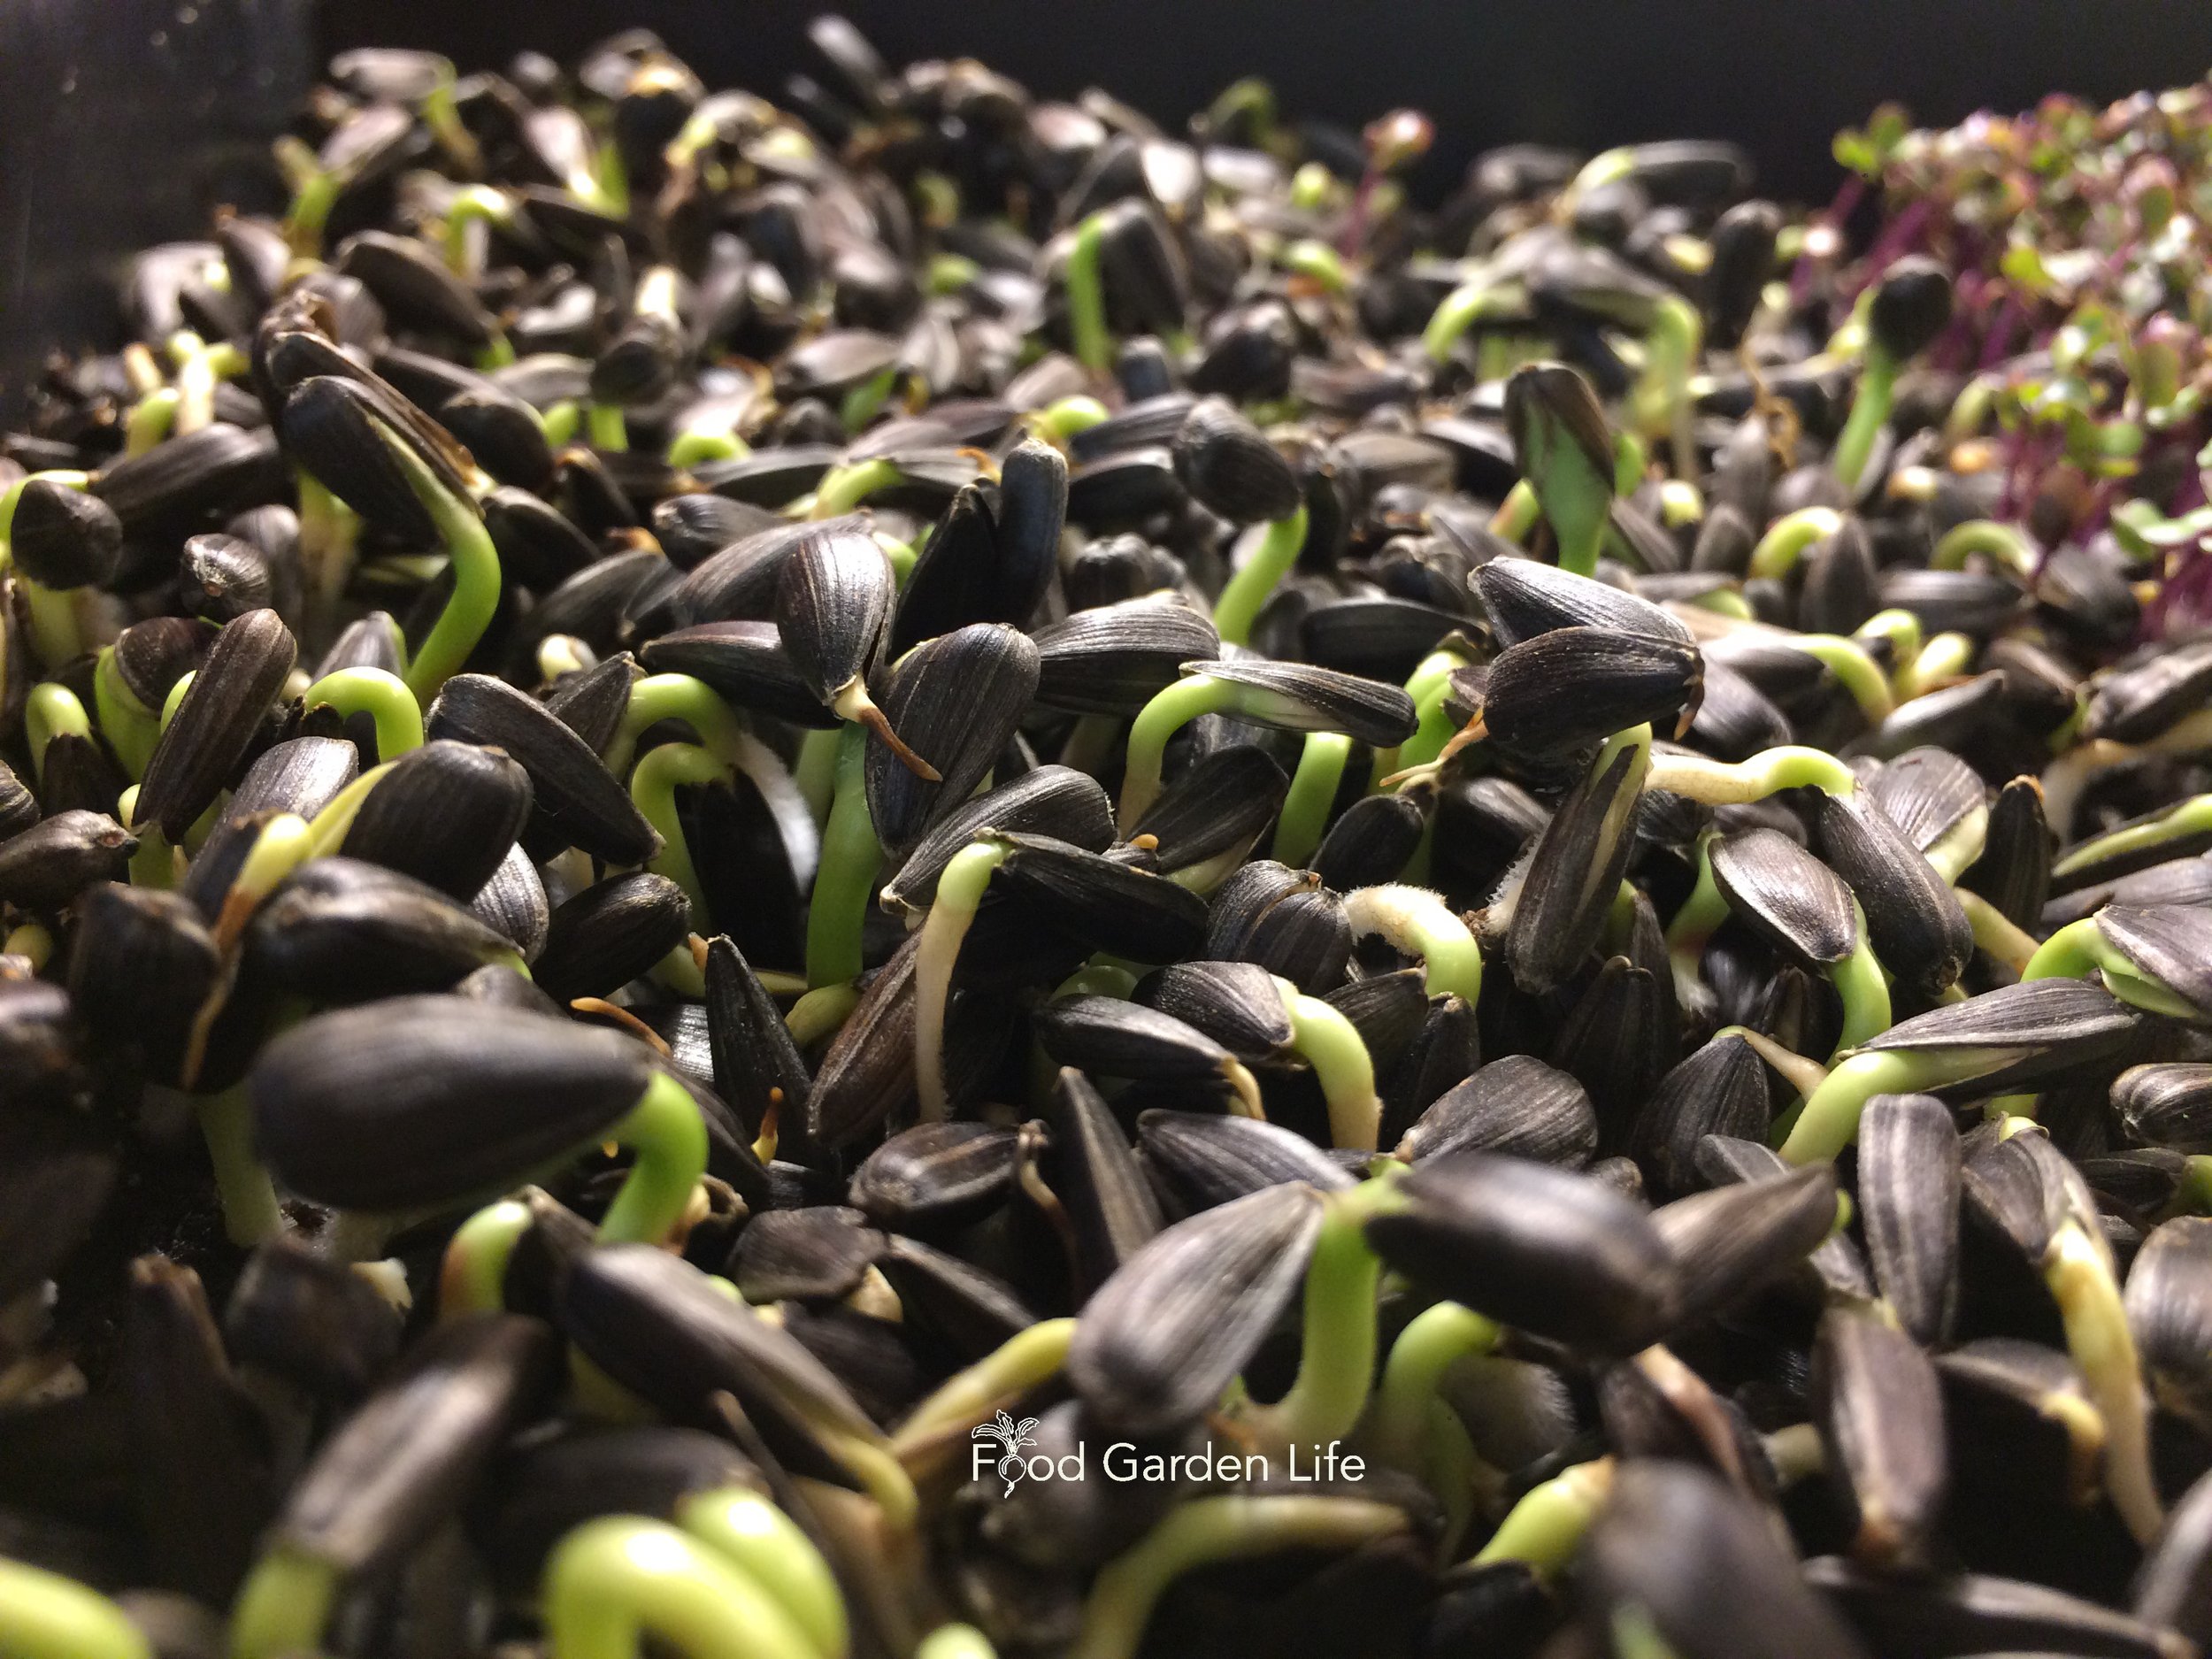
Nutty (e.g. sunflower)
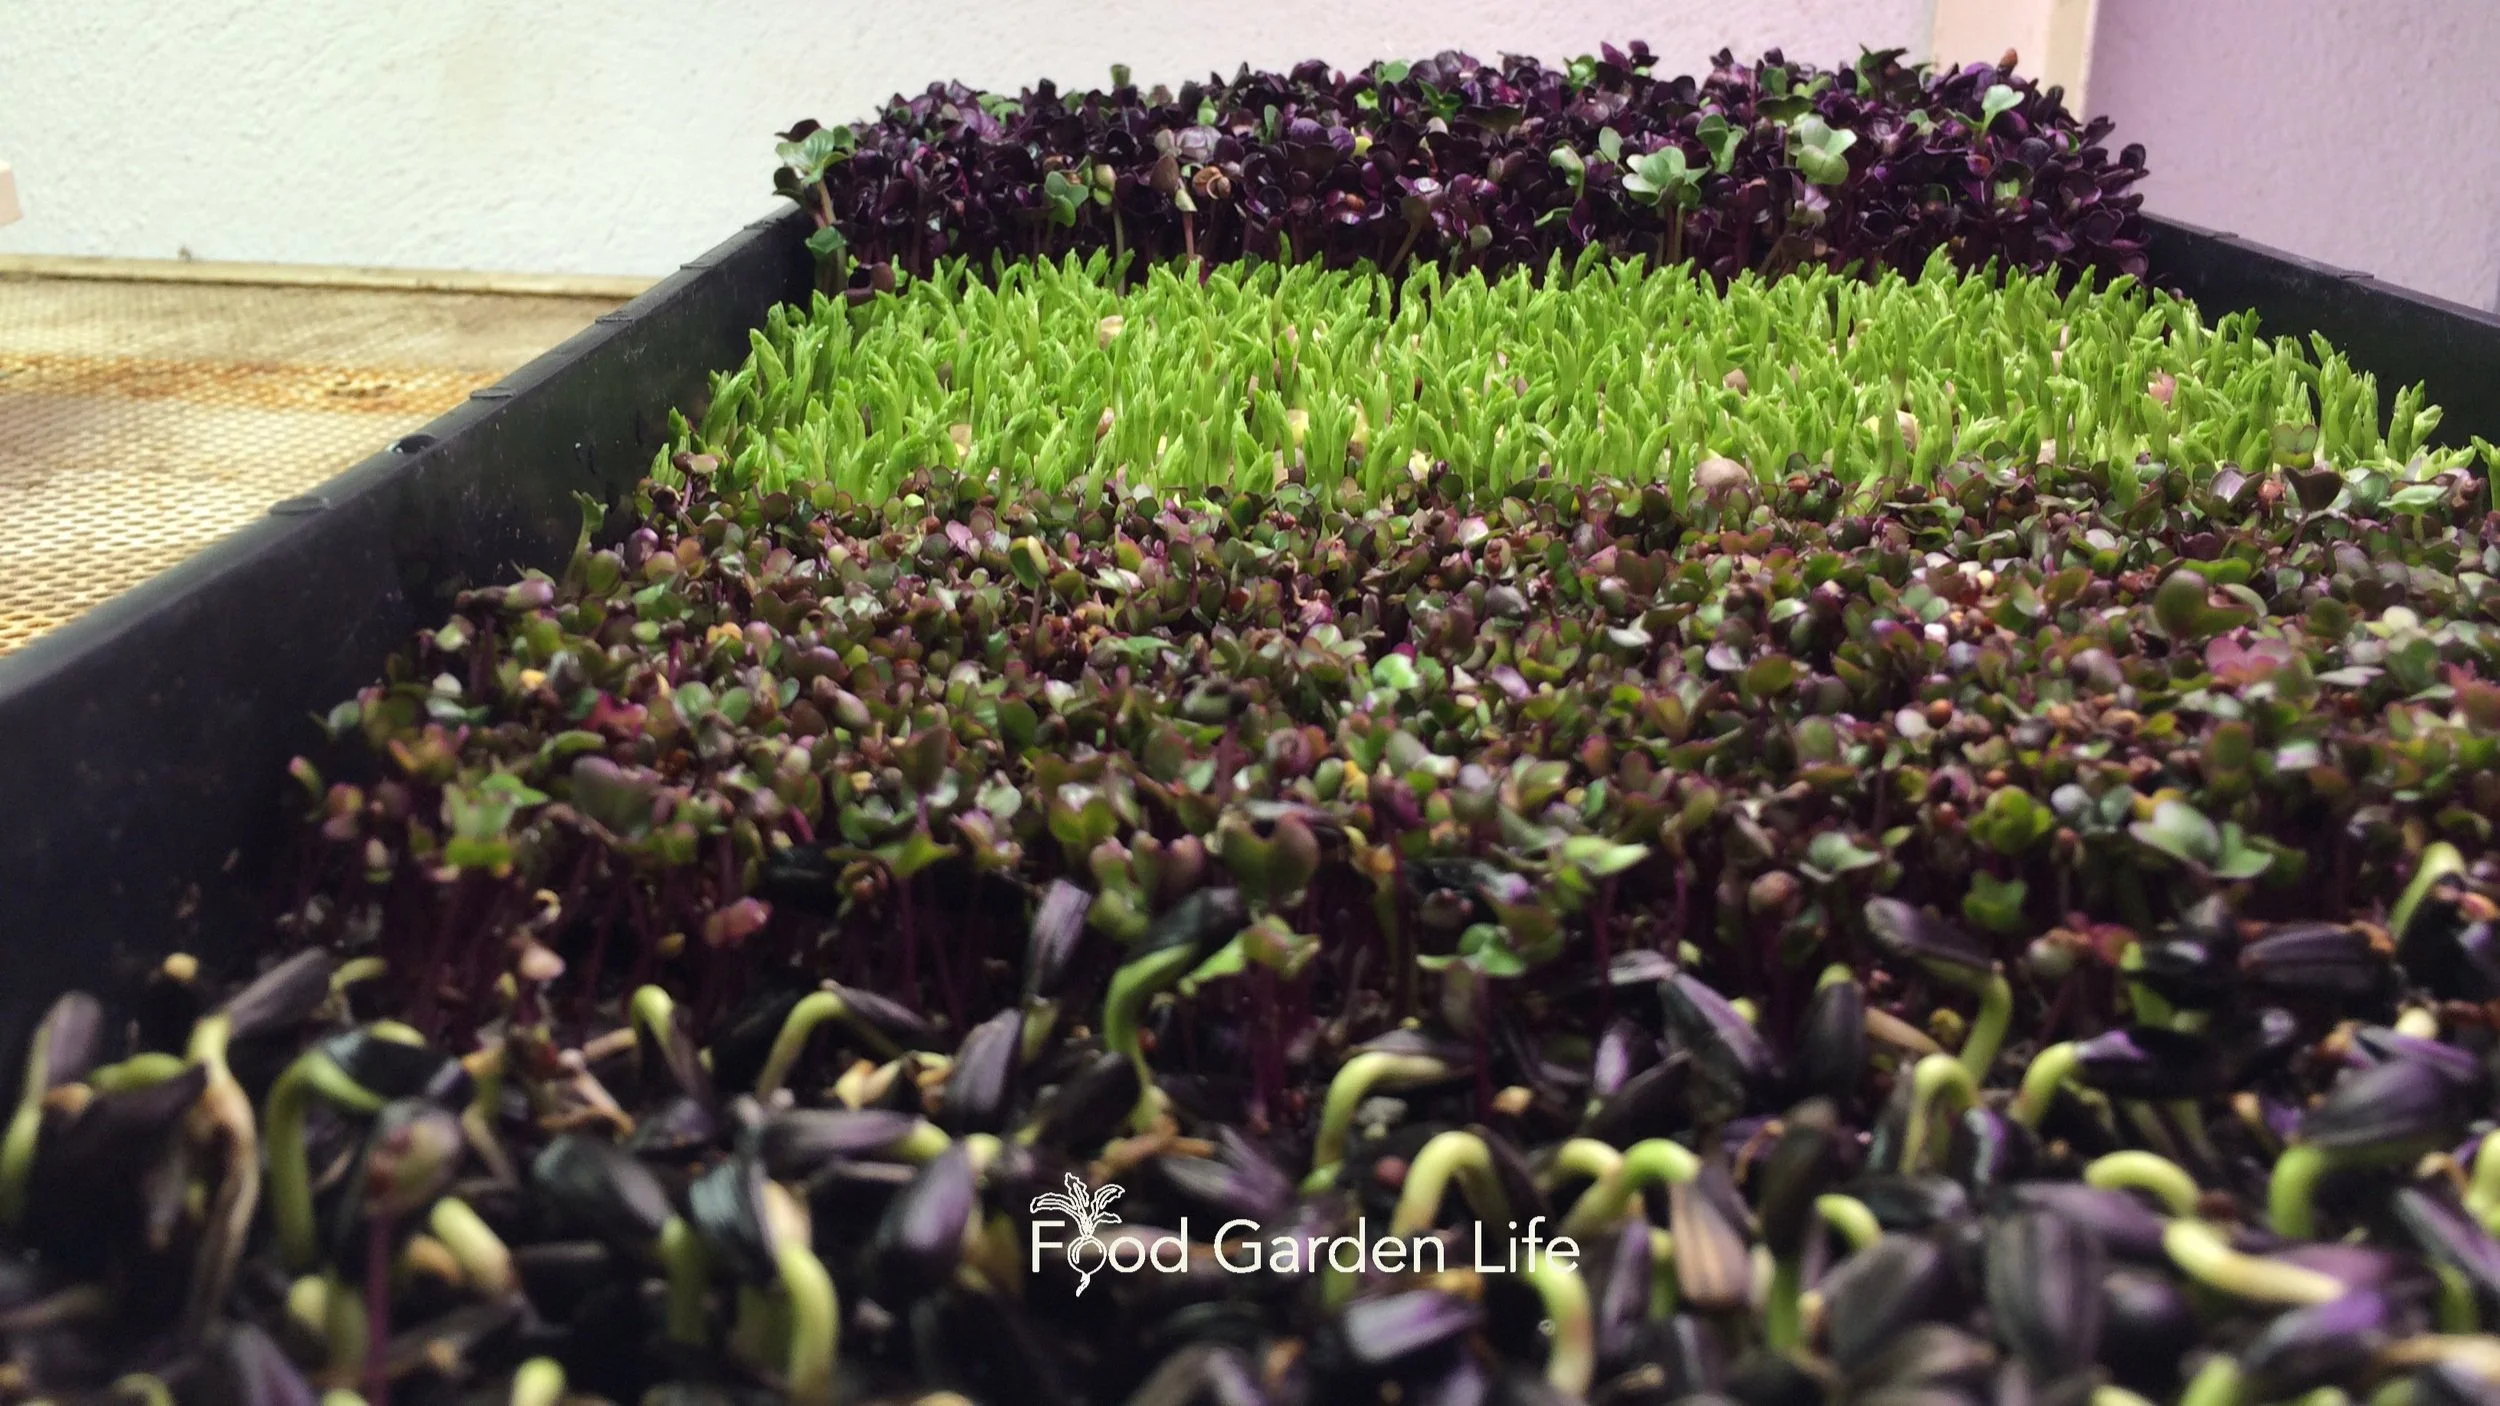
A colourful tray of fresh microgreens.
And microgreens with different colours:
Light green
Dark green
Red
Purple
Crops for Home Microgreens
There are many different plants suited to a crop of microgreens, including vegetables, herbs, flowers—and others, like some common field crops!
Before you grow something into a microgreen, make sure it it’s edible. I’ve listed many microgreen crops below. If in doubt, see what seed vendors sell for microgreens.
Vegetable Seeds for Microgreens
Here are vegetables that are commonly grown as microgreens:
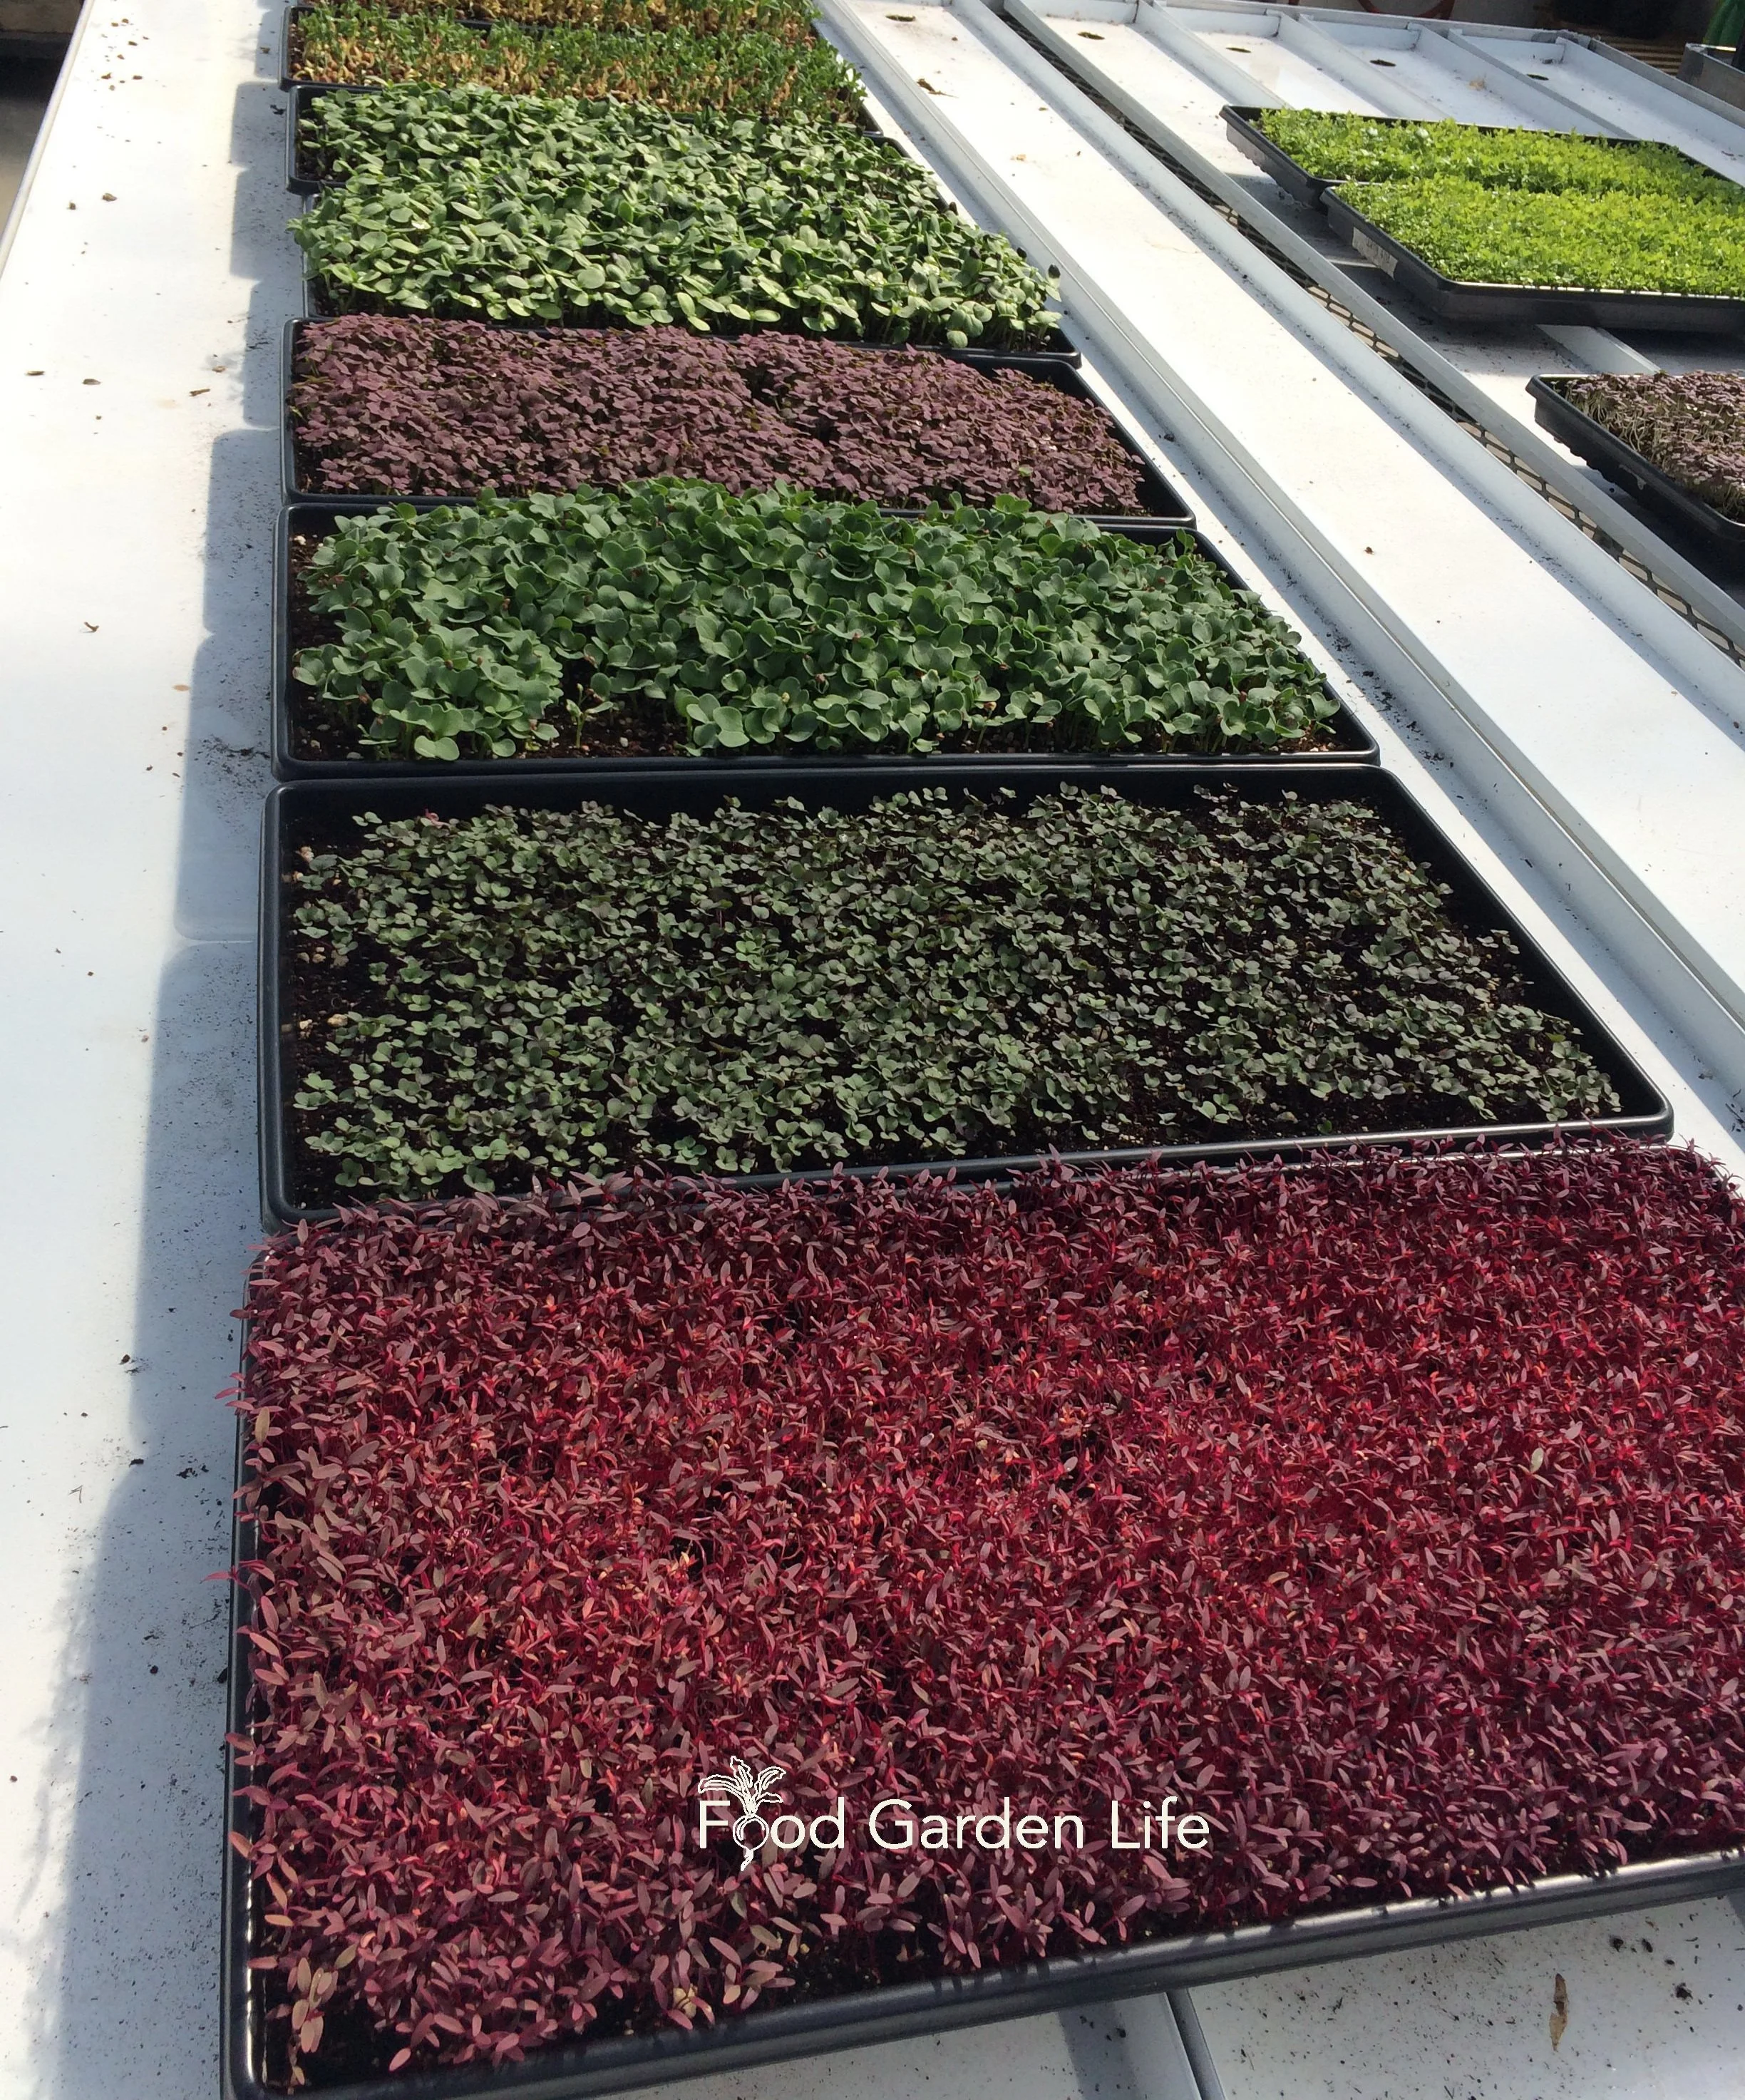
Grow microgreens from many different types of seed, giving you different tastes, textures, and colours.
amaranth, arugula, beet, broccoli, cabbage, carrot, chard, cress, dandelion, kale, kohlrabi, mizuna, mustard, onion, orach, pac choi, pea, radish, tatsoi, watercress
Herb Seeds for Microgreens
Here are herbs that are commonly grown as microgreens:
basil, cilantro, dill, fennel, lemon balm, parsley, shiso, sorrel
Flower Seeds for Microgreens
Here are flowers that are grown as microgreens:
borage, celosia, marigold, sunflower
Field Crop Seeds for Microgreens
Here are field crops that can be grown as microgreens:
alfalfa, barley, clover, chickpea, corn, lentil, quinoa, wheat
Microgreen Seed Mixes
There are also seed mixes with more than one type of microgreen seed, giving a blend of taste and colour.
My favourite is pea microgreens—a.k.a. pea shoots. They’re sweet, crunchy, and easy to grow. I also love sunflower microgreens for the delicious nutty flavour. (The husk of the sunflower seed is easy to remove as the sunflower microgreens get bigger.)
Buying Microgreen Seeds
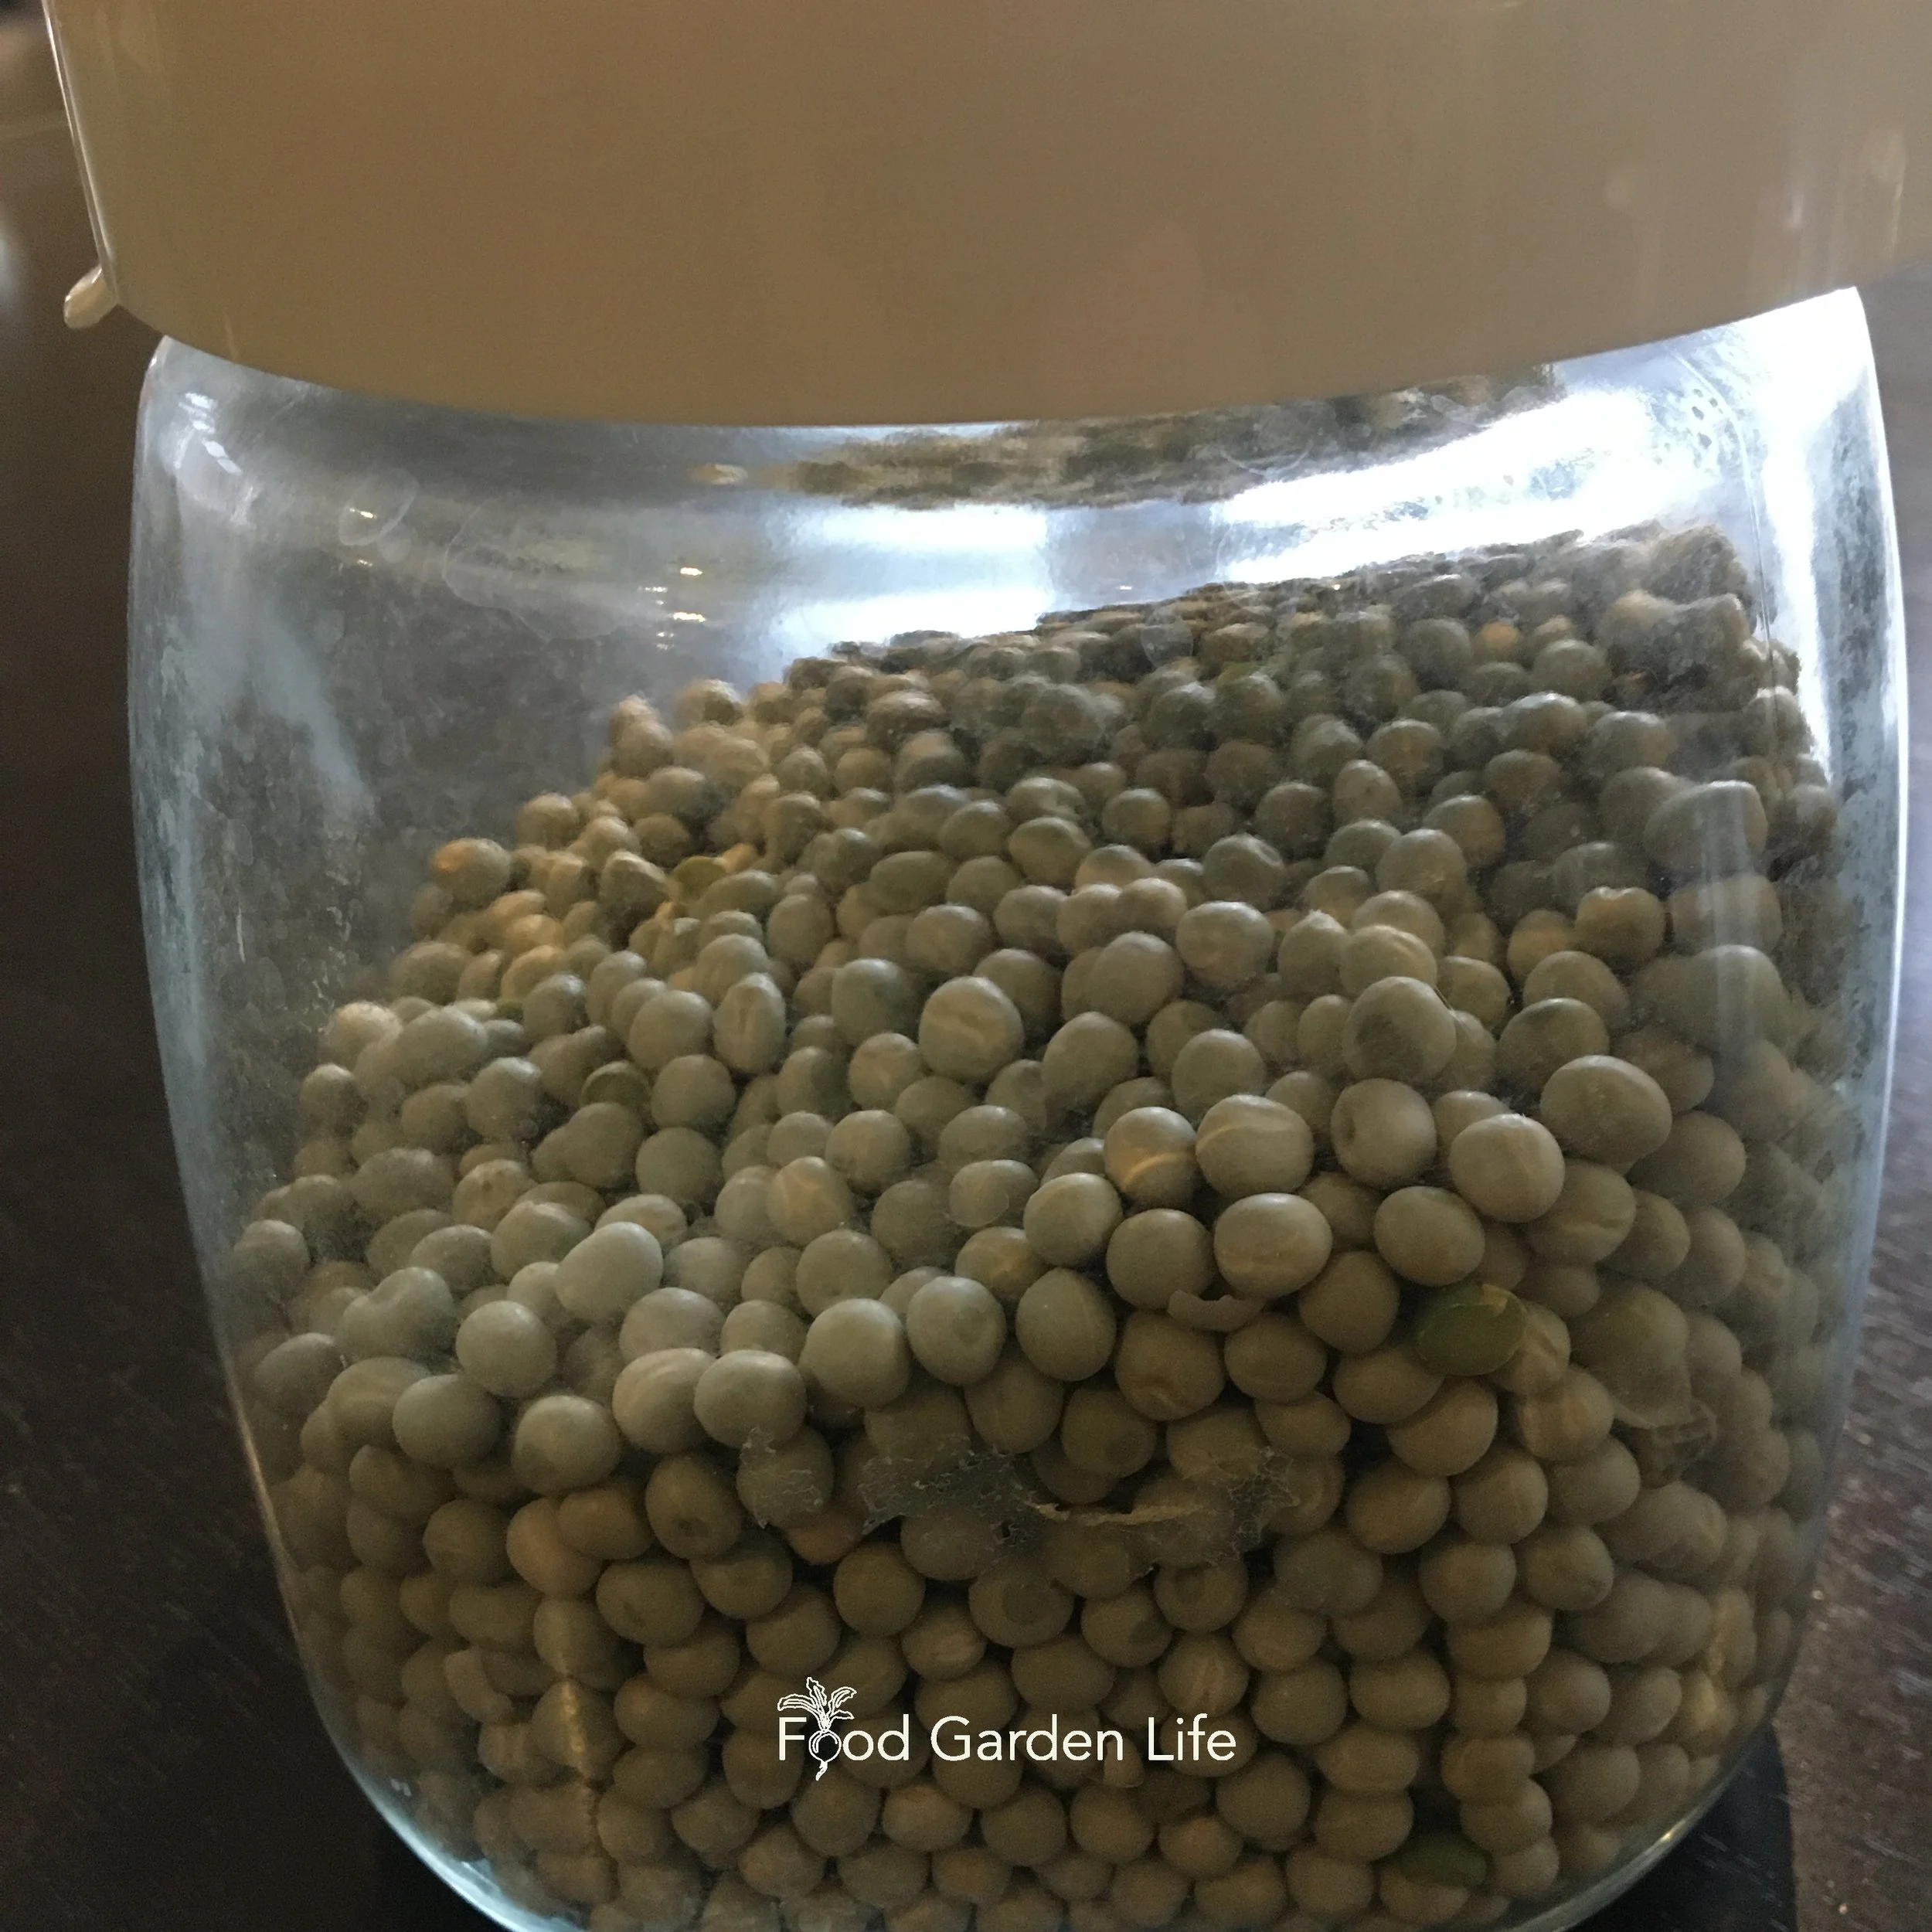
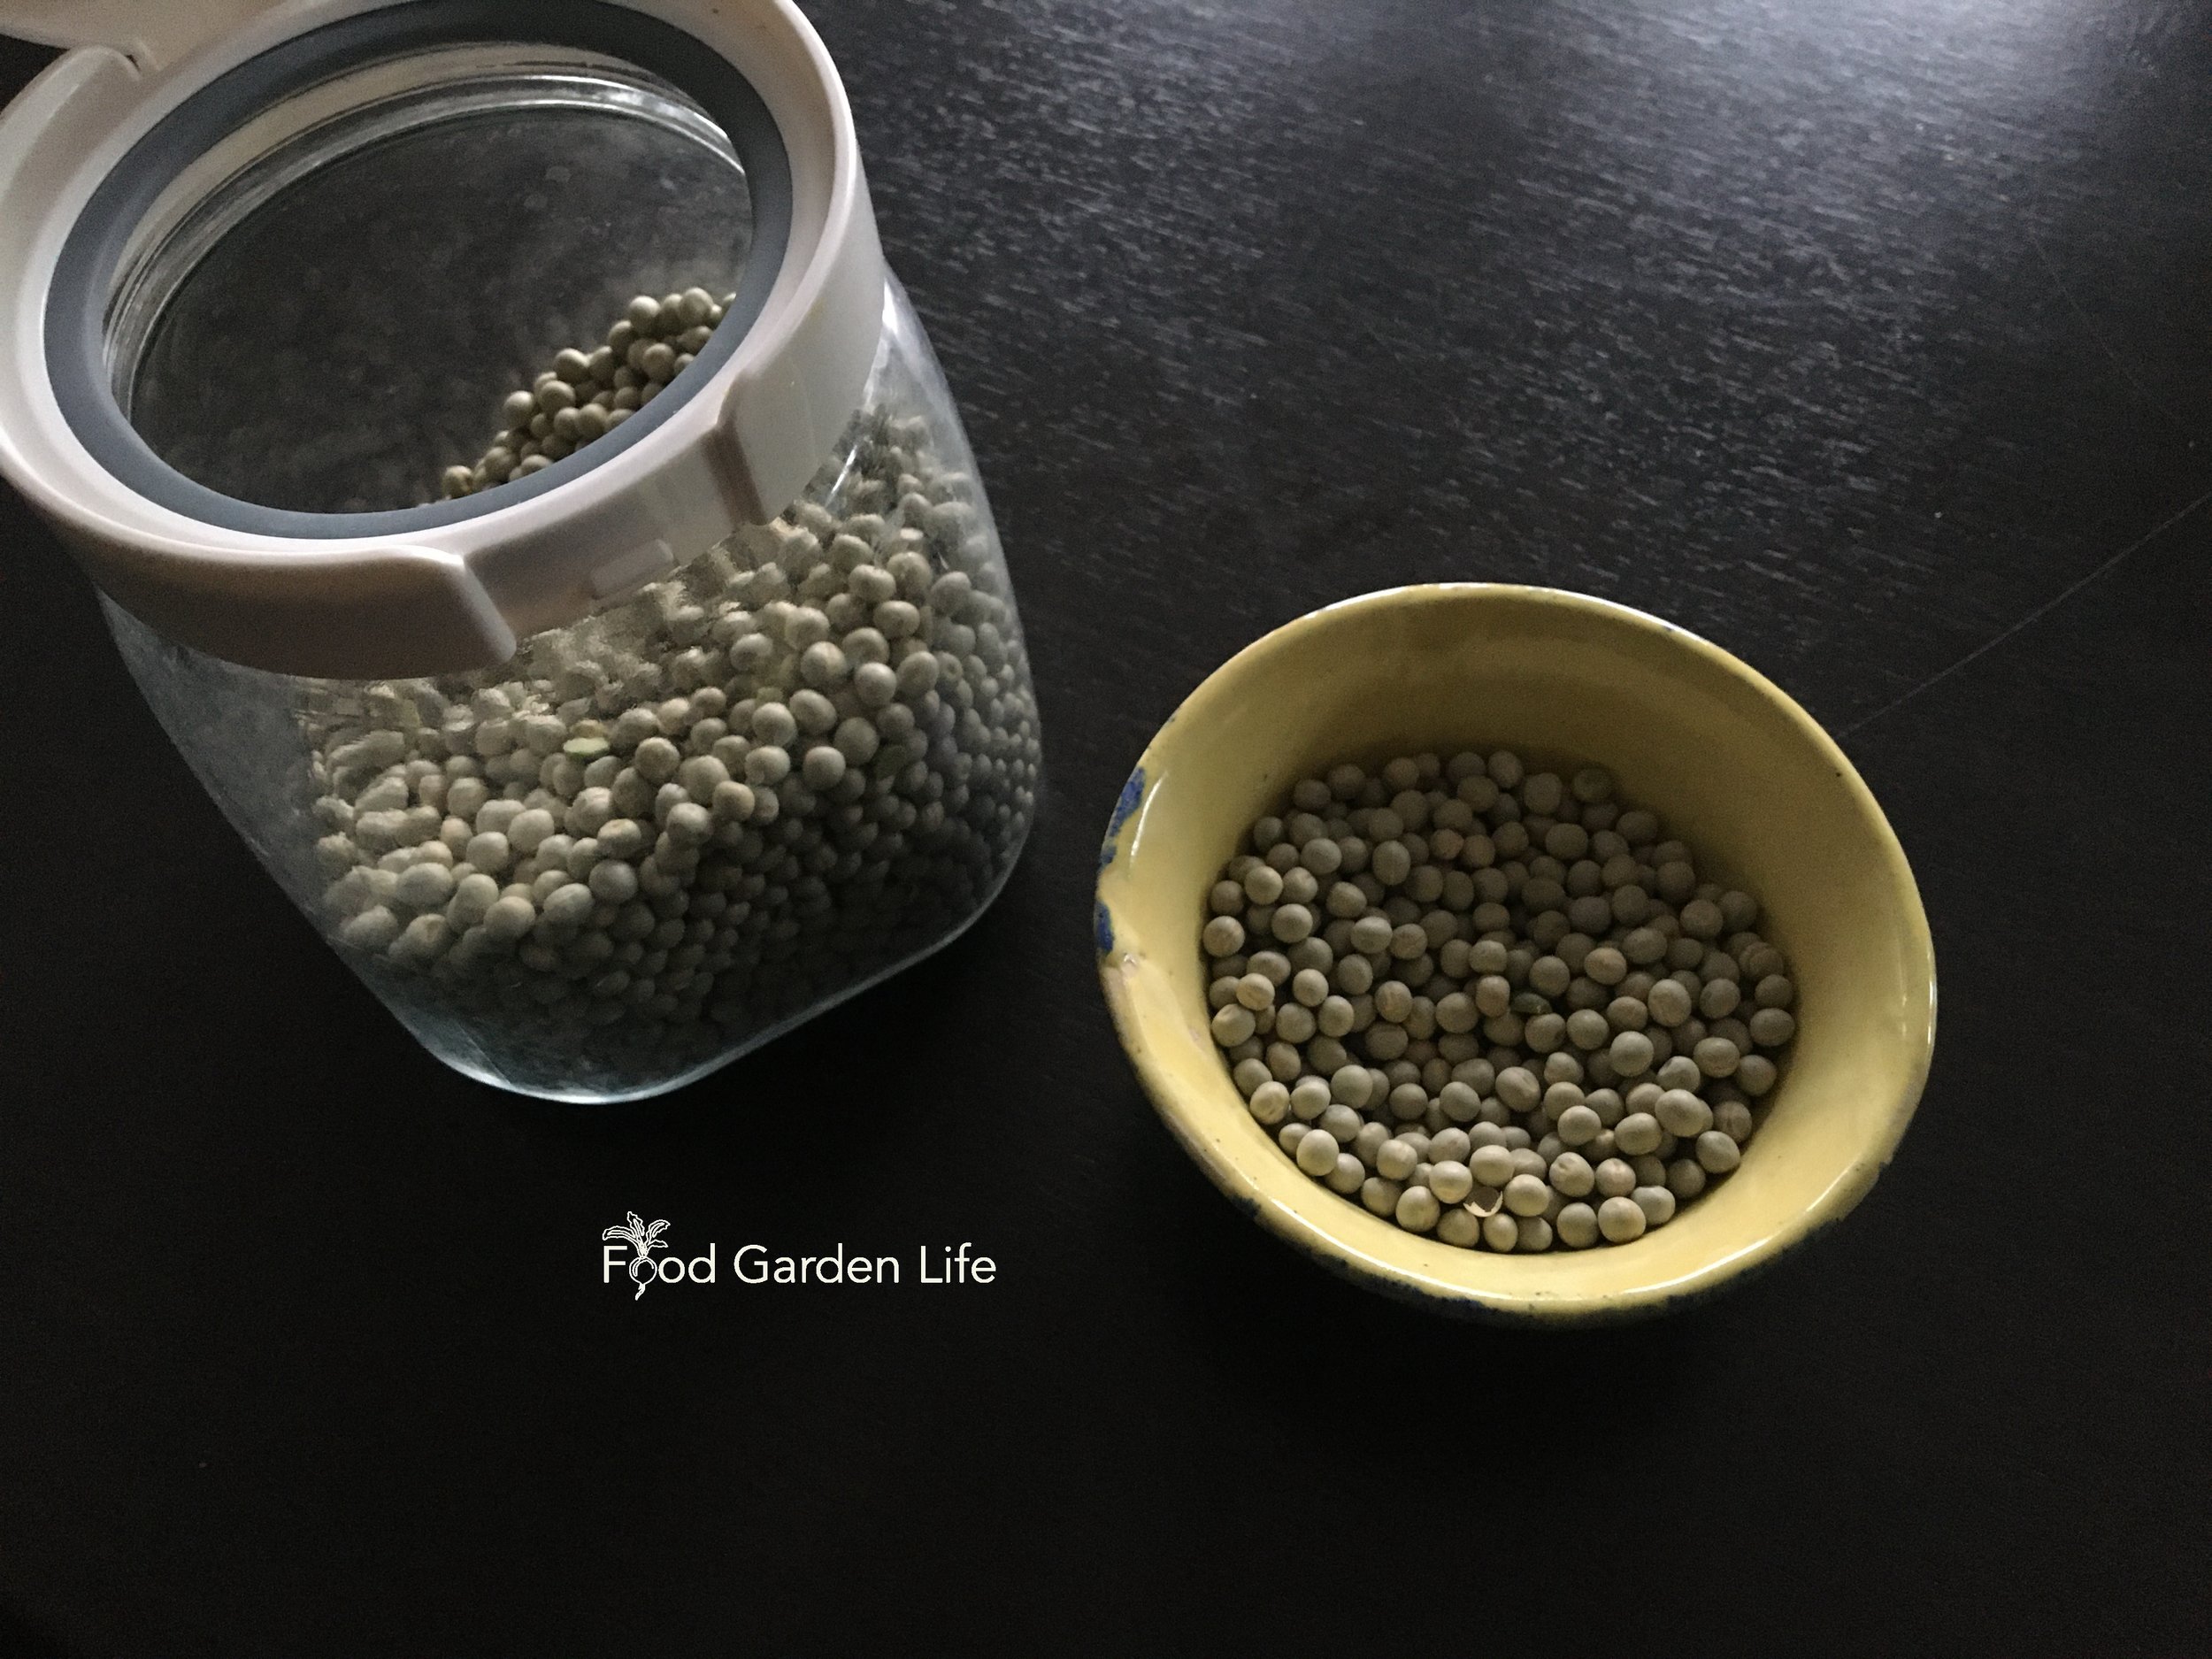
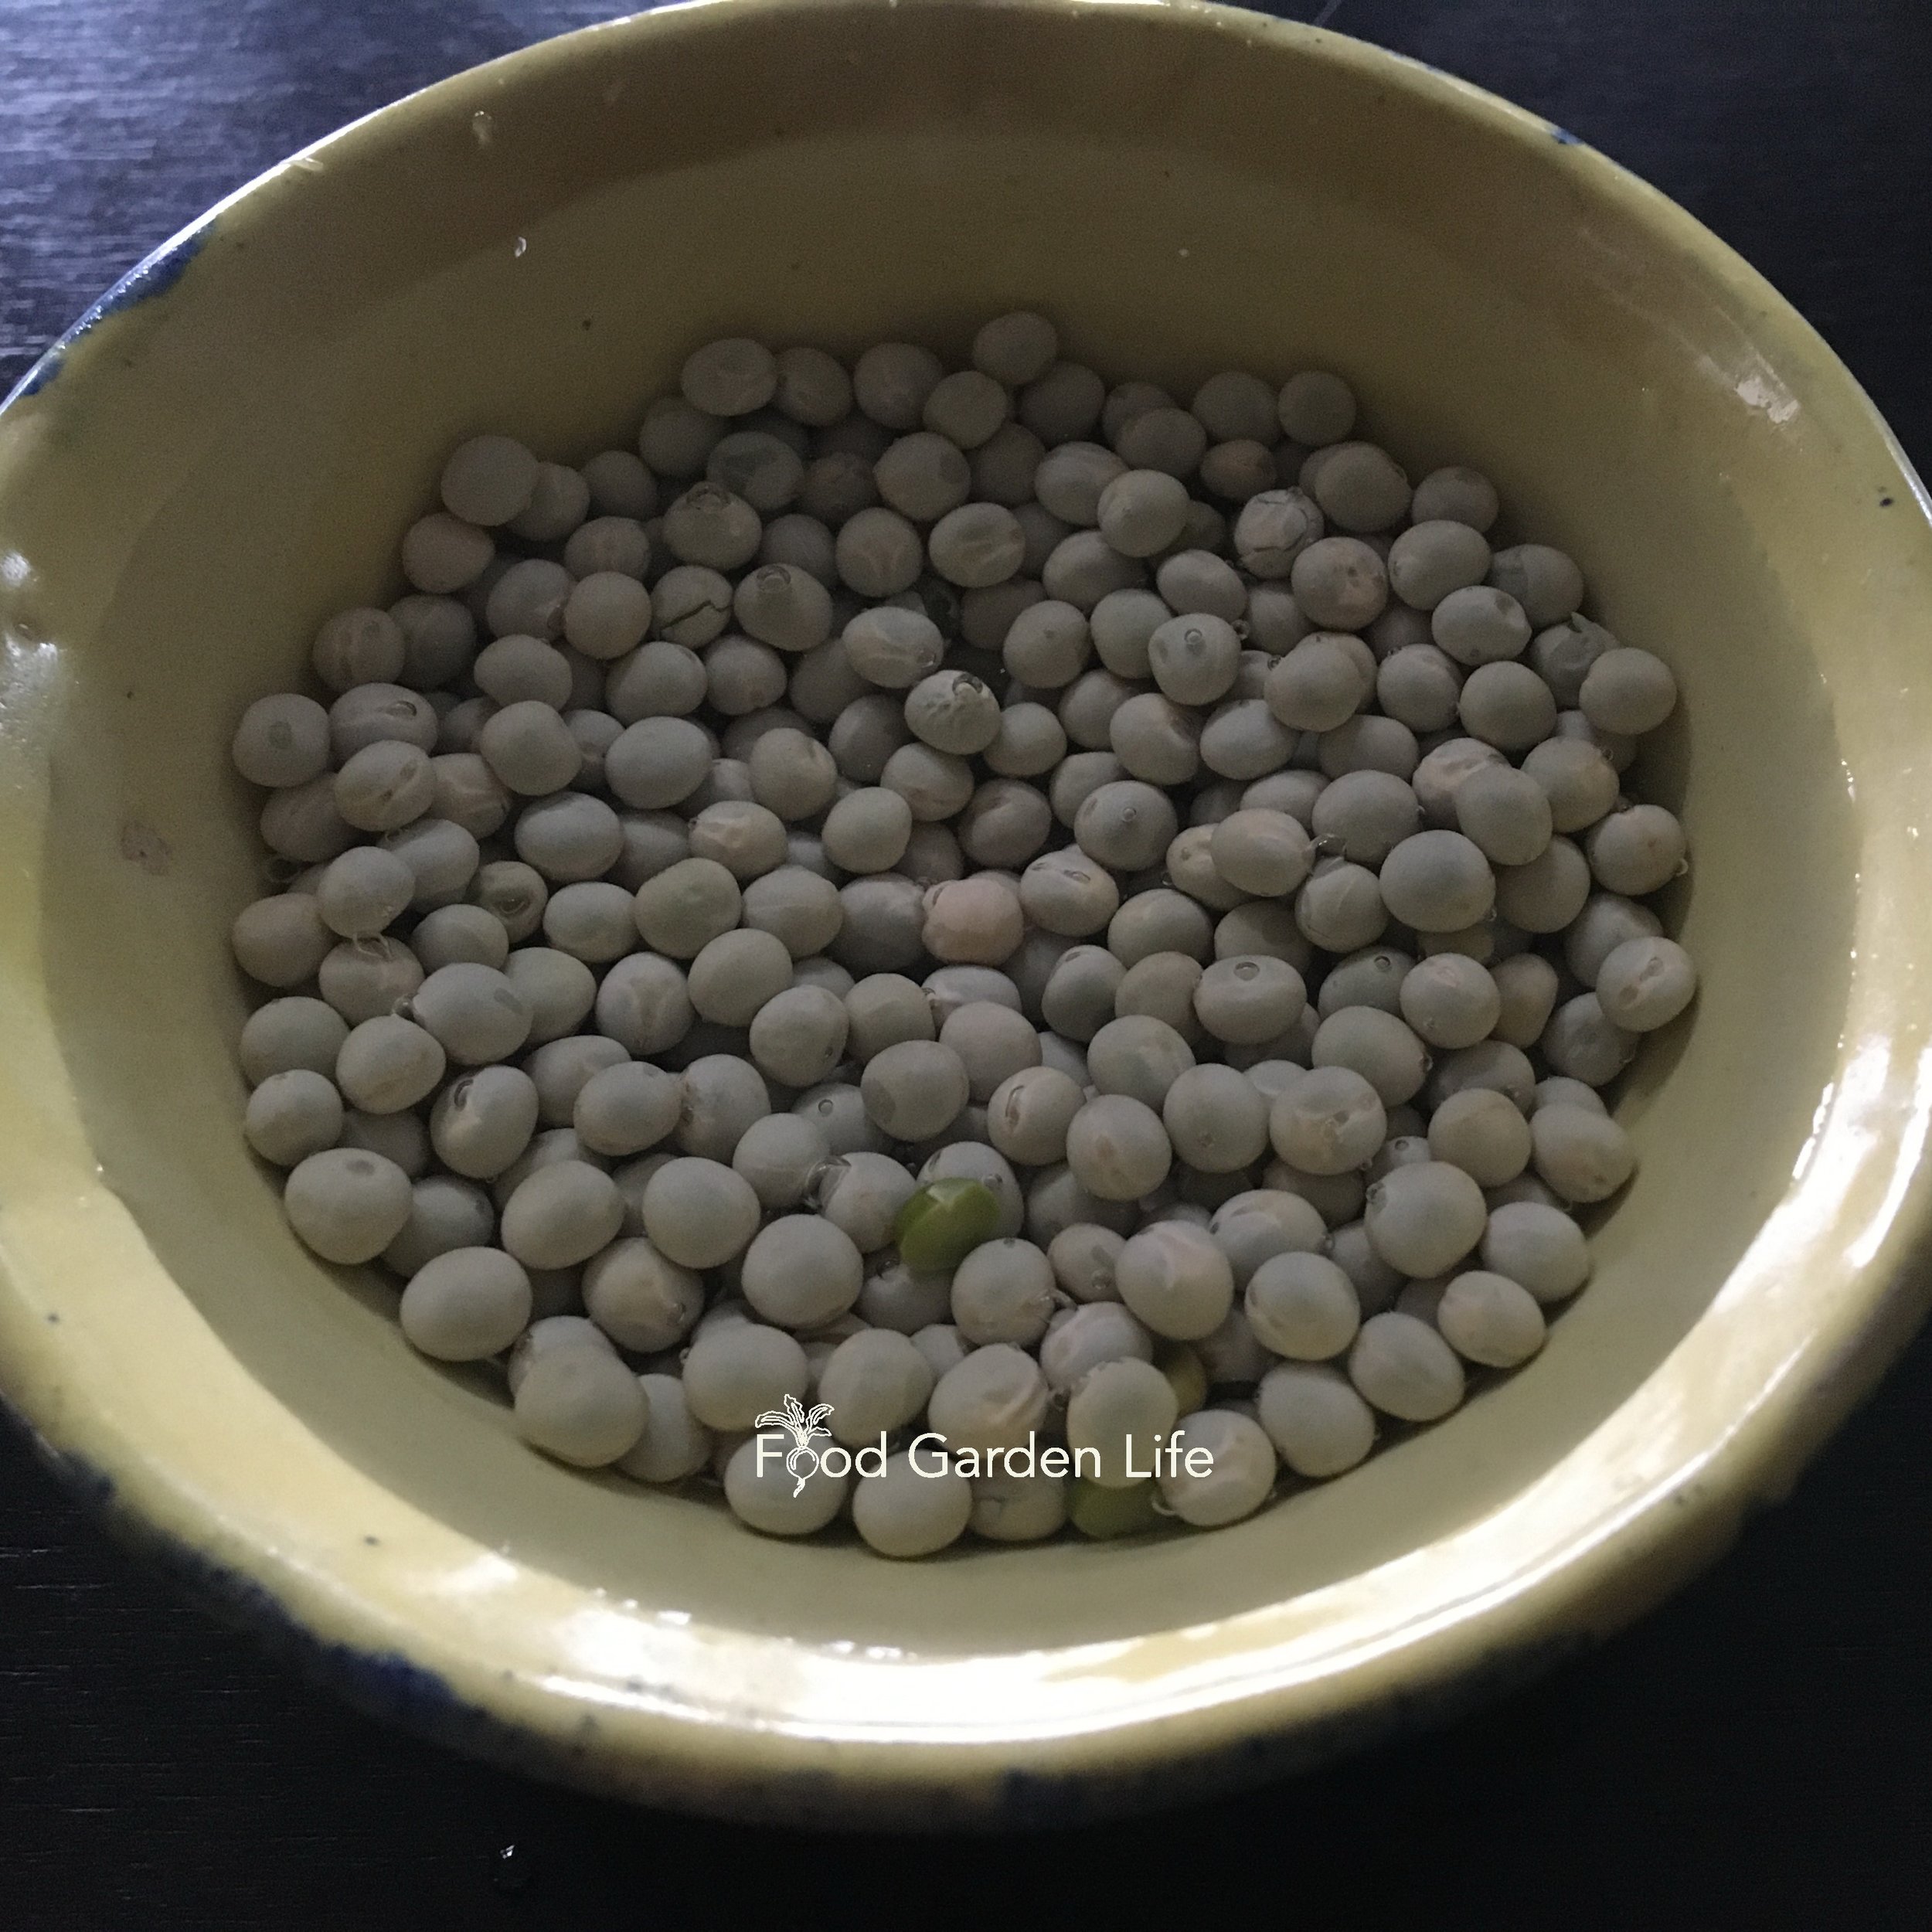
Dried green peas from the grocery store.
When shopping for microgreen seeds you might come across the interchangeable terms “sprouting seeds” and “microgreens seeds.” It means the seeds are untreated and uncoated. They’re usually sold in a larger volume than seeds intended for the garden—so it’s better value. And in some cases, it means that the seed company tests the seed to be sure there’s no contamination with pathogens.
I use dried peas and lentils from the grocery store—the same dried whole peas used for cooking.
Stick with food grade seeds from the grocery store or seeds sold for microgreens.
Seed sold for planting in the garden is sometimes “treated,” which usually means with fungicides. Treated seed is not suitable for growing into microgreens.
First Microgreen Crop? Give Peas a Chance
First time growing microgreens? I like the peas-and-pie-plate approach. It’s easy!
I recommend pea microgreens (also known as pea shoots) as a first microgreen crop. Dried peas are easy to find at the grocery store, easy to grow, and have a sweet flavour—much like snow peas and snap peas.
It doesn’t matter whether you use green peas or yellow peas—the key thing is to use whole peas, not split peas…they won’t grow!
How to Grow Microgreens at Home
Choose a Location to Grow Microgreens
When you grow microgreens you’re using the energy saved up in the seed. The goal is a tender young stem and leaves that you cut off and eat as a green. That means you don’t need bright light. It doesn’t matter if the plants are gangly.
Supplies for Growing Microgreens Indoors
Here are supplies to grow microgreens at home:
Seed
Potting soil
Container
Spray botte (optional)
Soil for Microgreens
The potting soil is to hold moisture and let the microgreen plants anchor themselves as they grow. You don’t need to supply nutrients because the plants are using energy stored in the seeds. Start with fresh soil every time—don’t reuse soil.
Moisten the potting soil before planting.
Use a soilless potting soil. Coir or peat moss as a growing medium work well too.
Containers for Microgreens
There are lots of options for microgreens containers. You only need to have about an inch of potting soil, so any shallow container works.
Here are examples:
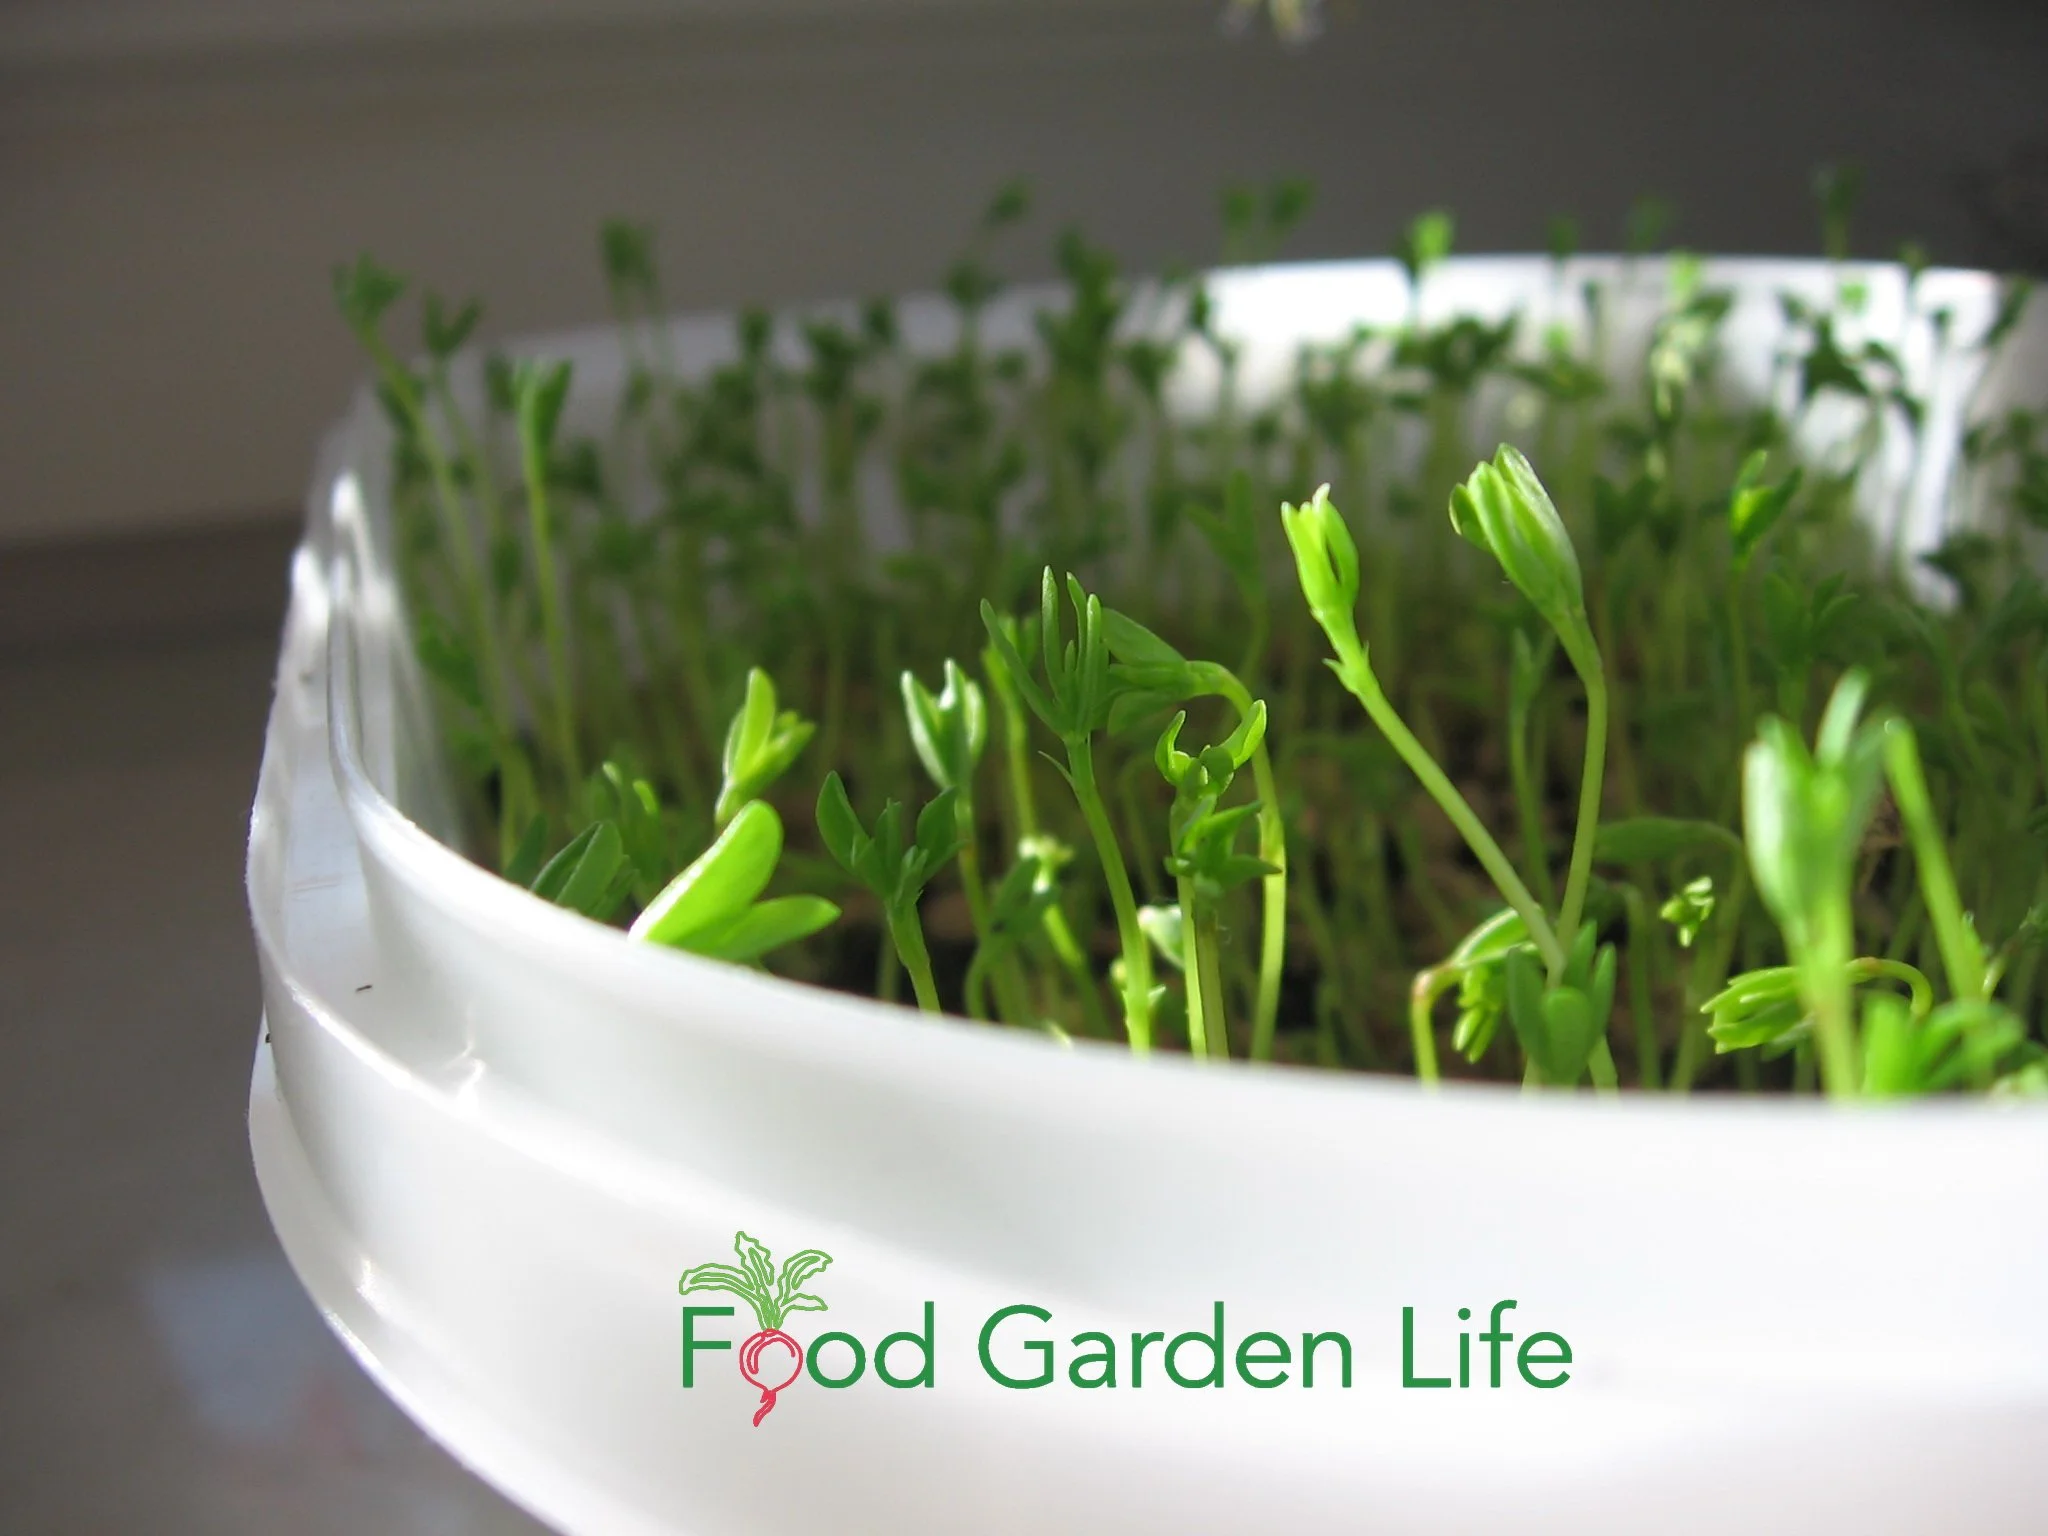
Lentil microgreens growing in a plastic container.
A standard 10”x20” plant tray
A pie plate
Takeout containers
Smaller containers dry out faster, so you’ll need to water more often.
If you trust your judgement with watering, don’t make drainage holes. But if you think you might overwater, punch a few holes in the bottom of your container.
Spray Bottles
A spray bottle for microgreens is optional. I don’t use one. Some gardeners use a spray bottle to avoid splashing around small seeds. Instead, you can water carefully with a gentle stream of water.
How to Plant Microgreens
Soak larger seeds such as pea, lentil, and sunflower overnight. (Soaking gives a faster, more uniform germination.)
Put an inch or two of potting soil in the container.
Put seeds on top of the soil, spacing them so that they’re close to each other, but not covering each other. Don’t cover seeds with soil.
Water so that the soil is moist but not wet. (You want the soil moist, not wet...don’t float your seeds!)
Place under lights or on a windowsill.
Pea Microgreens Step by Step
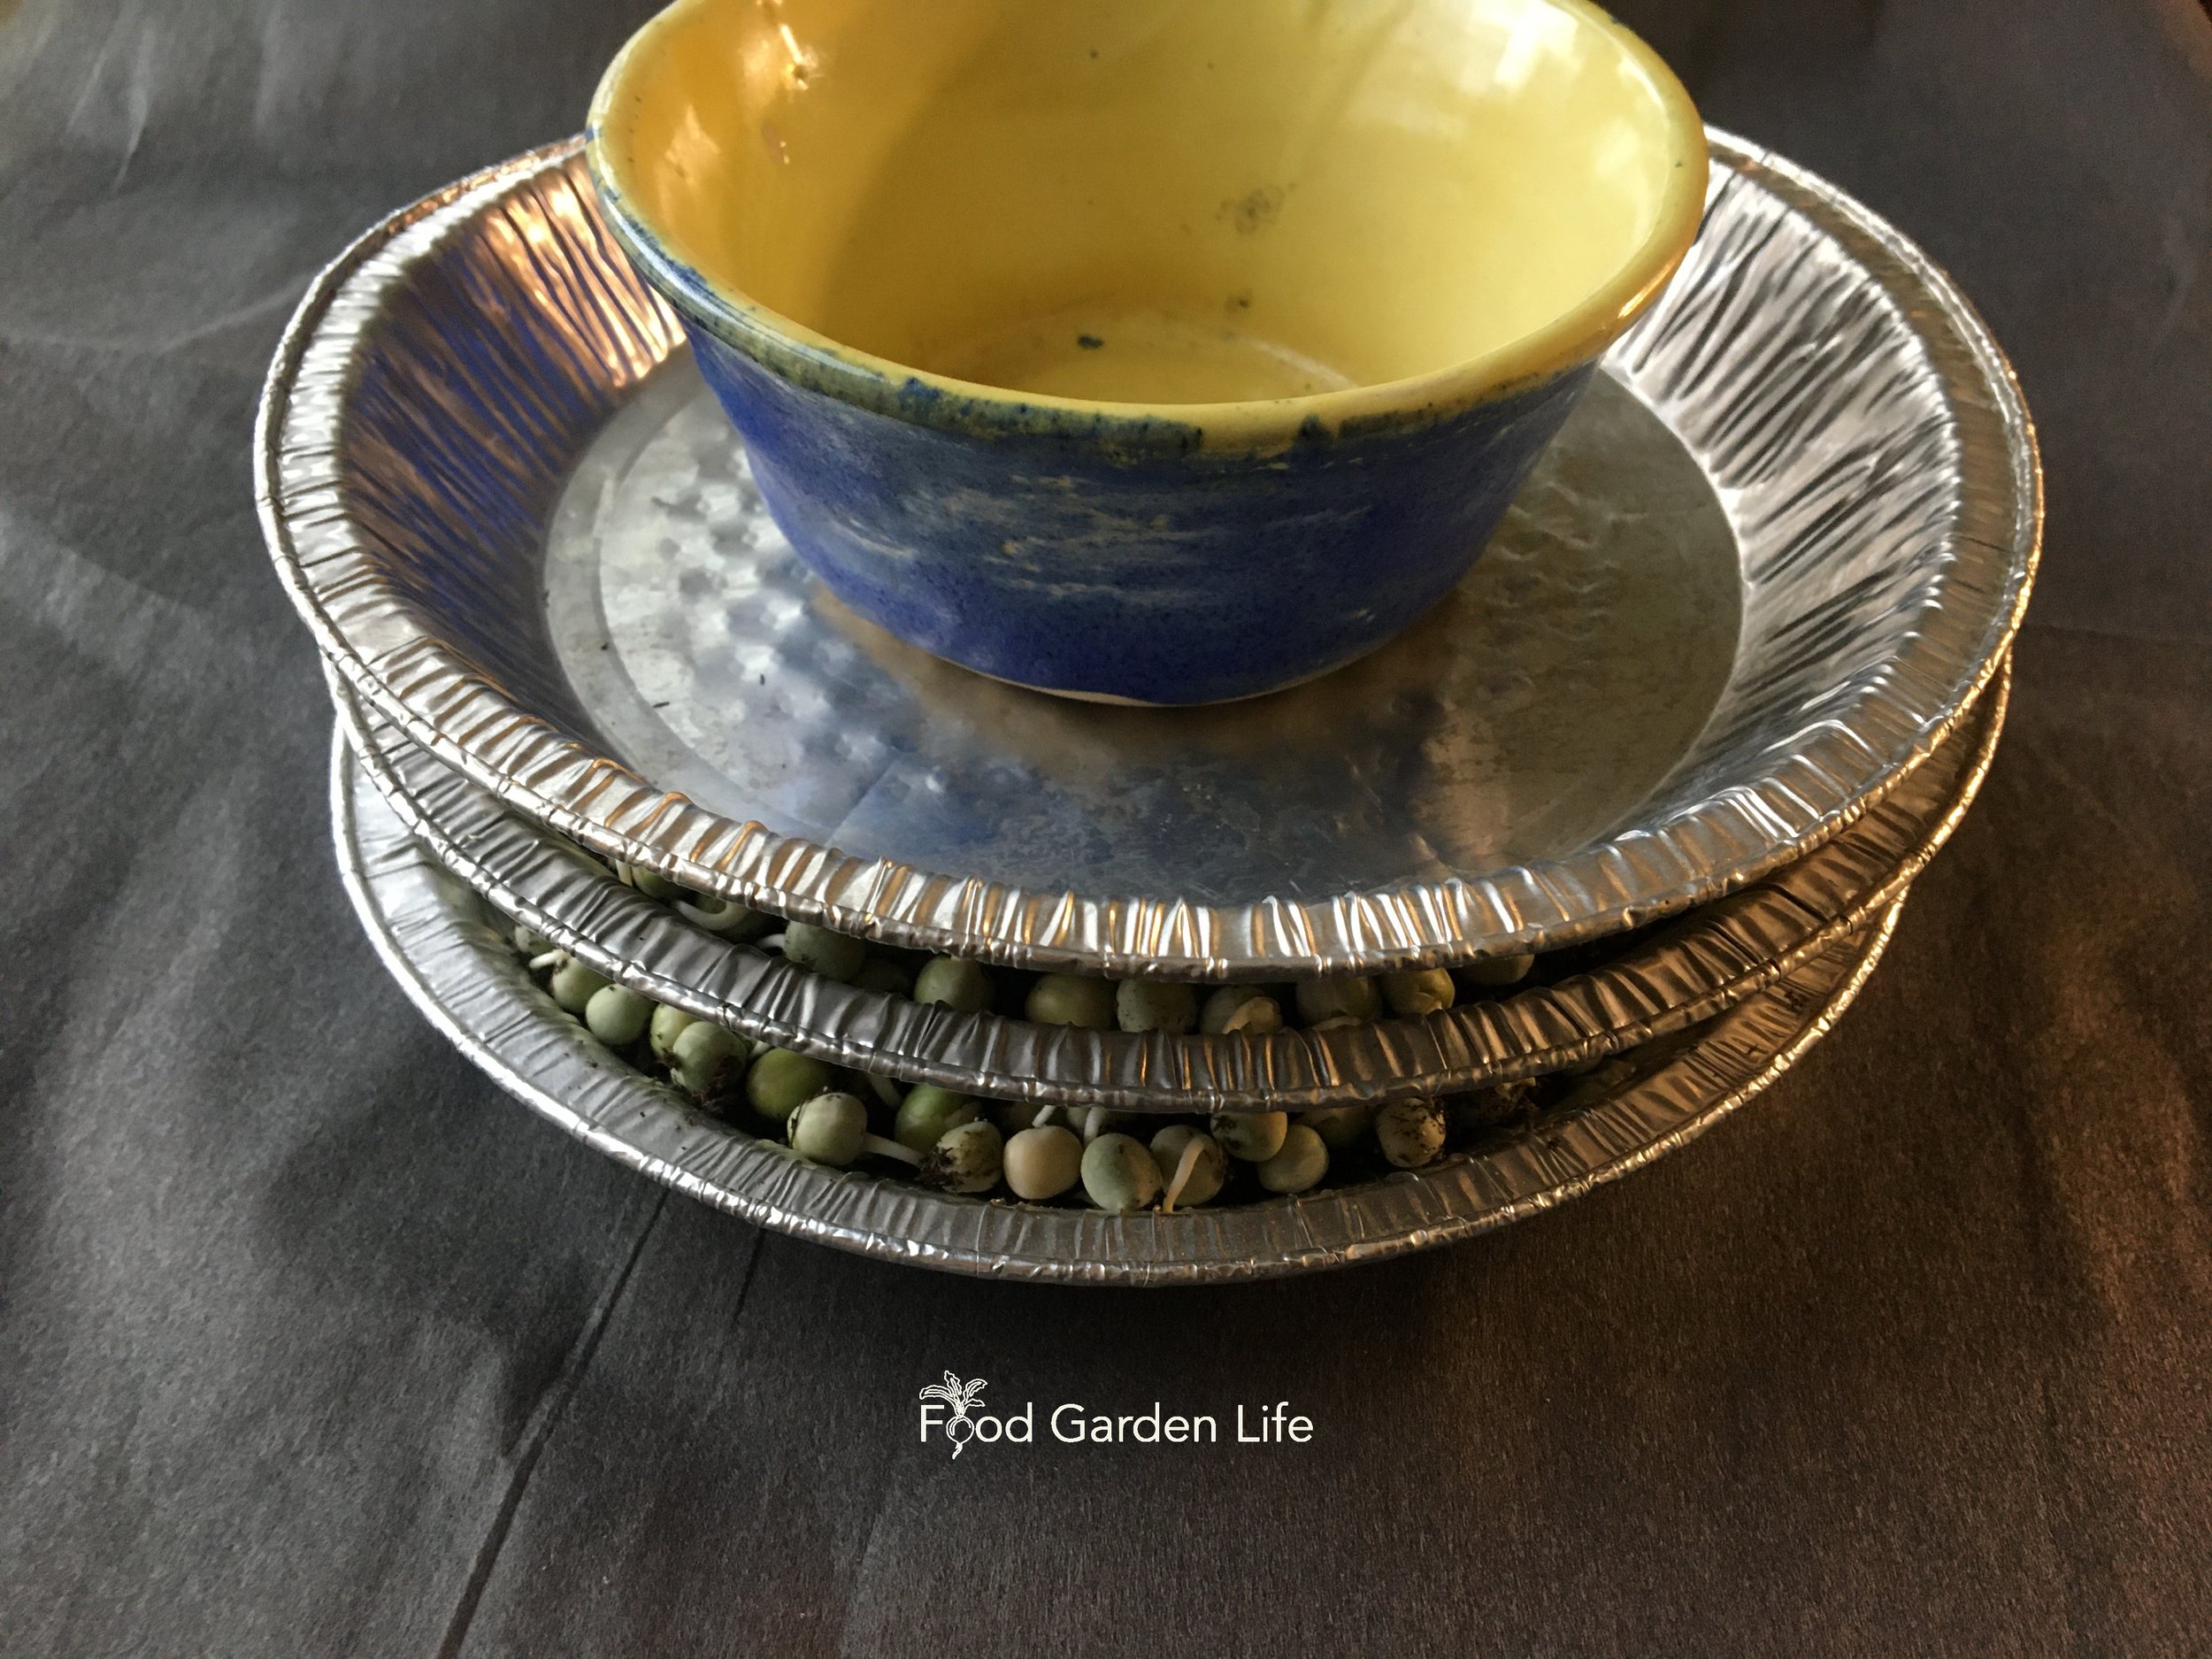
Top Tip: When seeds are in contact with the soil you get a faster, more uniform germination. Put something heavy over the microgreens after sowing. The weight pushes down on the seeds so that they are in contact with the soil. (I stack my pie plates full of seeds.)
Don’t do this: Don’t fertilize them. There’s enough stored energy in the seed to grow the microgreens until harvest.
Location for Microgreens
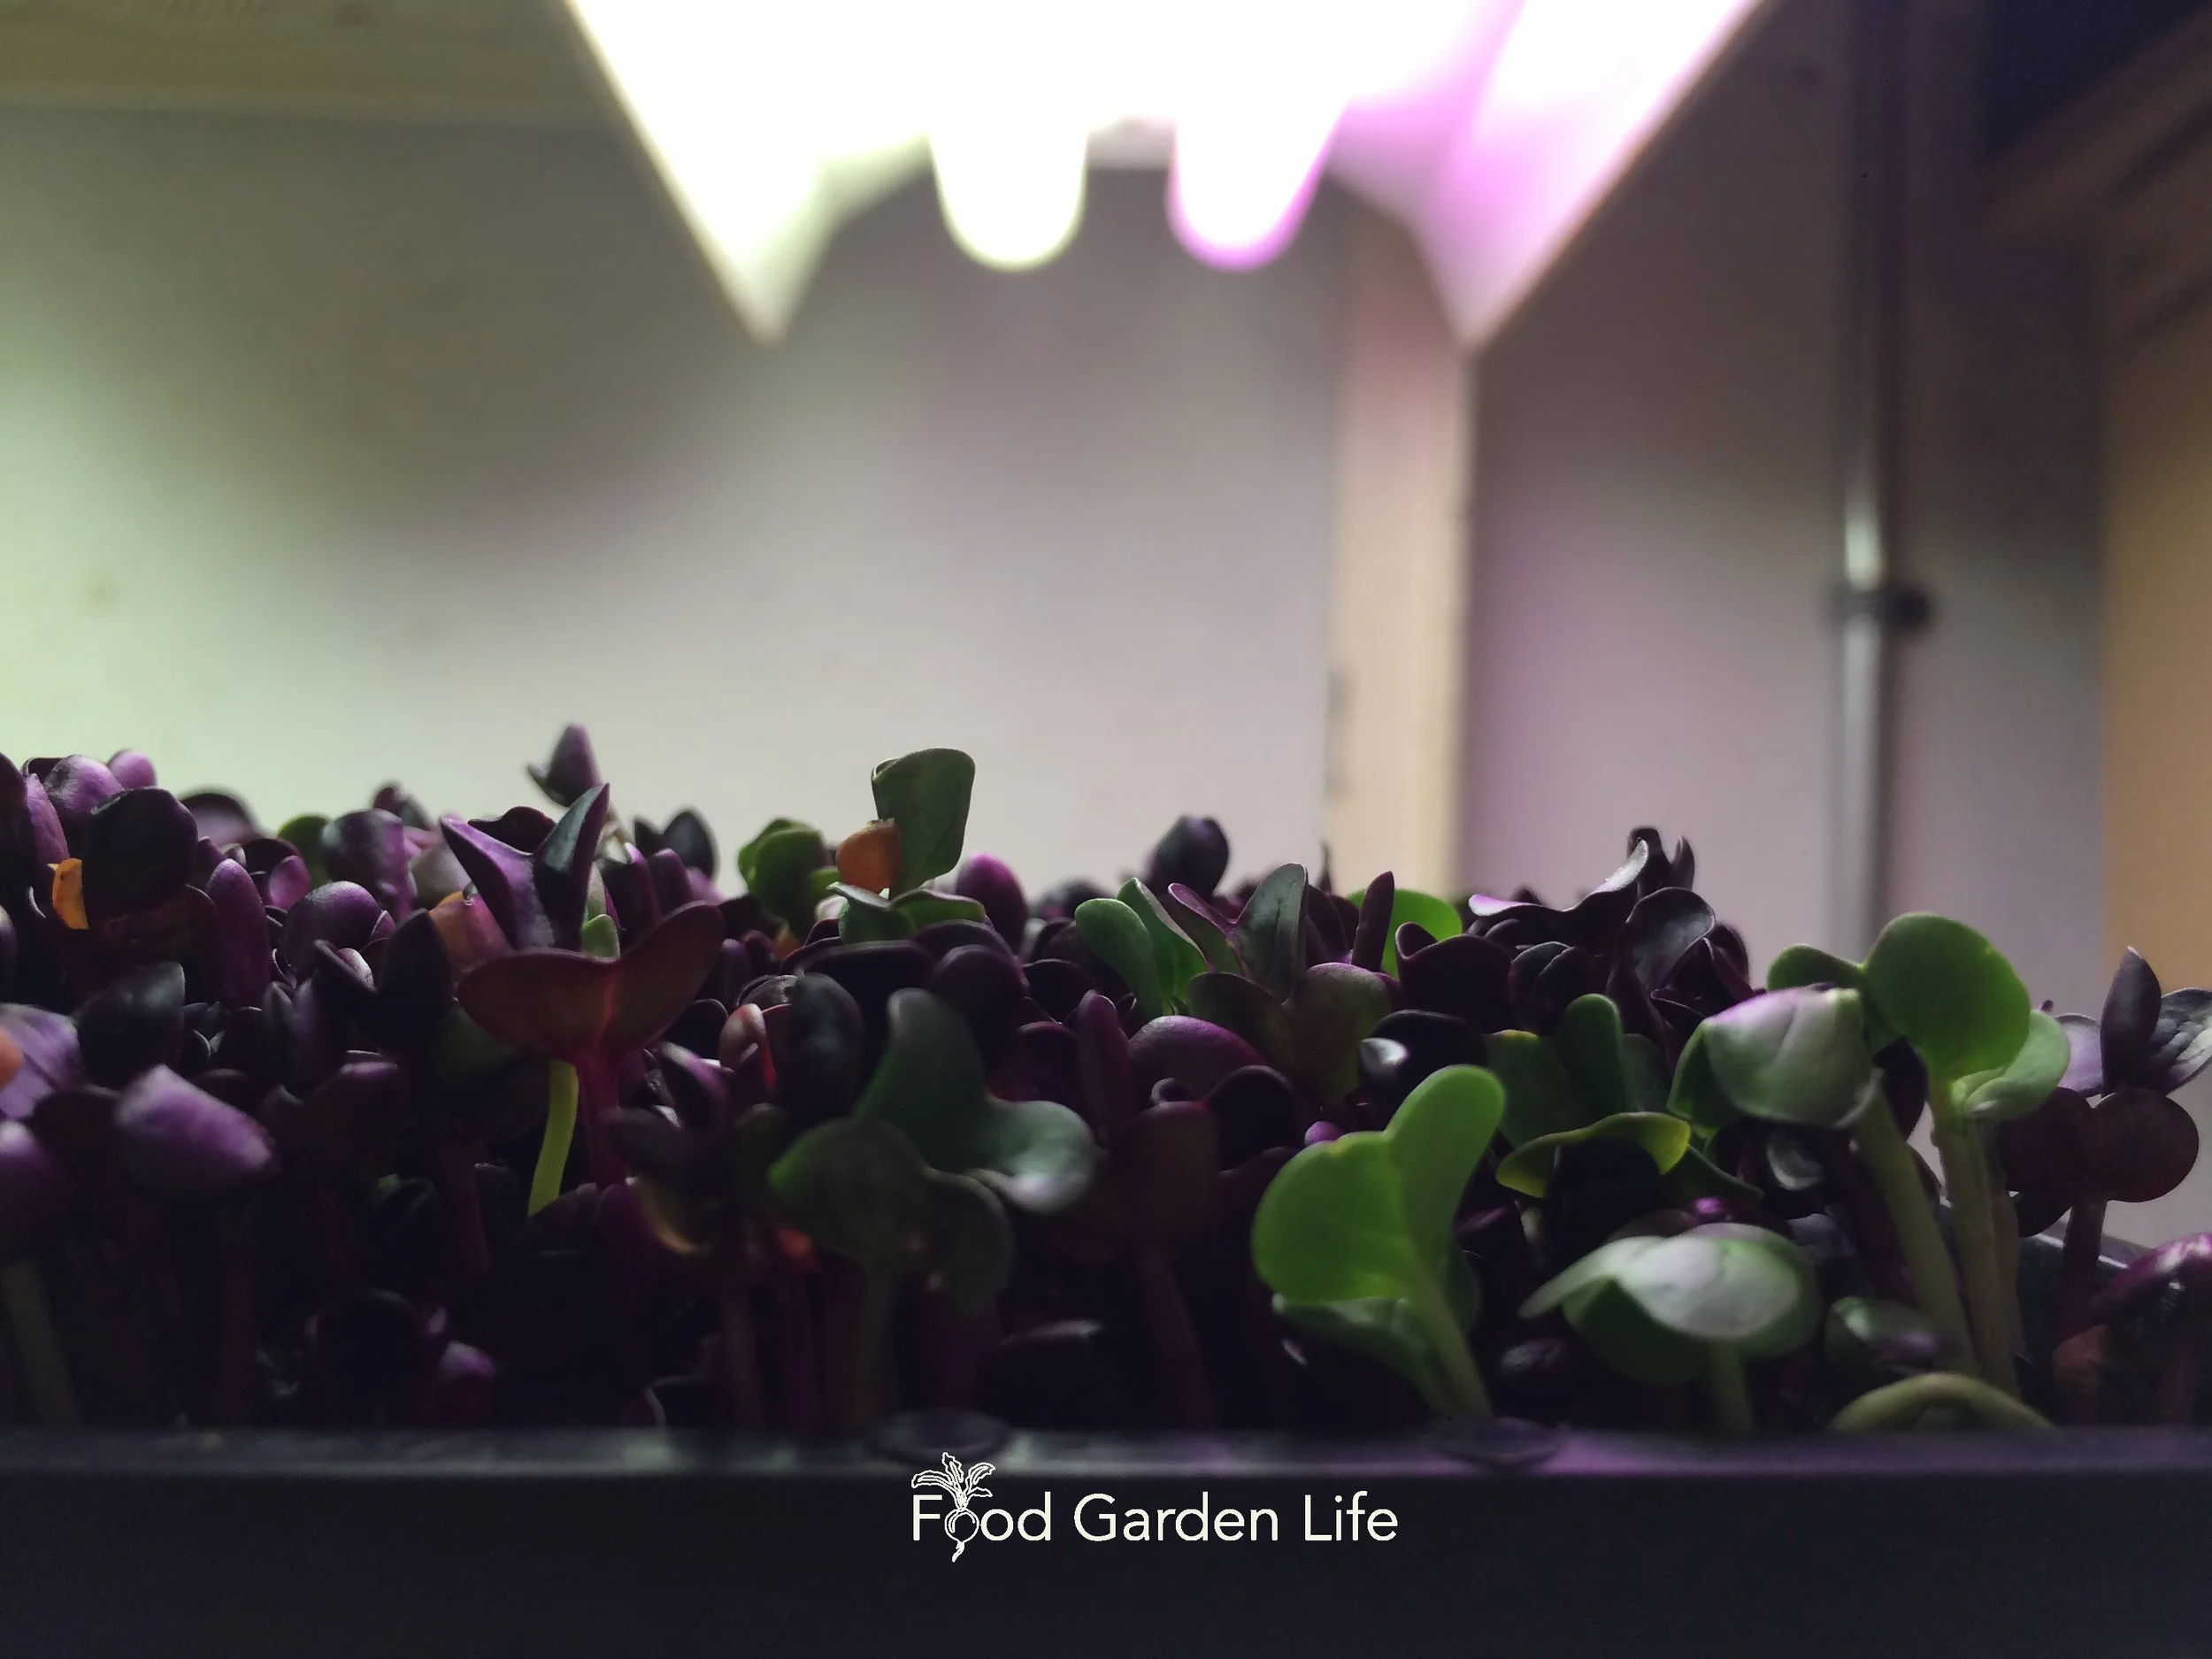
Growing microgreens under lights. Less light is OK too.
You don’t need perfect growing conditions, so make do with what you have. If you have a bright window or set of grow lights, these work well.
Low light is also OK too, because the plants are growing using energy stored in the seed. I’ve grown them on a dim countertop.
The warmer the temperature, the more quickly the microgreens grow.
Seeds sprout more quickly in warmer conditions. Here are ways to give your microgreen seeds more heat:
A heat mat
A sunny windowsill
The top of a hot-water radiator
A heated floor.
Growing Your Microgreen Crop
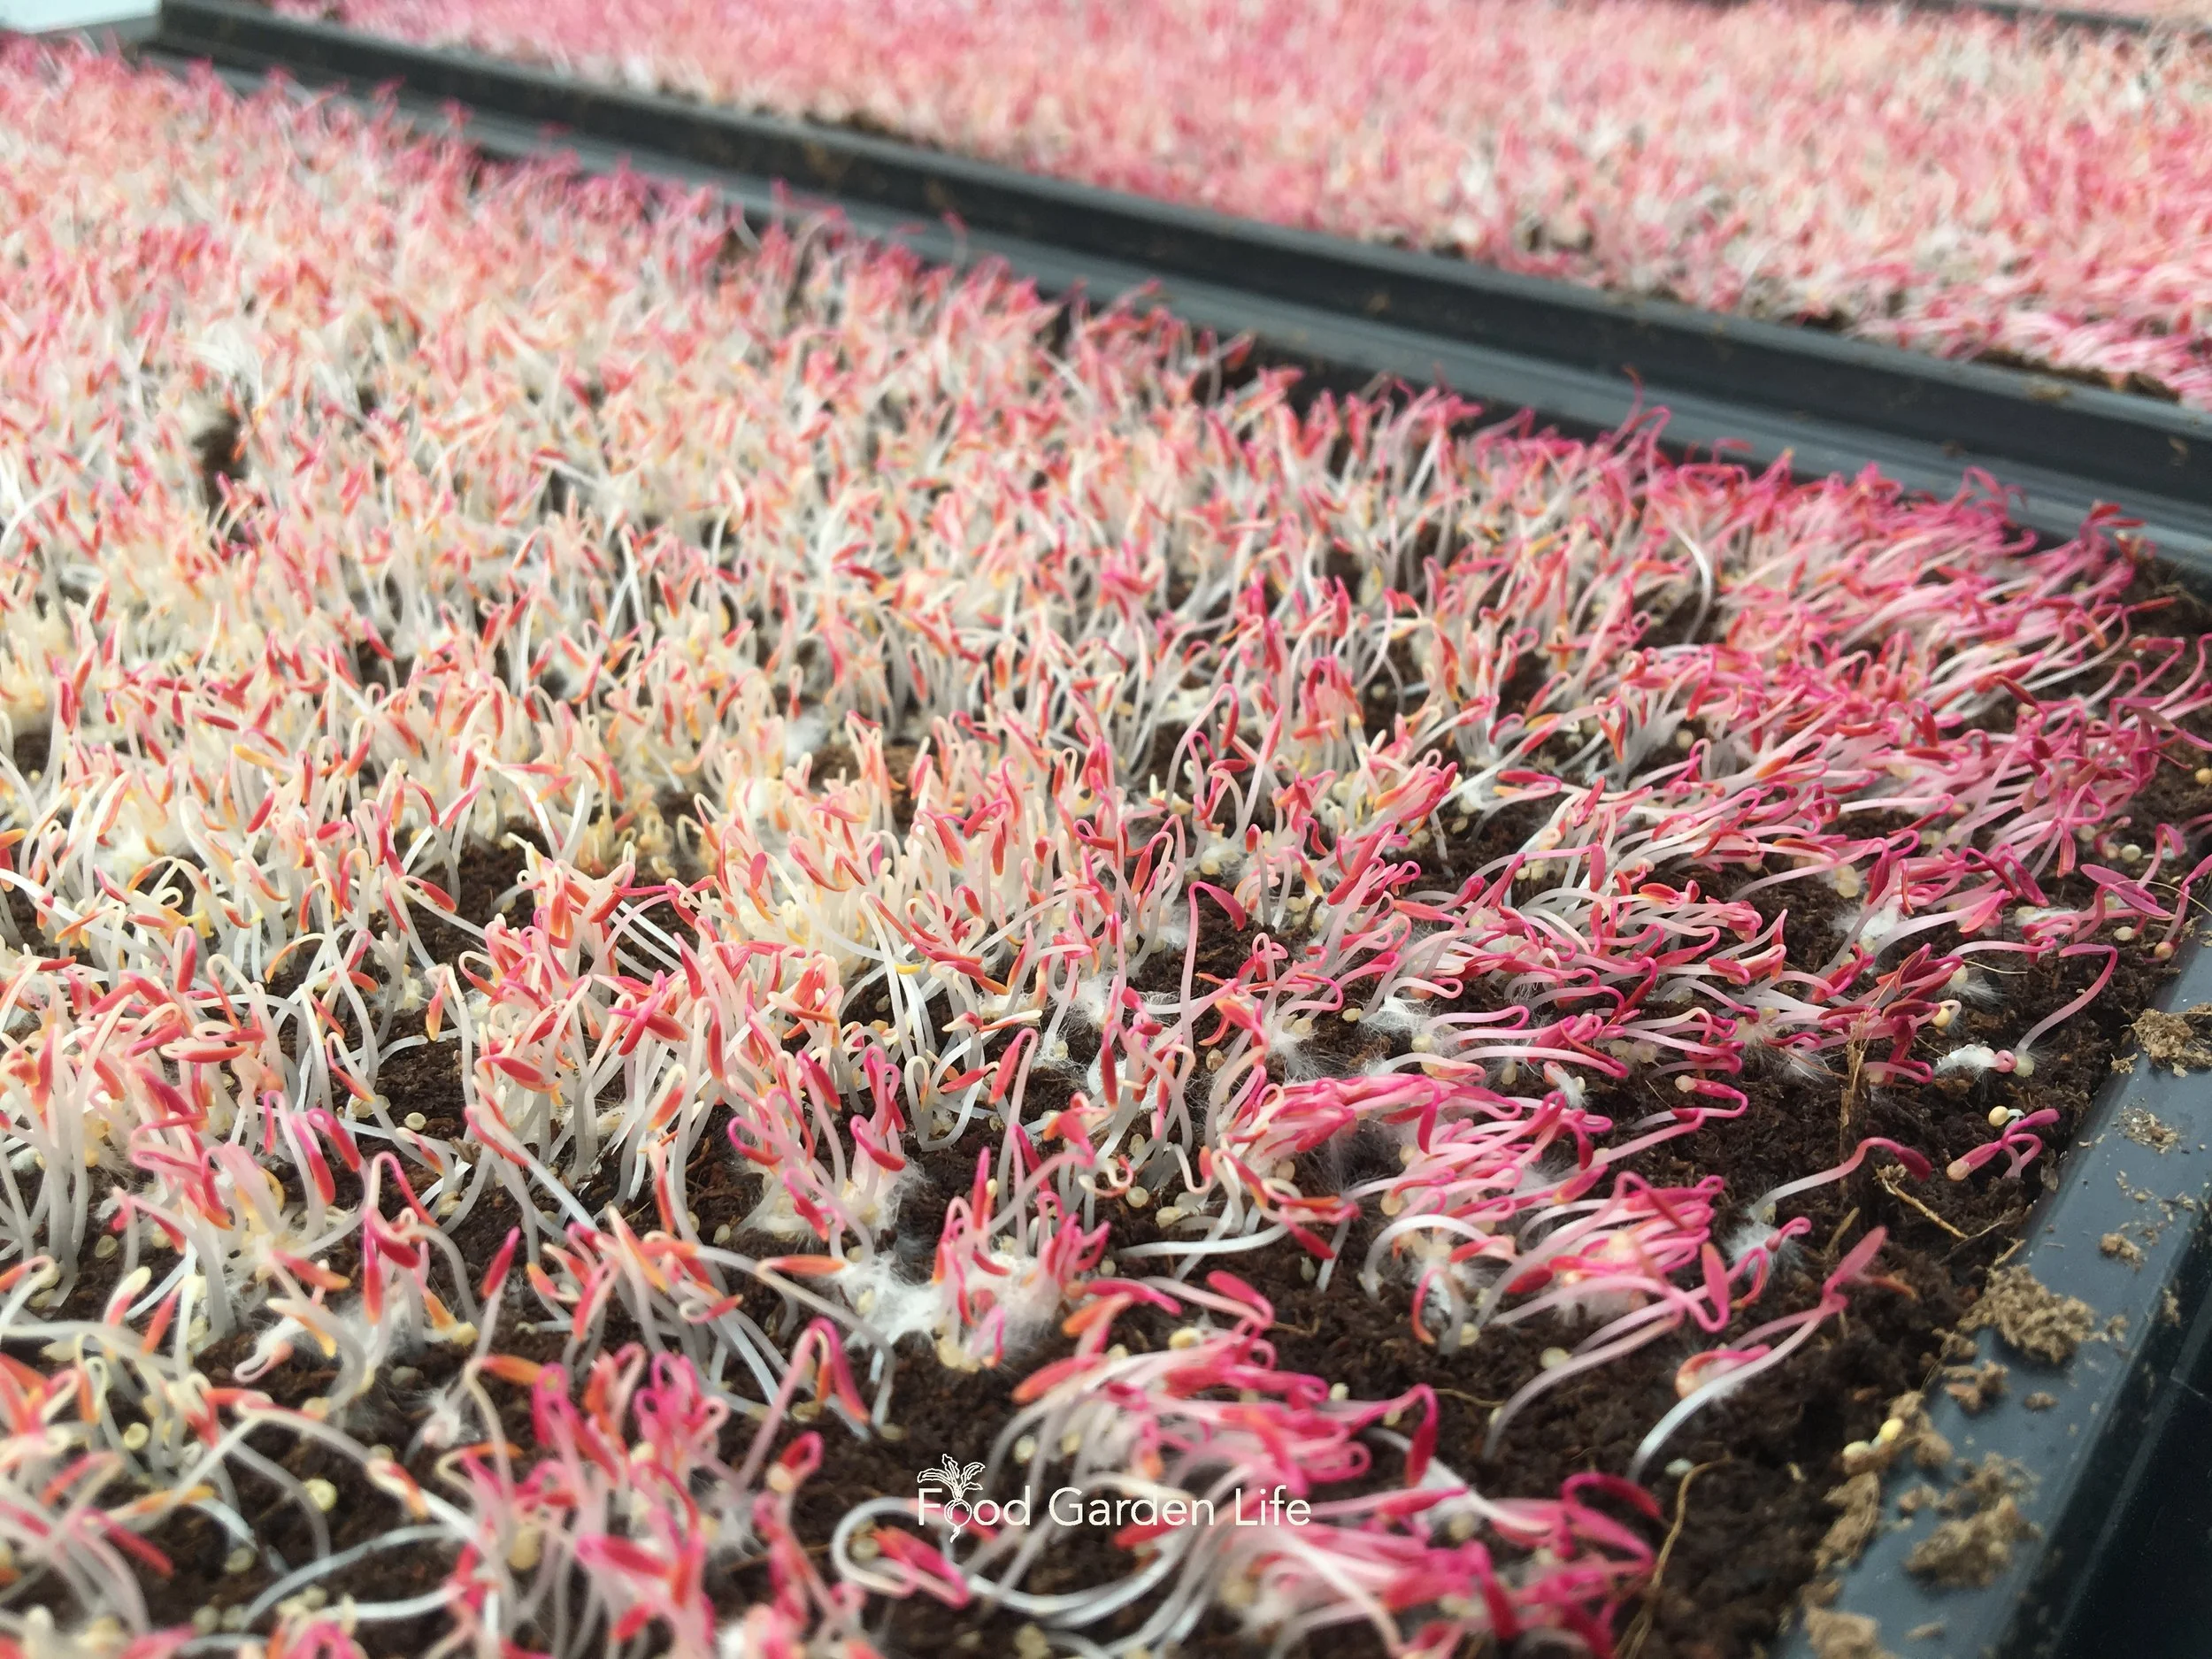
If you put something heavy on top of the seeds, remove it after a couple days. These amaranth microgreens were covered a bit too long…but they’ll bounce back.
Check daily to make sure the soil is moist and to see if your seeds are germinating.
If you put something heavy on top of the seeds, remove it after a couple days.
Harvesting Microgreens
Harvesting Pea Shoots
When I grow windowsill pea microgreens over the winter at room temperature, I expect to harvest them about 2 weeks after sowing.
Harvest microgreens when they get 3-4 inches tall, a size when they are tender and not fibrous.
The first cut is the largest. There might be a couple more smaller harvests with pea shoots. (Not all microgreens regrow from what remains after harvest.)
Spotty germination in this container of pea microgreens because the potting soil got too dry.
When the energy in the seeds is used up and they no longer send up new growth, compost them.
Harvesting Other Microgreens
The height and time to harvest depends on the microgreen crop. Most crops are harvested before a second set of leaves grows.
Harvesting Microgreens: Here's a Hack
In commercial operations growers often use shallow trays so that it’s easy to harvest microgreens with a knife. (With a deeper tray, the edge of the tray gets in the way of cutting close to soil level.)
My daughter grows our microgreens in shallow trays: it’s worthwhile if you’re planning to grow lots.
How to Store Microgreens
If you have more microgreens than you can use at once, store them the same way you do leafy greens.
I wrap them in damp paper towel, and then put them in a plastic bag, in the fridge.
Great for Gardening with Kids
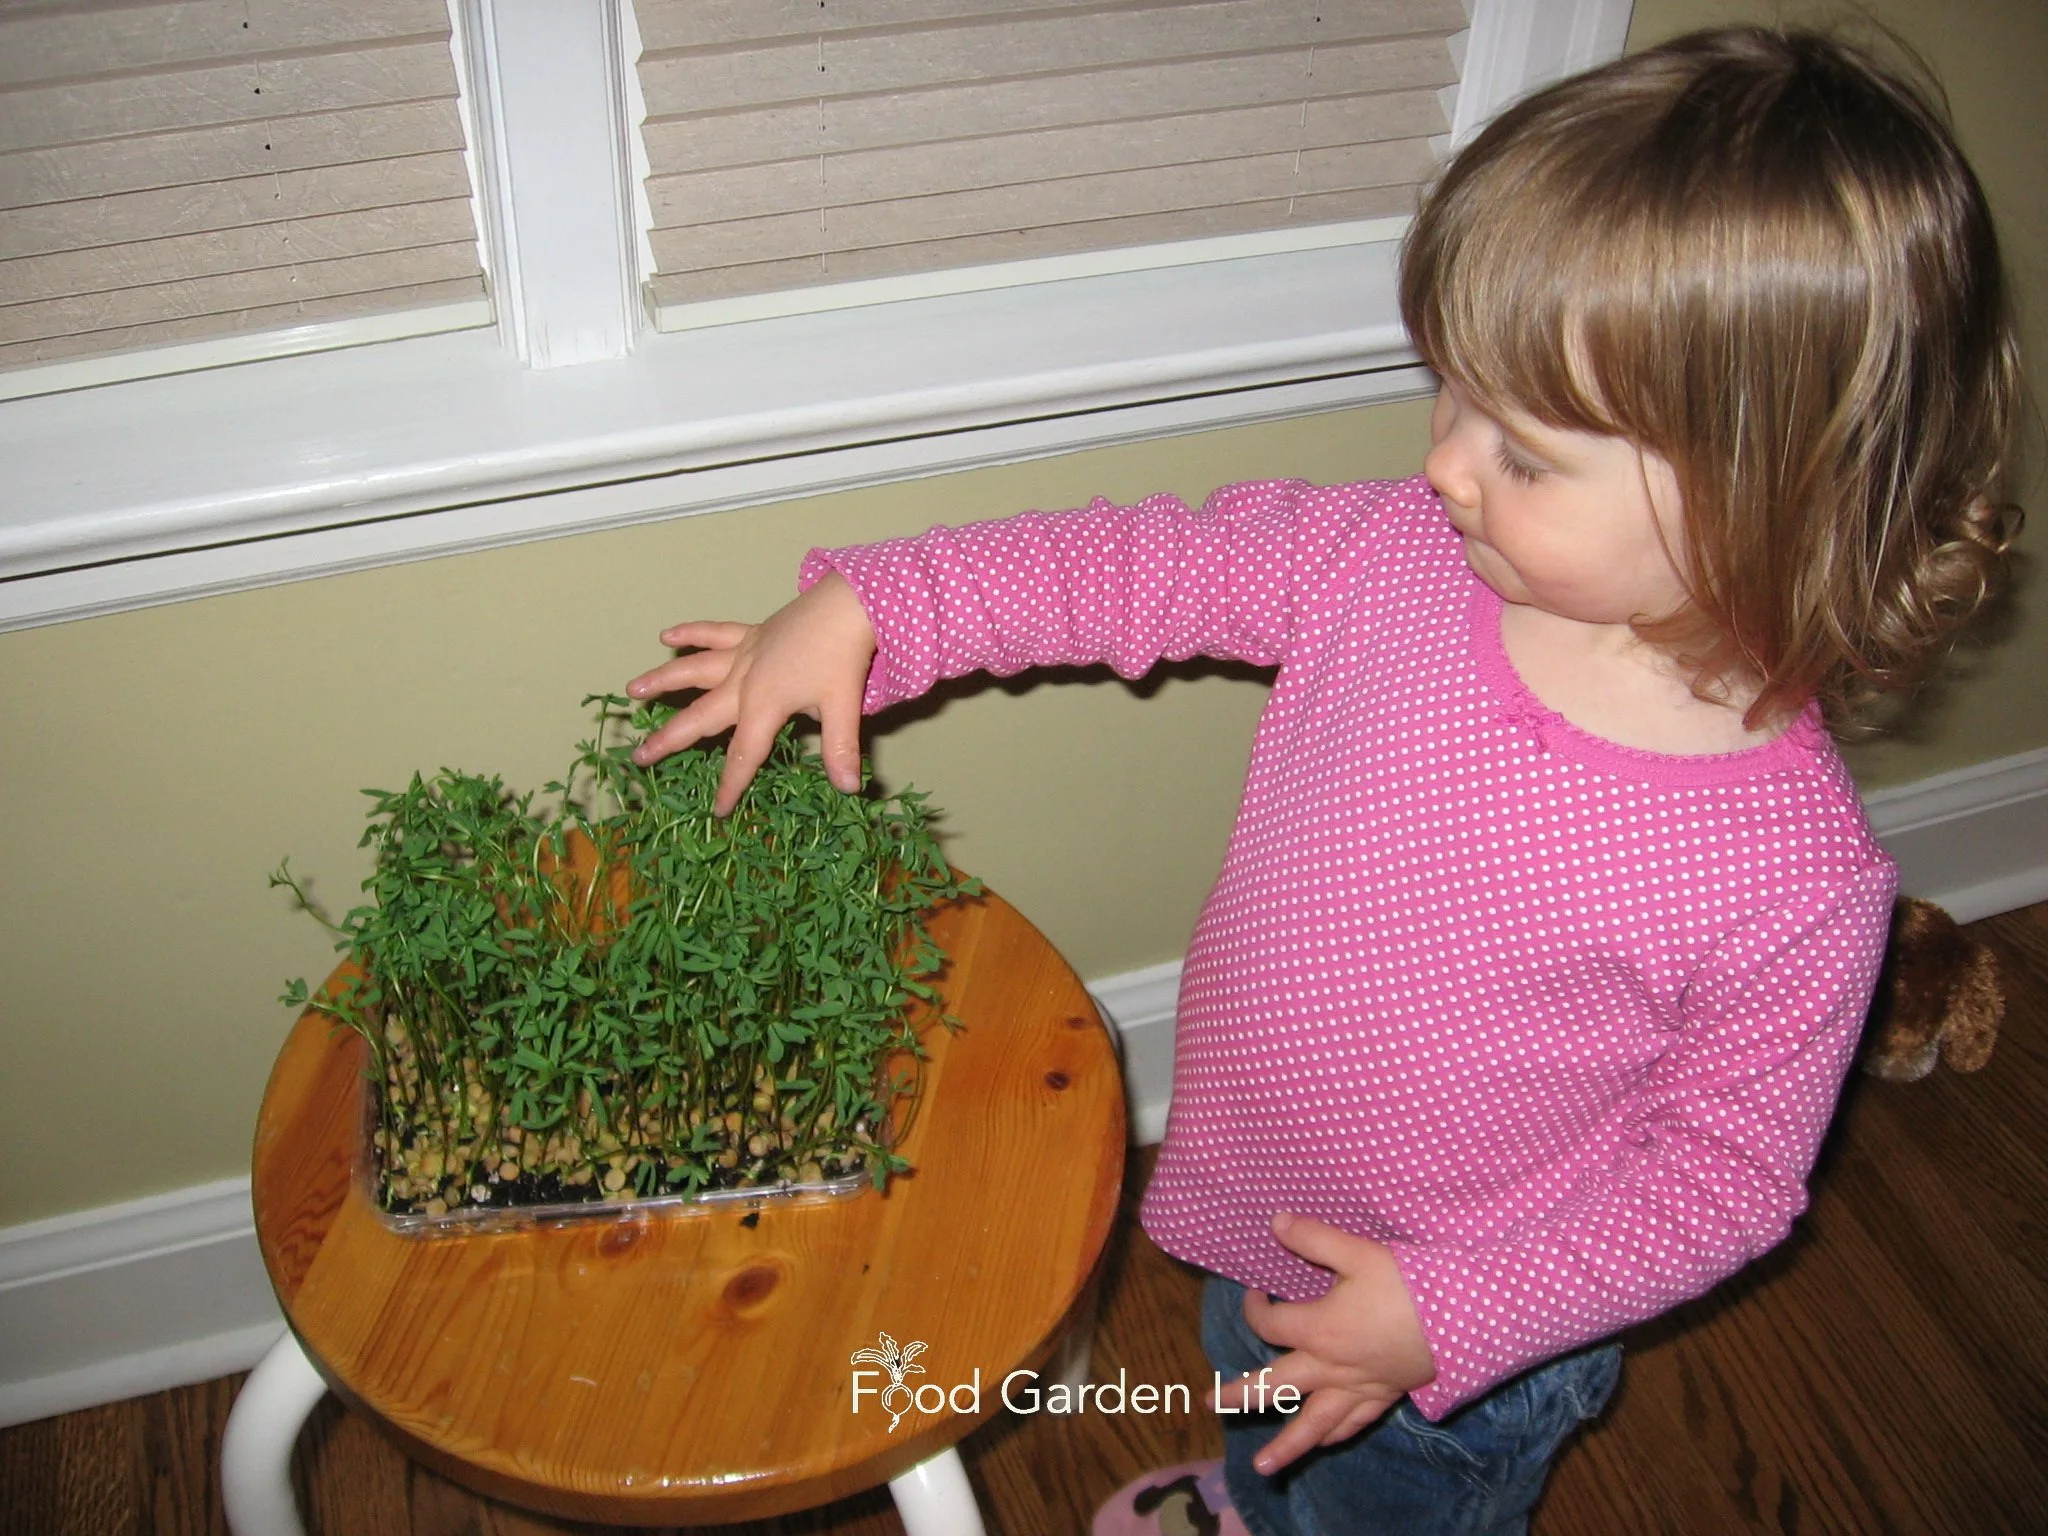
Growing microgreens is an easy and fun gardening project to do with children.
My hunch that pea shoot tendrils would be fun to tickle my kids with was what prompted me to grow microgreens in the first place.
The tendril-tickling got lots of giggles, and the sprouts were a crunchy and sweet—perfect for kids.
Growing microgreens also turned out to be a fun project to do with the kids.
If you grow microgreens with kids, start with pea shoots: They’re fairly big and easy for kids to handle.
Microgreens on the Menu
If you’re not used to eating microgreens, it’s not hard to incorporate them into the menu.
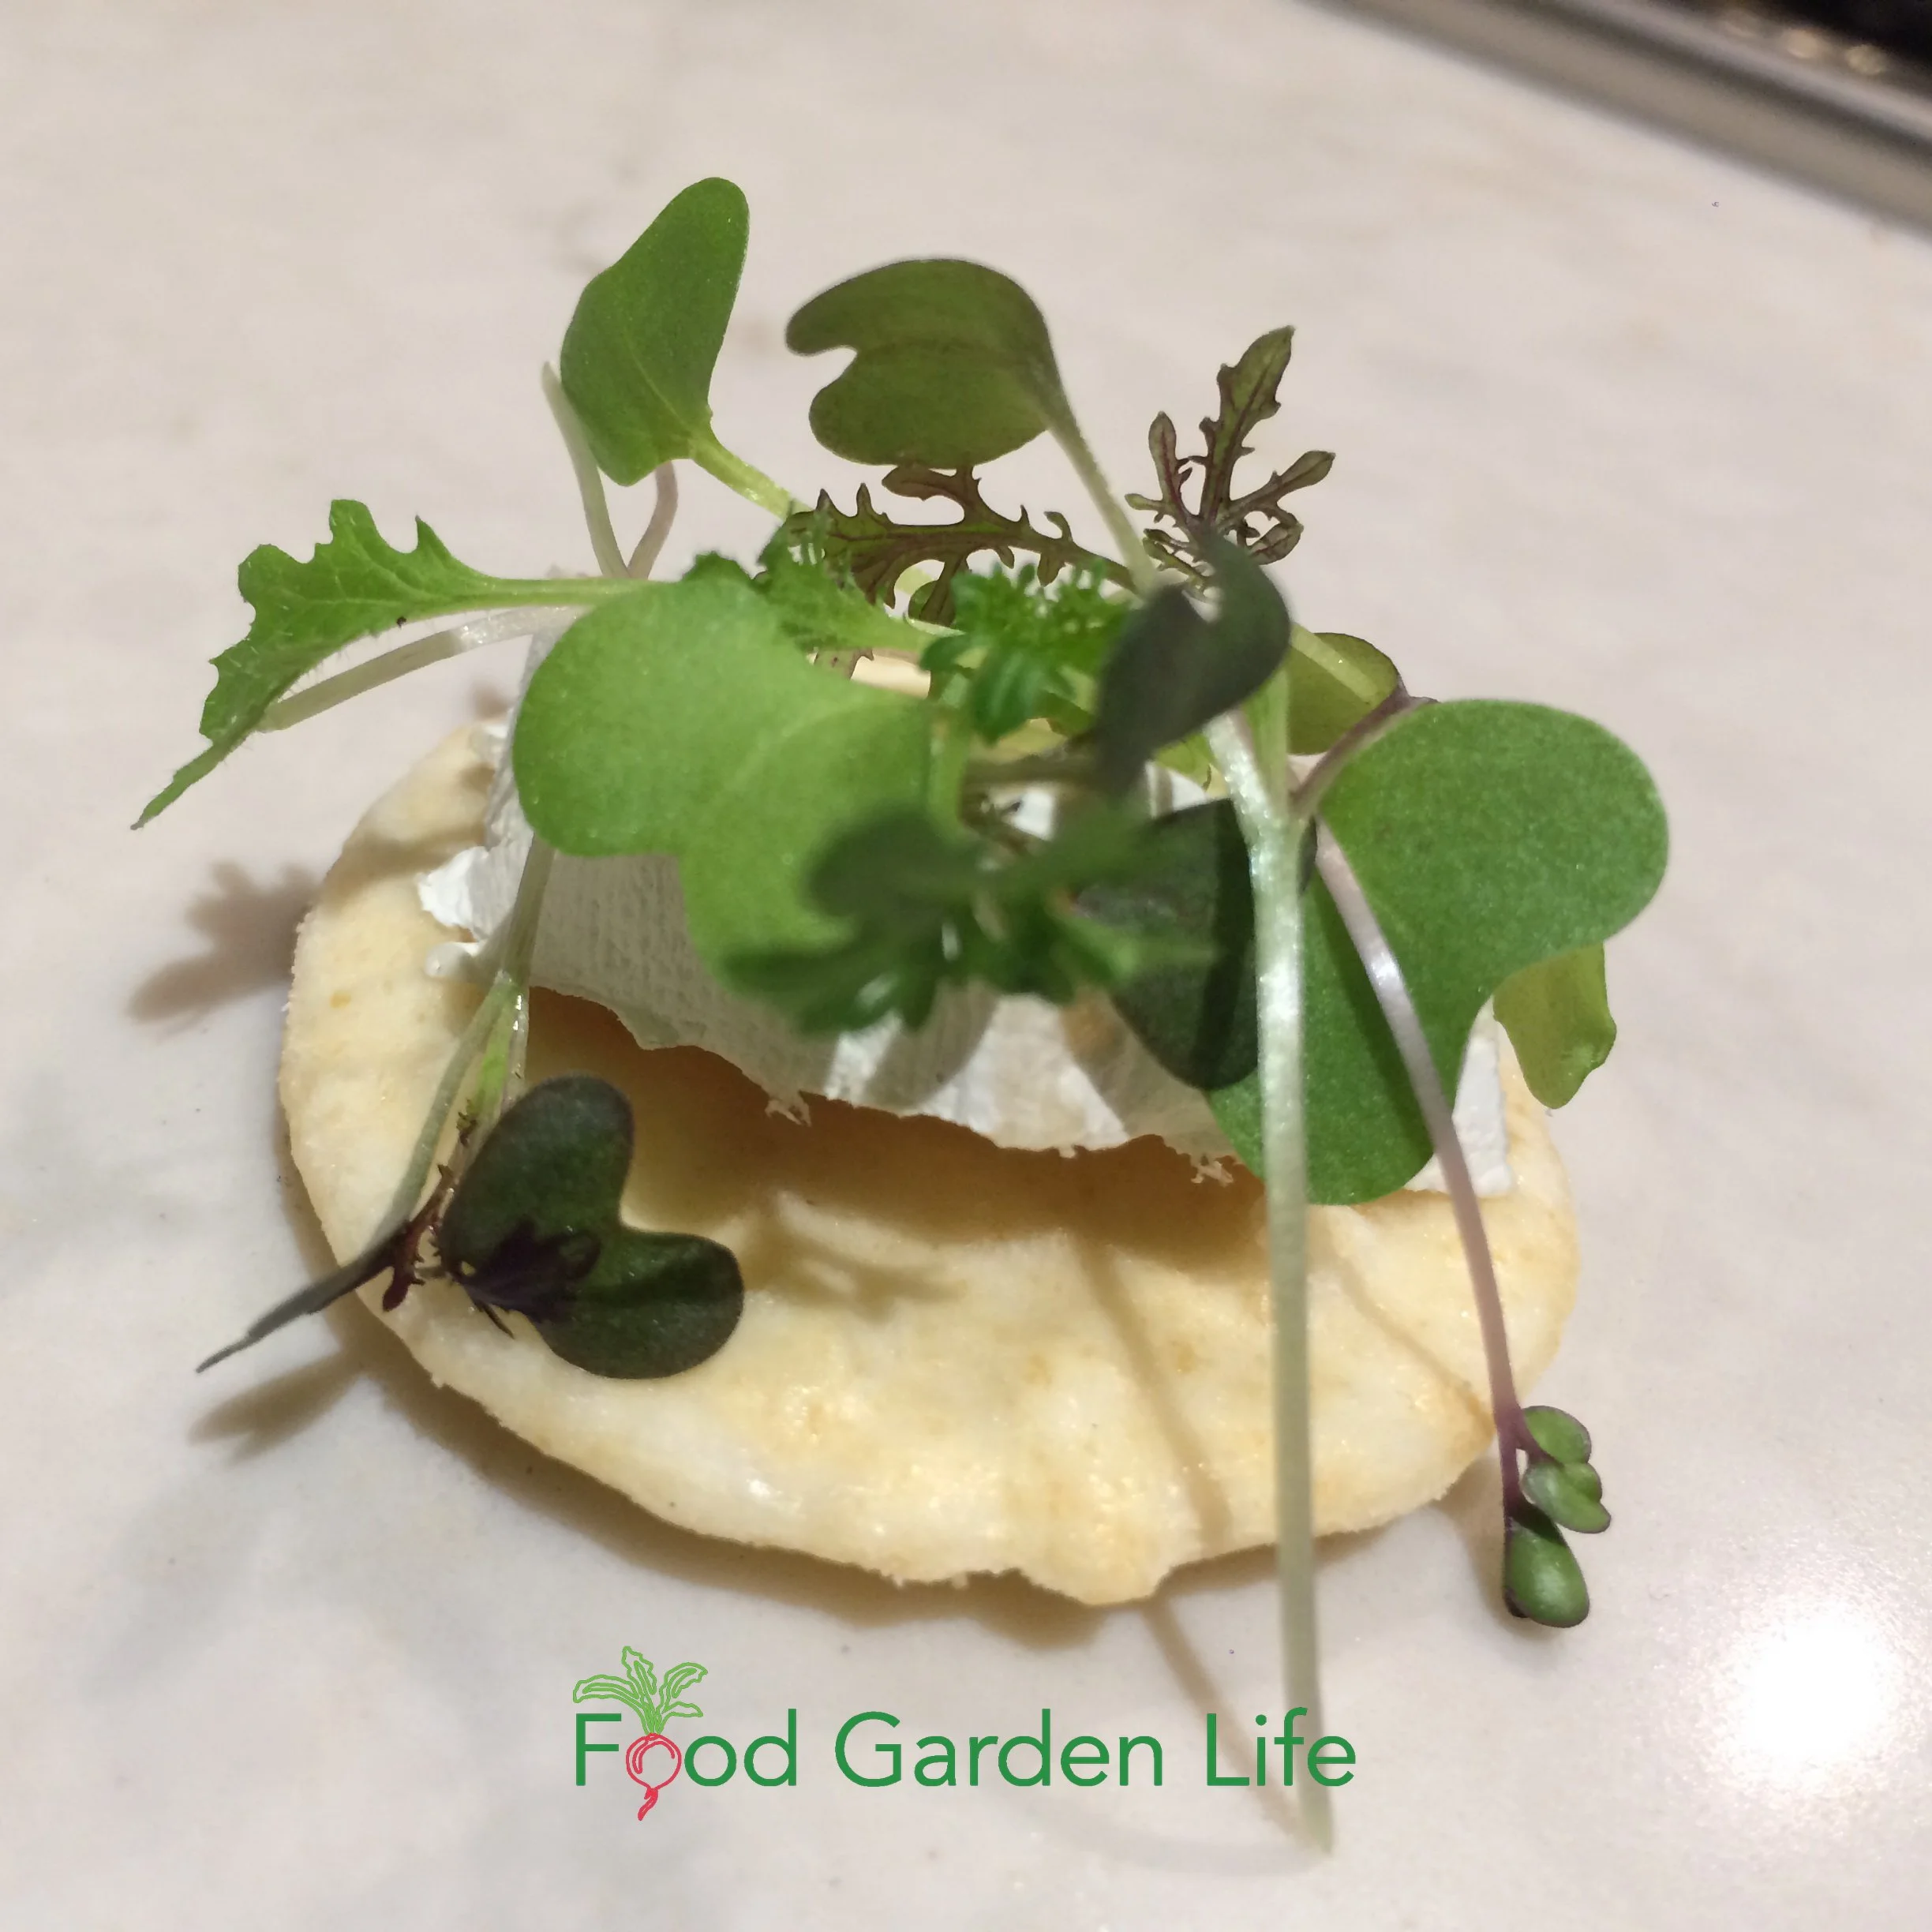
Microgreens as a finishing touch on a cracker with cheese!
Here are ideas:
Salads (our fav is chopped pea microgreens with toasted sunflower seeds and diced halloumi cheese)
Microgreens as a garnish
Served atop stir-fries
In sandwiches, instead of lettuce
FAQ: Growing Microgreens Indoors
What’s the difference between microgreens and sprouts?
Sprouts are grown in warm, humid, dark conditions, without soil. You eat the whole thing—including the roots.
Microgreens are grown in light, on a thin layer of potting soil. You eat the top—but not the roots.
I don’t bother growing sprouts. They require more attention. And there’s more chance of microbial contamination because the humid, warm, still conditions for growing sprouts are ideal for microbes to multiply.
Are microgreens safe?
Pin this post!
Many people associate sprouts with foodborne illness, a result of well-publicized cases of Escherichia coli (E. coli) and salmonella bacterial contamination.
By extension, people wonder about microgreens too. But there’s a difference between sprouts and microgreens.
Microgreens are exposed to light and air movement, making conditions less suitable for bacterial growth on microgreens. (Sprouts grow in conditions that are like a microbe incubator—in warm, moist conditions in a closed container.)
Do microgreens regrow after cutting?
It depends on the crop. Pea seeds and some of the larger seeds do send out another shoot after they're cut back. Many of the smaller seeds don't regrow once they're cut back.
But sometimes it looks like microgreen seeds are regrowing: It's seeds that didn't yet germinate starting to grow.
Find This Helpful?
If we’ve helped in your food-gardening journey, we’re always glad of support. You can high-five us below! Any amount welcome!
More Indoor Food Garden Ideas
Articles and Interviews
For more posts about how to grow vegetables and kitchen garden design, head over to the indoor food garden home page.
Courses: Edible Gardening
Want more ideas to make a great kitchen garden? We have great online classes that you can work through at your own pace.
Edible Gardening Consultation
Book a virtual consultation so we can talk about your situation, your challenges, and your opportunities and come up with ideas for your food garden.
We can dig into techniques, suitable plants, and how to pick projects that fit your available time.
Force Rhubarb Indoors
Force rhubarb indoors and harvest tender, pink rhubarb mid-winter while the snow flies outdoors.
By Steven Biggs
Force Rhubarb Indoors for a Mid-Winter Harvest
Rhubarb and candles?
One day I got chatting with my neighbour’s fence installer, who was interested in my garden.
I was picking rhubarb as we spoke, so I mentioned that I also force rhubarb in my basement over the winter.
That’s what got us on the topic of candles.
He was from Yorkshire, England, an area that once produced 90 per cent of the world’s forced rhubarb. He explained that the tradition there is to tend and harvest the crop, grown in big, dark sheds, by candlelight.
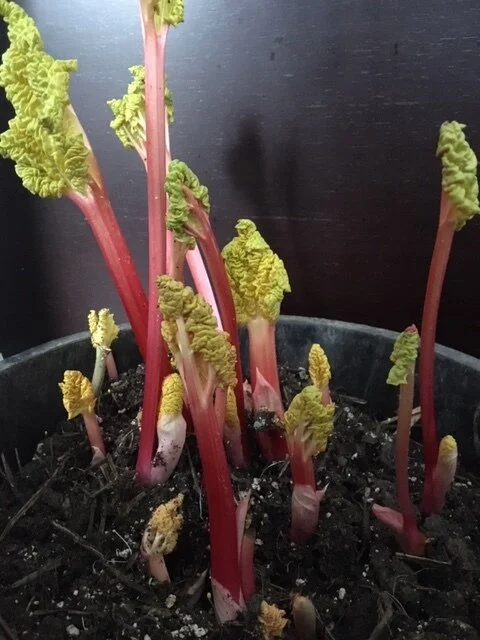
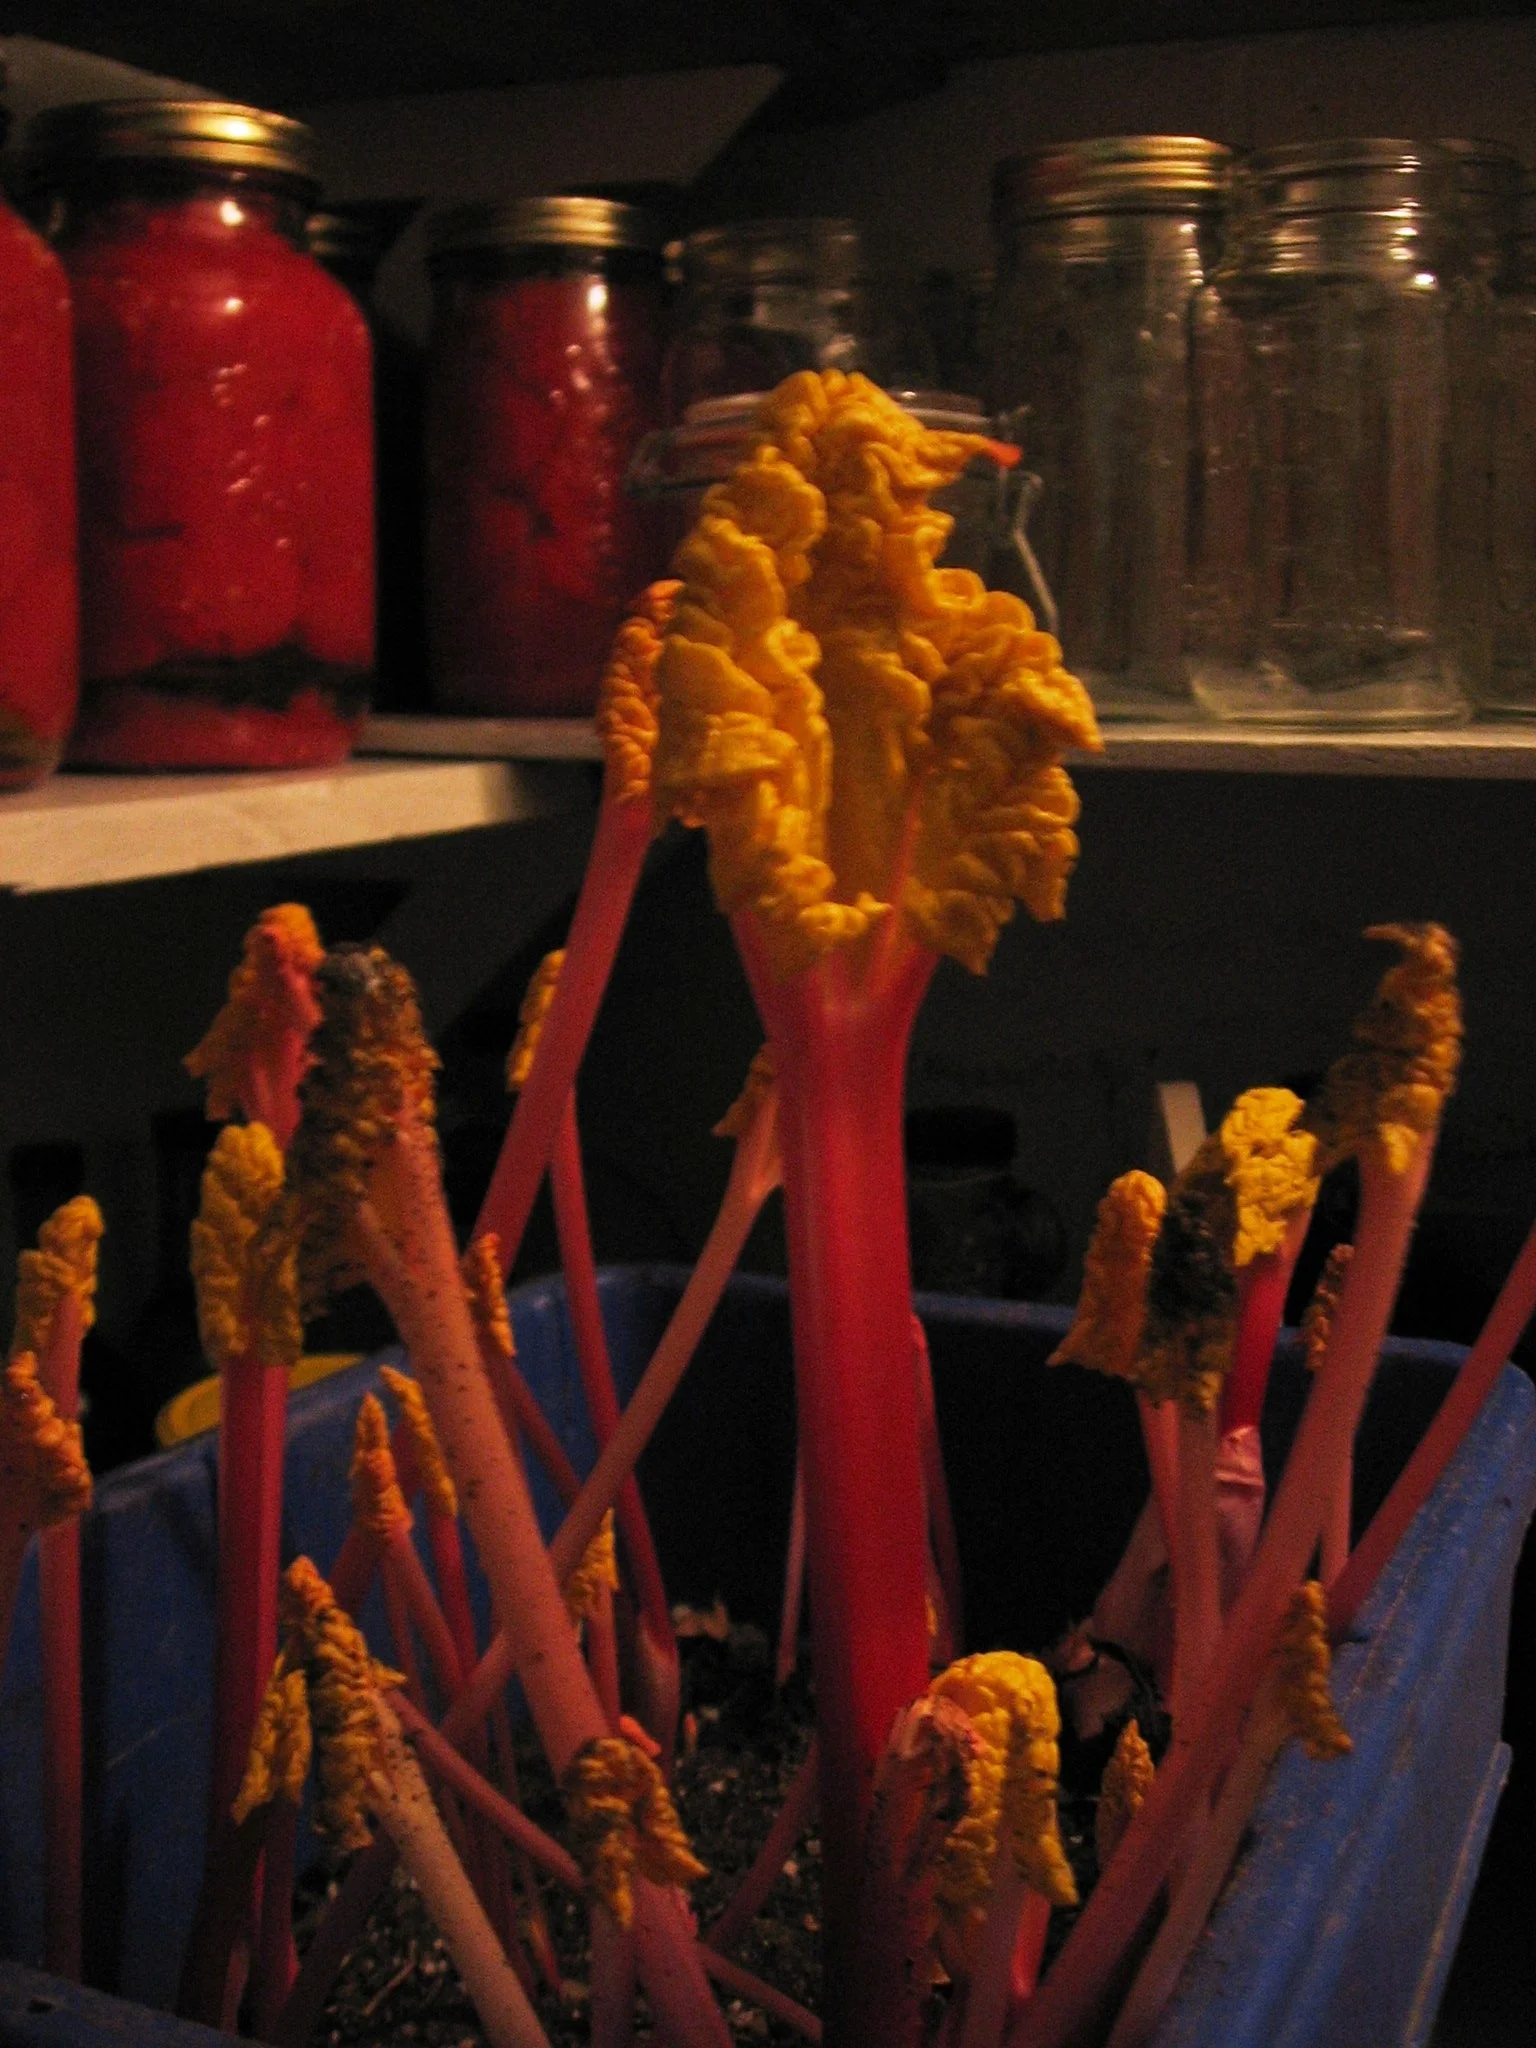
After we chatted I went online to see pictures of Yorkshire forced rhubarb. It’s beautiful! The long stems are bright red, and they’re topped with small yellow leaves. Farmers grow this forced rhubarb in the dark to get very long, tender stems. A small amount of light can change the way the rhubarb grows, but because the candles give a faint light, they don’t affect growth.
It’s easy for home gardeners to force rhubarb over the winter too. (You can opt out of using a candle if its’ not your style! I don’t use one.)
My winter-forced rhubarb. Not quite as nice as what they grow in Yorkshire, but still a nice winter treat.
How Forcing Rhubarb Works
Let’s back up to get a handle on what we’re doing. When we force rhubarb indoors over the winter, we’re tricking a dormant rhubarb root into thinking it’s spring.
We trick it by putting it somewhere warm.
That warmth stimulates growth.
If you’ve ever grown plants in conditions where there’s not enough light, you’ll know that they get lanky, with long stems.
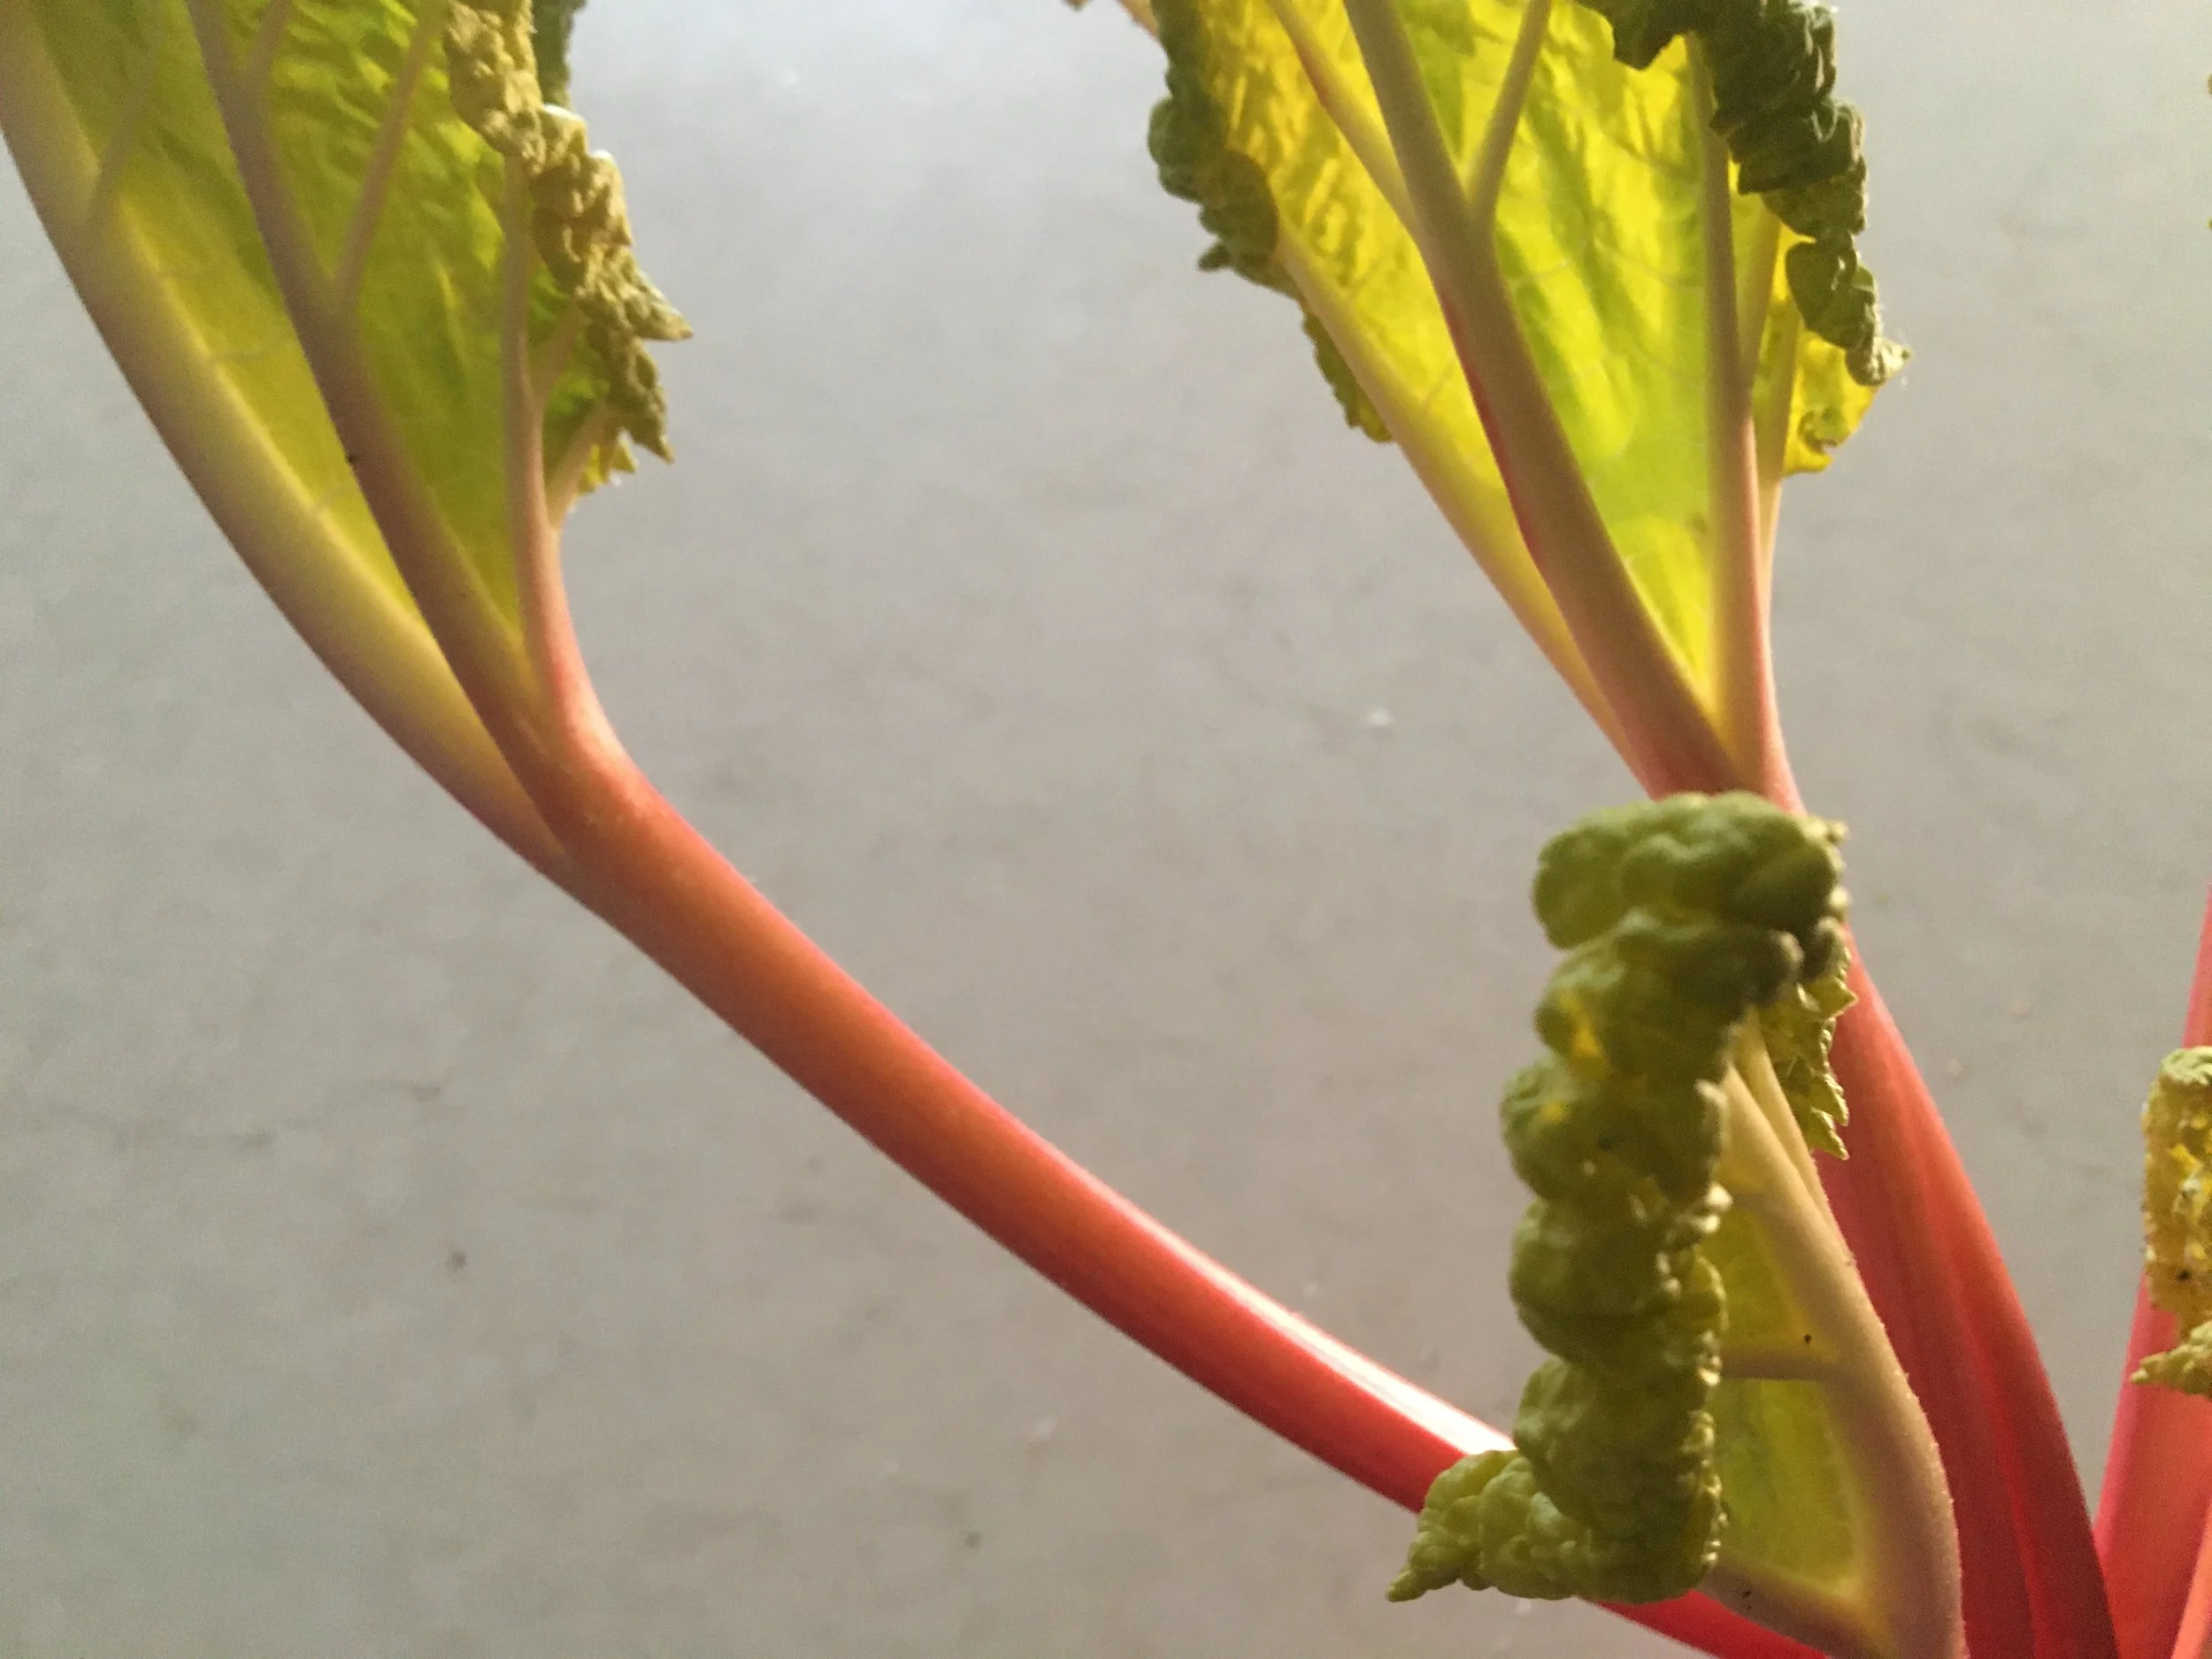
The rhubarb sends up long stems too, and the leaves stay quite small while there’s no light.
If there’s light, upward growth slows, and stems and leaves develop a green colour from photosynthesis. It doesn’t take a lot of light to change the growth. Hence the candles.
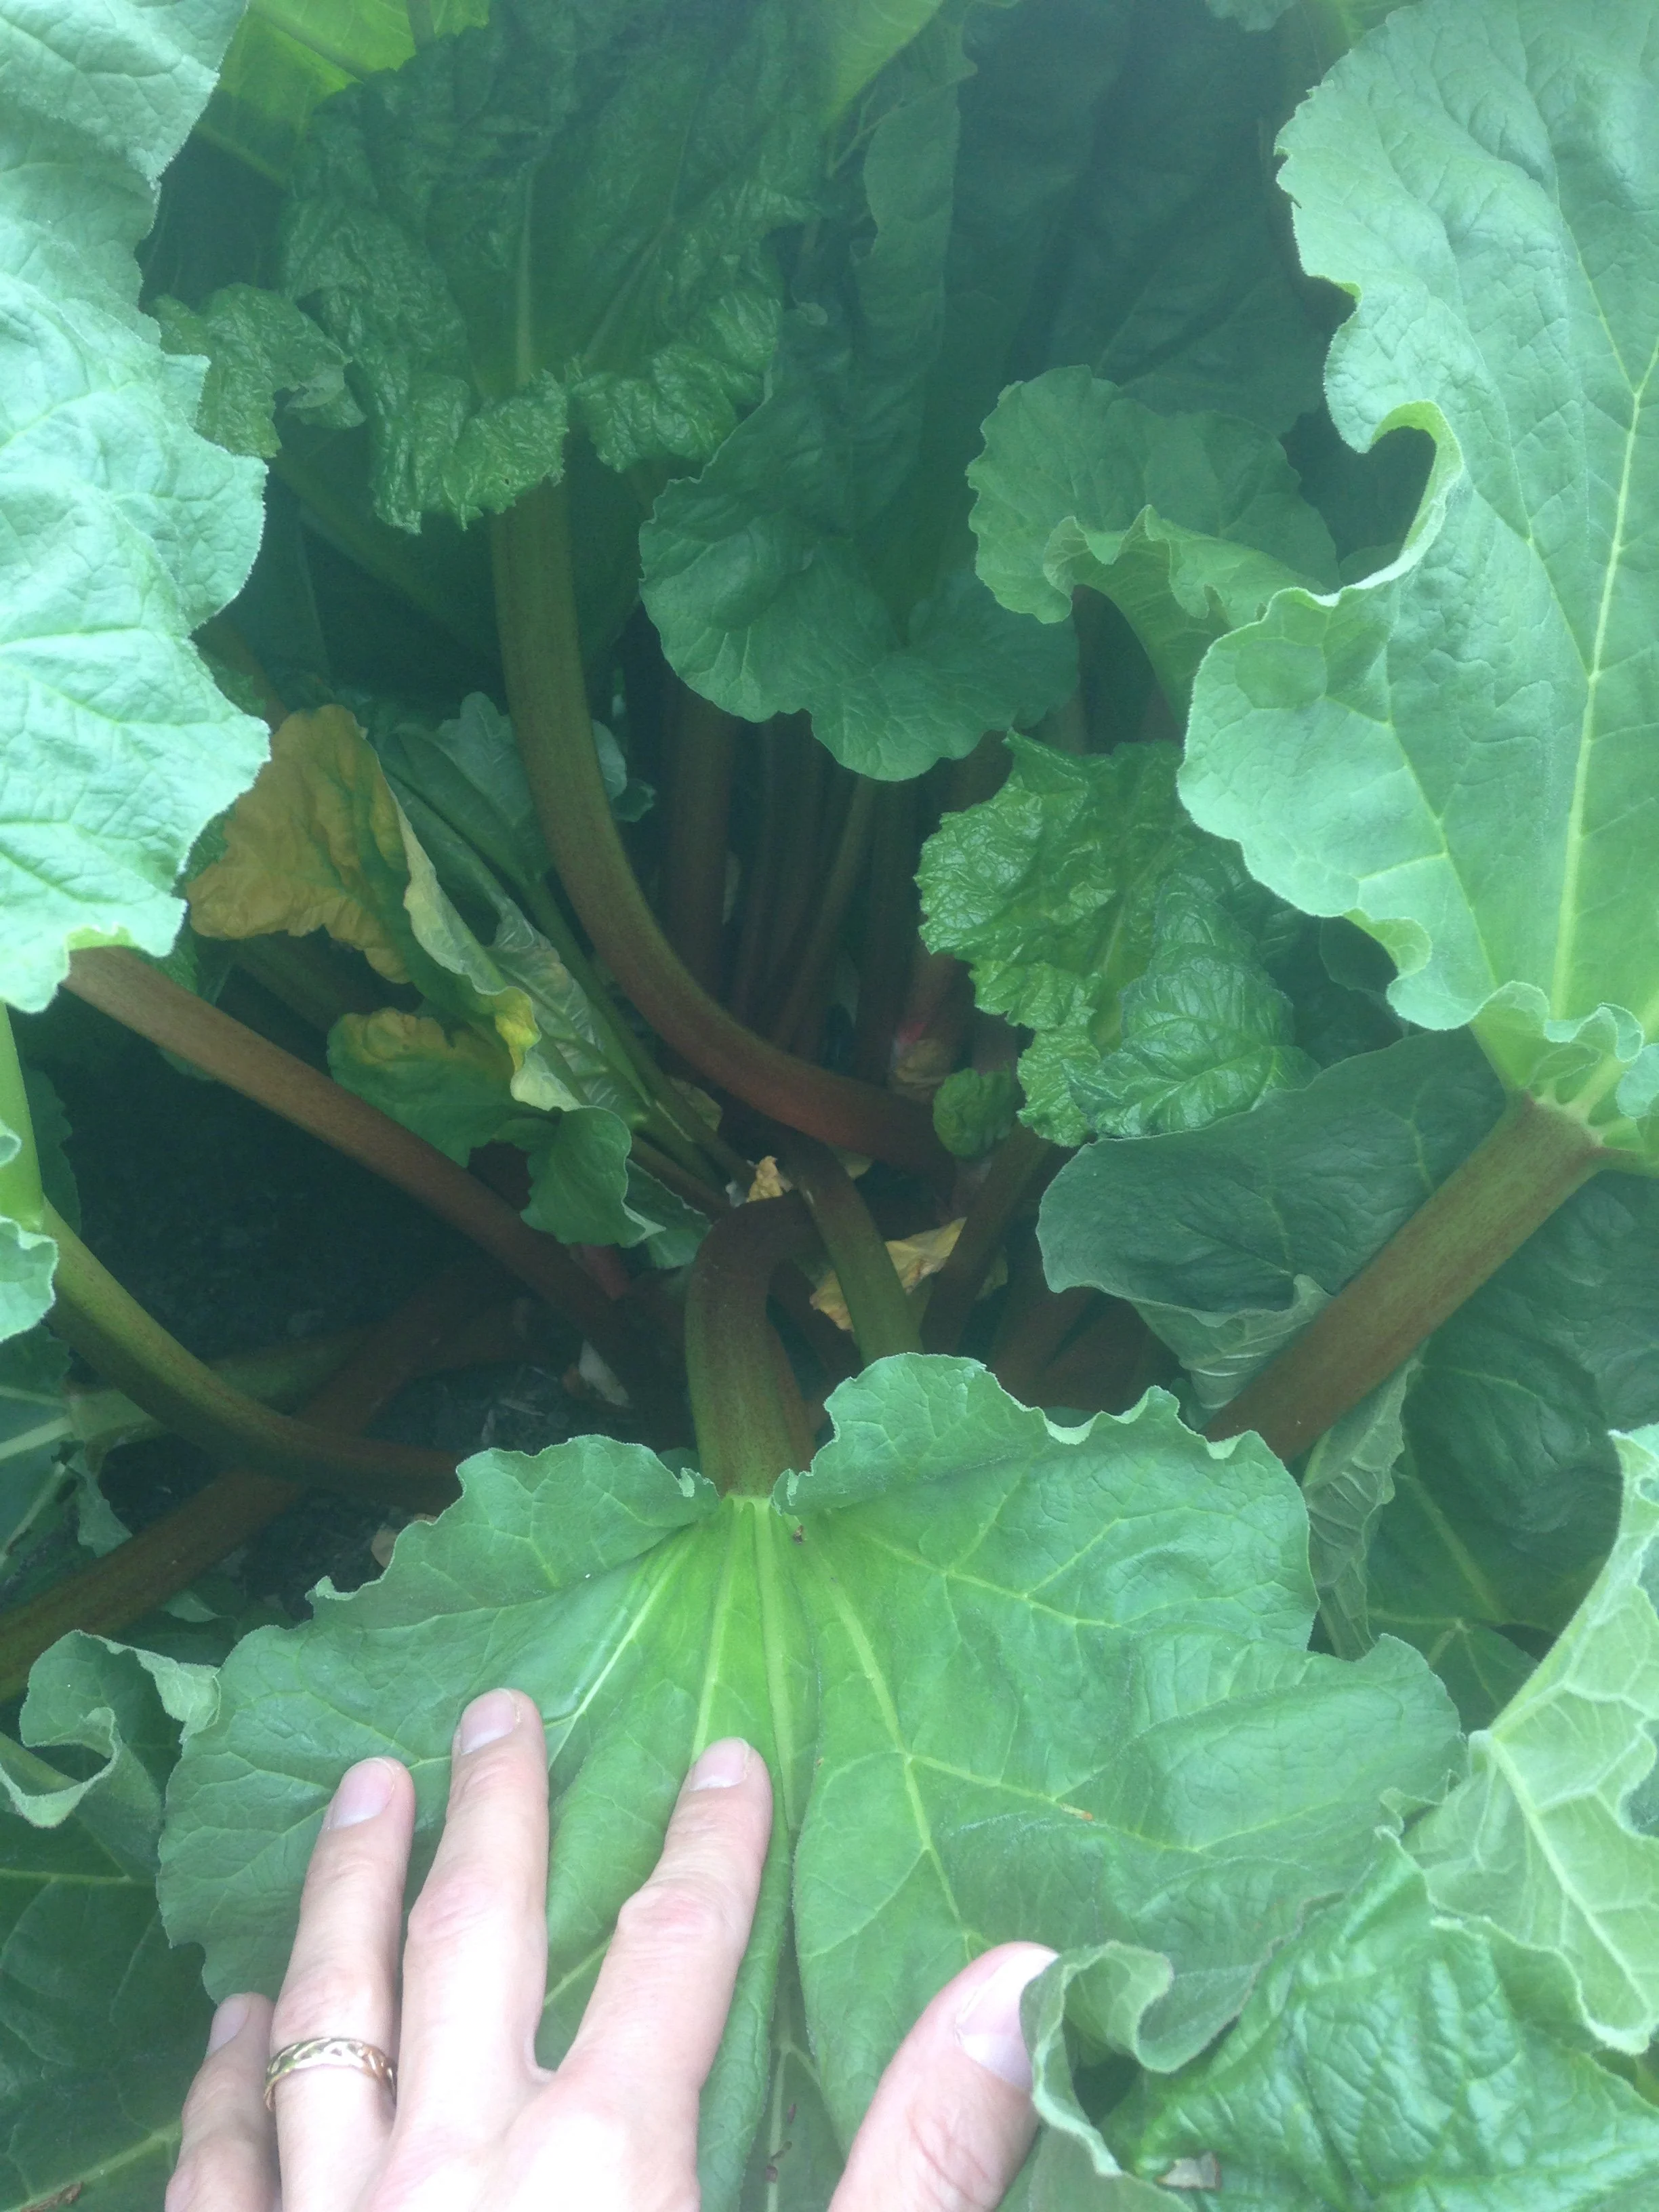
Rhubarb grown in the garden is more green and fibrous than forced rhubarb.
Why Force Rhubarb Indoors
What makes forced rhubarb special is that by excluding light, we get very long, tender stalks with a sweeter, milder flavour than rhubarb grown in the garden.
(Intrigued by the idea of excluding light to change quality? Here’s a fun article about blanching veg.)
Forced and outdoor-grown rhubarb are two very different things. The former has a delicate flavour and beautiful colour. The latter is greener and more fibrous.
Fresh forced rhubarb is a nice addition to the menu over the winter.
There’s one other reason to consider forcing your own rhubarb: It fits in nicely with rhubarb patch care.
In the right location, a patch of rhubarb grows larger each year. When a clump of rhubarb is well established and thriving, you simply “harvest” some of it in the fall by dividing the clump once the leaves have died back and it is dormant. Like plants in a perennial flower garden, dividing and bringing in fresh soil and compost is a good practice to keep a rhubarb patch thriving. As you divide the rhubarb patch, keep the hunk of root that you dig out for forcing.
Steps to Forcing Rhubarb Indoors
In the Summer
When conditions are good, a rhubarb patch gets larger every year. Don’t dig anything yet, but select a part of your patch that you can “harvest” for indoor forcing once the patch is dormant in the fall.
In the Fall
When you divide your clump of rhubarb in the fall, you get roots that you can force indoors over the winter.
The rhubarb should be dormant before you dig out a piece for winter forcing. Wait until the leaves have died back before digging. (But do it before the ground freezes!)
Then harvest the part of your rhubarb patch that you chose during the summer. Rhubarb crowns are woody, so you’ll need a spade to chop down into it.
Pot up the dormant root. Some years I pot the roots into recycling bins. Some years into large black nursery pots. Crates might work well too. Just like a houseplant, you want excess water to be able to drain from the bottom. (Also think about what to put underneath the potted rhubarb root if you don’t want water on the basement floor.)
Once the rhubarb root is potted up, store it somewhere cool until it’s time to force it. I put mine in my garage until mid-winter, when I’m ready to bring it in the house to force it. The roots are very cold tolerant, so if your storage area freezes, that’s fine.
There’s no rush to bring the dormant rhubarb root indoors. Let the root remain dormant and at a cool temperature for a few weeks.
Where to Force Rhubarb Indoors
In a previous house I forced rhubarb in the cold cellar under the stairs.
The rhubarb will grow when it is placed somewhere warm. Remember, you’re simply tricking the plant—making it think spring has arrived.
In a previous house, I put the rhubarb in a dark cold cellar under the stairs.
In my current house, I put the rhubarb in my furnace room.
Taking Care of Forced Rhubarb
Care is simple: Just water the soil as it starts to get dry. It should be moist, not wet.
Don’t feed the plant. It is using energy stored in the thick, fleshy roots.
Supplies to Force Rhubarb Indoors
A container to pot up the dormant rhubarb root
Potting soil
Candle (optional!)
Harvesting Forced Rhubarb
Harvest stalks when long enough to use. How big they get will depend on how much root you dug out, and how much energy was stored in that root.
Repeat a few times.
You’ll find that the longer you leave the forced rhubarb root to produce stalks in the dark, the skinnier and skinnier the stalks become. That’s because as the plant continues to send up stalks in the dark, it’s using up its stored energy.
(I find I get about three harvests before stem size gets too skinny to make it worthwhile harvesting.)
When you find the stalks are very skinny and no longer worth harvesting, you can move the plant to the light to just let it grow. Or, if you don’t have space, put it back into your cold-storage space until spring.
Grow a Container Vegetable Garden
And get an early harvest of crops that usually take too long!
Force Rhubarb Outdoors
By the time spring arrives, your winter-forced rhubarb root will be done producing rhubarb.
But you can also force some of your in-ground rhubarb plants. Again, it’s a combination of darkness and extra heat that gives you long, tender stalks.
You do this spring forcing right in the patch, without disturbing the plant.
Here’s what to do:
A rhubarb forcer, a purpose-made terracotta pot with a removeable lid for forcing rhubarb.
As you see buds start to swell on the crown, cover a part of the patch with a large inverted pot or garbage can. (To exclude the light and get nice, pink stalks, cover the drainage holes of the pot to keep out light)
You can insulate the sides of pots with leaves or straw if you want to speed up the process by making it warmer inside
Pick once the stalks reach the top of the pot
Give the roots you forced “time off” over the summer to recharge – don’t pick from them
There are also purpose-made terracotta rhubarb forcing pots. They’re beautiful, but I’ve never seen them for sale here in Ontario. And I suspect that if I found them, they’d cost and arm and a leg.
Supplies to Force Rhubarb Outdoors
Healthy, established rhubarb plant
Large pot
Tape to cover holes in the pot
Straw or leaves to insulate the outside of the pot
Rhubarb Forcing FAQ
What if my indoor forcing area has some light in it?
If there is enough light, you will not get the elongated, bright red stalks. Instead the plant will produce more compact stalks with some green chlorophyll in them. Not the end of the world…but you can get green stalks all summer. So create a dark space using a curtain or tarp.
Why are my forced rhubarb stalks smaller than the ones I see at the grocery store?
Commercial growers will often let rhubarb plants grow two or three years without harvesting any stalks before using the root for forcing. That means the root has a lot of stored up energy. In a small home garden, where the gardener is forcing roots that have been harvested from, there won’t be as much stored energy.
What should I do with the rhubarb plant after forcing?
Commercial growers often discard roots that they’ve forced. But you can plant the spent rhubarb root in your garden or share it with a neighbour. But don’t harvest from it for a couple years – allow the plant to recover and store energy.
I just planted my rhubarb. Can I force it?
No. There won’t be enough stored energy in the root to give you good results…and if it’s a small plant, you might kill it. Commercial growers often grow plants in the field without harvesting anything for two or three years to allow the plants to store up energy before forcing.
What about bugs?
Because the potted roots were harvested in cold temperatures, and then stored somewhere cold, don’t worry about bugs.
What’s a rhubarb stick?
Some people refer to rhubarb stalks as “sticks.”
More on Rhubarb
Ontario Farmer Brian French forces 10,000 square feet of rhubarb over the winter.
Hear how he forces rhubarb, and find out his rhubarb-growing tips.

