Propagating Figs? Air Layering Fig Trees is Simple, Here’s How it’s Done
Find out how to air layer a fig tree. It’s easy to do, and you don’t have to buy special supplies.
By Steven Biggs
Propagating Fig Trees Made Easy
A common way to make more fig trees is with cuttings.
Fig cuttings are fairly easy to root. But they do regular care.
If you’re too busy to coddle your fig cuttings, air layering is a simple way to propagate your fig tree.
It’s a simple, hands-off way for home gardeners to propagate fig trees.
And you might already have the supplies you need around the house.
Keep reading to find out how to air layer a fig tree, and what supplies you do (and don’t) need.
What is Air Layering?
Air layering is when we coax roots to grow from a branch that’s still attached to a plant.
The roots grow where we wrap the branch with a moist covering. Think of a tree-sized bandage with extra thick and moist padding underneath.
Air layering works for many types of plants. It is particularly easy with figs because figs root easily.
(There’s also what simply called “layering,” which refers to taking a low-lying branch and bending it down into contact with the soil.)
Why Air Layer?
Rooting cuttings is a good way to make lots of fig plants, but fig cuttings need regular attention.
On a commercial scale, propagating fig trees is usually done with cuttings. That’s because:
You can make more trees from a limited amount of wood
It doesn’t take as much space
Cuttings are also a useful way to share fig varieties: Little branch bits are easy to send by mail, so you can swap fig varieties with other fig growers.
But cuttings need regular attention.
So if you’re looking for a foolproof fig propagation method that doesn’t need regular monitoring, air layering is an excellent option.
(You can also use air layering to reshape an older tree, see below.)
Find out how to root fig cuttings.
When to Air Layer
Start air layering fig trees in the spring or early summer, when the fig tree is actively growing.
It can take 6-8 weeks for a branch to root, so an early start means you can detach your newly rooted fig plant in late summer, and then pot it up before the fig tree goes dormant in the fall.
If you start an air layer later in the summer, it might not be ready to cut off and pot up before fall. It’s not the end of the world if it’s not ready to cut off…but any tender little roots that have started forming are fragile, so there’s more chance of them being damaged if they’re still bandaged up for the winter. (The temperature in the air layer will swing back and forth more quickly than the soil in a pot or the ground.)
Branches to Air Layer
You’ll get the fastest root growth on year-old branches. (Branches from the previous year that are a bit woody).
Older branches will root too, but it can take a bit longer.
Don’t use green growth from the current year—it’s more likely to rot.
Supplies: What You Need to Air Layer a Fig Tree
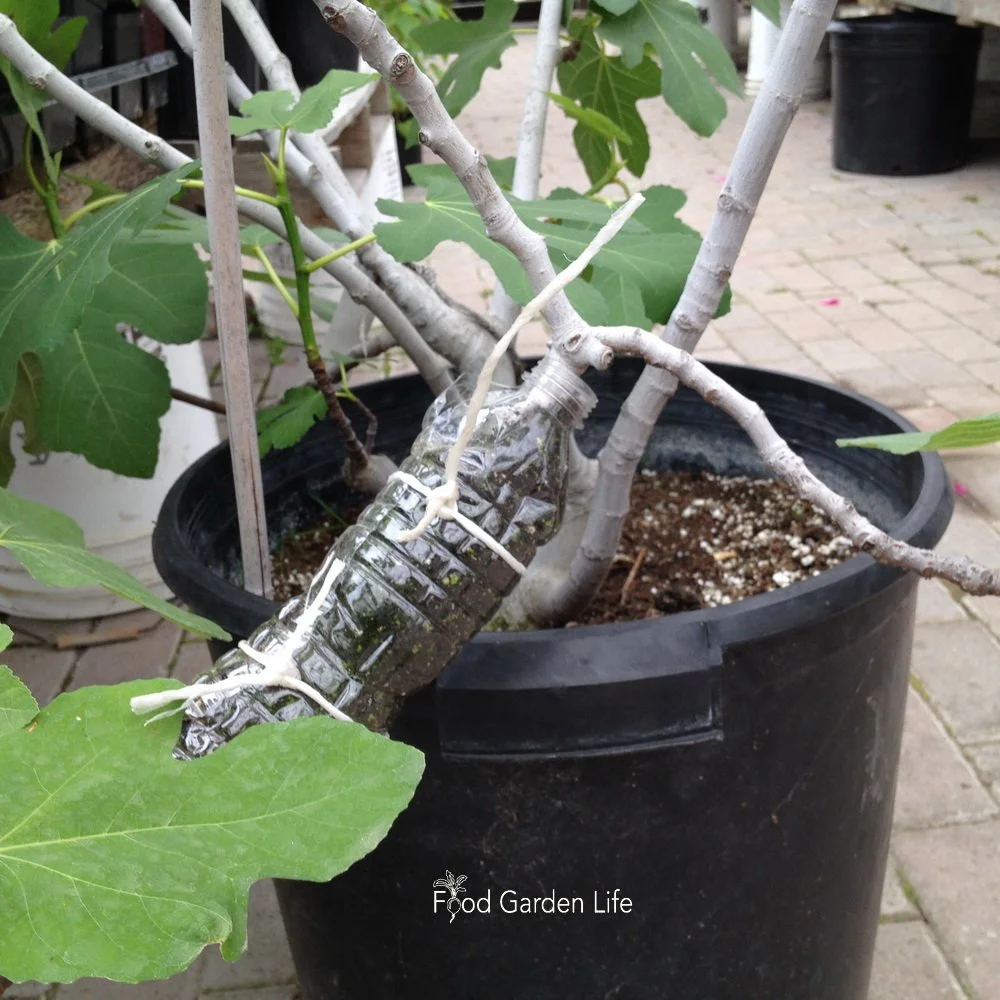
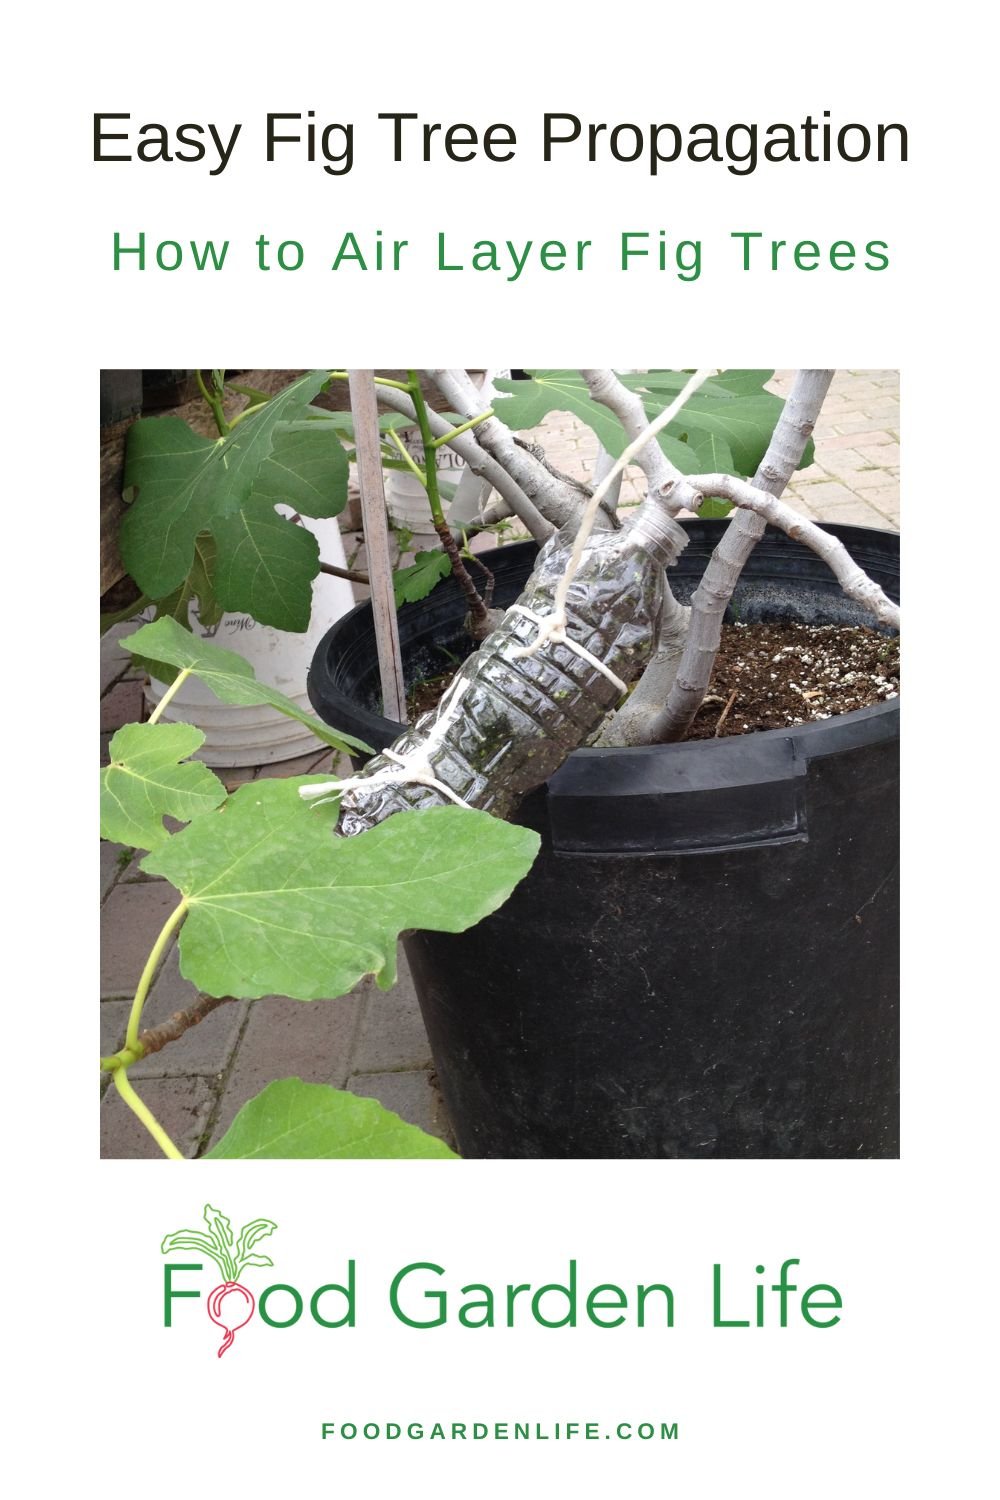
A fig air layer made using a clear plastic water bottle, twine, and potting soil.
Rooting Medium – The Filling to Go Inside the Bandage
Pack the inside of the bandage with something that holds moisture and is loose enough to allow roots to grow. Moistened sphagnum moss, coir, and potting soil all work well.
The rooting medium should be moist—but not sopping wet.
The Covering
The rooting medium is held in place by a covering (the bandage!)
Here are ideas:
Sandwich bag
Water bottle split lengthwise
Plastic cling wrap
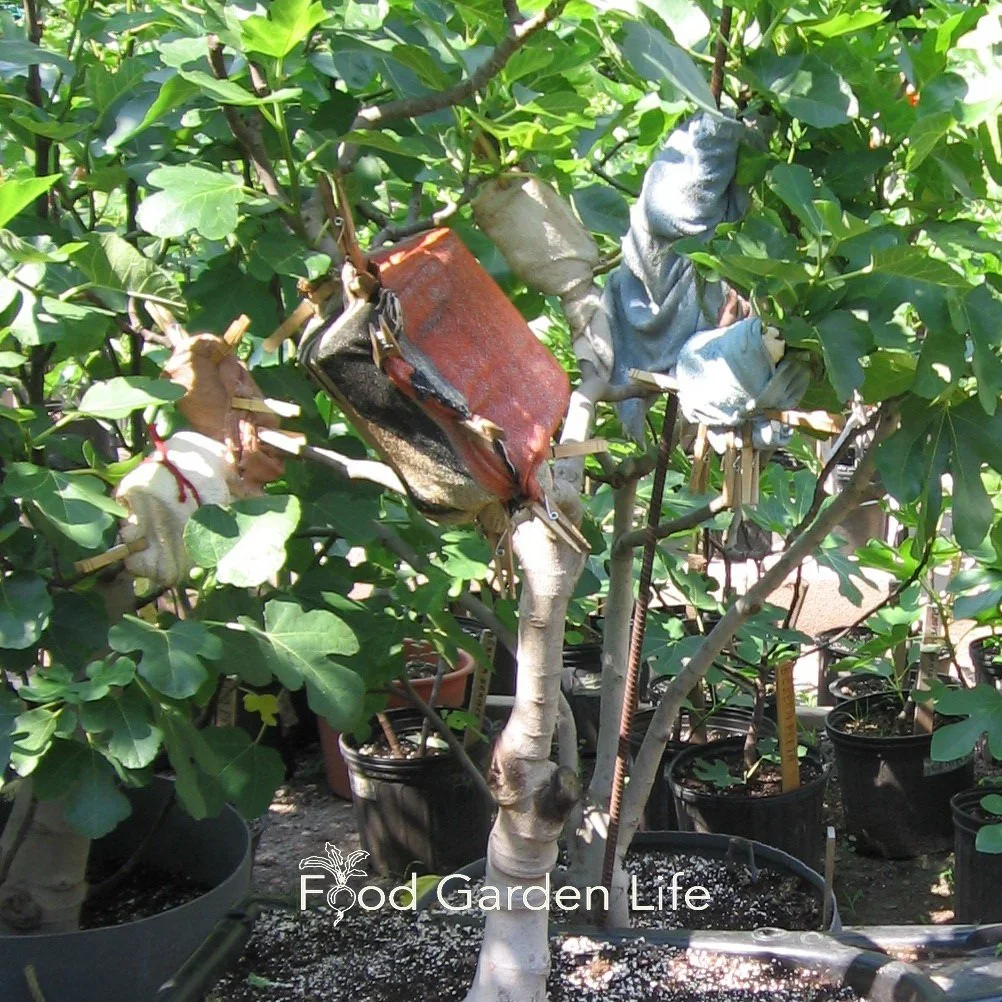
Be creative, there are lots of other things you can use.
(There are even purpose-made gizmos for air layering, but they cost an arm and a leg.)
Fastener
Next you need something to hold the covering in place.
Depending on the covering you’ve chosen, you might use twine, zip ties, or electrical tape. (I like electrical tape because it’s stretchy, so you can pull it tight, and it holds up well outdoors.)
Optional
Many people use rooting hormone when air layering.
Rooting hormone can speed up root development. For some types of plants rooting hormone is a must…but frankly, for figs, don’t waste your money. They root well without it.
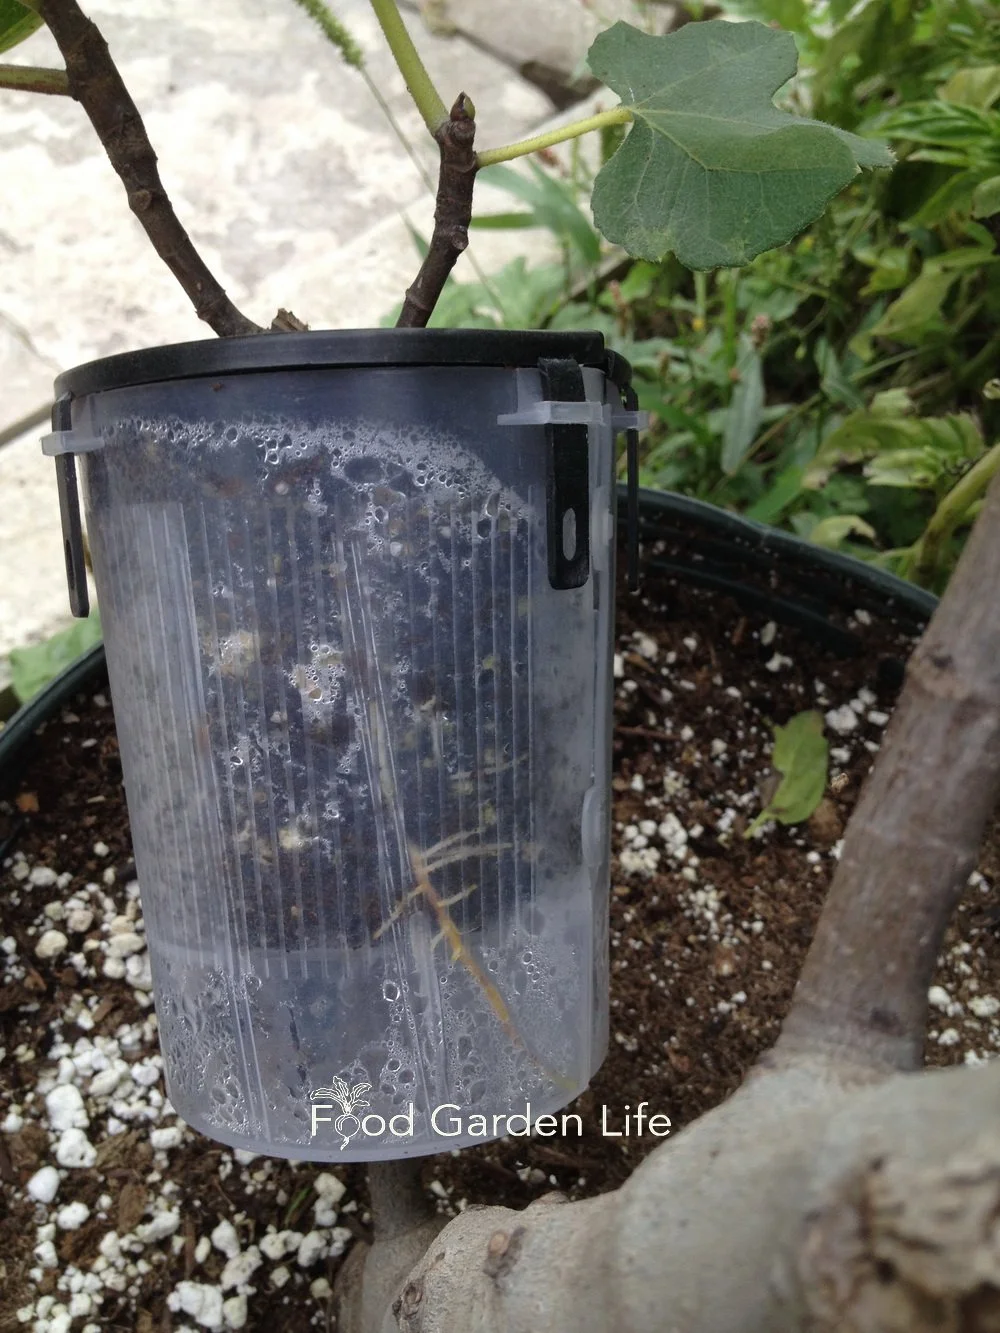
Healthy fig roots visible in this purpose made gadget for air layering.
Get Your Fig Trees Through Winter
And eat fresh homegrown figs!
Air Layering Steps
Choose a straight branch to air layer. The wrapping is easier on a straight branch.
Choose where on the branch to make the air layer. It should be on year-old wood—not green growth from the current year.
Remove leaves that will be in the way of the air layer.
Remove figs above the air layer. (Seems a pity…but this branch has a higher purpose—a new fig tree!)
Position your covering, and fill it with rooting medium.
Now close it up tightly with your fastener so that the medium stays moist. (You don’t want to have to open up the covering to re-moisten the medium).
Do a few air layers at once! The more fig trees the better…then you can share with friends!
Do a few air layers at once! The more fig trees the better…then you can share with friends!
Air Layering Optional Steps
Wounding and applying rooting hormone are two optional steps when air layering a fig. They are both traditional air layering steps that can help to stimulate root formation.
But I skip both of steps with figs.
That’s because fig branches are like chia pets waiting to sprout. Once you give them the right conditions, there’s no holding back the roots.
Wound the Branch - Optional
Creating a wound at the site of an air layer is a common practice that, for some plants, is very helpful in stimulating root growth.
Here are a couple ways to wound a branch for air layering.
Slanting cut. A common step is to make an inch-long upwards-slanting cut—a slightly angled cut towards the tip of the branch. It’s a bit like a tongue. The cut is often held open with something small, such as a toothpick.
Girdle. Another variation on wounding is simply to girdle the branch.
Apply Rooting Hormone - Optional
Rooting hormone is often used along with the wounding techniques above.
How to Know Air Layering is Complete
If you’re using a clear plastic bottle, clear bag, or other clear materials as your covering, you can watch the fig roots develop.
When your fig air layer is well rooted (meaning that the medium has a nice spaghetti-like jumble of roots) you can cut off the rooted air layer from the branch.
How to Remove an Air Layer
Just cut off the branch below the air layer.
Remove the covering, and pot up your new fig plant.
Under good growing conditions, fig air layers started in early summer take 6-8 weeks until they’ve grown enough roots to snip off and become stand-alone plants.
What to do Next…
Your newly air-layered fig tree has roots…but you’ve just stressed it by cutting it from the parent plant.
So grow it in a shaded location for a couple of weeks.
FAQ: Air Layer Figs
Pin this post!
What about larger branches?
In addition to air layering year-old branches, you can air layer older wood too. Young wood tends to root faster than older wood—so it might take a bit longer.
The bigger the branch, the bigger the bandage. But it can be worth the effort, especially if you’re looking to reshape a larger tree, and don’t want to waste the big branches. With air layering, you can root them before cutting them off!
Here’s an idea: I’ve seen multi-stemmed fig bushes air layered near ground level. There’s no need to fasten anything to the stem if you make the air layer just above ground level, by placing a pot filled with potting soil around the stem. Cut the bottom out of the pot, and then slit it lengthwise so that you can just wrap the pot around the stem. (Black nursery pots are easier to cut than smaller, thick-walled pots.) Then fill with potting soil and keep well watered.
Why is my air layer taking so long?
Roots form faster in warmer weather, when tree is actively growing. Younger wood roots more quickly than older wood.
Do you need to water an air layer?
If the moistened potting soil is fully covered, and the covering is fastened tightly, it will probably stay moist until it's time to remove it.
Find This Helpful?
If we’ve helped in your food-gardening journey, we’re always glad of support. You can high-five us below! Any amount welcome!
More on Propagating Fig Trees
More on Growing Figs in Cold Climates
Articles: How to Grow Fig Trees
Head to the Growing Figs Home Page for articles, interviews, and guides on how to grow figs in cold climates.
Books: Growing Figs in Cold Climates
Course: Growing Figs in Cold Climates
The self-paced online fig masterclass gives you everything you need to know to grow and harvest your own figs in a cold climate!
(We also run it live once a year. If you’re interested in knowing when we next run the live online fig “camp” I’ll announce it in my newsletter. Hop on the newsletter list here..)
Guide to Rooting Fig Cuttings: Simple Steps to Propagate Fig Trees
Not sure how to root fig cuttings? Get these simple instructions to successfully propagate fig trees.
By Steven Biggs
How to Propagate a Fig Tree
Find out how to propagate a fig tree with cuttings.
My friend Dave recently asked me to help him find a home for a couple dozen potted fig trees. He had more plants than he needed…and not enough space in his garage to store them for the winter.
Dave’s like me: He needs another fig tree like he needs a hole in the head.
But, like me, he just can’t help rooting cuttings.
He grew all those extra fig plants from cuttings. From little sticks.
If you’re interested in growing figs, propagating fig trees from cuttings is a simple way to get more fig plants, and to share and trade great fig varieties.
This post gives you easy-to-follow tips for rooting fig cuttings.
Why Propagate Figs with Cuttings
How Difficult is it Rooting Figs?
All we’re doing is taking pieces of stem—cuttings—and helping those bits of stem grow roots to make a new fig tree.
Rooting fig cuttings is very doable for new gardeners. You don’t need a complicated setup or fancy accessories. (See Supplies to Root Fig Cuttings, below.)
Many people are familiar with how easy it is to grow watercress or mint from the grocery store. Put them in water to keep them fresh and, before you know it, they’ve made roots. Figs aren’t quite that easy to root, but rooting fig cuttings is much easier than most woody plants.
Limited Choice at Garden Centres
Another reason to propagate with fig tree cuttings is that the selection of fig varieties at garden centres is usually limited.
Once you figure out (sorry about the pun) how to grow fig tree cuttings, you have access to a lot of very delicious and early-ripening fig varieties.
Cuttings make it easy and inexpensive to shop (or trade) for great varieties.
Want to find a good fig tree variety for cold climates? Here’s a guide to cold-climate fig varieties.
When: Best Time to Root Fig Cuttings
I mostly root cuttings over the winter. In fall, I prune my dormant fig trees after they’ve dropped their leaves. I save the branches I’ve pruned off to make cuttings.
After I cut the branches into pieces to make cuttings, I store these cuttings somewhere cool until I’m ready to grow them. (See Fig Cutting Size, below.)
If you’re new to this, I suggest you start with cuttings you take from a dormant tree because they are woodier—and these woodier cuttings are a bit easier to deal with than tender green ones in summer (called “softwood” cuttings.)
Find out more about how to prune a fig tree.
Where to Root Fig Cuttings
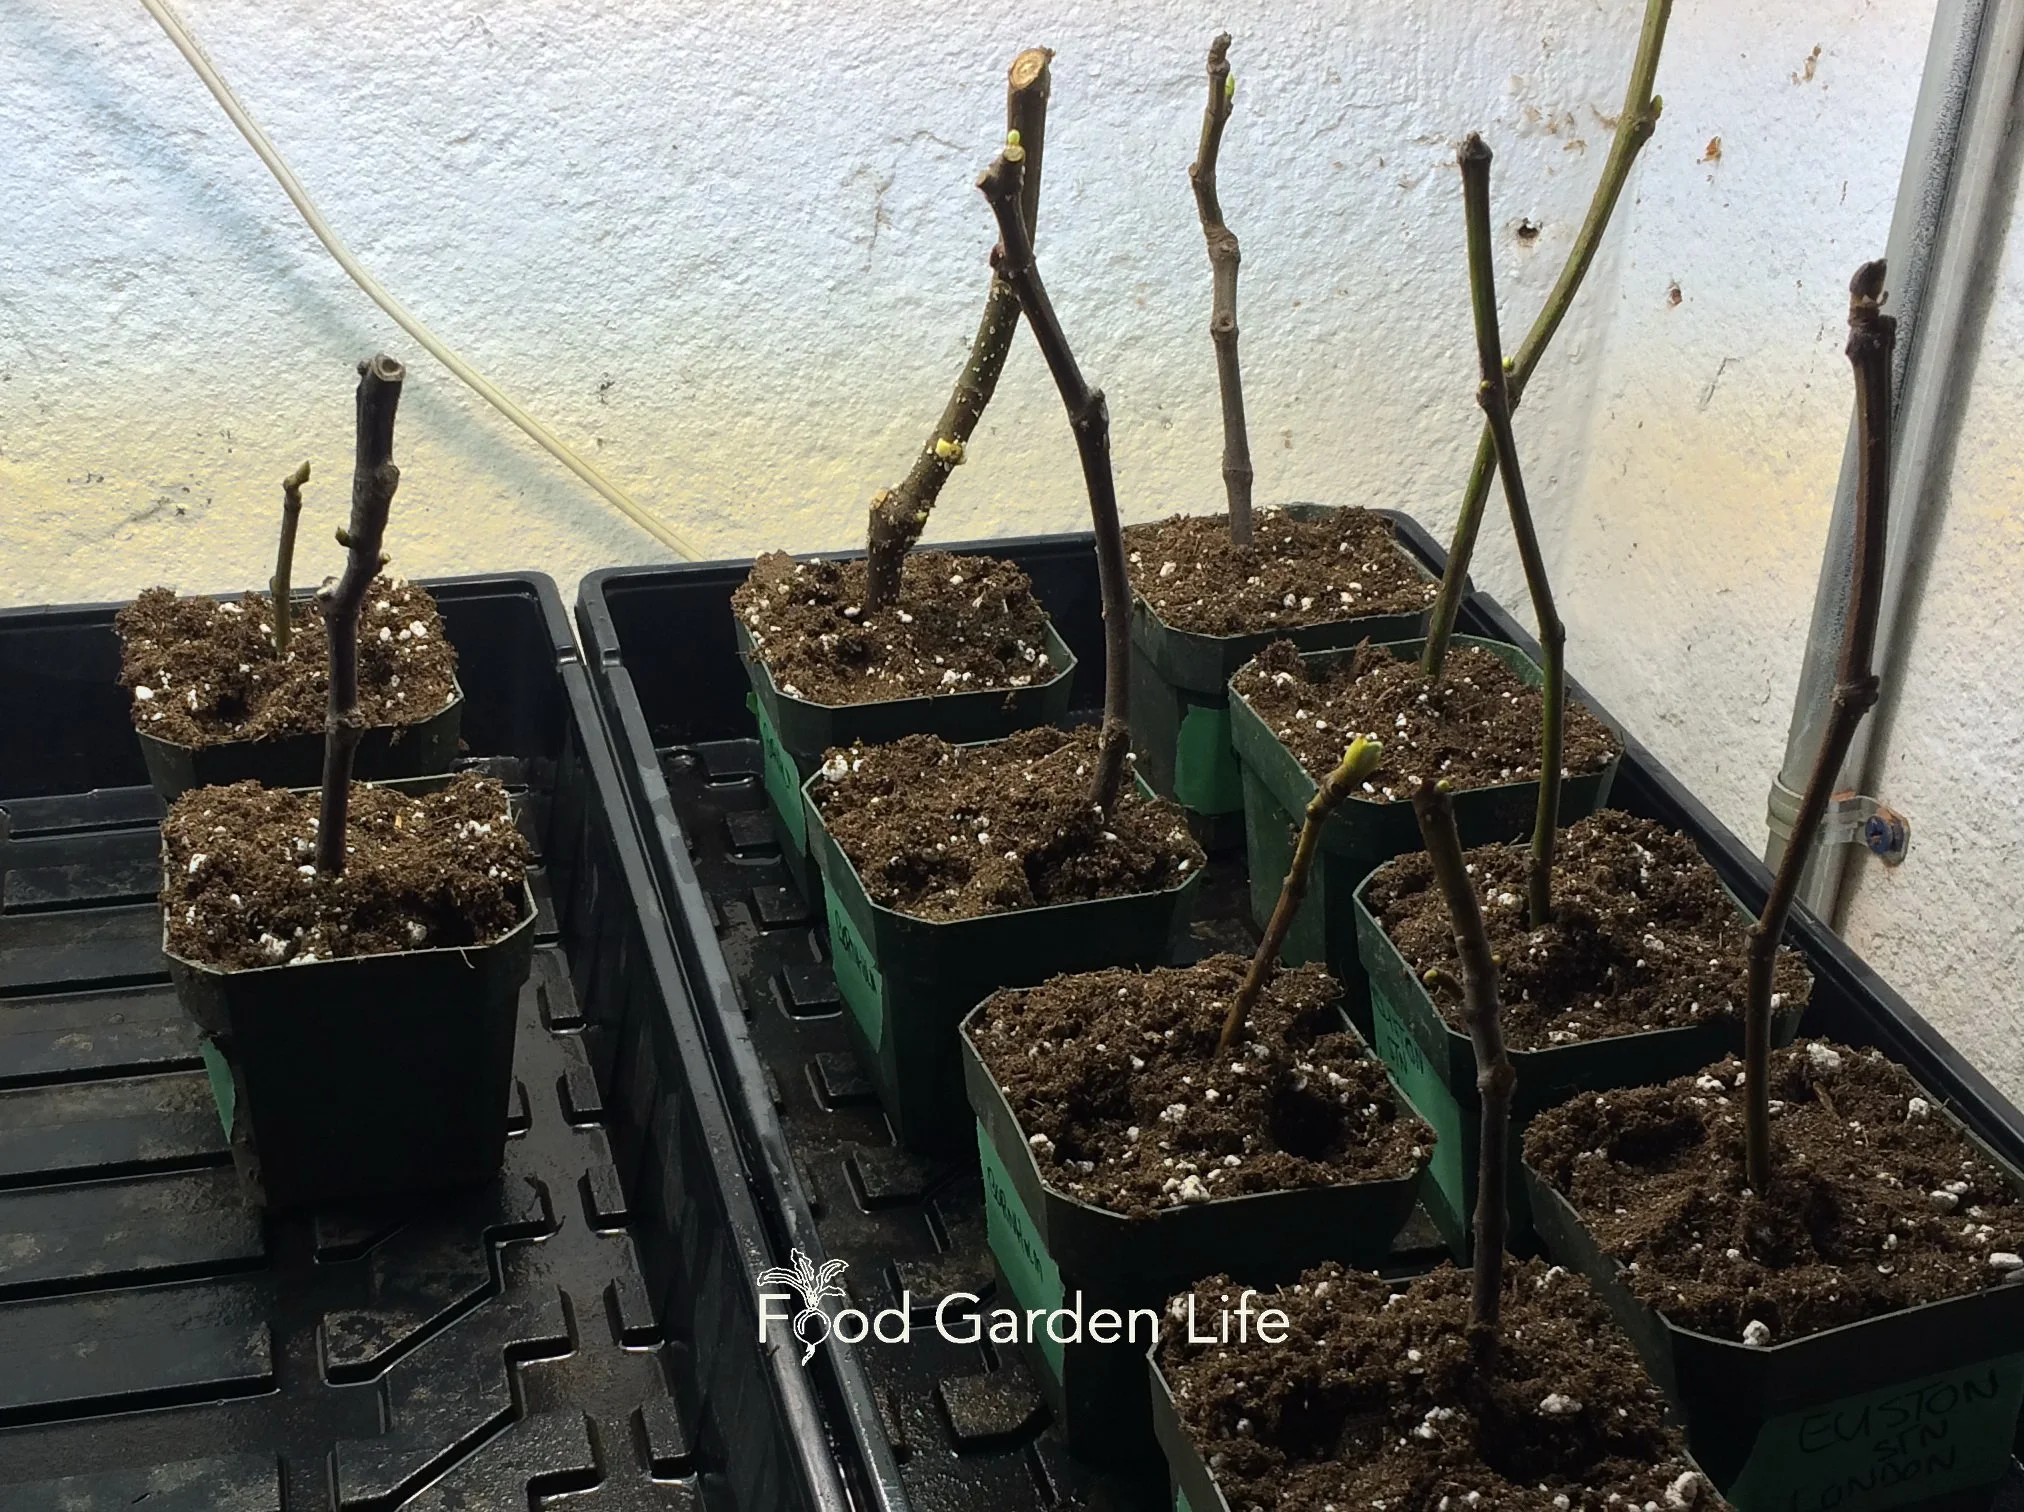
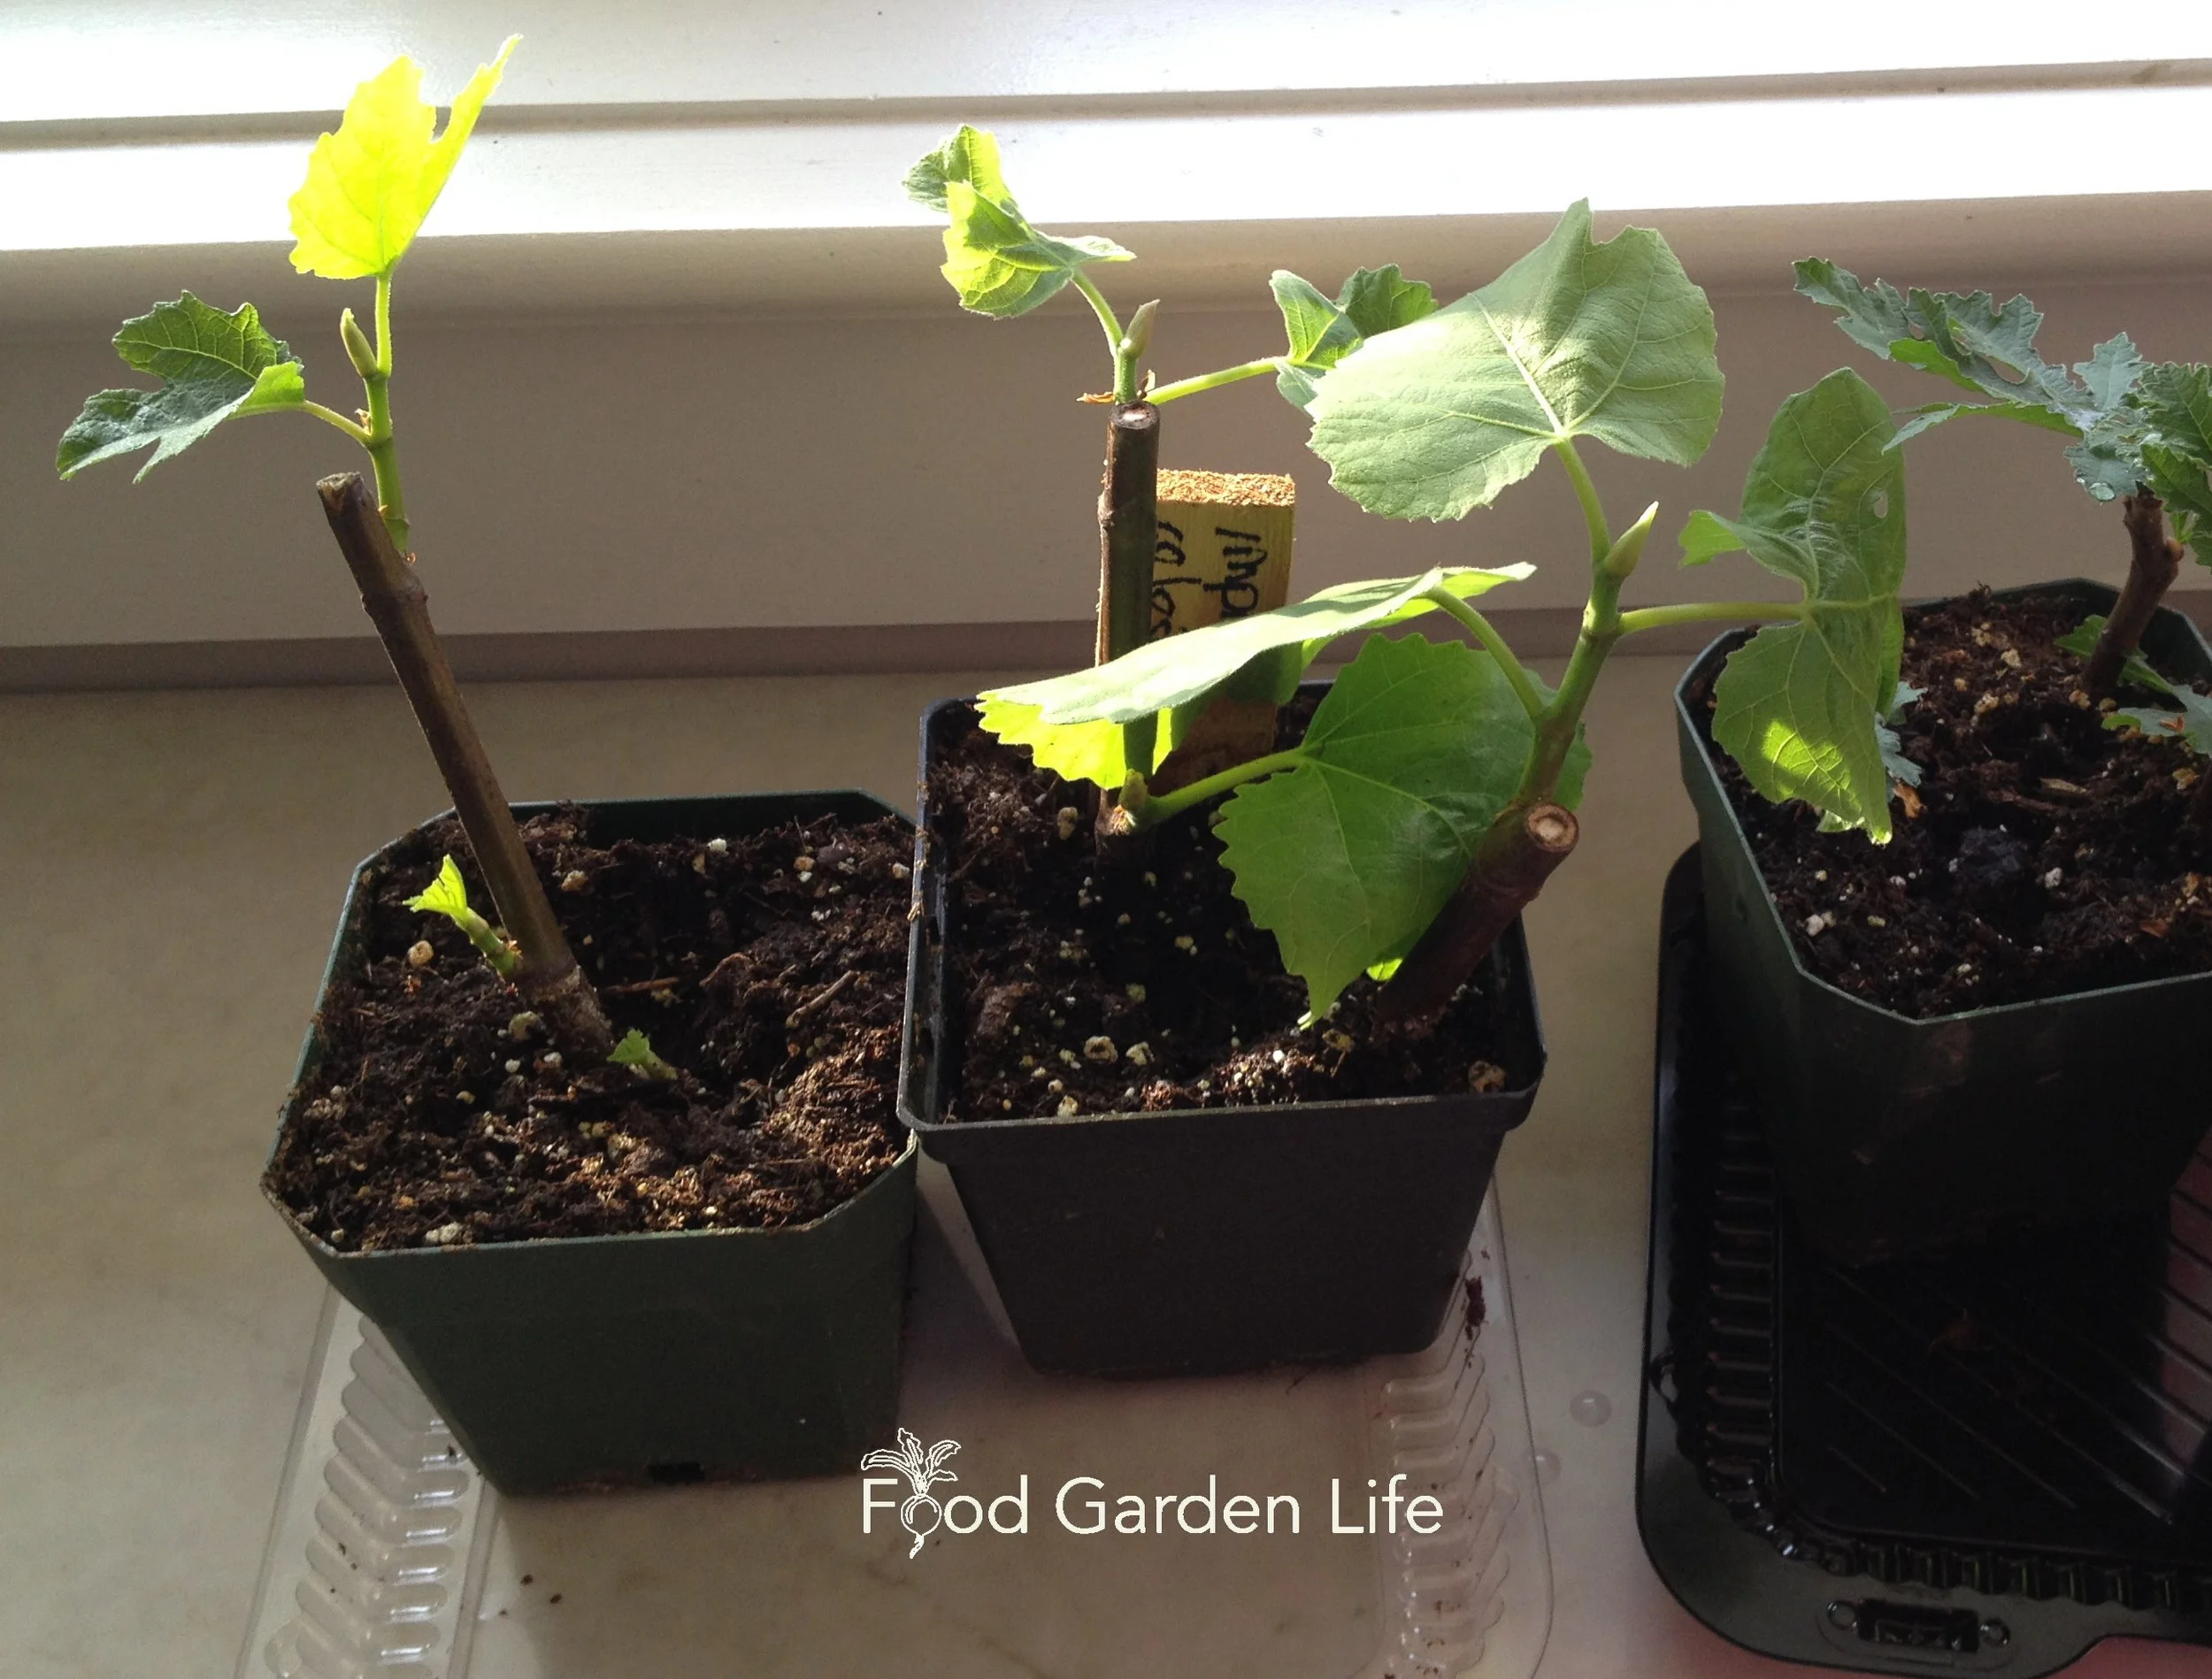
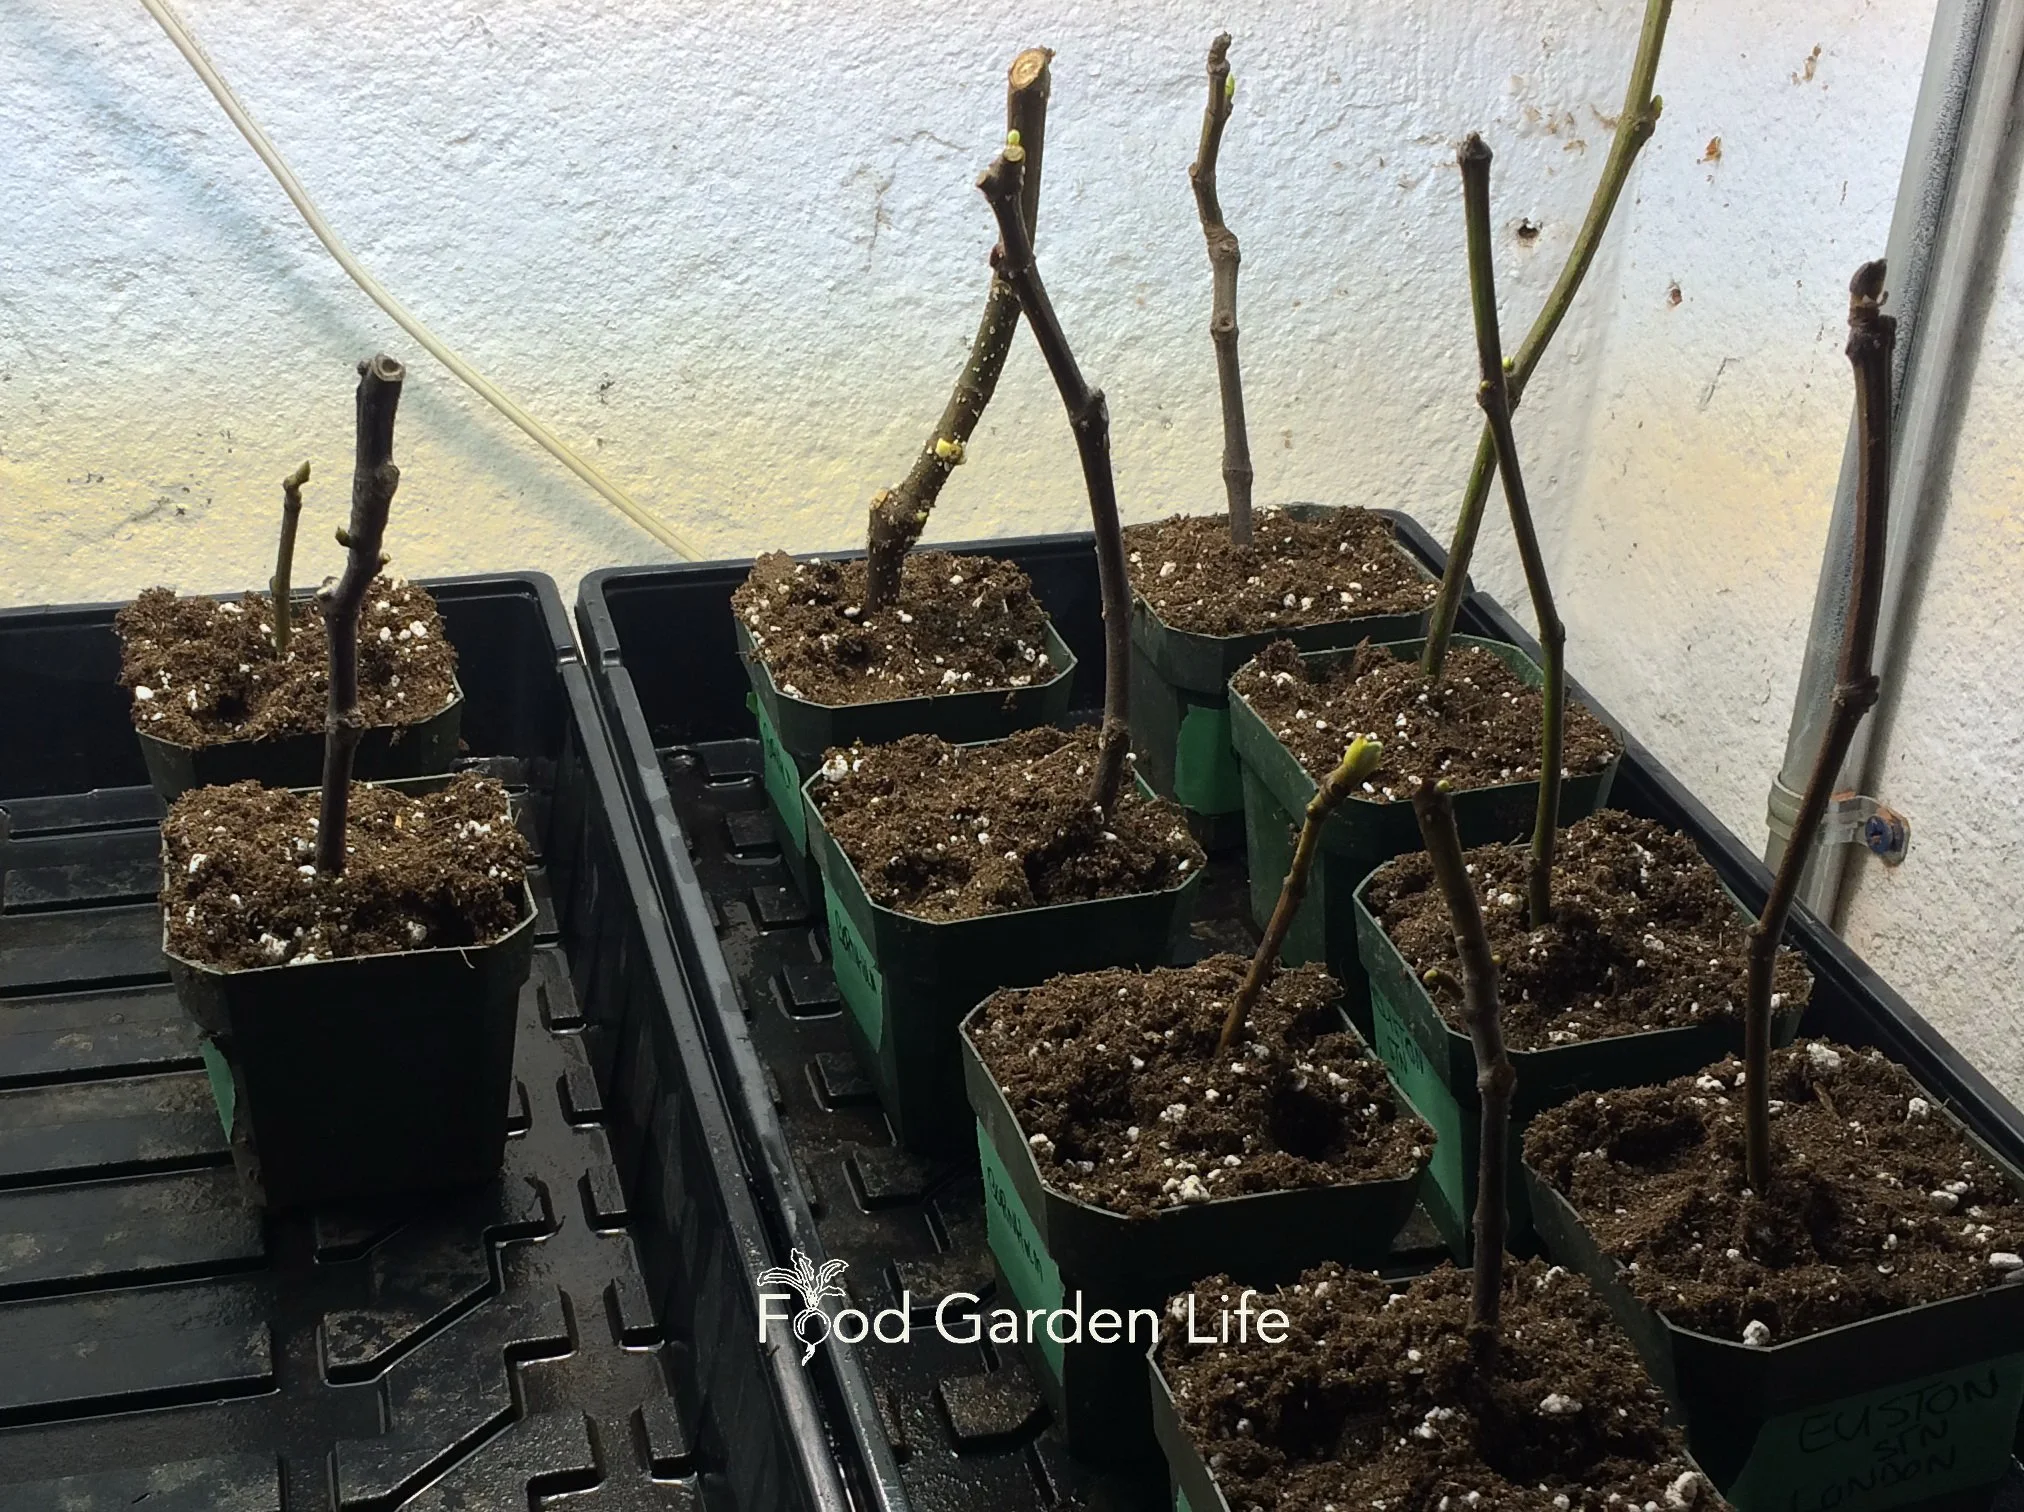
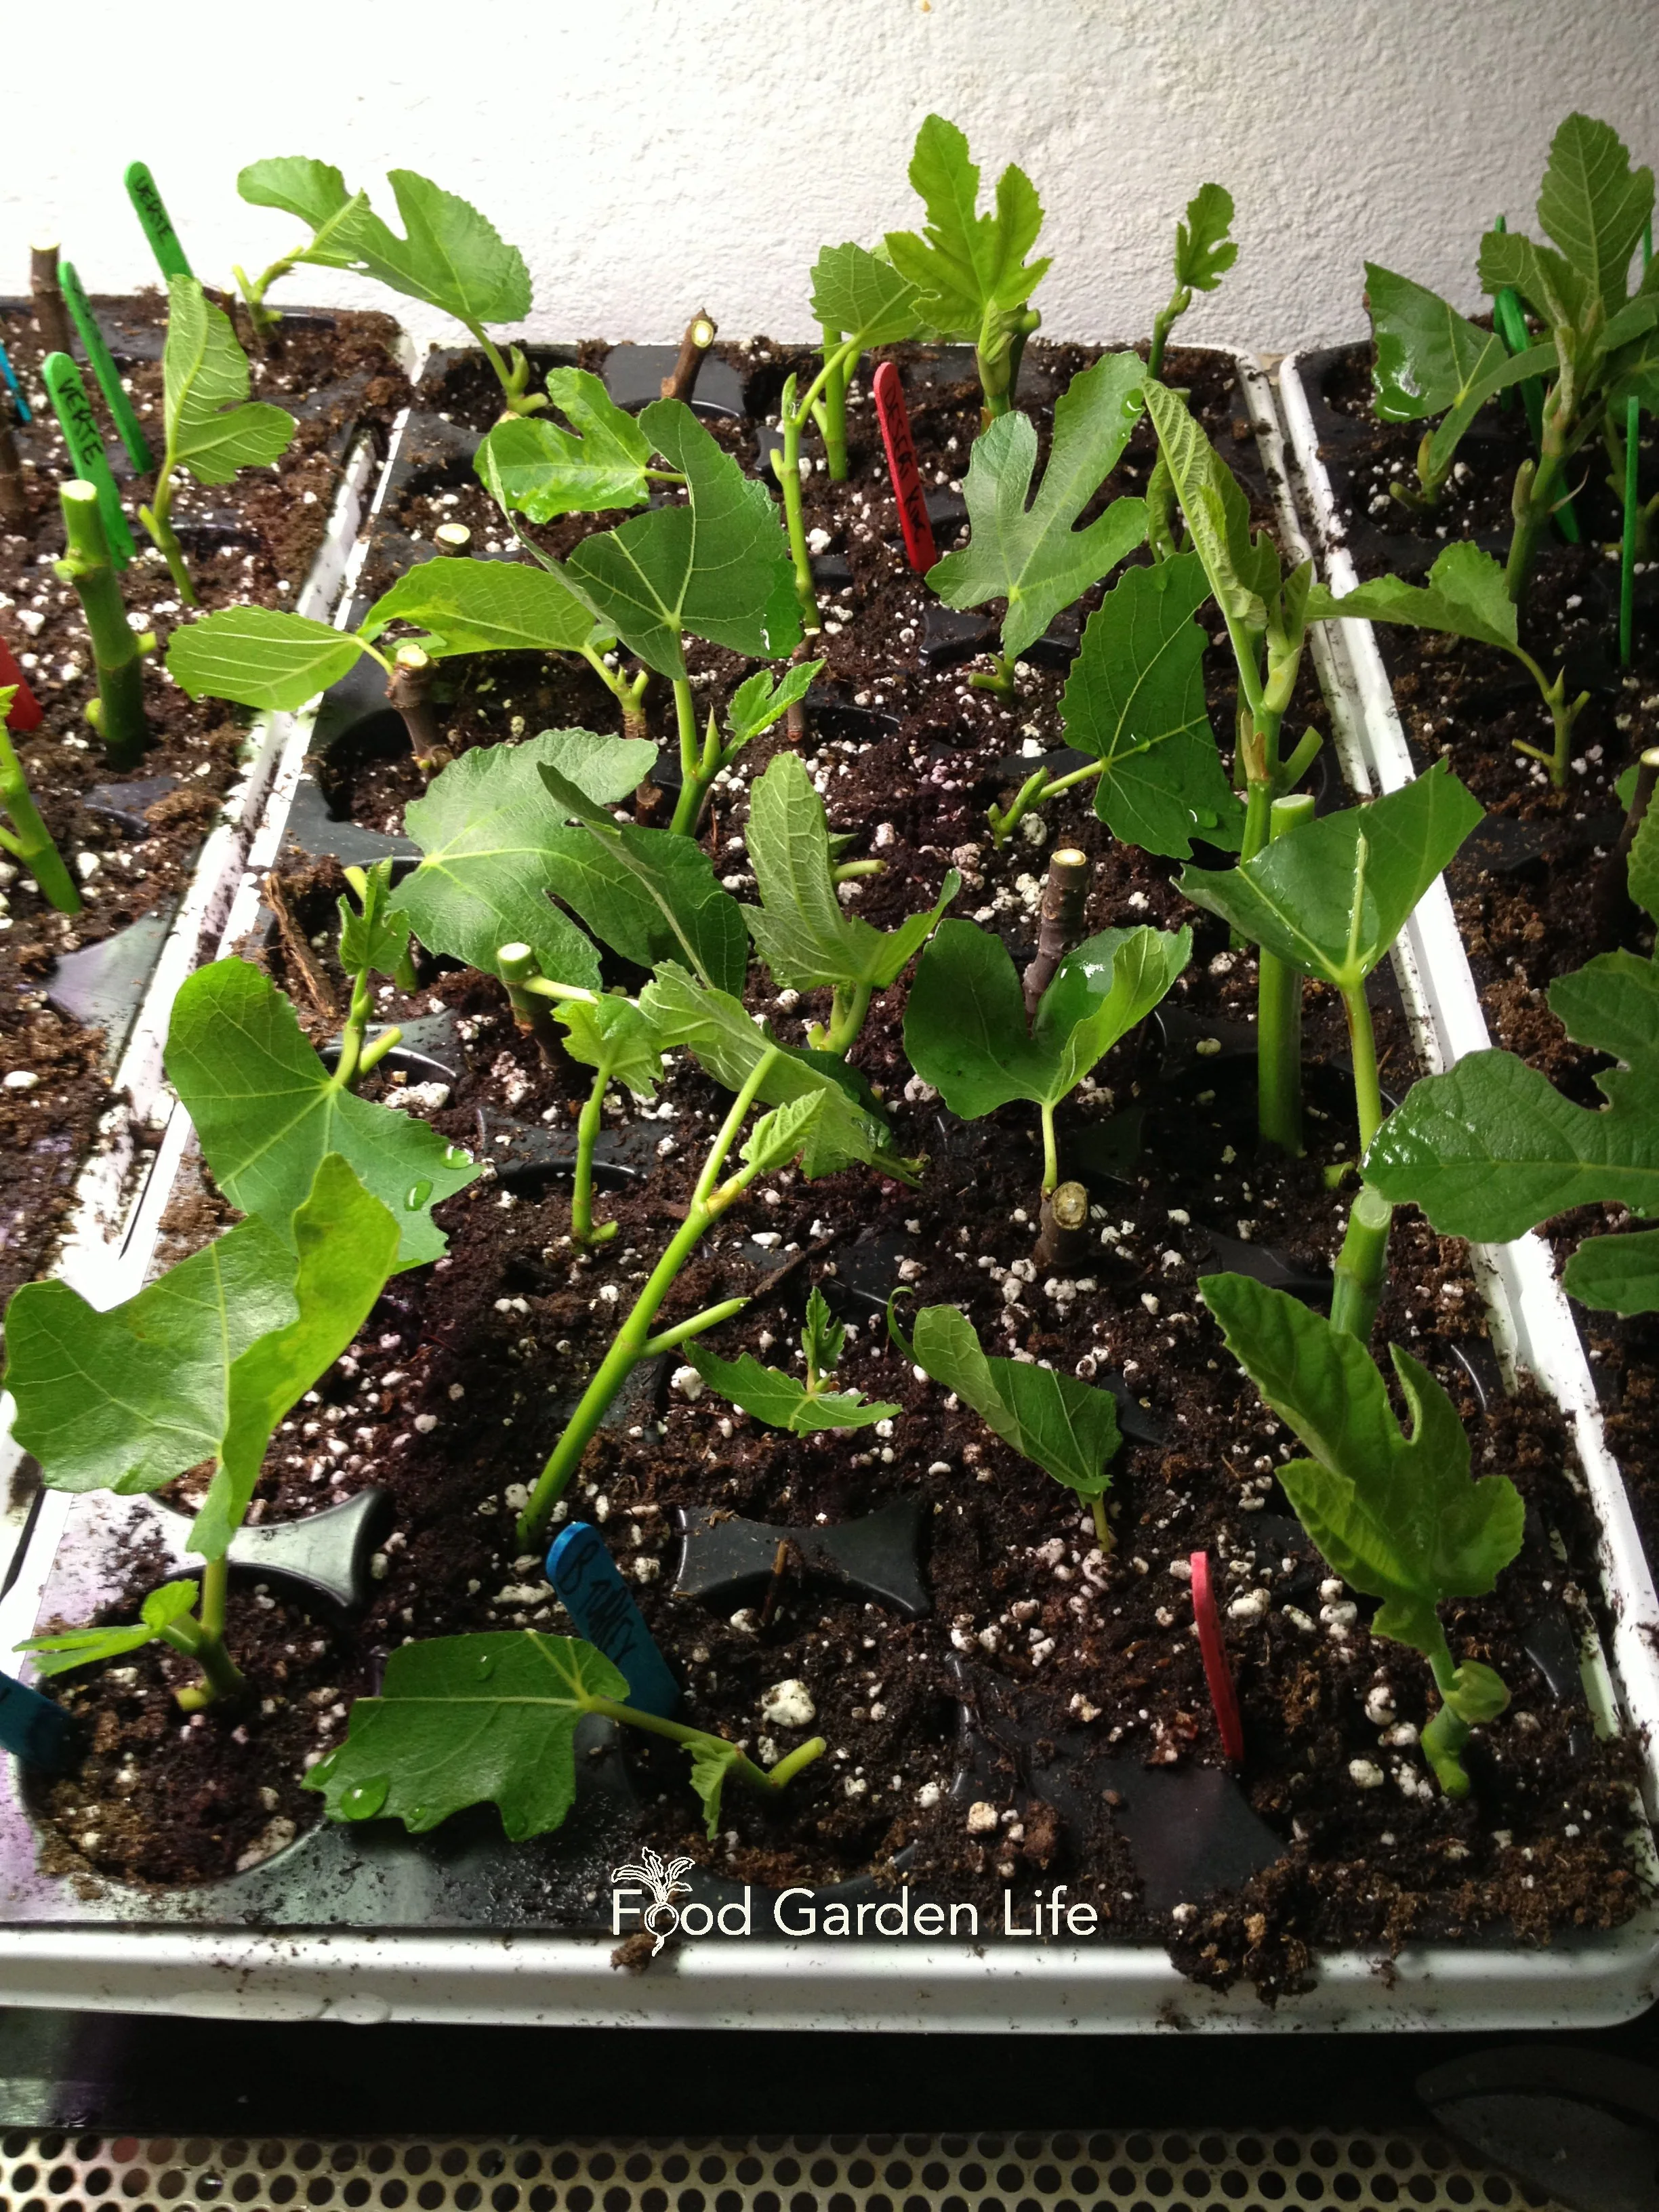
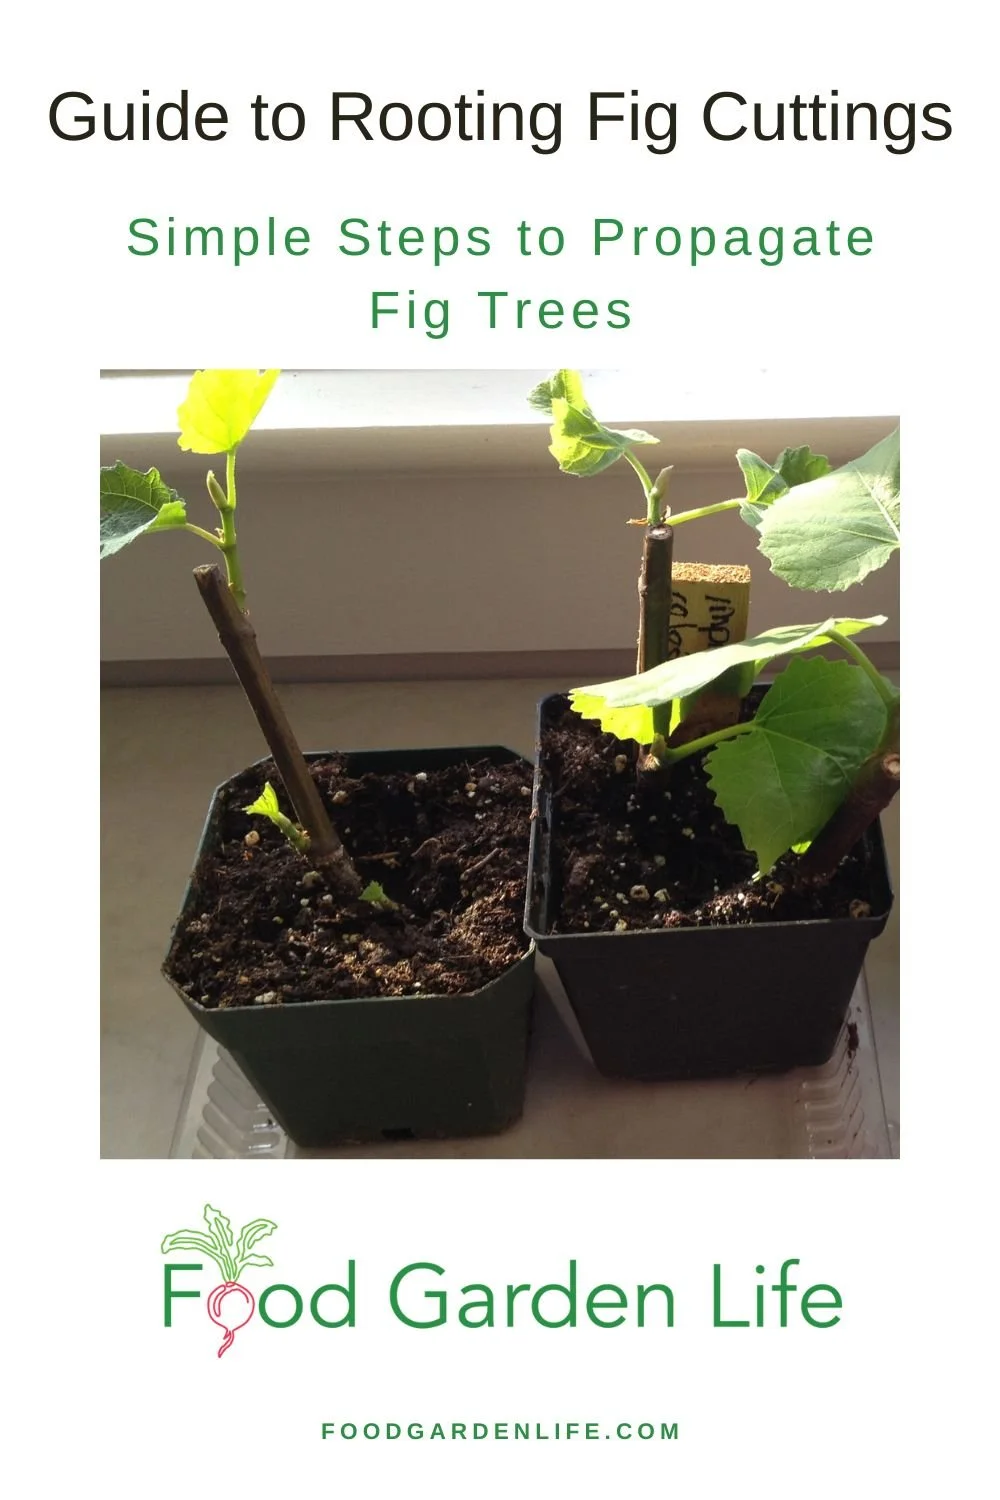
Pictured are young fig plants near my kitchen window. I rooted them from cuttings under artificial lights during the winter. (They would have rooted well beside a window, too.)
If you have a space set up for propagation, that’s great. But don’t feel you need an elaborate setup if you don’t.
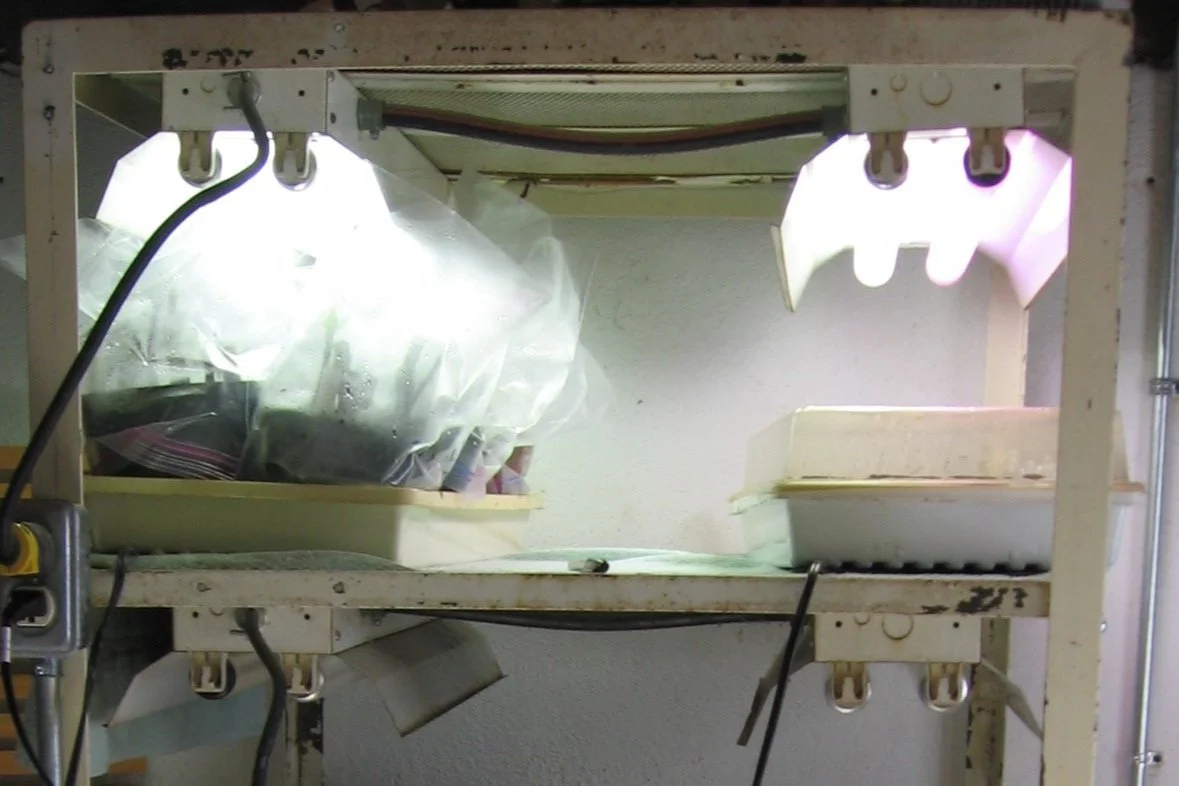
When I started rooting figs, it was under my fluorescent lights that I use to start tomato seedlings.
I’ve rooted cuttings on my kitchen counter, in front of the window.
I’ve rooted them on my dining room floor—by the window. (My wife gave me a dirty look when I lined up a convoy of little pots in the dining room!)
I’ve rooted figs in a pot, under a bush.
When it comes to the “where,” you have options. Indoors. Outdoors. Living space. Utility area.
Let’s think about this in a bit more detail…
Indoors
Lots of fig gardeners start cuttings indoors in the winter or early spring, using dormant cuttings. That’s because there’s frenzied trading and buying of dormant cuttings that goes on in the fall…and people can get started with fig propagation over the dormant season.
As I write this it’s late fall, and I have cuttings in my fridge.
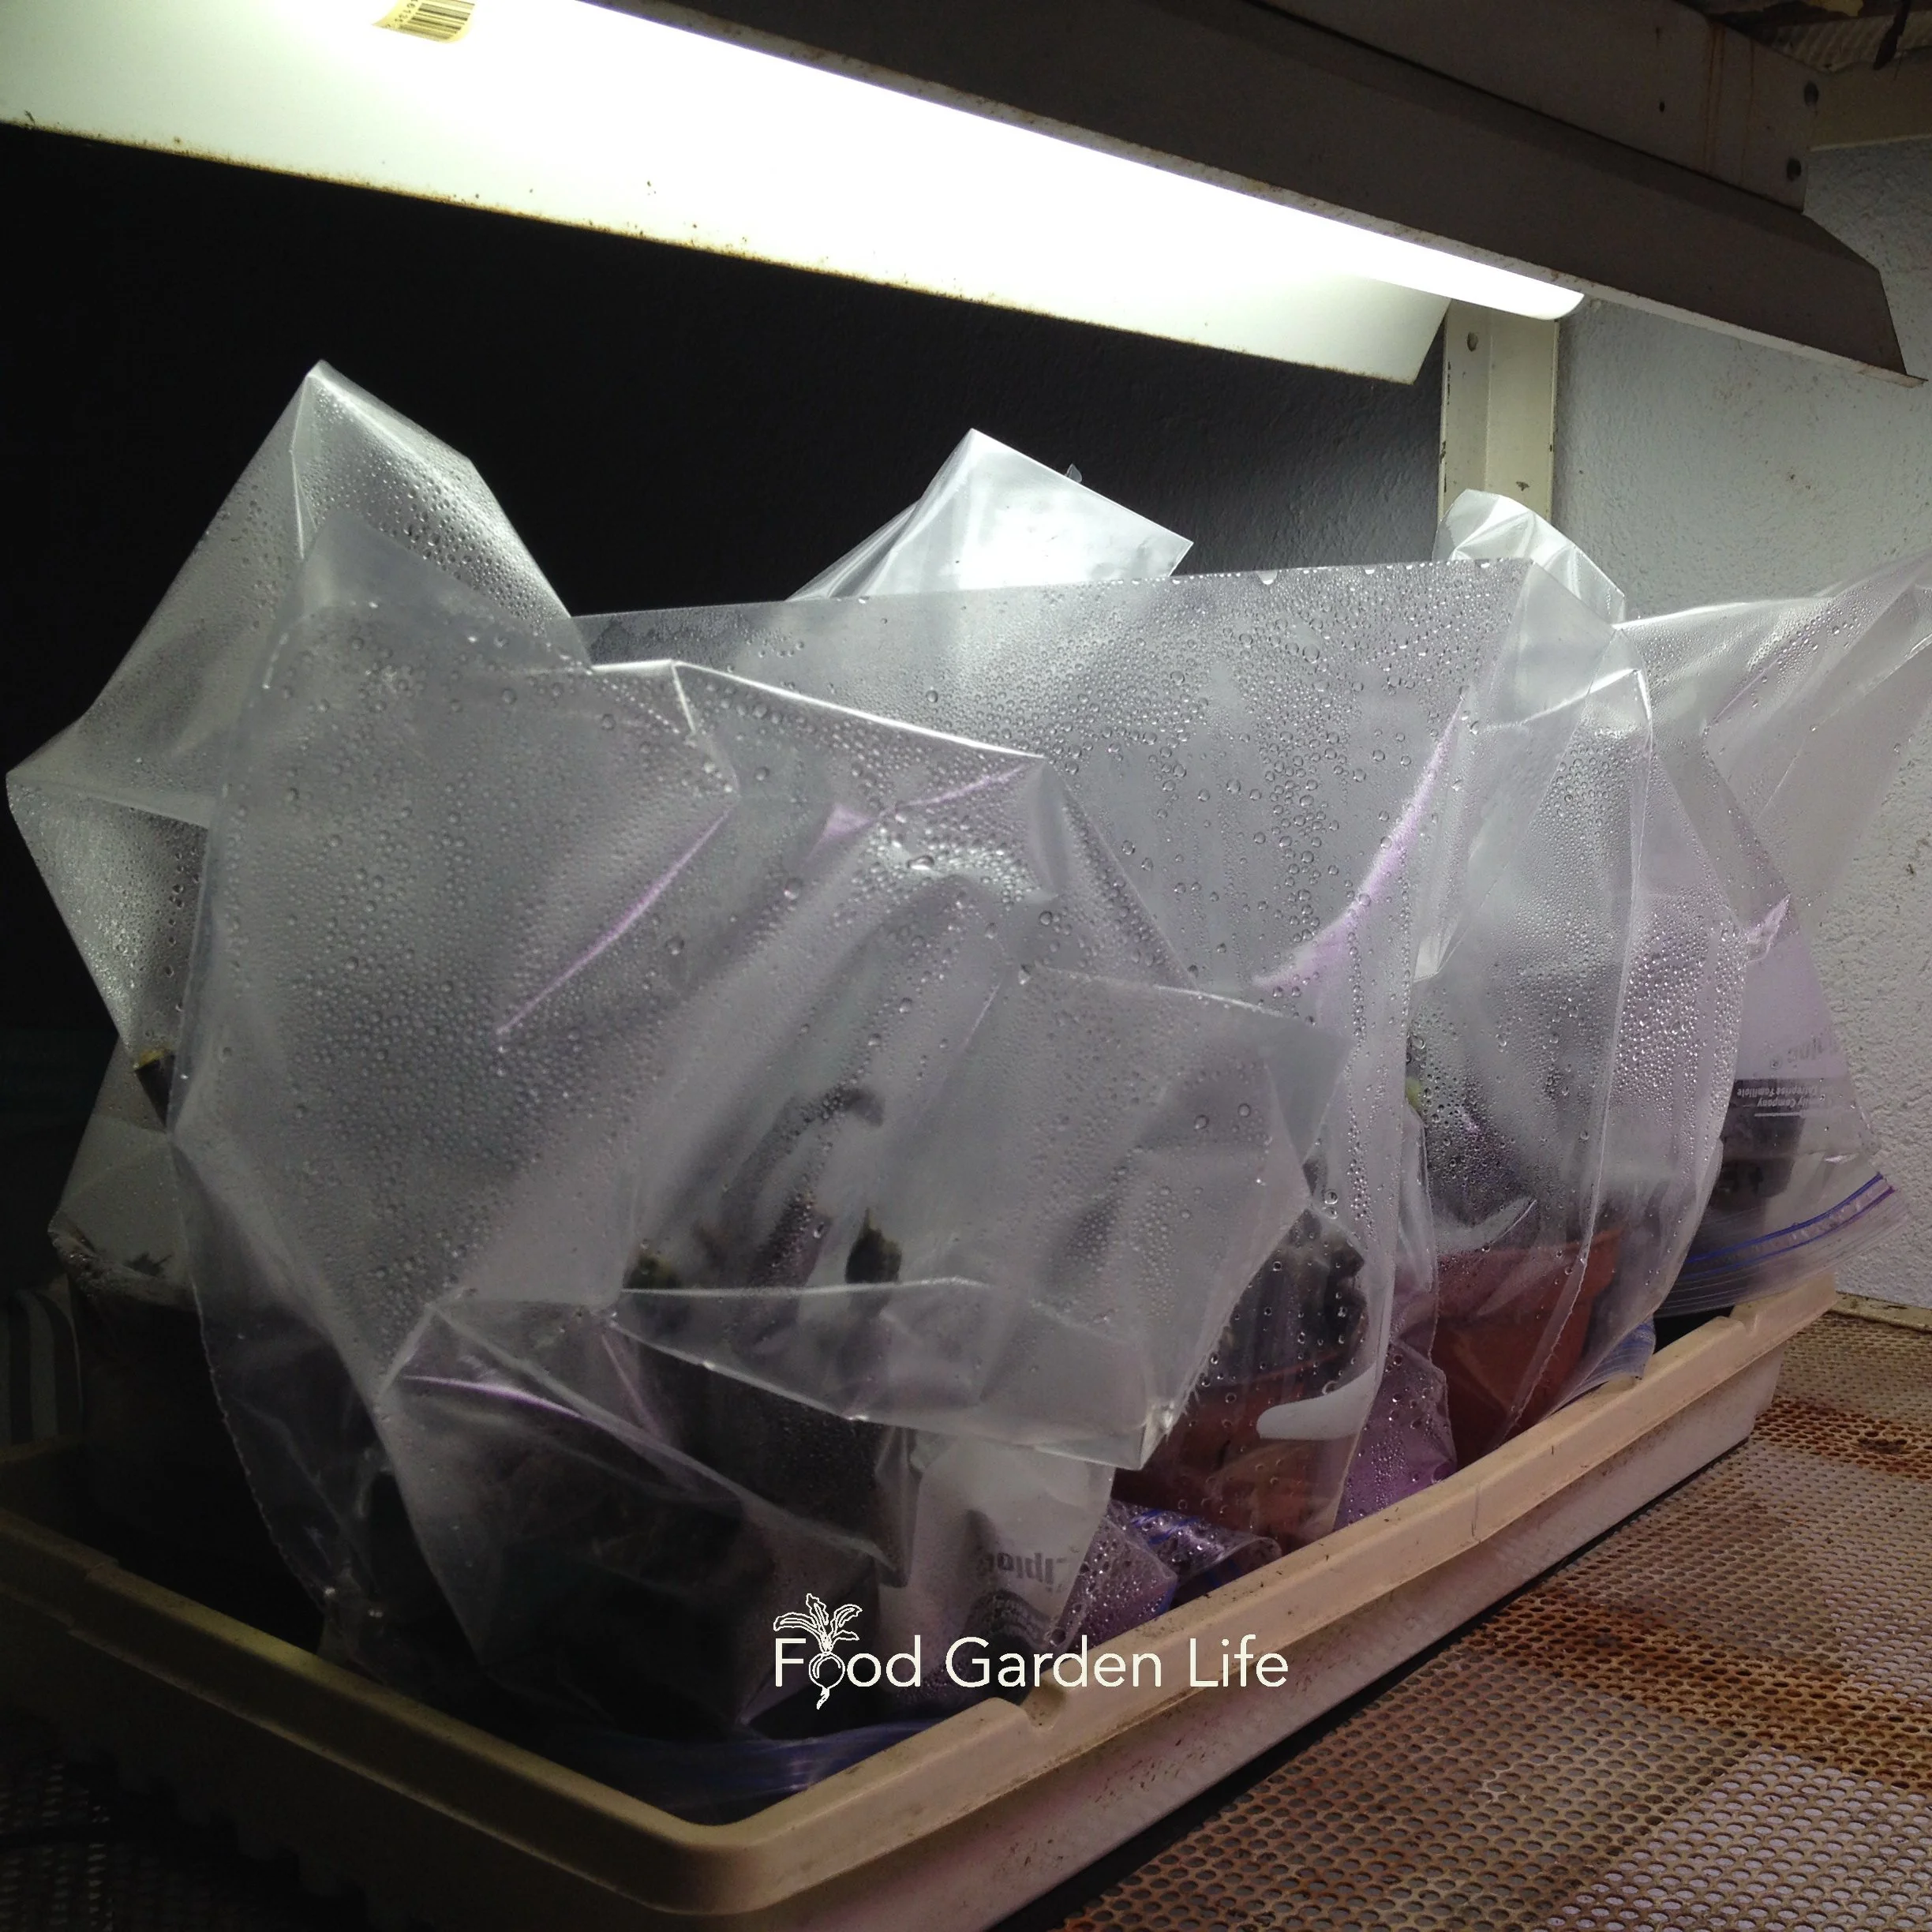
These cuttings are shoots that I removed when I trimmed my dormant fig trees. I wrapped them in damp paper towels, then placed them in a sealed plastic bag.
When I fire up my grow lights in January, I’ll stick some of those cuttings in pots, and root them.
Thinking about where to start your cuttings, here are a couple of helpful things:
Root your cuttings somewhere you’ll see them and remember to check on them regularly
Choose a space with room temperature or warmer (the warmer, the faster!)
Outdoors
When you grow indoors, you can control the conditions and get a good success rate. Outdoors is different. You have less control…but it’s simple.
But that doesn’t mean you can’t grow cuttings outdoors. If I prune or accidentally break a branch in the summer, I’ll pot up the cutting and put it somewhere shady.
Even more simple is to stick cuttings straight into the garden.
(If you have leftover dormant cuttings in your fridge when spring arrives, instead of throwing them out, stick them somewhere protected, in the garden.)
Cuttings: Fig Cutting Size
I aim for a cutting length of at least 6”
For starters, make a clean cut with pruning shears.
I usually make cuttings about 6” long, so that they contain at least 3 nodes (the bumps where the leaf was attached to the stem). But it’s not an exact science. Shorter or longer is usually fine.
The longer the cutting, the more stored energy it has to help it along the way
But if you have only one stem piece of a special variety, you’ll want to decide whether you should make one larger cutting—or two smaller ones (fig insurance!)
(I chatted with a fig collector who travelled a lot in Mediterranean countries. He was a non-smoker. But he’d always buy a packet of cigarettes in his travels. When he found a fig tree he liked, he’d make cuttings, and prune them to the size of a cigarette. Then he’d remove cigarettes and replace them with cuttings. So you can imagine that his cuttings were small. But that’s he got them through customs.)
What About Trimming Off Leaves?
If you’re rooting actively growing branches in summer, you can prune off most of the leaves.
If it’s summer and you’re rooting a branch that’s growing and has leaves, you can leave a small leaf near the top of the cutting—but remove the rest. If you’ve left on a leaf and it falls off, don’t worry—more grow if the cutting roots and starts to grow.
What You Need
Fig Propagation Supplies
Fig Cutting. See Fig Cutting Size above.
Pot. I reuse 3” flower pots. You don’t need any special sort of pot.
Potting Soil. Get a good quality soil mixture. Peat moss or coir-based are what’s usually available commercially. (I don’t recommend using your own compost or garden soil. Garden soil packs down to much; and compost can contain fungus gnats (more on fungus gnats in 4 Tips to Boost Your Success with Fig Cuttings, below.)
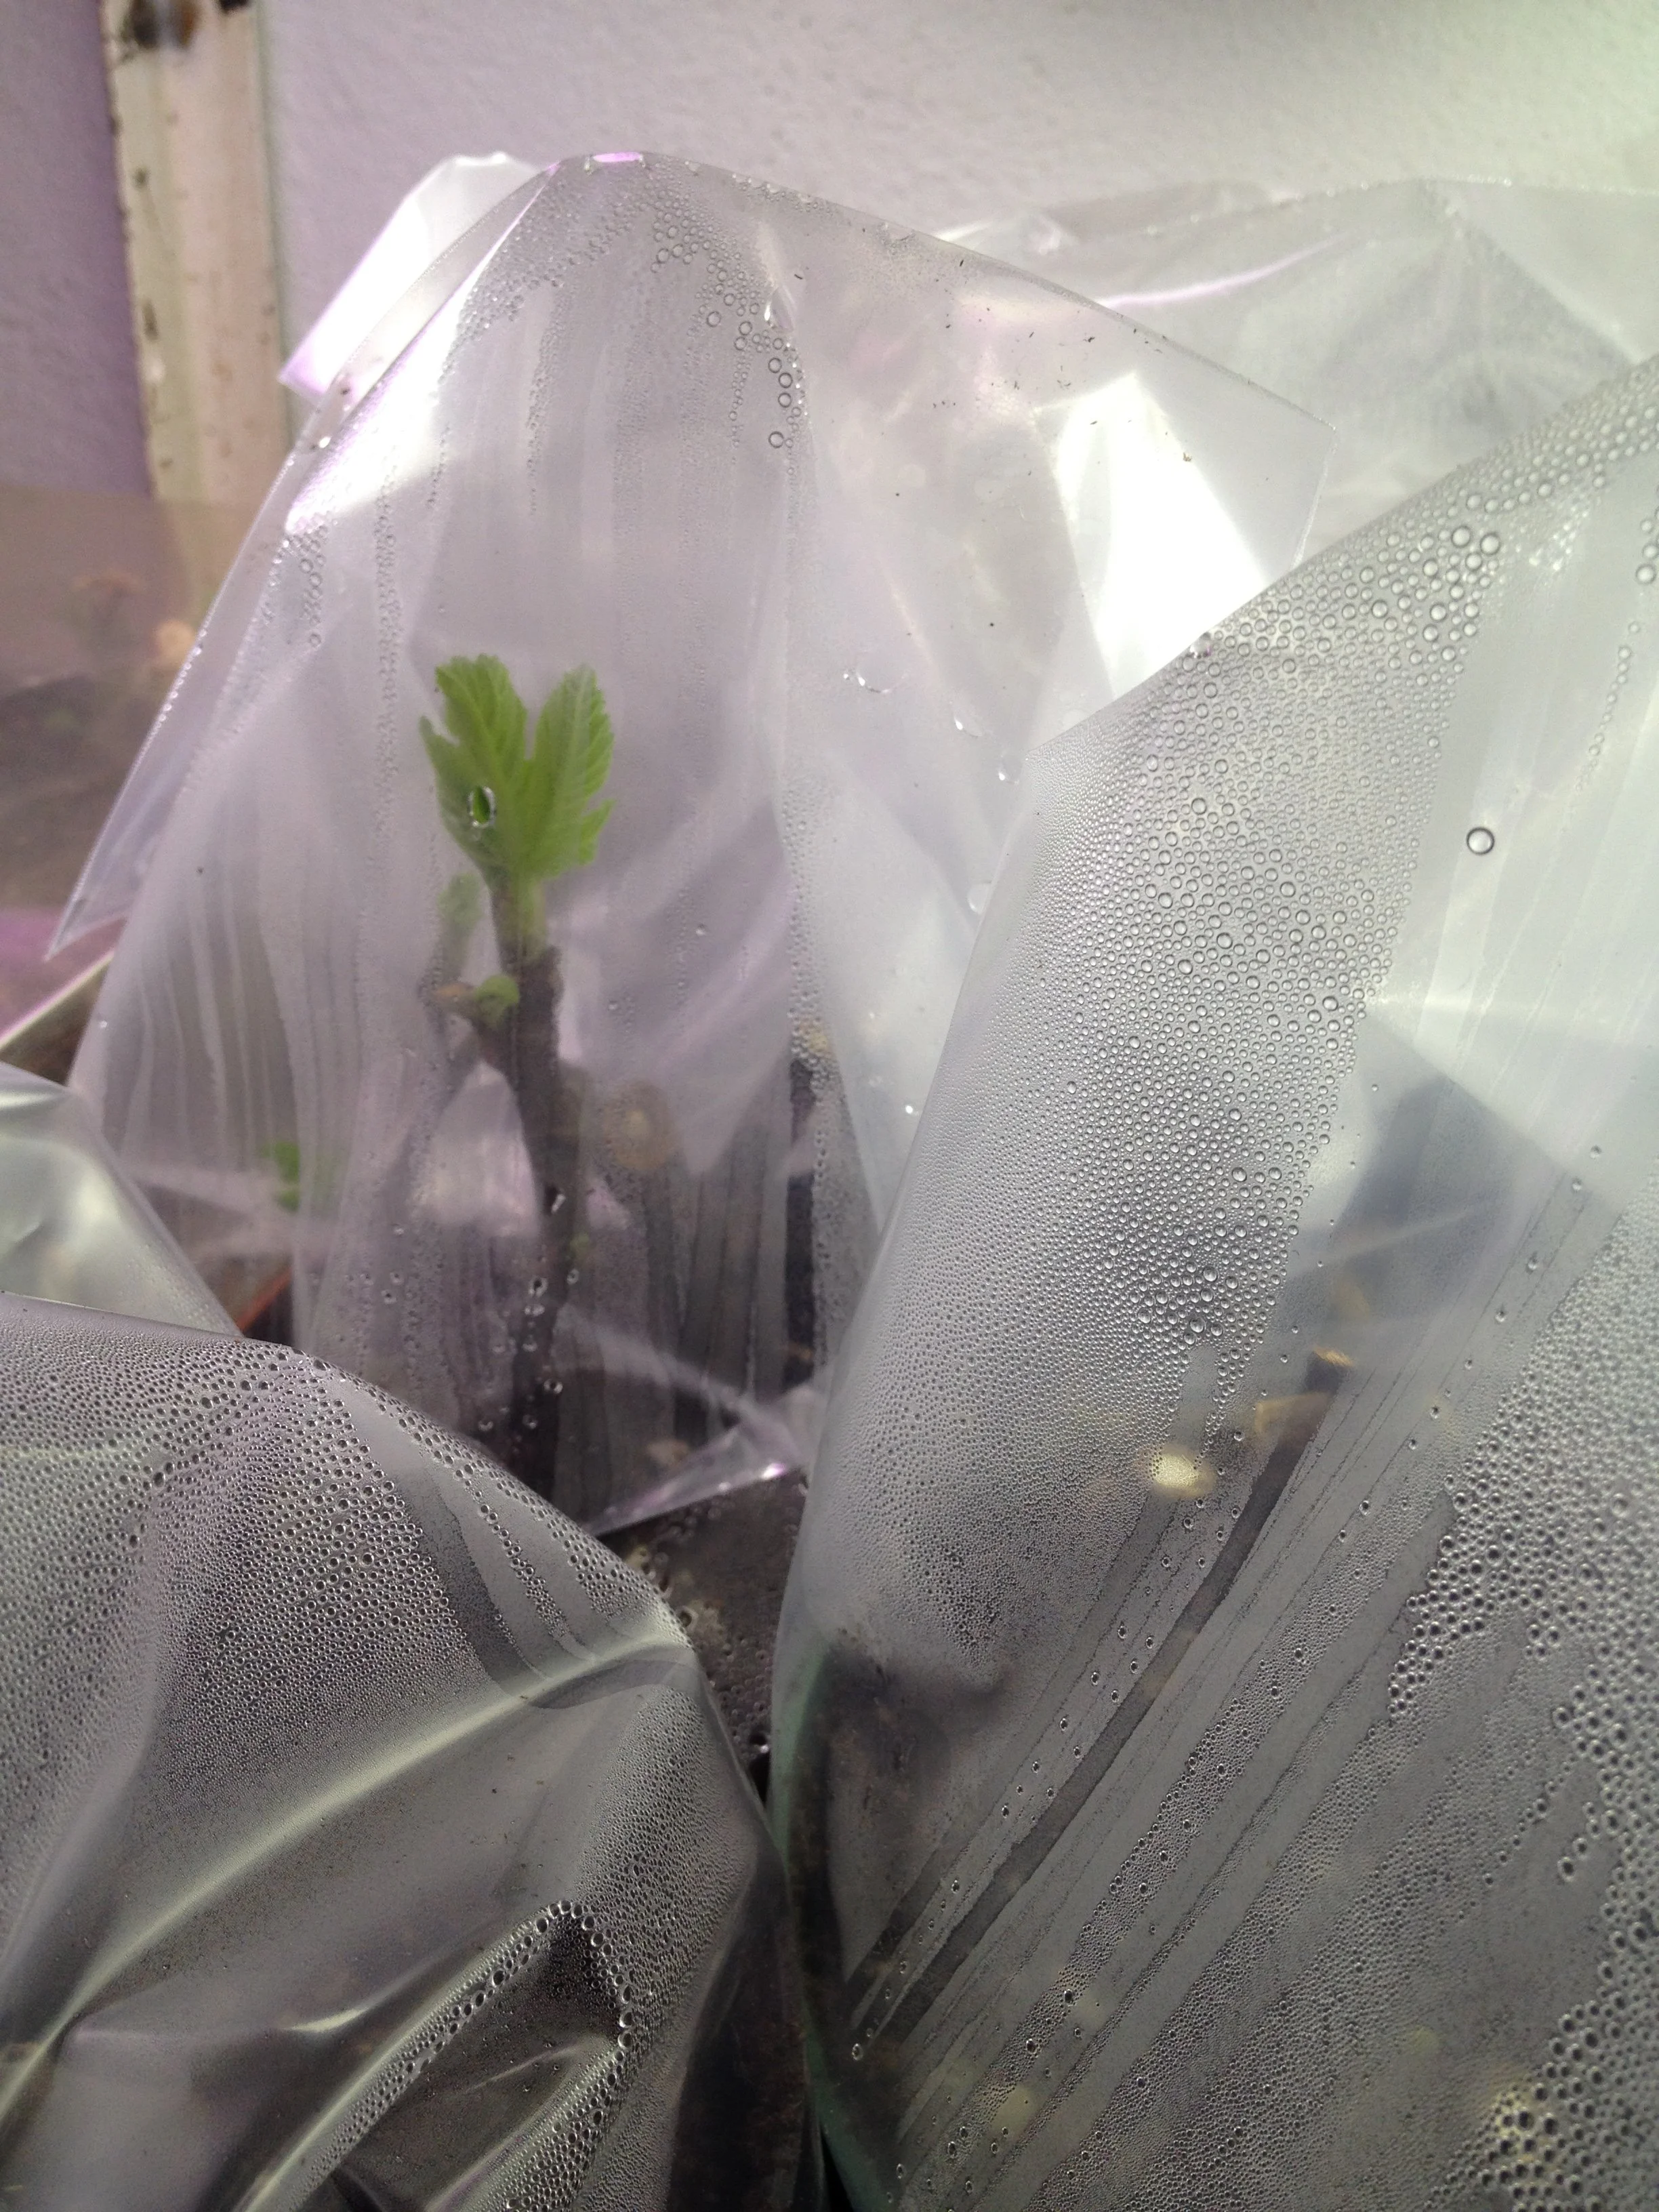
Humidity. You’ve just stressed this little piece of branch by removing it from the tree. To help it recover and grow roots, put a clear plastic bag over it to keep humidity levels high around the cutting and help prevent it from drying out. In houses with forced-air heating, the air can get too dry for cuttings over the winter. Another option is to use tall clear domes to cover entire trays of plants.
Light. A bright window is fine. My artificial lights are a simple setup with T12 fluorescent tubes. You don’t need anything fancy.
Labels. Label your cuttings! There’s nothing more disheartening than rooting a cutting, only to forget what it is. (For cuttings, I like wooden tongue depressors, which I compost afterwards—or a bit of masking tape on the pot. But for mature plants, I use something more permanent, like a metal label.)
Get Your Fig Trees Through Winter
And eat fresh homegrown figs!
What You Don’t Need
Optional
Heat Mat. Keep fig cuttings warm. They root more quickly when the temperature is a bit above room temperature. But if you don’t have a heat mat, it’s optional. (Back to my dining room floor…I root cuttings there too because it’s a heated floor. If you have a hot-water radiator, maybe you could root cuttings on top of it.)
Rooting Hormone. It doesn’t hurt. But cuttings root well without it.
Wrap. Some fig-growers wrap the exposed end of cuttings with a stretchy, biodegradable film to keep in moisture. The film is instead of a clear plastic bag or dome. This is a slick method, as the plant can send out a bud right through the film. (It’s great for fruit tree grafting too.) The film is called Parafilm or buddy tape—and is often sold with fruit-tree grafting supplies. I think it’s great—but I don’t use it because plastic bags cost me nothing J
Don’t Waste Your Money
Fancy Grow Lights. Don’t worry about full-spectrum light systems or light-bulb technology. It doesn’t matter. A bright window or a fluorescent shop light is fine. (The fancy grow lights are for when you’re trying to give ideal light for getting flowers and fruit…like hydroponic tomatoes. You don’t need it for cuttings.)
Fertilizer for Cuttings. Don’t. The cuttings have no roots. They don’t need fertilizer yet. Even once root growth starts, don’t feed yet…the roots are still delicate.
Misting Systems. I’d love a misting system… But you can root fig cuttings well without one.
Extra Deep Pots. Nice if you have them, but you don’t need to buy them specially.
How: Fig Cutting Step-by-Step
Simplest Method
Below is my approach. There are many ways you can root cuttings—so you can adapt this to fit what’s practical for you.
Here’s What I Do
Fill the pot with moist potting soil.
Insert the cutting, bottom-end facing down.
Water well.
Cover with clear plastic bag or dome.
Place the pot in a bright warm location.
Ongoing Care
Simple fluorescent shop lights work well.
Keep the soil moist (not sopping wet).
As the cutting starts to grow, the bag doesn’t have to stay on…there might be too much humidity as leaves grow. So remove it—or lift it up part of the way to allow in some air. If you’re using a dome, set is askew for air circulation.
There are Other Fig Propagation Methods
Pre-Rooting Fig Cuttings Without Soil. More details below—but the idea is to get roots growing even before you put your fig cutting in soil!
Fig Cuttings in Water. I think this approach appeals to people because it’s familiar. My mom always rooting things in cups of water on the kitchen windowsill—slips of impatiens, coleus…or the avocado pit suspended with toothpicks. Yes, it can work; but you probably won’t have as many cuttings root than if you use the method above.
Bag Instead of Pot. Some growers like to insert a fig cutting into a plastic bag filled with moistened potting soil. After the fig cutting is inserted, the bag is sealed around the cutting to keep it moist inside. It’s a neat idea, because it deals with two things: watering and fungus gnats. (More on fungus gnats below.) This method of rooting cuttings is often called the “fig pop” method. In the deluxe version of this technique, you wrap the exposed end of the cutting with film.
Pre-Root Fig Cuttings
Pre-root cuttings somewhere warm. No light needed!
Woodier, dormant cuttings grow roots without soil if they’re in warm, moist conditions. No light needed! This means that you can “pre-root” them before potting them up.
A simple way to pre-root dormant cuttings is as follows:
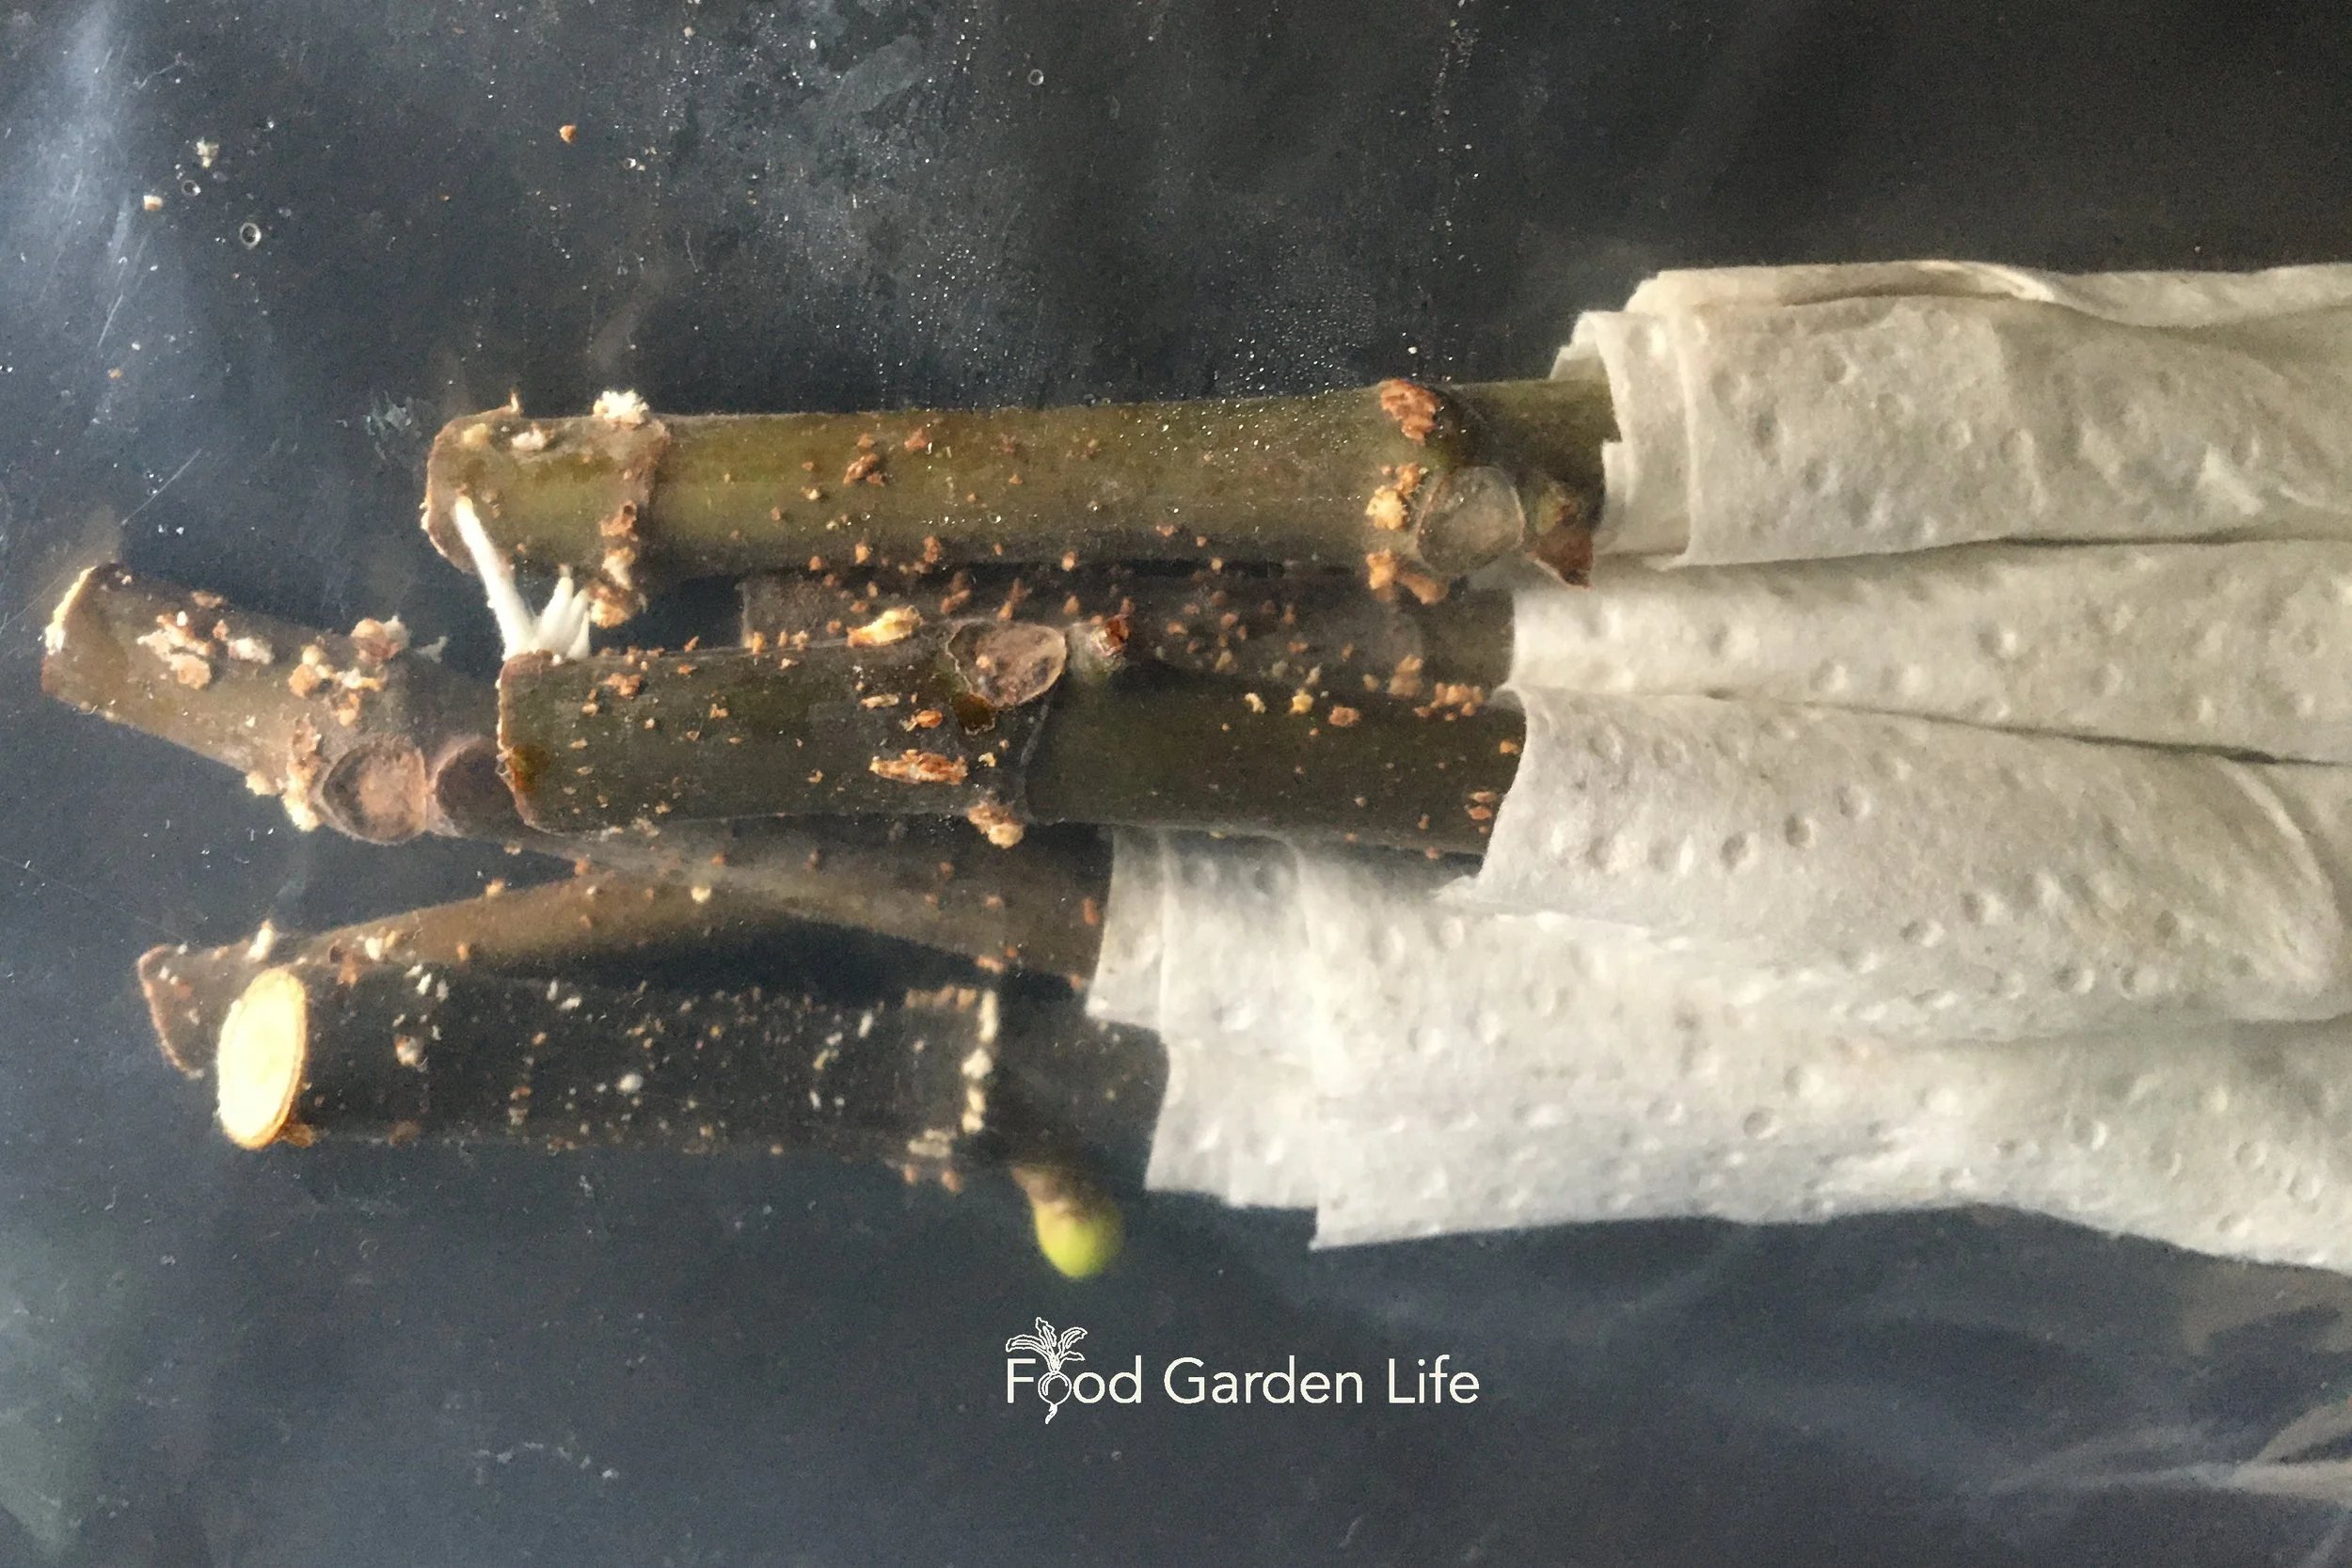
Wrap cuttings in moist paper towel
Place towel-wrapped cuttings in a sealed plastic bag (use a clear bag, so you can watch what’s happening inside)
Place the bag somewhere warm—warmer than room temperature is best (for example, on a heated floor, or on top of a refrigerator)
TIP: I don’t wrap the bottom inch or so of the cutting with paper towel; it’s where I want roots—and then I can see how things are going.
The paper towel should be moist—but you don’t want water pooled anywhere in the bag, because there’s more chance of rot.
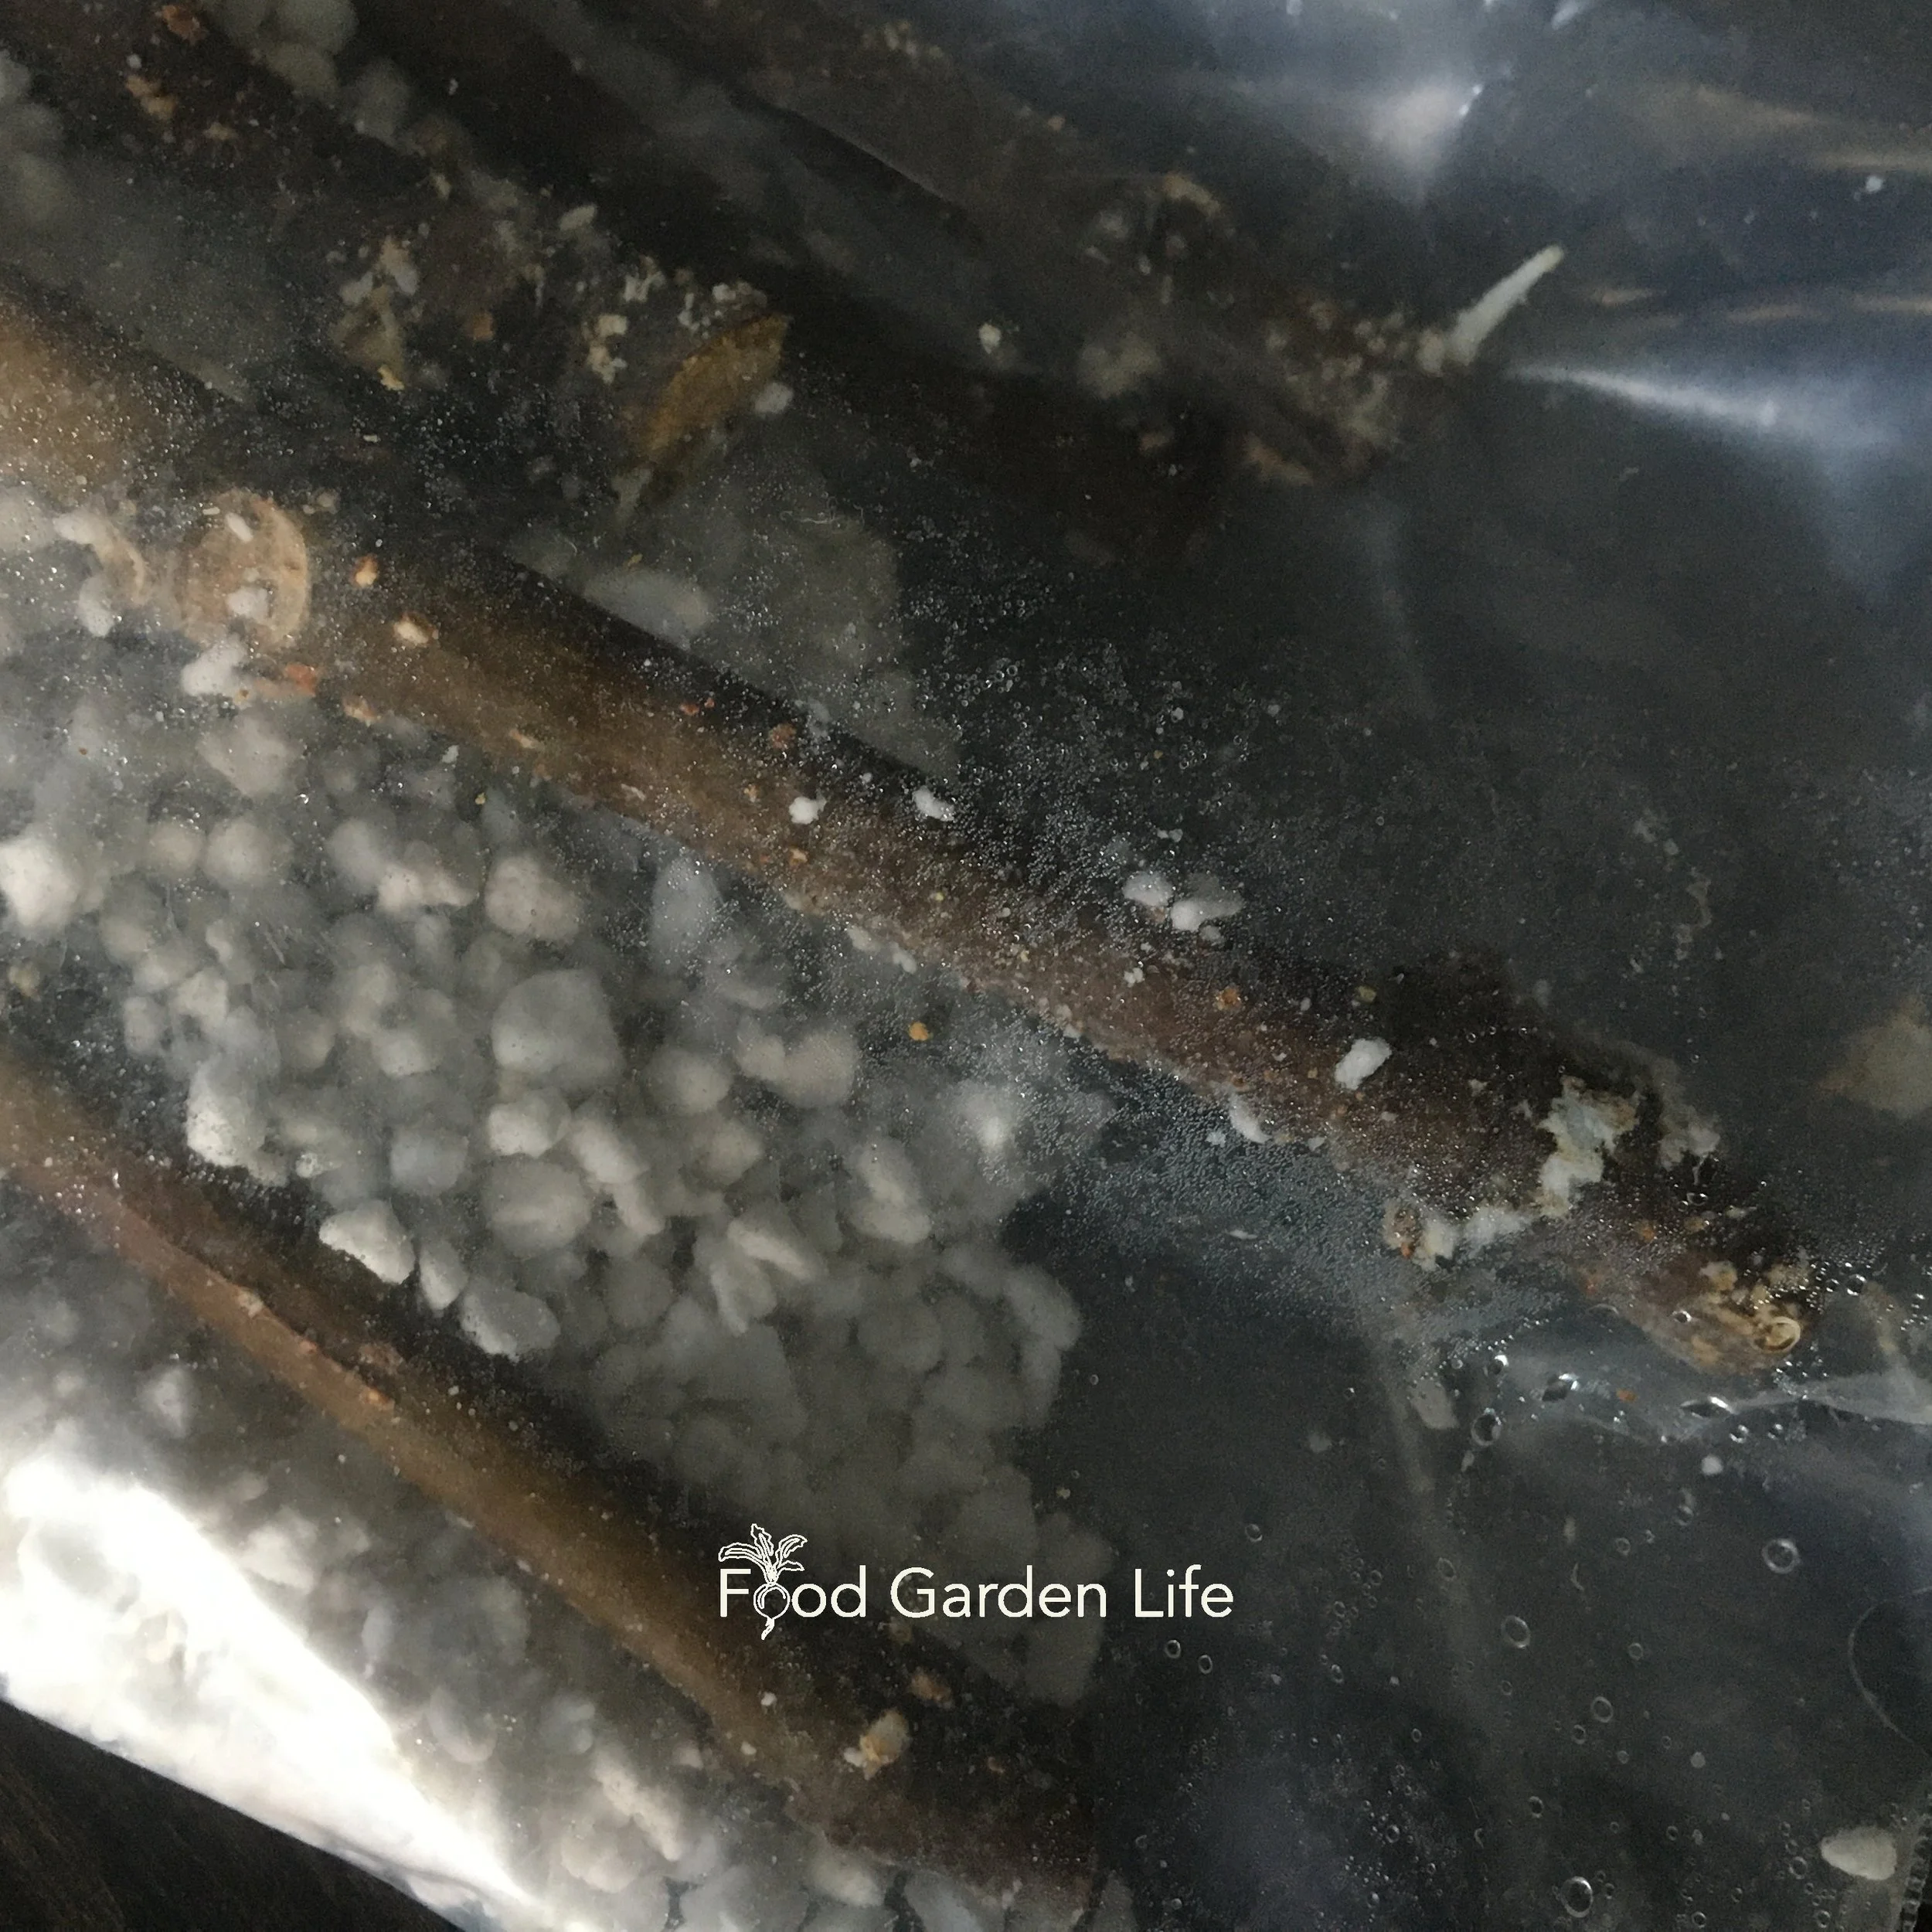
You’ll eventually see white flecks form on the cuttings. These are “callus.” It’s what grows before the roots. The callus means things are underway!
When roots have formed, pot up your cuttings—but remember that the small roots are delicate.
Pre-rooting in perlite.
A huge advantage to pre-rooting cuttings is that there is less of a window for fungus gnats to destroy the delicate roots of young fig plants.
VARIATION: I’ve also pre-rooted fig cuttings in damp perlite.
Time to Root Cuttings
How long does it take for a fig cutting to root?
How long it takes depends on the conditions.
If you put your cuttings in a warm spot, they’ll root more quickly.
Sometimes, roots grow before any leaves—and if you pick up the pot and look at the holes in the bottom, you might see wee white root tips poking out.
4 Tips That Boost Your Success with Fig Cuttings
Here are 4 tips that will help you successfully root cuttings:
1. Store Cuttings Properly
If the cuttings are not properly stored, they dry out. Then it’s game over.
After I prune my dormant fig trees, I store the cuttings in my basement beer fridge. The cool temperature allows me to store them for months. (And they’re in the beer fridge because my family doesn’t want to look at them every time they open the fridge in our kitchen.)
I wrap up the cuttings in damp paper towel, and then place them in a sealed plastic bag. (A zippered freezer bag works well. Some people use plastic cling wrap.)
TIP: The paper towel should be moist—not sopping wet. If it’s too wet, the cuttings might rot.
2. Heat
Heat really helps to speed up rooting. Above 20°C (68°F) is best.
When rooting cuttings in a cooler area (e.g. my basement) it’s easier and less expensive to heat the cuttings from underneath with a heat mat than to heat the whole room.
If you don't have a heat mat, placing cuttings on top of a hot water radiator or a heated floor can help.
3. Humidity for Unrooted Fig Cuttings
High humidity with a clear plastic bag.
Once potted up, cuttings can quickly dry out. Keep humidity higher until they’ve rooted and are growing leaves.
Here are ideas for keeping the humidity high:
Cover pots with a clear plastic bag
Cover pots with an inverted jar
Cover a tray of pots with a clear dome
I don’t often see the tall domes at local garden centres, but they are available through specialty horticultural suppliers and are worth the search if you plan to root a lot of cuttings.
4. Beware of Fungus Gnats
Fungus gnats (flying insects that look like fruit flies) can be a BIG problem. The worm-like juvenile stage lives in the soil. You won’t see it—but it eats roots…and loves fig roots. They can quickly kill newly formed roots on young cuttings.
Here’s how I avoid fungus gnats on fig cuttings:
Start with a clean potting mix. Fungus gnat eggs and larvae can be in a potting soil, so this isn’t a time to recycle potting soil that you’ve used elsewhere.
Isolate your cuttings from other plants that might have fungus gnats already living in the soil. (For most houseplants, they’re more of a nuisance than a threat.)
Find out everything you need to know about controlling fungus gnats in fig cuttings.
Where to Get Fig Cuttings
Connect with other fig enthusiasts to buy or trade cuttings.
As plants go dormant in fall and people prune, there’s a fig-trading frenzy as people mail each other cuttings.
There are fig-focused groups on social media
Ourfigs.com is an online fig forum where you can connect with other fig enthusiasts
Get Your Fig Trees Through Winter
And eat fresh homegrown figs!
Fig Cutting FAQ
What about scoring the cuttings?
Some people “score” the base of cuttings. It just means removing some of the bark to help with root formation. I’ve never found it necessary, but it won’t do any harm.
Can I leave the little figs on the cuttings?
Remove any little figs.
If it’s a dormant cutting with a fig that didn’t finish ripening during the growing season, that little fig would never ripen anyway.
If it’s a green cutting in summer, remove the fig so that no energy is wasted trying to ripen the fig.
And if you’re rooting a dormant cutting and it grows a new fig as it comes out of dormancy (a “breba” fig), take it off. The cutting doesn’t have the energy to grow and ripen it. At this point, your goal is roots…not figs!
Can I root green softwood fig cuttings?
Sure. They’re easy to root; maybe a bit more delicate than woodier cuttings from year-old wood.
How many of my cuttings will root?
So many things come into play that there’s no point trying to give a percentage that you can expect to root.
But it’s fair to say that as you get practice, you will consistently be able to get more than half of your cuttings to root. Or more!
Are there other ways to propagate fig trees?
Yes! Layering and air layering both work very well.
Pin this post!
You can also bud figs, though I’ve never seen the point in doing this as they grow so easily on their own roots. I guess if you wanted a fig tree with more than one variety it makes sense.
(Budding is when we take a bud—a little piece of a variety we want fruit from—and put it on another plant that provides the roots. It’s a way to make lots of plants from a small amount of wood, and is used to reproduce many types of fruit trees.)
We don’t usually grow figs (or apples or other fruit trees) from seed because it’s like buying a lottery ticket. You might get the prize of a variety with nice fruit; probably not. It probably won’t be like the fig it came from…and it might even be a variety that gives tough, leathery figs.
Can fig cuttings root in water?
It can work. But you’ll get better results with other methods—so unless you’re determined to try this method, I’d choose something else.
Do I need to wash or sanitize my cuttings?
Some people do. I don’t.
More: How to Propagate Fig Trees
Air layering is a simple way to propagate fig trees.
More on How to Grow Figs
More Fig Articles
Head back to the fig home page to search for fig articles by topic.
Fig Books
Fig Masterclass
The self-paced online fig masterclass gives you everything you need to know to grow and harvest your own figs in a cold climate!
One-on-One Fig Adice
If you want a consultation about growing figs in cold climate to talk specifically about your situation and challenges, book it below.
Guide to Controlling Fungus Gnats on Fig Cuttings
Guide to controlling fungus gnats on fig cuttings.
Fungus Gnats and Fig Cuttings
It was during a Zoom meeting.
Right in front of my face.
It was so close I nearly inhaled it.
A fungus gnat. They’re back…and that’s bad news for my fig cuttings.
If you’ve had fig cuttings that looked healthy, but then died, a common cause is fungus gnats.
They’re small flying insects. Harmless for many houseplants…but a problem when propagating fig trees from cuttings.
Luckily, there are ways you can deal with them.
In this post, I’ll tell you what you need to know about fungus gnats and fig cuttings: How to prevent them, the life cycle, and how to control them.
What’s a Fungus Gnat?
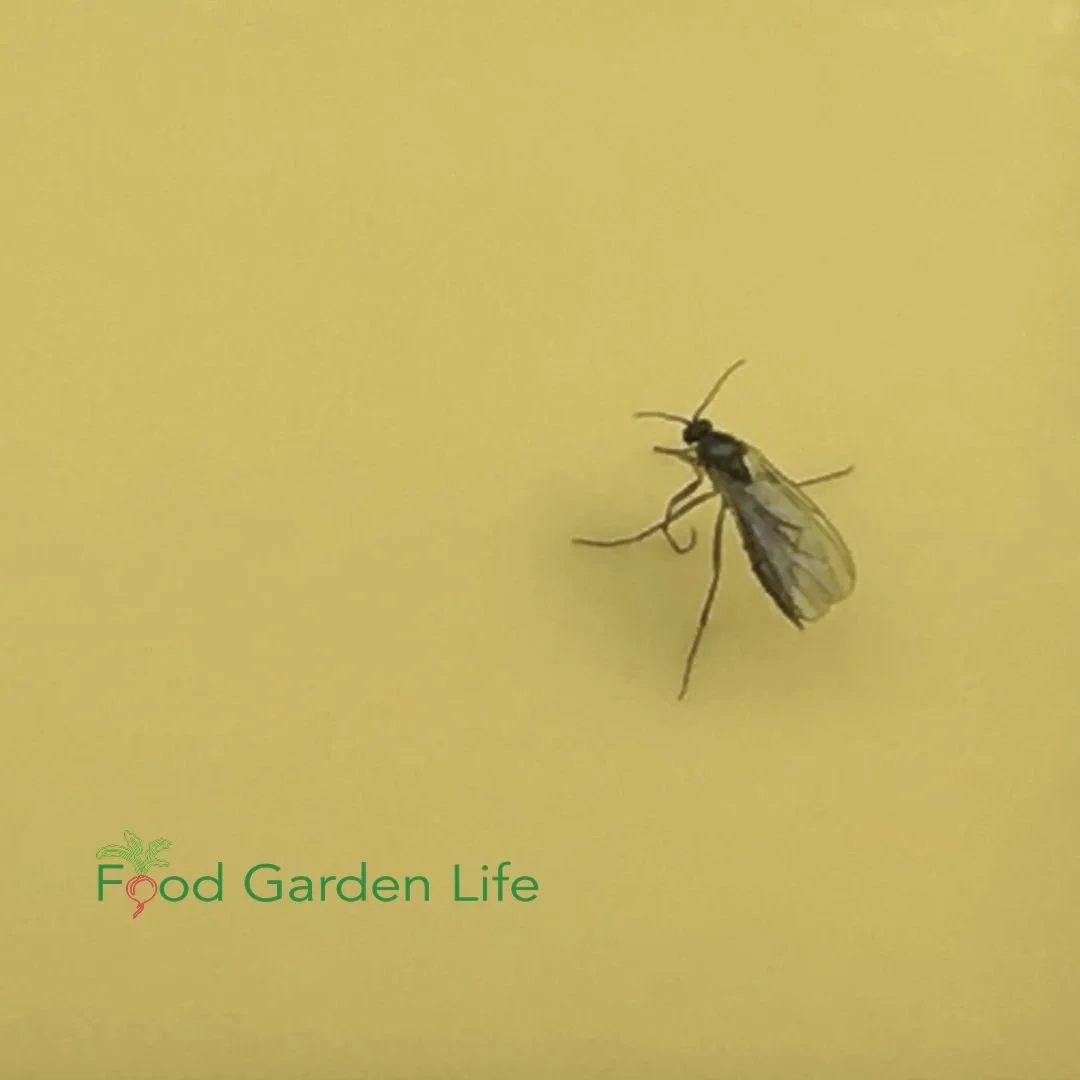
It’s easy to mistake an adult fungus gnat for a fruit fly.
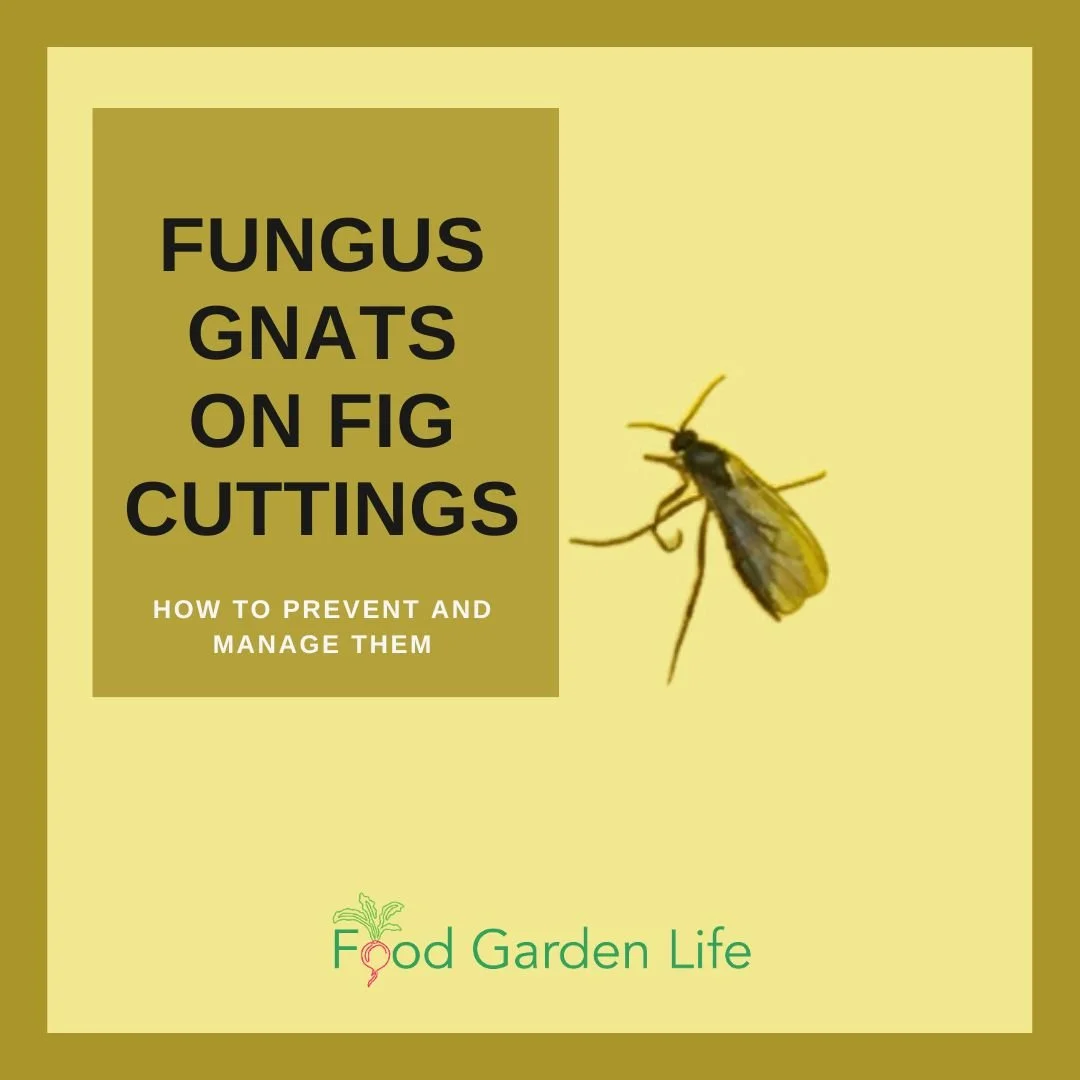
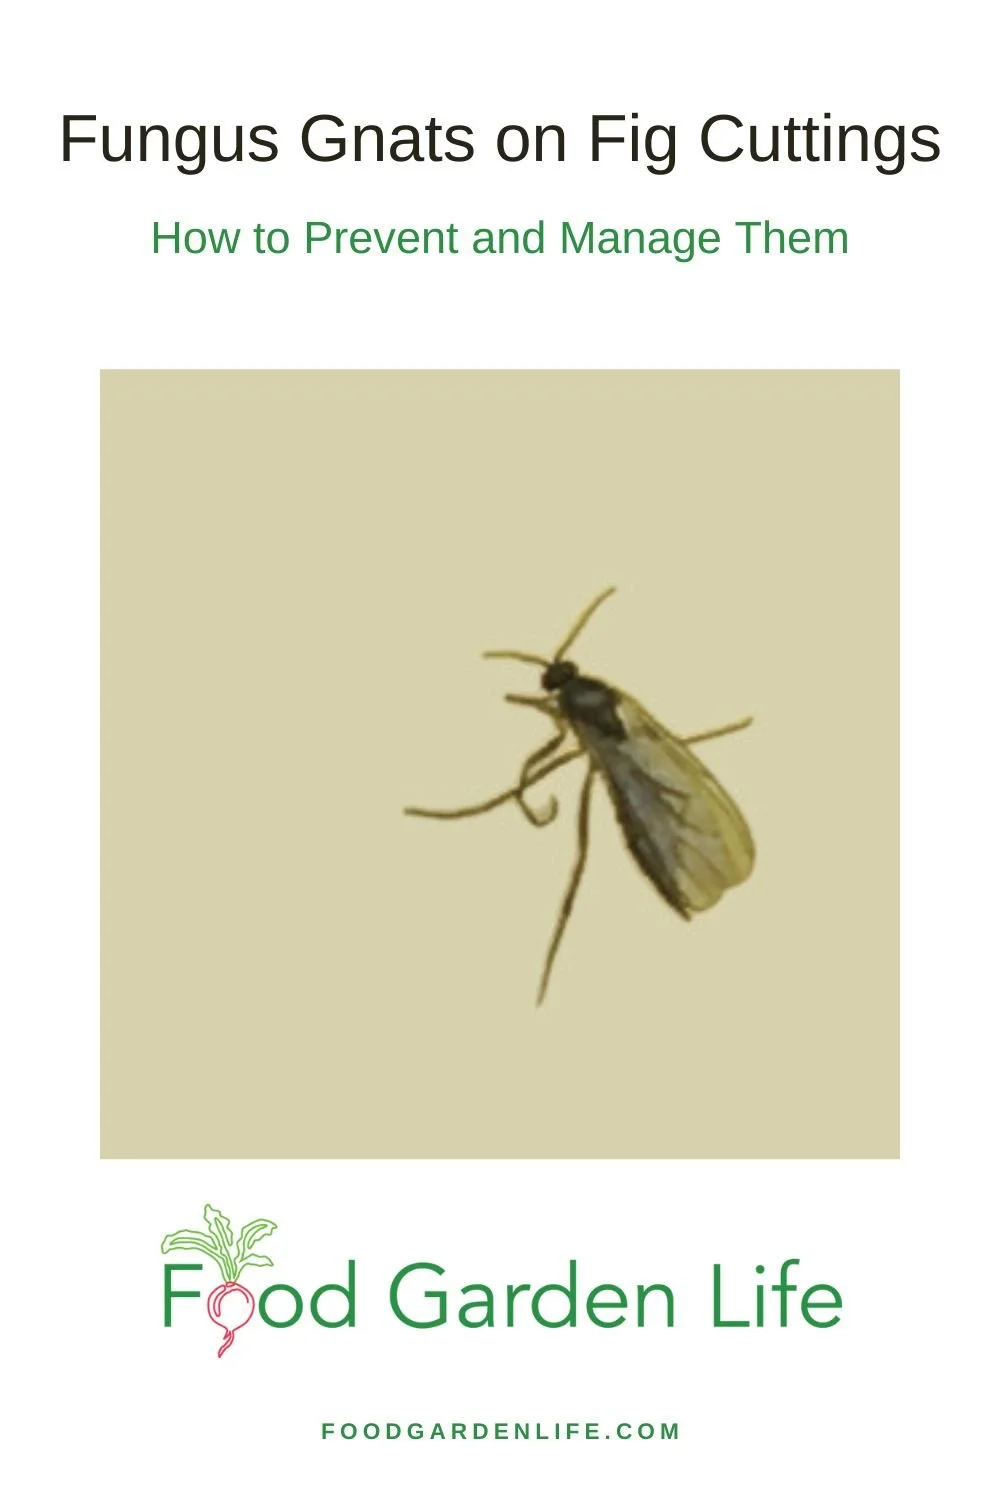
An adult fungus gnat.
The adults are small flies, about 4 mm (1/8th of an inch) long. Their little bodies are jacked up on long skinny legs, making them look top heavy.
Fungus gnats are weak fliers…anything but graceful. Their flight is bumbling at best, like the pigeons of the flying insect world.
If you have fungus gnats, you’re likely to see them flying around your houseplants. Others will be walking around the soil surface.
Fig Cuttings and Fungus Gnats
Here’s where fig cuttings come into this: If you see adult fungus gnats, then there are lots of larvae somewhere.
The larvae are small worms that live in the soil. They’re difficult to see with the naked eye. But if you’ve got adults, there are larvae around.
These larvae—these worms—eat decaying organic matter…AND roots.
Mature plants are not usually bothered by fungus gnats; they can take some root damage.
But fungus gnat larvae can mow down your fig cuttings. (OK, mow up…they’re munching on the newly forming roots.)
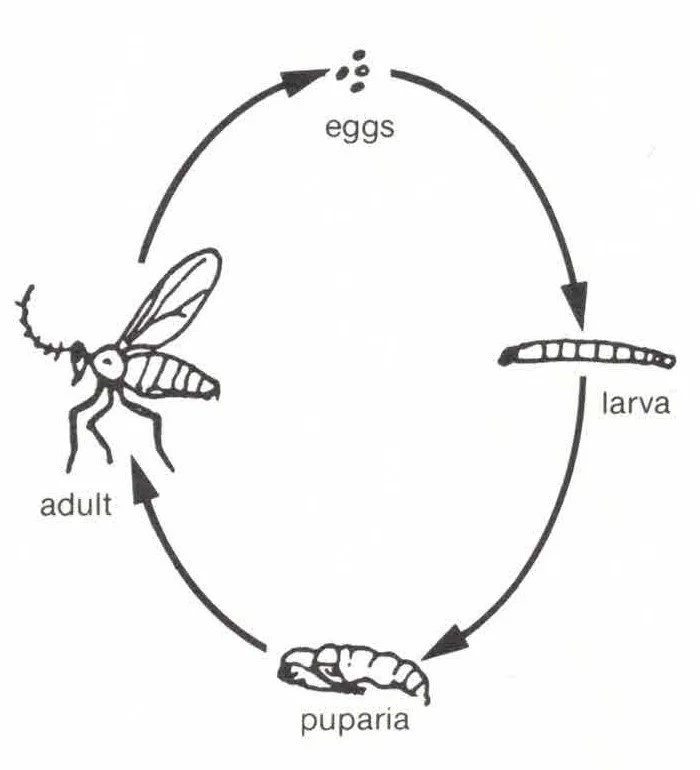
Fungus gnat life cycle
Fungus Gnat Life Cycle
Adult fungus gnats live for about a week. The female gnat lays a lot of eggs in that short time.
Eggs hatch into larvae
Larvae pupate
The cycle repeats
The full life cycle is about 21 days at 24°C (75°F). It takes longer at cooler temperatures.
Understanding this life cycle helps you managing fungus gnats.
You want to break the cycle. To do this, go after the fungus gnats at more than one stage.
Get Your Fig Trees Through Winter
And eat fresh homegrown figs!
Where Fungus Gnats Come From
Fungus gnats can arrive with the soil in new houseplants. They can also arrive with contaminated potting soil. Potting soils aren’t usually sterilized, so it’s possible to have fungus gnat eggs in potting soil.
Control Fungus Gnats on Fig Cuttings
The most common advice for controlling fungus gnats is to water less. That’s because the larvae need moist soil.
This advice works well with houseplants.
But when we’re rooting fig cuttings in potting soil, we want moist conditions so that the cutting does not dry out.
That means we need to use some other tactics to manage fungus gnats with fig cuttings.
Below are a few ways to control fungus gnats on fig cuttings. Use more than one tactic for the best results.
Start Fig Cuttings in Fungus-Gnat-Free Potting Soil
Fungus gnat eggs can come with a batch of potting soil. No big deal for most house plants…but with fig cuttings you don’t want fungus gnats.
So if there’s a chance your you have fungus gnat eggs in your potting soil, sterilize it.
(Commercial potting soil mixes aren’t usually sterilized. That’s fine because, there are often beneficial microbes in them. If you’re confident the soil you’re using is free from fungus gnats, no need to do this.)
On a home scale, you can use heat to sterilize potting soil. A temperature of 180°F (80°C) for half an hour does the trick (as well as destroying weed seeds and disease organisms.)
So you’re probably asking what it smells like if you put soil in your oven! It smells like…soil. And if that’s an issue, just do this on your BBQ.
Pre-Root Your Cuttings
Fig cuttings pre-rooted in a bag. This is a good way to give fig cuttings a head start so that’s there’s a shorter period of time when they’re very susceptible to fungus gnat damage.
It’s as they just begin to root that your fig cuttings are especially susceptible to fungus gnat damage. So one strategy is to pre-root your fig cuttings before you pot them up.
Wrap all but the bottom inch of your fig cuttings in damp paper towel, and then enclose them in a sealed clear plastic bag. (Clear, so that you can watch the progress.)
Then leave the bag at room temperature for root formation to begin.
First you’ll get white splotches forming on the bottom of the cuttings. These eventually turn into roots. And once you have roots formed, you can pot up your rooted cuttings.
(Some people use a similar technique, putting cuttings in a sealed bag with perlite.)
With roots already formed, your cuttings have a good head-start and are likely to outgrow any fungus gnat problems.
Grow Your Fig Cuttings Away from Potted Plants
Knowing that potted plants are often a source of fungus gnats, start your fig cuttings away from potted plants.
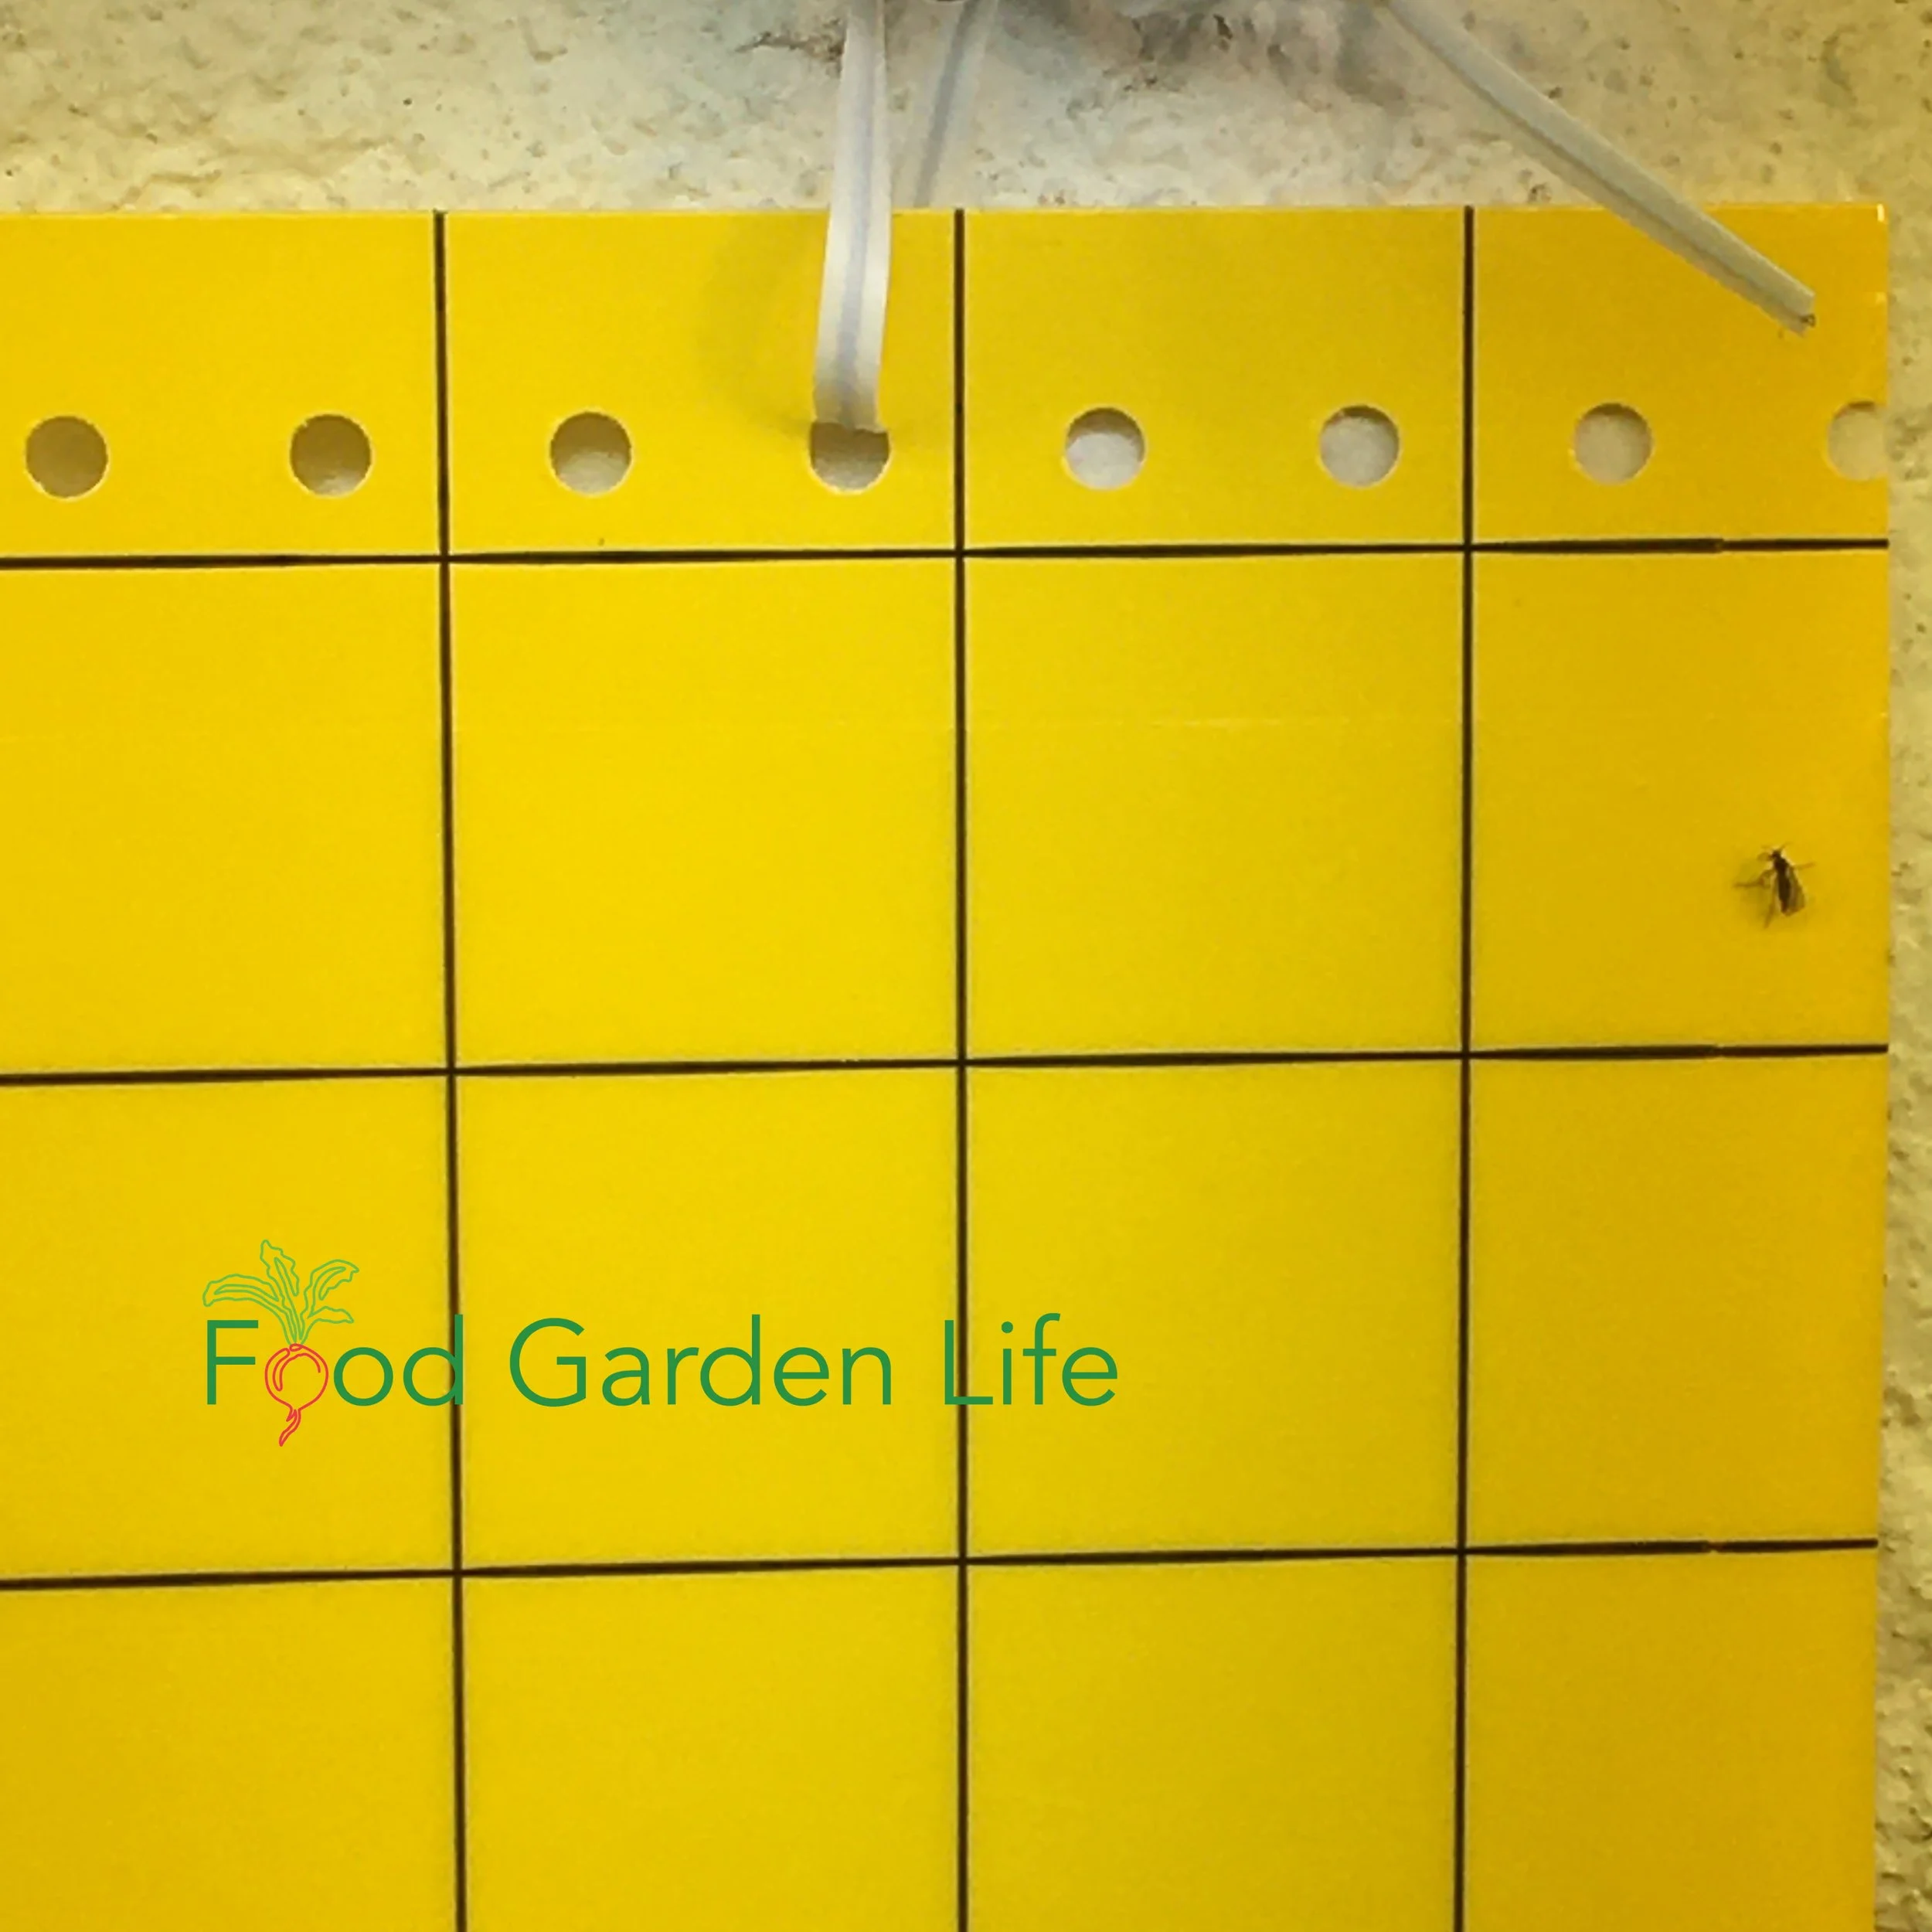
A fungus gnat caught on a yellow sticky trap.
Yellow Sticky Cards for Adult Fungus Gnats
Yellow sticky cards are helpful for monitoring for fungus gnats. They are placed around plants to catch adult fungus gnats.
But sticky traps alone don’t control fungus gnats.
Use sticky traps in conjunction with other fungus-gnat-control strategies.
Nematodes
Nematodes are microscopic worm-like creatures that kill the larval stage of fungus gnats. Buy them from suppliers of biological controls.
Nematodes are applied with water. When you receive them, you’ll mix them with water, and then water them onto the soil.
When using nematodes, keep the potting soil moist as they need a moist environment.
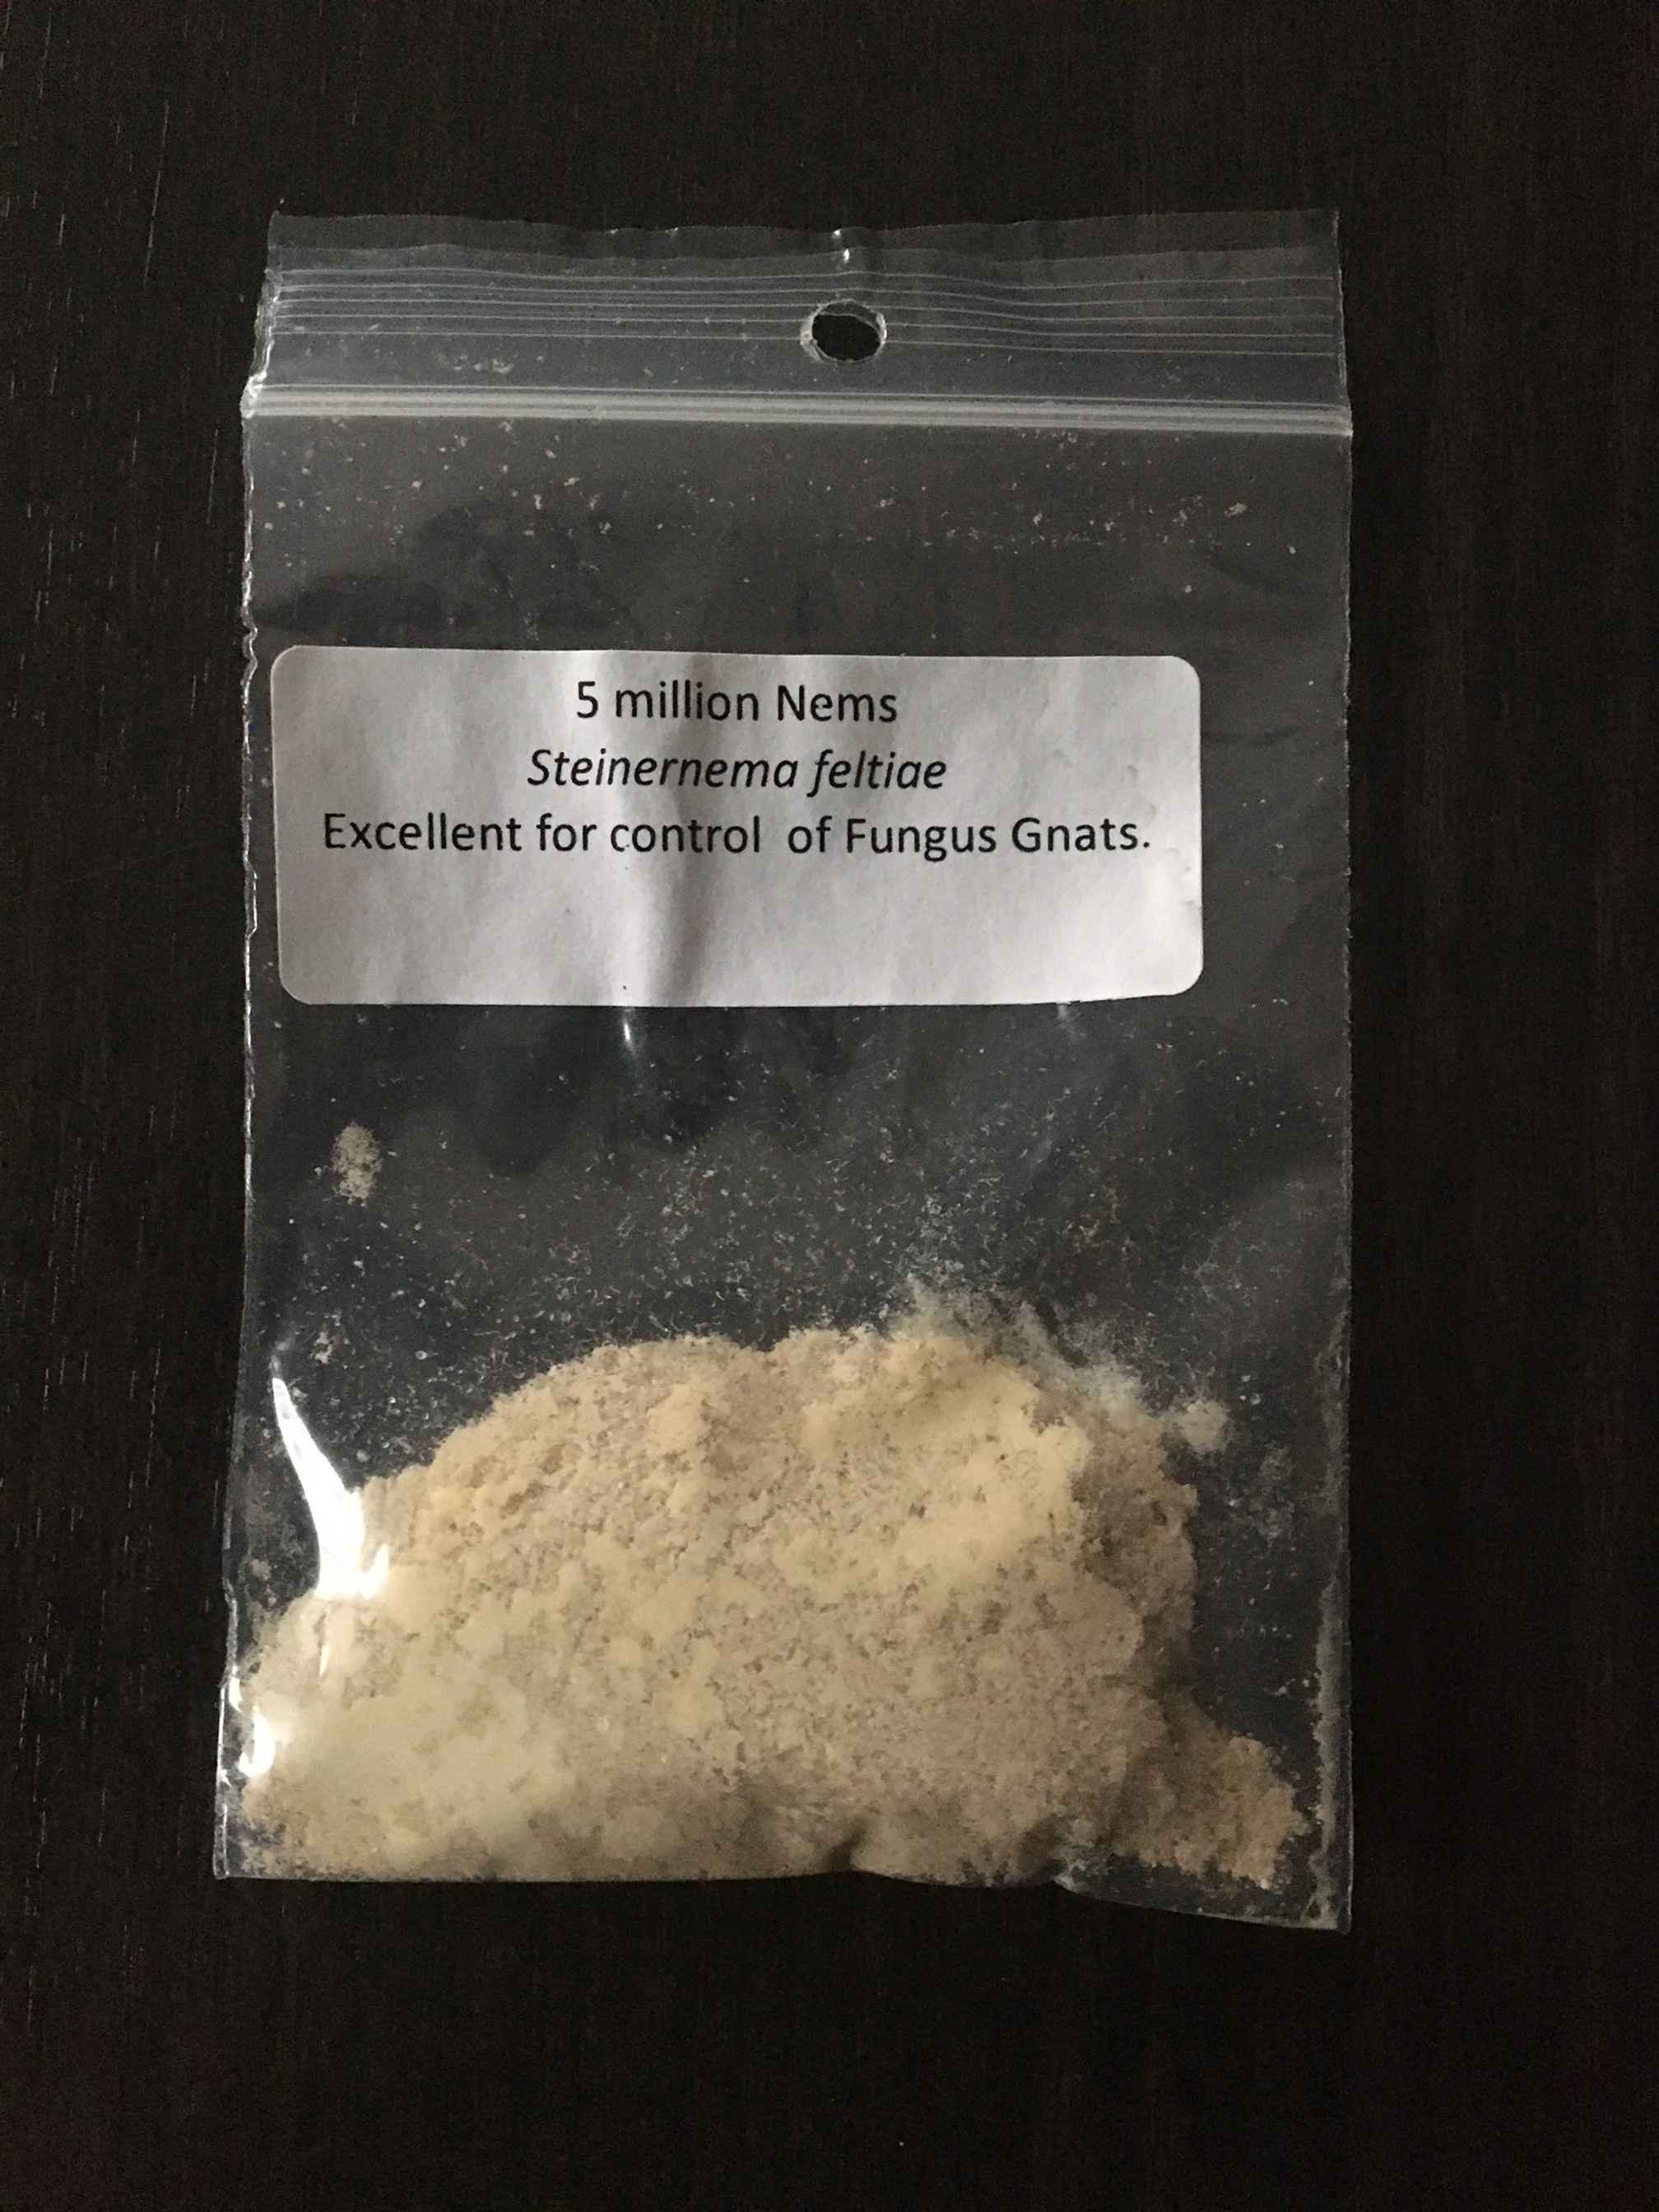
Steinernema feltiae nematodes, used to control fungus gnats.
There are many species of nematode, and some are used for biological control of garden pests such as white grubs.
The nematode for fungus gnat larvae is Steinernema feltiae.
Nematodes have no effect on adult fungus gnats.
More than one application is best. That way you get the larvae in the soil at the time of application, but also larvae that emerge later from eggs.
BT
BT (short for Bacillus thuringensis) is a naturally occurring bacterium.
If you recognize the name, it’s probably because it’s often used for mosquito management—and there is also a type that’s used for controlling caterpillars in the garden.
The BT for fungus gnats is Bti (Bacillus thuringensis israelensis).
Don’t buy Btk (Bacillus thuringensis kurstaki); it’s used for caterpillars.
Depending on the formulation, the BT can mixed with water and watered onto the soil, or incorporated into the potting soil.
The fungus gnat larvae ingest the BT and die.
Repeat weekly, 3 or 4 times so that you get the larvae in the soil at the time of application, but also larvae that emerge later from eggs.
Root Fig Cuttings in a Bag
Plant your fig cuttings in fungus-gnat free soil that’s isolated from fungus gnats in a plastic bag. The damp soil is in the bag, the bottom of the cutting is inserted into the soil, and the top of the cutting sticks out above.
Seal tightly so no fungus gnats can get to the soil.
If you use clear bags, you can see the progress of rooting.
Some people call this the “fig pop” method.
Fungus Gnats and Fig Cuttings: Putting it all Together
Fungus gnats come with potting soil and house plants. Having them isn’t a sign that you’ve done anything wrong.
And normally they’re not a big deal.
Except they’re a very big problem if you have fig cuttings—because they damage the newly emerging roots.
When you’re managing fungus gnats:
Use more than one control strategy
Repeat treatments so that newly laid eggs or newly hatched larvae are controlled
Remember that one adult gnat flying around can lay lots of eggs…so be diligent.
More Fig-Growing Tips and Ideas
Fig Course
Get Your Fig Trees Through Winter
And eat fresh homegrown figs!

